
Articles
How To Drain Portable AC
Modified: September 2, 2024
"Discover the step-by-step guide on how to effectively drain your portable AC unit. Read our informative articles to ensure optimal cooling performance!"
(Many of the links in this article redirect to a specific reviewed product. Your purchase of these products through affiliate links helps to generate commission for Storables.com, at no extra cost. Learn more)
Introduction
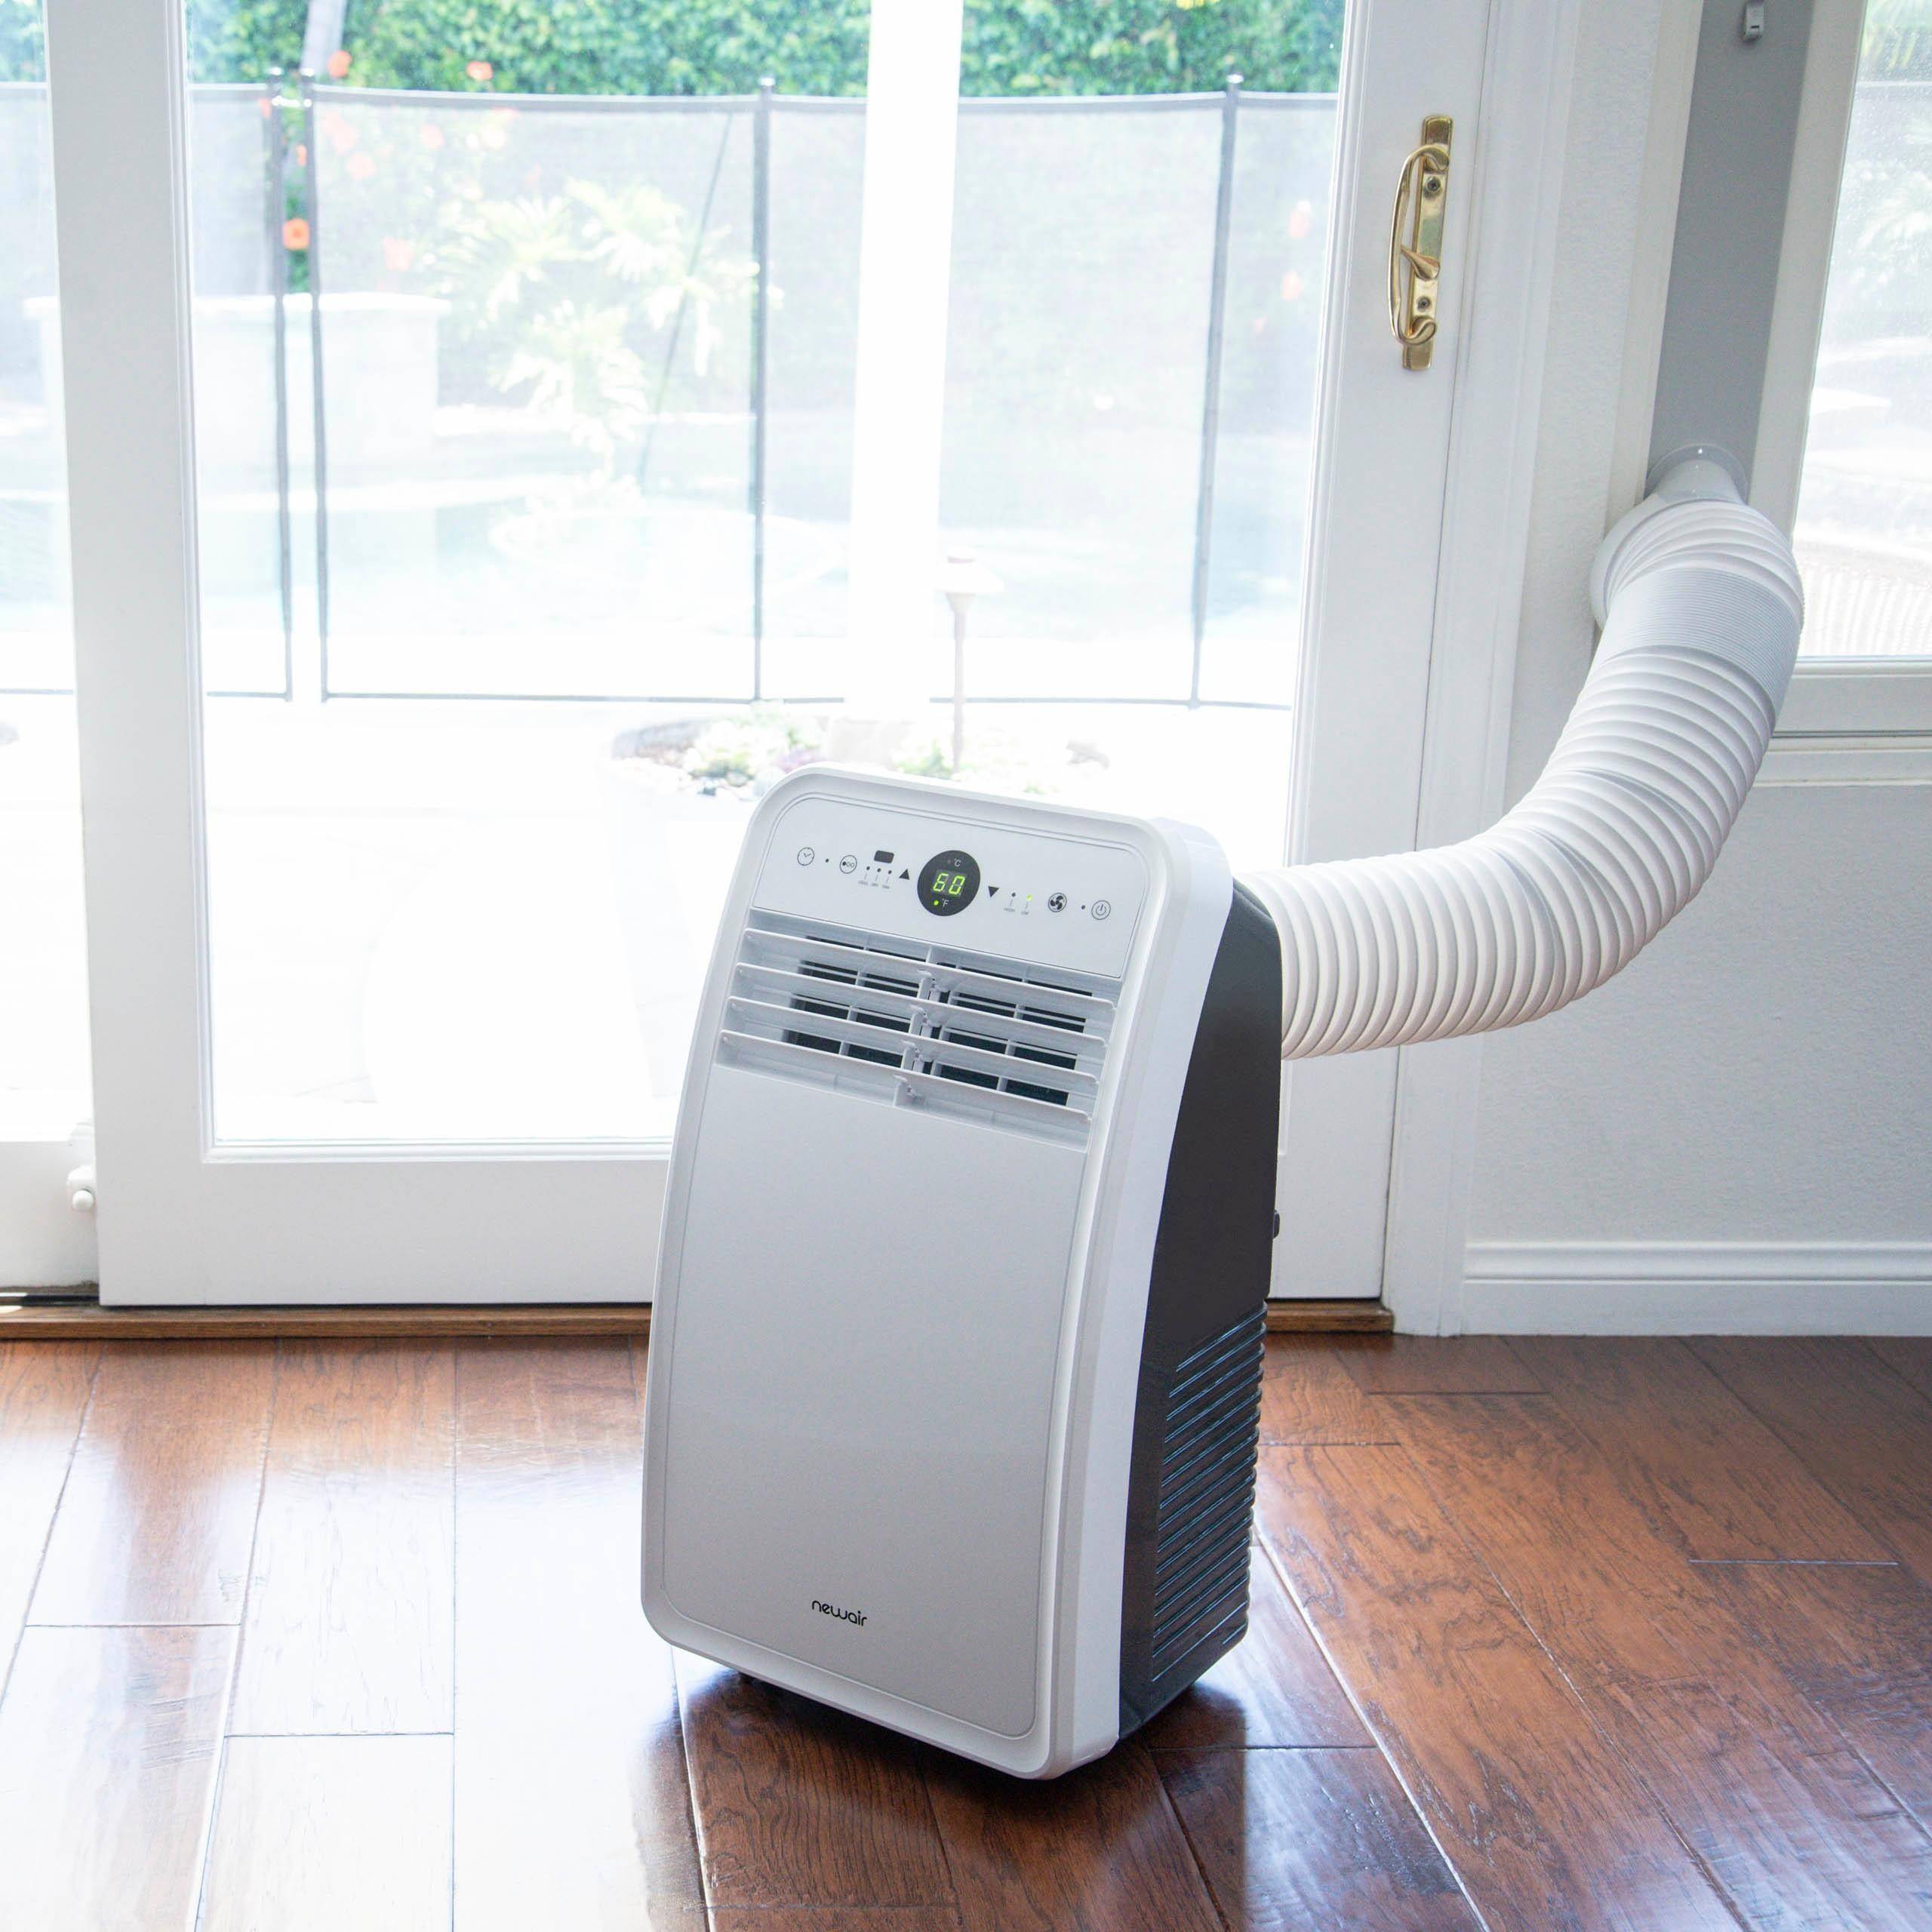
Portable air conditioners are a convenient and efficient way to cool down a specific area without the need for permanent installation. While these portable units offer comfort during hot summer days, they also require regular maintenance to ensure optimal performance. One crucial maintenance task for portable AC units is draining excess water that accumulates during the cooling process.
In this article, we will guide you through the step-by-step process of draining a portable AC. Whether you’re a first-time user or have been using a portable AC for a while, understanding the proper drainage procedure will help you maintain the longevity and efficiency of your unit.
Before we dive into the step-by-step instructions, it’s essential to prioritize safety precautions to ensure your well-being and the protection of your portable AC unit.
Key Takeaways:
- Safety first! Always unplug the portable AC, wear protective gear, and place a towel underneath to catch spills. Prioritize safety to prevent accidents and ensure a smooth drainage process.
- Proper drainage is essential for optimal performance. From locating the drainage port to cleaning the container, each step plays a crucial role in maintaining the longevity and efficiency of your portable AC unit.
Read more: How To Clean AC Drain Pipe
Safety Precautions
Before attempting to drain your portable AC unit, it’s crucial to follow these safety precautions:
- Always unplug the portable AC from the power source before performing any maintenance tasks. This will prevent any electrical mishaps and ensure your safety.
- Allow some time for the AC unit to cool down before attempting to drain the water. The internal components can become hot during operation, and handling them immediately can lead to burns or injuries.
- Wear protective gloves and goggles when handling the drainage plug or any other parts of the AC unit. This will protect your hands from sharp edges and prevent any potential eye injuries from water splashes.
- Place a towel or a waterproof mat underneath the portable AC unit to catch any potential spills or leaks during the drainage process. This will help protect your flooring and prevent any water damage.
- Ensure your portable AC unit is placed on a stable and level surface while draining the water. This will prevent any accidents or tipping of the unit.
By following these safety precautions, you can perform the drainage process with confidence and minimize the risk of accidents or damage.
Step 1: Turn off the Portable AC
The first step in draining a portable AC unit is to turn off the power. Locate the power button on your device, usually located on the control panel or the remote control. Press the power button to turn off the unit completely.
By turning off the AC, you ensure that the cooling process stops and no more water will be generated inside the unit. It’s essential to allow the AC to reach room temperature before attempting to drain the water. This will prevent any burns or injuries caused by handling hot components.
Take a few minutes to ensure that the AC has completely powered down before proceeding to the next step.
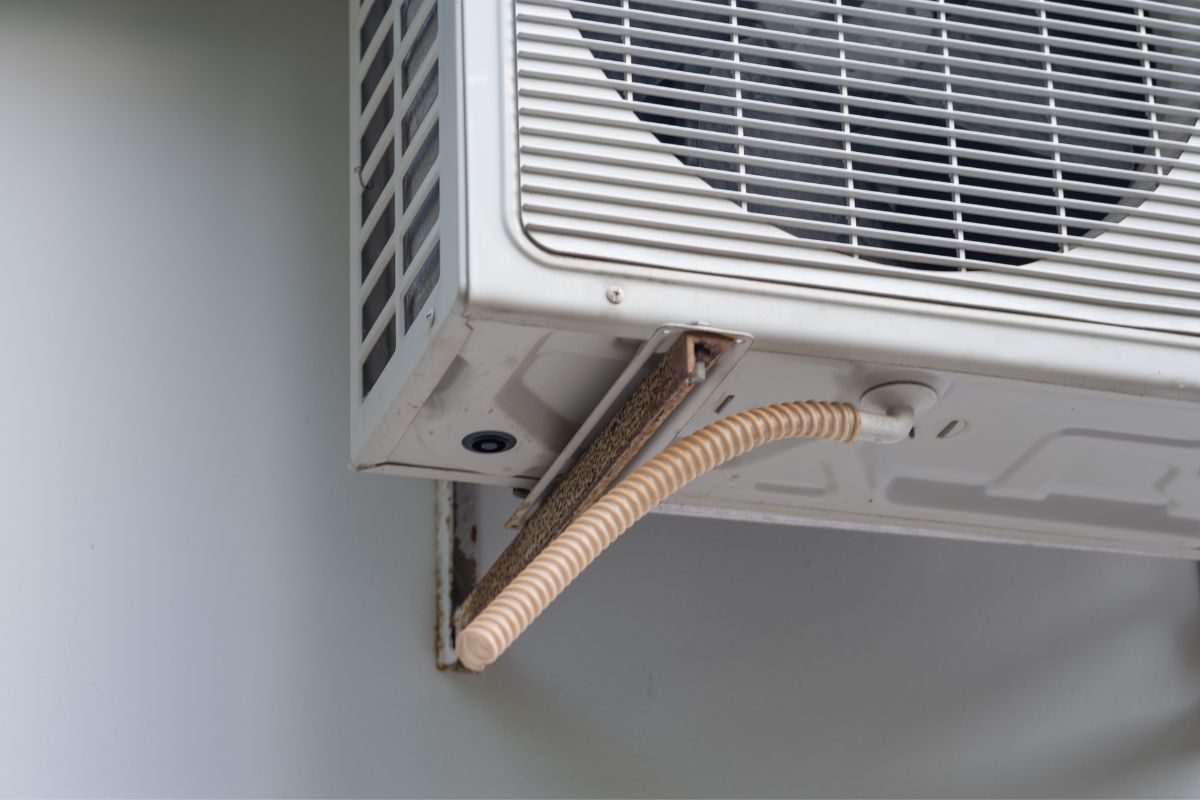
Step 2: Locate the Drainage Port
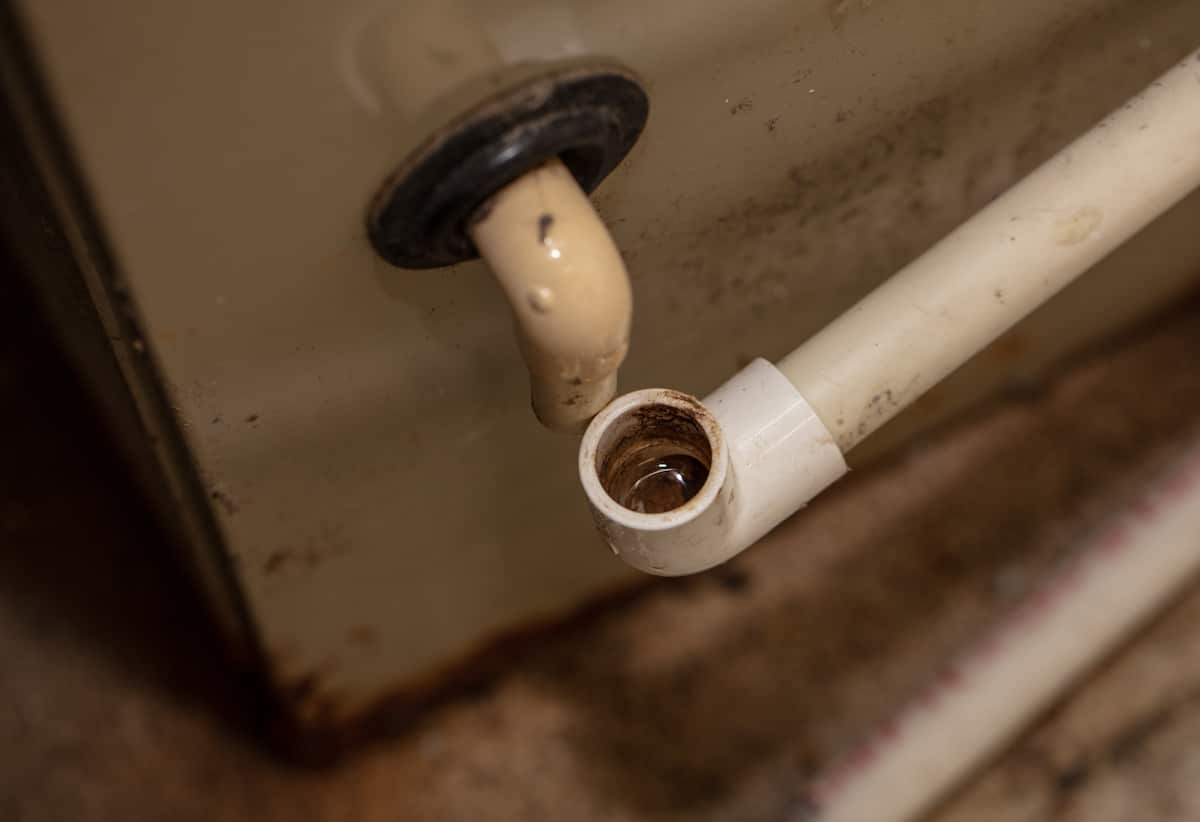
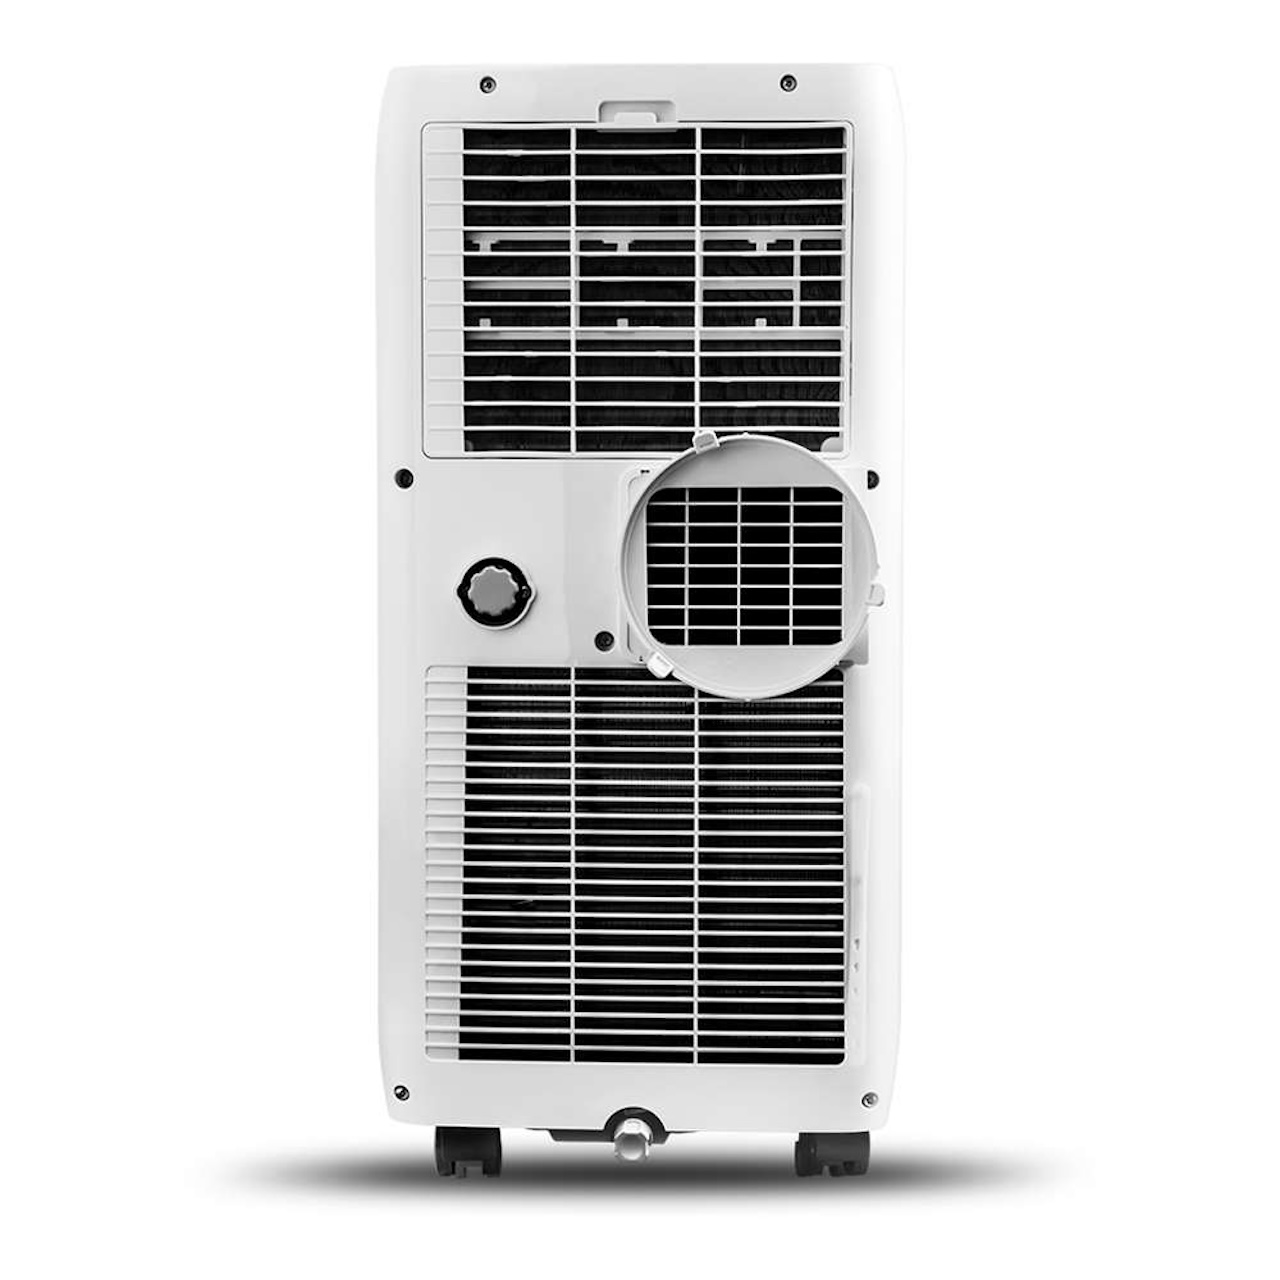
Next, you’ll need to locate the drainage port on your portable AC unit. The drainage port is the designated opening where the excess water will be expelled.
The location of the drainage port can vary depending on the model and make of your portable AC. In most cases, it is located at the back or bottom of the unit. Look for a small hole or opening with a plug or cap covering it.
If you’re having trouble locating the drainage port, refer to the user manual that came with your unit. The manual will provide detailed instructions on where to find the drainage port specific to your model.
Once you have located the drainage port, move on to the next step to prepare for the water drainage process.
Step 3: Prepare a Drainage Container
Before proceeding with draining the water from your portable AC unit, ensure that you have a suitable drainage container ready. The container should be large enough to hold the anticipated amount of water and have a secure lid or cover.
You can use various containers for this purpose, such as a bucket, a basin, or a large plastic container. It’s important to choose a container that is easy to handle, has a stable base, and can capture the water without any leaks.
Place the drainage container near the portable AC unit, ensuring that it is positioned directly below the drainage port. This will prevent any spills or water damage during the drainage process.
It’s also a good idea to place a towel or waterproof mat underneath the drainage container to keep your floor protected from any potential spills or overflows.
Once you have prepared the drainage container, you can proceed to the next step of removing the drainage plug.
Read more: Where Is AC Drain Pan
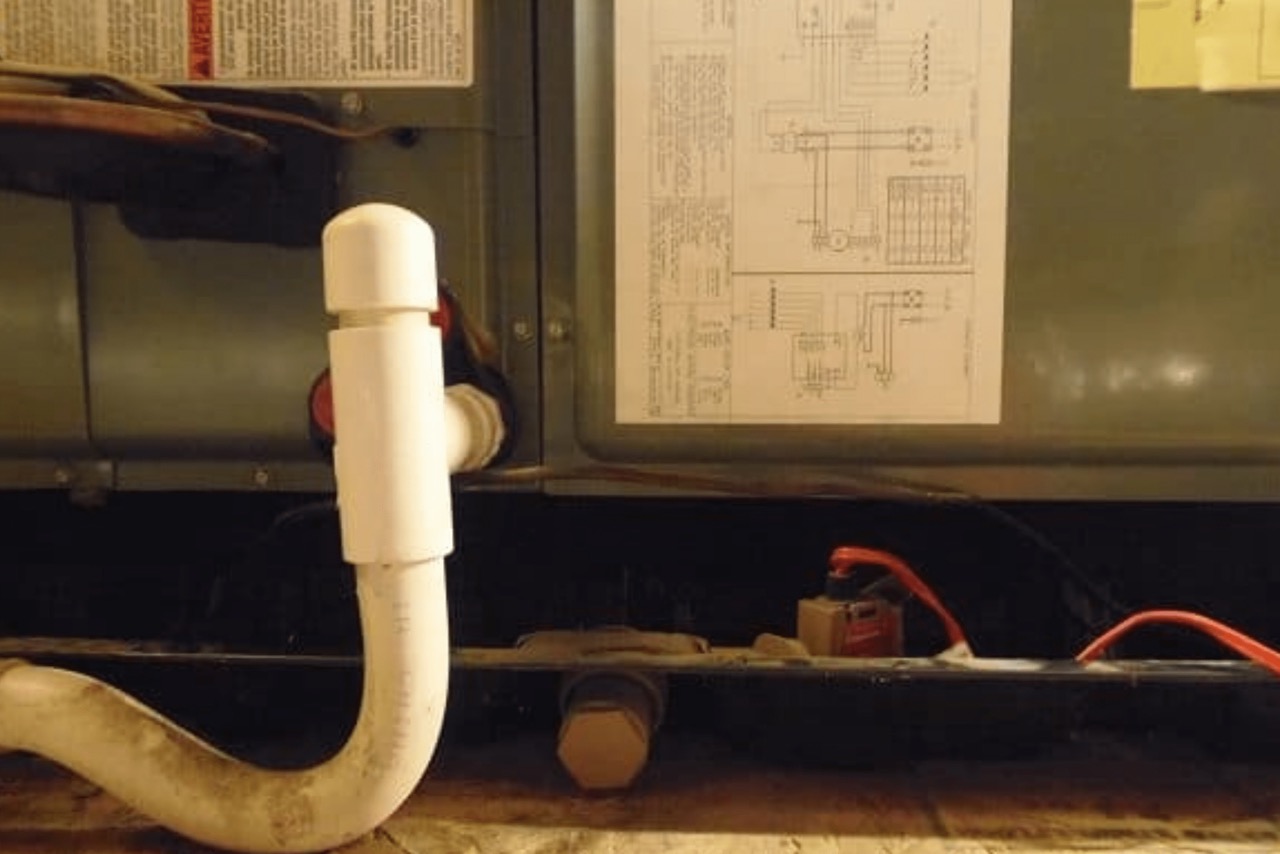
Step 4: Remove the Drainage Plug
Now that you have your drainage container ready, it’s time to remove the drainage plug from the portable AC unit. The drainage plug is what keeps the water from escaping, and removing it will allow the water to flow out.
Carefully locate the drainage plug near the drainage port. It is usually a small rubber or plastic plug that is inserted into the opening. Some units may have a twist-off cap or a valve system instead of a plug.
Using your fingers or a pair of pliers, gently pull or twist the drainage plug to remove it from the unit. Be cautious not to apply excessive force or damage the plug or the drainage port.
As you remove the drainage plug, be prepared for water to start flowing out of the unit. The water may be warm or cool, depending on the AC’s operation and the ambient temperature.
Ensure that the drainage container is positioned directly beneath the drainage port to catch the flowing water. A steady hand and a controlled motion will prevent any spills or accidents during this step.
Once the drainage plug has been removed, move on to the next step to allow the water to drain completely from the portable AC unit.
Make sure to place the portable AC unit on a level surface to ensure proper drainage. Check the drainage plug or hose regularly to prevent any blockages.
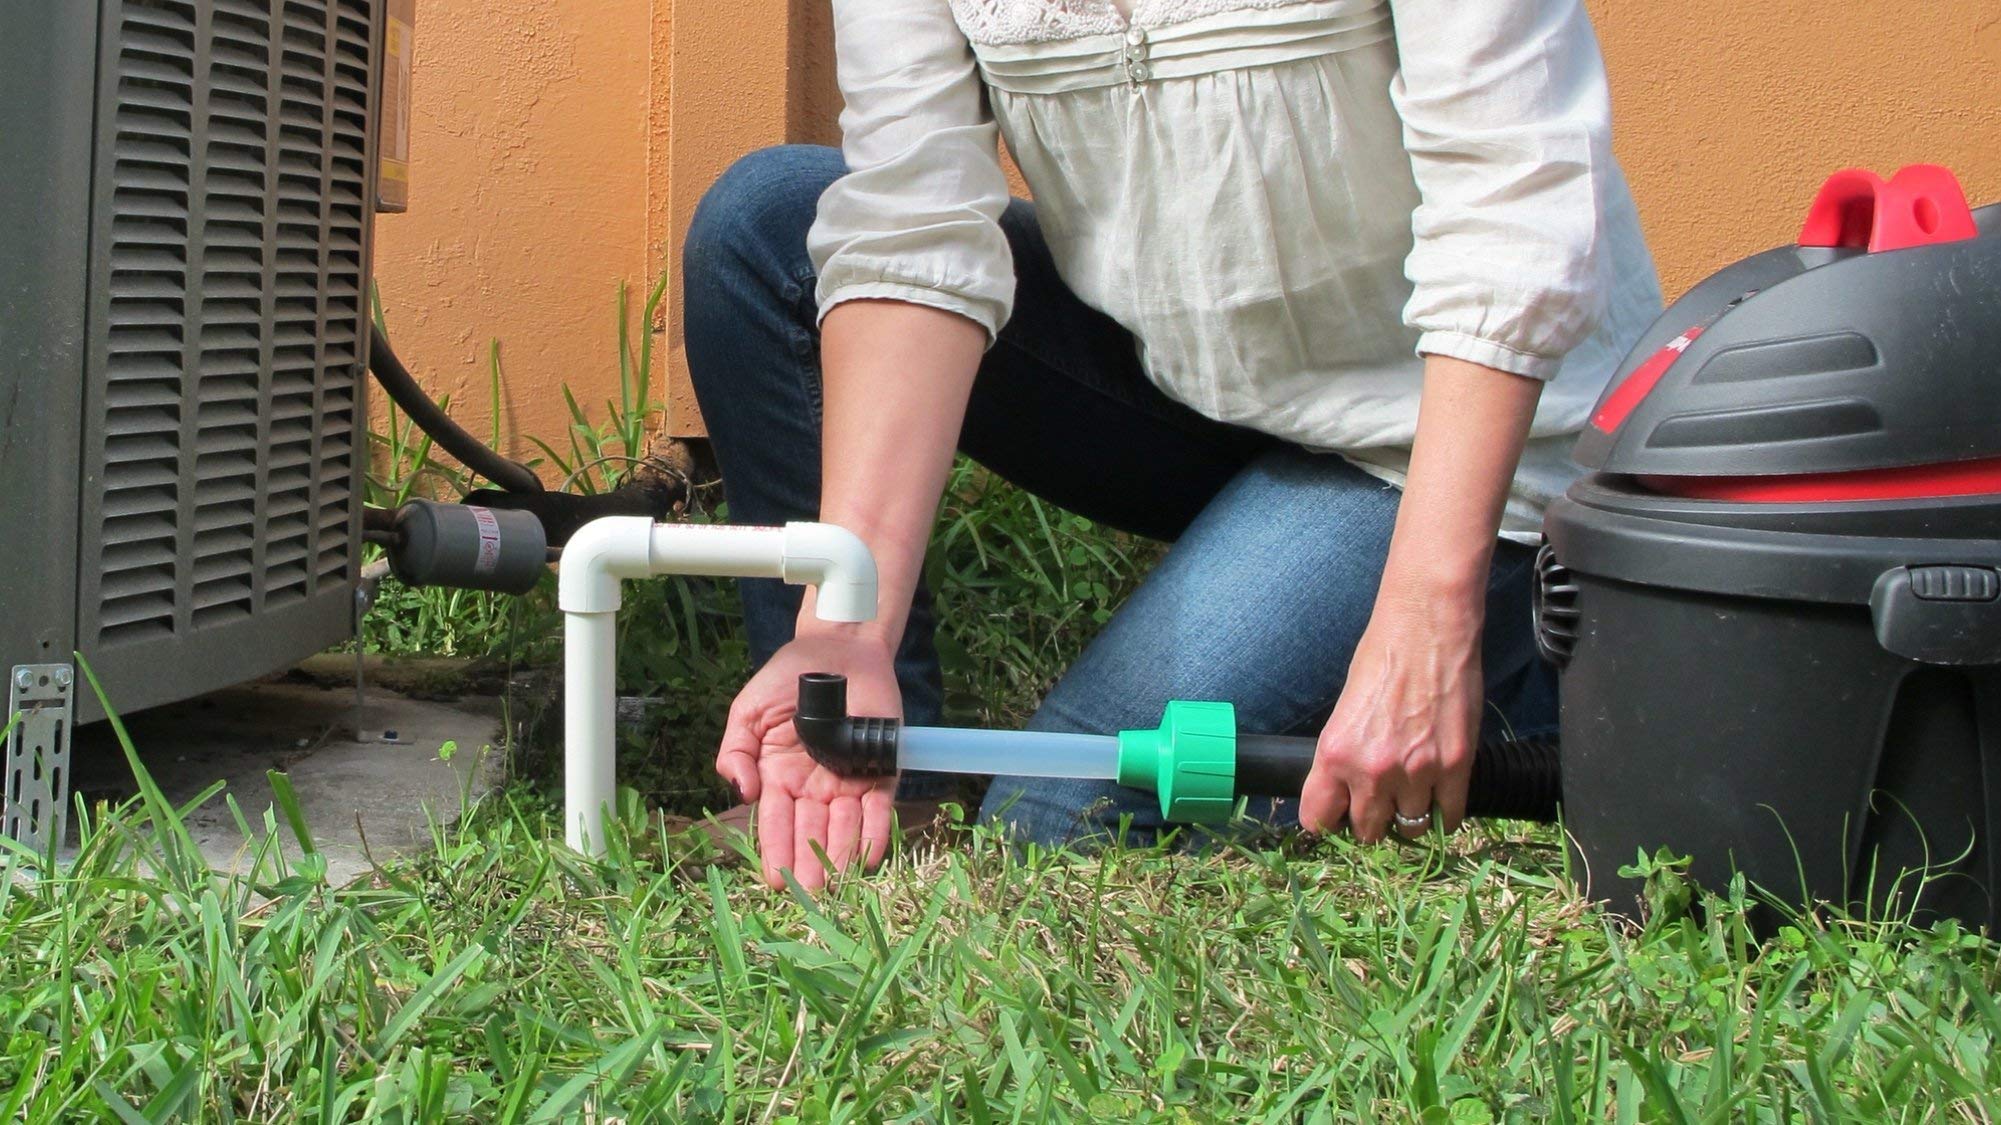
Step 5: Let the Water Drain Completely
After removing the drainage plug, it’s important to allow the water to drain completely from the portable AC unit. This may take a few minutes, depending on the amount of accumulated water.
Keep an eye on the drainage container and ensure that it is securely positioned beneath the drainage port to catch the water. Monitor the flow of water and make sure it is steady and consistent.
During this step, you may notice some gurgling or sloshing sounds as the water drains out. This is normal and indicates that the water is effectively being expelled from the unit.
While waiting for the water to drain, you can use this time to clean the drainage port and plug. Use a damp cloth or a soft brush to remove any debris or dirt that may have accumulated on these components.
It’s important to be patient during this step to allow all the water to drain completely. Rushing the process may result in residual water remaining inside the unit, which can lead to mold and mildew growth.
Once the water has completely drained, you can proceed to the next step to reinsert the drainage plug and prepare for cleaning the drainage container.
Step 6: Reinsert the Drainage Plug
Now that the water has drained completely from the portable AC unit, it’s time to reinsert the drainage plug to prevent any future leaks or spills.
Take the drainage plug that you previously removed and carefully align it with the drainage port. Make sure it is securely seated and properly inserted into the opening.
For rubber or plastic plugs, gently push it into the drainage port until it fits snugly. If you have a twist-off cap or valve system, follow the manufacturer’s instructions to secure it back into place.
Ensure that the drainage plug is tightly sealed against the unit to prevent any water from escaping during the AC’s operation. A secure and properly inserted drainage plug is crucial for the efficient functioning of the portable AC unit.
Once you have reinserted the drainage plug, double-check to make sure it is secure and tightly sealed. This will prevent any potential leaks or water damage in the future.
With the drainage plug back in place, you can now move on to the next step, which involves cleaning and drying the drainage container.
Step 7: Clean and Dry the Drainage Container
Now that you have successfully drained the water from your portable AC unit, it’s important to clean and dry the drainage container before storing or reusing it.
Start by emptying the drainage container of any remaining water. Tilt it gently to pour out the water into a suitable drain or outdoor area. Take care not to spill the water or create any mess.
Once the container is empty, rinse it with clean water to remove any residue or debris that may have accumulated during the drainage process. Use a mild detergent or soap if necessary, but avoid using any harsh chemicals that may leave behind a strong odor or residue.
After cleaning, thoroughly dry the drainage container to prevent any mold or mildew growth. You can air-dry it by placing it in a well-ventilated area or use a clean towel to wipe away any remaining moisture.
Check the drainage container for any signs of damage or cracks. If you notice any issues, consider replacing it to ensure proper functionality for future drainage tasks.
Ensure that the drainage container is completely dry before storing it away for future use. Storing a damp container can lead to unpleasant odors or the growth of mold and bacteria.
With the drainage container clean and dry, you can now move on to the final step, which involves turning on the portable AC unit.
Read more: How To Clean Portable AC Filter
Step 8: Turn on the Portable AC
Now that you have completed the drainage process and cleaned the drainage container, it’s time to turn on your portable AC unit again. Follow these steps to ensure a smooth and effective operation:
- Ensure that the drainage plug is securely inserted into the drainage port to prevent any leaks.
- Place the portable AC unit back in its desired location, making sure it is positioned on a flat and stable surface.
- Plug the AC unit back into a suitable power source.
- Turn on the power by pressing the power button on the control panel or using the remote control.
- Set your desired temperature and fan speed settings on the AC unit.
- Allow the AC unit a few moments to start up and reach the desired temperature.
- Monitor the AC unit for any unusual noises or malfunctions. If you notice any issues, refer to the user manual or contact the manufacturer for assistance.
By following these steps, you can ensure that your portable AC unit is functioning optimally and providing you with the cool comfort you need.
Remember to perform regular maintenance tasks, including the drainage process, to keep your portable AC unit running efficiently and prolong its lifespan.
Congratulations! You have successfully drained your portable AC unit and are now ready to enjoy the cool comfort it provides.
Remember to refer back to this guide whenever you need to drain the water from your portable AC unit in the future.
Stay cool and stay comfortable!
Conclusion
Draining excess water from your portable AC unit is an essential maintenance task that ensures the optimal performance and longevity of your device. By following the step-by-step guide outlined in this article, you can safely and effectively drain the water from your portable AC unit.
Remember to prioritize safety precautions, such as turning off the power and wearing protective gear, before attempting any maintenance tasks. This will ensure your well-being and protect your portable AC unit from any potential damage.
From locating the drainage port to preparing a suitable drainage container, each step plays a crucial role in effectively draining the water. Take the time to allow the water to drain completely and reinsert the drainage plug securely to prevent future leaks.
Don’t forget to clean and dry the drainage container before storing it away for future use. This will prevent any mold or bacteria growth and ensure a clean start for the next drainage process.
Once you have completed the drainage process and turned on your portable AC unit again, monitor its performance for any abnormalities or malfunctions. Regularly perform maintenance tasks to keep your portable AC running smoothly and enjoying the cool comfort it provides.
By following these steps and incorporating regular maintenance into your routine, you can extend the lifespan of your portable AC unit and ensure it continues to cool your space efficiently.
Now that you have the knowledge and understanding of how to drain your portable AC unit, you are well-equipped to tackle this maintenance task whenever necessary. Stay cool and comfortable all summer long!
Frequently Asked Questions about How To Drain Portable AC
Was this page helpful?
At Storables.com, we guarantee accurate and reliable information. Our content, validated by Expert Board Contributors, is crafted following stringent Editorial Policies. We're committed to providing you with well-researched, expert-backed insights for all your informational needs.


0 thoughts on “How To Drain Portable AC”