Articles
How To Clean Portable AC Filter
Modified: August 20, 2024
Discover the most effective ways to clean your portable AC filter with these helpful articles. Keep your air conditioner running efficiently and your indoor air quality pristine.
(Many of the links in this article redirect to a specific reviewed product. Your purchase of these products through affiliate links helps to generate commission for Storables.com, at no extra cost. Learn more)
Introduction
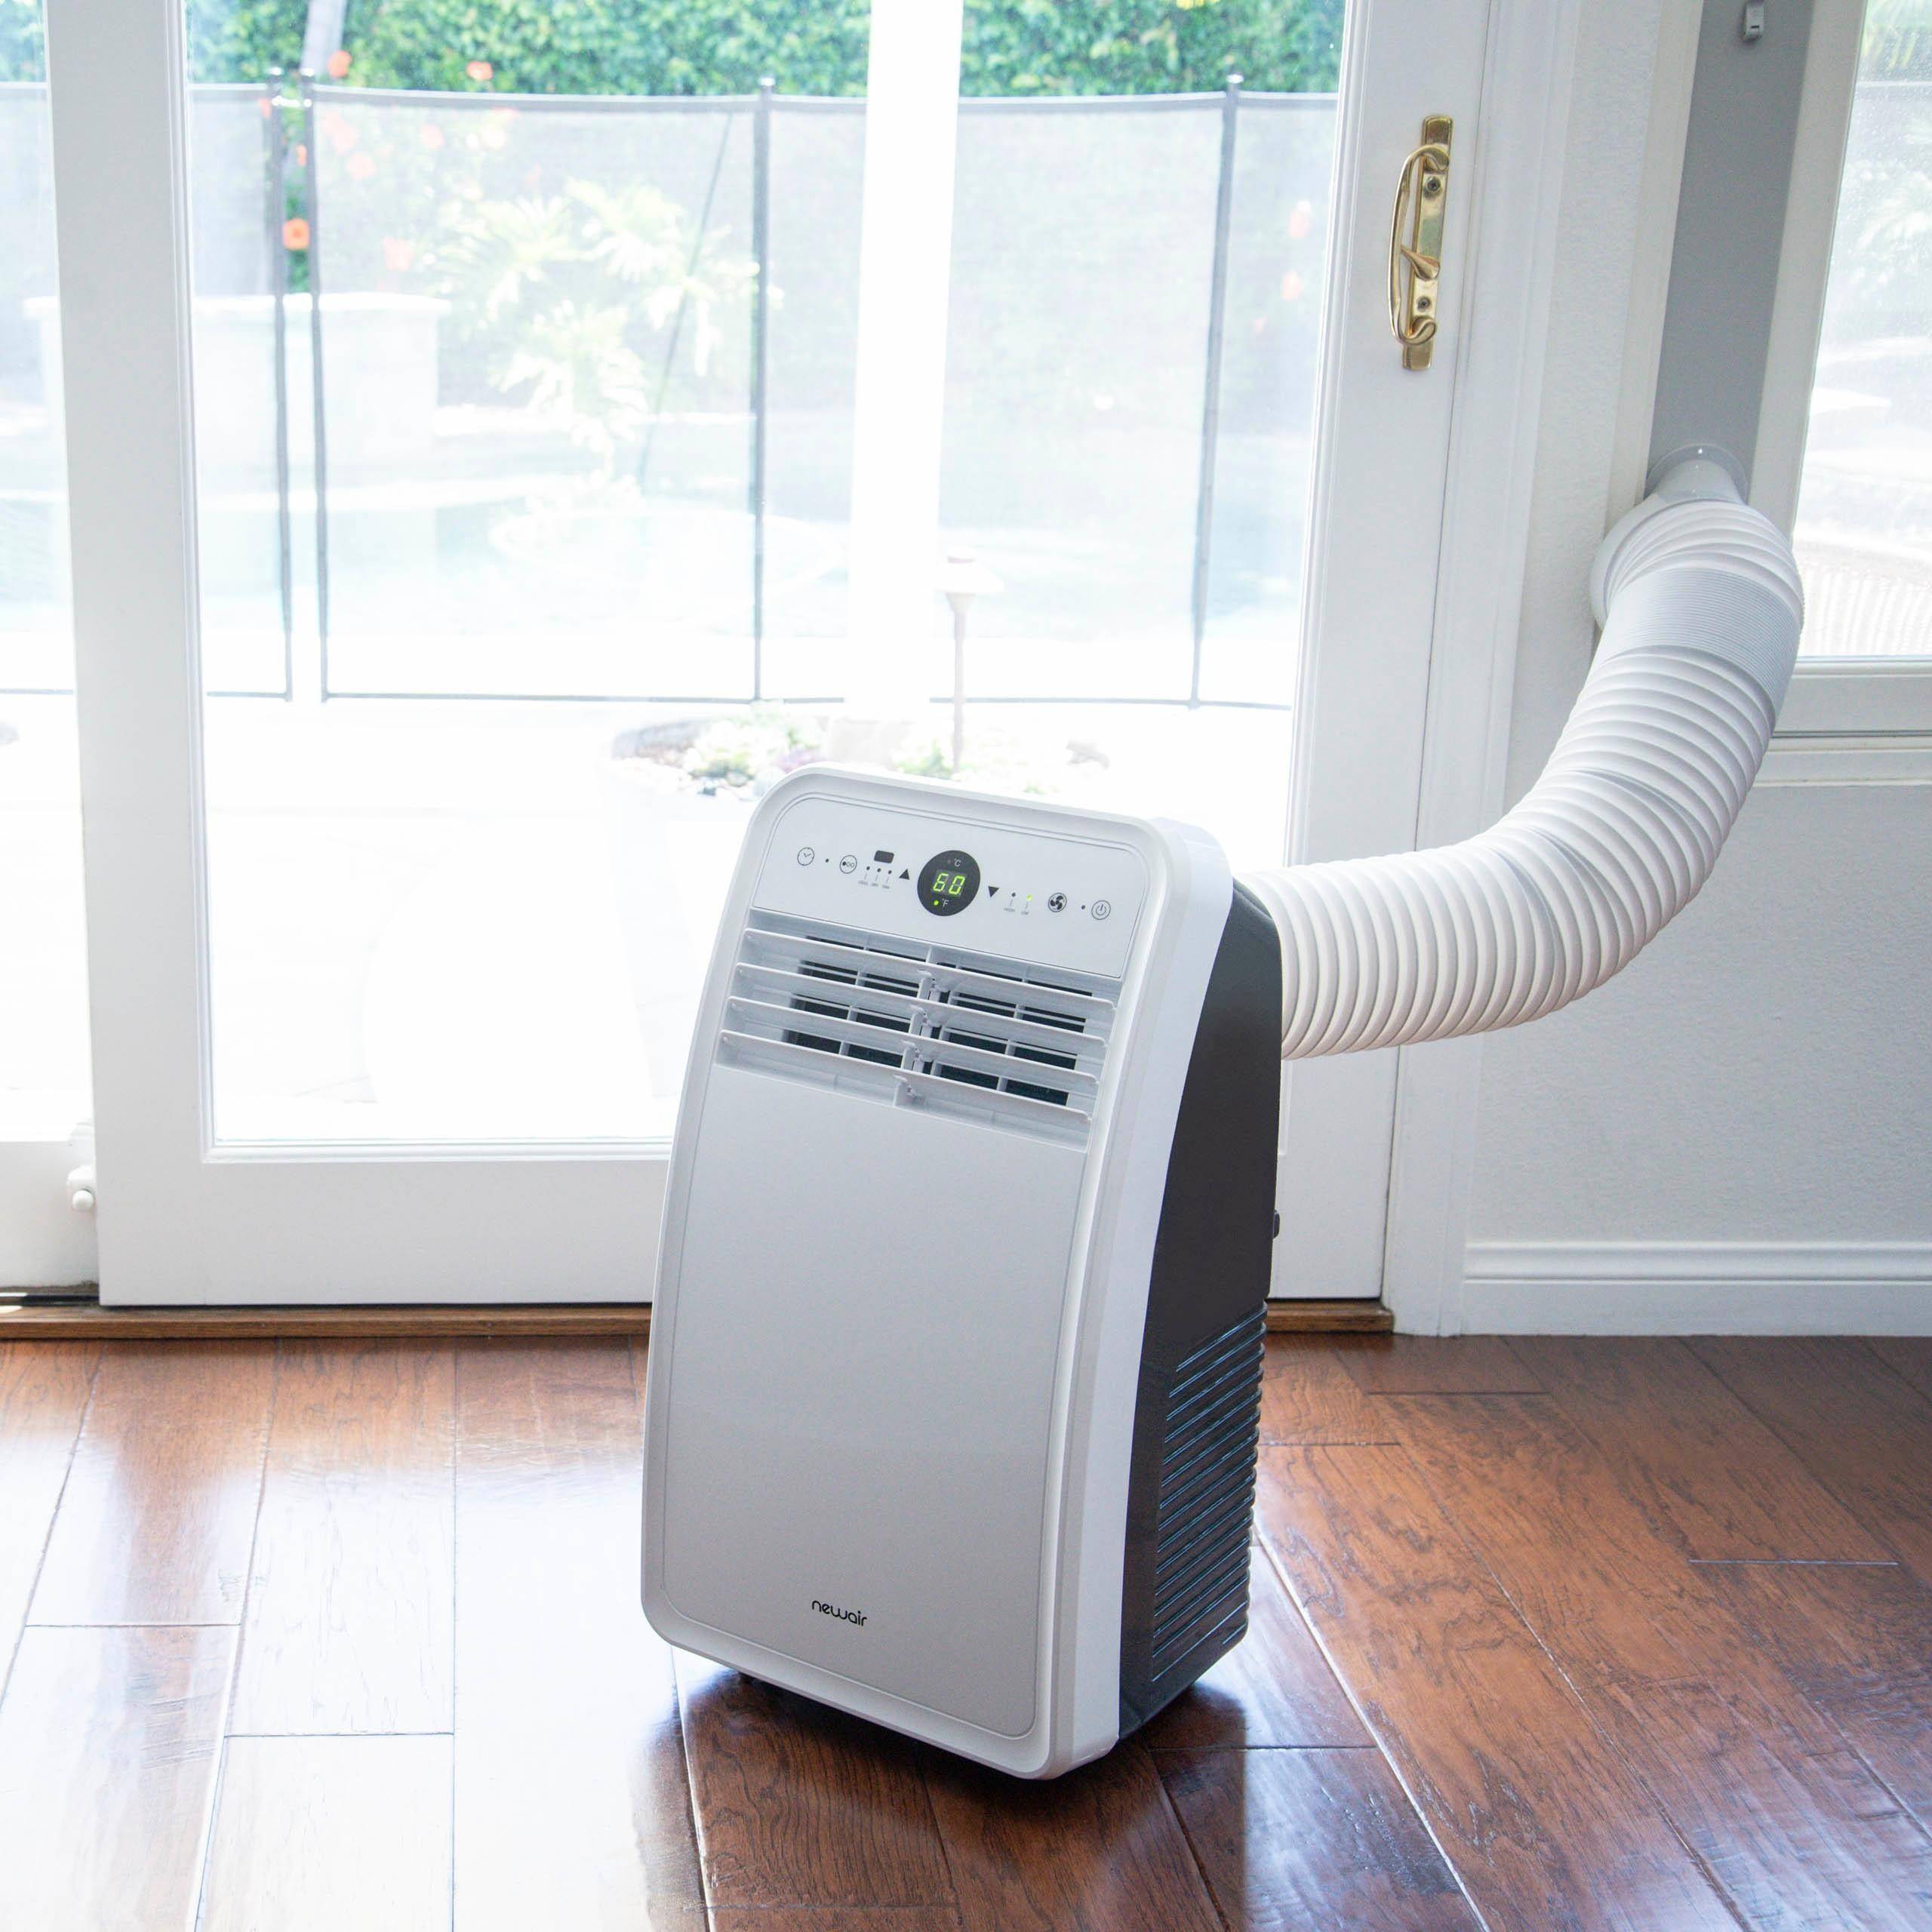
Portable air conditioners are a convenient and efficient way to cool your home or office during hot summer months. However, to ensure these units are working effectively, it’s important to maintain and clean the filters regularly. A clean portable AC filter not only improves the air quality but also enhances the overall performance of the unit.
In this article, we will guide you through the process of cleaning a portable AC filter step-by-step. We will cover everything from the importance of clean filters to the tools and materials you will need. By following these simple steps, you can enjoy a cleaner and healthier environment while maximizing the efficiency of your portable air conditioner.
So, let’s dive in and learn how to clean a portable AC filter!
Key Takeaways:
- Regularly cleaning a portable AC filter is crucial for improved air quality, enhanced efficiency, and extended lifespan of the unit, ensuring a healthier and more comfortable environment.
- By following the step-by-step process of cleaning a portable AC filter, you can easily maintain optimal performance, promote cleaner air, and maximize the efficiency of your unit.
Read more: How To Clean AC Air Filter
Importance of a Clean Portable AC Filter
A clean portable AC filter plays a crucial role in maintaining the performance and effectiveness of your portable air conditioner. Here are a few reasons why keeping your filter clean is essential:
- Improved Air Quality: The filter in a portable AC unit is designed to trap dust, dirt, pollen, and other airborne particles. Over time, these particles can accumulate on the filter, reducing its ability to effectively filter the air. By regularly cleaning the filter, you can ensure that the air being circulated in your space is clean and free from allergens.
- Enhanced Efficiency: A dirty and clogged filter restricts the airflow, forcing the unit to work harder to cool the space. This not only leads to increased energy consumption but also puts a strain on the components of the AC unit. By cleaning the filter, you allow for maximum airflow, improving the efficiency and performance of the portable air conditioner.
- Extended Lifespan: Regularly cleaning the filter can help prolong the lifespan of your portable AC unit. When the filter is dirty, the unit has to work harder to maintain the desired temperature, which can lead to excessive wear and tear on the components. By keeping the filter clean, you reduce the workload on the unit, allowing it to run more efficiently and potentially extending its lifespan.
Now that you understand the importance of a clean portable AC filter, let’s move on to the tools and materials you will need to get started with the cleaning process.
Tools and Materials Needed
Before you begin the process of cleaning your portable AC filter, gather the following tools and materials:
- Screwdriver or user manual: Depending on the model of your portable AC unit, you may need a screwdriver to open the access panel and remove the filter. If you’re unsure, refer to the user manual for instructions specific to your unit.
- Vacuum cleaner with brush attachment: A vacuum cleaner with a brush attachment will help you remove dust and debris from the filter effectively. Ensure the vacuum cleaner is clean before using it to avoid spreading dust particles.
- Water and mild detergent: To thoroughly clean the filter, you’ll need a mixture of water and mild detergent. Avoid using harsh chemicals or bleach as they can damage the filter material. A mild detergent will help break down any dirt and grease on the filter surface.
- Sink or basin: You’ll need a sink or basin large enough to submerge the filter in for washing. Make sure it is clean and free from any contaminants.
- Towels or a drying rack: After washing the filter, you’ll need to dry it completely before reinstalling it. Use clean towels or a drying rack to allow the filter to air dry thoroughly.
By having these tools and materials on hand, you’ll be well-prepared to begin the cleaning process. In the next section, we will guide you through each step to ensure a thorough and effective cleaning of your portable AC filter.
Step 1: Turn off and unplug the portable AC
The first step in cleaning your portable AC filter is to ensure the unit is turned off and unplugged from the power source. This is essential for your safety and to prevent any damage to the unit.
Before you begin, take a moment to locate the power switch on your portable AC unit and turn it off. Once the unit is powered off, unplug it from the electrical outlet. This will prevent any accidents or electric shocks while you handle and clean the filter.
It is important to wait a few minutes after turning off the unit to allow the components to cool down. This will also reduce the risk of getting burned by any hot surfaces.
By following this first step, you are ensuring a safe and proper starting point for your portable AC filter cleaning process. Now, let’s move on to the next step where we will locate the filter within the unit.
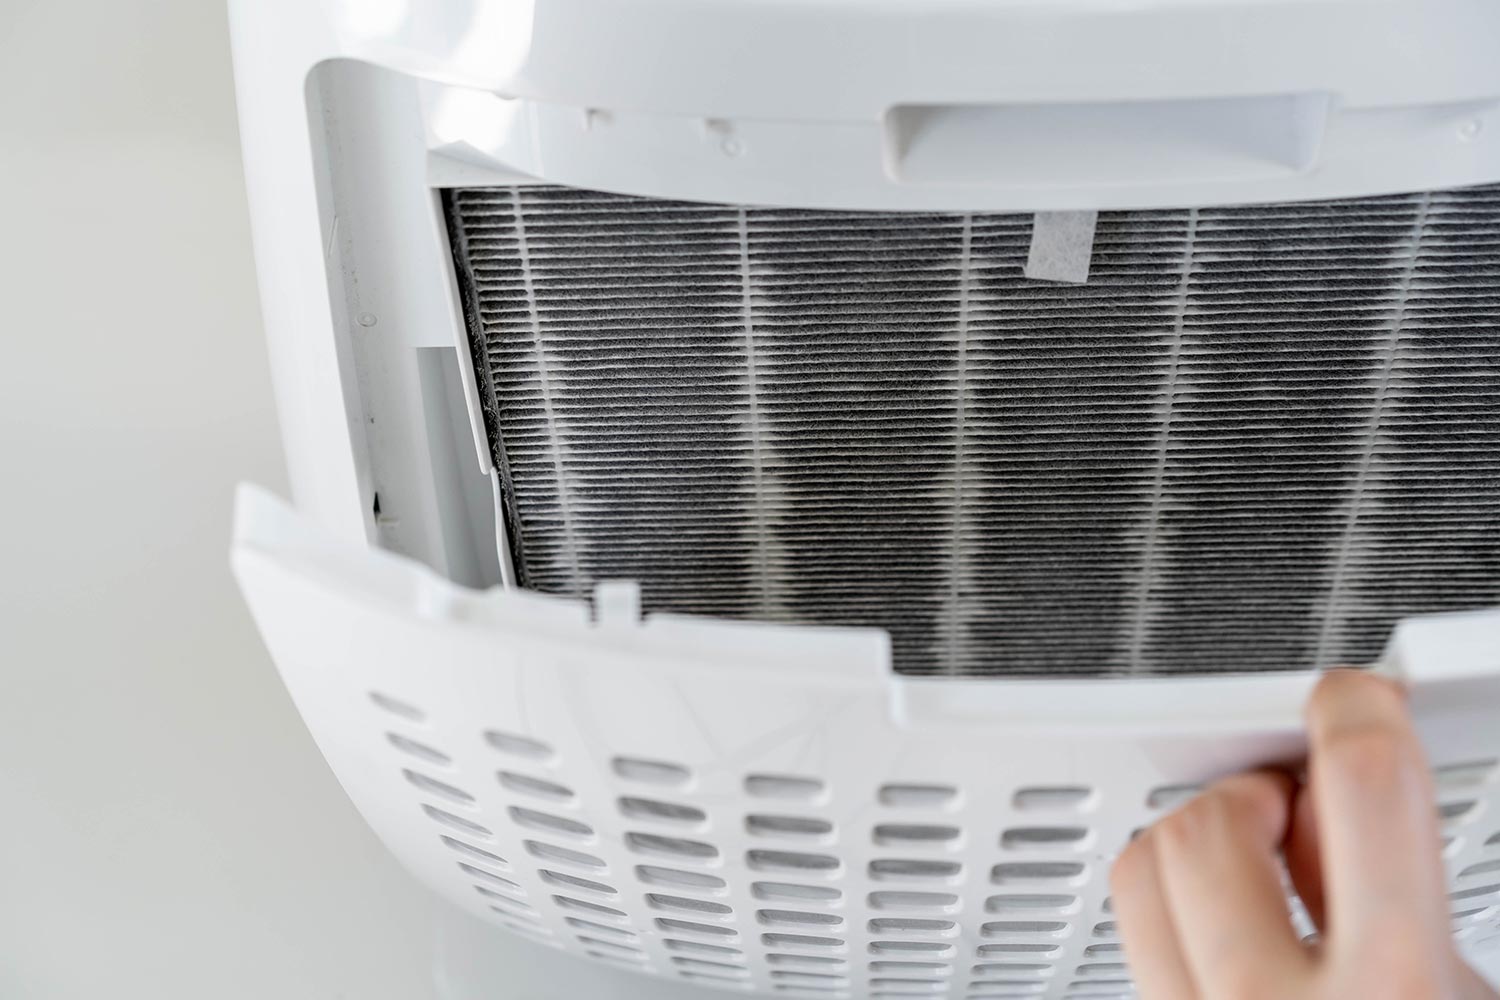
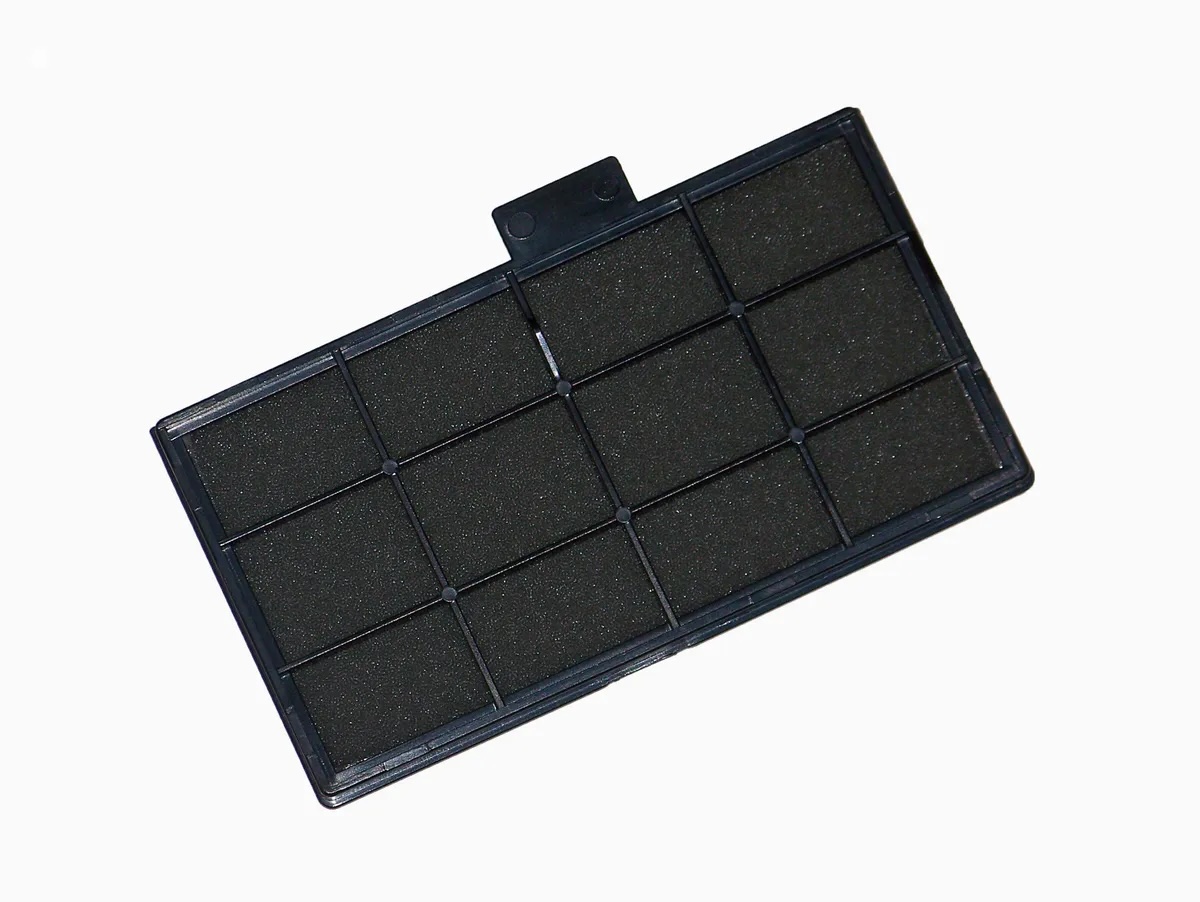
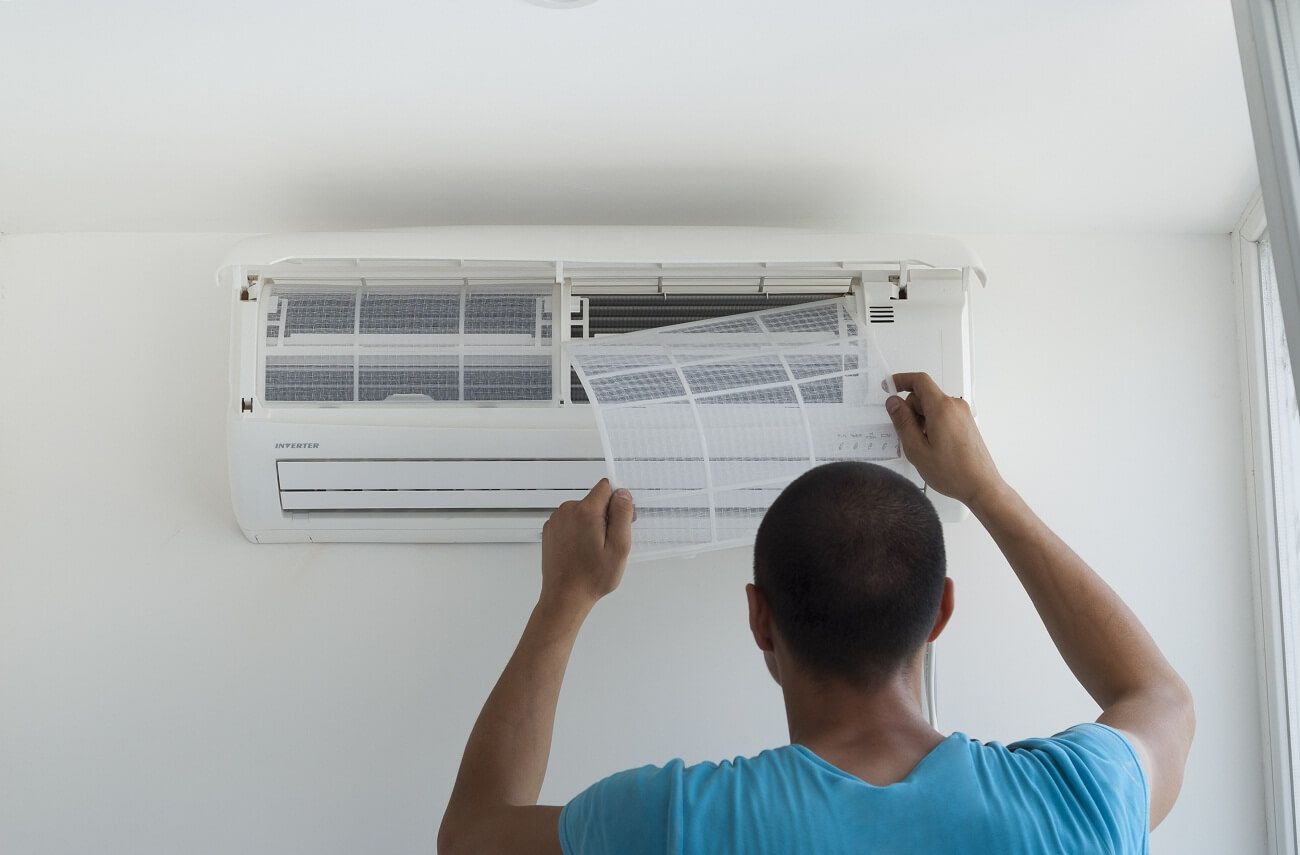
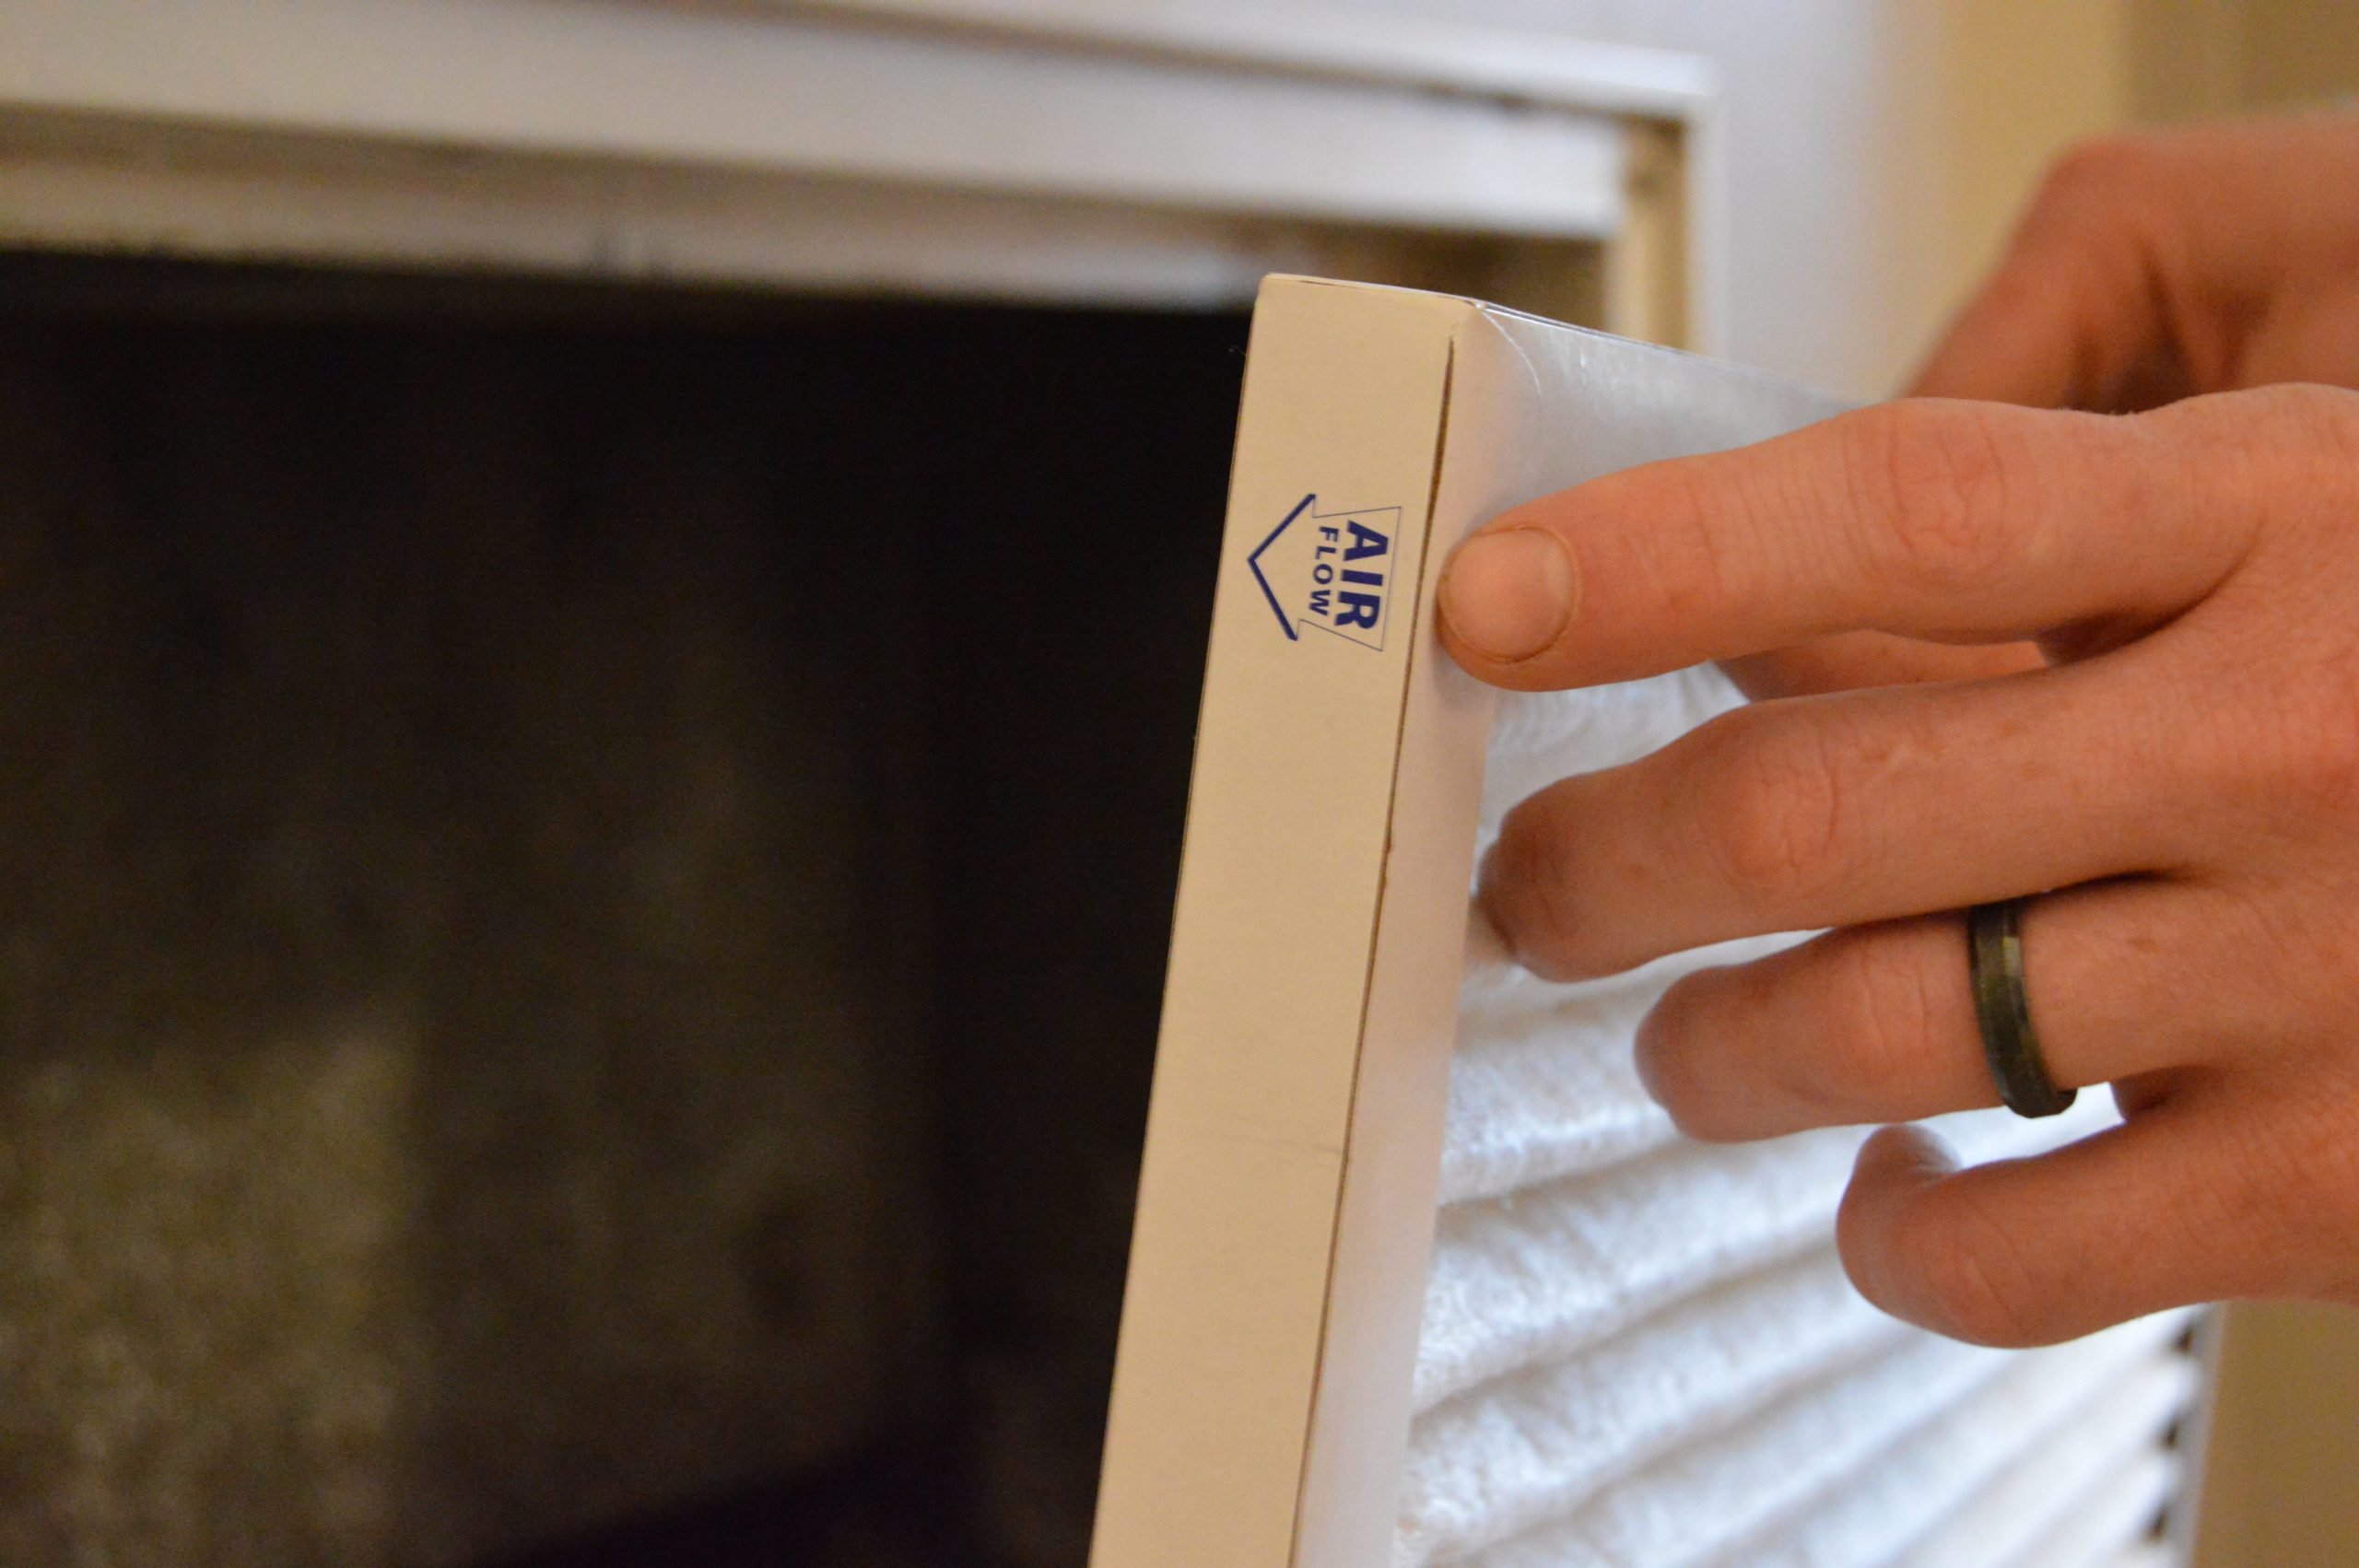
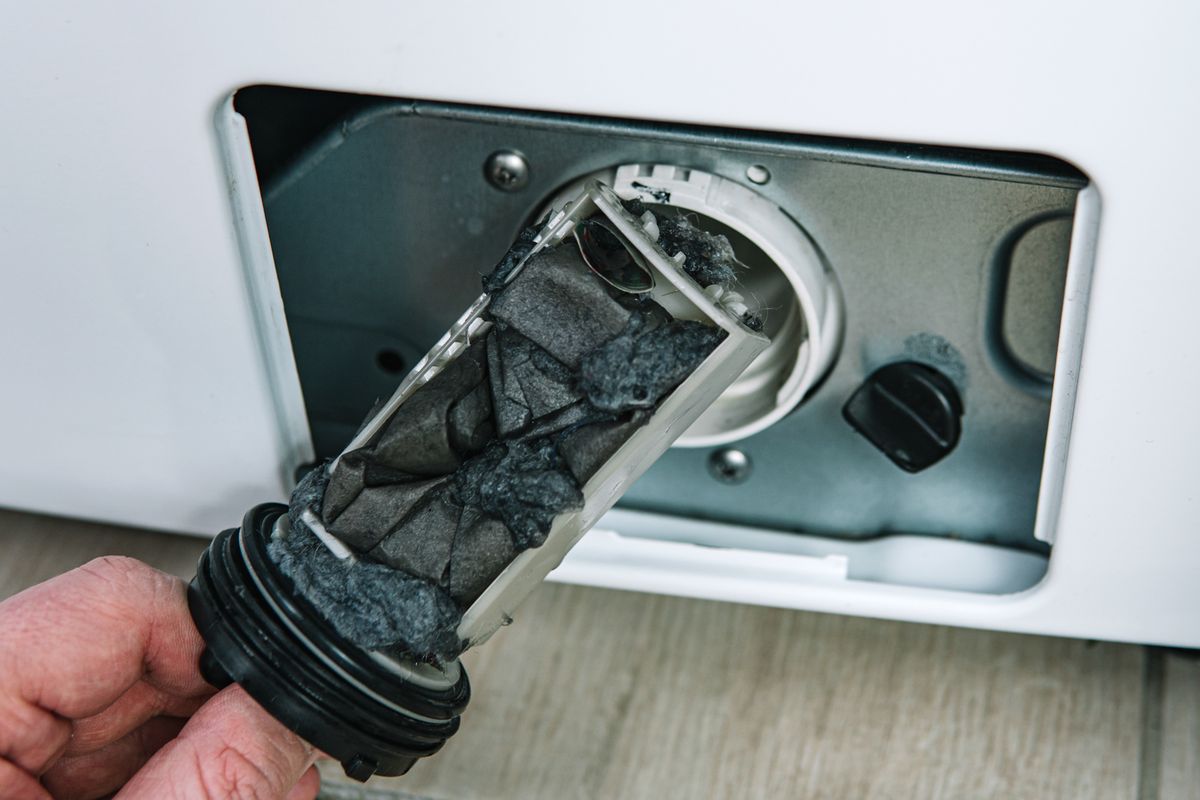
Step 2: Locate the filter
Once you have turned off and unplugged your portable AC unit, the next step is to locate the filter. The filter is generally located behind the front grille or access panel of the unit. The exact location may vary depending on the model and make of your portable AC unit.
To locate the filter, examine the front of the unit for any latches, buttons, or tabs that indicate the presence of an access panel. You may need to refer to the user manual for specific instructions on how to access and remove the filter for cleaning.
Once you have identified the access panel or grille, carefully remove it. This may involve loosening screws, sliding tabs, or using a latch release mechanism. Be gentle and cautious during this step to avoid causing any damage to the unit or the filter.
After removing the access panel or grille, you should see the filter positioned behind it. Take a moment to observe how the filter is secured in place and note any specific instructions or labels on the filter itself.
Each portable AC unit may have a different type of filter, such as a reusable filter that can be cleaned or a disposable filter that needs to be replaced. Make sure you understand the type of filter you have before proceeding to the next steps.
Now that you have successfully located the filter, let’s move on to Step 3: Removing the filter from the portable AC unit.
Read more: How To Clean Window AC Filter
Step 3: Remove the filter
With the access panel or grille removed and the filter within your sight, it is time to remove the filter from the portable AC unit. Removing the filter will allow you to clean it thoroughly and ensure proper maintenance of your unit.
Depending on the design of your portable AC unit, there are a few common methods for removing the filter:
- Slide-out filter: Some portable AC units have a slide-out filter system. In this case, you can simply grip the handle or tabs on the filter and gently slide it out from its slot.
- Lift-out filter: Other units may have a lift-out filter that needs to be lifted or pulled upward to release it from its position. Look for any locking mechanisms or release buttons that need to be manipulated to remove the filter.
- Unscrew and remove: Certain models may require you to unscrew the filter from its housing. In this case, use a screwdriver or follow the instructions in the user manual to loosen the screws and detach the filter.
- Pull-apart cover: For some portable AC units, you may need to remove a cover or compartment to access the filter. Look for any clips, buttons, or locking mechanisms that allow you to open the cover and reveal the filter.
As you remove the filter, handle it with care to avoid tearing or damaging the filter material. If the filter is disposable, you can choose to replace it with a new one or proceed with cleaning it as per the manufacturer’s instructions.
Now that you have successfully removed the filter, let’s move on to the next step: Step 4: Vacuuming the filter to remove loose dust and debris.
To clean a portable AC filter, first, turn off the unit and unplug it. Remove the filter and vacuum off any large debris. Then, wash the filter with warm, soapy water, rinse it thoroughly, and let it air dry completely before reinserting it into the unit.
Step 4: Vacuum the filter
After removing the filter from your portable AC unit, it’s time to start the cleaning process by vacuuming the filter. This step will help remove any loose dust, dirt, and debris that has accumulated on the surface of the filter.
Here’s how to vacuum the filter effectively:
- Prepare the vacuum cleaner: Attach the brush attachment to your vacuum cleaner. This attachment is ideal for gently removing dust and debris without damaging the filter. Make sure the vacuum cleaner is clean and free from any debris to prevent further contamination.
- Gently vacuum the filter: Place the filter on a flat, stable surface, such as a table or the floor. Using the brush attachment, carefully vacuum both sides of the filter. Move the attachment in gentle, circular motions to ensure thorough coverage. Pay extra attention to areas with visible dirt or debris buildup.
- Be thorough but gentle: While it’s important to remove as much dust and debris as possible, be gentle during the vacuuming process. Applying too much force or using a harsh attachment can damage the filter material. Take your time and ensure that all visible dust and debris are removed.
- Check for complete removal: Once you have finished vacuuming, inspect the filter to make sure all loose dust and debris have been removed. If you notice any remaining particles, repeat the vacuuming process until the filter appears clean.
Vacuuming the filter is an essential first step in the cleaning process, as it helps remove the loose surface debris that can impede the filter’s performance. Once you’re satisfied with the level of cleanliness, you can proceed to the next step: Step 5: Washing the filter to remove stubborn dirt and grease.
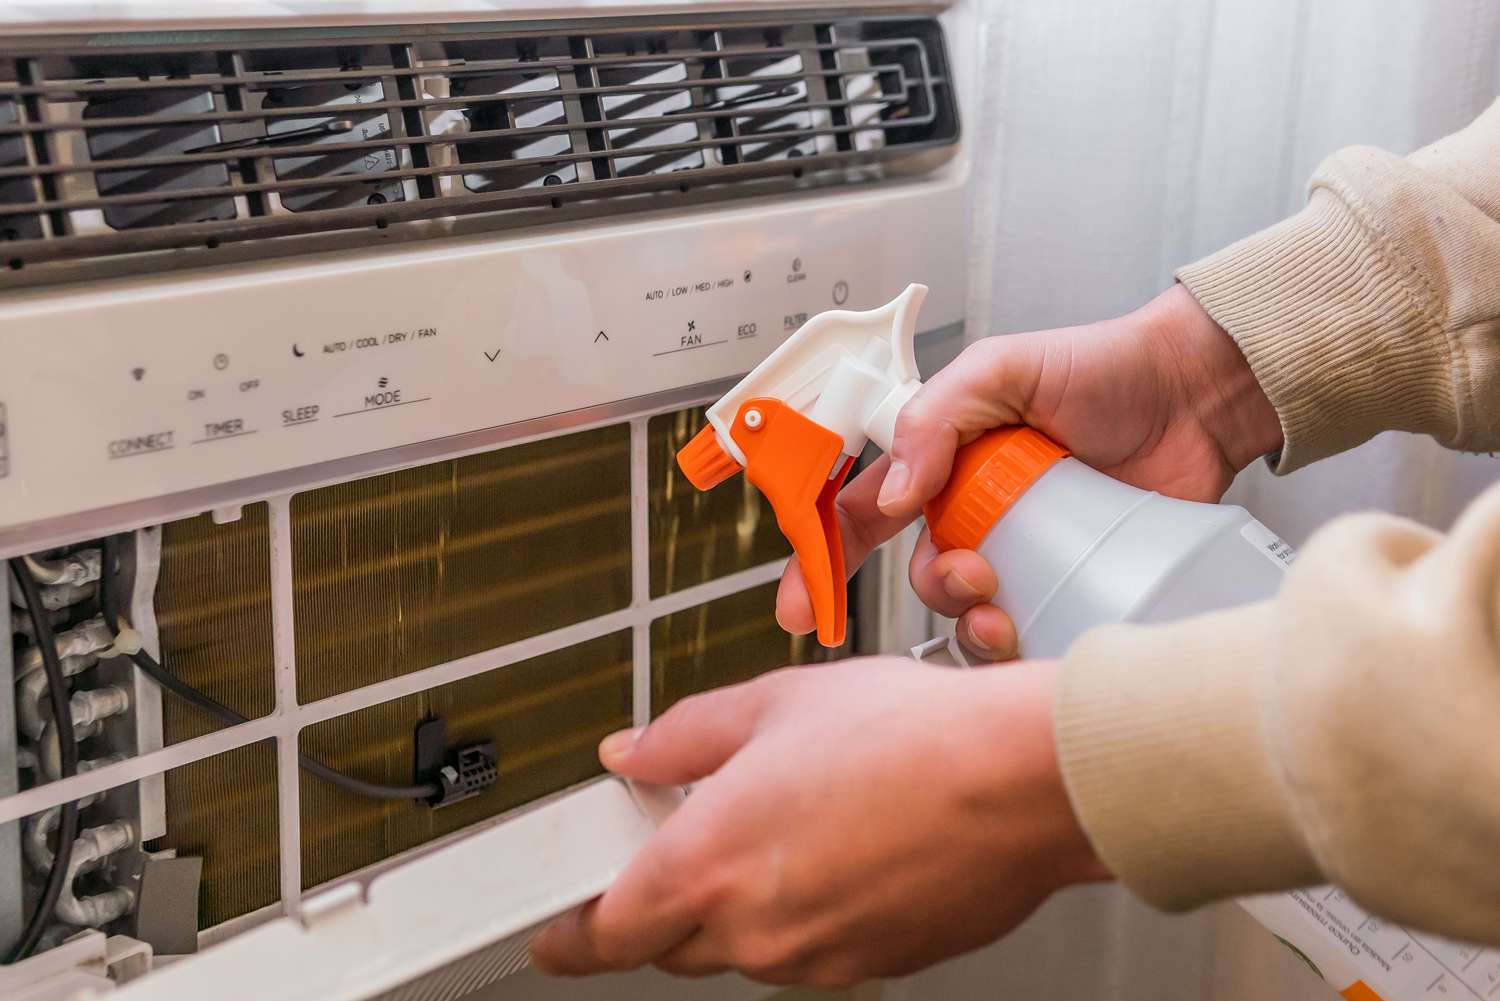
Step 5: Wash the Filter
After vacuuming the filter to remove loose dust and debris, the next step is to wash the filter to remove any stubborn dirt and grease that may be clinging to its surface. Washing the filter will help restore its effectiveness and ensure proper airflow through your portable AC unit.
Follow these steps to wash the filter effectively:
- Prepare a cleaning solution: Fill a sink or basin with warm water. Add a small amount of mild detergent to create a soapy solution. Avoid using harsh chemicals or bleach, as they can damage the filter material.
- Submerge the filter: Place the filter in the sink or basin, ensuring that it is completely submerged in the soapy water. Gently agitate the filter to loosen and dislodge any dirt or grease particles. Allow the filter to soak in the soapy water for about 10-15 minutes.
- Scrub the filter: After soaking, use a soft-bristled brush, such as a toothbrush or a scrub brush, to gently scrub the filter. Pay attention to any areas with stains or stubborn dirt buildup. Use light pressure and circular motions to avoid damaging the filter material.
- Rinse the filter: Once you have thoroughly scrubbed the filter, rinse it under running water to remove any soapy residue. Continue rinsing until the water runs clear and all traces of detergent are removed.
- Inspect for cleanliness: After rinsing, examine the filter to ensure it is free from dirt and stains. If necessary, repeat the washing process to achieve a clean and pristine filter.
Please note that the specific instructions for washing your filter may vary depending on the manufacturer’s recommendations. Always refer to the user manual that came with your portable AC unit for any specific instructions or precautions.
Now that you have successfully washed the filter, let’s move on to the next step: Step 6: Drying the filter before reinstallation.
Step 6: Dry the Filter
After washing the filter, it is important to ensure that it is completely dry before reinstalling it in your portable AC unit. Drying the filter properly will prevent mold or mildew growth and promote the longevity of the filter.
Follow these steps to dry the filter effectively:
- Gently squeeze out excess water: After rinsing the filter, firmly but gently squeeze out any excess water. Be careful not to wring or twist the filter, as this can damage the delicate filter material.
- Pat dry with a clean towel: Place a clean, absorbent towel on a flat surface. Lay the filter on top of the towel and pat it dry. Avoid rubbing or scrubbing the filter, as this can lead to damage or fraying of the filter material.
- Air dry in a well-ventilated area: Find a well-ventilated area in your home, such as a patio or balcony, where you can air dry the filter. If possible, prop the filter upright or lay it flat on a drying rack to allow for maximum air circulation.
- Avoid direct sunlight and heat sources: Ensure that the filter is not exposed to direct sunlight or placed near any heat sources, as this can cause the filter material to warp or deteriorate. It is best to let the filter air dry naturally at room temperature.
- Wait until completely dry: Depending on the humidity levels in your area, the drying process may take a few hours to a full day. Be patient and allow the filter to dry completely before proceeding to the next step.
By thoroughly drying the filter, you are ensuring that it is free from moisture and ready for reinstallation. Once the filter is completely dry, you can move on to the next step: Step 7: Reinstalling the filter in your portable AC unit.
Read more: Where Is AC Filter
Step 7: Reinstall the Filter
Now that you have cleaned and dried the filter, it is time to reinstall it in your portable AC unit. Properly reinstalling the filter will ensure optimal performance and functionality of your unit. Follow these steps to reinstall the filter correctly:
- Refer to the user manual: If you’re unsure about the correct orientation or placement of the filter, refer to the user manual provided by the manufacturer. The manual will provide specific instructions on how to reinstall the filter in your particular portable AC unit.
- Align the filter: Hold the filter with the correct orientation, ensuring that any arrows, labels, or markings on the filter align with the corresponding indicators on the unit. This will ensure that the filter fits properly and functions effectively.
- Secure the filter: Depending on the design of your portable AC unit, secure the filter in place using the appropriate method. This may involve sliding the filter back into its slot, snapping it into position, or screwing it back into place as per the manufacturer’s instructions.
- Double-check the installation: Once you believe the filter is securely installed, give it a gentle tug or shake to ensure it is firmly in place. If there is any movement or instability, recheck the installation and make any necessary adjustments.
- Reattach the access panel or grille: If you had to remove an access panel or grille to access the filter, carefully reattach it to the portable AC unit. Follow the specific instructions provided in the user manual to secure it properly.
By correctly reinstalling the filter, you are ensuring that it is properly positioned and ready to filter the air effectively. Once the filter is securely in place, you can proceed to the final step: Step 8: Plug in and turn on your portable AC unit.
Step 8: Plug in and Turn on the Portable AC
After successfully reinstalling the filter, it’s time to plug in and turn on your portable AC unit. This final step will activate the unit and restore its cooling capabilities, allowing you to enjoy a comfortable and refreshed environment. Follow these steps to complete the process:
- Position the portable AC: Ensure that the portable AC unit is in its desired location, ideally near a power outlet and with adequate airflow around it. Check that there are no obstructions that could impede the airflow or cause the unit to overheat.
- Plug in the power cord: Insert the power cord of the portable AC unit into a nearby electrical outlet. Ensure that the outlet is in good condition and can handle the electrical load required by the unit. Avoid using extension cords unless they are specifically recommended by the manufacturer.
- Turn on the unit: Locate the power switch on the portable AC unit and turn it on. This may be a physical switch or a button on the control panel. Refer to the user manual if you are unsure about the location of the power switch or how to operate it.
- Set the desired temperature: Use the controls on the portable AC unit or the accompanying remote control to set the desired temperature. Adjust the settings according to your comfort preferences and the ambient conditions in the room.
- Monitor the unit: As the portable AC unit starts up, listen for any unusual sounds or vibrations. Observe if the unit is cooling the air properly and if the air flow feels consistent. If you notice any issues or irregularities, refer to the troubleshooting section of the user manual or seek professional assistance.
By plugging in and turning on your portable AC unit, you are ready to enjoy the cool air it provides. Regularly maintain and clean the filter as per the manufacturer’s recommendations to ensure optimal performance and prolong the lifespan of the unit.
Congratulations! You have successfully completed the process of cleaning and maintaining your portable AC filter. By following these steps, you can ensure a cleaner and healthier environment while maximizing the efficiency of your portable air conditioner.
Remember to consult the user manual provided by the manufacturer for any specific instructions or precautions that apply to your particular portable AC unit. Enjoy the benefits of a well-maintained and clean filter in your portable AC!
Conclusion
Maintaining a clean portable AC filter is essential for ensuring optimal performance and air quality in your home or office. By following the step-by-step process outlined in this article, you can easily clean and maintain your portable AC filter, promoting a healthier and more comfortable environment.
We discussed the importance of a clean filter, including how it improves air quality, enhances efficiency, and extends the lifespan of your portable AC unit. We also provided a list of tools and materials you’ll need for the cleaning process, such as a screwdriver, vacuum cleaner, mild detergent, and towels.
Throughout the cleaning process, we emphasized the importance of being gentle and taking precautions to avoid damaging the filter or the unit itself. We provided detailed instructions on each step, including turning off and unplugging the portable AC, locating and removing the filter, vacuuming and washing the filter, and properly drying and reinstalling it.
Lastly, we covered the final step of plugging in and turning on the portable AC unit, setting the desired temperature, and monitoring its performance. We highlighted the importance of regular maintenance and cleaning to keep the unit running efficiently and to maximize its lifespan.
Remember to consult the user manual provided by the manufacturer for any specific instructions or precautions related to your portable AC unit. Additionally, it’s important to clean the filter regularly, ideally every 1-2 months, or more frequently if you live in a dusty or polluted environment.
By taking the time to clean and maintain your portable AC filter, you can enjoy cleaner air, improved energy efficiency, and a longer lifespan for your unit. So, don’t hesitate to take action and keep your portable AC running smoothly and effectively!
Frequently Asked Questions about How To Clean Portable AC Filter
Was this page helpful?
At Storables.com, we guarantee accurate and reliable information. Our content, validated by Expert Board Contributors, is crafted following stringent Editorial Policies. We're committed to providing you with well-researched, expert-backed insights for all your informational needs.

0 thoughts on “How To Clean Portable AC Filter”