Home>Home Maintenance>How To Drain An Insignia Portable Air Conditioner

Home Maintenance
How To Drain An Insignia Portable Air Conditioner
Modified: March 7, 2024
Learn how to drain your Insignia portable air conditioner for optimal home maintenance. Keep your space cool and comfortable all summer long with these easy steps.
(Many of the links in this article redirect to a specific reviewed product. Your purchase of these products through affiliate links helps to generate commission for Storables.com, at no extra cost. Learn more)
Introduction
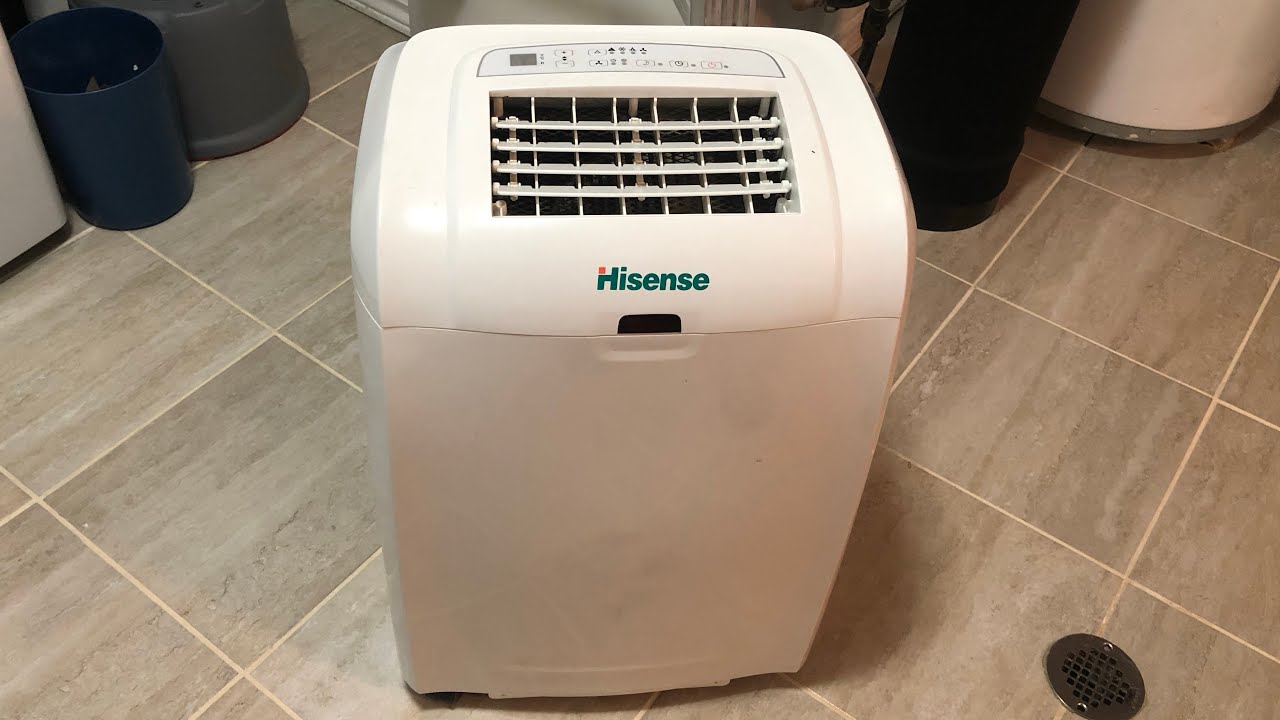
Welcome to this guide on how to properly drain an Insignia Portable Air Conditioner. Whether you’re a homeowner or a renter, knowing how to drain your air conditioner is essential for maintaining its optimal performance and preventing any potential damage to your unit or living space.
An air conditioner works by removing humidity from the air, and this excess moisture is collected in a condensate pan or tray. If this water is not drained regularly, it can lead to the growth of mold and bacteria, which can compromise the air quality and efficiency of your air conditioner. Therefore, it’s crucial to drain the condensate regularly to ensure the continuous and efficient operation of your Insignia Portable Air Conditioner.
In this guide, we will walk you through the step-by-step process of draining your Insignia Portable Air Conditioner. By following these instructions, you can maintain the optimal performance of your unit and prolong its lifespan.
Key Takeaways:
- Regularly draining the condensate from your Insignia Portable Air Conditioner is crucial for preventing mold growth and maintaining optimal performance.
- Follow the step-by-step guide to safely and effectively drain your air conditioner, ensuring a cool and comfortable atmosphere in your living space.
Read more: How To Drain A Portable Air Conditioner
Step 1: Locate the Drainage Port
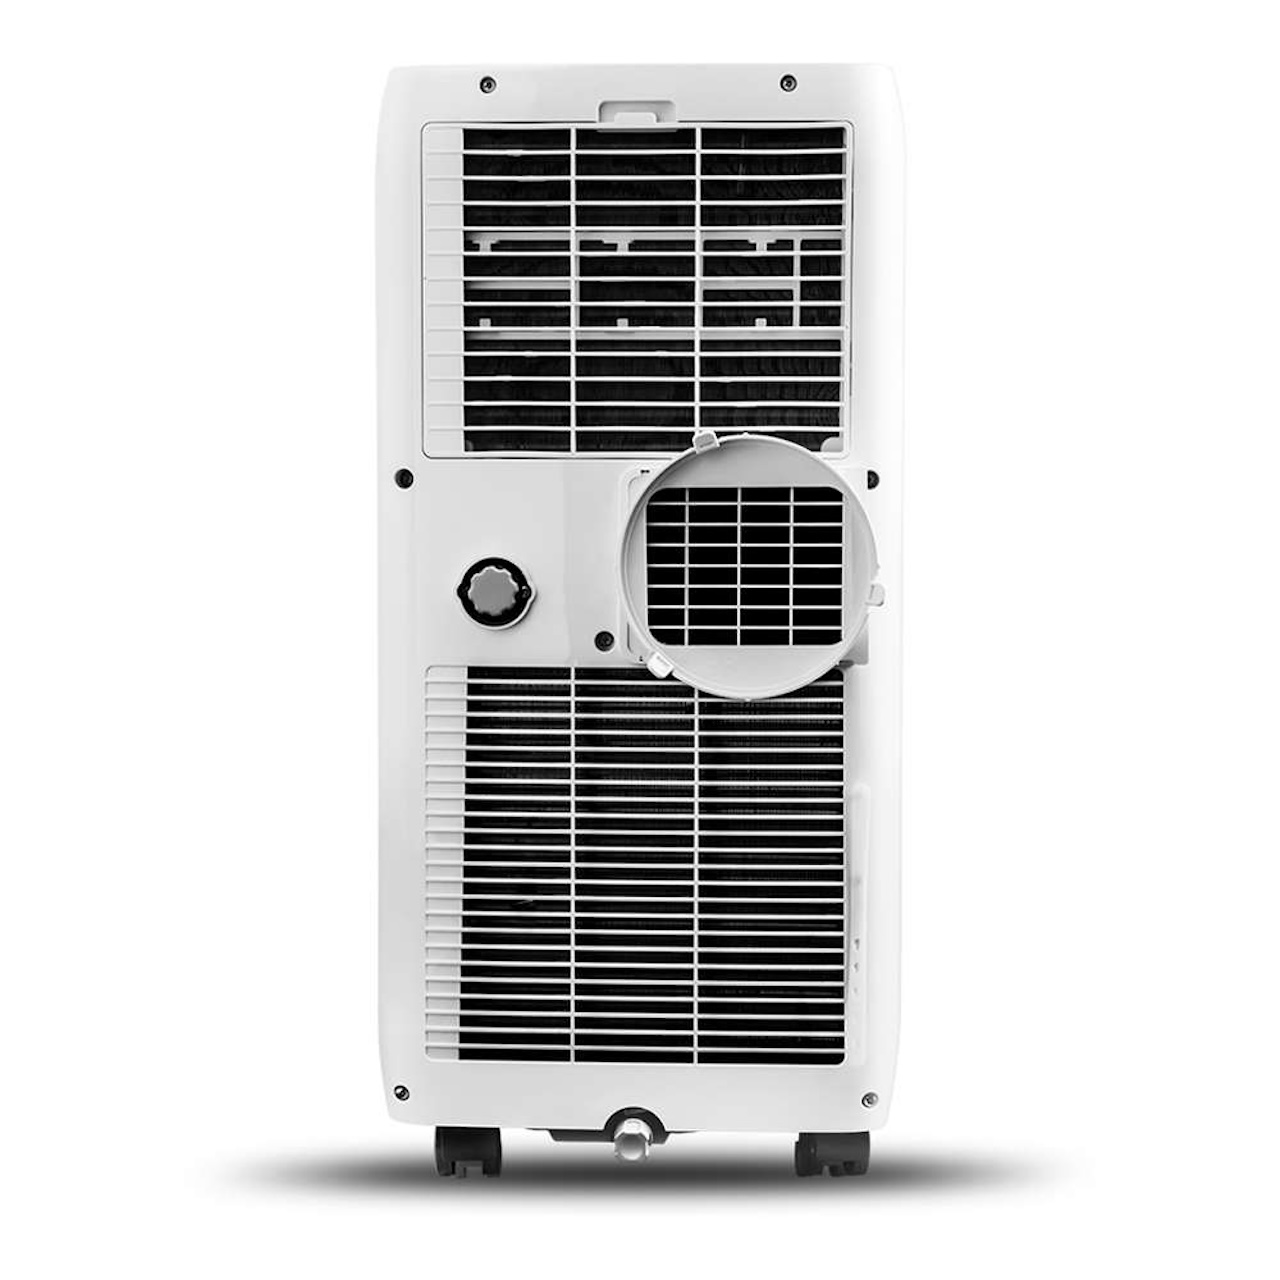
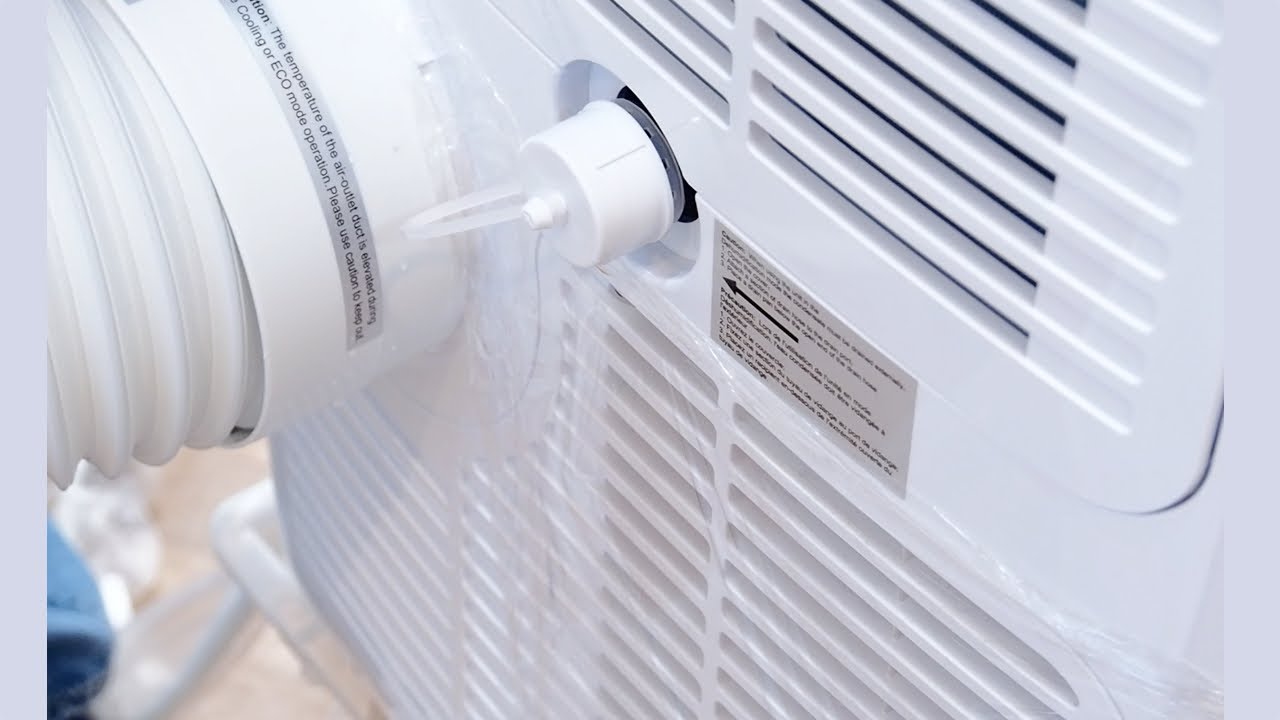
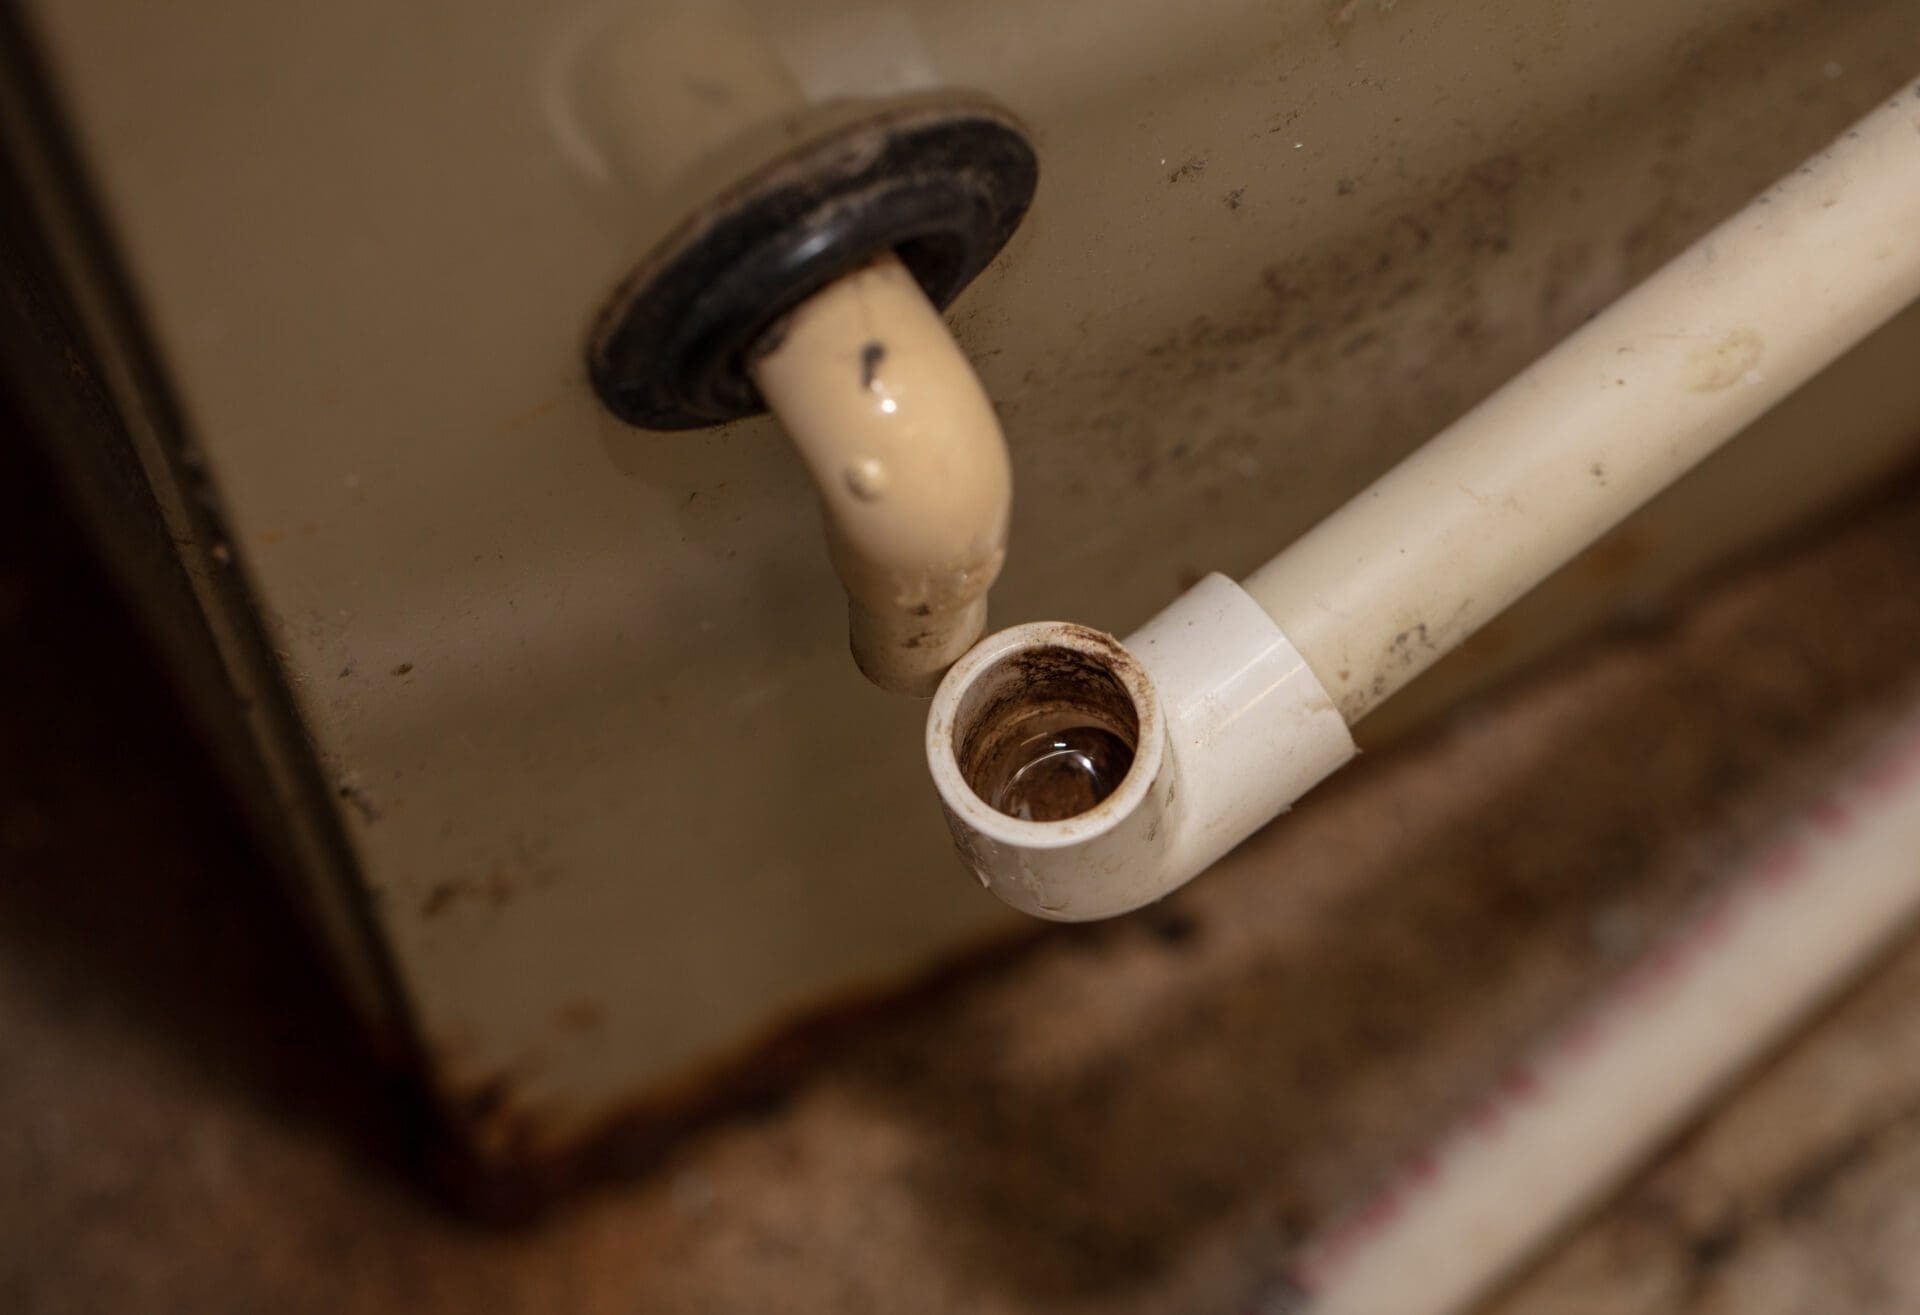
The first step in draining an Insignia Portable Air Conditioner is to locate the drainage port. This is where the condensate water will exit the unit. The drainage port is usually located at the back or bottom of the air conditioner.
To locate the drainage port, carefully examine the unit and look for a small hole or opening. It may be labeled as “drain” or “condensate drain.” If you’re having trouble finding it, refer to your unit’s user manual for specific instructions.
Once you have identified the drainage port, make sure there are no obstructions blocking it. Clear away any debris or dirt to ensure a smooth flow of water during the draining process.
Step 2: Prepare a Drainage Container
Before you begin draining the condensate from your Insignia Portable Air Conditioner, it is important to prepare a drainage container. This container will collect the water that is expelled from the unit.
Choose a container that is large enough to hold the anticipated amount of condensate water that will be drained. A shallow basin or a bucket with a wide opening would be suitable options. It’s important to use a container that is clean and free of any contaminants to prevent any potential damage to your unit.
Place the drainage container near the air conditioner, making sure it is stable and secure. This will ensure that the water is collected properly without any spills or leaks.
Additionally, you may want to place a towel or absorbent mat underneath the drainage container to catch any excess water that may spill over.
Once you have prepared the drainage container, you are ready to proceed with the next steps of draining your Insignia Portable Air Conditioner.
Step 3: Turn off the Air Conditioner
Before you begin the draining process, it is important to turn off your Insignia Portable Air Conditioner. This ensures your safety and prevents any potential damage to the unit during the draining process.
Locate the power button on the air conditioner and switch it off. You may need to refer to the user manual for specific instructions on how to power off your particular model.
It is important to allow the unit to cool down before proceeding with the draining process. This will help prevent the risk of burns or injuries from hot components.
Once the air conditioner is turned off, proceed to the next step of removing the drain plug.
Keep in mind that it is important to follow the manufacturer’s instructions and recommendations when it comes to turning off and operating your Insignia Portable Air Conditioner. This ensures the safe and proper functioning of your unit.
Step 4: Remove the Drain Plug
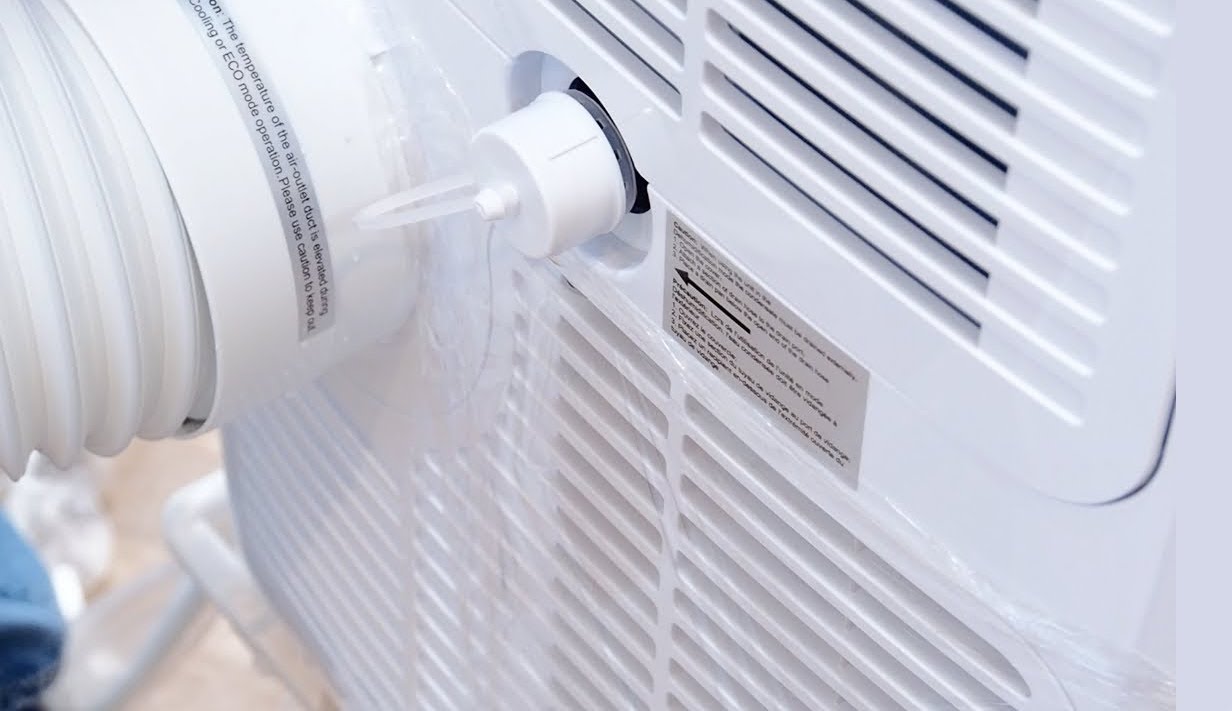
Now that you have turned off your Insignia Portable Air Conditioner, it’s time to remove the drain plug. The drain plug is typically located near the drainage port, but the exact location may vary depending on the model of your unit.
Carefully inspect the area around the drainage port and locate the drain plug. It is usually a small cap or stopper that is inserted into the port. Some units may have a screw-on drain plug that needs to be unscrewed.
Once you have located the drain plug, gently remove it by unscrewing it or pulling it out. Be cautious not to misplace or drop the drain plug, as you will need it later to seal the drainage port.
Removing the drain plug allows the condensate water to flow out of the air conditioner and into the drainage container. Make sure to keep a firm grip on the drain plug to avoid any spills or leaks.
With the drain plug removed, you are now ready to proceed to the next step of draining the condensate water from your Insignia Portable Air Conditioner.
To drain an Insignia Portable Air Conditioner, locate the drain plug at the bottom of the unit and carefully remove it to release the collected water. Make sure to place a container underneath to catch the water and avoid any spills.
Read more: How To Drain An LG Portable Air Conditioner
Step 5: Drain the Condensate
With the drain plug removed, it’s time to drain the condensate water from your Insignia Portable Air Conditioner. This step allows the collected moisture to flow out of the unit and into the drainage container.
Position the drainage container directly below the drainage port to catch the water that will be expelled from the unit. Make sure the container is secure and stable to prevent any spills or leaks.
Gently tilt or slightly lift the air conditioner to encourage the condensate water to flow out. You may need to experiment with the positioning and angle to find the most effective way to drain the water. Be careful not to tip the unit too much to avoid any damage or accidents.
As the water starts to drain, keep an eye on the drainage container to ensure it doesn’t overflow. If the container becomes full, pause the draining process momentarily to empty it and continue draining.
Allow the water to completely drain from the air conditioner. The duration of this process will depend on the amount of moisture collected in the unit. It is important to be patient and allow the water to completely drain out to avoid any residual moisture inside the unit.
Once the water has drained out, you can proceed to the next step of replacing the drain plug and ensuring the proper functioning of your Insignia Portable Air Conditioner.
Step 6: Replace the Drain Plug
Now that you have successfully drained the condensate from your Insignia Portable Air Conditioner, it’s time to replace the drain plug. The drain plug helps to seal the drainage port and prevent any potential leaks or air infiltration.
Take the drain plug that you removed earlier and carefully insert it back into the drainage port. If it is a screw-on type plug, ensure that it is securely and tightly screwed into place. If it is a stopper type plug, push it firmly into the port until it is snugly fitted.
Make sure that the drain plug is properly aligned and seated in the drainage port. This will ensure a tight seal and prevent any water from escaping during the operation of the air conditioner.
Confirm that the drain plug is secure and in place before proceeding to the next step. This will help maintain the efficiency and functionality of your Insignia Portable Air Conditioner.
Now that the drain plug has been replaced, you can move on to the next step, which involves cleaning and reinstalling the filter.
Step 7: Clean and Reinstall the Filter
After draining the condensate and replacing the drain plug, it’s important to clean and reinstall the filter of your Insignia Portable Air Conditioner. The filter plays a crucial role in maintaining proper airflow and filtering out dust and contaminants from the air.
Locate the filter compartment on your unit. It is usually located behind a panel or grille on the front, top, or side of the air conditioner.
Open the filter compartment and carefully remove the filter. Take note of how the filter is positioned before removing it to ensure you can reinstall it properly.
Inspect the filter for any dust, debris, or dirt buildup. If the filter is reusable, rinse it under running water to remove any accumulated dirt. Gently shake off excess water and allow it to air dry completely before reinstalling.
If your air conditioner uses a disposable filter, replace it with a new one. Ensure that the replacement filter fits properly and is compatible with your Insignia Portable Air Conditioner model.
Once the filter is clean or replaced, carefully reinstall it into the filter compartment. Make sure that the filter is inserted correctly, following the arrows or labels indicating the proper direction of airflow.
Close the filter compartment and ensure that it is securely fastened. This will prevent any air leaks and maintain the efficiency of your air conditioner.
With the filter cleaned or replaced and reinstalled, you are now ready to move on to the final step, which involves turning on your Insignia Portable Air Conditioner.
Step 8: Turn on the Air Conditioner
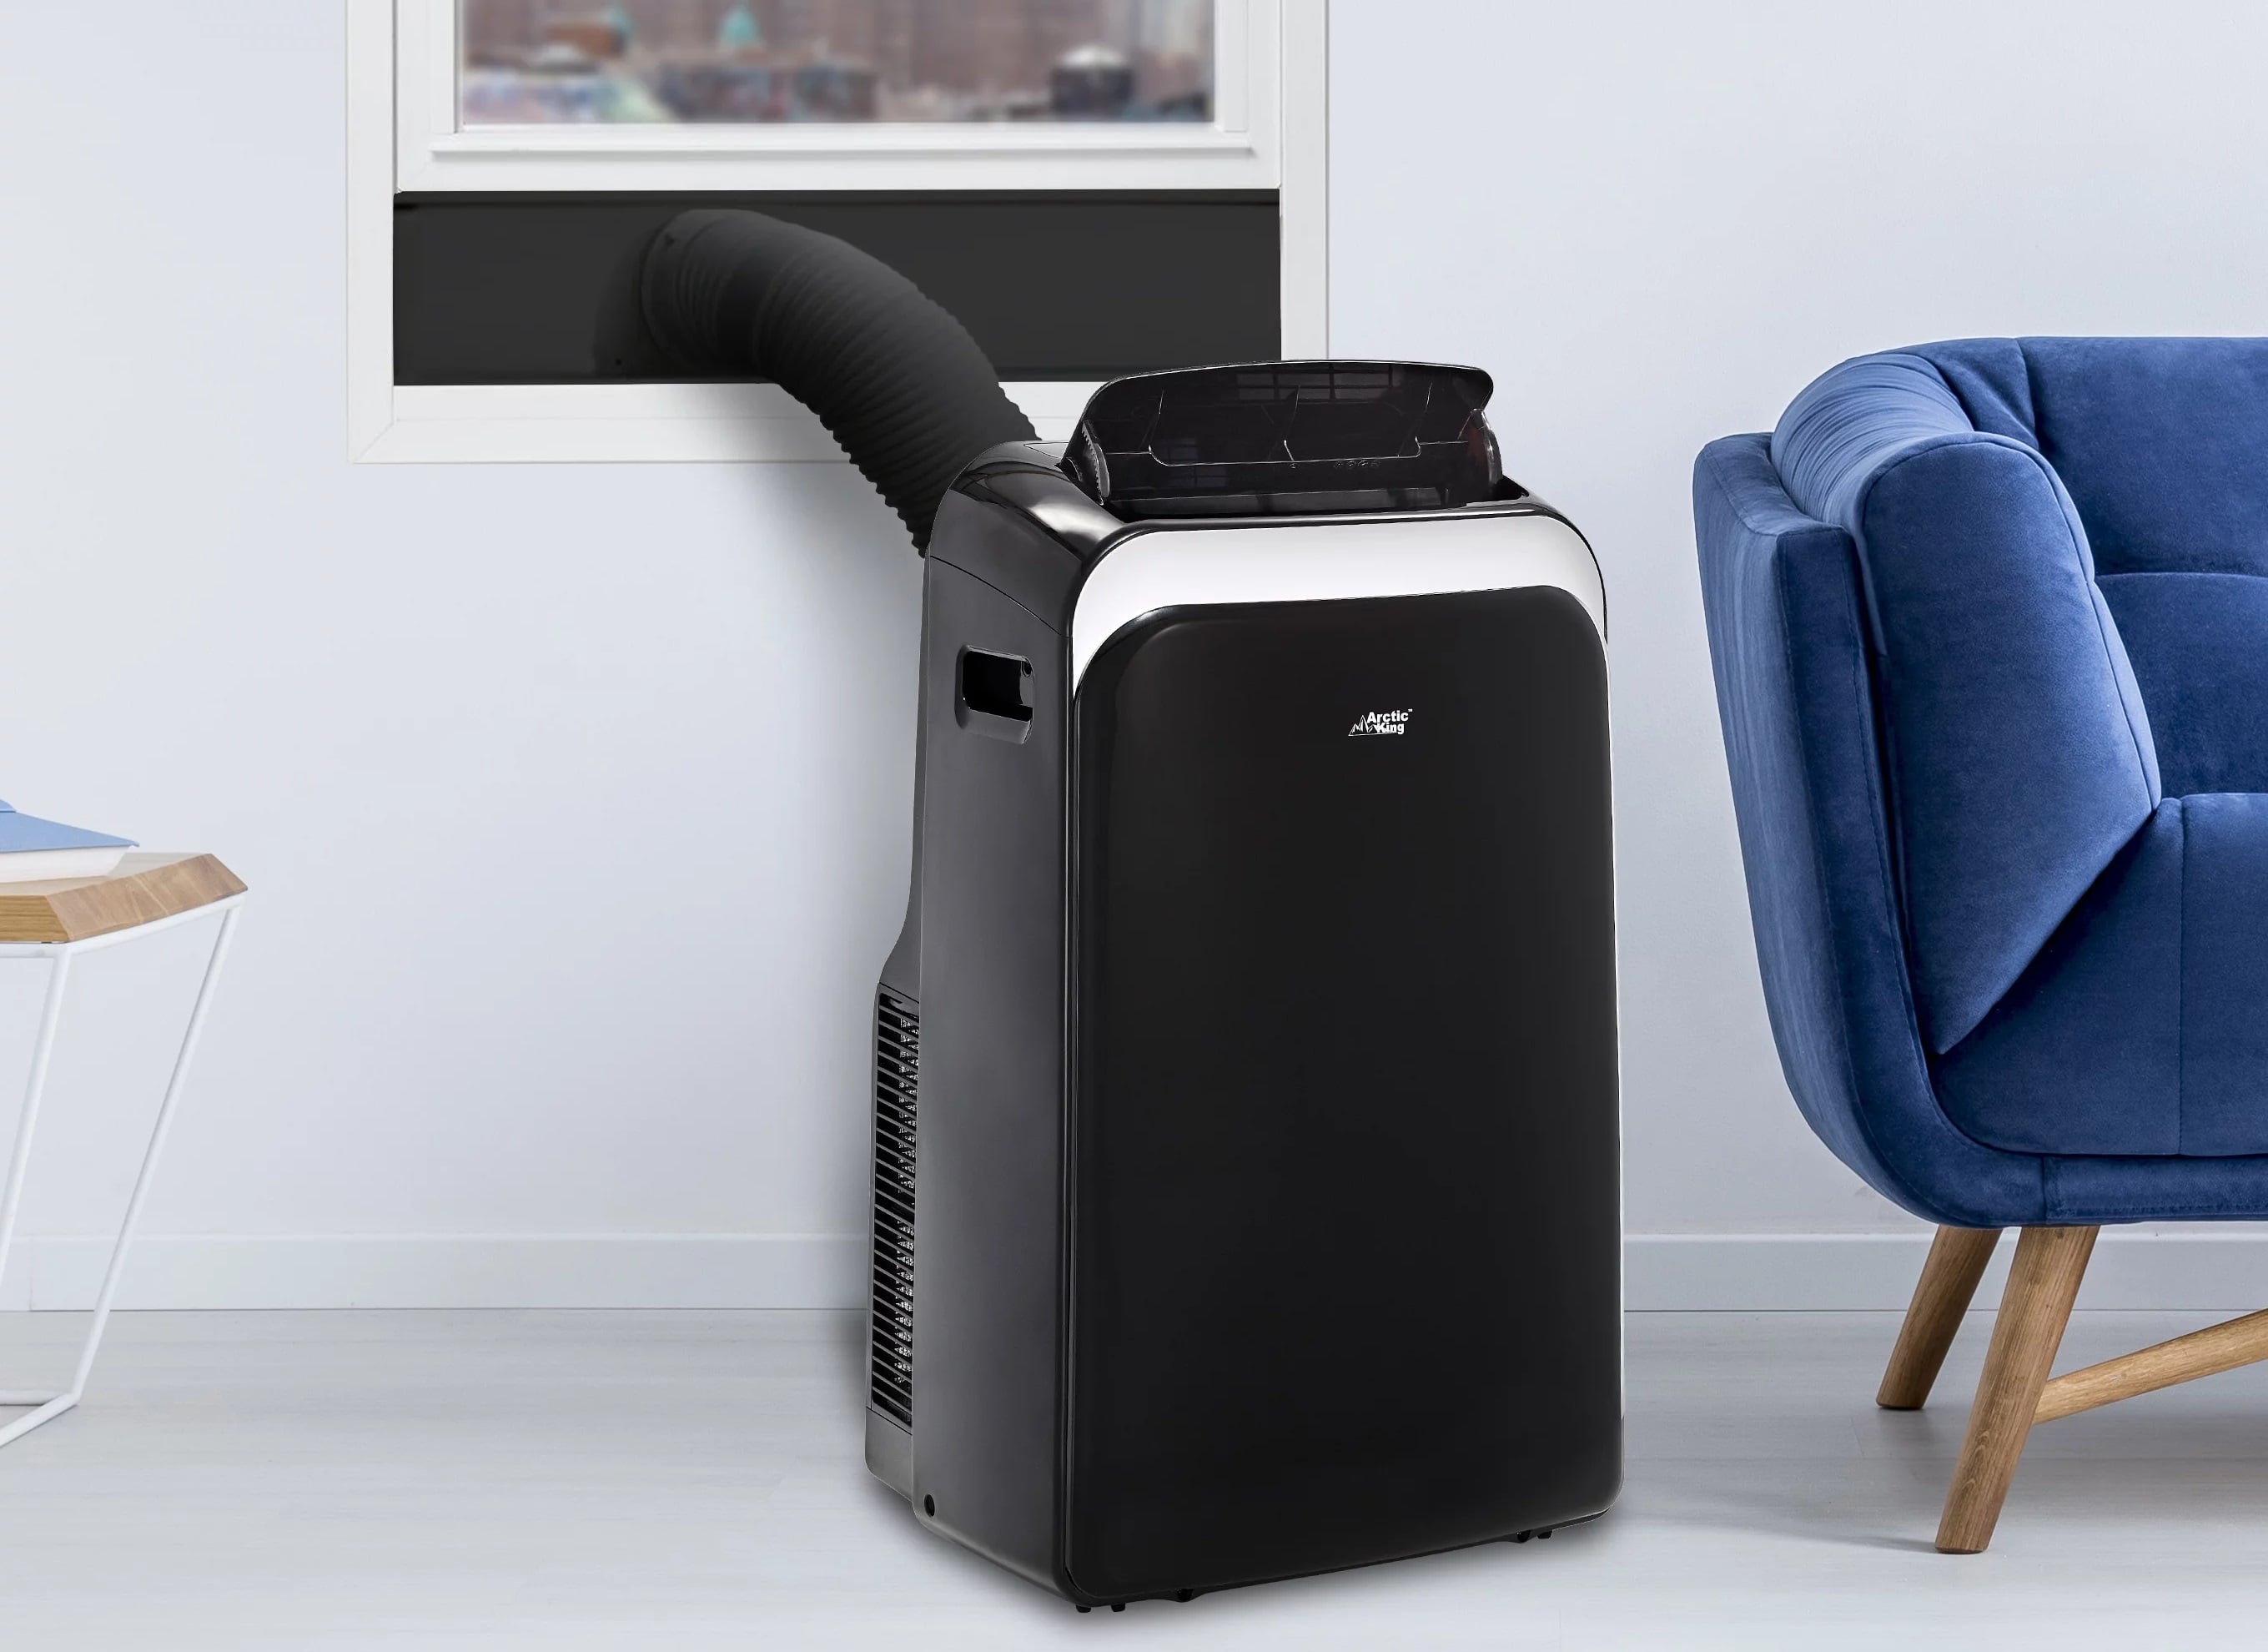
After completing the previous steps, it’s time to turn on your Insignia Portable Air Conditioner and enjoy the cool and comfortable atmosphere it provides. Follow these final instructions to ensure a smooth and optimal operation of your unit.
Locate the power button or switch on your air conditioner and turn it on. Depending on your model, you may need to set the desired temperature and fan speed as well.
Once the air conditioner is turned on, listen for any unusual noises or vibrations that may indicate a problem. If you notice anything out of the ordinary, it’s best to consult the user manual or contact a professional technician for assistance.
Allow the air conditioner to run for a few minutes, ensuring that it is cooling the room effectively. Check the air vents to ensure that cool air is being circulated properly.
Pay attention to the humidity levels in the room. If you notice excessive moisture, inadequate cooling, or any other issues, it may be necessary to repeat the draining process or seek professional help.
Lastly, it is recommended to periodically check and clean the filter to maintain optimal airflow and efficiency in your Insignia Portable Air Conditioner. Follow the manufacturer’s instructions and cleaning recommendations for best results.
Congratulations! You have now successfully drained your Insignia Portable Air Conditioner and completed the necessary steps to ensure its proper functioning. Enjoy the refreshing coolness and comfort it provides throughout the warm seasons.
Frequently Asked Questions about How To Drain An Insignia Portable Air Conditioner
Was this page helpful?
At Storables.com, we guarantee accurate and reliable information. Our content, validated by Expert Board Contributors, is crafted following stringent Editorial Policies. We're committed to providing you with well-researched, expert-backed insights for all your informational needs.
