Home>Home Maintenance>How To Drain A Midea Portable Air Conditioner
Home Maintenance
How To Drain A Midea Portable Air Conditioner
Modified: October 19, 2024
Learn how to properly drain a Midea portable air conditioner with our step-by-step guide. Ensure efficient home maintenance for optimal cooling performance.
(Many of the links in this article redirect to a specific reviewed product. Your purchase of these products through affiliate links helps to generate commission for Storables.com, at no extra cost. Learn more)
Introduction
Welcome to our comprehensive guide on how to drain a Midea portable air conditioner. As the warmer months approach, it’s crucial to ensure that your air conditioner is running efficiently to keep your home cool and comfortable. One important maintenance task for portable air conditioners is draining the accumulated water that is generated during the cooling process. Properly draining the water will not only prevent damage to the unit, but it will also ensure optimal performance.
In this article, we will walk you through the steps to safely and effectively drain the water from your Midea portable air conditioner. We will also provide you with some essential safety precautions and the necessary tools and supplies you will need for the task.
Before we begin, please note that it is always recommended to consult your Midea portable air conditioner’s user manual for specific instructions related to draining water. Additionally, if you are unsure or uncomfortable performing any of the steps, it is best to seek assistance from a professional.
Now, let’s dive into the details of draining a Midea portable air conditioner!
Key Takeaways:
- Safety First!
Before draining a Midea portable air conditioner, remember to disconnect the power, wear protective gear, and work in a well-ventilated area to ensure a secure and incident-free process. - Proper Disposal
After draining the water, dispose of it following local regulations. Avoid reusing the water, pour it down a drain or toilet, and consider using it for non-potable purposes like watering plants.
Safety Precautions
Before starting the process of draining a Midea portable air conditioner, it is essential to prioritize your safety. Here are some safety precautions that you should keep in mind:
- Disconnect the power: Before you begin, make sure to turn off and unplug the air conditioner from the power source. This step is crucial to avoid any electrical accidents or shocks.
- Protective gear: Wear appropriate protective gear, such as gloves and safety goggles, to prevent any injuries while handling the unit. This will ensure that you are well protected in case of any accidental spills or splashes.
- Work in a well-ventilated area: When draining the water from the air conditioner, ensure that you are working in a well-ventilated area. This will help to prevent the buildup of fumes or allergens that may be present in the water or that may have accumulated in the unit.
- Use a stable platform: Place the portable air conditioner on a stable platform or surface that can support its weight. This will prevent any accidents or damage to the unit during the draining process.
- Turn off the cooling function: Make sure that the air conditioner’s cooling function is turned off before you start draining the water. This will prevent any cold air from being released into the room during the process.
- Handle the unit with care: When moving or tilting the air conditioner to access the drainage port, handle it with care to avoid any damage. Portable air conditioners can be heavy, so ensure that you have assistance if needed.
- Follow manufacturer’s guidelines: Always refer to the Midea portable air conditioner’s user manual for specific instructions and safety guidelines related to draining water. This will ensure that you follow the correct procedure and avoid any potential risks associated with your specific model.
By following these safety precautions, you can ensure a secure and incident-free process while draining the water from your Midea portable air conditioner. Now that we have established the necessary safety measures, let’s move on to the tools and supplies you will need for this task.
Required Tools and Supplies
Before you start draining your Midea portable air conditioner, gather the following tools and supplies:
- Drain Pan: You will need a drain pan or a shallow container to collect the drained water. Ensure that the pan is large enough to hold the expected amount of water from your air conditioner.
- Towels or Rags: Keep some towels or rags handy to clean up any spills or drips that may occur during the draining process. This will help prevent any water damage to your floors or surrounding areas.
- Screwdriver or Wrench: Depending on your specific model, you may need a screwdriver or wrench to remove the drain plug or cap. Check your air conditioner’s user manual for the appropriate tool.
- Cleaning Solution: Prepare a mild cleaning solution, such as a mixture of water and gentle dish soap, to clean the drainage port and remove any debris or buildup that may be present.
- Brush or Pipe Cleaner: Have a small brush or pipe cleaner on hand to clean the drainage port and remove any clogs or obstructions that may impede the water flow.
- Gloves and Safety Goggles: As mentioned in the safety precautions section, wear protective gloves and safety goggles to ensure your safety during the process.
Having these tools and supplies ready will make the process of draining your Midea portable air conditioner much smoother and more efficient. Once you have gathered everything you need, it’s time to proceed with the steps to drain the water. Let’s get started with step 1: turning off the air conditioner.
Step 1: Turn off the Air Conditioner
The first step in draining a Midea portable air conditioner is to ensure that the unit is turned off. This will prevent any accidents or malfunctions while you are working on the drainage process.
Locate the power button or switch on your air conditioner and toggle it to the “Off” position. Some models may have a remote control for powering off the unit. Make sure to disable the cooling function as well.
It is important to allow the air conditioner to cool down for a few minutes before you proceed to the next step. This will prevent any hot components from coming into contact with your hands or tools, reducing the risk of burns or injuries.
Once the air conditioner is completely powered off and cooled down, you can move on to the next step of identifying the drainage port. Let’s explore this in step 2.
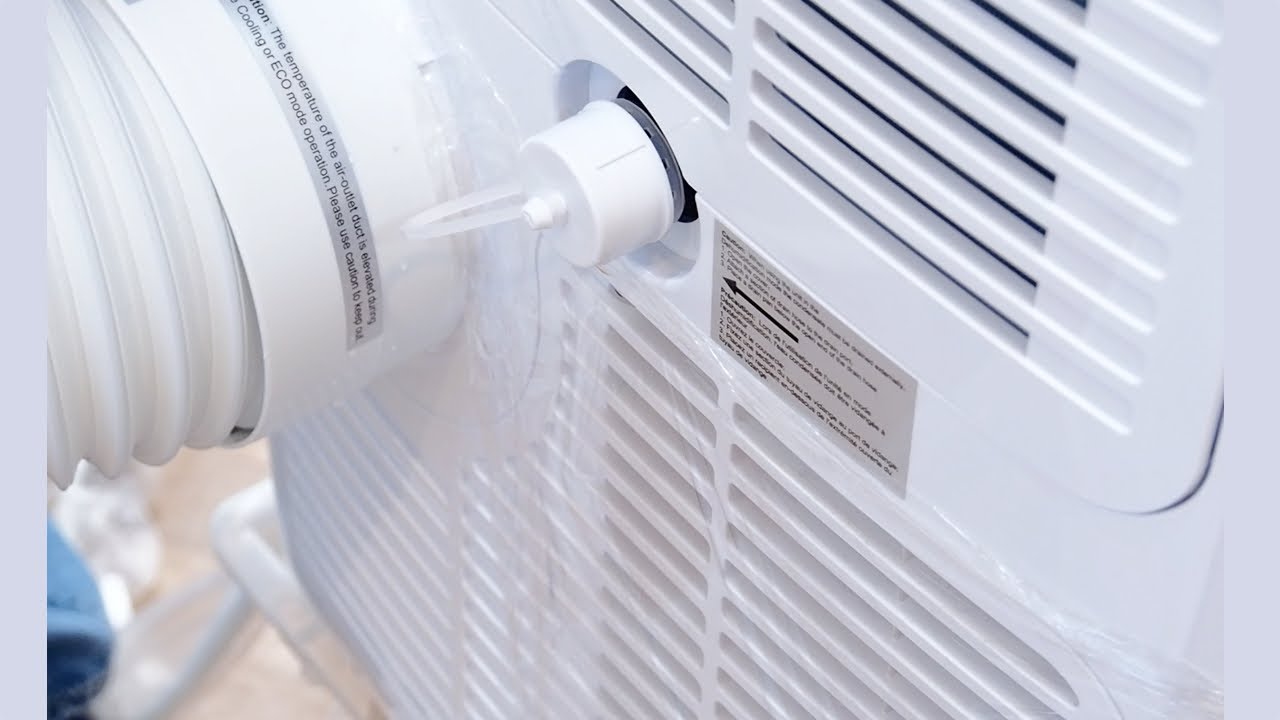
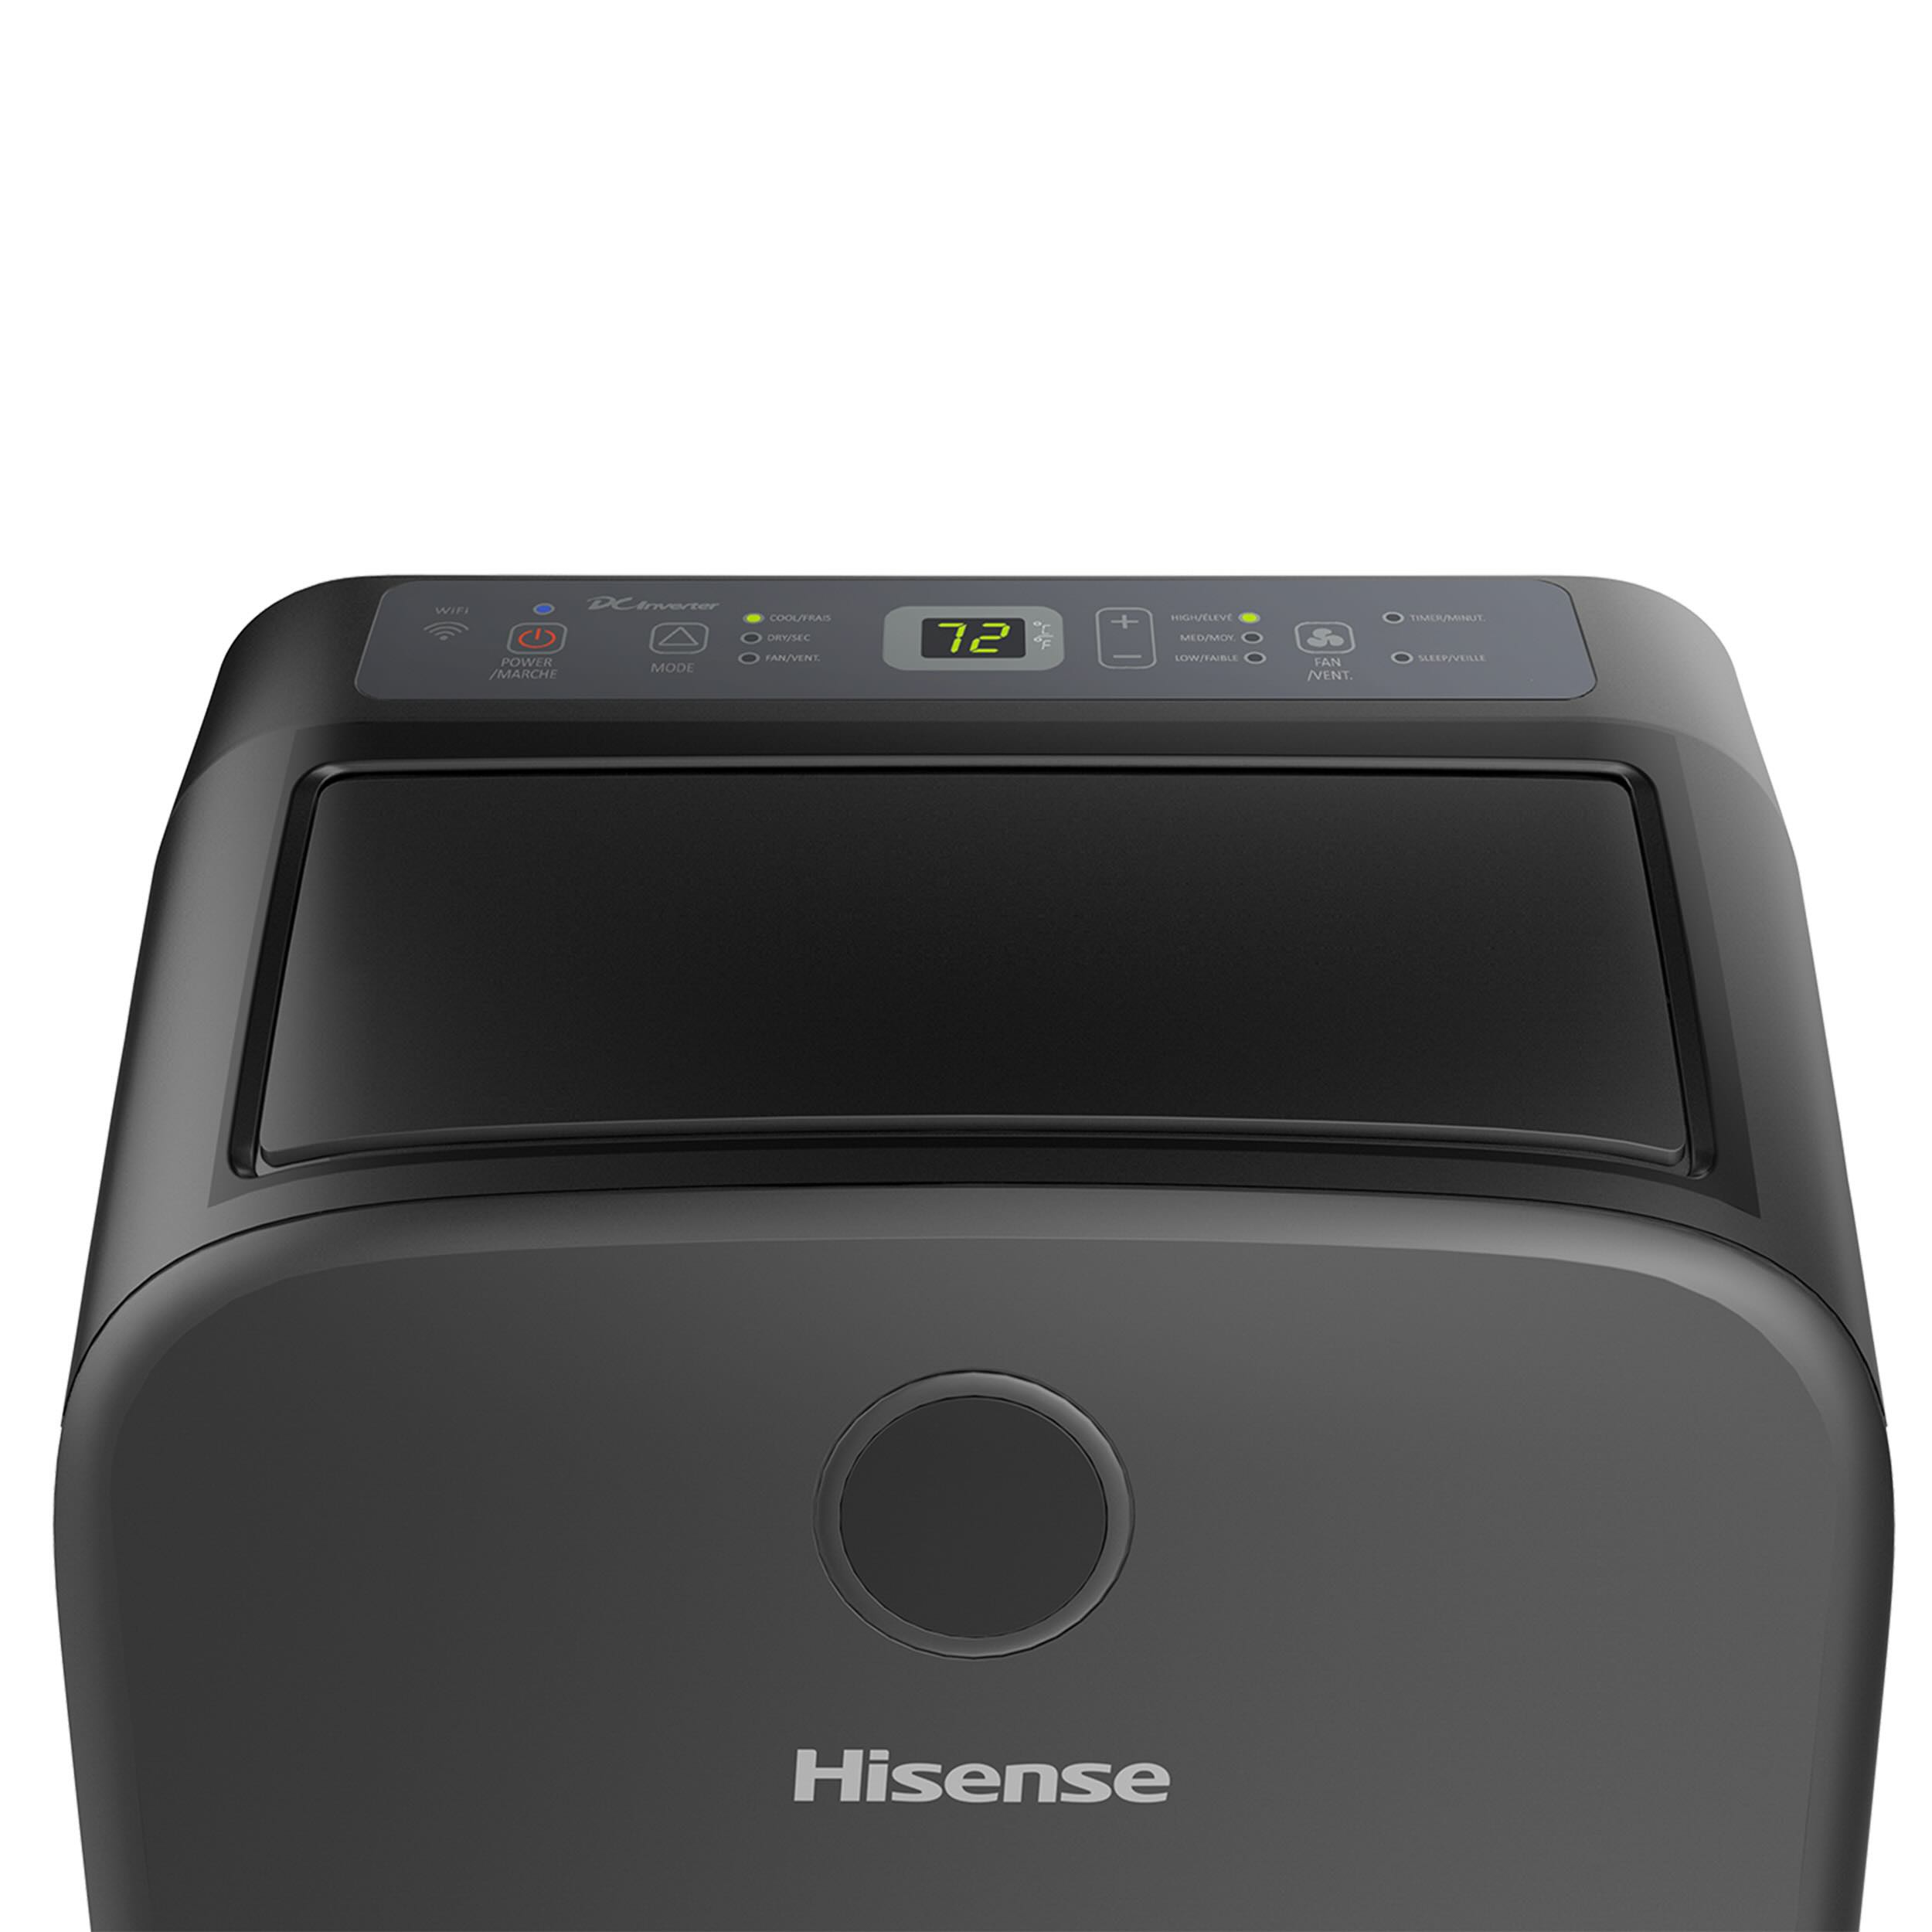
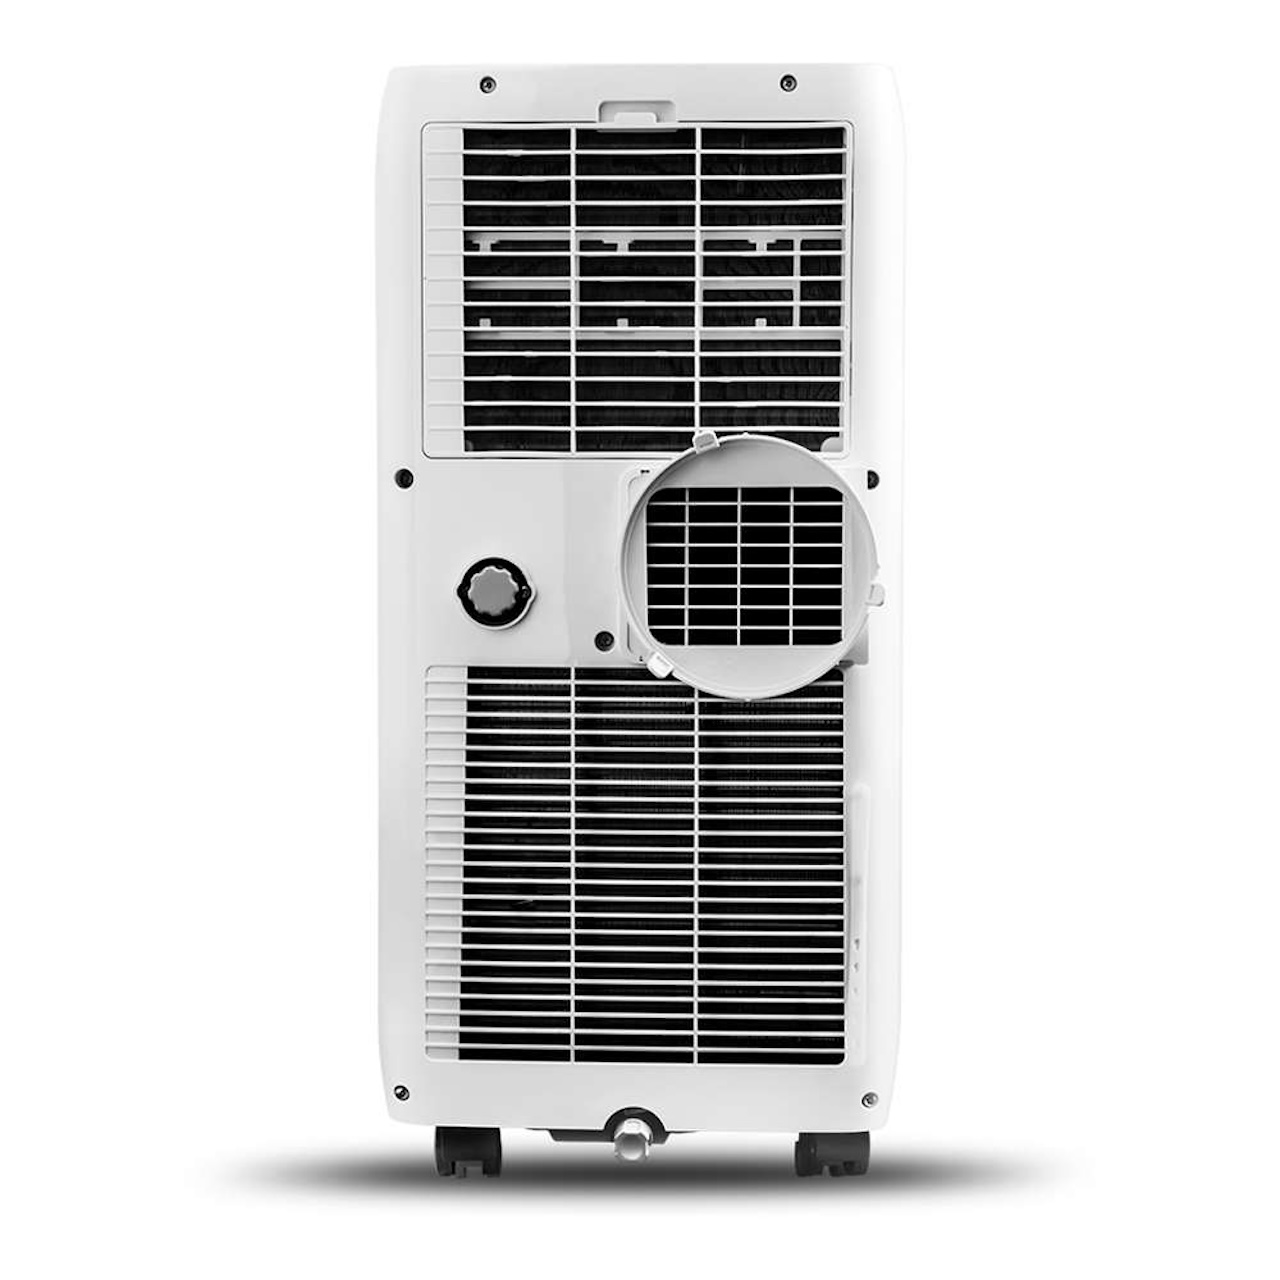
Step 2: Identify the Drainage Port
In order to drain the water from your Midea portable air conditioner, you need to locate the drainage port. The drainage port is typically located at the back or bottom of the unit.
Refer to your air conditioner’s user manual or consult the manufacturer’s website for specific information on the location of the drainage port for your particular model.
Once you have identified the drainage port, take a moment to inspect it. In some cases, the drainage port may be covered by a small cap or plug. Make sure to remove this cap or plug to allow the water to flow freely during the draining process.
It’s worth noting that some Midea portable air conditioners are equipped with self-evaporating technology, which means they do not require manual draining. If your unit falls into this category, you can skip the following steps and refer to the user manual for any additional maintenance requirements.
Now that you have identified the drainage port, let’s move on to step 3: placing a drain pan beneath the port to collect the water.
Step 3: Place a Drain Pan Beneath the Port
Now that you have identified the drainage port of your Midea portable air conditioner, it’s time to prepare a drain pan to collect the water. Placing a drain pan beneath the port will help prevent any water damage to your floors or surrounding area.
Choose a drain pan that is large enough to accommodate the expected amount of water that will be drained from your air conditioner. Position the drain pan directly beneath the drainage port, ensuring that it is stable and level.
Consider placing a towel or a few rags inside the drain pan to absorb any splash or overflow during the draining process. This will help to keep the area clean and prevent any potential slips or accidents.
By having a drain pan in place, you can avoid the hassle of cleaning up water spills and protect your living space from unnecessary moisture. With the drain pan ready, let’s proceed to step 4: removing the drain plug or cap.
Step 4: Remove the Drain Plug or Cap
With the drain pan in place, it’s time to remove the drain plug or cap from the drainage port of your Midea portable air conditioner. This will allow the water to flow out of the unit and into the drain pan.
Using the appropriate tool, such as a screwdriver or wrench, carefully loosen and remove the drain plug or cap. Take caution not to damage the surrounding area or the drainage port itself during this process.
If you encounter resistance while removing the plug or cap, double-check that the air conditioner is completely turned off. Sometimes residual pressure can build up inside the unit, making it difficult to remove the drain plug or cap. Release any remaining pressure by briefly turning on the fan mode or pressing the manual drainage button (if applicable) before attempting to remove the plug or cap again.
Once the drain plug or cap is successfully removed, you will notice water beginning to flow out of the drainage port and into the drain pan. This is a sign that the draining process has started. In the next step, we will discuss how to allow the water to drain properly.
To drain a Midea portable air conditioner, locate the drain plug at the bottom of the unit. Place a shallow pan or bowl underneath the plug, then unscrew it to release the water. Make sure to empty the pan regularly to prevent overflow.
Step 5: Allow the Water to Drain
Now that the drain plug or cap has been removed, it’s important to allow the water to drain freely from your Midea portable air conditioner. This step requires a bit of patience, as the draining process may take some time depending on the amount of water accumulated in the unit.
Observe the flow of water into the drain pan. The water should steadily and continuously trickle out of the drainage port. It’s normal for the water to have a small amount of debris or dirt, so don’t be alarmed if you see some sediment in the drain pan.
During this step, it’s important to keep an eye on the drain pan to ensure that it doesn’t overflow. If you notice the drain pan filling up quickly, carefully empty the water into a suitable container and place the drain pan back immediately to continue collecting the water.
While waiting for the water to drain, it’s a good opportunity to inspect the drainage port for any blockages or buildup. In the next step, we’ll discuss how to inspect and clean the drainage port to maintain proper drainage efficiency.
Step 6: Inspect and Clean the Drainage Port
As the water continues to drain from your Midea portable air conditioner, it’s essential to inspect and clean the drainage port to ensure optimal performance and prevent any future blockages. Over time, debris and dirt can accumulate in the drainage port, hindering the water flow.
First, visually inspect the drainage port for any visible blockages or buildup. Use a flashlight if necessary to get a better view. If you notice any obstructions, gently remove them using a small brush or pipe cleaner. Be careful not to damage the drainage port or push the debris further into the unit.
Next, mix a mild cleaning solution by combining water and a few drops of gentle dish soap. Dip a clean cloth or sponge into the cleaning solution, wring out any excess moisture, and wipe the interior of the drainage port. This will help remove any dirt, grime, or residue that may have accumulated.
For stubborn debris or deposits, you can use a soft brush or pipe cleaner dipped in the cleaning solution to gently scrub the inside of the drainage port. Be cautious not to apply excessive force that could cause damage to the unit.
After cleaning the drainage port, rinse it thoroughly with clean water to ensure that no soap or cleaning solution is left behind. You can use a damp cloth or sponge to wipe away any remaining residue. Allow the drainage port to air dry completely before moving on to the next step.
By inspecting and cleaning the drainage port, you are promoting proper water flow and minimizing the risk of future clogs. In the next step, we’ll discuss how to replace the drain plug or cap once the draining process is complete.
Read more: How To Clean Air Conditioner Drain Pipe
Step 7: Replace the Drain Plug or Cap
After the water has finished draining and you have inspected and cleaned the drainage port, it’s time to replace the drain plug or cap on your Midea portable air conditioner.
Ensure that the drainage port is completely dry before proceeding. Wipe the surface of the port with a clean, dry cloth to remove any moisture.
If your air conditioner came with a drain plug, line up the plug with the drainage port and insert it securely. Use the appropriate tool, such as a screwdriver or wrench, to tighten the plug in place. Be careful not to overtighten, as this could cause damage to the drainage port.
If your air conditioner has a drain cap, position it over the drainage port and press it down firmly until it snaps into place. Ensure that the cap is securely attached to prevent any water leakage.
Double-check that the drain plug or cap is properly installed and tightly sealed. This will prevent any water from escaping during future use, ensuring that the water is directed to the drainage port and into the drain pan.
With the drain plug or cap replaced, let’s move on to step 8, where we discuss the proper disposal of the drained water.
Step 8: Dispose of the Drained Water
Now that the water has been successfully drained from your Midea portable air conditioner, it’s important to dispose of it properly. Here are some guidelines on how to handle and dispose of the drained water:
- Check local regulations: Before disposing of the water, familiarize yourself with your local regulations regarding the disposal of household wastewater. Some areas may have specific guidelines or restrictions in place.
- Do not reuse the water: It’s important to note that the drained water from your air conditioner is not suitable for drinking or any other domestic uses. It may contain impurities or contaminants picked up during the cooling process.
- Pour the water down a drain or toilet: The most common and appropriate method of disposing of the drained water is by pouring it down a drain or toilet. Ensure that the drain is functioning properly to handle the volume of water being poured.
- Avoid outdoor drainage in some cases: In certain areas, there may be restrictions on draining the water outdoors due to environmental regulations or concerns. Check with local authorities to determine if outdoor disposal is allowed.
- Consider using for non-potable purposes: If you have a garden or plants, you can consider using the drained water for non-potable purposes, such as watering your plants. However, keep in mind that the water may contain chemicals used in the air conditioning process.
- Dispose of any debris: Before final disposal, inspect the drain pan for any debris or sediment that may have collected during the draining process. Properly dispose of any debris in appropriate waste containers.
By following these guidelines, you can ensure the proper disposal of the drained water from your Midea portable air conditioner. Now that you have completed the necessary steps, it’s time to turn on the air conditioner and enjoy its cool, efficient performance.
Before we wrap up, let’s move on to the final step, step 9, where we discuss turning on the air conditioner after the draining process is complete.
Step 9: Turn on the Air Conditioner
After successfully draining the water from your Midea portable air conditioner and completing the necessary steps, it’s time to turn the unit back on. Follow these instructions to ensure a smooth and effective restart:
- Ensure the drain plug or cap is securely in place: Double-check that the drain plug or cap is properly installed and tightly sealed. This will prevent any water leakage during the cooling process.
- Make sure the unit is free from obstructions: Before turning on the air conditioner, ensure that there are no obstructions around the unit. Make sure there is proper airflow around the air conditioner for efficient cooling.
- Plug in the unit and turn it on: Plug the air conditioner back into the power source and turn on the unit using the power button or switch. If your air conditioner has a remote control, use it to turn on the unit.
- Set your desired cooling settings: Once the air conditioner is powered on, set your desired cooling settings, such as temperature and fan speed, using the control panel or remote control. Allow the unit a few moments to start cooling down the room.
- Monitor the air conditioner: Keep an eye on the unit for any unusual noises, leaks, or malfunctions during the initial operation. If you notice any issues, consult the user manual or contact the manufacturer for assistance.
With the air conditioner turned back on, you can now enjoy the cool and comfortable environment in your home. Regularly check the drainage port for any signs of blockages or water buildup in the future to maintain optimal performance.
Remember, it’s always a good idea to refer to your Midea portable air conditioner’s user manual for specific instructions and maintenance guidelines. If you have any concerns or questions, don’t hesitate to reach out to the manufacturer or consult a professional for assistance.
Congratulations on successfully draining your Midea portable air conditioner and taking a proactive approach to its maintenance. By following these steps and implementing regular maintenance, you can ensure efficient cooling and prolong the lifespan of your unit.
Thank you for reading our comprehensive guide. Stay cool and enjoy the comfort of your air-conditioned space!
Conclusion
Properly draining a Midea portable air conditioner is a crucial maintenance task that ensures optimal performance and prevents damage to the unit. In this comprehensive guide, we have walked you through the step-by-step process of draining the water from your air conditioner.
We started by emphasizing the importance of safety precautions to protect yourself and ensure a secure working environment. From disconnecting the power to wearing protective gear, these precautions are essential for a successful draining process.
We then discussed the tools and supplies you will need, such as a drain pan, towels, screwdriver or wrench, cleaning solution, and brush or pipe cleaner. Having these items ready beforehand greatly facilitates the draining process.
Following that, we outlined the nine steps to drain a Midea portable air conditioner, including turning off the air conditioner, identifying the drainage port, placing a drain pan beneath the port, removing the drain plug or cap, allowing the water to drain, inspecting and cleaning the drainage port, replacing the drain plug or cap, disposing of the drained water, and finally, turning on the air conditioner.
We emphasized the importance of following your specific model’s instructions and consulting the user manual for precise guidelines on draining water from your Midea portable air conditioner.
Remember, regular maintenance and proper care of your air conditioner not only ensure its efficient operation but also extend its lifespan. By incorporating this draining process into your routine maintenance, you can enjoy a cool and comfortable environment in your home for years to come.
We hope this guide has been informative and helpful in assisting you with draining your Midea portable air conditioner. Stay cool, and if you have any further questions or concerns, don’t hesitate to seek assistance from a professional or the manufacturer.
Thank you for reading, and best of luck with your Midea portable air conditioner maintenance!
Frequently Asked Questions about How To Drain A Midea Portable Air Conditioner
Was this page helpful?
At Storables.com, we guarantee accurate and reliable information. Our content, validated by Expert Board Contributors, is crafted following stringent Editorial Policies. We're committed to providing you with well-researched, expert-backed insights for all your informational needs.