Articles
How To Build A Pedestal For Washer And Dryer
Modified: February 29, 2024
Learn how to build a sturdy and functional pedestal for your washer and dryer with these helpful articles. Elevate your laundry routine today!
(Many of the links in this article redirect to a specific reviewed product. Your purchase of these products through affiliate links helps to generate commission for Storables.com, at no extra cost. Learn more)
Introduction
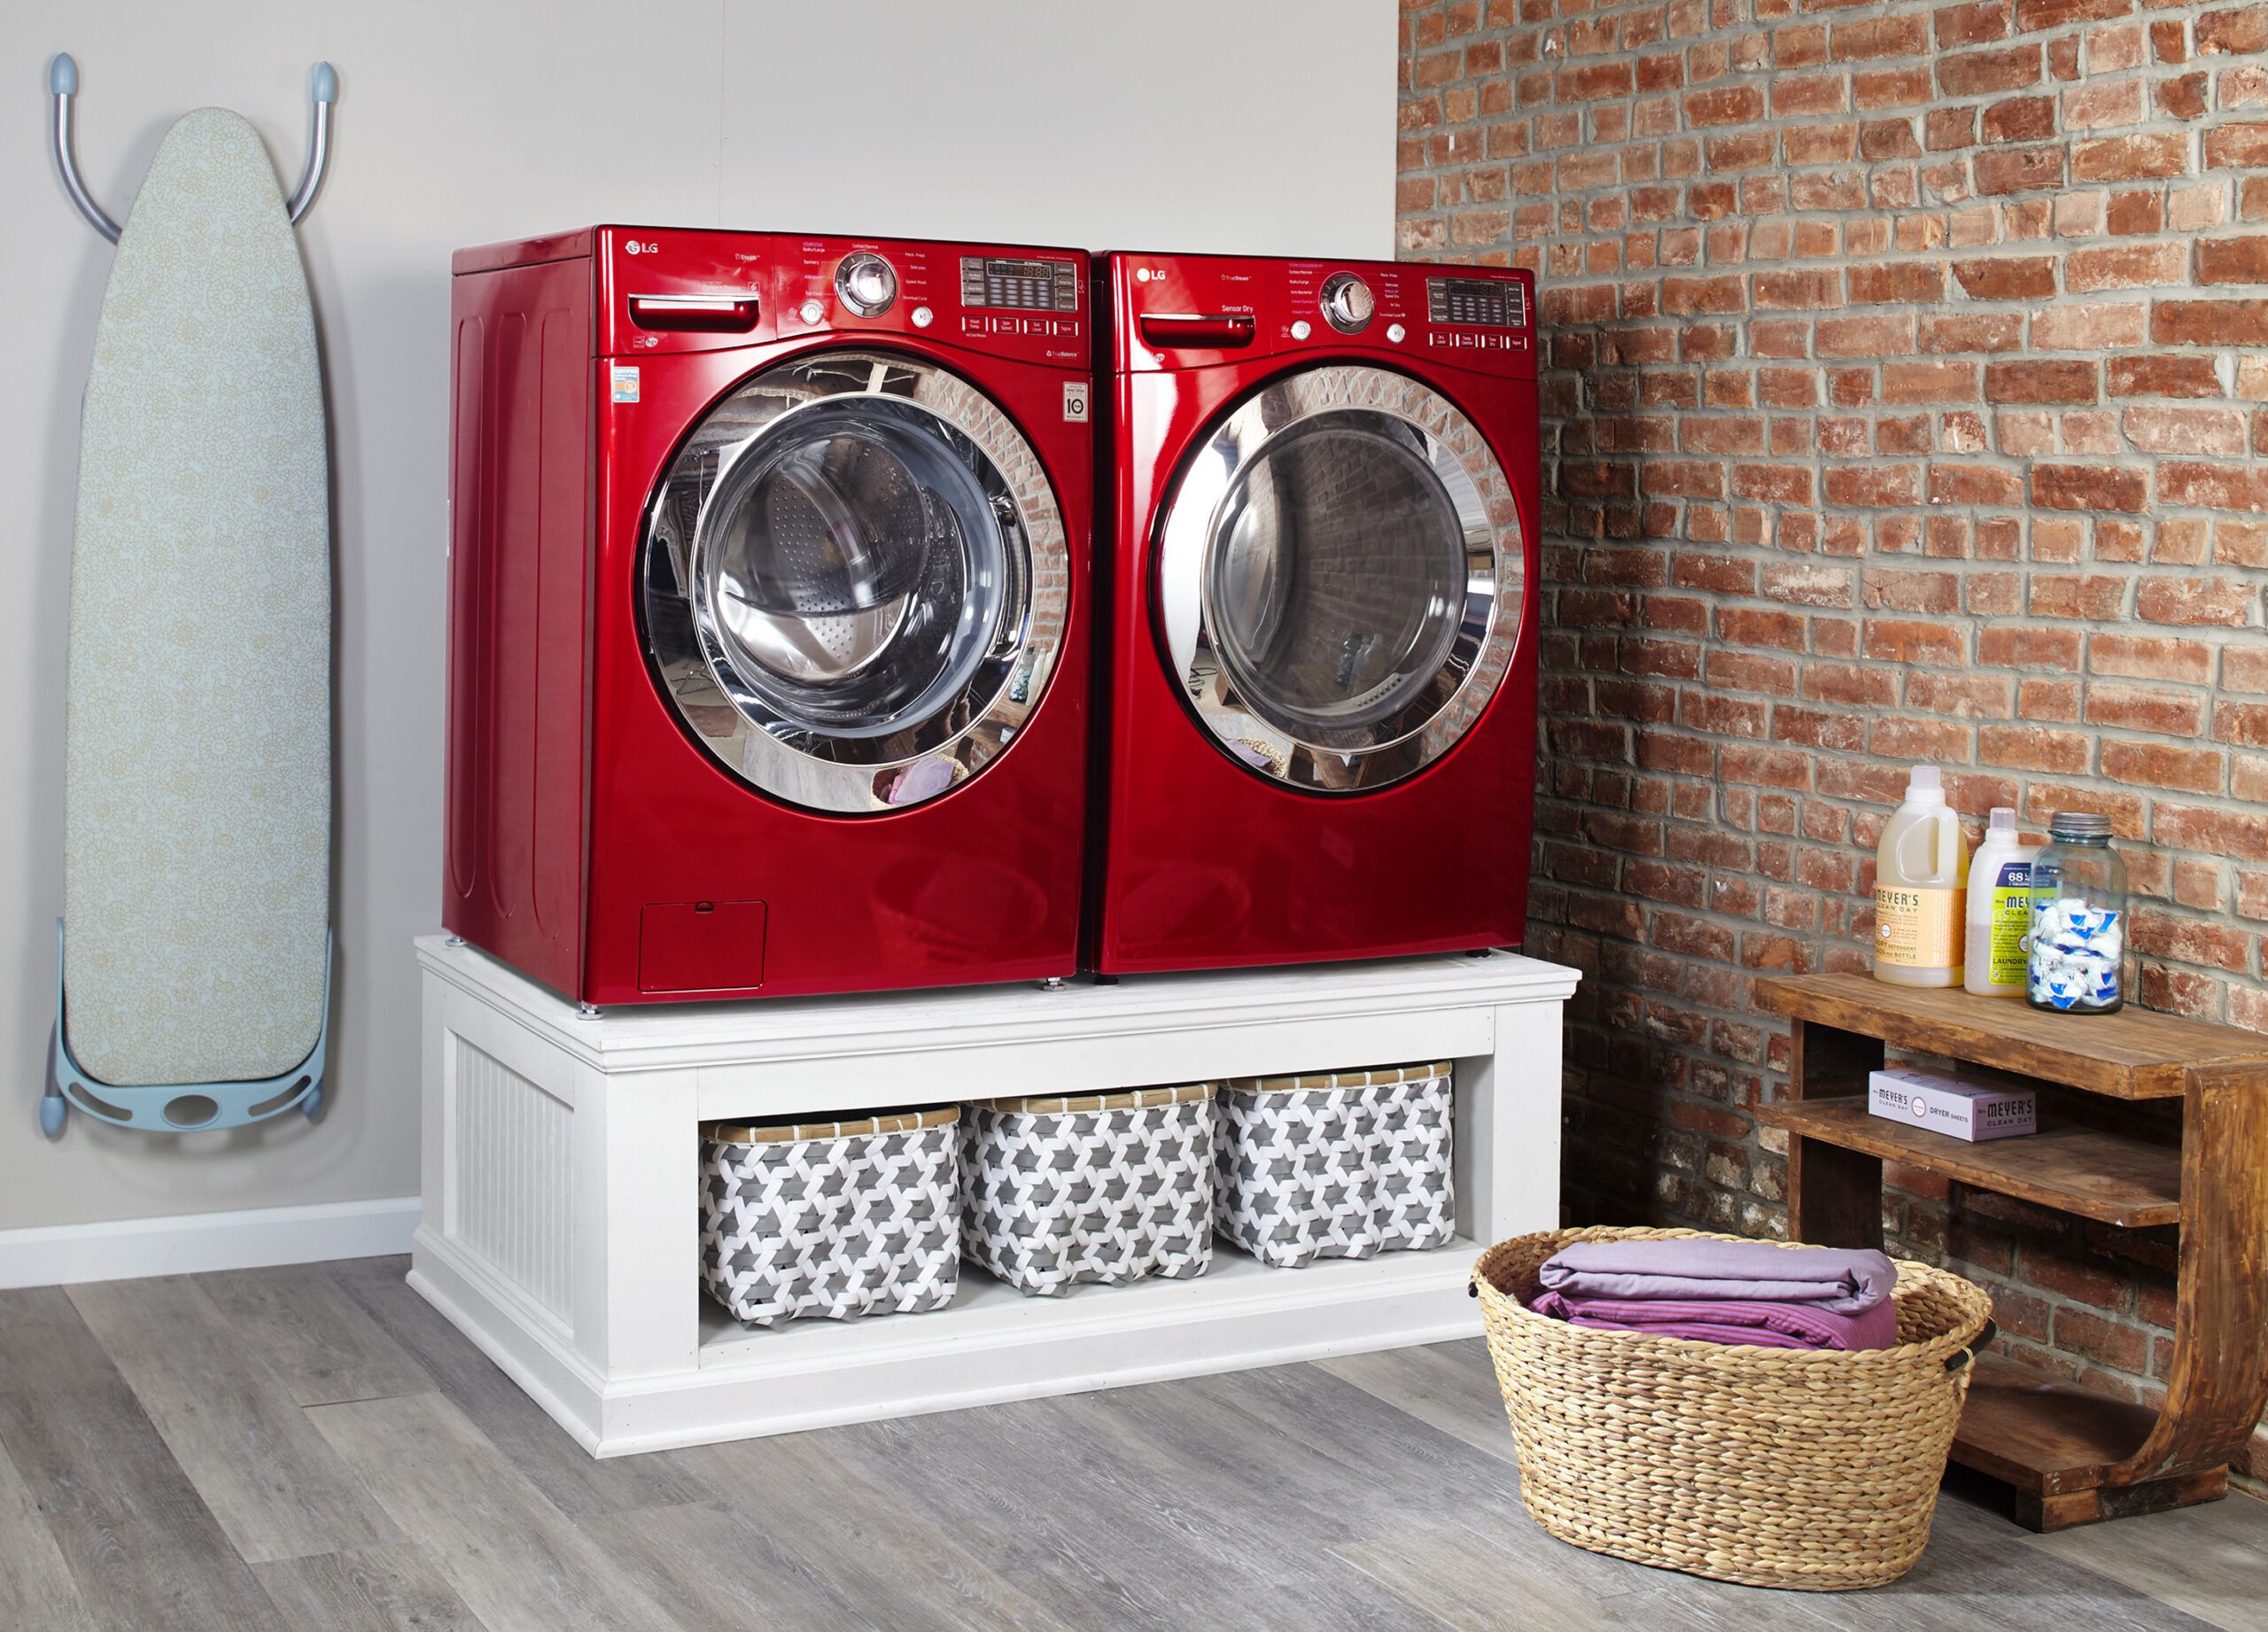
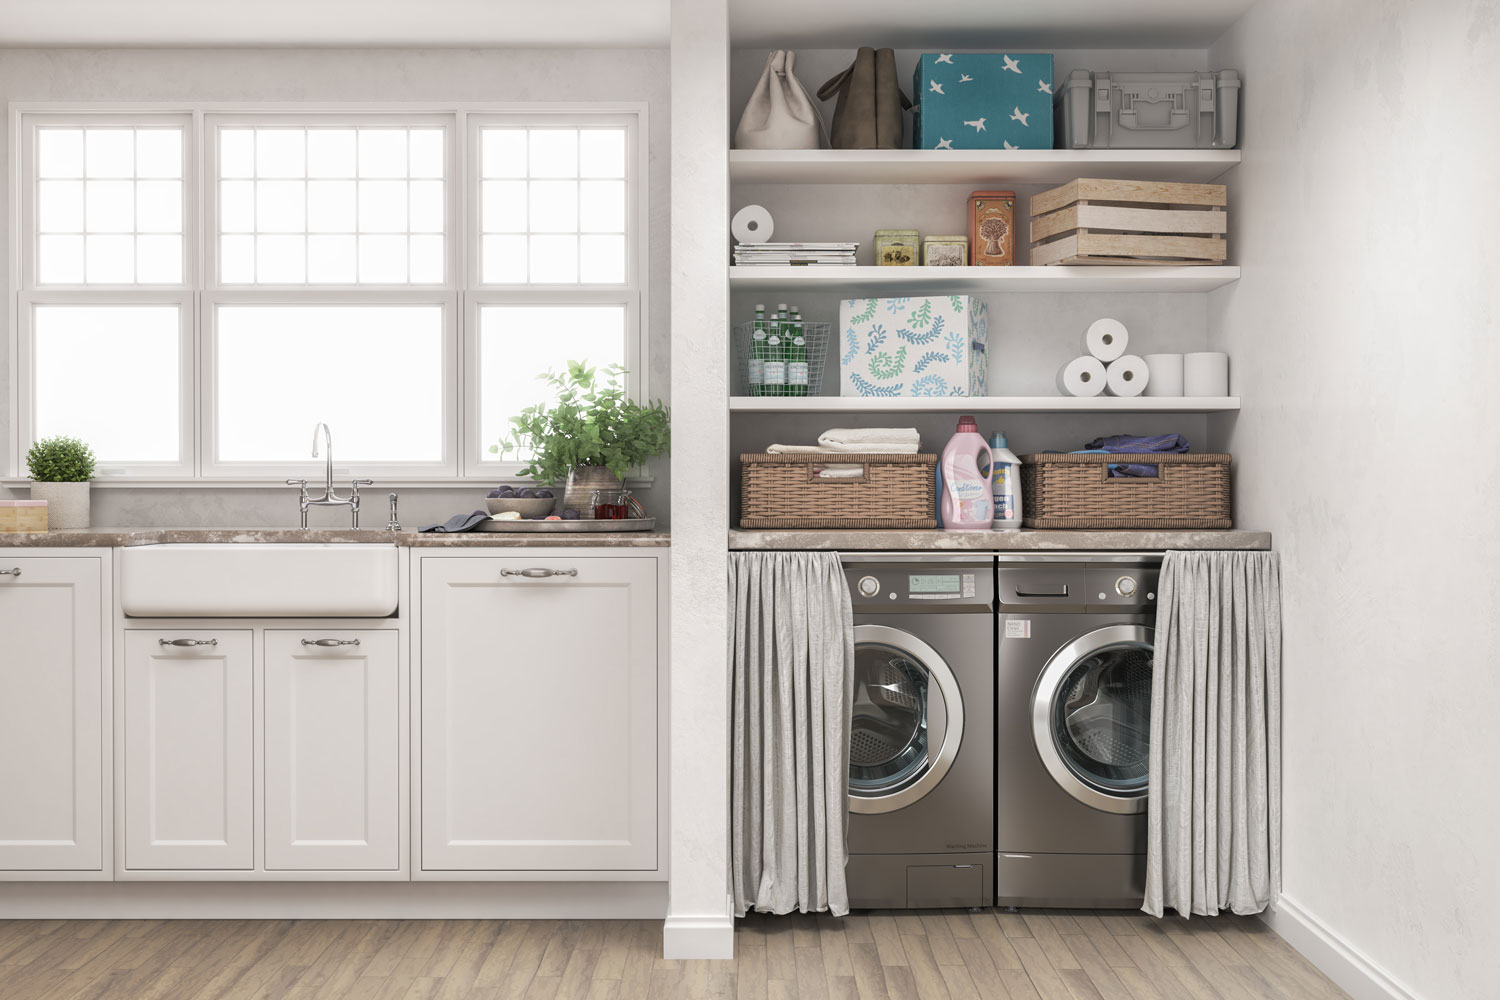
Having a washer and dryer at the perfect height can make laundry chores much easier and more comfortable. That’s where a pedestal comes in handy. A pedestal is a raised platform that elevates your washer and dryer, allowing you to load and unload laundry without straining your back. In addition, it provides extra storage space for your laundry supplies and helps to reduce vibration and noise from the machines.
In this article, we will guide you on how to build a pedestal for your washer and dryer. With the right tools and materials, along with some basic woodworking skills, you can create a sturdy and functional pedestal that will not only improve the ergonomics of your laundry room but also add a touch of elegance to the space.
Before we get started, it’s important to note that the measurements and instructions provided in this article are generalized. Make sure to adjust them according to the dimensions and specific requirements of your washer and dryer.
Key Takeaways:
- Elevate your washer and dryer with a custom-built pedestal to improve ergonomics, reduce noise, and add storage space. Follow the step-by-step guide for a rewarding DIY project that enhances your laundry room.
- Enjoy the benefits of an elevated washer and dryer by building a sturdy pedestal using accurate measurements, quality materials, and careful assembly. Say goodbye to backaches and hello to a more convenient laundry experience!
Tools and Materials Needed
Before you begin building a pedestal for your washer and dryer, gather the following tools and materials:
Tools:
- Measuring tape
- Miter saw or circular saw
- Drill/driver
- Hammer
- Screwdriver
- Clamps
- Sanding block or sandpaper
- Paintbrush or foam roller
Materials:
- ¾-inch plywood or MDF (Medium-Density Fiberboard)
- 2×4 lumber for the frame and support braces
- Wood screws
- Leveling feet
- Paint or stain
This list may vary depending on the specific design and requirements of your pedestal. Consider investing in quality materials for a sturdy and durable pedestal that can support the weight of your washer and dryer.
Once you have gathered all the necessary tools and materials, you’re ready to move on to the next step: taking accurate measurements.
Step 1: Taking Accurate Measurements
The first step in building a pedestal for your washer and dryer is to take accurate measurements of the machines. This ensures that the pedestal will fit properly and provide a stable base for your appliances.
Start by measuring the width and depth of your washer and dryer. These dimensions will be used to determine the overall size of the pedestal. Make sure to measure from the outer edges of the machines to account for any protrusions or control panels.
Next, measure the height of your appliances from the floor to the bottom of each machine. This will determine the height of the pedestal. Keep in mind that you want the pedestal to raise the appliances to a comfortable level, so consider your own height and ergonomic preferences when determining the height.
After taking these measurements, add an additional inch or two to each dimension. This will provide some clearance space and ensure that the machines fit comfortably on the pedestal.
Write down these measurements and double-check them for accuracy before proceeding to the next step. It’s better to be precise at this stage to avoid any problems during the construction process.
With the measurements in hand, you’re ready to move on to Step 2: Cutting the Wood Pieces.
Read more: How To Lift Washer On Pedestal
Step 2: Cutting the Wood Pieces
Once you have the accurate measurements, it’s time to cut the wood pieces that will make up the frame of the pedestal.
Start by cutting the plywood or MDF into four pieces, two for the sides and two for the front and back. Use a miter saw or circular saw to make precise cuts according to the dimensions you measured earlier.
Next, cut the 2×4 lumber into pieces that will serve as the support braces for the pedestal. Measure and cut these pieces to match the width and depth of the plywood or MDF panels.
Make sure to wear protective goggles and follow appropriate safety precautions when using power tools. Take your time to ensure accurate cuts, as they will determine the stability and strength of the pedestal.
Once all the wood pieces are cut, it’s time to move on to Step 3: Assembling the Frame.
Step 3: Assembling the Frame
With the wood pieces cut to size, it’s time to assemble the frame of the pedestal. The frame provides the structure and support for the washer and dryer.
Start by laying one of the plywood or MDF panels on a flat surface. This will serve as the bottom of the pedestal. Align the 2×4 support braces along the edges of the panel, ensuring that they are flush with the sides. Use clamps to secure them in place.
Next, position one of the side panels against the support braces and the bottom panel. Use screws to attach the side panel to the support braces and the bottom panel. Repeat this step for the other side panel.
Now, attach the front and back panels to the side panels and the support braces using screws. Make sure that all corners are square and the panels are securely fastened.
Take your time during the assembly process to ensure that everything is aligned properly. This will contribute to the overall stability and functionality of the pedestal.
Once the frame is assembled, move on to Step 4: Adding Support Braces.
Step 4: Adding Support Braces
Adding support braces to the pedestal frame will enhance its stability and weight-bearing capacity. These braces will help distribute the load evenly across the frame, preventing any sagging or warping over time.
Measure the length and width between the two side panels of the frame. Cut two more pieces of 2×4 lumber to these dimensions.
Position one of the support braces diagonally across the inside corners of the frame. Use clamps to hold it in place, ensuring that it aligns with the corners. Secure it by driving screws through it into the frame.
Repeat this process to install the second support brace on the opposite corners of the frame.
By adding these support braces, you are reinforcing the structural integrity of the pedestal, making it more durable and capable of supporting the weight of the washer and dryer.
With the support braces in place, proceed to Step 5: Attaching the Top Surface.
Step 5: Attaching the Top Surface
Attaching the top surface to the pedestal frame is the next step in the construction process. This surface will provide a stable platform for your washer and dryer.
Measure and cut a piece of plywood or MDF to match the dimensions of the pedestal frame. Ensure that it fits securely on top of the frame, leaving a slight overhang on all sides.
Place the top surface on the frame, aligning it with the edges. Use clamps to hold it in place.
Drive screws through the top surface and into the frame to secure it in place. Make sure to distribute the screws evenly along the edges to create a secure attachment.
After attaching the top surface, double-check that it is level and properly aligned. This will ensure that your washer and dryer sit securely on the pedestal and operate smoothly.
Now that the top surface is attached, move on to Step 6: Sanding and Painting.
When building a pedestal for your washer and dryer, make sure to measure the dimensions of the appliances and leave enough space for the doors to open. Use sturdy materials like plywood and reinforce the structure for added stability.
Read more: What Is A Washer Pedestal
Step 6: Sanding and Painting
Before you can complete the construction of your pedestal, it’s important to sand the surfaces and apply paint or stain for a finished look.
Start by sanding the entire pedestal using a sanding block or sandpaper. Smooth out any rough edges, surfaces, or imperfections. This will not only enhance the appearance but also create a safe and comfortable surface for your appliances.
After sanding, wipe down the pedestal with a damp cloth or tack cloth to remove any dust or debris.
Next, choose a paint or stain color that matches your laundry room decor. Apply the paint or stain using a paintbrush or foam roller, following the manufacturer’s instructions. Apply multiple coats if needed, allowing enough drying time between each coat.
Make sure to paint or stain all visible surfaces of the pedestal, including the top, sides, and front. This will give your pedestal a cohesive and professional look.
Once the paint or stain is dry, your pedestal is ready for the final steps of installation.
Move on to Step 7: Installing Leveling Feet.
Step 7: Installing Leveling Feet
Installing leveling feet on your pedestal is essential to ensure that your washer and dryer sit level and stable on the raised platform. Leveling feet also help to reduce vibrations and minimize any shaking or movement during operation.
Start by flipping the pedestal upside down so that the bottom surface is facing up.
Measure the spacing between the corners of the pedestal and mark the positions where the leveling feet will be installed.
Using a drill, create pilot holes at the marked positions. Make sure the pilot holes are slightly smaller than the screws that come with the leveling feet.
Take the leveling feet and align them with the pilot holes. Screw them into place securely using a screwdriver or drill.
Once all the leveling feet are installed, flip the pedestal back upright and adjust the feet as needed to ensure that the platform sits level and balanced.
Leveling the pedestal is important to prevent any imbalance or rocking that may affect the performance of your washer and dryer.
With the leveling feet installed, you are now ready for the final step: placing the washer and dryer on the pedestal.
Step 8: Placing the Washer and Dryer on the Pedestal
Now that your pedestal is complete and properly installed, it’s time to place your washer and dryer on top of it.
Be sure to enlist the help of another person to assist you in lifting and positioning the appliances on the pedestal.
Carefully lift the washer and dryer together, ensuring that they are kept level and balanced. Gently place them on top of the pedestal, aligning them with the edges.
Once the machines are in place, make any necessary adjustments to ensure that they are sitting securely and level on the pedestal. Check for any wobbling or imbalance and adjust the leveling feet if needed.
Test the stability of the machines by gently pushing and pulling on them. They should feel solid and not move or shift on the pedestal.
Finally, connect the water and power supply to your washer and dryer according to the manufacturer’s instructions. Make sure all connections are secure and properly sealed.
With your washer and dryer successfully positioned on the pedestal, you can now enjoy the ergonomic benefits and added convenience of having them at the perfect height.
Congratulations! You have successfully built a pedestal for your washer and dryer, improving both the functionality and aesthetics of your laundry room.
Remember to regularly clean and maintain your pedestal to ensure its longevity and performance.
Now sit back, relax, and start enjoying the benefits of your elevated washer and dryer!
Conclusion
Building a pedestal for your washer and dryer is a rewarding DIY project that can greatly enhance the functionality and aesthetics of your laundry room. By elevating your appliances to a comfortable height, you can say goodbye to backaches and enjoy an improved laundry experience.
Throughout this article, we have guided you through the step-by-step process of constructing a sturdy and functional pedestal. From taking accurate measurements to assembling the frame, adding support braces, attaching the top surface, sanding and painting, installing leveling feet, and finally placing your washer and dryer on the pedestal, we have covered every important detail.
By following these steps and using the recommended tools and materials, you can create a custom pedestal that perfectly fits your washer and dryer, providing a stable and secure base for their operation.
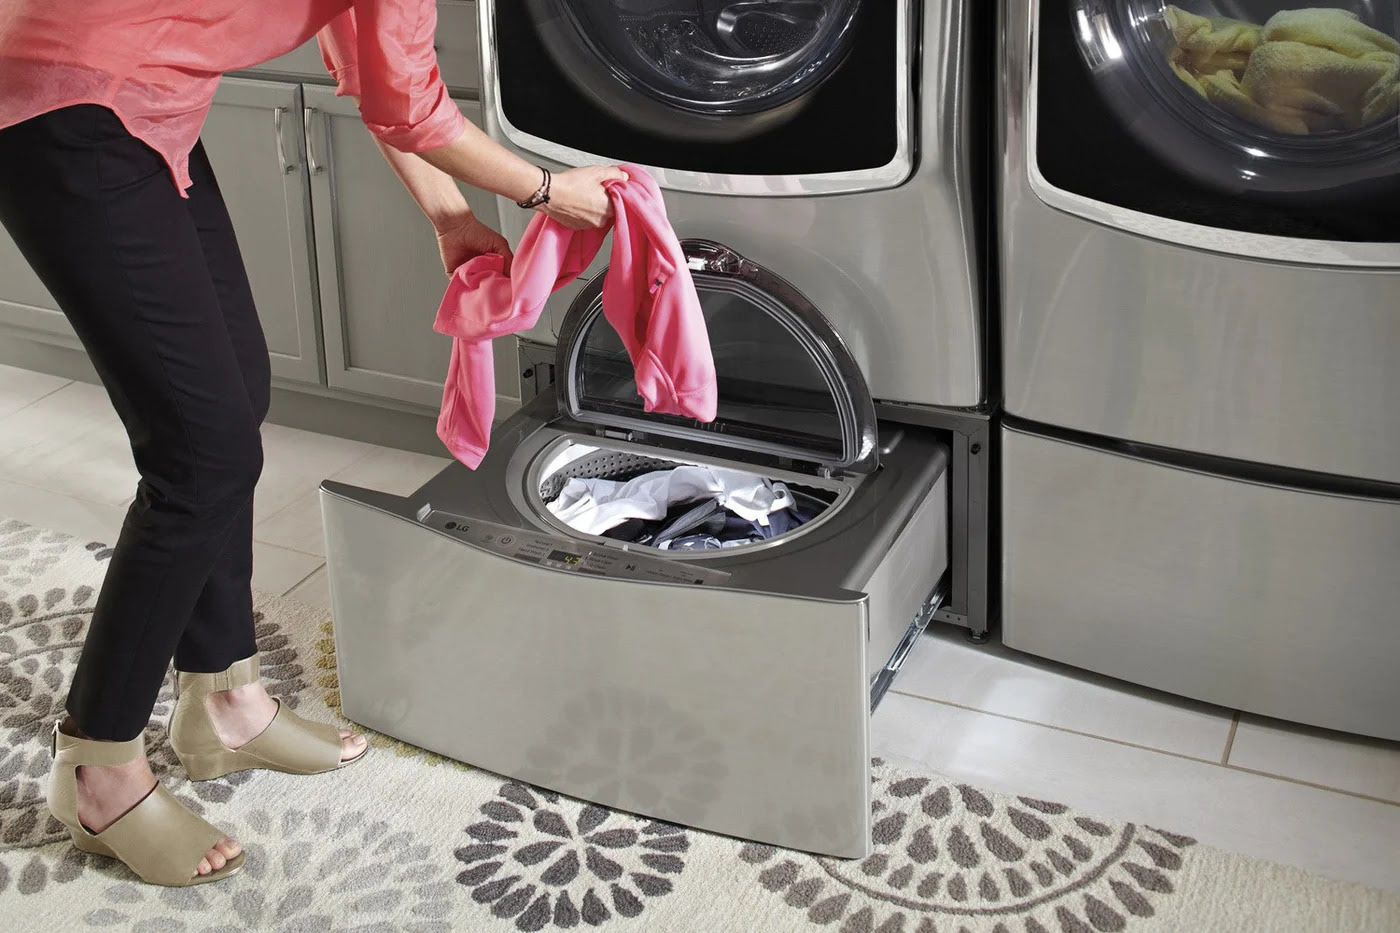
Not only does a pedestal elevate your appliances, but it also adds extra storage space for your laundry supplies, reduces vibrations and noise, and adds a touch of elegance to your laundry room.
Remember to adapt the measurements and instructions provided in this article to suit the specific dimensions and requirements of your washer and dryer. Safety should always be a priority, so make sure to take appropriate precautions when using power tools and handling heavy materials.
Now that you have the knowledge and confidence to build your own pedestal, it’s time to put your skills into action. Enjoy the benefits of an elevated washer and dryer and take pride in the fact that you created a functional and stylish addition to your laundry room.
Happy washing and drying!
Frequently Asked Questions about How To Build A Pedestal For Washer And Dryer
Was this page helpful?
At Storables.com, we guarantee accurate and reliable information. Our content, validated by Expert Board Contributors, is crafted following stringent Editorial Policies. We're committed to providing you with well-researched, expert-backed insights for all your informational needs.


0 thoughts on “How To Build A Pedestal For Washer And Dryer”