
Articles
How To Dry Out Attic After Leak
Modified: August 28, 2024
Learn effective strategies for drying out your attic after a leak with these informative articles. Prevent mold and water damage with expert tips and guidance.
(Many of the links in this article redirect to a specific reviewed product. Your purchase of these products through affiliate links helps to generate commission for Storables.com, at no extra cost. Learn more)
Introduction
Welcome to our comprehensive guide on how to dry out your attic after a leak. Dealing with a leak in your attic can be a stressful and frustrating experience, but it’s crucial to take quick action to prevent further damage and the potential for mold growth.
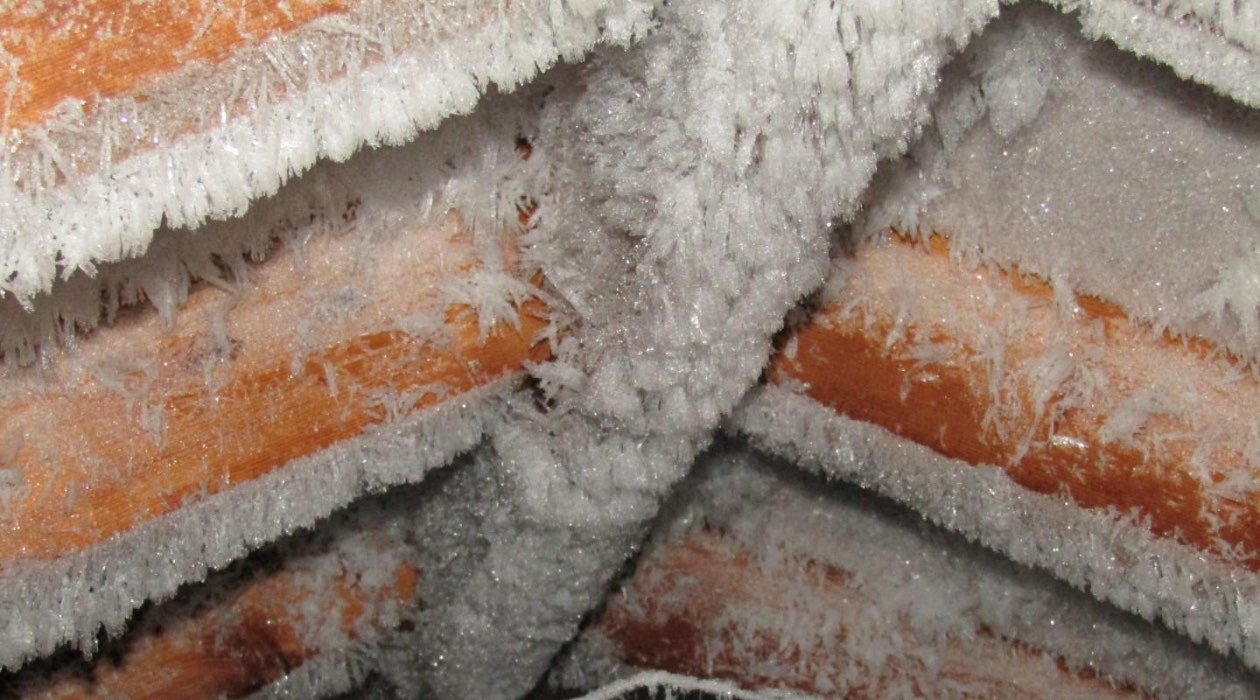
Leaks in the attic can be caused by a variety of factors, such as roof damage, faulty plumbing, or condensation buildup. Regardless of the source, it’s important to address the issue promptly to minimize the impact on your home’s structure and indoor air quality.
In this article, we will outline a step-by-step approach to effectively dry out your attic after a leak. We will cover everything from identifying and fixing the source of the leak to assessing the extent of the damage, enhancing ventilation, using dehumidifiers and fans, inspecting for mold growth, and repairing or replacing damaged insulation. By following these steps, you will be well on your way to restoring your attic and ensuring the long-term integrity of your home.
Before we dive into the specific steps, it’s worth mentioning that safety should always be a top priority when dealing with a leak in the attic. Make sure to wear protective gear, such as gloves and a mask, when handling wet materials, and exercise caution when working at heights or in confined spaces.
Now, let’s begin the process of drying out your attic after a leak. With the right tools and know-how, you’ll be able to successfully mitigate the damage and restore your attic to its original condition.
Key Takeaways:
- Promptly fixing the source of the leak, removing wet materials, and enhancing ventilation are crucial steps in effectively drying out your attic after a leak, preventing further damage and mold growth.
- Utilizing dehumidifiers, fans, and conducting a thorough final inspection are essential for expediting the drying process, addressing mold growth, and ensuring the attic is restored to optimal condition.
Read more: How To Dry Out Ceiling After Leak
Step 1: Identify and Fix the Source of the Leak
The first and most crucial step in drying out your attic after a leak is to identify and fix the source of the problem. Without addressing the underlying cause, any efforts to dry out the space will be futile, as the leak will continue to introduce moisture.
Start by visually inspecting your attic for any obvious signs of water intrusion. Look for water stains on the ceiling, walls, or insulation, as well as any visible cracks or gaps in the roof or plumbing fixtures.
If the leak is due to a damaged roof, it’s best to enlist the help of a professional roofer to assess the situation and perform the necessary repairs. They will have the experience and equipment to safely access the roof and fix any issues, such as missing or damaged shingles, cracked flashing, or clogged gutters.
For leaks originating from plumbing fixtures, such as pipes or vents, it’s important to shut off the water supply to that area and consult a licensed plumber to make the necessary repairs. Attempting to fix plumbing issues on your own can lead to further damage and potential safety hazards.
Once the source of the leak has been identified and repairs have been made, it’s crucial to ensure that the area is completely sealed and waterproofed. This may involve applying waterproof sealant to cracks or replacing damaged roofing materials. Taking these extra precautions will help prevent future leaks and protect your attic from any future water intrusion.
It’s worth noting that if you’re unable to identify the source of the leak or the repair work required is beyond your expertise, it’s best to consult with professionals who specialize in roof repairs or plumbing. They will have the knowledge and skills to address the issue effectively and prevent any further damage to your attic.
Now that you’ve fixed the source of the leak, you’re ready to move on to the next step: removing any wet materials from your attic.
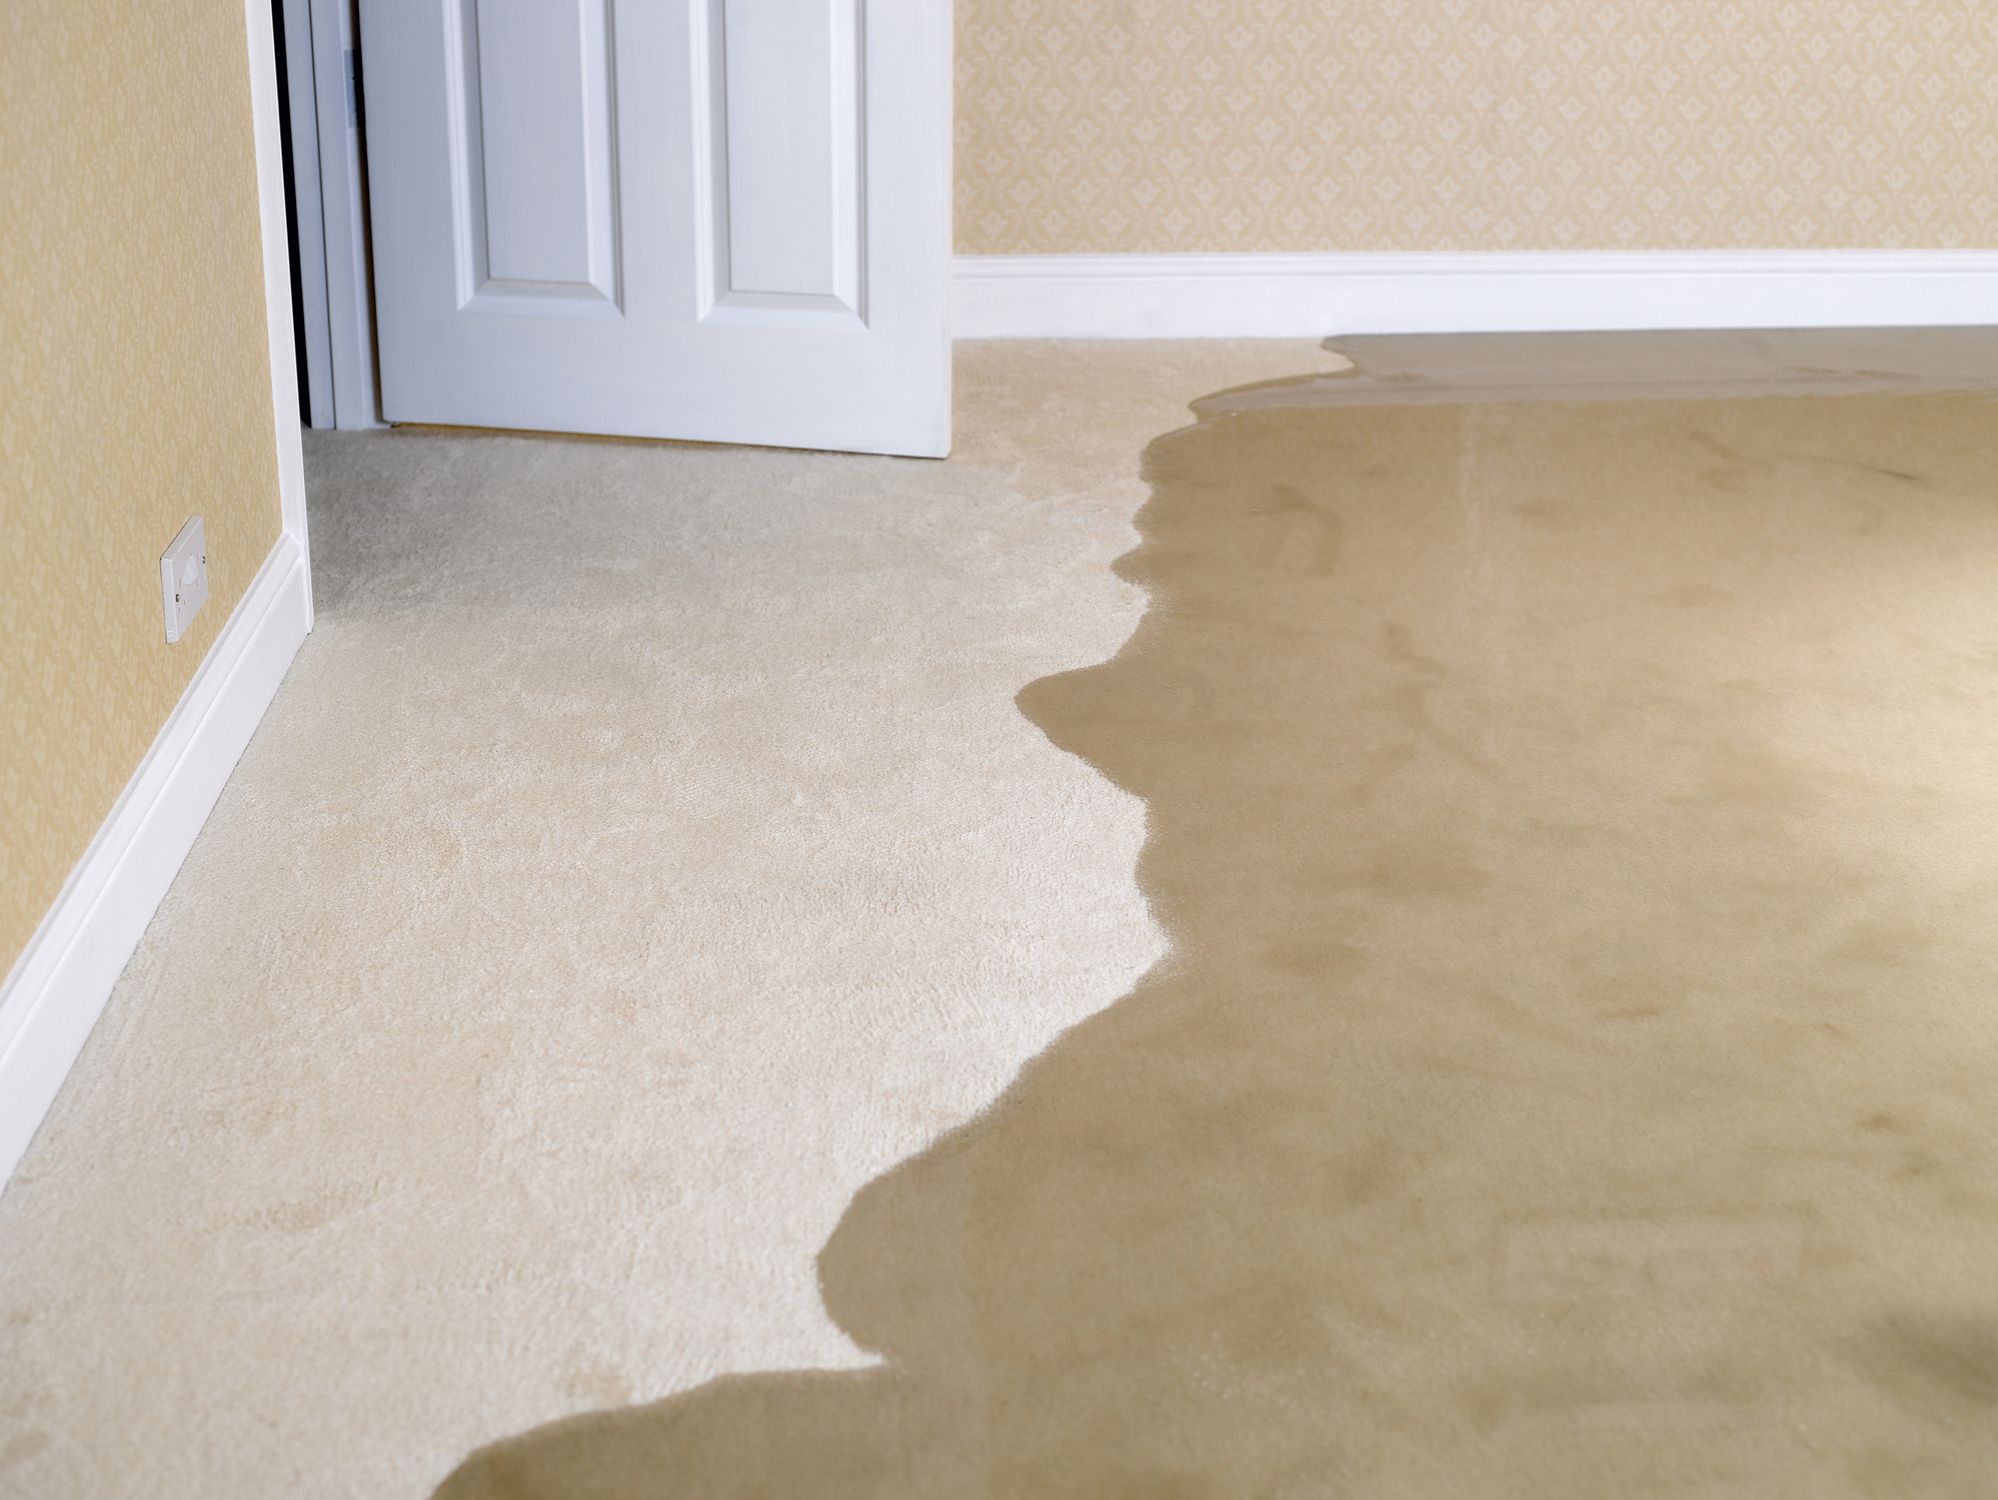
Step 2: Remove Any Wet Materials
After addressing the source of the leak, the next crucial step in drying out your attic is to remove any wet materials. This includes items such as insulation, ceiling tiles, and any other porous materials that have been affected by the water.
Start by wearing protective gear, such as gloves and a mask, to avoid any potential health hazards associated with water damage, such as mold growth or exposure to contaminants.
Begin by carefully removing any wet insulation from the affected areas. Insulation that has been saturated with water loses its effectiveness and can contribute to mold growth if left in place. Carefully bag and dispose of the wet insulation according to local regulations.
Next, assess the condition of any ceiling tiles or drywall in the attic. If they are wet or show signs of water damage, it is recommended to remove and replace them. Wet drywall can become weakened and may pose a safety risk if left untreated.
During this process, be mindful of any electrical wiring or fixtures in the attic. If there is water damage near electrical components, it is important to turn off the power to that area of the house and consult an electrician for further evaluation before proceeding.
Once all wet materials have been removed, it’s important to dispose of them properly. This may involve contacting your local waste management facility for guidance on how to properly discard wet insulation, drywall, or other damaged materials.
With all wet materials removed, you’ve cleared the way for the next steps in the drying process. However, before proceeding, it’s important to assess the extent of the damage in your attic, which we will cover in the next step.
Step 3: Assess the Extent of the Damage
Now that you have removed the wet materials from your attic, it’s time to assess the extent of the damage caused by the leak. This step will help you determine the necessary actions to fully restore your attic.
Start by conducting a thorough inspection of the attic space. Look for any remaining signs of water damage, such as water stains, discoloration, or warped surfaces. Pay attention to the condition of the structural elements, such as beams and joists, as well as the overall integrity of the attic’s insulation.
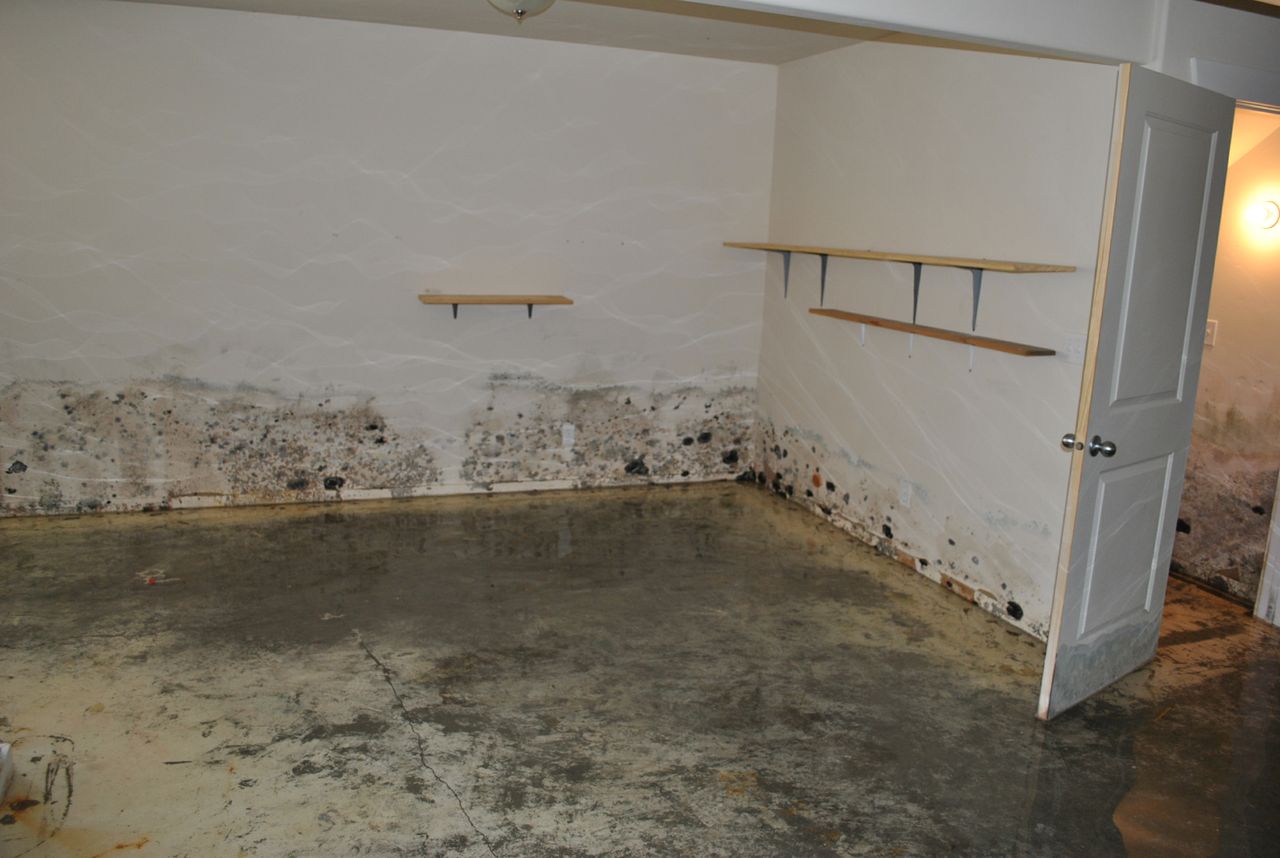
If you notice any signs of mold growth during your inspection, it’s important to take immediate action. Mold can pose serious health risks and can spread quickly if not properly addressed. Consider contacting a professional mold remediation company to assess and remove the mold safely.
Additionally, check for any signs of structural damage. It’s possible that the leak may have weakened certain areas of the attic, especially if the water intrusion was prolonged or severe. Look for sagging or compromised beams, as well as any signs of rot or decay.
Assess the state of your attic’s insulation. Depending on the severity of the leak, the insulation may have become waterlogged and ineffective. Wet insulation not only fails to provide proper thermal insulation but also creates a favorable environment for mold growth. Determine if the insulation needs to be replaced and make a note to address it in the following steps.
Document the damage by taking photos or videos. These records will be useful for insurance claims or if you need to consult with professionals for repair or restoration work.
By assessing the extent of the damage, you will have a clearer understanding of what needs to be addressed in order to fully restore your attic. This information will guide you in the subsequent steps of enhancing ventilation, using dehumidifiers and fans, and repairing or replacing damaged areas.
Now that you’ve assessed the damage, it’s time to move on to step 4: enhancing ventilation in the attic.
Step 4: Enhance Ventilation in the Attic
Enhancing ventilation in your attic is a crucial step in drying out the space and preventing future moisture-related issues. Proper airflow helps to remove excess humidity, reduce the risk of mold growth, and promote the overall health of your attic.
Here are some effective ways to enhance ventilation in your attic:
- Install attic vents: Attic vents allow for the exchange of fresh air by allowing hot air to escape and cool air to enter. They come in different types, such as roof vents, gable vents, soffit vents, or ridge vents. Installing a combination of these vents will create a balanced airflow throughout the attic.
- Clean and clear existing vents: Ensure that any existing vents in your attic are not clogged or obstructed. Remove any debris, dust, or insulation that may be blocking the airflow. This will help maximize the effectiveness of your ventilation system.
- Add insulation baffles: Insulation baffles help to maintain airflow between the soffit vents and the attic space. They prevent the insulation from blocking the vents and ensure proper ventilation. Install insulation baffles if they are not already in place or if they have been damaged due to the leak.
- Create cross ventilation: Cross ventilation involves having vents at both the lower and upper levels of the attic to allow air to flow freely. This can be achieved by installing vents at opposite ends of the attic, creating a pathway for the air to move through.
- Consider an attic fan: An attic fan can be a valuable addition to your ventilation system. It helps to remove excessive heat and humidity from the attic, making it a more effective drying mechanism. However, consult with a professional to determine if an attic fan is suitable for your specific attic layout and needs.
By implementing these ventilation enhancements, you will improve the airflow in your attic, facilitating the drying process and reducing the risk of moisture-related issues. Remember to monitor the ventilation system regularly to ensure that it is functioning properly and make any necessary adjustments.
With enhanced ventilation in place, it’s time to move on to step 5: using dehumidifiers and fans to further expedite the drying process.
Use fans and dehumidifiers to circulate air and remove moisture. Open windows and vents to increase ventilation. Check for any remaining leaks and repair them.
Read more: How To Fix A Leak In The Attic
Step 5: Use Dehumidifiers and Fans
To expedite the drying process in your attic, utilizing dehumidifiers and fans can be highly effective. These tools help to remove excess moisture from the air, reducing the overall humidity levels and aiding in the drying of wet materials. Here’s how you can use them:
- Position dehumidifiers strategically: Place dehumidifiers in your attic to help extract moisture from the air. Consider placing them near areas that were heavily affected by the leak or where moisture tends to accumulate. Follow the manufacturer’s instructions on setting humidity levels and emptying the water reservoir as needed.
- Use fans for air circulation: Set up fans in your attic to promote air circulation and improve the drying process. Position them in such a way that they create a cross breeze, helping to disperse moisture-laden air and introduce fresh, dry air into the space.
- Open windows and vents: If weather conditions permit, open windows and vents in your attic to allow for increased airflow. This helps to facilitate the movement of damp air out of the attic and allows fresh air to enter.
- Monitor humidity levels: Use a hygrometer or moisture meter to monitor the humidity levels in your attic. Aim to maintain a humidity level below 60% to discourage mold growth. Adjust the settings on the dehumidifiers and fans accordingly to achieve the desired humidity level.
It’s important to note that using dehumidifiers and fans alone won’t completely dry out your attic. They work in conjunction with other steps in the drying process. Regularly check the dehumidifiers and fans and change filters or clean them as needed to maximize their effectiveness.
By utilizing dehumidifiers and fans, you are actively assisting in the removal of moisture from your attic, reducing the risk of mold growth, and accelerating the overall drying process. Once the attic is sufficiently dry, it’s time to move on to step 6: inspecting for mold growth.
Step 6: Inspect for Mold Growth
After addressing the leak, removing wet materials, and taking steps to dry out your attic, it’s crucial to inspect for any signs of mold growth. Mold can thrive in damp and poorly ventilated environments, making the attic a potential breeding ground if not properly treated.
Here’s how to inspect for mold growth in your attic:
- Inspect visually: Carefully examine the surfaces of your attic, including walls, beams, insulation, and any other materials. Look for any visible signs of mold, such as black or green patches, fuzzy growth, or discoloration. Pay close attention to corners, areas near the leak source, and any spots that were heavily affected by water.
- Check for musty odors: Mold often produces a musty smell. As you inspect your attic, pay attention to any lingering odors. If you notice a strong and unpleasant smell, it could be an indication of mold growth.
- Consider mold testing: If you suspect mold growth or cannot visually identify it, you may want to consider hiring a professional mold inspector. They can conduct air quality tests or take samples to determine if mold is present and assess the extent of the contamination.
If you do discover mold growth in your attic, it’s essential to address it promptly to prevent further damage and protect your health. Here are some tips for mold remediation:
- Hire a professional: Mold remediation can be complex and hazardous. It’s best to hire a certified mold remediation specialist who has the expertise and proper equipment to safely remove the mold and mitigate its spread.
- Contain the area: Use plastic sheeting or barriers to isolate the affected area from the rest of your home to prevent the mold spores from spreading to other areas during the remediation process.
- Remove moldy materials: Remove and safely dispose of any materials that cannot be salvaged, such as badly contaminated insulation or damaged drywall. Bag them securely and follow local guidelines for proper disposal.
- Clean and sanitize: Thoroughly clean the affected surfaces with a mold-specific cleaner or a mixture of water and detergent. After cleaning, apply a mold-resistant solution to prevent future mold growth.
- Address the source: Consult with professionals to identify and fix the underlying cause of the mold growth, whether it’s a recurring leak or inadequate ventilation. Addressing the root cause is essential to prevent mold from returning.
Keeping your attic mold-free is crucial for maintaining a healthy and safe living environment. By conducting regular inspections and taking swift action if you discover mold, you can effectively manage any mold issues in your attic.
With the mold inspection complete, it’s time to move on to step 7: repairing and replacing damaged insulation.
Step 7: Repair and Replace Damaged Insulation
Once you have addressed the leak, removed wet materials, dried out the attic, and remediated any mold growth, it’s time to focus on repairing and replacing any damaged insulation. Proper insulation is essential for maintaining energy efficiency and preventing future moisture-related issues in your attic.
Here’s how to repair and replace damaged insulation in your attic:
- Assess the condition: Inspect the remaining insulation in your attic to determine its overall condition. If it has been significantly damaged by the leak or if it is compressed or waterlogged, it is best to replace it entirely.
- Remove damaged insulation: Carefully remove any damaged or wet insulation that was not already removed during the initial stages. Ensure that the area is clear before proceeding to the next steps. Remember to follow proper safety precautions, such as wearing gloves and a mask, as insulation materials can be irritants.
- Seal any gaps: Before installing new insulation, seal any gaps or openings in your attic that could potentially allow air or moisture infiltration. Use expandable foam or weatherstripping to seal around pipes, wiring, vents, and any other penetrations in the attic floor or walls.
- Choose the right insulation: Select the appropriate type of insulation for your attic based on factors such as climate, desired R-value, and accessibility. Common options include fiberglass batts, blown-in cellulose, or spray foam insulation. Consult with professionals or refer to local building codes for guidance.
- Install the new insulation: Follow the manufacturer’s instructions for installing the chosen type of insulation. Be sure to place it snugly and evenly in the attic, covering the entire space without blocking any vents or creating compression that reduces its effectiveness. Consider hiring professionals if you are unsure about the installation process.
By properly repairing and replacing damaged insulation, you can restore the energy efficiency of your attic and provide a barrier against heat loss, moisture infiltration, and potential mold growth.
Keep in mind that insulation requirements and best practices may vary depending on your location and specific building codes. It’s always a good idea to consult with professionals or experts in your area to ensure that you are meeting the necessary standards.
With the insulation repaired or replaced, it’s time for the final step: conducting a thorough inspection of your attic to ensure that everything is in order.
Step 8: Conduct a Final Inspection
Congratulations! You’ve come to the final step in the process of drying out your attic after a leak. Conducting a thorough final inspection is essential to ensure that all necessary repairs have been made and that your attic is in optimal condition.
Here’s how to conduct a final inspection of your attic:
- Check for any remaining signs of moisture: Carefully examine the walls, ceiling, beams, and flooring of your attic for any residual signs of moisture. Look for water stains, discoloration, or any damp areas that may indicate lingering moisture issues. If you notice anything suspicious, investigate the cause and address it promptly.
- Verify the effectiveness of the repairs: Take the time to ensure that all necessary repairs have been made and that the source of the leak has been successfully resolved. Double-check any repaired roof areas, plumbing fixtures, or other potential sources of water intrusion.
- Inspect the ventilation system: Check that your attic ventilation system is working effectively. Ensure that vents are unobstructed and that air can flow freely throughout the space. Verify that fans are functioning properly and that dehumidifiers, if still in use, are effectively reducing humidity levels.
- Evaluate the insulation: Assess the newly installed or replaced insulation to ensure it is properly installed, providing adequate coverage and thickness. Confirm that it is positioned without blocking vents or compressing in a way that diminishes its thermal efficiency.
- Look for signs of mold: Conduct a final visual inspection for any signs of mold growth. Check for any musty odors and visually examine the surfaces for any visible mold patches or discoloration. If you discover mold growth, take immediate action to remediate it as discussed in Step 6.
- Document the condition: Document the results of your inspection by taking photos or videos. This documentation can serve as evidence of the attic’s condition before and after the repairs, which may be useful for insurance purposes or future reference.
Completing a thorough final inspection ensures that your attic has been properly restored and is in good condition. It provides peace of mind that the necessary steps have been taken to mitigate the effects of the leak and prevent further problems.
If, during the inspection, you find any issues or uncertainties that you cannot address on your own, it’s recommended to consult with professionals who specialize in attic repairs, mold remediation, or insulation installation. They can provide expert guidance and perform any necessary additional work.
With the final inspection complete, you can now enjoy the reassurance that your attic has been effectively dried out and restored. Keep an eye on your attic moving forward, and address any maintenance or repairs promptly to prevent future leaks or moisture-related issues.
Congratulations again on successfully drying out your attic after a leak! By following this comprehensive guide, you have taken important steps to preserve the integrity of your home and maintain a healthy living environment.
Read more: How To Find A Roof Leak With No Attic
Conclusion
Dealing with a leak in your attic can be a challenging and stressful situation, but by following the steps outlined in this comprehensive guide, you can effectively dry out your attic and restore it to its optimal condition.
Throughout the process, it’s crucial to quickly identify and fix the source of the leak to prevent further damage. Removing any wet materials and assessing the extent of the damage allows you to determine the necessary repairs and replacements needed.
Enhancing ventilation in the attic promotes airflow and aids in the drying process. Utilizing dehumidifiers and fans further expedites the removal of excess moisture from the air, reducing the risk of mold growth. Inspecting for mold growth is essential to address any potential health hazards.
Repairing and replacing damaged insulation helps to maintain proper energy efficiency and prevent future moisture-related issues. Finally, conducting a final inspection ensures that all necessary repairs have been made and that your attic is in optimal condition.
Remember, safety should always be a top priority when working in your attic. Wear protective gear, take precautions when working at heights, and consult with professionals if you are unsure about any aspect of the process.
By following these steps and taking the necessary actions, you can successfully dry out your attic after a leak and restore it to a clean, dry, and well-maintained space. Regular maintenance and prompt repairs in the future will help prevent future leaks and ensure the long-term integrity of your attic and your home.
Thank you for reading our comprehensive guide. We hope that it has provided you with the knowledge and confidence to tackle the drying process in your attic. Remember, if you are ever in doubt or need assistance, it’s always best to consult with professionals specializing in attic repairs, mold remediation, and insulation installation.
Frequently Asked Questions about How To Dry Out Attic After Leak
Was this page helpful?
At Storables.com, we guarantee accurate and reliable information. Our content, validated by Expert Board Contributors, is crafted following stringent Editorial Policies. We're committed to providing you with well-researched, expert-backed insights for all your informational needs.


0 thoughts on “How To Dry Out Attic After Leak”