Home>Garden Essentials>How To Dry Out Pepper Seeds
Garden Essentials
How To Dry Out Pepper Seeds
Modified: March 16, 2024
Learn how to dry out pepper seeds in your garden for future planting. Discover simple and effective techniques to ensure successful seed preservation.
(Many of the links in this article redirect to a specific reviewed product. Your purchase of these products through affiliate links helps to generate commission for Storables.com, at no extra cost. Learn more)
Introduction
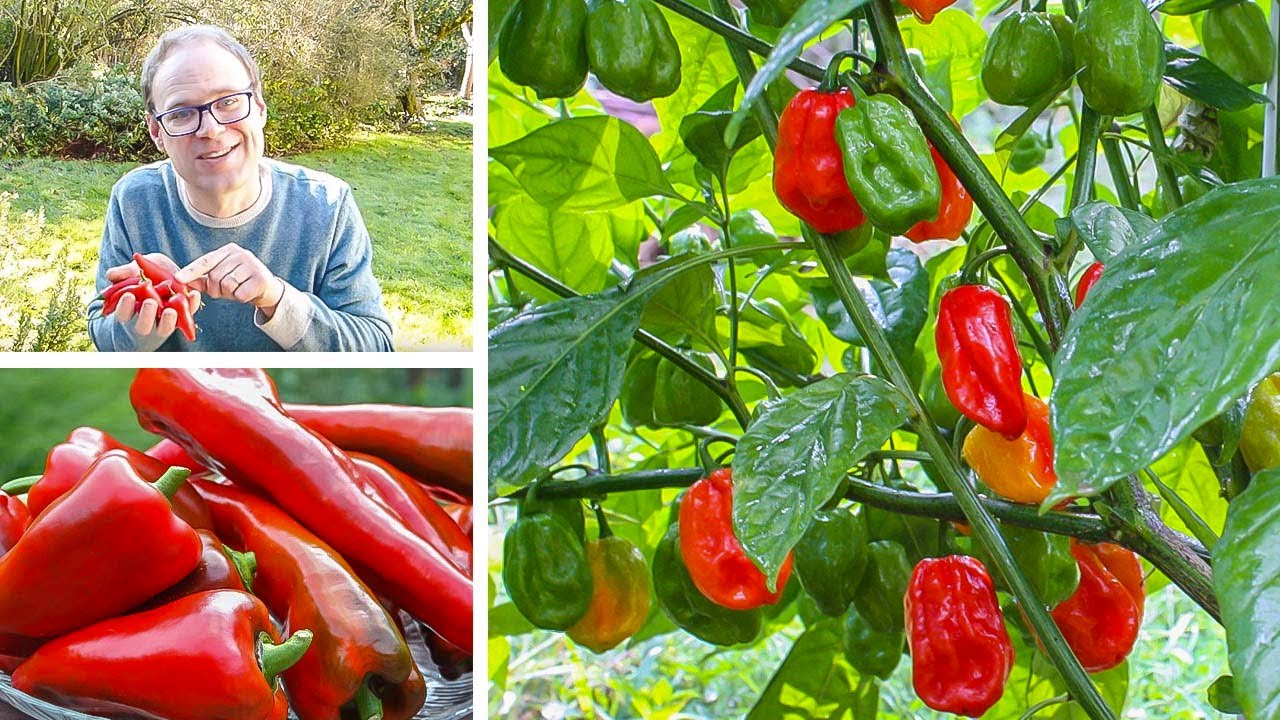
Growing peppers in your garden can be a rewarding experience. Not only do they add beautiful colors to your garden, but they also provide a fiery flavor to your favorite dishes. If you want to continue growing peppers in the future, one of the best ways to do so is by saving the seeds from the peppers you have grown. However, before you can store the seeds for future use, it is important to properly dry them out. In this article, we will explore the steps to effectively dry out pepper seeds and ensure their longevity.
Why is it necessary to dry out pepper seeds, you may wonder? Well, by drying out the seeds, you remove any moisture that may be present. This is important because moisture can often lead to mold or seed rot, which can render the seeds useless. Drying out the seeds also helps in preventing them from sticking together, making it easier to store and sow them later.
Now that we understand the importance of drying out pepper seeds, let’s dive into the step-by-step process of how to do it effectively.
Key Takeaways:
- Preserve your favorite pepper varieties by drying out their seeds. Follow the steps to harvest, clean, and dry the seeds for future planting and a bountiful harvest.
- Ensure the longevity of pepper seeds by storing them in labeled, airtight containers in a cool, dark place. Enjoy growing your favorite peppers year after year!
Read more: How To Dry Out Seeds For Planting
Step 1: Harvesting the Pepper Seeds
The first step in drying out pepper seeds is to harvest them from ripe peppers. Follow these guidelines to ensure that you harvest the seeds at the right time:
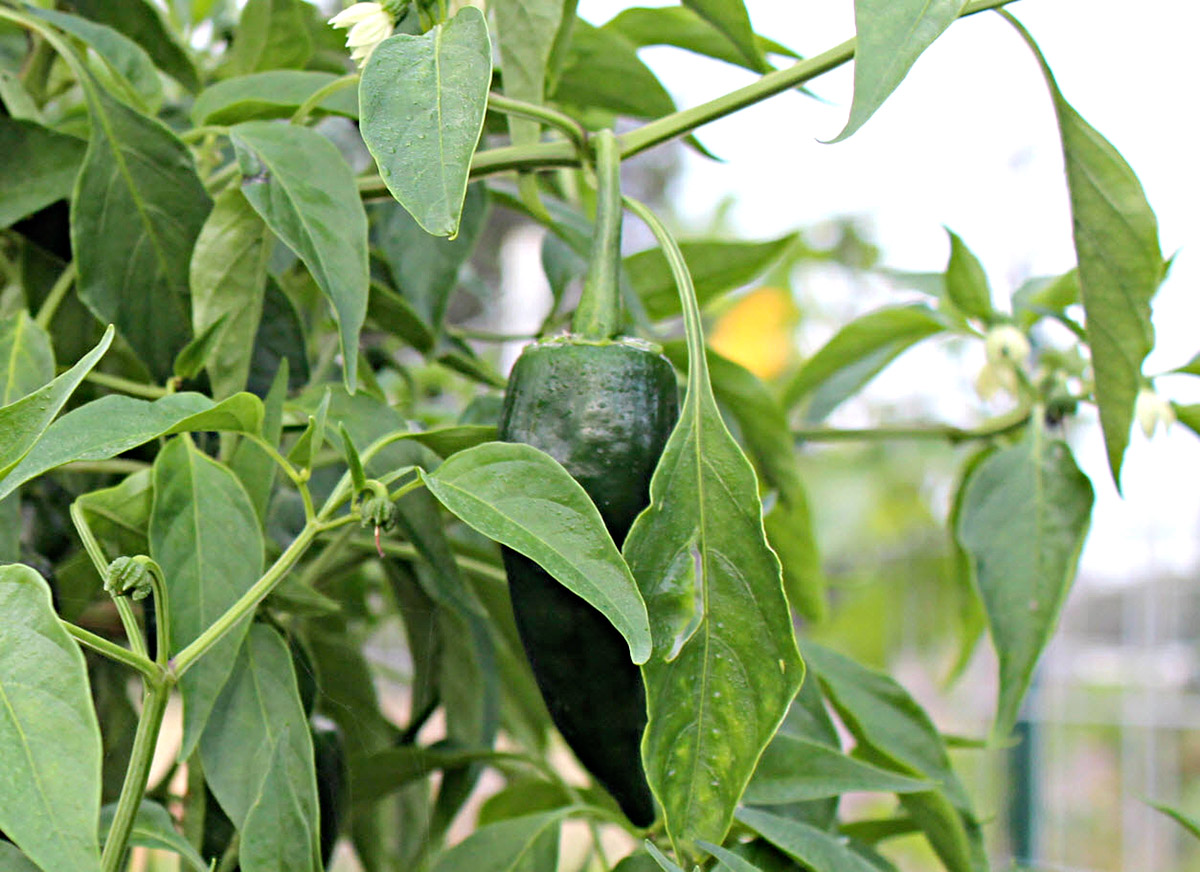
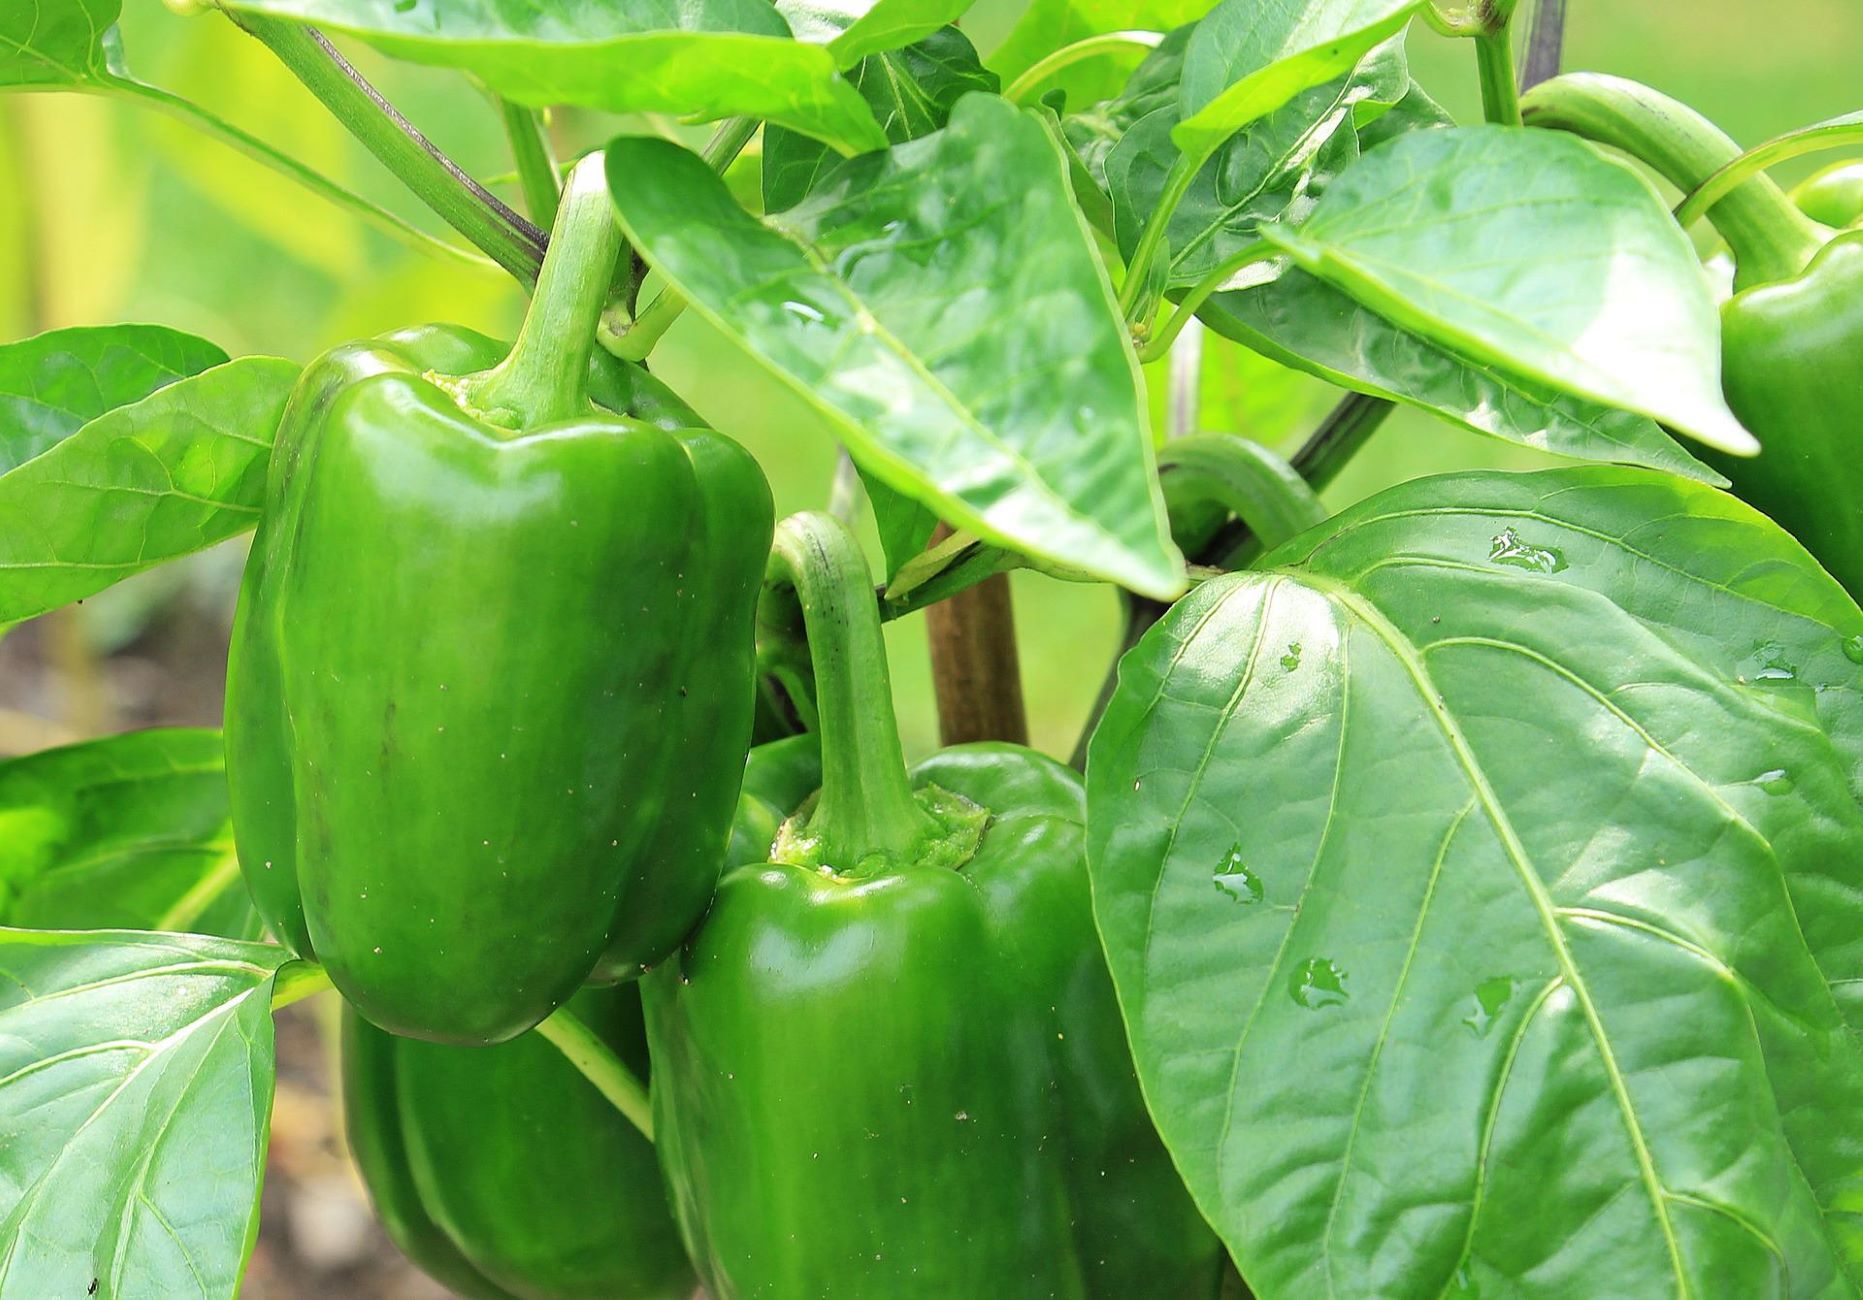
- Select mature peppers: Choose peppers that have fully ripened on the plant. Look for peppers that have changed color to indicate their maturity. For example, if you are growing bell peppers, wait for them to turn from green to their specific ripe color, such as red, yellow, or orange.
- Handle the peppers carefully: Gently pluck or cut the peppers from the plant, being careful not to damage them or the seeds inside. It’s important to harvest the peppers at their peak ripeness to ensure viable seeds.
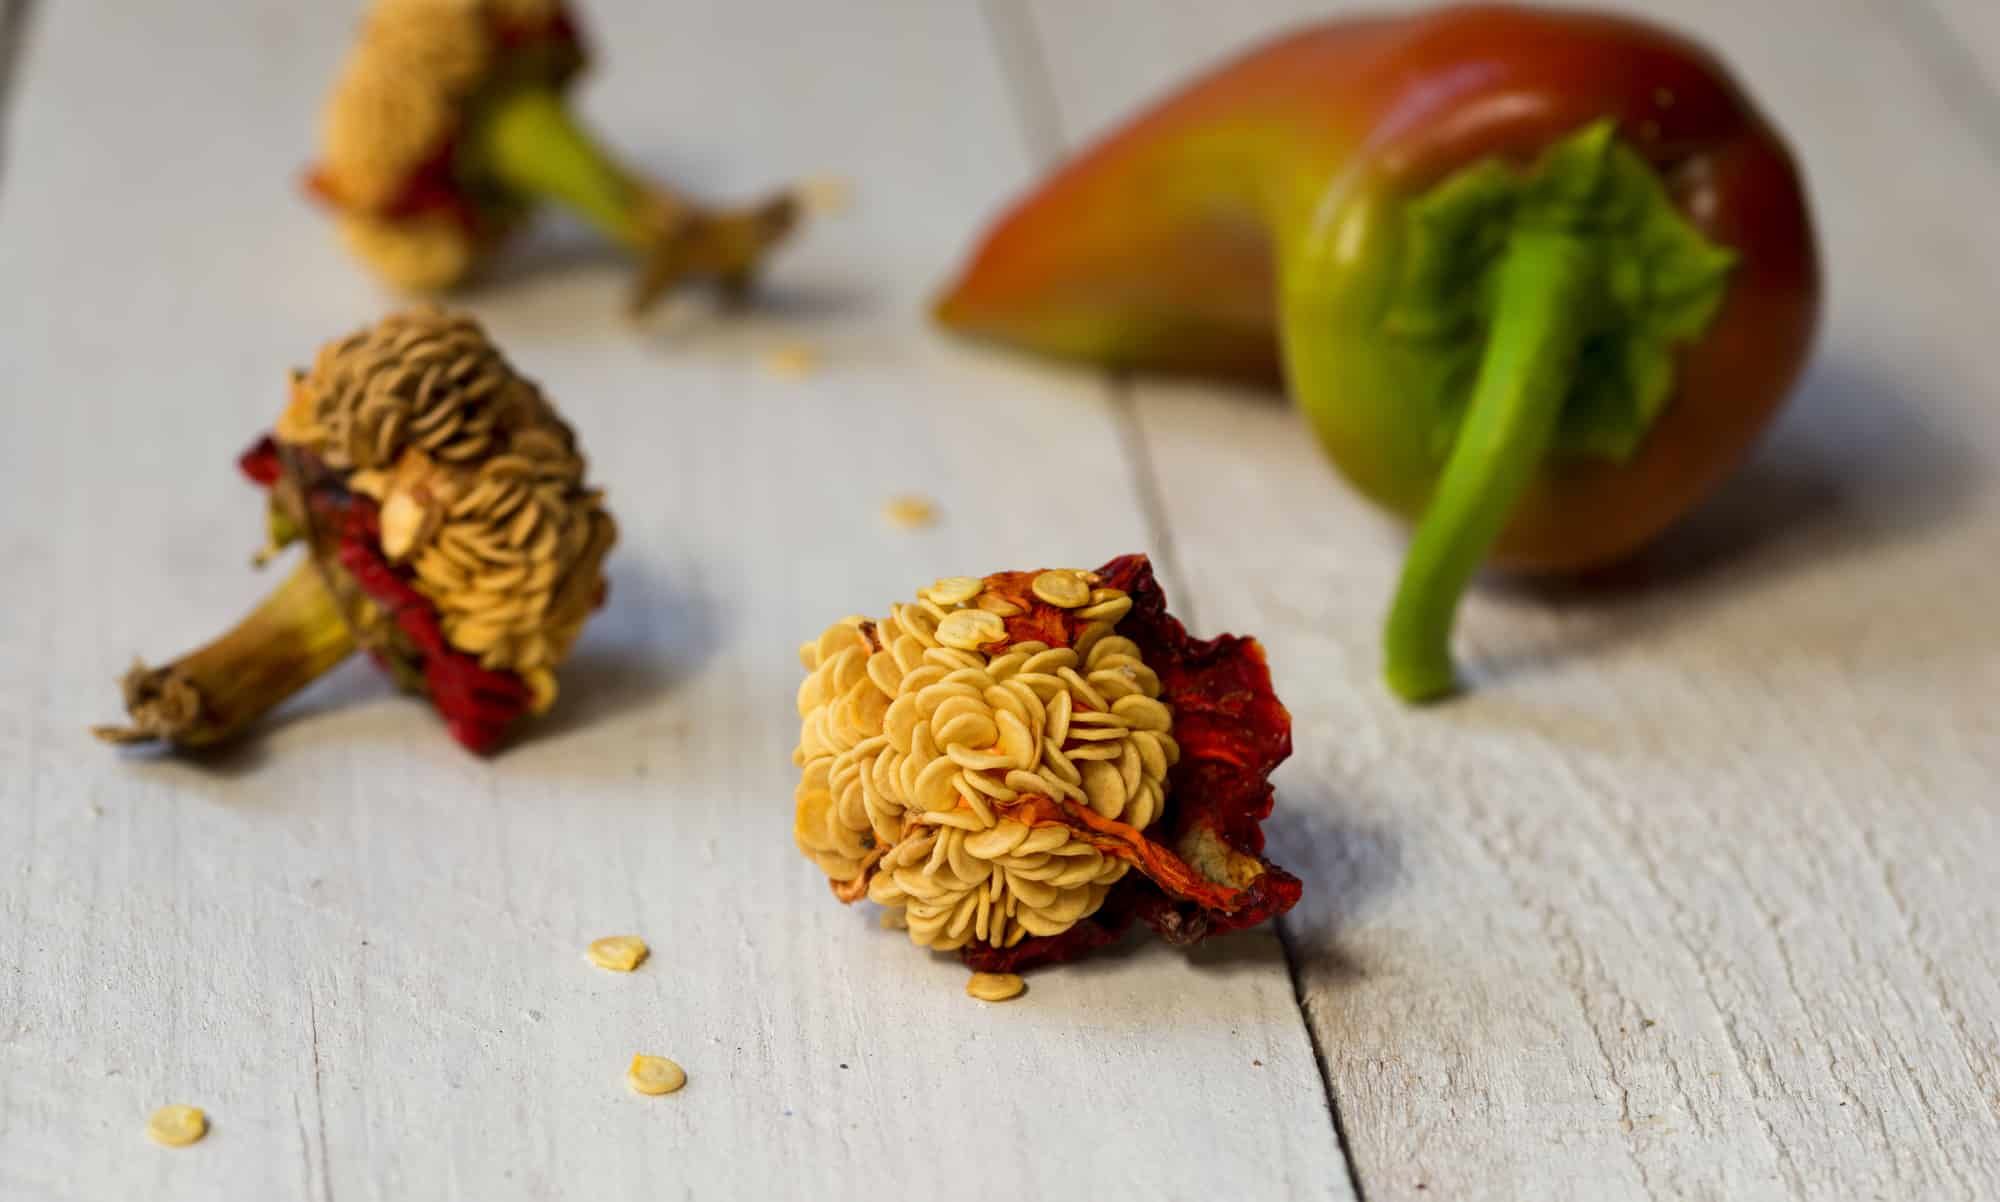
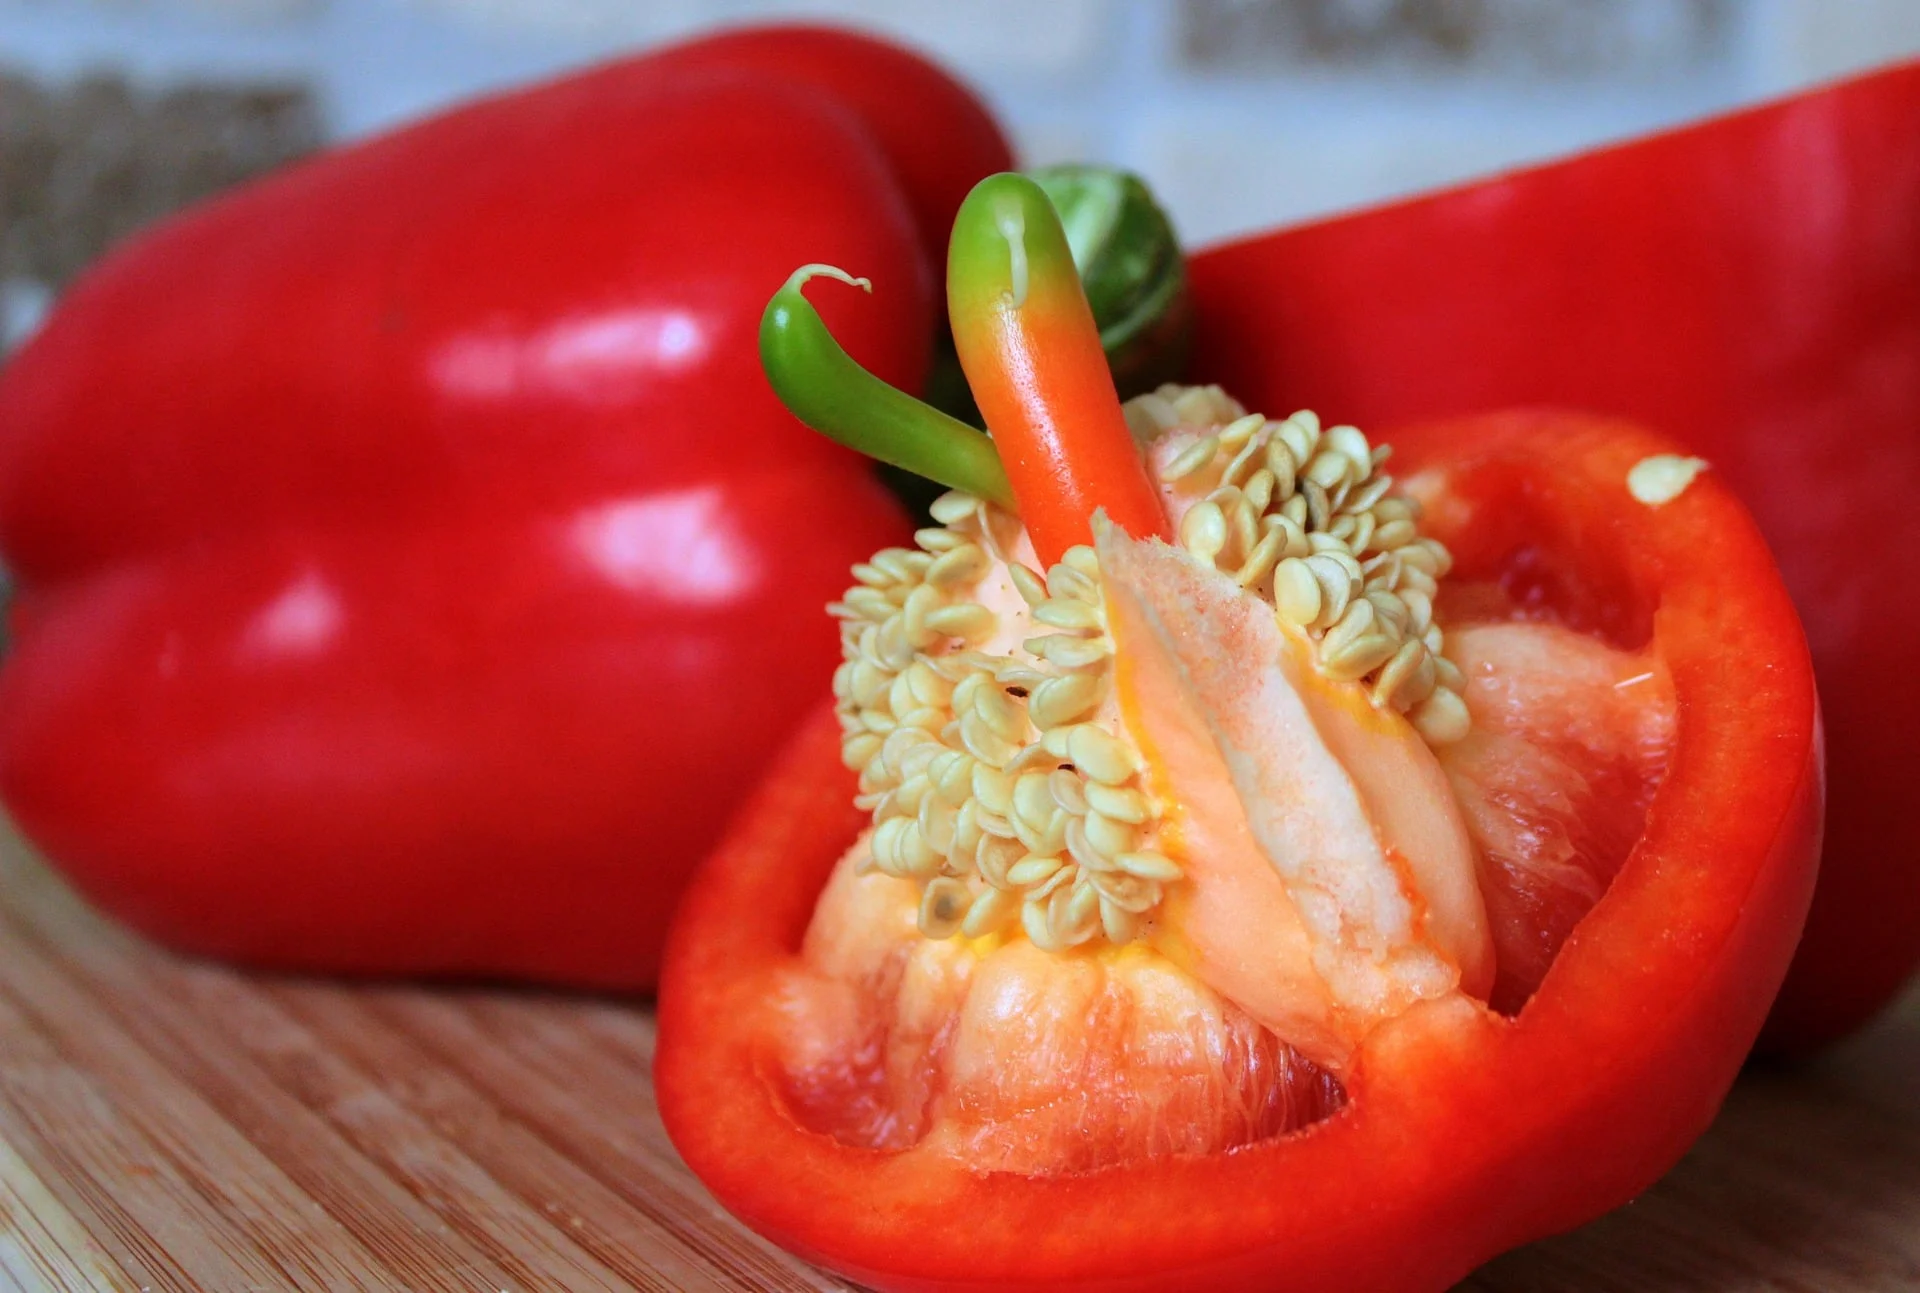
- Split the peppers: Once you have harvested the peppers, slice them open lengthwise or cut off the top. This will expose the seeds inside.
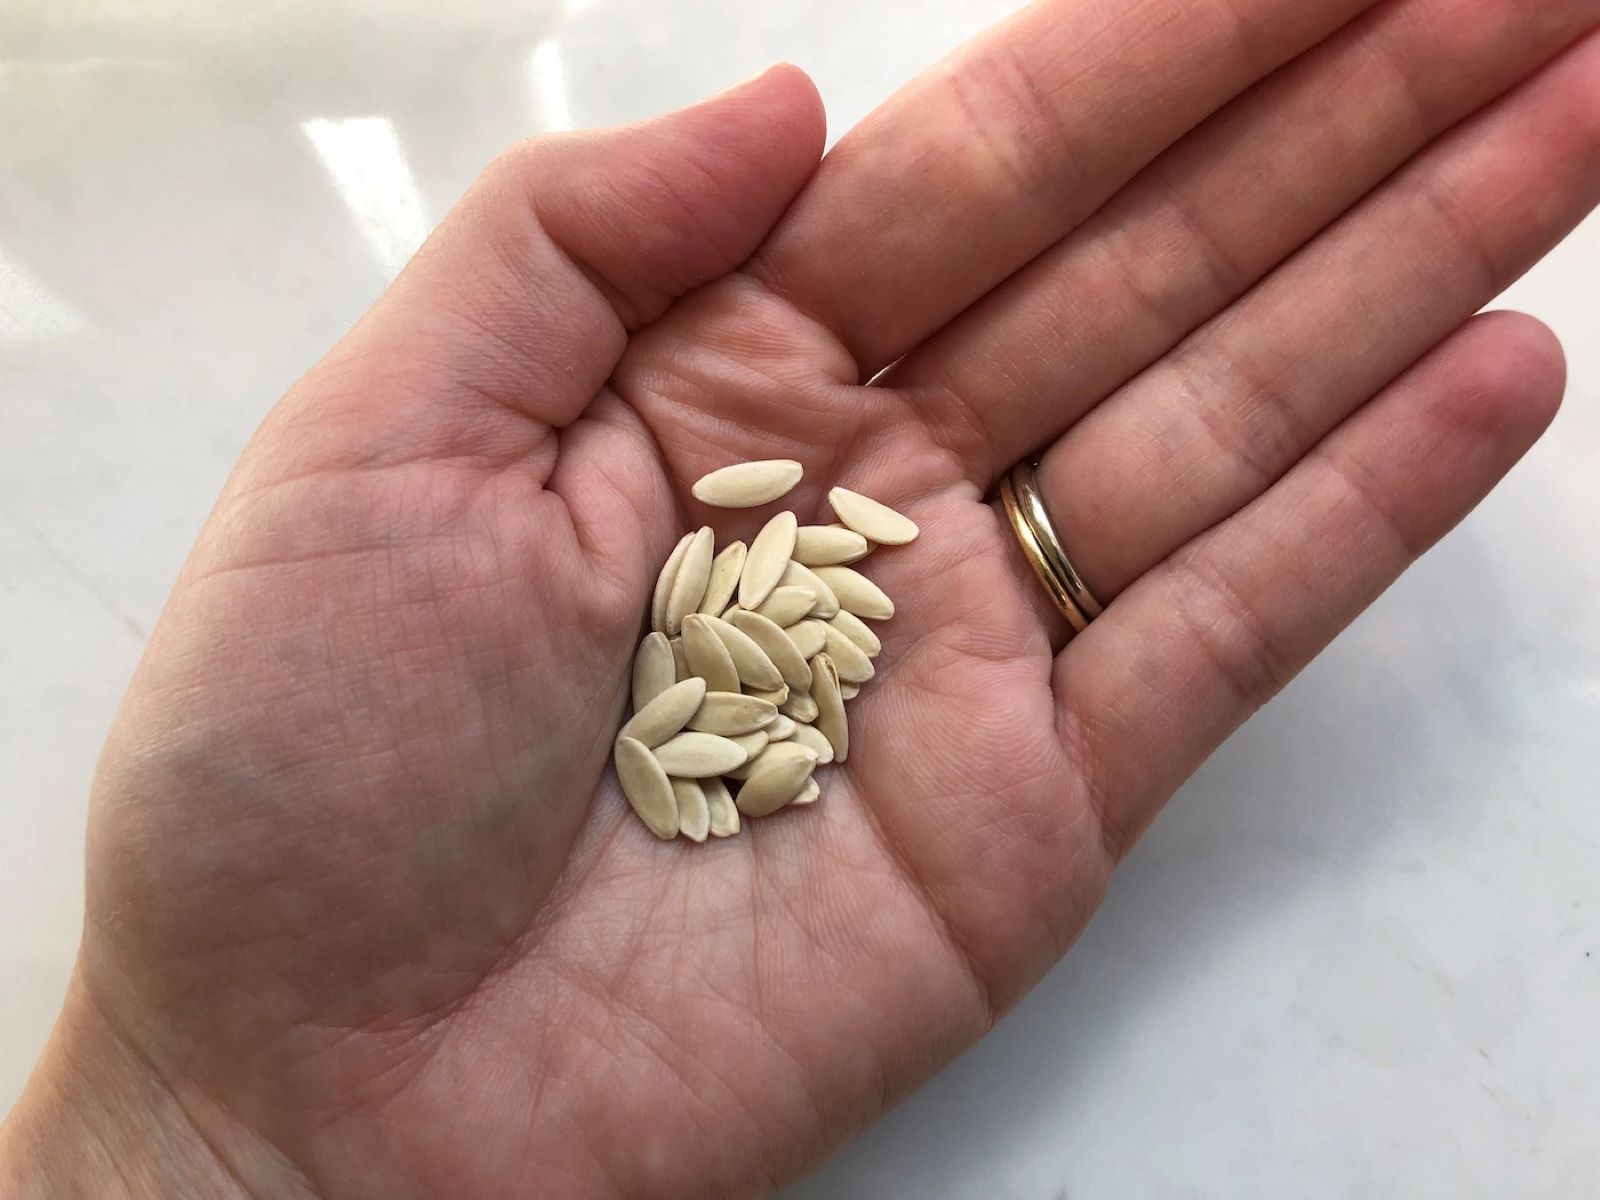
- Remove the seeds: Use a spoon or your fingers to carefully scrape out the seeds from the pepper. Try to separate the seeds from the surrounding pulp as much as possible.
It is advisable to wear gloves when handling hot or spicy pepper varieties to protect your skin from any potential irritation or burning sensation.
After completing these steps, you should have a small pile of pepper seeds ready for the next stage of the drying process.
Step 2: Cleaning the Pepper Seeds
Once you have harvested the pepper seeds, it is important to clean them to remove any pulp or debris. Follow these steps to ensure your seeds are clean and ready for drying:
- Rinse the seeds: Place the harvested pepper seeds in a fine-mesh sieve or colander and rinse them under cool running water. Gently swirl the seeds around with your fingers to remove any residual pulp.
- Remove remaining pulp: If there are any stubborn bits of pulp clinging to the seeds, you can use your fingers or a soft toothbrush to gently scrub them away. Be careful not to damage the seeds during this process.
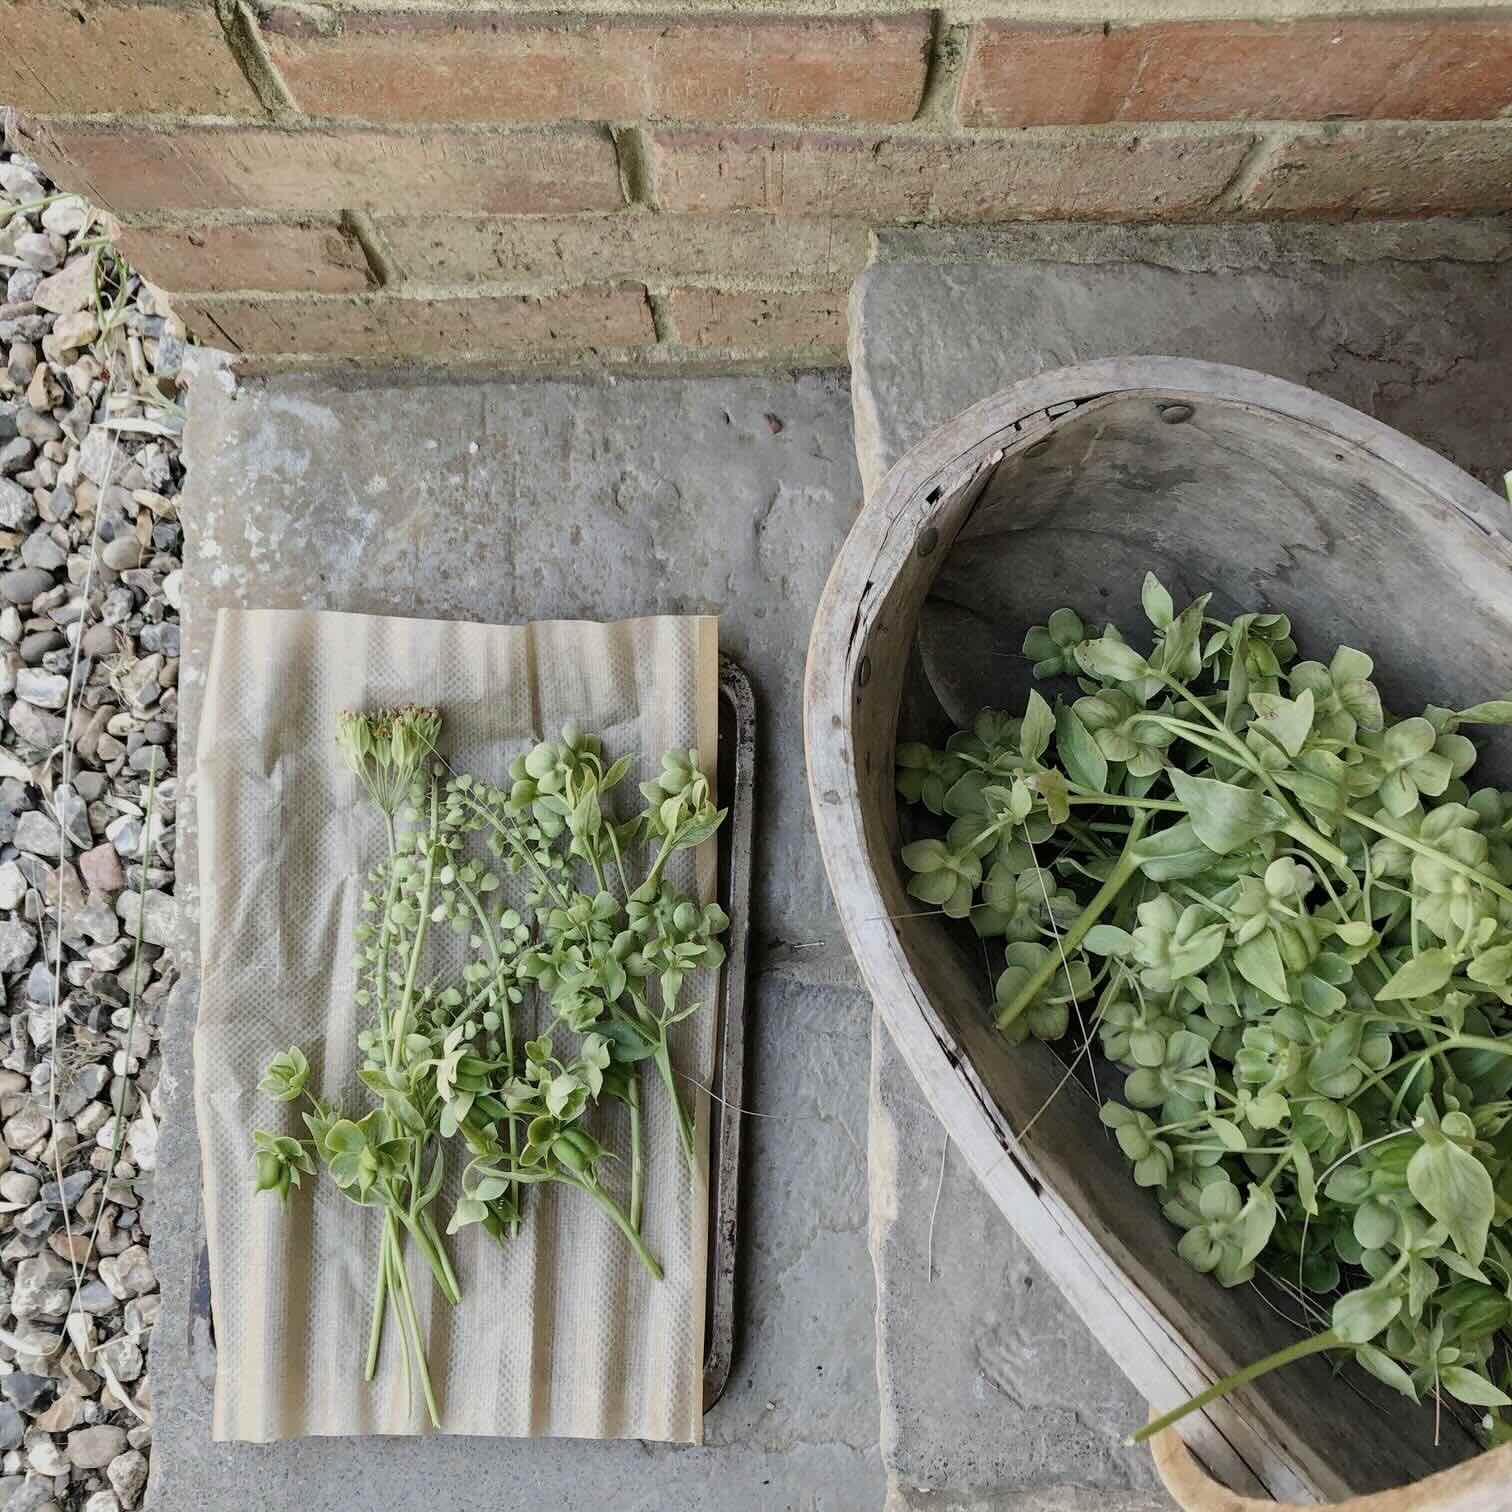
- Dry the seeds: Once the seeds are clean, transfer them to a paper towel or clean, dry cloth and pat them dry. Ensure that no excess moisture remains on the seeds, as this can hinder the drying process and potentially lead to mold formation.
Cleaning the pepper seeds not only removes any debris that may impact their quality but also helps prevent the growth of fungus or bacteria during the drying process.
With Step 2 complete, your pepper seeds are now clean and ready for the next stage: drying.
Step 3: Preparing a Drying Area
Creating the right environment for drying pepper seeds is crucial to ensure their success. Follow these steps to prepare a suitable drying area:
- Select a well-ventilated area: Find a location that has good air circulation, such as a dry and airy room or a covered outdoor space. This will help speed up the drying process and prevent the seeds from becoming moldy.
- Choose a clean surface: Use a tray, plate, or baking sheet lined with a clean paper towel or parchment paper to provide a clean and non-stick surface for the seeds.
- Avoid direct sunlight: While the drying area should still be well-lit, it’s important to keep the pepper seeds away from direct sunlight. Excessive heat and sunlight can damage the seeds’ viability.
- Maintain a consistent temperature: Aim for a constant room temperature between 70°F to 85°F (21°C to 29°C). Fluctuations in temperature can affect the drying process.
By carefully selecting and preparing a suitable drying area, you are setting the stage for optimal seed drying conditions.
With Step 3 complete, you are now ready to move on to the actual drying process in Step 4.
After removing the seeds from the peppers, spread them out on a paper towel and let them air dry for about a week. Make sure to keep them in a warm, dry place and stir them occasionally to ensure even drying.
Step 4: Drying the Pepper Seeds
Now that you have harvested, cleaned, and prepared a suitable drying area, it’s time to dry out the pepper seeds. Follow these steps to ensure your seeds dry effectively:
- Spread out the seeds: Take the cleaned pepper seeds and spread them out in a single layer on the prepared drying surface. Avoid overcrowding the seeds, as this can impede airflow and slow down the drying process.
- Allow for sufficient airflow: Place the drying surface in the well-ventilated area you prepared earlier. It’s important to allow air to circulate around the seeds, as this will help remove moisture and prevent mold formation.
- Monitor the seeds: Periodically check the seeds to evaluate the drying progress. Gently touch them to ensure they are drying out and not retaining any moisture. If you notice any signs of mold or excessive moisture, remove those seeds to prevent them from contaminating the others.
- Be patient: Drying seeds can take anywhere from one to three weeks, depending on the variety and conditions. Be patient and allow the seeds ample time to fully dry out before moving on to the next step.
It’s important to note that some pepper seeds may naturally take longer to dry compared to others. Thicker, larger seeds may require additional time to fully dry, so adjust your expectations accordingly.
With Step 4 complete, you are one step closer to preserving your pepper seeds for future planting and enjoyment.
Read more: How To Store Dried Peppers
Step 5: Storing the Dried Pepper Seeds
Now that the pepper seeds have been properly dried, it’s time to store them in a way that ensures their longevity and viability for future use. Follow these steps to store the dried pepper seeds:
- Label and identify the seeds: It’s essential to keep track of the different pepper varieties you have collected. Use labels or small envelopes to indicate the type of pepper seeds and any additional information you want to include, such as the date of harvesting.
- Use airtight containers: Transfer the dried pepper seeds to small, airtight containers, such as glass jars, plastic resealable bags, or seed envelopes. Make sure the containers are clean and dry before adding the seeds.
- Add moisture-absorbing packets (optional): To further protect the seeds from moisture, you can include moisture-absorbing packets, such as silica gel packets or rice grains, in the containers. These help absorb any residual moisture and maintain the seeds’ quality.
- Store in a cool, dark place: Find a cool and dark location to store the containers containing the dried pepper seeds. Aim for a temperature between 40°F to 50°F (4°C to 10°C) to ensure optimal conditions for seed preservation. Avoid places with high humidity or near heat sources.
Remember to keep the stored pepper seeds away from pests or insects that may be attracted to them. You can also store the containers in a sealed bag to provide an extra layer of protection.
By following these storage guidelines, you can preserve the dried pepper seeds for several years, allowing you to enjoy a bountiful harvest of peppers in future planting seasons.
Congratulations! You have successfully completed all the steps for drying and storing pepper seeds. Now you can look forward to growing your favorite pepper varieties year after year.
Conclusion
Drying out pepper seeds is an essential process for preserving the viability and longevity of the seeds for future use. By following the steps outlined in this article, you can successfully dry and store your harvested pepper seeds, ensuring a continuous supply of your favorite pepper varieties in your garden.
Remember to begin by harvesting the pepper seeds from ripe peppers and cleaning them thoroughly to remove any pulp or debris. Create a suitable drying area with good ventilation and maintain a consistent temperature. Spread out the seeds in a single layer and allow them to dry fully, checking for any signs of moisture or mold. Finally, store the dried seeds in labeled, airtight containers in a cool, dark place.
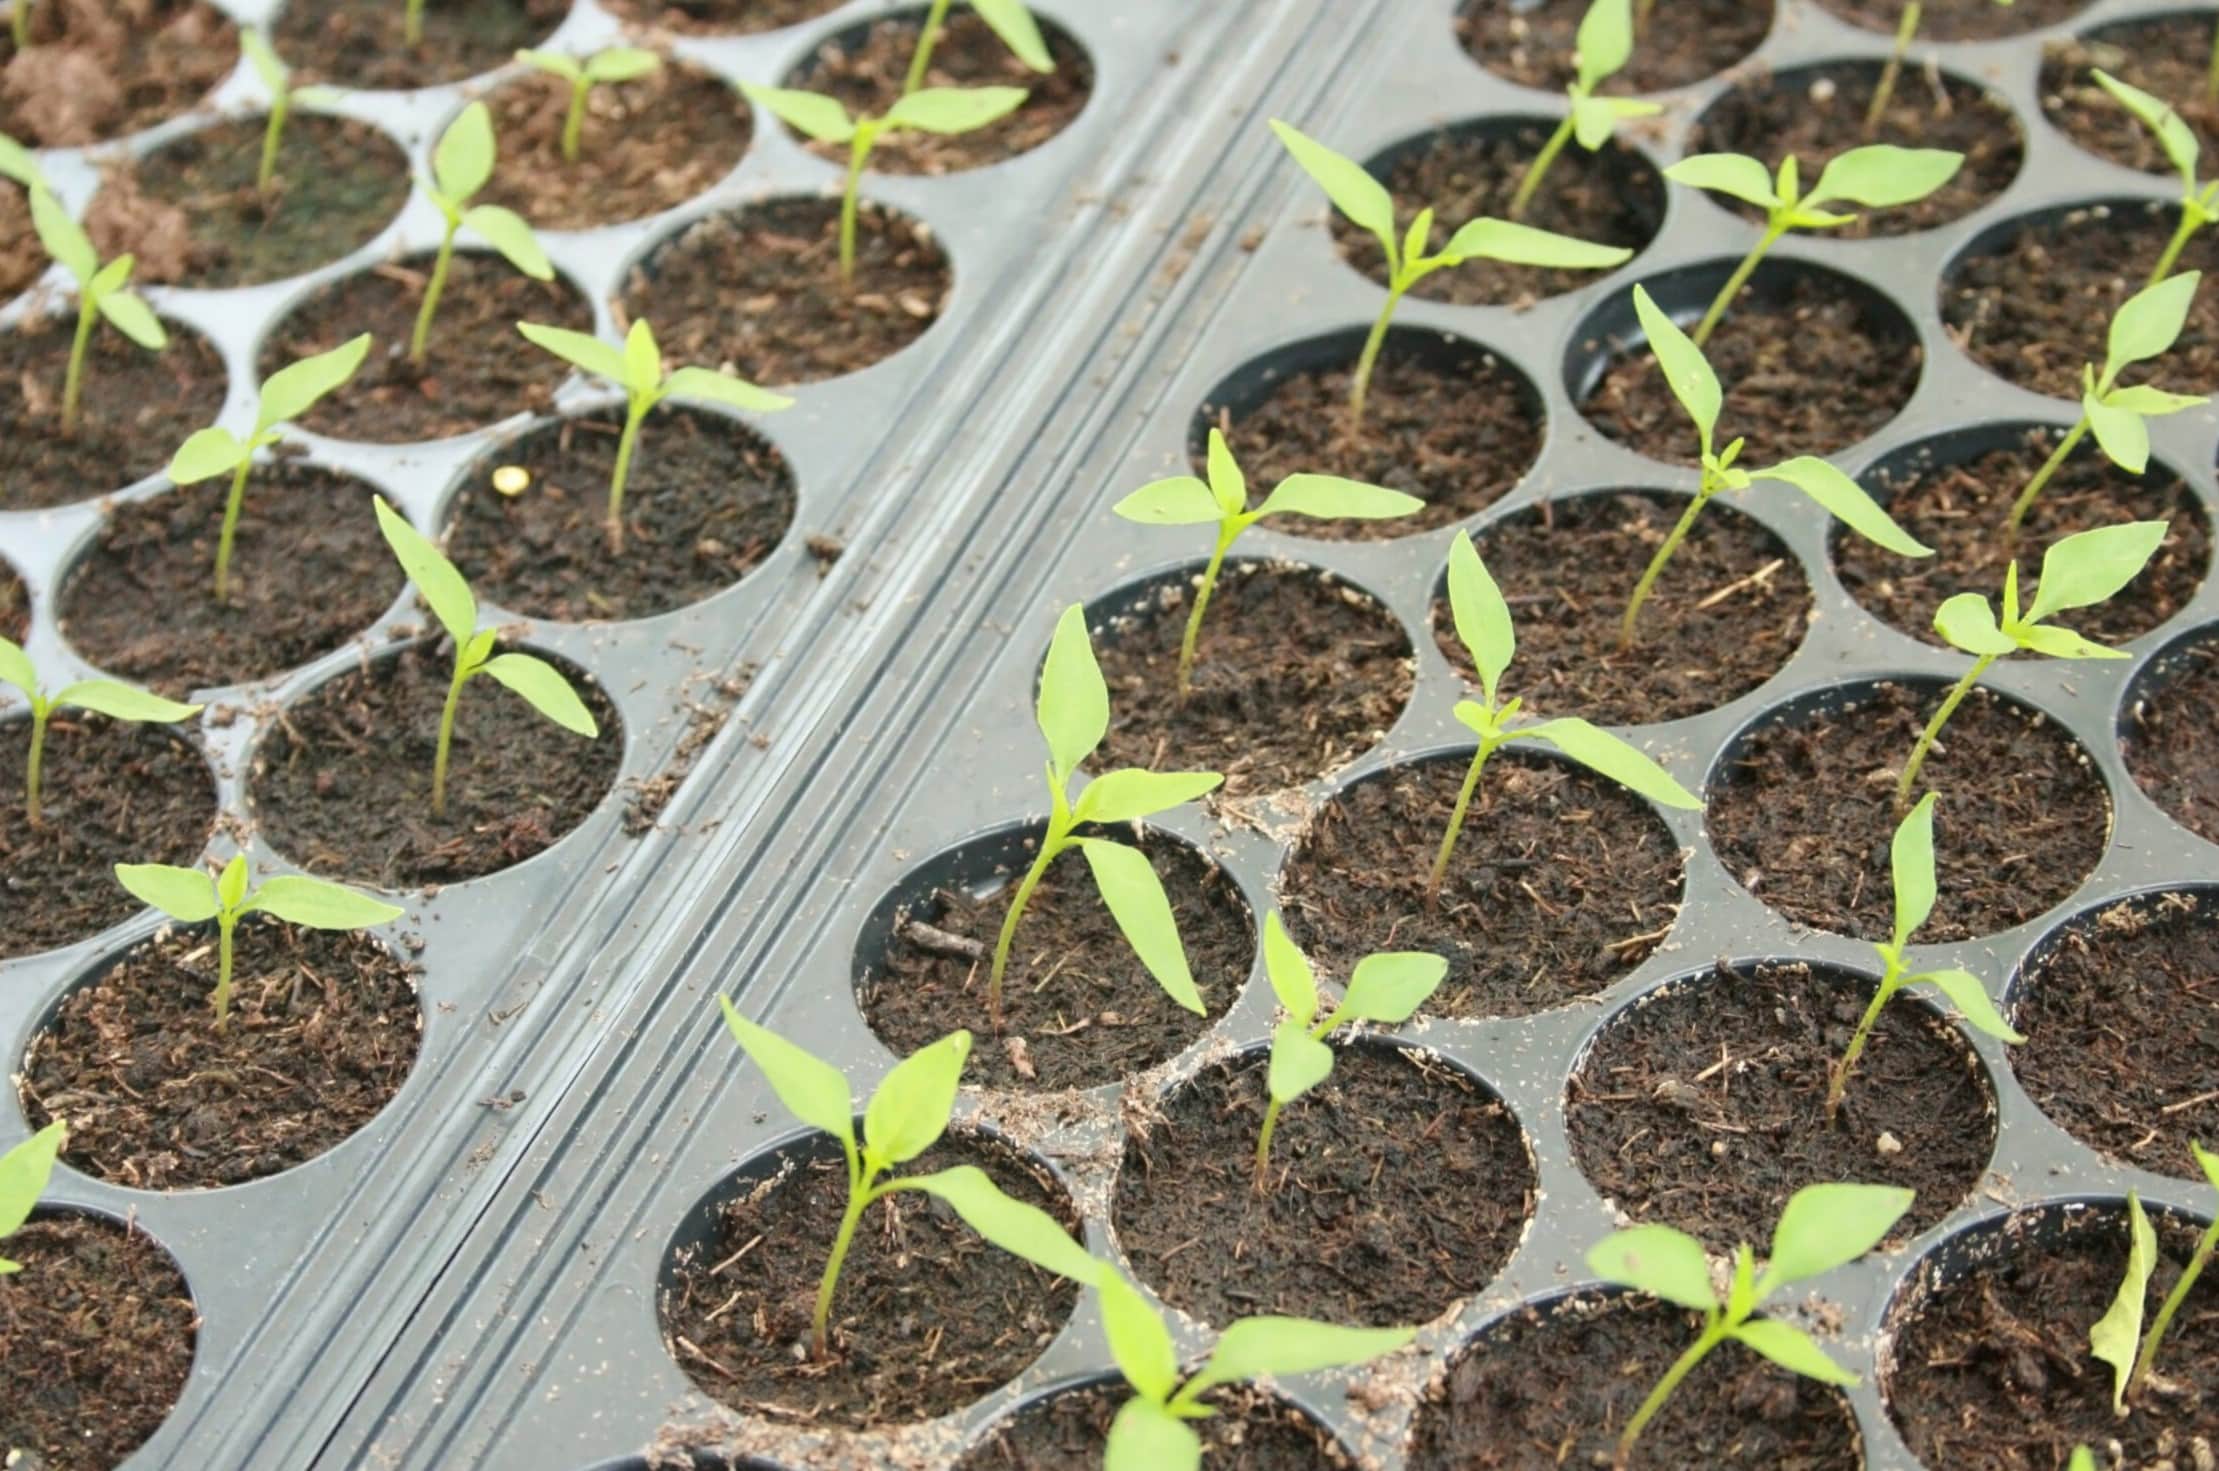
With time and patience, you will be rewarded with high-quality, viable pepper seeds that can be sown in the future to produce healthy, robust pepper plants. Saving and drying your own pepper seeds not only allows you to continue growing the varieties you love but also promotes self-sufficiency and sustainability in your garden.
So, the next time you enjoy a delicious pepper from your garden, remember to save and dry the seeds so you can experience the joy of growing them again and again. Happy pepper seed saving and gardening!
Frequently Asked Questions about How To Dry Out Pepper Seeds
Was this page helpful?
At Storables.com, we guarantee accurate and reliable information. Our content, validated by Expert Board Contributors, is crafted following stringent Editorial Policies. We're committed to providing you with well-researched, expert-backed insights for all your informational needs.

0 thoughts on “How To Dry Out Pepper Seeds”