Articles
How To Find A Roof Leak With No Attic
Modified: October 20, 2024
Learn how to find a roof leak with no attic in our informative articles. Gain valuable insights and tips to tackle this common problem.
(Many of the links in this article redirect to a specific reviewed product. Your purchase of these products through affiliate links helps to generate commission for Storables.com, at no extra cost. Learn more)
Introduction
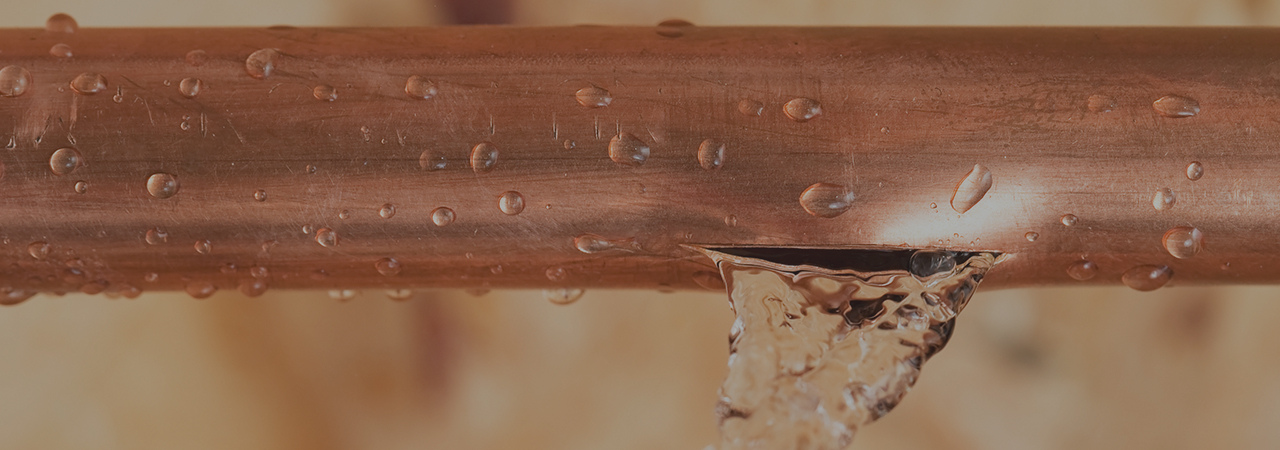
A leaky roof can be a homeowner’s worst nightmare. Not only does it cause damage to your property, but it can also lead to costly repairs and potential health hazards such as mold and mildew. When faced with a roof leak, it’s crucial to identify the source as quickly as possible to prevent further damage. However, if your home doesn’t have an attic, locating a roof leak can be a bit more challenging.
In this article, we’ll guide you through the process of finding a roof leak without an attic. We’ll cover the necessary tools, step-by-step instructions, and provide tips to help you identify and address the issue efficiently.
Key Takeaways:
- Locating a roof leak without an attic is possible with the right tools and approach. Conduct thorough exterior and interior inspections, perform visual checks, and use water testing to pinpoint the source of the leak.
- Prioritize safety and consider your expertise, severity of the leak, and resources before deciding to DIY or hire a professional for roof repairs. Promptly addressing the leak is crucial to prevent further damage and health hazards.
Read more: How To Find Roof Leak
Necessary Tools
Before embarking on the task of finding a roof leak without an attic, it’s important to gather the necessary tools. Here’s a list of items you’ll need:
- Safety equipment: Prioritize safety by wearing sturdy shoes, a safety harness, and goggles to protect yourself from any potential hazards.
- Ladder: Choose a ladder that is tall enough to reach your roof comfortably. Ensure that it’s stable and securely positioned on a flat surface.
- Flashlight: A reliable flashlight will help you examine dark areas and detect water stains more effectively.
- Garden hose: A garden hose with adjustable pressure will be used for water testing to simulate rainfall and identify potential leaks.
- Sealant: Keep some roof sealant handy to patch up any minor leaks you may find during the inspection.
- Camera or smartphone: Having a camera or smartphone with you will allow you to document any findings or problem areas for future reference.
With these tools in hand, you’ll be equipped to begin the process of locating a roof leak without the assistance of an attic.
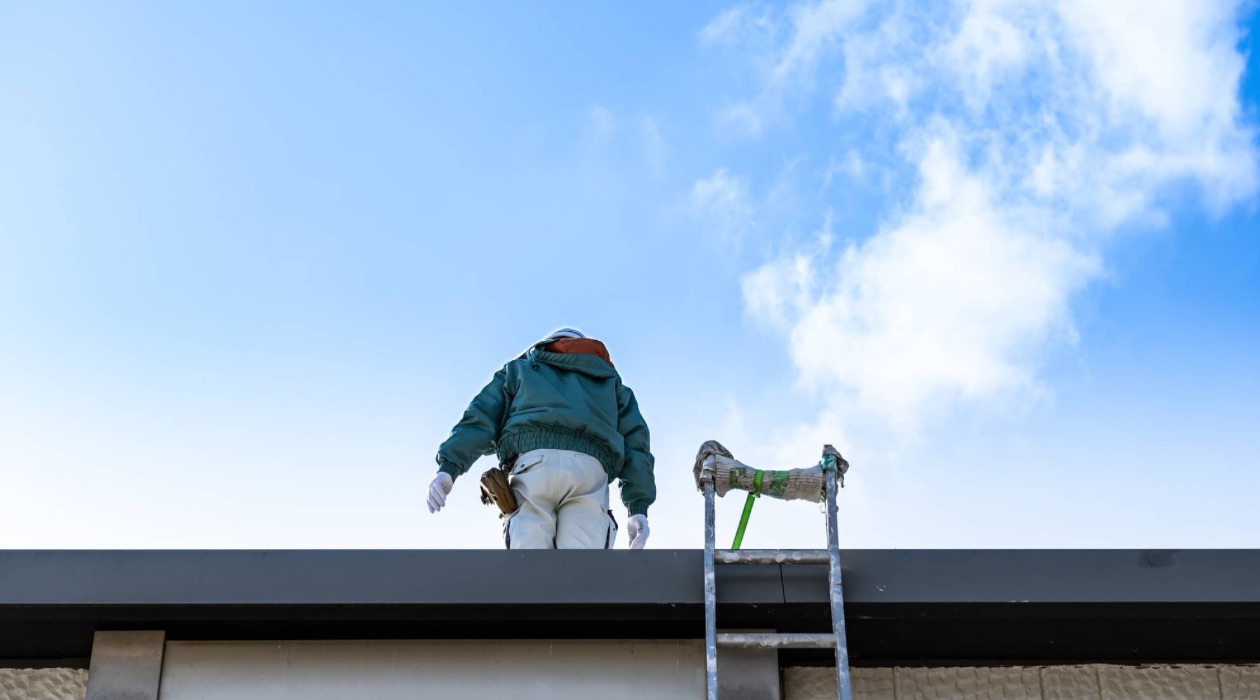
Step 1: Exterior Inspection
The first step in finding a roof leak without an attic is to conduct an exterior inspection. This will involve carefully examining your roof from the outside to look for any visible signs of damage or potential entry points for water. Here’s how to proceed:
- Safety first: Before climbing onto your roof, take necessary safety precautions by wearing appropriate footwear and using a sturdy ladder. Make sure the ladder is securely positioned on a flat surface.
- Visual inspection: Look for any missing, cracked, or damaged shingles, as well as any gaps in the roof flashing or vents. Pay close attention to areas around chimneys, skylights, and roof edges, as these are common trouble spots for leaks.
- Check gutters and downspouts: Clear any debris from the gutters and downspouts to ensure proper drainage. Clogged gutters can cause water to back up and potentially seep into the roof structure.
- Examine roof valleys: Roof valleys where two planes of the roof meet are prone to leaks. Inspect these areas closely for any signs of wear, deterioration, or potential damage.
- Observe the roof surface: Take note of any areas where the roof appears to be sagging or uneven, as this can indicate underlying structural issues that may contribute to leaks.
- Document findings: Use a camera or smartphone to document any visible issues or areas of concern for reference during the repair process.
By conducting a thorough exterior inspection, you can gain valuable insights into the condition of your roof and potentially identify areas that require further investigation for potential leaks.
Step 2: Interior Inspection
Once you’ve completed the exterior inspection, it’s time to move indoors and conduct an interior inspection to further narrow down the location of the roof leak. Follow these steps:
- Identify water stains: Look for any water stains or discoloration on the ceiling, walls, and around windows or skylights. These can indicate the general area where the leak is occurring.
- Check for mold or mildew: Inspect the affected area for any signs of mold or mildew, as these can develop due to prolonged exposure to moisture from a roof leak.
- Trace the path of the leak: From the area where you found water stains or signs of mold, trace the path of the leak upwards to the roof. Look for any visible wet spots, dripping water, or signs of moisture.
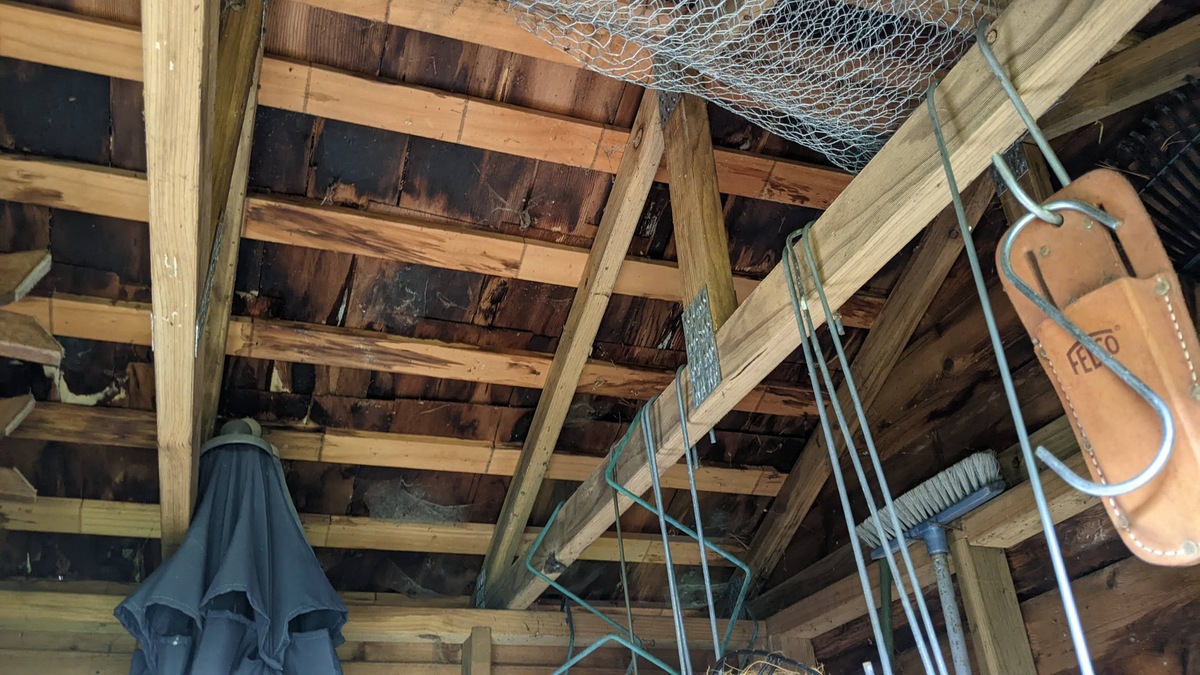
- Inspect attic access points: If your home has access points to crawl spaces or attics, check these areas for any signs of water damage or leaks. Water may travel along beams or other structures before making its way to the interior.
- Document findings: Take photos or make notes of any visible signs of water damage or areas that require further investigation. These details will be helpful when determining the source of the roof leak.
By conducting a thorough interior inspection, you can narrow down the location of the roof leak and gather additional information to aid in the repair process.
Look for water stains or mold on the ceiling, use a hose to simulate rain on the roof, and check for any water entering the house. This can help locate the source of the roof leak without needing access to the attic.
Step 3: Visual Inspection
In addition to the exterior and interior inspections, a thorough visual inspection of your roof can provide further clues to help identify the source of the leak. Here’s how to conduct a visual inspection:
- Use a ladder: Safely position a ladder to access your roof. Make sure to follow all safety protocols and use proper protective equipment.
- Look for damaged shingles: Inspect your roof for any missing, cracked, curled, or damaged shingles. These can be potential entry points for water.
- Check flashing and vents: Pay close attention to the flashing around chimneys, skylights, vents, and any other roof penetrations. Damage or gaps in the flashing can lead to leaks.
- Examine the roof surface: Scan the entire roof surface and look for any signs of wear, blistering, or deterioration. These areas may indicate areas of weakness that could result in leaks.
- Check for debris: Remove any debris, such as leaves or branches, that may have accumulated on the roof. Debris can trap moisture and lead to water penetration.
- Inspect roof valleys: Roof valleys, where two planes of the roof intersect, are susceptible to leaks. Examine these areas carefully for any signs of damage or deterioration.
- Document findings: Take photos or notes of any visible issues or areas that require further attention. This documentation will be useful when addressing the roof leak.
A comprehensive visual inspection of your roof can help pinpoint potential problem areas and give you a better understanding of the overall condition of your roof.
Read more: How To Fix A Leak In The Attic
Step 4: Water Testing
Water testing is an effective method to simulate rainfall and identify potential roof leaks. This step will help you pinpoint the exact location of the leak and confirm your previous findings. Follow these steps to conduct a water test:
- Wait for dry weather: Choose a day when the weather is dry to conduct the water test. This will ensure accurate results and make it easier to detect any leaks.
- Enlist a helper: Have a helper assist you in the testing process. One person will be on the roof, while the other will be inside the house, looking for signs of water entry.
- Select the test area: Based on your previous inspections and findings, determine the area of the roof that is most likely to be the source of the leak.
- Using a garden hose: Start by spraying water on the selected area of the roof. Begin with a gentle spray, gradually increasing the pressure and coverage.
- Observe the interior: While the water is being sprayed on the roof, have your helper carefully monitor the interior for any signs of water intrusion or leakage.
- Note the results: Take note of the exact location where water starts to enter the interior of your home. This will help you accurately identify the source of the leak.
- Repeat the process: If necessary, move to different areas of the roof to perform additional water tests until you have located all potential leaks.
Water testing can be a time-consuming process, but it is a critical step in identifying the exact location of a roof leak without an attic. By replicating rainfall conditions, you can accurately pinpoint the source and move forward with the necessary repairs.
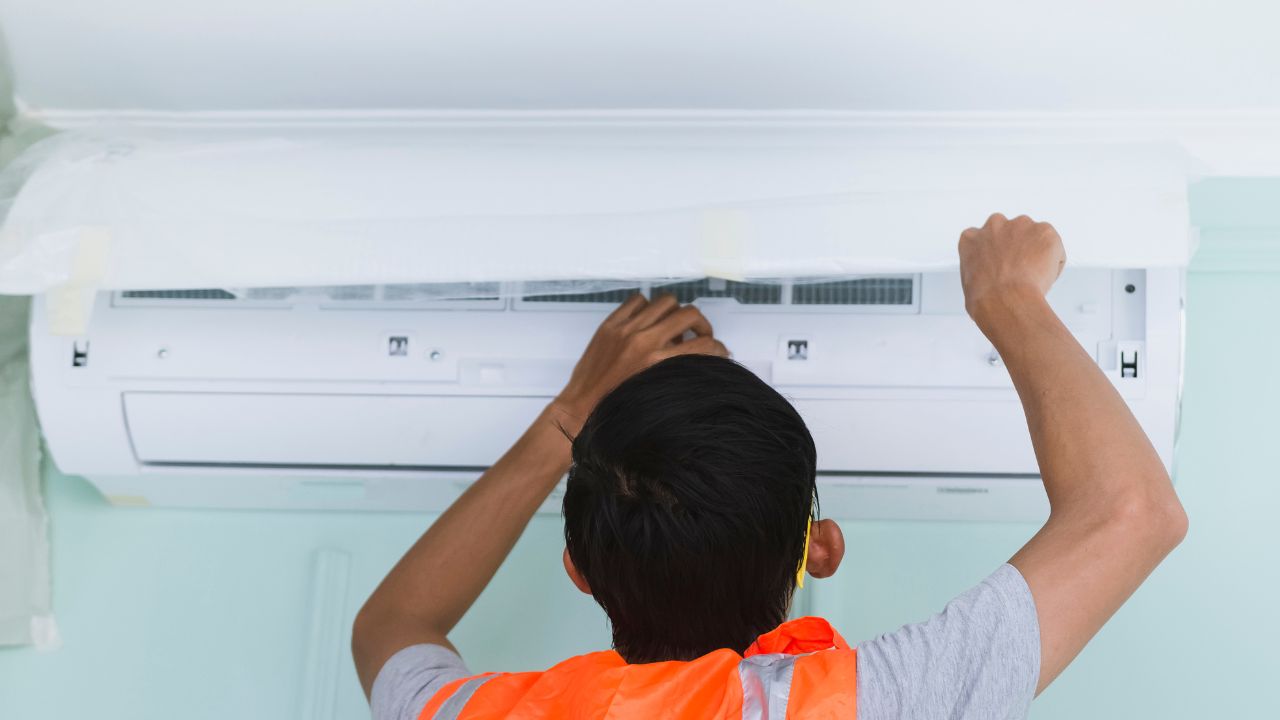
Step 5: Roof Repair or Call a Professional
Once you have identified the location of the roof leak, it’s time to decide whether you will tackle the repair yourself or seek professional assistance. Consider the following factors before making a decision:
- Level of expertise: Evaluate your own skills and experience in roof repair. If you have the necessary knowledge and tools, you may choose to fix the issue on your own.
- Severity of the leak: Assess the severity of the leak and the extent of the damage. Minor leaks or small repairs can often be handled by homeowners, while major leaks or extensive damage may require professional intervention.
- Availability of time and resources: Determine whether you have the time and resources to dedicate to repairing the roof leak. Roof repairs can be time-consuming and may require specialized materials.
- Safety considerations: Consider the safety risks involved in repairing your own roof. Working at heights can be dangerous, so if you are uncomfortable or lack the necessary safety equipment, it’s best to call a professional.
- Insurance coverage: Check your homeowner’s insurance policy to determine whether the repair work is covered. In some cases, insurance may only cover repairs done by licensed professionals.
If you decide to hire a professional, choose a reputable roofing contractor with experience in roof leak repairs. Get multiple quotes, ask for references, and ensure they are properly licensed and insured.
On the other hand, if you choose to tackle the repair yourself, take the necessary precautions, follow proper safety guidelines, and acquire the appropriate materials and tools for the job. Refer to online tutorials or consult with experts if needed.
Remember, addressing a roof leak promptly is essential to prevent further damage to your property. Whether you decide to do it yourself or hire a professional, the goal is to fix the issue effectively and ensure the long-term integrity of your roof.
Conclusion
Finding a roof leak without an attic can be a challenging task, but with the right tools and a systematic approach, it’s possible to locate and address the issue. By following the steps outlined in this article – conducting an exterior and interior inspection, performing a visual inspection, and utilizing water testing – you can narrow down the source of the leak and take the necessary steps for repairs.
It’s important to prioritize safety throughout the process, wearing the appropriate protective gear and following safety guidelines when working at heights. Additionally, consider your own skill level, the severity of the leak, and the availability of time and resources before deciding whether to tackle the repair yourself or hire a professional.
Remember, addressing a roof leak promptly is crucial to prevent further damage and potential health hazards. Water damage can lead to structural issues, mold, and mildew growth, which can be detrimental to both your home and your health. By identifying and resolving the roof leak in a timely manner, you can protect your property and ensure the longevity of your roof.
If you choose to hire a professional, make sure to select a reputable and licensed roofing contractor with experience in roof leak repairs. Obtain multiple quotes, check references, and ensure their insurance coverage is up to date.
On the other hand, if you decide to tackle the repair yourself, take the time to educate yourself on proper techniques and safety precautions. Consult online resources, tutorials, or seek advice from experts in the field to ensure you’re armed with the necessary knowledge to complete the repair effectively.
Remember, each roof leak may have unique characteristics and factors to consider, so use this guide as a starting point and adjust your approach as needed. By following the steps outlined in this article and considering the relevant factors, you’ll be well-equipped to find and address a roof leak without an attic.
Frequently Asked Questions about How To Find A Roof Leak With No Attic
Was this page helpful?
At Storables.com, we guarantee accurate and reliable information. Our content, validated by Expert Board Contributors, is crafted following stringent Editorial Policies. We're committed to providing you with well-researched, expert-backed insights for all your informational needs.


0 thoughts on “How To Find A Roof Leak With No Attic”