Articles
How To Fix A Pulled Carpet
Modified: October 20, 2024
Learn how to fix a pulled carpet with our informative articles. Get step-by-step instructions and expert tips to restore your carpet's appearance.
(Many of the links in this article redirect to a specific reviewed product. Your purchase of these products through affiliate links helps to generate commission for Storables.com, at no extra cost. Learn more)
Introduction
Having a pulled carpet can be a frustrating issue for homeowners. Not only does it affect the visual appeal of your space, but it can also create tripping hazards and pose a nuisance. Whether it’s due to heavy foot traffic, moving furniture, or improper installation, a pulled carpet needs to be addressed promptly to prevent further damage.
In this comprehensive guide, we will walk you through the step-by-step process of fixing a pulled carpet. With the right tools and know-how, you can restore your carpet’s appearance and ensure a safe and comfortable living environment.
Before getting started, it’s important to note that fixing a pulled carpet is a relatively simple DIY task. However, if you feel uncomfortable or unsure about any step in the process, it’s always recommended to seek professional assistance.
So, let’s dive in and learn how to fix a pulled carpet, saving you time and money while restoring the beauty of your home.
Key Takeaways:
- Assess the damage, gather the right tools, and use double-sided carpet tape to reattach the pulled carpet. Trim excess carpet and use a carpet stretcher for a seamless repair. Enjoy a refreshed and safe living space!
- Fixing a pulled carpet is a manageable DIY task, but professional help may be needed for extensive damage. By following the steps and taking precautions, you can restore your carpet’s beauty and functionality.
Read more: How To Fix A Carpet Pulled Up By A Cat
Step 1: Assess the Damage
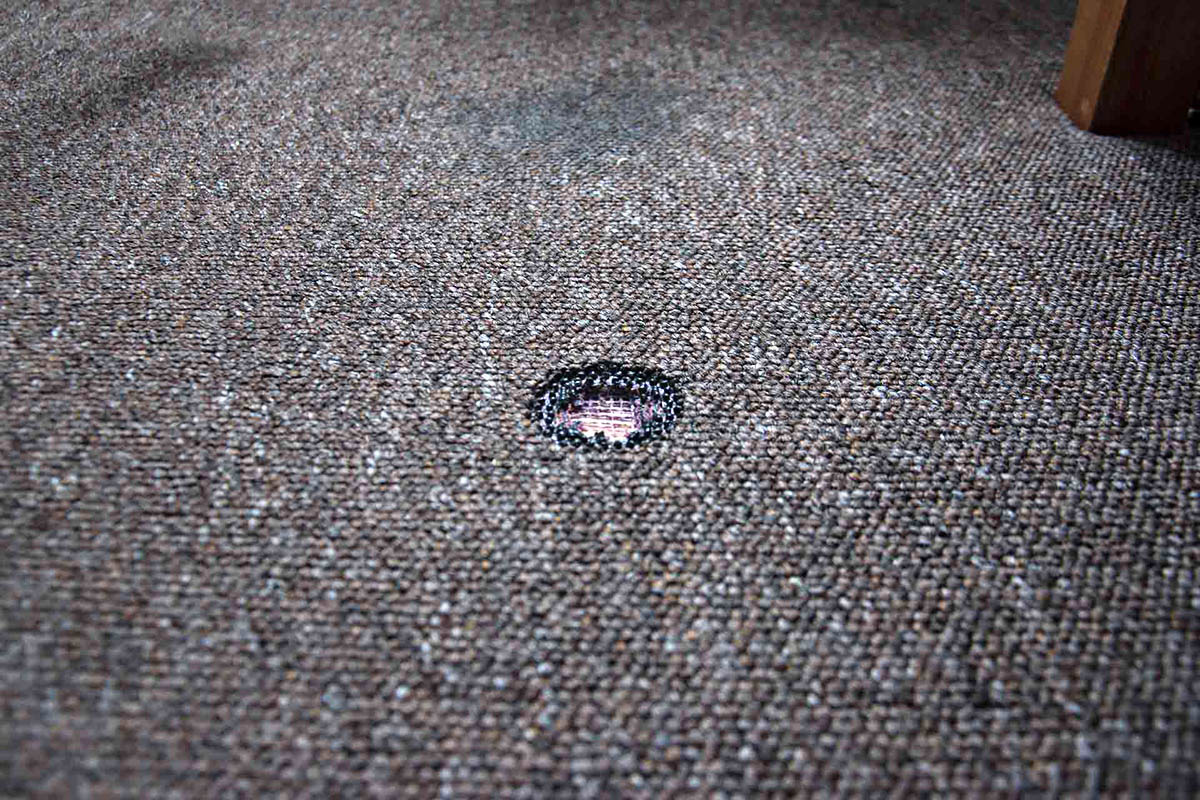
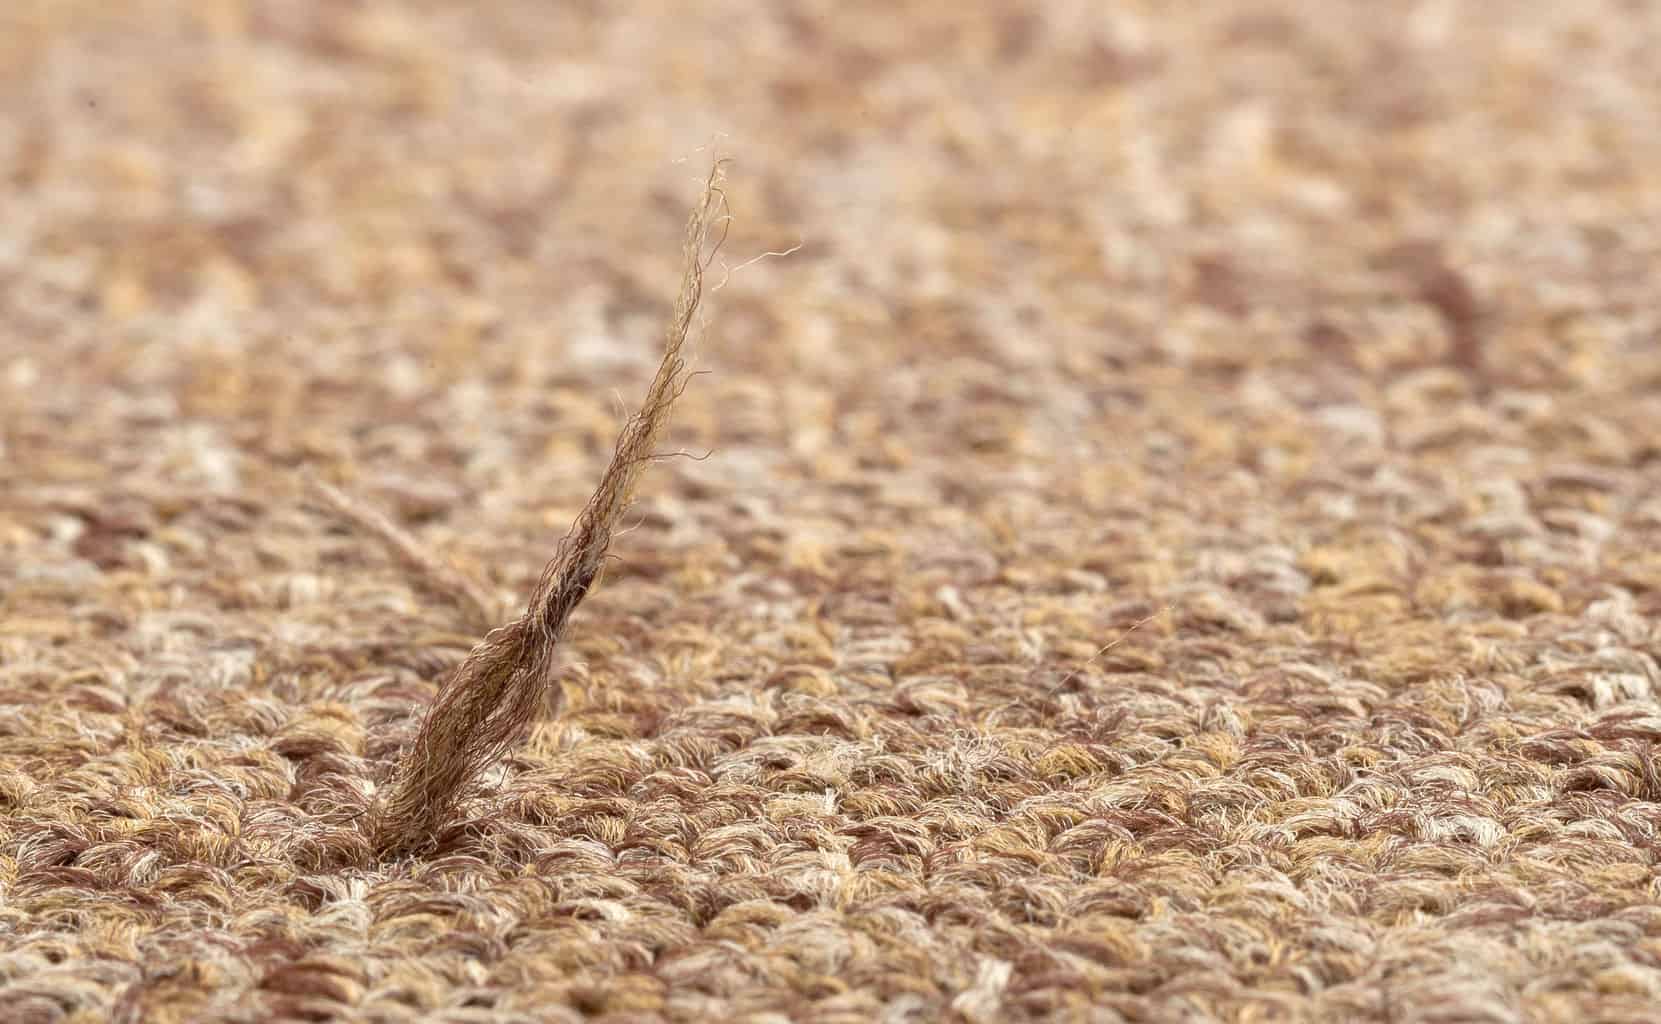
The first step in fixing a pulled carpet is to assess the extent of the damage. Take a close look at the area where the carpet is pulled and check for any underlying issues or potential causes. Sometimes, a pulled carpet may be a sign of loose tack strips, worn-out padding, or even damaged subflooring.
Inspect the carpet fibers to determine if they are simply stretched or if they have been torn or frayed. This will help you determine the appropriate method of repair and the level of work required.
If the damage is minor and limited to a small area, you may be able to fix it yourself using basic tools and techniques. However, if the damage is extensive or if you notice any structural issues, it’s best to consult a professional carpet installer or repair specialist.
By properly assessing the damage, you can determine the most efficient and effective approach to fixing your pulled carpet, ensuring long-lasting results.
Step 2: Gather the Necessary Tools
Before you can begin fixing your pulled carpet, it’s essential to gather all the necessary tools to ensure a smooth and successful repair. Having the right tools on hand will make the process easier and prevent any delays or frustration.
Here are some of the tools you will need:
- Utility knife or carpet cutter: This will be used to trim any excess carpet and create a clean, precise cut.
- Double-sided carpet tape: This adhesive tape is specially designed for carpet installation and can be used to reattach the pulled carpet.
- Carpet stretcher: If the carpet has significant stretching or sagging, a carpet stretcher will help to properly re-tension the carpet and eliminate any wrinkles.
- Knee kicker: This tool is used to stretch the carpet along the edges and make it taut around corners and walls.
- Pliers: Useful for removing staples or nails from the carpet and subfloor.
- Screwdriver: If you need to remove any furniture or baseboards, a screwdriver will come in handy.
- Measuring tape: This will help you accurately measure the area that needs to be repaired and cut the carpet to the appropriate size.
- Dust mask and gloves: It’s always important to protect yourself during any home improvement task. Dust masks and gloves will safeguard you from dirt, debris, and potential irritants.
By gathering these tools beforehand, you’ll save time and avoid any frustration or delays during the repair process.
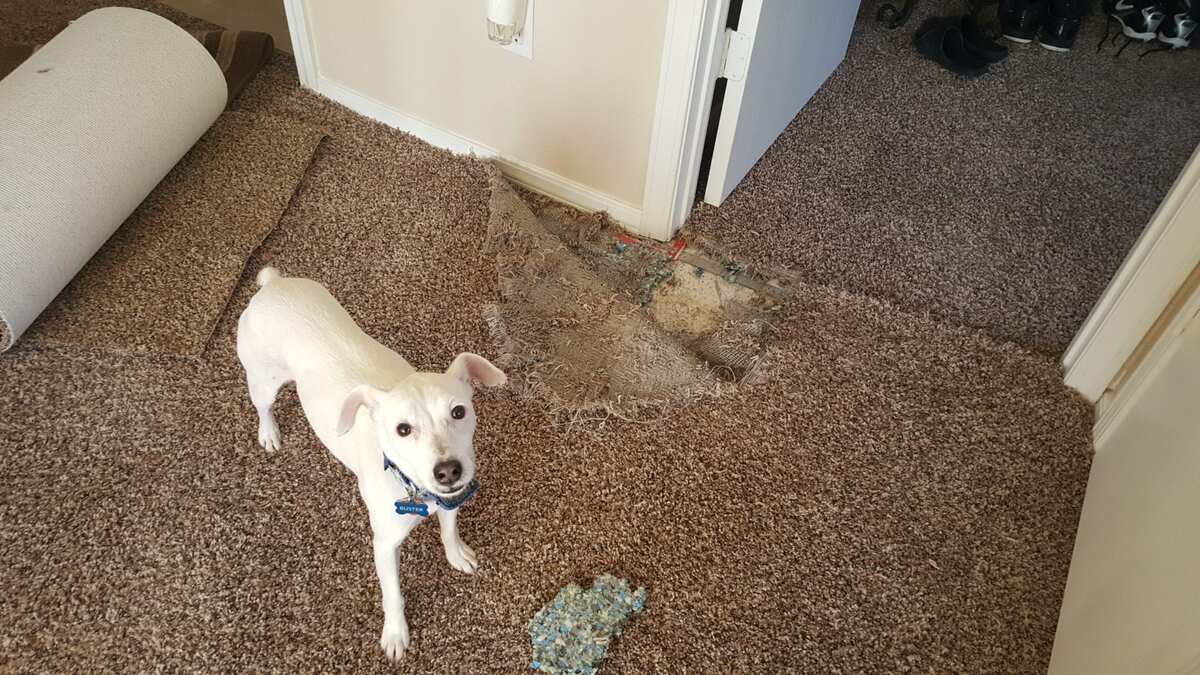
Step 3: Remove Furniture and Clear the Area
Now that you have gathered all the necessary tools, it’s time to prepare the space by removing any furniture or obstacles in the area where the pulled carpet is located. This will provide you with a clear and unobstructed work area, making the repair process much easier.
Start by moving any lightweight furniture or objects out of the room. This includes chairs, side tables, floor lamps, or any other items that may hinder your access to the carpet. If possible, enlist the help of another person to assist you with lifting and moving heavier furniture.
Once the furniture is out of the way, take the time to thoroughly vacuum the area. This will remove any loose dirt, debris, or pet hair that may be trapped in the carpet fibers. A clean surface will allow for better adhesion of the carpet tape and ensure a smooth repair.
It’s also important to remember to disconnect any electrical cords or cables that may be running across the carpeted area. This will prevent any accidents or damage during the repair process.
By removing furniture and clearing the area, you will have a clean and spacious work environment, enabling you to focus on fixing the pulled carpet with ease and efficiency.
Step 4: Reattach the Carpet with Double-Sided Carpet Tape
With the furniture removed and the area cleared, it’s time to start reattaching the pulled carpet. One of the easiest and most effective methods for securing a pulled carpet is by using double-sided carpet tape.
Here’s how to reattach the carpet using double-sided carpet tape:
- Start by measuring and cutting a piece of double-sided carpet tape to the appropriate length.
- Position the tape underneath the edge of the pulled carpet, ensuring that it is aligned with the surrounding carpet fibers.
- Peel off the protective backing from one side of the tape, exposing the adhesive.
- Carefully press the exposed side of the tape onto the floor or subfloor, applying firm and even pressure to ensure proper adhesion.
- Gently pull the pulled carpet back into place, pressing it firmly onto the adhesive side of the tape.
- Repeat the process along the entire length of the pulled area, making sure to properly align and secure the carpet.
Double-sided carpet tape provides a strong bond and is especially effective for temporary fixes or smaller areas of pulled carpet. However, keep in mind that it may not be suitable for larger or more severe damage. In such cases, you may need to consider professional carpet reinstallation or repair.
Once the carpet is securely adhered to the double-sided tape, proceed to the next step to achieve a seamless and professional-looking repair.
Use a carpet stretcher to reattach the pulled carpet to the tack strips along the edges. Trim any excess carpet and secure with a knee kicker.
Read more: How To Pull Up A Carpet
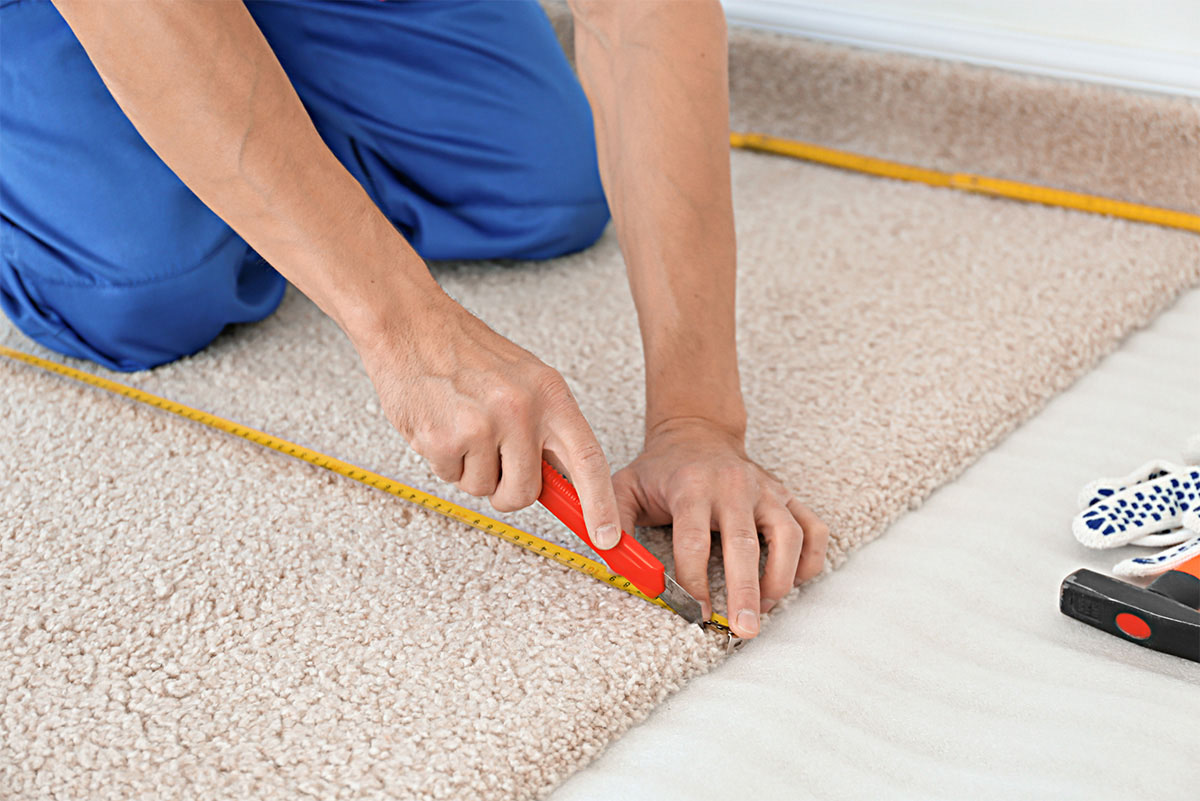
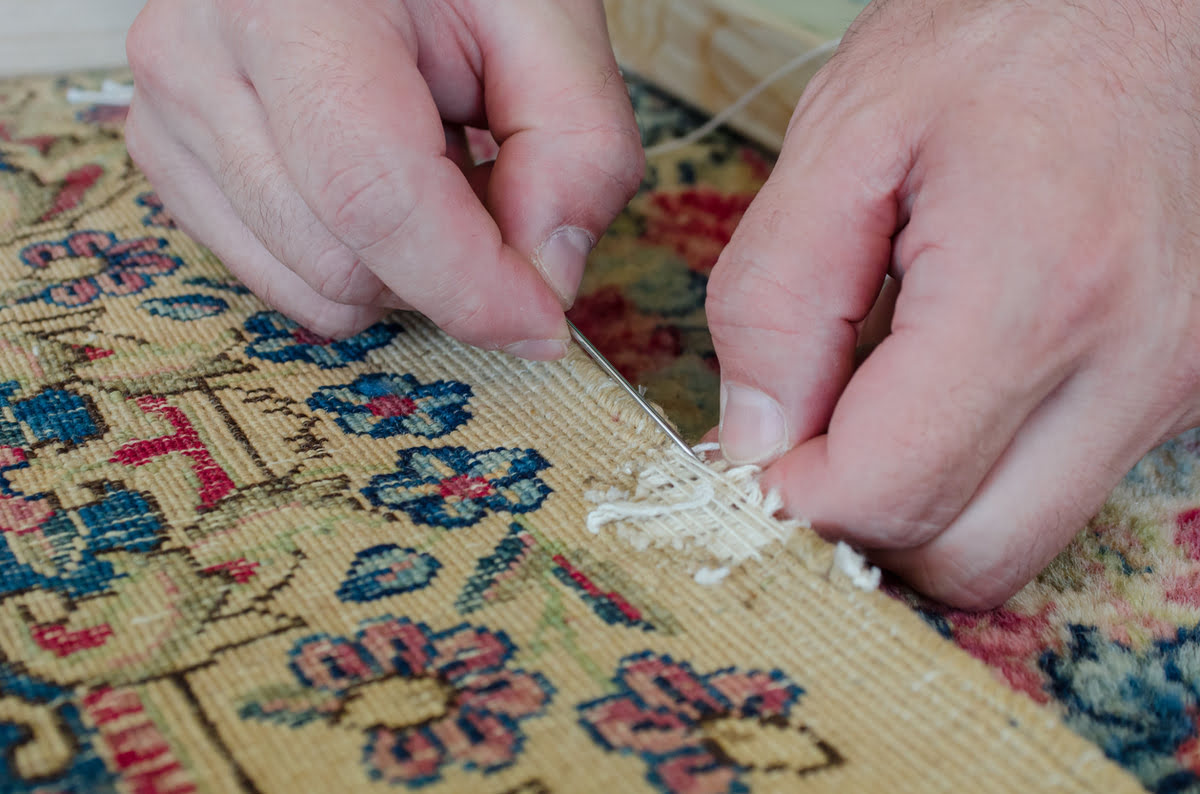
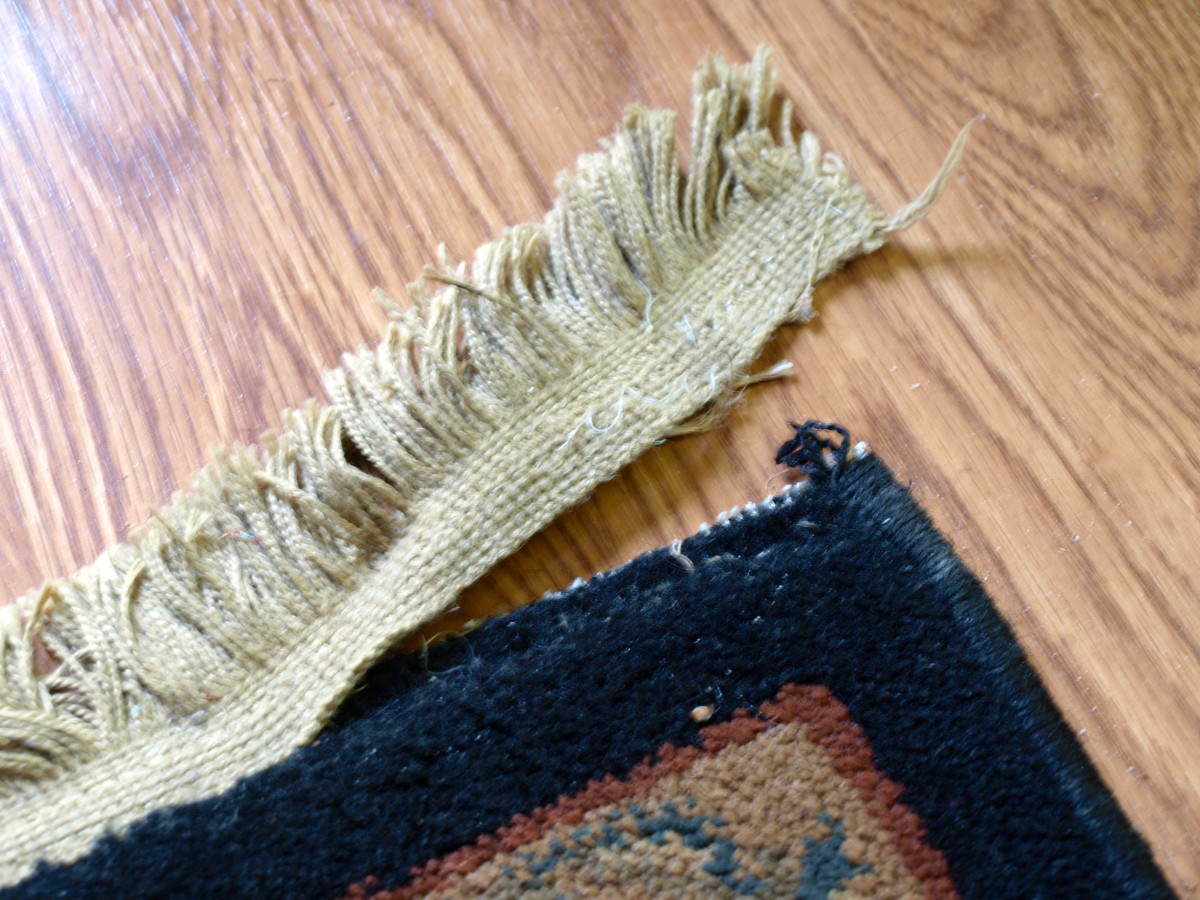
Step 5: Trim Excess Carpet
After reattaching the pulled carpet with double-sided carpet tape, it’s important to trim any excess carpet to achieve a seamless and professional-looking repair. Trimming the carpet will ensure that the repaired area blends in with the rest of the flooring and minimizes any visible signs of damage.
Here’s how to trim the excess carpet:
- First, use a utility knife or carpet cutter to carefully trim any loose or frayed carpet fibers along the repaired edge. This will create a clean and smooth surface.
- Hold the blade of the knife at an angle, flush with the top of the carpet, and trim away any uneven or jagged edges.
- Take your time while cutting and ensure that the blade is sharp to achieve precise and clean cuts.
- Be cautious not to cut too much, as removing excessive carpet may result in a noticeable gap between the repaired area and the rest of the flooring.
It’s important to note that trimming excess carpet may require some skill and precision. If you’re unsure about your ability to achieve a smooth and even cut, it’s recommended to seek professional assistance.
By trimming the excess carpet, you will create a seamless and well-blended repair, restoring the overall appearance of your flooring.
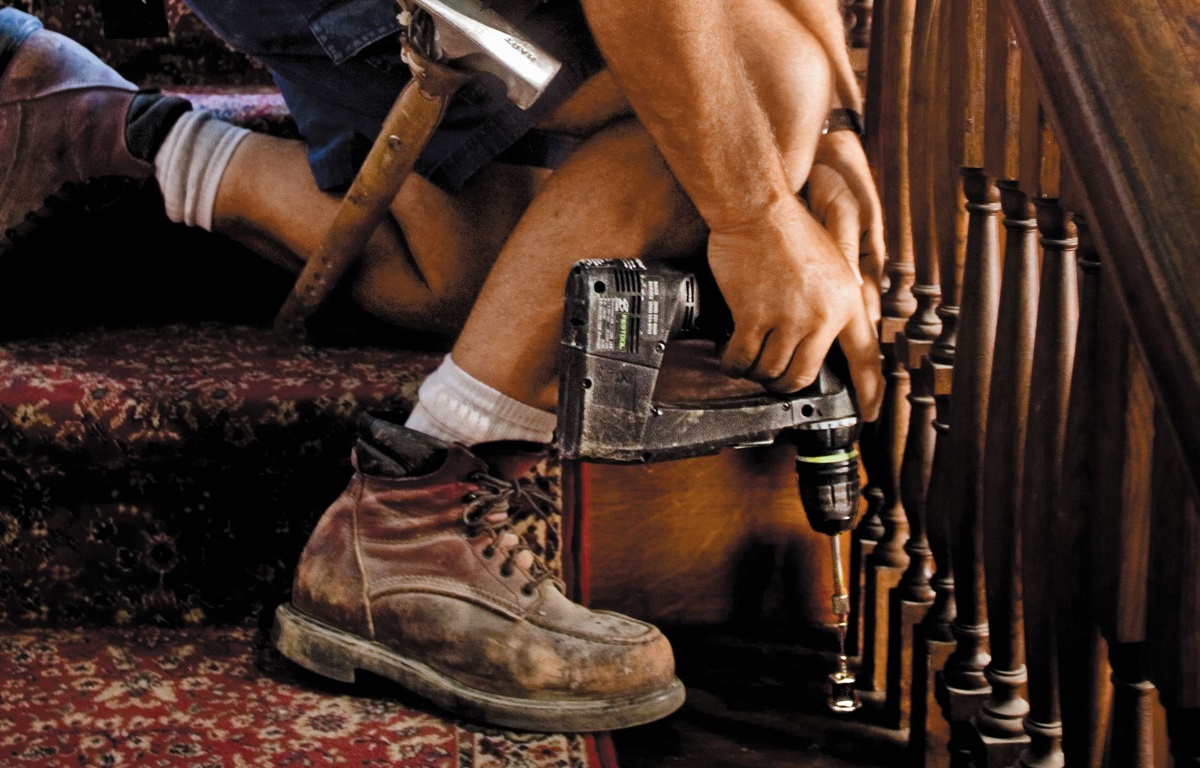
Step 6: Use a Carpet Stretcher to Secure the Edges
Once you have reattached the pulled carpet and trimmed any excess, it’s time to ensure that the edges of the carpet are securely in place. Using a carpet stretcher will help eliminate any wrinkles or sagging, ensuring a tight and professional-looking repair.
Follow these steps to use a carpet stretcher:
- Position the carpet stretcher near one side of the repaired area.
- Place the teeth of the stretcher against the wall or baseboard, and using the knee kicker, apply firm and even pressure to stretch the carpet towards the opposite side.
- Move the stretcher along the edge of the carpet, stretching and securing it as you go.
- If needed, use a knee kicker to stretch the carpet and tuck it securely into corners.
- Repeat this process along both sides of the repaired area until you achieve a smooth and taut surface.
Using a carpet stretcher ensures a professional finish by removing any visible wrinkles or sagging, and preventing the carpet from pulling away or becoming loose again.
If you’re unfamiliar with using a carpet stretcher or if the repaired area is large or complex, it may be best to hire a professional carpet installer to ensure a proper and secure repair.
By utilizing a carpet stretcher, you’ll achieve a visually appealing and long-lasting repair, effectively restoring the beauty and functionality of your pulled carpet.
Step 7: Replace Furniture and Clean Up
You’re almost done with fixing your pulled carpet! In this final step, it’s time to carefully replace the furniture and clean up any remaining mess from the repair process.
Follow these guidelines to complete the process:
- Start by gradually moving the furniture back into the room, taking care not to drag or slide it across the repaired carpet.
- If necessary, use furniture slides or pads to protect the carpet while moving heavy items.
- Ensure that all furniture legs are properly attached to prevent them from sinking into the carpet and causing new pulls or damage.
- Once the furniture is back in place, inspect the repaired area to make sure it blends seamlessly with the rest of the carpet.
- Use a vacuum cleaner to thoroughly clean the entire carpet, removing any dust, debris, or dirt that may have accumulated during the repair process.
- Pay extra attention to the repaired area, ensuring it is clean and free of any loose fibers or adhesive residue.
- If needed, spot clean the carpet with a carpet cleaner or mild detergent, following the manufacturer’s instructions.
By replacing the furniture and cleaning up, you’ll not only finalize the repair process but also create a fresh and inviting space free of any remnants from the carpet repair.
With this final step complete, you can now fully enjoy your newly repaired and refreshed carpet, knowing that you have successfully fixed the pulled area.
Conclusion
Fixing a pulled carpet is a task that may seem daunting at first, but with the right tools, knowledge, and a little bit of patience, it’s entirely possible to restore the beauty and functionality of your carpet. By following the steps outlined in this guide, you can address the pulled carpet and ensure a professional-looking repair.
Remember to start by assessing the damage and gathering the necessary tools before proceeding with the repair. Take your time to remove furniture and clear the area, providing a clean and unobstructed work environment. Utilize double-sided carpet tape to reattach the pulled carpet, ensuring a secure bond.
Trim any excess carpet and use a carpet stretcher to achieve a smooth and taut finish. Finally, replace furniture and clean up any remaining mess to complete the repair process.
It’s important to note that while DIY repairs can be cost-effective and rewarding, there may be situations where professional assistance is necessary. If the pulled carpet is extensive, the damage is severe, or you’re unsure of your abilities, it’s best to consult with a professional carpet installer or repair specialist.
Overall, fixing a pulled carpet is a worthwhile investment of your time and effort. Not only will it enhance the visual appeal of your space, but it will also create a safer and more comfortable environment for you and your family. So don’t let a pulled carpet go unattended—tackle the issue head-on and enjoy the renewed beauty of your flooring.
Frequently Asked Questions about How To Fix A Pulled Carpet
Was this page helpful?
At Storables.com, we guarantee accurate and reliable information. Our content, validated by Expert Board Contributors, is crafted following stringent Editorial Policies. We're committed to providing you with well-researched, expert-backed insights for all your informational needs.