Articles
How To Patch Up A Carpet
Modified: August 28, 2024
Learn the step-by-step process of patching up a carpet with this informative article. Discover tips and techniques to restore the beauty of your carpets effortlessly.
(Many of the links in this article redirect to a specific reviewed product. Your purchase of these products through affiliate links helps to generate commission for Storables.com, at no extra cost. Learn more)
Introduction
Carpet is a popular flooring choice in many homes and businesses due to its comfort, warmth, and aesthetic appeal. However, over time, carpets can develop wear and tear, including rips, tears, or burns. If left untreated, these damaged areas can worsen and ruin the overall appearance of the carpet.
Fortunately, patching up a carpet is a relatively simple process that can help restore its original beauty and extend its lifespan. Whether you’re dealing with a small hole, a frayed edge, or a larger damaged section, with a few basic materials and some patience, you can easily repair your carpet and make it look as good as new.
In this article, we’ll guide you through the step-by-step process of patching up a carpet, from assessing the damage to performing final touch-ups. By following these instructions, you’ll be able to tackle minor carpet repairs on your own, saving you the hassle and expense of hiring a professional.
Before we dive into the repair process, it’s important to note that the effectiveness of patching depends on the extent and nature of the damage. While patching can work wonders for small or localized issues, it may not be suitable for large-scale damage or carpet that is heavily worn or worn out. In such cases, it might be best to consider replacing the entire carpet or consulting a professional for advice.
Now, let’s get started with the first step: assessing the damage.
Key Takeaways:
- Easily restore your carpet’s beauty and extend its lifespan by following our step-by-step guide to patching up minor damage. Save time and money by tackling small repairs on your own!
- Remember to assess the damage, gather materials, and take your time to trim, prepare, and blend the patch for a seamless repair. Enjoy a rejuvenated carpet without the need for professional assistance!
Read more: How To Roll Up A Carpet
Step 1: Assess the Damage
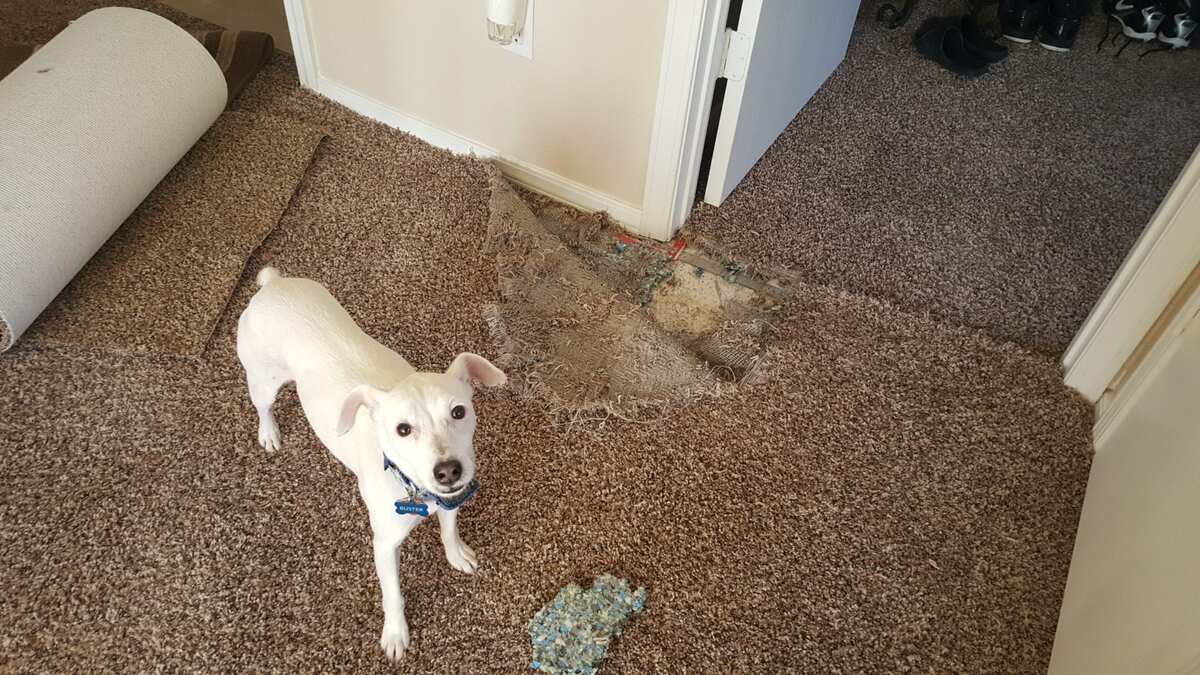
The first step in patching up a carpet is to thoroughly assess the extent and nature of the damage. Carefully inspect the affected area to determine the size of the damaged section and the type of repair required. This step will help you plan the patching process and ensure that you have the necessary materials and tools on hand.
Here are some key factors to consider when assessing the damage:
- Size and shape: Measure the dimensions of the damaged area, including the length, width, and shape. This will help you determine the size of the patch needed and guide you in cutting the replacement material.
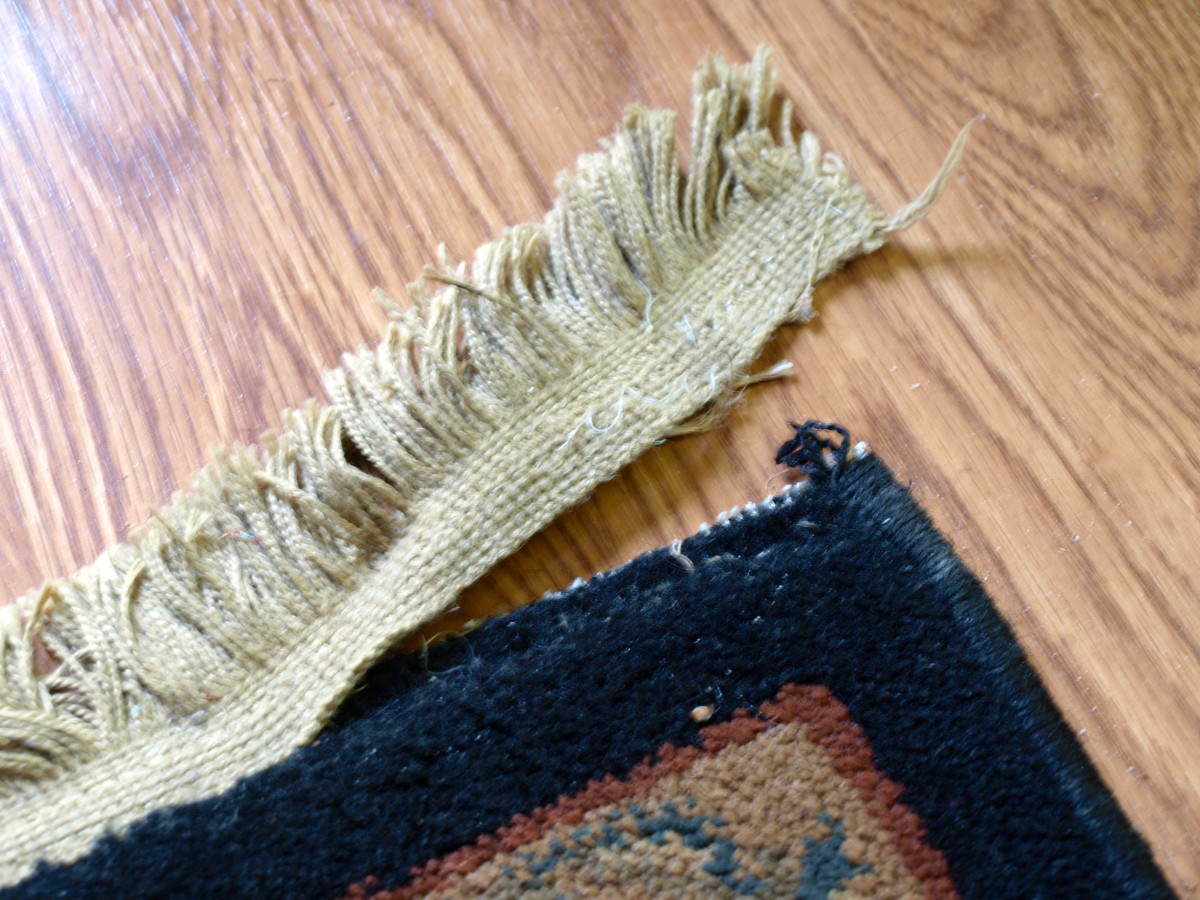
- Type of damage: Identify the type of damage you’re dealing with. Common types of carpet damage include holes, burns, tears, or frayed edges. Understanding the specific issue will help you select the appropriate repair method and materials.
- Location: Take note of where the damage is located on the carpet. Is it in a high-traffic area or a less noticeable spot? This information will influence your repair approach and determine how seamless the patch will appear.
- Severity: Assess the severity of the damage. Is it a minor cosmetic issue, or does it pose a safety hazard? Understanding the severity will help you prioritize the repair and decide if additional measures, such as reinforcement or padding, are necessary.
By assessing these factors, you’ll have a clear understanding of the scope of the damage and be better equipped to proceed with the repair. Keep in mind that if the damage is extensive or requires professional expertise, it might be best to consult a carpet repair specialist.
Once you’ve assessed the damage, you can move on to the next step: gathering the necessary materials.
Step 2: Gather the Necessary Materials
Before you can begin patching up your carpet, it’s essential to gather all the materials and tools you’ll need for the repair process. Having everything ready beforehand will help streamline the process and minimize any potential delays.
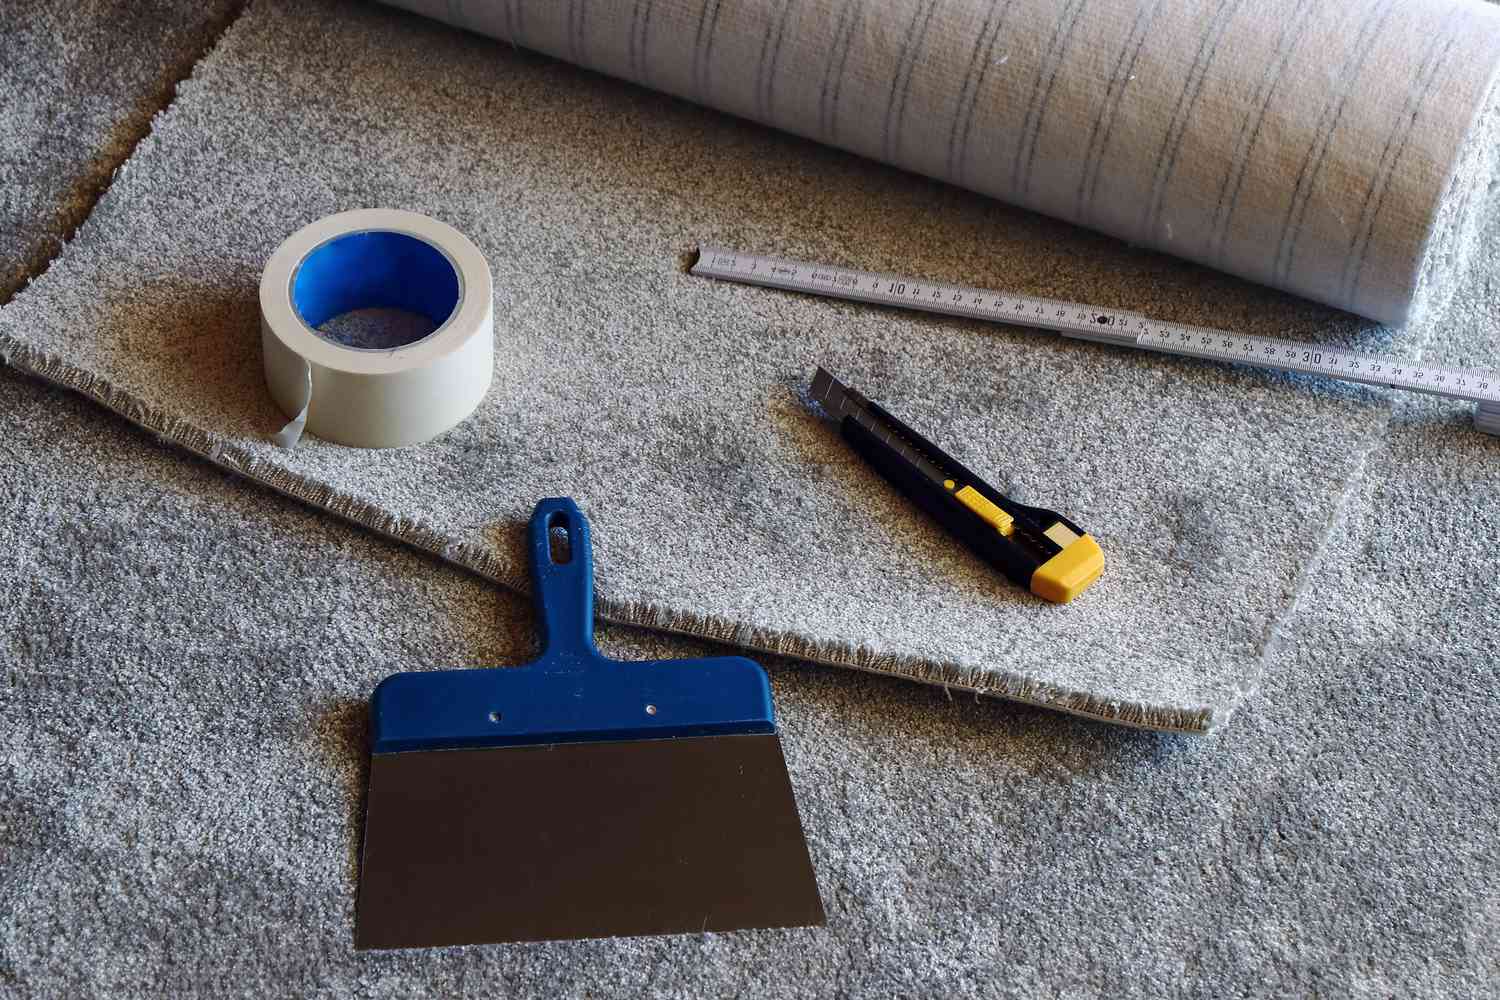
Here is a list of the materials and tools you’ll need:
- Carpet patching material: This can be a remnant piece of carpet from the original installation or a matching carpet from a hidden area, such as the back of a closet. Make sure the patching material is the same style, color, and texture as your existing carpet.
- Carpet adhesive or double-sided carpet seaming tape: Depending on the type of repair and the specific instructions for your carpet style, you’ll need either carpet adhesive or carpet seaming tape to secure the patch in place.
- Craft knife or carpet cutting tool: A sharp craft knife or carpet cutting tool will be necessary to trim out the damaged area and cut the patching material to the appropriate size and shape.
- Straightedge or ruler: Use a straightedge or ruler to ensure clean, straight cuts when trimming the damaged area and the patching material.
- Marker or chalk: You’ll need a marker or chalk to outline the damaged area and mark the shape and size of the patch on both the damaged carpet and the patching material.
- Scissors: Keep a pair of scissors handy for cutting any loose fibers or threads and trimming any excess patching material once the repair is complete.
- Iron (if using carpet seaming tape): If you’re using carpet seaming tape to secure the patch, you’ll need an iron to activate the adhesive on the tape and bond it to the patch and the surrounding carpet.
By gathering these materials and tools, you’ll have everything you need to proceed with the repair process smoothly. Make sure to check that your materials are in good condition and are suitable for your specific carpet type.
Once you have everything ready, you can move on to the next step: removing any loose fibers or threads.
Step 3: Remove any Loose Fibers or Threads
Before you can proceed with patching up your carpet, it’s important to remove any loose fibers or threads surrounding the damaged area. This step will ensure a clean and smooth surface for the patching process.
Here’s how to remove loose fibers or threads from the carpet:
- Inspect the damaged area: Take a closer look at the damaged area and identify any loose fibers or threads that are sticking out.
- Trim the loose fibers or threads: Use a pair of sharp scissors to carefully trim away any loose fibers or threads. Make sure to cut them close to the surface of the carpet, ensuring a neat and even finish.
- Be cautious with frayed edges: If you’re dealing with frayed edges around the damaged area, gently trim them to create clean, straight edges. However, avoid cutting into the undamaged carpet fibers as much as possible.
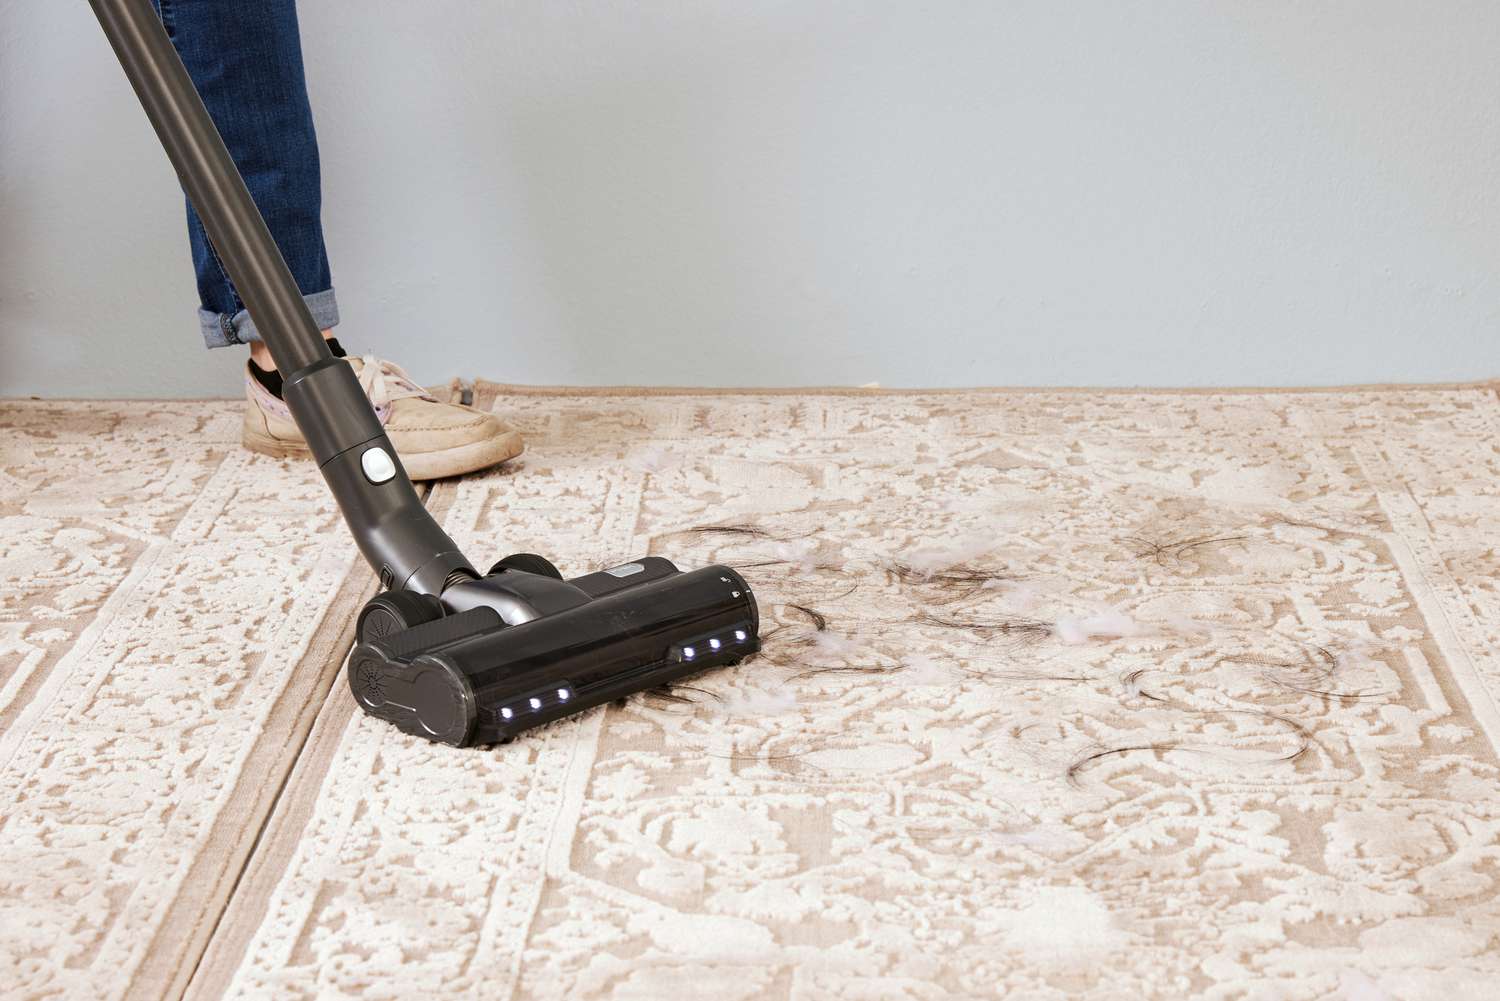
- Remove any lingering debris: After trimming the loose fibers or threads, gently vacuum or brush the area to remove any remaining debris or loose particles from the surface of the carpet.
By removing any loose fibers or threads, you’ll create a smoother and more even surface for the patching process. This step will ensure that the patch blends seamlessly with the surrounding carpet, enhancing the overall appearance of the repair.
After completing this step, you’re ready to move on to the next step: trimming out the damaged area.
Step 4: Trim out the Damaged Area
Once you have removed any loose fibers or threads, it’s time to trim out the damaged area of the carpet. Trimming out the damaged section will create a clean and precise space for inserting the patch.
Here’s how to trim out the damaged area:
- Outline the damaged area: Using a marker or chalk, outline the boundaries of the damaged area on the carpet. This will help guide your cutting and ensure that you remove only the necessary portion of the carpet.
- Cut along the outline: With a sharp craft knife or carpet cutting tool, carefully cut along the outline you made, removing the damaged section of the carpet. Take your time and make smooth and accurate cuts, ensuring that the edges are clean and straight.
- Double-check the fit: After trimming out the damaged area, place the patching material over the hole to ensure that it fits correctly. Make any necessary adjustments to the size or shape of the patch, ensuring a snug and precise fit.
It’s important to note that when trimming the damaged area, it’s better to cut slightly smaller than the outline to avoid creating a gap. You can always trim the patching material to match the size of the hole more precisely.
By trimming out the damaged area, you’ll create a well-defined space for inserting the patch and ensure that it blends seamlessly with the surrounding carpet. With this step complete, you can now move on to the next step: preparing the patching material.
Read more: How To Pull Up A Carpet
Step 5: Prepare the Patching Material
Now that you have trimmed out the damaged area, it’s time to prepare the patching material that will fill the hole or damaged section of the carpet. The patching material should closely match the style, color, and texture of the existing carpet for a seamless repair.
Here’s how to prepare the patching material:
- Measure and mark the patching material: Place the trimmed piece of carpet or the matching carpet remnant over the damaged area. Use a marker or chalk to trace the outline of the hole onto the patching material. This will serve as a guide for cutting the patch to the appropriate size and shape.
- Cut the patching material: Using a sharp craft knife or carpet cutting tool, carefully cut along the marked outline on the patching material. Take your time and make precise cuts to ensure that the patch fits perfectly into the trimmed area of the carpet.
- Test the fit: Place the cut patching material into the trimmed area of the carpet to test the fit. It should fit snugly without any gaps or overlaps. Make any adjustments if necessary, trimming the patching material slightly if needed for a better match.
It’s essential to ensure that the patching material is cut to the correct size and shape. An accurately cut patch will blend seamlessly with the surrounding carpet, creating a nearly invisible repair.
Now that you have prepared the patching material, you’re ready to move on to the next step: applying adhesive or carpet seaming tape.
Step 6: Apply Adhesive or Carpet Seaming Tape
With the patching material ready, it’s time to secure it in place. Depending on the type of repair and the specific instructions for your carpet, you’ll either use adhesive or carpet seaming tape to hold the patch in place.
Here’s how to apply adhesive or carpet seaming tape:
- Read the instructions: Before applying any adhesive or carpet seaming tape, carefully read and understand the instructions provided by the manufacturer. Different types and brands may have specific application methods.
- Apply adhesive: If you’re using adhesive, apply it to the trimmed area of the carpet following the manufacturer’s instructions. Use a thin, even layer of adhesive, ensuring full coverage within the boundaries of the trimmed area.
- Use carpet seaming tape: If you’re using carpet seaming tape, cut the tape into the appropriate length to cover the trimmed area. Make sure to position the tape underneath the trimmed edges of the carpet to ensure a secure bond.
- Activate adhesive (if using carpet seaming tape): If you’re using carpet seaming tape, use a hot iron to activate the adhesive on the tape. Place a cloth or piece of parchment paper over the tape, then gently press the heated iron on top. Follow the manufacturer’s instructions regarding temperature and duration.
Remember to work carefully and follow the instructions closely to ensure a proper application of adhesive or carpet seaming tape. This step is crucial in securing the patch in place and preventing any future shifting or lifting.
Once the adhesive or carpet seaming tape is applied, you can move on to the next step: inserting and securing the patch.
When patching up a carpet, make sure to use a carpet patch that matches the existing carpet in color, texture, and pile direction for a seamless repair. Use a sharp utility knife to cut the patch and carefully glue it into place.
Step 7: Insert and Secure the Patch
With the adhesive or carpet seaming tape in place, it’s time to insert and secure the patch into the trimmed area of the carpet. This step will ensure that the patch fits snugly and blends seamlessly with the surrounding carpet.
Here’s how to insert and secure the patch:
- Align the patch: Carefully position the cut patching material into the trimmed area of the carpet. Make sure that the patch is aligned properly and fits snugly into the hole or damaged section.
- Press down firmly: Once the patch is in place, press down firmly on all sides to ensure a secure bond with the adhesive or carpet seaming tape. Use your hand or a rolling pin to apply even pressure and smooth out any air bubbles or wrinkles.
- Allow proper adhesion: If you’re using adhesive, follow the manufacturer’s instructions regarding the drying time and setting period. Avoid walking or placing heavy objects on the repaired area until the adhesive has fully cured.
It’s important to ensure that the patch is inserted and secured properly to achieve a seamless repair. Take your time to align the patch accurately and press down firmly to create a strong bond between the patching material and the existing carpet.
Once you have inserted and secured the patch, you can move on to the next step: trimming any excess patching material.
Step 8: Trim any Excess Patching Material
After securing the patch in place, it’s time to trim any excess patching material that may be protruding or overlapping with the surrounding carpet. Trimming the excess material will help create a seamless and professional-looking repair.
Here’s how to trim any excess patching material:
- Inspect the repaired area: Take a close look at the repaired area and identify any portions of the patching material that extend beyond the trimmed area or overlap with the surrounding carpet.
- Trim the excess material: Using a sharp craft knife or scissors, carefully trim away the excess patching material. Make smooth and precise cuts, following the contours of the trimmed area.
- Blend the edges: After trimming, gently blend the edges of the patching material with the surrounding carpet. Use your fingers to press and smooth out any visible seams, ensuring a seamless transition between the patch and the rest of the carpet.
Take your time when trimming the excess patching material to ensure a neat and clean finish. Staying cautious and following the contours of the trimmed area will help achieve a seamless repair.
Once you have trimmed any excess material, you’re ready to move on to the next step: blending the patch with the surrounding carpet.
Read more: How To Cut Up A Carpet For Disposal
Step 9: Blend the Patch with the Surrounding Carpet
Blending the patch with the surrounding carpet is the key to achieving a seamless and natural-looking repair. This step involves making adjustments to the patched area to ensure that it matches the color, texture, and style of the rest of the carpet.
Here’s how to blend the patch with the surrounding carpet:
- Inspect the blend: Step back and take a good look at the repaired area. Observe the color, texture, and pattern of the surrounding carpet, and compare it to the patched section.
- Make color adjustments: If the patching material doesn’t match the rest of the carpet perfectly, you can try making color adjustments. This can be done by using a carpet dye or stain that closely matches the color of the surrounding carpet. Apply the dye or stain according to the product instructions, being careful not to oversaturate the fibers.
- Consider texture and pile direction: Depending on the type of carpet, you may need to pay attention to texture and pile direction. Gently brush or fluff the fibers around the patched area to blend them with the surrounding carpet’s texture and ensure a consistent pile direction.
- Step on the blend: After making any necessary color adjustments and addressing the texture, step on the patched area and walk around it to see if it seamlessly blends with the rest of the carpet. This will help gauge the overall appearance and ensure a cohesive look.
Blending the patch with the surrounding carpet requires careful observation and adjustments to achieve the best possible match. By making color adjustments, considering texture and pile direction, and testing the blend by walking on it, you can achieve a repair that is virtually undetectable.
Once you are satisfied with the blend, you can proceed to the next step: allowing sufficient drying time.
Step 10: Allow Sufficient Drying Time
After completing the patching process and blending the patch with the surrounding carpet, it’s crucial to allow sufficient drying time for the adhesive or dye to set properly. Rushing this step may result in the patch not bonding effectively or the color not fully matching.
Here’s how to ensure sufficient drying time:
- Refer to the product instructions: Check the instructions provided by the manufacturer of the adhesive, carpet dye, or stain you used. They should specify the recommended drying time.
- Avoid foot traffic or heavy objects: During the drying period, it’s essential to avoid walking on the repaired area or placing heavy objects on it. Excessive pressure can disrupt the bonding process or distort the blended appearance.
- Provide adequate ventilation: Proper ventilation can help speed up drying time. Open windows or doors to allow fresh air to circulate in the room. However, be mindful of humidity levels, as excessive moisture can also affect the drying process.
- Be patient: It’s tempting to want to use the repaired area as soon as possible, but it’s crucial to exercise patience and wait until the adhesive or dye has fully dried and set. This will ensure a durable and visually seamless repair.
The drying time can vary depending on the specific products used and environmental factors such as temperature and humidity. It’s best to follow the manufacturer’s instructions and err on the side of caution by allowing ample time for the patch to dry completely.
Once the drying time is complete, you’re nearly finished. The final step involves performing any necessary touch-ups to further enhance the appearance of the repair.
Step 11: Perform Final Touch-Ups
In the final step of patching up a carpet, you’ll perform any necessary touch-ups to refine the repair and ensure a polished result. These final adjustments will help blend the patched area seamlessly with the rest of the carpet, leaving it looking as good as new.
Here’s what you can do to perform final touch-ups:
- Inspect the repaired area: Take a close look at the patched area and the surrounding carpet. Look for any small imperfections or inconsistencies that need to be addressed.
- Trim any stray fibers: Use a pair of scissors to carefully trim any stray fibers or threads that may be sticking out around the patched area. This will create a clean and uniform appearance.
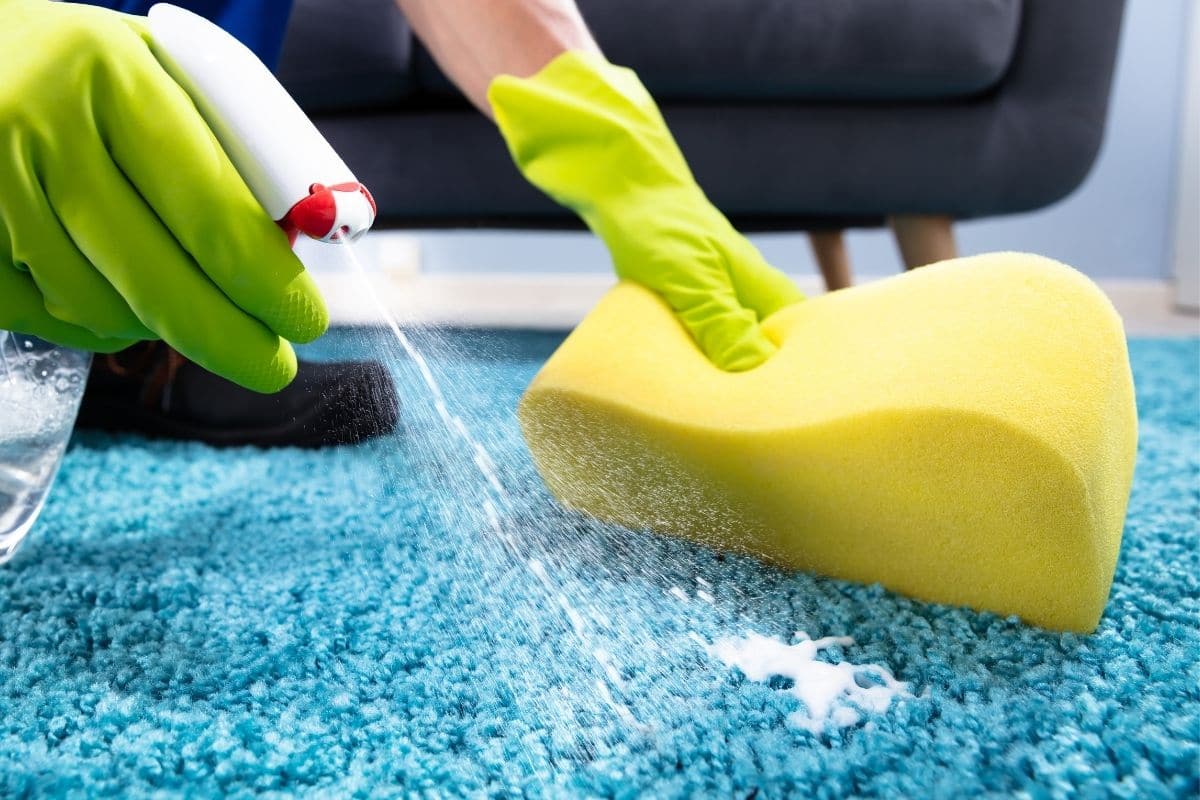
- Blend the colors: If there is still a slight difference in color between the patch and the surrounding carpet, you can use a carpet cleaner or spot remover specifically designed for your carpet type. Follow the product instructions to gently clean the patched area and blend the colors.
- Gently brush the carpet: Use a soft bristle brush or a carpet rake to lightly brush the repaired area and the surrounding carpet. This will help blend the fibers and ensure a consistent texture.
- Stand back and assess: Once you have completed the touch-ups, step back and assess the entire repaired area. Check if the patch seamlessly blends with the rest of the carpet, and make any additional adjustments if necessary.
By performing these final touch-ups, you can refine the appearance of the repair and create a seamless transition between the patched area and the rest of the carpet. It’s important to take a step back and thoroughly evaluate the results before considering the repair complete.
With the final touch-ups complete, you have successfully patched up your carpet and restored its beauty. Enjoy the fresh and rejuvenated look of your carpet, and take satisfaction in having accomplished the repair yourself!
As a reminder, for more extensive or complex damage, or if you’re unsure about the repair process, it’s always advisable to consult a professional carpet repair service.
Congratulations on successfully patching up your carpet!
Conclusion
Patching up a carpet can be a straightforward and rewarding task, allowing you to extend the life of your flooring and restore its appearance without the need for professional assistance. By following the step-by-step process outlined in this guide, you can confidently repair small holes, tears, or damaged sections in your carpet.
Remember to assess the damage and gather the necessary materials before starting the repair process. Take your time to remove any loose fibers or threads and carefully trim out the damaged area. Prepare the patching material and secure it in place using adhesive or carpet seaming tape. Trim any excess patching material and blend the patch with the surrounding carpet, paying attention to color, texture, and pile direction.
Allow sufficient drying time for the adhesive or dye to set, resisting the urge to walk on the repaired area too soon. Finally, perform any necessary final touch-ups, such as trimming stray fibers or blending colors, to achieve a flawless repair.
By taking the time and effort to patch up your carpet, you can enjoy the benefits of a restored and visually appealing flooring. Patching up minor damage not only enhances the overall look of your space but also saves you the cost of replacing the entire carpet.
It’s important to note that while patching up a carpet can be an effective solution for minor damage, more extensive or complex issues may require professional assistance. If you’re uncertain or dealing with significant damage, it’s advisable to consult a carpet repair specialist who can provide expert advice and services.
With the knowledge and skills gained from this guide, you’re now equipped to tackle carpet repairs and maintain the beauty of your flooring for years to come. So, roll up your sleeves, gather your materials, and bring new life to your carpet through the art of patching!
Frequently Asked Questions about How To Patch Up A Carpet
Was this page helpful?
At Storables.com, we guarantee accurate and reliable information. Our content, validated by Expert Board Contributors, is crafted following stringent Editorial Policies. We're committed to providing you with well-researched, expert-backed insights for all your informational needs.