Articles
How To Fix Charger Adapter
Modified: December 7, 2023
Learn how to fix charger adapter issues with these helpful articles. Find step-by-step guides, troubleshooting tips, and more to get your charger working again.
(Many of the links in this article redirect to a specific reviewed product. Your purchase of these products through affiliate links helps to generate commission for Storables.com, at no extra cost. Learn more)
Introduction
Having a charger adapter that isn’t working properly can be incredibly frustrating. Whether your phone or laptop isn’t charging at all or the charging process is slow and inefficient, it’s important to address the issue as soon as possible. Fortunately, many charger adapter problems can be fixed without needing to replace the entire unit.
In this article, we will provide you with a comprehensive guide on how to fix a charger adapter. We’ll cover various steps you can take to troubleshoot and resolve power issues, inspect the adapter for any visible damage, clean it properly, and if necessary, replace it with a new one.
Before we dive into the specifics, it’s important to note that while these troubleshooting methods can be effective, there may be instances where the charger adapter is irreparable or needs professional attention. In such cases, it may be necessary to consult a technician or consider purchasing a new charger adapter.
Now, let’s begin by checking for power issues to determine the root cause of the problem.
Key Takeaways:
- Troubleshoot power issues, inspect for damage, clean, and replace if necessary to fix a faulty charger adapter and ensure optimal device charging performance.
- Prioritize safety, follow manufacturer guidelines, and seek professional help if needed when addressing charger adapter issues for reliable and safe device charging.
Read more: How To Use Tesla Charger Adapter
Checking for Power Issues
When your charger adapter isn’t working, the first step is to check for any power-related issues. This will help you determine whether the problem lies with the adapter itself or if it’s caused by an external factor. Here are a few things you can do to diagnose power issues:
- Try a different power outlet: Plug the charger adapter into a different outlet to see if it’s a problem with the outlet itself. Sometimes, a faulty outlet can prevent the adapter from delivering power to your device.
- Check the charging cable: Inspect the charging cable for any signs of damage or fraying. A damaged cable can disrupt the power flow and prevent the adapter from charging your device properly.
- Test with another device: If possible, try using the charger adapter with a different device. This will help determine if the issue is specific to the device or if it persists across multiple devices.
- Ensure proper connection: Check that both ends of the charging cable are securely connected to the adapter and the device. Loose connections can lead to intermittent charging or no charging at all.
- Inspect the power brick: Take a close look at the power brick (the block-shaped component of the charger). Look for any signs of physical damage or overheating, such as discoloration or a burning smell.
If you have followed these steps and haven’t identified any power-related issues, it’s time to move on to inspecting the charger adapter itself. Let’s explore that in the next section.
Inspecting the Charger Adapter
Once you’ve ruled out power-related issues, it’s important to inspect the charger adapter itself for any visible damage or defects. Here are the steps to follow when inspecting the charger adapter:
- Examine the charging ports: Carefully inspect the charging ports on both the adapter and your device. Look for any debris, dirt, or lint that may be obstructing the connection. Use a small brush or toothpick to gently remove any particles.
- Check for bent pins: If your charger adapter uses pins to connect to your device, check for any bent or misaligned pins. Straighten them using a pair of tweezers or a small needle, being careful not to break or damage them further.
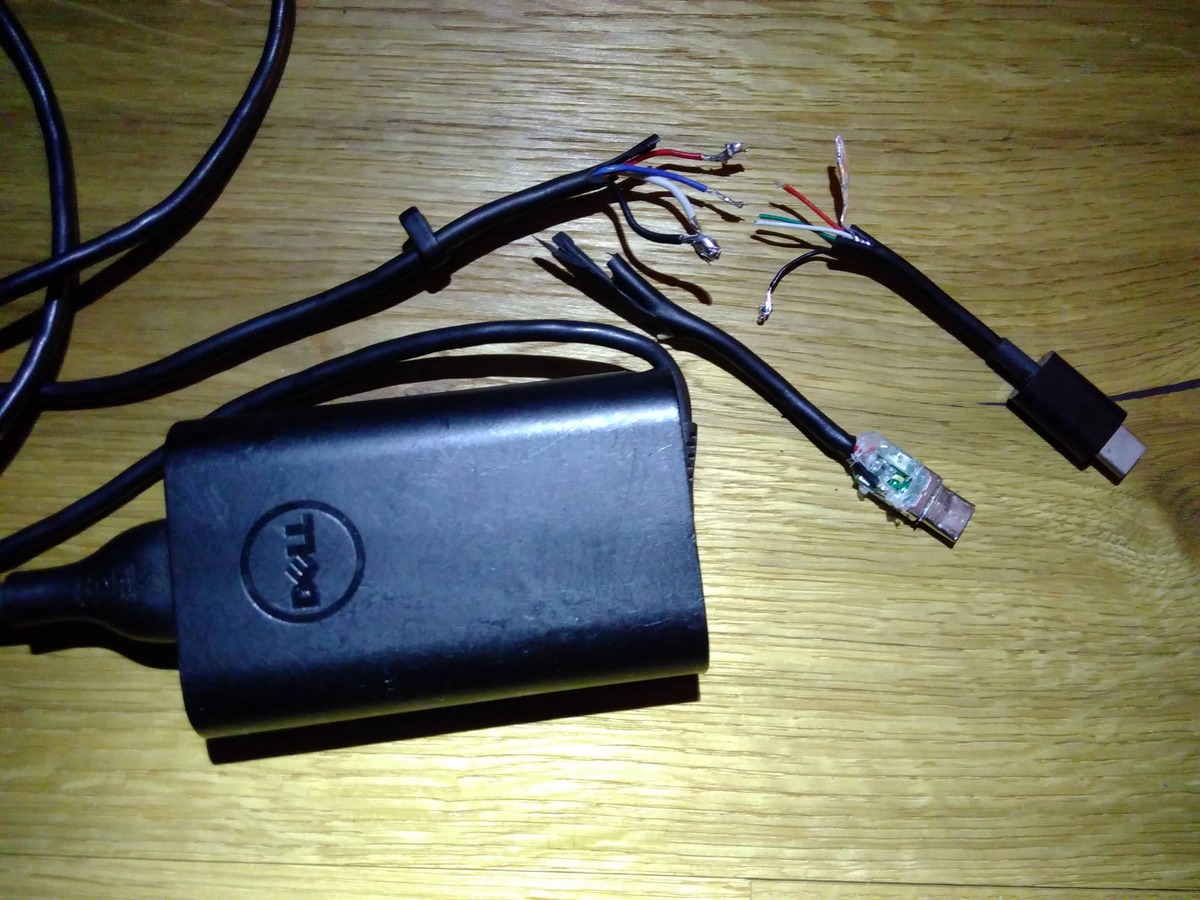
- Inspect the cable: Examine the charging cable for any signs of damage, such as exposed wires or bent connectors. If you notice any issues, it may be necessary to replace the cable as it can affect the overall performance of the charger adapter.
- Look for physical damage: Check the charger adapter for any visible signs of physical damage, such as cracks, dents, or loose parts. If you notice any significant damage, it’s best to discontinue use and consider replacing the adapter.
- Check LED indicators: If your charger adapter has LED indicators, pay attention to their behavior. A steady or blinking light typically indicates that the adapter is functioning properly, while no light or an inconsistent light pattern may suggest a problem.
By thoroughly inspecting the charger adapter, you can identify any visible issues that may be contributing to its malfunction. If you haven’t found any problems during the inspection, it’s time to move on to cleaning the charger adapter, which we’ll discuss in the next section.
When fixing a charger adapter, first check the power source and cable for any damage. If everything looks good, try using the adapter with a different device to see if the issue is with the adapter or the device. If it still doesn’t work, consider replacing the adapter.
Cleaning the Charger Adapter
Over time, dirt, dust, and debris can accumulate in the charging ports and connectors of your charger adapter, leading to poor connectivity and charging issues. Cleaning the charger adapter can help improve its performance and ensure a stable power connection. Here’s how you can clean the charger adapter:
- Power off and unplug the adapter: Before you begin cleaning, make sure to power off and unplug the charger adapter from the power source to avoid any potential electrical hazards.
- Remove any visible debris: Using a soft brush or cotton swab, gently remove any visible dirt, dust, or lint from the charging ports and connectors. Be careful not to use excessive force or insert anything sharp that could damage the adapter.
- Clean with isopropyl alcohol: Dampen a cloth or cotton swab with a small amount of isopropyl alcohol. Gently wipe the charging ports and connectors to remove stubborn residue or buildup.
- Dry thoroughly: Once you’ve cleaned the adapter, ensure that it is completely dry before reconnecting it to a power source. Moisture can cause damage and potentially affect the functioning of the adapter.
It’s important to note that while cleaning the charger adapter can often resolve connectivity issues, it may not fix internal or hardware-related problems. If after cleaning the adapter, you’re still experiencing charging problems, you may need to consider replacing the charger adapter, which we’ll discuss in the next section.
Now that you’ve cleaned the charger adapter, it’s time to see if the issue is resolved. Plug it back in, power on your device, and check if it’s charging properly. If not, there may be a more significant issue with the adapter that requires replacement.
Replacing the Charger Adapter
If you’ve exhausted all troubleshooting methods and the charger adapter is still not functioning properly, it may be necessary to replace it. Here are the steps to follow when replacing the charger adapter:
- Identify the correct adapter: Determine the specific charger adapter model and voltage requirements for your device. This information can usually be found in the device’s user manual or on the manufacturer’s website.
- Purchase a new charger adapter: Visit an authorized retailer or the manufacturer’s website to purchase a new charger adapter that matches your device’s specifications. Ensure that you are purchasing from a reputable source to avoid counterfeit or incompatible products.
- Disconnect and dispose of the old adapter: Unplug the old charger adapter from the power source and disconnect it from your device. Properly dispose of the old adapter according to your local electronic waste recycling guidelines.
- Connect the new adapter: Carefully plug the new charger adapter into the power source and connect it to your device. Ensure a secure connection to guarantee optimal charging performance.
- Test the new adapter: Power on your device and check if it’s charging properly with the new charger adapter. If everything is functioning as expected, you have successfully replaced your charger adapter.
Replacing the charger adapter is a straightforward process, but it’s essential to choose a high-quality replacement that is compatible with your device. Using an incompatible or low-quality adapter can lead to performance issues or even damage your device. If you are unsure about the replacement process or have concerns, it’s advisable to seek assistance from a professional or contact the manufacturer for guidance.
Finally, always remember to handle electronic devices and chargers with care, and keep them away from water or extreme temperatures to prolong their lifespan and ensure safe usage.
Read more: How To Fix Wifi Adapter
Conclusion
Dealing with a faulty charger adapter can be a frustrating experience, but with the right troubleshooting steps, you can often fix the issue and restore proper charging functionality. In this article, we discussed various methods to address common charger adapter problems, including checking for power issues, inspecting the adapter, cleaning it, and replacing it if necessary.
By checking for power-related issues, you can determine whether the problem lies with the charger adapter or an external factor such as an outlet or cable. Inspecting the charger adapter allows you to identify any visible damage or defects that may be hindering its performance. Cleaning the adapter helps remove built-up dirt and debris that can interfere with the charging process. And if all else fails, replacing the charger adapter with a compatible and high-quality replacement is the final solution.
Remember, while these troubleshooting methods can be effective, there may be instances where the charger adapter is irreparable or requires professional attention. It’s essential to prioritize safety and follow manufacturer guidelines when handling electronic devices and chargers.
By following the steps outlined in this article, you can increase the chances of resolving charger adapter issues and ensuring optimal charging performance for your devices. If you find yourself unsure or uncomfortable with any of the troubleshooting steps, it’s always best to reach out to a technician or contact the manufacturer for assistance.
With proper care and maintenance, your charger adapter will continue to serve you reliably, providing the power your devices need to keep you connected and productive.
Frequently Asked Questions about How To Fix Charger Adapter
Was this page helpful?
At Storables.com, we guarantee accurate and reliable information. Our content, validated by Expert Board Contributors, is crafted following stringent Editorial Policies. We're committed to providing you with well-researched, expert-backed insights for all your informational needs.


0 thoughts on “How To Fix Charger Adapter”