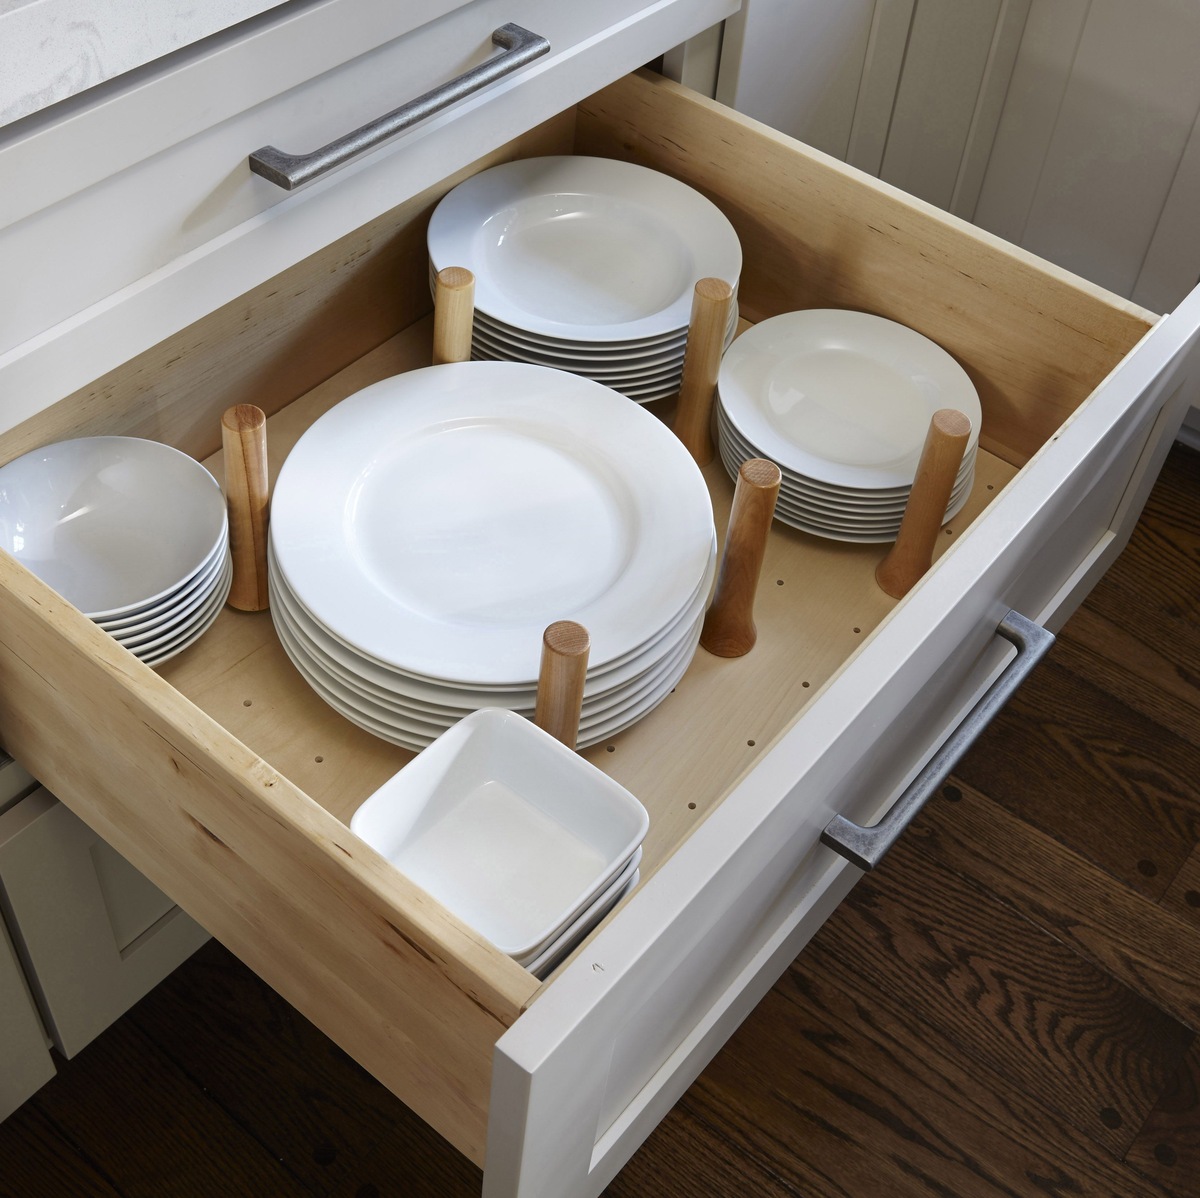
Tableware
How To Decorate Charger Plates
Modified: February 24, 2024
Discover the art of tableware with our guide on how to decorate charger plates. Elevate your dining experience with stunning designs and creative ideas.#
(Many of the links in this article redirect to a specific reviewed product. Your purchase of these products through affiliate links helps to generate commission for Storables.com, at no extra cost. Learn more)
Introduction
Charger plates, also known as service plates or underplates, are decorative plates that are often used as an elegant base for table settings. They add a touch of sophistication and style to any dining experience, whether it’s a formal dinner party or a casual gathering with friends and family. While charger plates come in various materials and designs, they can be further personalized and transformed into unique pieces by adding your own decorative elements.
In this article, we will explore the art of decorating charger plates and provide you with step-by-step instructions on how to create stunning, customized pieces that will impress your guests. From selecting the right charger plates to applying the decorative elements and adding the finishing touches, you’ll learn valuable tips and techniques to elevate your tableware game.
So, whether you’re looking to spruce up your dining table for a special occasion or simply want to add a touch of personality to your everyday meals, let’s dive into the world of charger plate decoration and unleash your creative side!
Key Takeaways:
- Elevate your dining experience by transforming ordinary charger plates into personalized masterpieces that reflect your unique style and creativity. From selecting the perfect plates to adding finishing touches, unleash your artistic flair and impress your guests!
- With the right materials and creative vision, decorating charger plates becomes a delightful and rewarding experience. Let your imagination run wild as you personalize your tableware, creating stunning and memorable dining settings for any occasion.
Read more: How To Make Charger Plates
Materials Needed
Before you begin decorating your charger plates, it’s essential to gather all the necessary materials. Here’s a list of items you’ll need:
- Charger plates: Choose charger plates that suit your style and the occasion. They come in a variety of materials such as glass, porcelain, metal, and plastic. Consider the color, shape, and size of the charger plates to ensure they complement your existing tableware.
- Decorative elements: These can include ribbons, lace, fabric, flowers, gems, beads, feathers, or any other embellishments that match your chosen theme or aesthetic. Get creative and think outside the box to find unique elements that will make your charger plates stand out.
- Adhesive: Depending on the type of decorative elements you’ve chosen, you may need craft glue, a hot glue gun, or adhesive tape to secure them to the charger plates. Make sure to use a strong adhesive that will hold the elements in place.
- Scissors: You’ll need a pair of sharp scissors to cut down the decorative elements to the desired size and shape. Ensure that your scissors are clean and in good condition to achieve neat and precise cuts.
- Craft supplies: Depending on your chosen decorating techniques, you might need additional craft supplies such as paint brushes, stencils, paint, markers, or other art materials. These will allow you to add designs, patterns, or personal touches to your charger plates.
- Protective materials: It’s essential to protect your work area from spills and stains. Consider having newspaper, plastic sheets, or a large tablecloth to cover the surface where you’ll be working on your charger plates.
By gathering these materials ahead of time, you’ll have everything you need to create beautiful and customized charger plates that will impress your guests and enhance your dining experience.
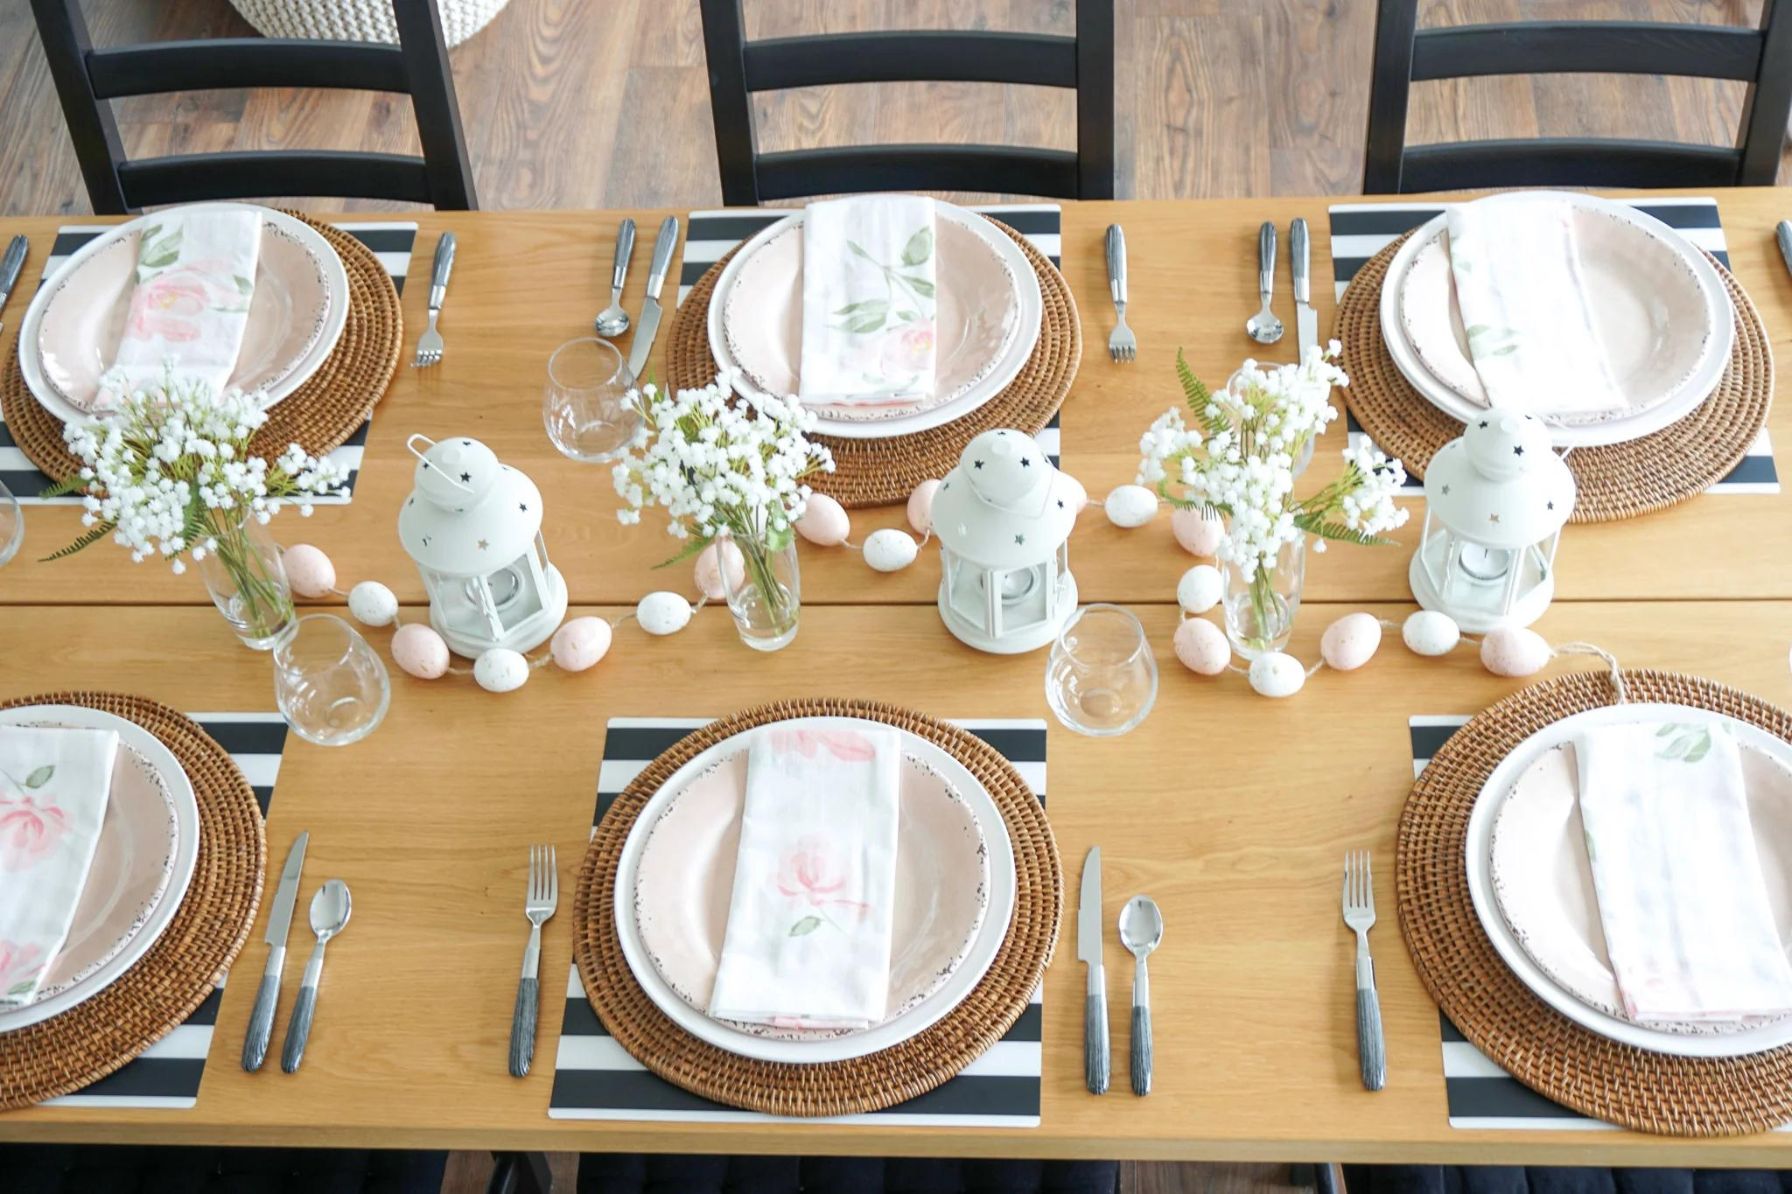
Step 1: Choosing the Charger Plates
The first step in decorating charger plates is selecting the right plates that will serve as your canvas. There are several factors to consider when choosing charger plates:
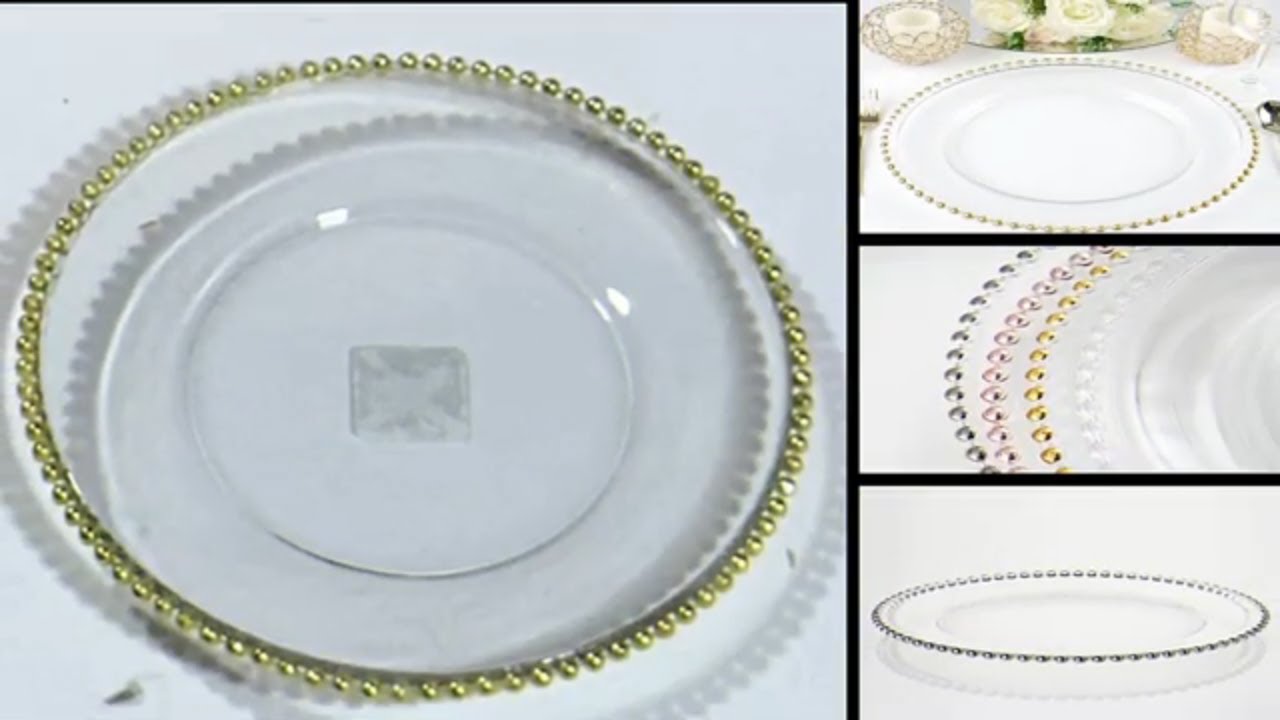
- Material: Charger plates come in a variety of materials, including glass, porcelain, metal, and plastic. Each material has its own unique look and feel, so choose one that aligns with your style and the overall theme of your table setting.
- Color: Charger plates come in a wide range of colors to suit different decor styles. Consider the color scheme of your dining area and the event you’re hosting. You can opt for classic and versatile white or choose bold, vibrant colors to make a statement.
- Size and shape: Charger plates come in various sizes, typically ranging from 12 to 14 inches in diameter. Consider the size of your dinner plates and the available space on your dining table when selecting charger plates. Additionally, explore different shapes like round, square, or even irregular shapes to add visual interest.
- Texture and pattern: Charger plates can feature unique textures, such as embossed patterns or a hammered finish, which can enhance the visual appeal of your table setting. Alternatively, you can opt for charger plates with printed patterns or intricate designs to add a touch of elegance.
- Quantity: Determine the number of charger plates you’ll need based on the number of place settings you’ll have. It’s common to have one charger plate per guest, but you can also choose to have charger plates only at specific seats, such as the head of the table or for the guest of honor.
Take your time to explore different options and consider how the charger plates will complement the rest of your tableware. Remember that the charger plates will serve as the foundation for your decoration, so choose ones that will allow your decorative elements to stand out.
Now that you’ve selected the perfect charger plates, it’s time to move on to the next step: preparing the plates for decoration.
Step 2: Preparing the Charger Plates for Decoration
Before you begin applying decorative elements to your charger plates, it’s important to prepare them properly to ensure a clean and successful decorating process. Follow these steps to prepare your charger plates:
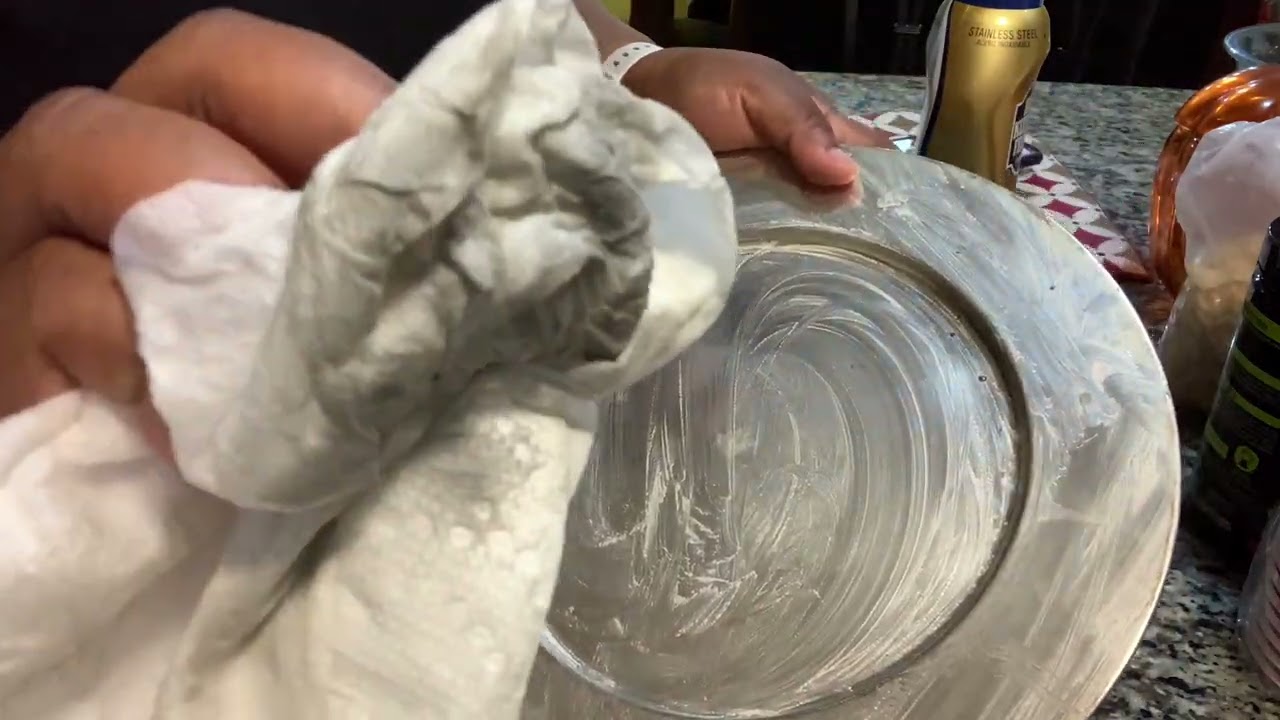
- Clean the charger plates: Start by cleaning the charger plates thoroughly. Use warm soapy water and a soft sponge or cloth to remove any dust, dirt, or residue. Rinse them well and dry them completely before proceeding to the next step.
- Ensure a smooth surface: Check the charger plates for any imperfections or rough spots. Use a fine sandpaper or a nail buffer to smooth out any rough edges or bumps. This will create a smooth surface for better adhesion of the decorative elements.
- Protect delicate surfaces: If your charger plates have delicate or fragile surfaces, such as gold or silver accents, consider applying a clear adhesive film or using masking tape to protect those areas. This will prevent any damage or discoloration during the decoration process.
- Choose a suitable workspace: Find a clean and well-lit area where you can work on your charger plates without any interruptions. Lay down protective materials, such as newspaper or a plastic sheet, to catch any debris or spills.
By following these steps, you’ll ensure that your charger plates are in pristine condition and ready to be transformed into pieces of art. Now that your plates are prepared, it’s time to move on to the exciting part – selecting the decorative elements!
Step 3: Selecting the Decorative Elements
Now that you have prepared the charger plates, it’s time to choose the decorative elements that will transform them into personalized and eye-catching pieces. Here are some ideas to inspire your creative process:
- Ribbons and lace: Add an elegant and romantic touch by attaching ribbons or lace around the rim of the charger plates. Choose a color that complements your tableware and tie them in bows or intricate designs.
- Fabric: Cut and place fabric pieces onto the charger plates to create textured layers. Use fabrics with interesting patterns or textures for a unique look. Secure them in place with a strong adhesive or by tucking their edges under the plate.
- Flowers and foliage: Select fresh or artificial flowers and foliage that match the theme or color scheme of your table setting. Arrange them on the charger plates in a pleasing way, either by placing them flat or creating small bouquets. Use adhesive or small floral wire to secure them to the plates.
- Gems and beads: Add a touch of glamour and sparkle by attaching gems or beads to the surface of the charger plates. Arrange them in patterns or create intricate designs. Use a strong adhesive to ensure they stay in place.
- Feathers: Choose feathers in various colors and sizes to create a unique and whimsical look. Glue them onto the charger plates in a symmetrical or random arrangement to add texture and depth.
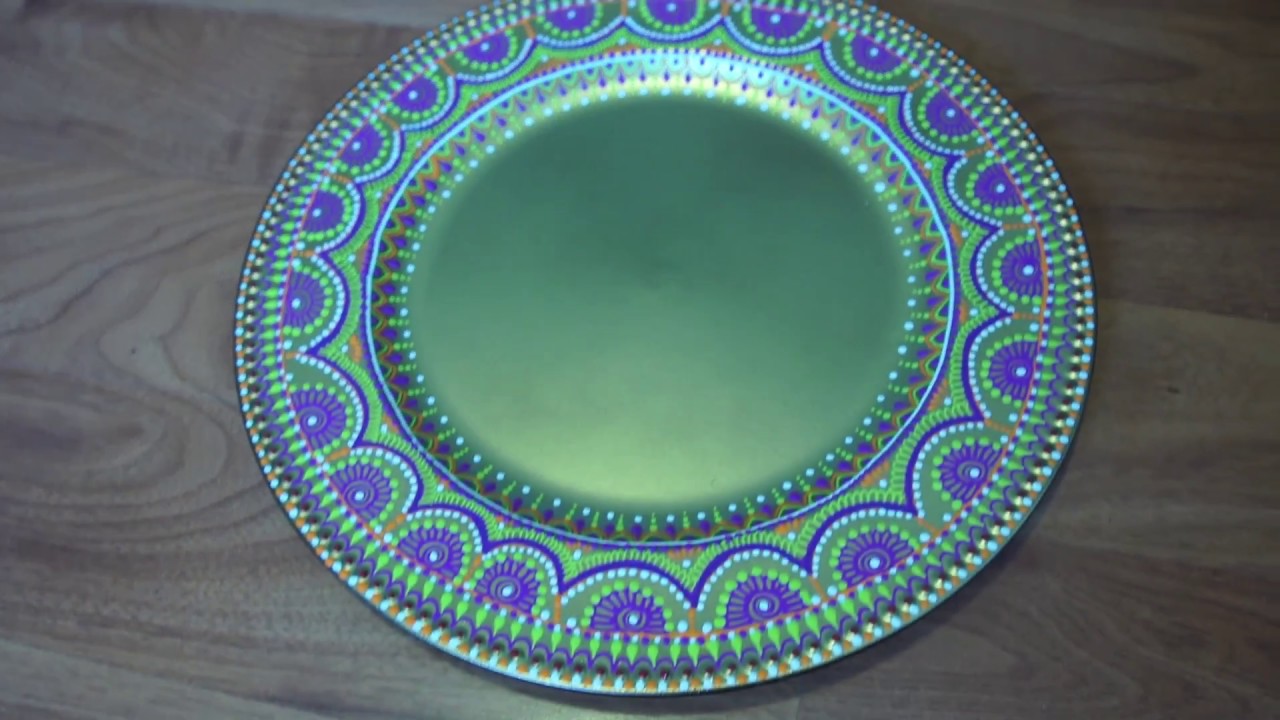
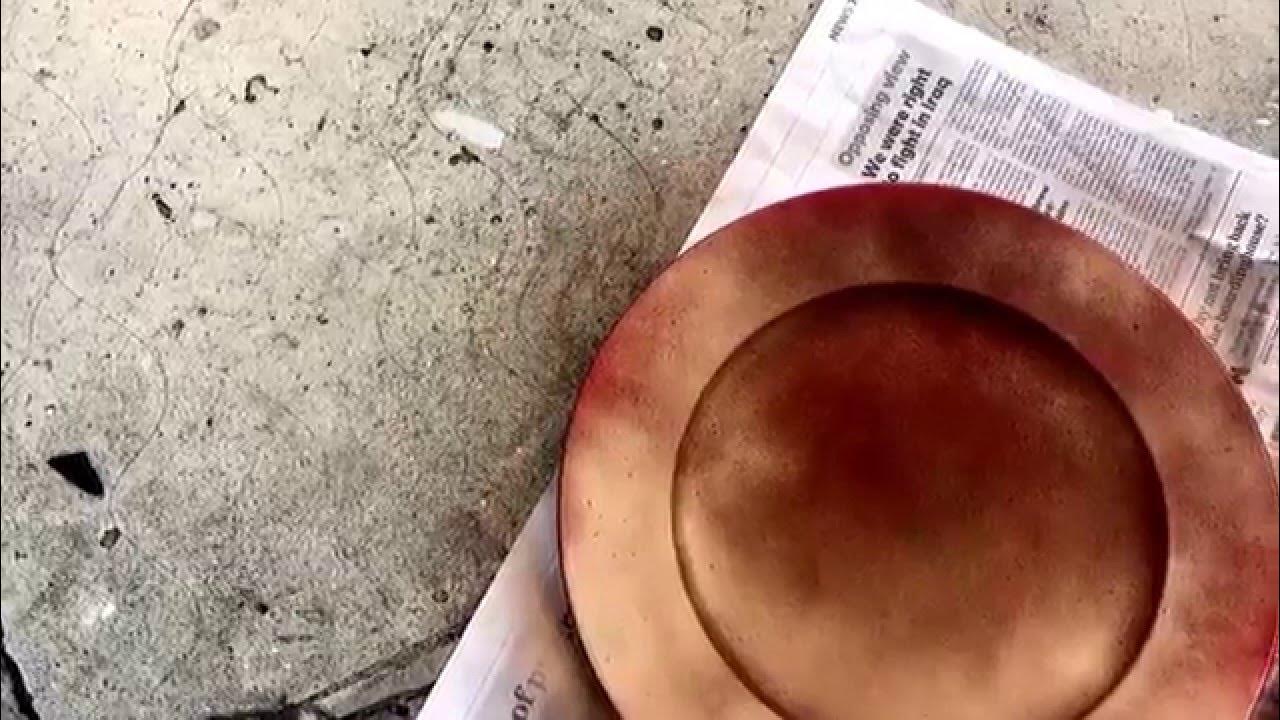
- Paint and markers: If you have artistic skills, consider painting or drawing designs directly onto the charger plates. Use paint brushes or markers to create intricate patterns, monograms, or images that reflect your personal style.
Remember to mix and match different elements to create a visually appealing composition. Experiment with different textures, colors, and arrangement styles until you find the perfect combination. It’s all about expressing your creativity and making the charger plates reflect your unique taste.
With the decorative elements selected, it’s time to move on to the next step: applying them to the charger plates.
When decorating charger plates, consider using a combination of natural elements such as greenery, flowers, or fruits to create a visually appealing and elegant look. This can add a touch of sophistication to your table setting.
Read more: How To Store Charger Plates
Step 4: Applying the Decorative Elements
Now that you have chosen the decorative elements for your charger plates, it’s time to bring them to life by applying them to the plates. Follow these steps to ensure a secure and visually appealing application:
- Plan your design: Before applying any adhesive, lay out your chosen decorative elements on the charger plates to plan your design. This will help you visualize how the elements will look and allow you to make any necessary adjustments.
- Secure with adhesive: Depending on the type of decorative elements you have, use an appropriate adhesive to secure them to the charger plates. For elements like ribbons, lace, or fabric, apply a small amount of craft glue or use a glue gun along the edges or strategic points to keep them in place. For gems, beads, or feathers, use a strong adhesive that is suitable for the material.
- Be strategic with placement: Pay attention to the placement of the decorative elements to create a balanced and visually pleasing design. Ensure that the elements are evenly distributed and not overcrowding the charger plates. Consider symmetry, asymmetry, or focal points to create different effects.
- Press and hold: After applying the adhesive, gently press down on the decorative elements to ensure a secure bond. Hold them in place for a few seconds to allow the adhesive to set. For delicate elements, use a light touch to avoid damaging them.
- Trim excess: If any decorative elements extend beyond the edges of the charger plates, use scissors to carefully trim the excess. This will create a clean and polished look.
Take your time during this step to ensure that the decorative elements are applied neatly and securely. Don’t rush, as precision and attention to detail will make a significant difference in the final appearance of your decorated charger plates.
With the decorative elements adhered to the plates, it’s time to add those finishing touches that will elevate the overall presentation.
Step 5: Adding Finishing Touches
Now that you have applied the decorative elements to your charger plates, it’s time to add those final finishing touches that will enhance their overall presentation. Consider these ideas to elevate your decorated charger plates:
- Add a clear coat: Depending on the materials used and the desired look, you may want to apply a clear coat to protect and seal the decorative elements on the charger plates. Choose a clear, food-safe sealant that is compatible with the materials and follow the manufacturer’s instructions for application.
- Coordinate with tableware: Ensure that the design and color scheme of your decorated charger plates complement the rest of your tableware. Coordinate the patterns, colors, and textures to create a cohesive and aesthetically pleasing table setting.
- Consider embellishments: Enhance the overall look by adding additional embellishments that complement the theme or style of your charger plates. This could include small decorative trinkets, charms, or accents that can be attached to the charger plates.
- Personalize with name cards: If you’re hosting a special event or dinner party, consider adding personalized name cards to each charger plate. This will not only serve as a functional way to assign seating but also add an extra personalized touch to each guest’s place setting.
- Experiment with lighting: Take advantage of different lighting effects to showcase your charger plates. Consider using candles, string lights, or other ambient lighting elements to highlight the details and textures on the plates.
Don’t be afraid to get creative and experiment with different ideas. The finishing touches are what will truly make your decorated charger plates pop and create a memorable dining experience for you and your guests.
With the finishing touches in place, it’s time to display your beautifully decorated charger plates with pride!
Step 6: Displaying the Decorated Charger Plates
Now that you have completed the decoration of your charger plates, it’s time to showcase them in the best possible way. Here are some tips on how to beautifully display your decorated charger plates:
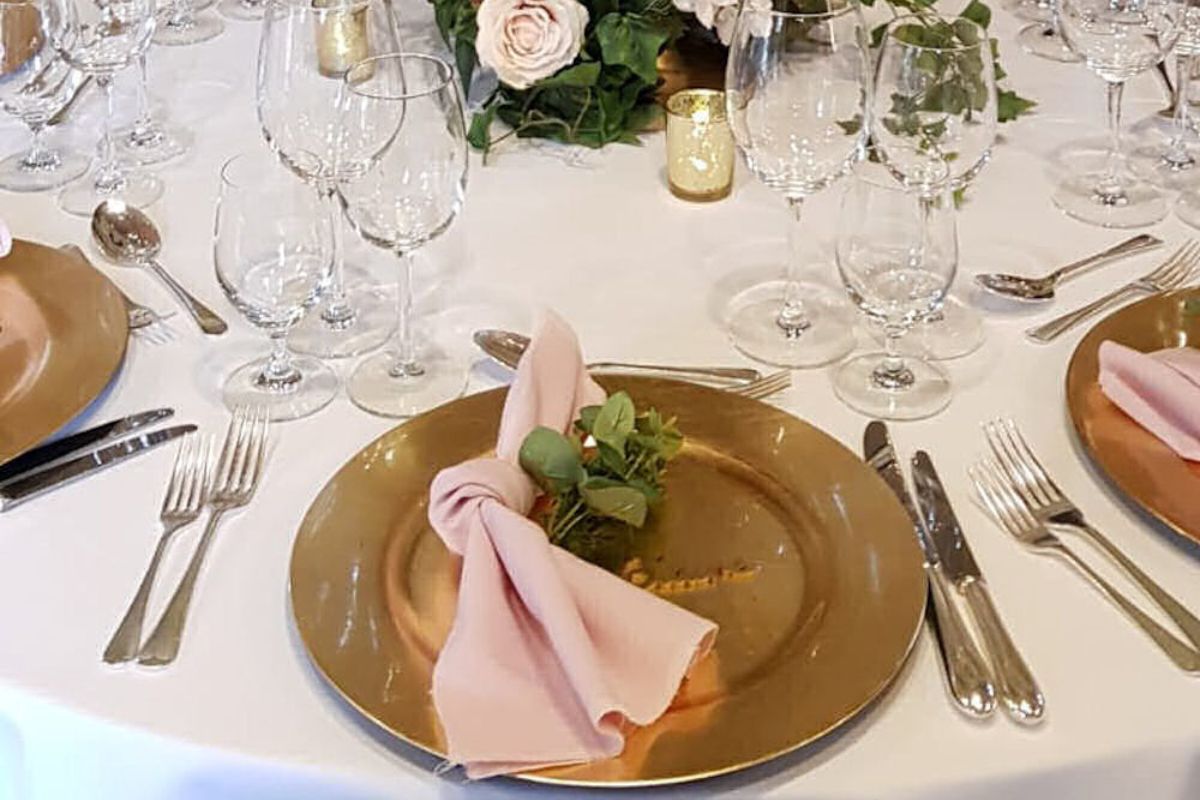
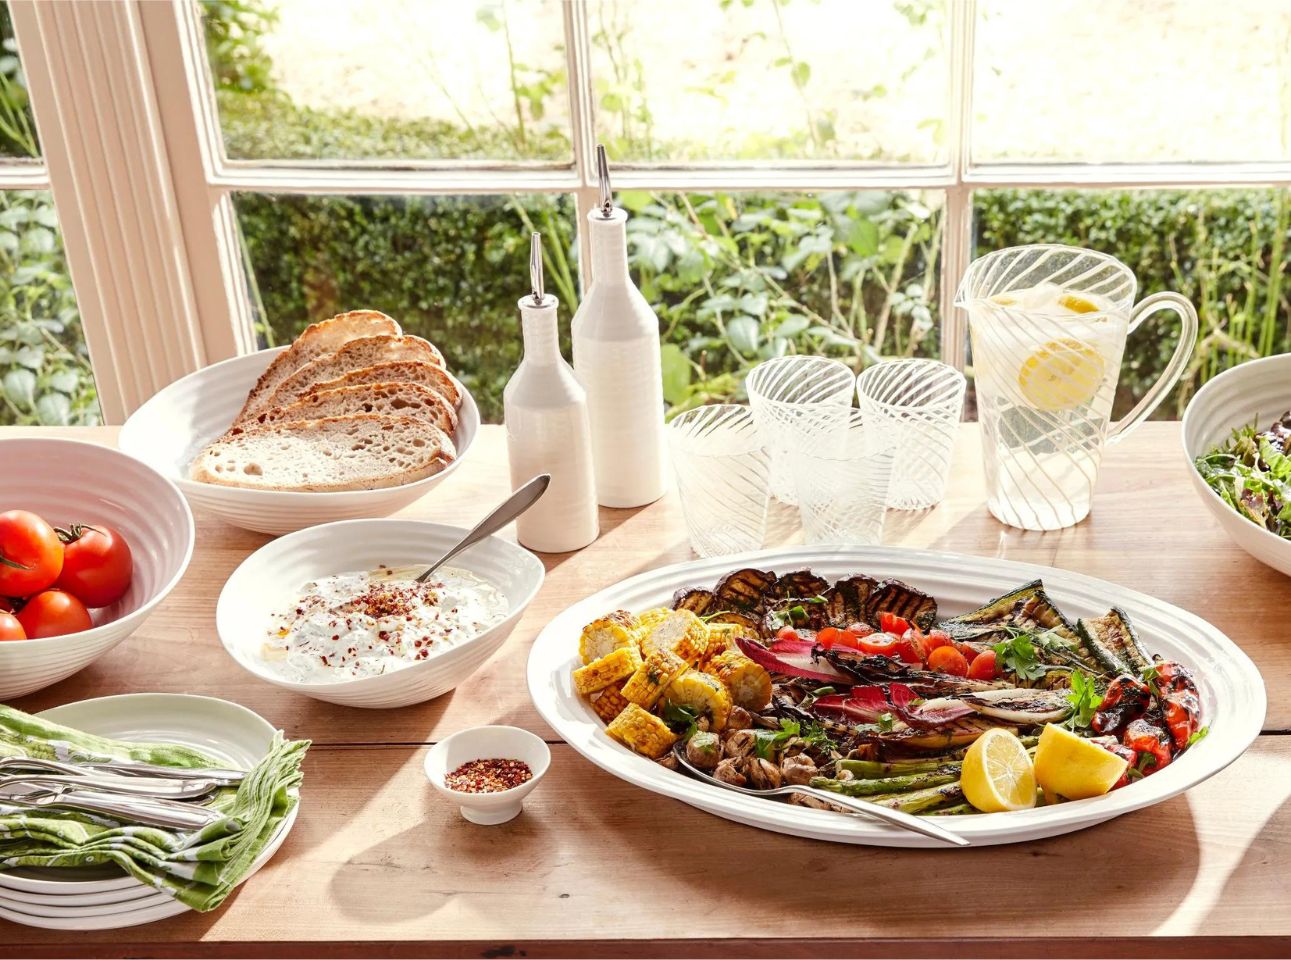
- Create a centerpiece: Arrange your decorated charger plates in the center of the dining table to create a captivating centerpiece. Consider placing them on a decorative table runner or a mirrored tray to elevate the visual impact.
- Vary the heights: Add visual interest by incorporating different heights when displaying the charger plates. Use cake stands, risers, or stack the plates on top of each other to create a tiered effect.
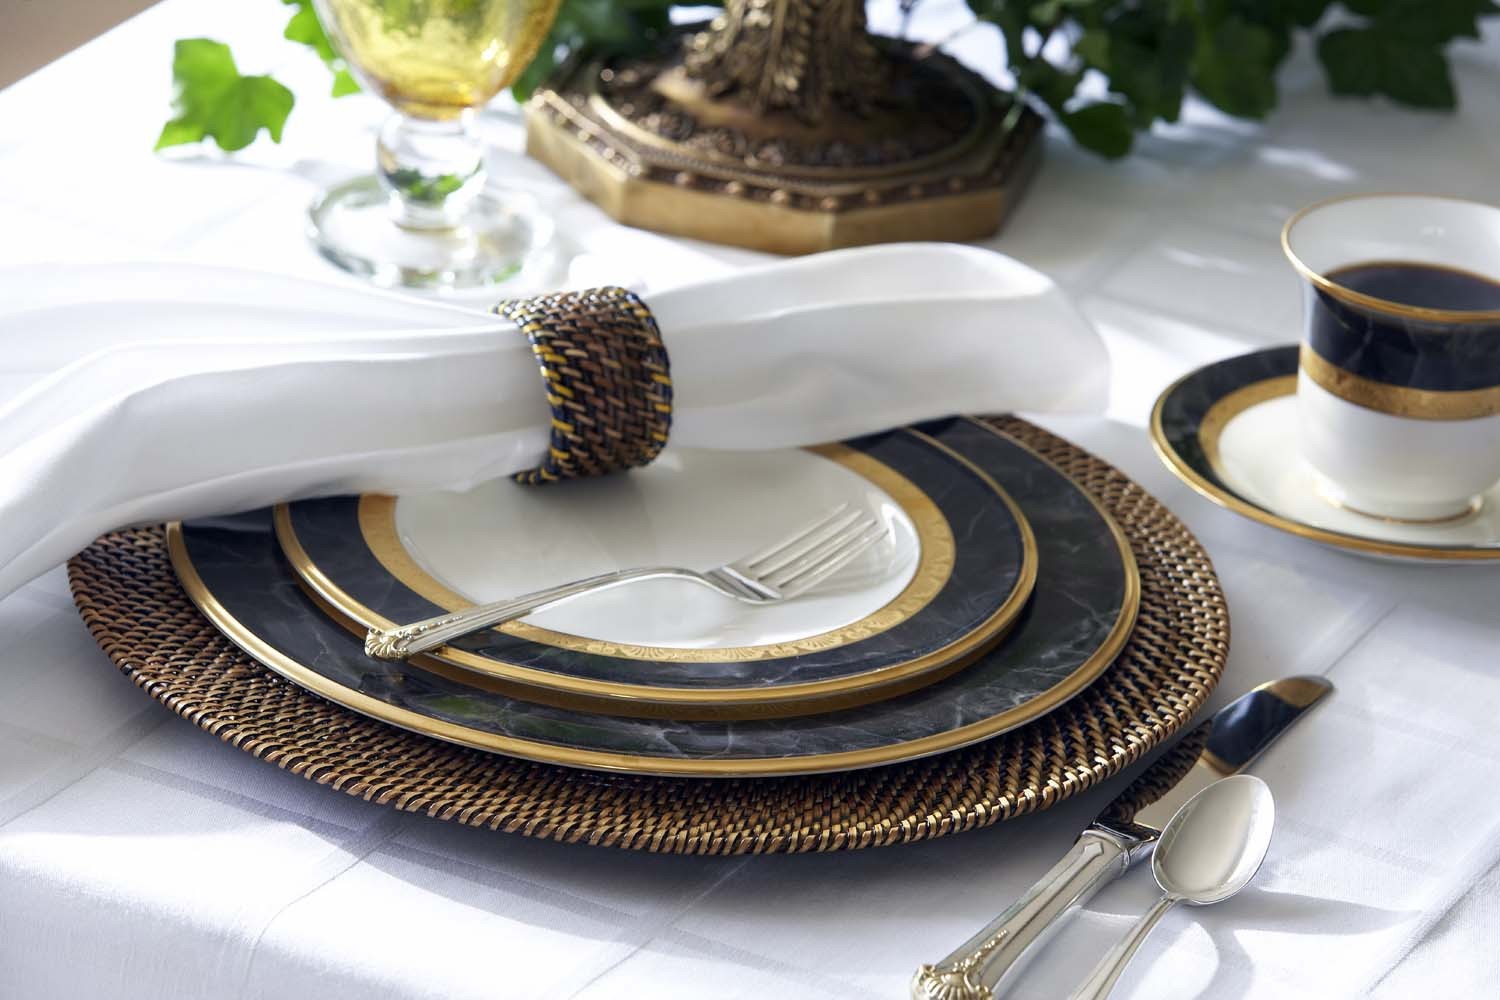
- Layer with dinnerware: Place your decorative charger plates on top of plain or complementary dinner plates to add depth and dimension. This will create a layered look that enhances the overall presentation.
- Pair with matching accessories: To tie the whole table setting together, consider pairing your decorated charger plates with matching accessories such as napkin rings, glassware, or utensils. This cohesive look will add a polished and cohesive touch to your table.
- Consider display stands: If you want to showcase your charger plates in a more prominent way, consider using plate stands or plate hangers to display them on walls or shelves. This allows you to showcase your artistic creations as wall decor when they’re not in use.
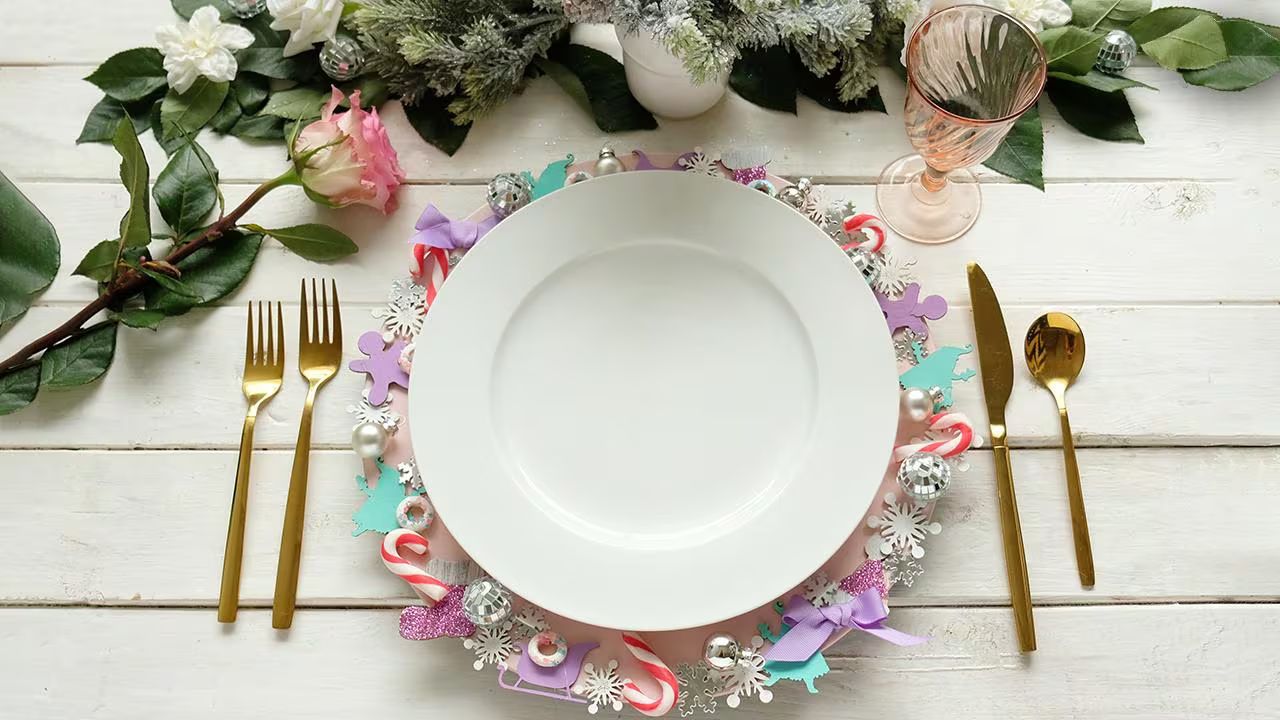
- Play with themes: Coordinate your charger plates with a specific theme or event. For example, if you’re hosting a holiday dinner, choose charger plates with seasonal elements like pinecones or snowflakes. For a romantic dinner, opt for charger plates adorned with roses or hearts.
Remember, the way you set your table and display your decorated charger plates can enhance the overall dining experience and create a lasting impression on your guests. Get creative and experiment with different ideas until you find a presentation style that matches your personal style and the occasion.
By following these steps and incorporating your creativity, you can transform ordinary charger plates into stunning pieces of tableware that elevate any dining experience. Enjoy the process of decorating and displaying your charger plates, and let your personal style shine through!
Now that you have learned the art of decorating charger plates, it’s time to unleash your creativity and start transforming them into customized masterpieces. Whether it’s for a special occasion or to add a touch of elegance to your everyday meals, your decorated charger plates are sure to impress. Enjoy the process and have fun creating beautiful table settings!
Conclusion
Decorating charger plates is a delightful way to personalize your tableware and create a stunning ambiance for any dining occasion. By following the steps outlined in this article, you can transform plain charger plates into unique and eye-catching pieces that reflect your personal style and creativity.
From selecting the perfect charger plates to preparing them for decoration, choosing the right decorative elements, and applying them with care, each step plays a crucial role in achieving the desired look. Adding those finishing touches and displaying your decorated charger plates in an artful manner further elevates their impact.
Remember to let your creativity flow and think outside the box when selecting decorative elements. Consider the theme of your event, the color scheme, and the overall mood you want to create. Whether you prefer a sophisticated and elegant design or a whimsical and playful arrangement, there are countless possibilities to explore.
Furthermore, don’t be afraid to experiment and take risks with your decoration choices. Every charger plate you decorate is a unique opportunity to express your style and add a personal touch to your table settings.
Finally, as you display your beautifully decorated charger plates, take a moment to admire your work and appreciate the joy they bring to your dining experience. Whether you’re hosting a formal dinner party, a casual get-together, or simply sharing a meal with loved ones, your decorated charger plates will undoubtedly leave a lasting impression.
So, unleash your creativity, gather the necessary materials, and begin the exciting journey of transforming ordinary charger plates into extraordinary works of art. Discover the joy of designing and creating beautiful table settings that will captivate your guests and make dining moments truly memorable.
Enjoy the process, have fun, and let your decorated charger plates become a reflection of your taste, style, and creativity!
Frequently Asked Questions about How To Decorate Charger Plates
Was this page helpful?
At Storables.com, we guarantee accurate and reliable information. Our content, validated by Expert Board Contributors, is crafted following stringent Editorial Policies. We're committed to providing you with well-researched, expert-backed insights for all your informational needs.


0 thoughts on “How To Decorate Charger Plates”