Articles
How To Fix Wireless Adapter Or Access Point
Modified: December 7, 2023
Learn how to fix a wireless adapter or access point with our informative articles. Find step-by-step guides and troubleshooting tips to resolve connectivity issues.
(Many of the links in this article redirect to a specific reviewed product. Your purchase of these products through affiliate links helps to generate commission for Storables.com, at no extra cost. Learn more)
Introduction
Welcome to this comprehensive guide on how to fix wireless adapter or access point issues. In today’s technologically advanced world, having a stable and reliable internet connection is crucial. Whether you are using a laptop, desktop computer, or mobile device, a common problem that users encounter is the “wireless adapter or access point” error message.
This error can prevent you from connecting to the internet and can be frustrating to deal with. The good news is that there are several steps you can take to troubleshoot and resolve the issue on your own. In this article, we will walk you through these steps, providing detailed instructions along the way.
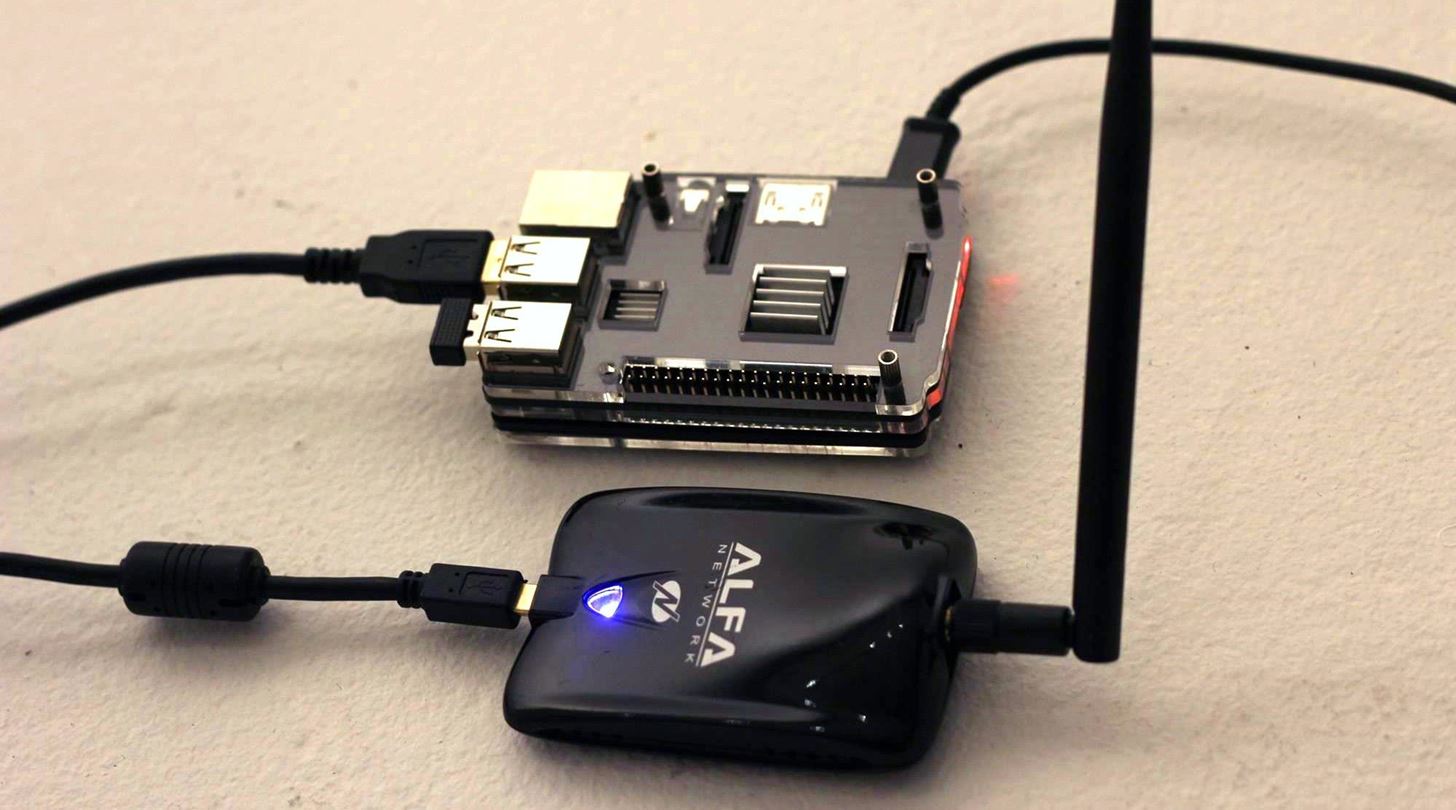
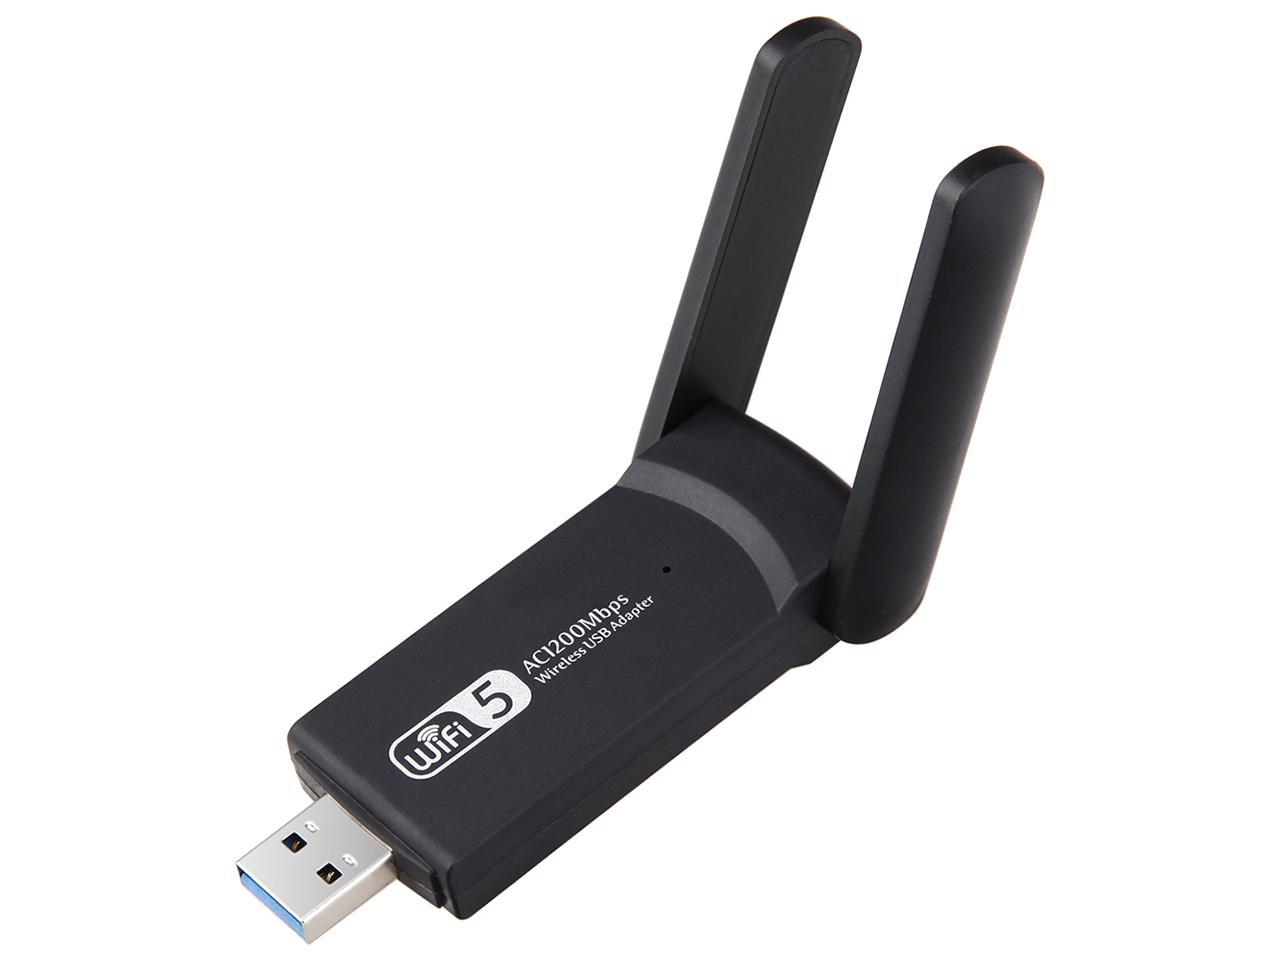
Before we dive into the troubleshooting process, let’s discuss what a wireless adapter and access point are and why they are essential components of your network setup. A wireless adapter is a device that allows your computer to connect to a wireless network. It translates the data from your computer into a wireless signal that can be transmitted and received by the wireless access point.
The access point, often referred to as a router or wireless router, is the device that provides your network with wireless connectivity. It acts as a central hub, connecting your devices to the internet and facilitating communication between them.
Now that we have a basic understanding of the components involved, let’s explore some of the common issues that can arise with wireless adapters or access points.
Key Takeaways:
- Troubleshoot and resolve common wireless adapter or access point issues by following step-by-step instructions, from restarting devices to updating drivers and optimizing settings for stable connectivity.
- Address connectivity problems with proactive measures, including checking network connections, disabling power-saving mode, and investigating hardware issues, to ensure uninterrupted internet access.
Read more: How To Use A Laptop As A Wireless Adapter
Common Issues with Wireless Adapters or Access Points
When it comes to wireless connectivity, there are a few common issues that users may encounter with their wireless adapters or access points. Understanding these issues can help you diagnose the problem more effectively and implement the appropriate solution. Let’s take a look at some of the most common issues:
- Connection Drops: One of the most frustrating issues is when the wireless connection keeps dropping. This can happen due to interference from other devices, distance from the access point, or outdated drivers.
- Slow Internet Speed: If you notice that your internet speed is significantly slower when connected to Wi-Fi compared to a wired connection, it could be an issue with your wireless adapter or access point. This could be caused by outdated firmware or interference.
- No Internet Access: Another common issue is when you are connected to the Wi-Fi network but have no internet access. This can be caused by incorrect network settings, an incorrect IP address, or a problem with the access point’s configuration.
- Authentication Problems: Sometimes, you may encounter authentication errors when trying to connect to a Wi-Fi network. This can occur due to an incorrect password, outdated security protocols, or compatibility issues between the wireless adapter and the access point.
- Limited or No Connectivity: In some cases, you may see a message indicating limited or no connectivity when attempting to connect to a network. This can be caused by an IP address conflict, outdated drivers, or an incorrect network profile.
These are just a few of the common issues that you may encounter. Now that we have identified some of the problems, let’s move on to the steps you can take to fix them.
Step 1: Restart the Wireless Adapter or Access Point
When you encounter issues with your wireless adapter or access point, a simple first step is to restart the device. This can often resolve minor glitches or temporary connectivity problems. Here’s how you can do it:
- Restart the Wireless Adapter: On your computer, open the Network Connections menu by right-clicking on the network icon in the system tray. Select “Open Network & Internet settings” or “Network and Sharing Center,” depending on your operating system. Locate the Wi-Fi adapter, right-click on it, and choose “Disable.” After a few seconds, right-click on it again and select “Enable.” This will restart the wireless adapter and attempt to establish a new connection.
- Restart the Access Point: Locate your access point (usually a router), and locate the power button or unplug the power cable from the device. Wait for around 10 seconds, then plug it back in or press the power button to turn it on. This will reboot the access point and potentially resolve any issues it was facing.
After restarting both the wireless adapter and access point, give them a few minutes to establish a connection. Check if the issue has been resolved and if you can now connect to the Wi-Fi network. If not, proceed to the next step.
Step 2: Check the Network Connections
If restarting the wireless adapter or access point did not solve the issue, the next step is to check the network connections on your device. Follow these steps to ensure that your network settings are correct:
- Check Wi-Fi Signal Strength: Make sure you are within the range of your wireless access point. If you are too far away or there are physical obstructions between your device and the access point, you may experience connectivity issues. Move closer to the access point or consider repositioning it for better signal strength.
- Verify Wi-Fi Network Name and Password: Double-check the name (SSID) and password of your Wi-Fi network. Sometimes, there may be a discrepancy in the information you have entered, which can prevent your device from connecting. Go to your device’s Wi-Fi settings, forget the current network, and then reconnect by entering the correct network name and password.
- Disable VPN or Proxy Settings: If you are using a VPN (Virtual Private Network) or proxy server, temporarily disable them and check if you can connect to the Wi-Fi network. Sometimes, these settings can interfere with your device’s ability to connect to the network.
- Turn Off Airplane Mode: If your device is in Airplane Mode, it will disable all wireless connections, including Wi-Fi. Ensure that Airplane Mode is turned off before attempting to connect to the network.
After checking the network connections, try reconnecting to your Wi-Fi network. If you are still experiencing issues, it may be necessary to update the wireless adapter driver.
Step 3: Update the Wireless Adapter Driver
If you’ve followed the previous steps and are still experiencing issues with your wireless adapter or access point, it’s possible that the driver software needs to be updated. Outdated or incompatible drivers can cause connectivity problems. Follow these instructions to update your wireless adapter driver:
- Identify the Wireless Adapter: Press the Windows key + X and select “Device Manager” from the menu that appears. In the Device Manager window, find “Network adapters” and expand the category. Look for your wireless adapter; it might be listed as “Wi-Fi,” “Wireless,” or have the manufacturer’s name in it.
- Check for Updates: Right-click on the wireless adapter and select “Update driver” or “Properties” and then “Driver” tab, followed by “Update Driver.” Choose the option that allows you to search automatically for updated driver software. Windows will search for the latest driver online and install it if available.
- Download and Install the Driver Manually: If Windows couldn’t find an updated driver, you can visit the manufacturer’s website for your wireless adapter and search for the latest driver version. Download the driver and follow the instructions provided by the manufacturer to install it on your device.
After updating the driver, restart your computer and check if the issue has been resolved. If not, proceed to the next step.
In the next step, we will reset the TCP/IP stack to help resolve any underlying networking issues that may be causing the problem.
One tip for fixing a wireless adapter or access point is to try restarting your router and modem. Sometimes a simple reboot can resolve connectivity issues.
Read more: How To Enable Pc Wireless Adapter
Step 4: Reset the TCP/IP Stack
If you are still experiencing connectivity issues with your wireless adapter or access point, resetting the TCP/IP stack can help resolve any underlying network problems. Here’s how you can reset the TCP/IP stack:
- Open Command Prompt: Press the Windows key + X and select “Command Prompt (Admin)” or “Windows PowerShell (Admin)” from the menu. This will open a command prompt with administrative privileges.
- Run Command: In the command prompt window, type the following command and press Enter:
netsh int ip reset - Restart Your Computer: After executing the command, restart your computer. This will reset the TCP/IP stack and clear any corrupted network settings.
Once your computer has restarted, try reconnecting to your Wi-Fi network and check if the issue has been resolved. If not, move on to the next step.
Next, we will disable the power-saving mode on your wireless adapter to ensure it operates at its full capacity.
Step 5: Disable the Power Saving Mode
Power-saving modes are designed to conserve energy by reducing the power consumption of your wireless adapter. However, these modes can sometimes interfere with the adapter’s performance and cause connectivity issues. To ensure that your wireless adapter operates at its full capacity, it’s recommended to disable the power-saving mode. Here’s how:
- Open the Device Manager: Press the Windows key + X and select “Device Manager” from the menu. In the Device Manager window, locate and expand the “Network adapters” category.
- Properties of Wireless Adapter: Right-click on your wireless adapter (e.g., Wi-Fi, Wireless) and select “Properties” from the context menu.
- Disable Power Saving Mode: In the Properties window, go to the “Power Management” tab. Uncheck the box that says “Allow the computer to turn off this device to save power.” Click “OK” to save the changes.
By disabling the power-saving mode, you ensure that your wireless adapter remains active and connected to the network without interruptions. Restart your computer after making these changes and try connecting to your Wi-Fi network again. If the problem persists, proceed to the next step.
In the next step, we will modify the properties of your wireless adapter to optimize its performance.
Step 6: Modify Wireless Adapter Properties
If you’re still encountering issues with your wireless adapter or access point, modifying the properties of the adapter can help improve its performance and stability. Here’s how you can do it:
- Open the Device Manager: Press the Windows key + X and select “Device Manager” from the menu. In the Device Manager window, locate and expand the “Network adapters” category.
- Properties of Wireless Adapter: Right-click on your wireless adapter (e.g., Wi-Fi, Wireless) and select “Properties” from the context menu.
- Change Adapter Settings: In the Properties window, go to the “Advanced” tab. Here, you’ll find a list of advanced settings for your wireless adapter.
- Modify Properties: Look for properties related to power management, performance, and compatibility. You may need to experiment with different settings to find the optimal configuration for your device. Some common properties to consider modifying include “802.11n Mode,” “Roaming Aggressiveness,” and “Transmit Power.” Refer to the wireless adapter’s documentation for more information on the available properties.
- Apply Changes: Once you’ve made your desired modifications, click “OK” to apply the changes and exit the Properties window. Restart your computer to ensure the changes take effect.
After modifying the properties of your wireless adapter, attempt to connect to your Wi-Fi network and check if the issue has been resolved. If not, proceed to the next step.
In the next step, we will investigate and check for hardware issues that may be causing the problem.
Step 7: Check for Hardware Issues
If you have followed the previous steps and are still experiencing difficulties with your wireless adapter or access point, it’s important to consider the possibility of a hardware issue. Here are some steps you can take to check for hardware problems:
- Inspect Physical Connections: Ensure that all cables connected to your access point or router are securely plugged in. Verify that there are no loose or damaged cables that could be causing connectivity problems.
- Test with a Different Device: If possible, try connecting a different device (such as a smartphone or another computer) to the same Wi-Fi network. This will help determine if the issue lies with the wireless adapter or with the access point itself.
- Check for Interference: Wireless signals can be affected by interference from other devices operating on the same frequency. Move any potential sources of interference, such as cordless phones or microwave ovens, away from your wireless access point. Additionally, consider changing the channel of your Wi-Fi network to reduce interference from neighboring networks.
- Contact Technical Support: If you’ve exhausted all the troubleshooting steps and are still experiencing issues, it may be time to reach out to technical support for further assistance. They can provide guidance and additional solutions based on your specific hardware and network setup.
By checking for hardware issues, you can identify any underlying problems that might require repairs or replacements. Taking these steps will help you determine whether the issue is related to the hardware components of your wireless setup.
With the completion of these steps, you have gone through the troubleshooting process for fixing wireless adapter or access point issues. Hopefully, your connectivity problems have been resolved. If not, it is advised to seek professional assistance to further diagnose and address the issue.
To summarize, we covered the following steps:
- Restart the wireless adapter or access point
- Check the network connections
- Update the wireless adapter driver
- Reset the TCP/IP stack
- Disable the power-saving mode
- Modify the wireless adapter properties
- Check for hardware issues
By following these steps, you have taken proactive measures to resolve wireless adapter or access point issues. Good luck, and enjoy uninterrupted connectivity!
Read more: How To Tell If Wireless Adapter Is Bad
Conclusion
Dealing with wireless adapter or access point issues can be a frustrating experience, but with the right troubleshooting steps, you can overcome these problems and enjoy a stable and reliable internet connection. In this comprehensive guide, we covered several common issues and provided step-by-step instructions on how to diagnose and fix the problems.
We started by restarting the wireless adapter and access point, which can often resolve minor glitches and temporary connectivity issues. Then, we moved on to checking network connections, updating the wireless adapter driver, and resetting the TCP/IP stack to address any underlying networking issues.
Disabling the power-saving mode and modifying the wireless adapter properties can help optimize its performance and stability, improving your overall connectivity experience. Finally, we explored the possibility of hardware issues and provided tips on how to identify and address them.
It’s important to note that each troubleshooting step builds upon the previous one, so it’s recommended to follow them in order. By following these steps and employing your technical knowledge, you can likely resolve most wireless adapter or access point issues on your own.
If, after completing all the steps, you are still experiencing problems, don’t hesitate to contact technical support for further assistance. They have the expertise to provide tailored solutions based on your specific situation.
Remember, a stable and reliable internet connection is essential in today’s digital world. By following the troubleshooting steps in this guide, you can overcome wireless adapter or access point issues and enjoy seamless connectivity for all your online activities.
Thank you for reading, and we hope that this guide has been helpful in resolving your wireless connectivity issues.
Frequently Asked Questions about How To Fix Wireless Adapter Or Access Point
Was this page helpful?
At Storables.com, we guarantee accurate and reliable information. Our content, validated by Expert Board Contributors, is crafted following stringent Editorial Policies. We're committed to providing you with well-researched, expert-backed insights for all your informational needs.


0 thoughts on “How To Fix Wireless Adapter Or Access Point”