Articles
How To Fix Wifi Adapter
Modified: November 2, 2024
Learn how to fix your WiFi adapter with our step-by-step guide. Our articles provide helpful tips and solutions to troubleshoot any connectivity issues.
(Many of the links in this article redirect to a specific reviewed product. Your purchase of these products through affiliate links helps to generate commission for Storables.com, at no extra cost. Learn more)
Introduction
In today’s digital age, having a stable and reliable internet connection is crucial. Whether it’s for work, streaming, gaming, or simply staying connected with loved ones, a dependable WiFi connection is essential. However, there are times when you may encounter issues with your WiFi adapter, which can cause frustration and interruptions in your online activities.
A WiFi adapter, also known as a wireless adapter or network adapter, is a device that allows your computer or laptop to connect to wireless networks. It serves as a bridge between your device and the router, enabling you to access the internet without the need for a wired connection.
Common issues with WiFi adapters can include slow connection speeds, intermittent connectivity, or even complete failure to connect. Fortunately, many of these issues can be resolved without needing to replace the adapter. In this article, we will explore some troubleshooting steps and solutions to help you fix your WiFi adapter and get back to a smooth and uninterrupted online experience.
Key Takeaways:
- Keep your WiFi adapter running smoothly by restarting, updating drivers, and troubleshooting network settings. If issues persist, consider reinstalling the adapter or checking for hardware issues.
- Don’t let WiFi adapter issues disrupt your online activities. Follow simple troubleshooting steps to resolve connectivity problems and ensure a stable internet connection.
Read more: What Is Wifi Adapter
Common issues with WiFi adapters
WiFi adapters are designed to provide a seamless wireless connection, but they can experience a range of issues that can impact their performance. Here are some common problems you may encounter with WiFi adapters:
- Slow connection speeds: If you’re experiencing slow internet speeds despite having a fast internet plan, your WiFi adapter may be the culprit. This can be caused by a variety of factors, such as signal interference, outdated drivers, or even the distance between your device and the router.
- Intermittent connectivity: One of the most frustrating issues is when your WiFi connection frequently drops or becomes unstable. This can disrupt your online activities and make it difficult to stay connected. It could be caused by signal interference, a weak wireless signal, or outdated drivers.
- Inability to connect: Sometimes, your WiFi adapter may fail to connect to any wireless network, leaving you unable to access the internet. This can be due to incorrect network settings, hardware conflicts, or outdated drivers.
- Limited range: If you notice that your WiFi signal strength diminishes significantly when you move away from the router, it could be a sign of a limited range for your adapter. This can be caused by various factors, including the type of adapter you’re using or physical obstructions in your environment.
Identifying the specific issue with your WiFi adapter is the first step towards finding a solution. Once you understand the common problems that can occur, you can take the necessary troubleshooting steps to resolve them. In the following sections, we will walk you through some effective methods to fix these issues and restore your WiFi adapter’s functionality.
Restarting the WiFi adapter
One of the simplest and most effective solutions for fixing WiFi adapter issues is to restart the adapter. This process helps refresh the adapter and can resolve temporary glitches or conflicts that may be causing connectivity problems. Here’s how you can restart your WiFi adapter:
- Disable and enable the WiFi adapter: Open the Device Manager on your computer by pressing the Windows key + X and selecting “Device Manager” from the menu. In the Device Manager window, locate the “Network Adapters” section and expand it. Right-click on your WiFi adapter and select “Disable”. Wait for a few seconds, then right-click on the adapter again and select “Enable”. This will effectively restart the WiFi adapter.
- Restart your computer: Sometimes, a simple system reboot can resolve WiFi adapter issues. Save your work, close any open applications, and click on the “Start” menu. Select “Restart” from the options to restart your computer. Once your computer restarts, the WiFi adapter will also be restarted.
- Power cycle your router: If restarting the WiFi adapter doesn’t solve the problem, you can also try power cycling your router. Turn off your router by unplugging it from the power source. Wait for about 30 seconds, then plug it back in and turn it on. This will reset the router and potentially resolve any issues that may be affecting the WiFi adapter.
After performing these steps, give your WiFi adapter a moment to reconnect to the network. Check if the connectivity issues have been resolved. If you’re still experiencing problems, proceed to the next troubleshooting method.
Updating drivers for the WiFi adapter
Outdated or incompatible drivers can often cause issues with WiFi adapters. Updating the drivers can help ensure that your adapter is compatible with the latest software and have access to any bug fixes or improvements. Here’s how you can update the drivers for your WiFi adapter:
- Automatic driver update: Windows operating systems have a built-in feature that allows you to automatically update drivers. Press the Windows key + X and select “Device Manager” from the menu. In the Device Manager window, locate the “Network Adapters” section and expand it. Right-click on your WiFi adapter and select “Update driver”. Choose the option to search automatically for updated driver software. Windows will search online for the latest driver for your adapter and install it if available.
- Manual driver update: If the automatic update doesn’t find a newer driver, you can manually update the driver by visiting the manufacturer’s website. Identify your WiFi adapter model in the Device Manager and note down the details. Then, go to the manufacturer’s website and navigate to the support or downloads section. Find the driver that corresponds to your adapter model and download it. Run the downloaded file and follow the on-screen instructions to install the updated driver.
Once the driver update is complete, restart your computer to apply the changes. After the restart, check if the WiFi adapter issues have been resolved. If not, continue troubleshooting using the next method.
Resetting the WiFi adapter settings
Resetting the settings of your WiFi adapter can help resolve issues related to network configurations or conflicting settings. Here’s how you can reset the WiFi adapter settings:
- Use the Network Reset feature: Windows 10 has a built-in Network Reset feature that can reset all network settings, including the WiFi adapter. Press the Windows key + I to open the Settings app. Go to the “Network & Internet” section and select “Network reset” from the left-side menu. Click on the “Reset now” button to initiate the reset process. Note that this will remove all network adapters and settings, so you may need to reconnect to your WiFi network after the reset.
- Reset TCP/IP stack: The TCP/IP stack is a set of protocols that governs how data is exchanged over networks. Resetting the TCP/IP stack can help resolve issues with network connectivity. Open the Command Prompt as an administrator by right-clicking on the Start button and selecting “Command Prompt (Admin)”. In the Command Prompt window, type the following command and press Enter:
netsh int ip reset. Once the command is executed, restart your computer to apply the changes. - Disable firewall and antivirus: Sometimes, third-party firewall or antivirus software can interfere with the WiFi adapter and cause connectivity issues. Temporarily disable your firewall and antivirus software to see if they are the cause of the problem. If the issues are resolved after disabling them, consider adjusting the firewall or antivirus settings to allow the WiFi adapter to function properly.
After resetting the WiFi adapter settings, reconnect to your WiFi network and check if the issues have been resolved. If the problems persist, proceed to the next troubleshooting method.
If your WiFi adapter is not working, try updating the driver software. You can do this by going to the device manager, finding the WiFi adapter, right-clicking and selecting “Update driver.” This can often resolve connectivity issues.
Read more: How To Update Wifi Adapter Drivers
Troubleshooting network settings
When dealing with WiFi adapter issues, it’s important to ensure that your network settings are properly configured. Here are some troubleshooting steps you can take to fix network-related issues:
- Check network SSID and password: Make sure you are connecting to the correct WiFi network and that you have the correct password. Incorrect network credentials can prevent your WiFi adapter from connecting to the network.
- Disable airplane mode: Check if your device is in airplane mode, as this can disable the WiFi adapter. If airplane mode is enabled, disable it by going to the system settings and turning off airplane mode.
- Verify DHCP settings: Dynamic Host Configuration Protocol (DHCP) is responsible for assigning IP addresses to devices on the network. Ensure that your WiFi adapter is set to obtain IP addresses automatically via DHCP. You can check this in the network settings of your device.
- Flush DNS cache: DNS cache stores information about previously visited websites. Flushing the DNS cache can help resolve issues with domain name resolution. Open the Command Prompt as an administrator and type the following command:
ipconfig /flushdns. Press Enter to execute the command. - Reset network configuration: In some cases, resetting the network configuration can help resolve persistent network issues. Open the Command Prompt as an administrator and type the following command:
netsh int ip reset reset.txt. Press Enter to execute the command. Restart your computer after the command is executed.
After troubleshooting your network settings, reconnect to your WiFi network and test the connectivity. If the issues persist, move on to the next troubleshooting method.
Disabling and re-enabling the WiFi adapter
Disabling and re-enabling the WiFi adapter is a simple yet effective troubleshooting method that can help resolve various issues. Here’s how you can do it:
- Disable the WiFi adapter: Press the Windows key + X and select “Device Manager” from the menu. In the Device Manager window, locate the “Network Adapters” section and expand it. Right-click on your WiFi adapter and select “Disable”. This will temporarily turn off the WiFi adapter.
- Re-enable the WiFi adapter: After disabling the WiFi adapter, right-click on it again in the Device Manager and select “Enable”. This will enable the WiFi adapter and restart its functionality.
Disabling and re-enabling the WiFi adapter can help resolve issues such as connectivity problems, slow speeds, or intermittent connections. This process essentially resets the adapter and can clear any temporary glitches or conflicts that may be preventing it from functioning properly.
Once you have re-enabled the WiFi adapter, reconnect to your WiFi network and check if the issues have been resolved. If not, continue troubleshooting using the next method.
Reinstalling the WiFi adapter
If you have tried all the troubleshooting methods mentioned earlier and are still experiencing issues with your WiFi adapter, reinstalling the adapter may be the solution. Here’s how you can reinstall the WiFi adapter:
- Uninstall the WiFi adapter: Press the Windows key + X and select “Device Manager” from the menu. In the Device Manager window, locate the “Network Adapters” section and expand it. Right-click on your WiFi adapter and select “Uninstall device”. Confirm the uninstallation when prompted.
- Restart your computer: After uninstalling the WiFi adapter, it is recommended to restart your computer. This will ensure that any remaining traces of the old driver or configuration are removed.
- Install the WiFi adapter: Once your computer has restarted, the WiFi adapter will be automatically detected, and Windows will attempt to install the necessary drivers. If the installation is not successful, you can manually install the drivers by visiting the manufacturer’s website. Download the latest drivers for your WiFi adapter model and run the installation file. Follow the on-screen instructions to complete the installation.
Reinstalling the WiFi adapter can help resolve issues related to corrupt or outdated drivers, as well as any software conflicts that may be hindering its performance. By reinstalling the adapter, you are essentially starting fresh with a clean installation, which can eliminate any underlying problems.
After reinstalling the WiFi adapter, reconnect to your WiFi network and check if the issues have been resolved. If you are still experiencing problems, it may be necessary to seek professional assistance or consider replacing the adapter.
Checking for hardware issues
If you have exhausted all software troubleshooting methods and are still experiencing issues with your WiFi adapter, it’s important to consider the possibility of hardware problems. Here are some steps you can take to check for hardware issues:
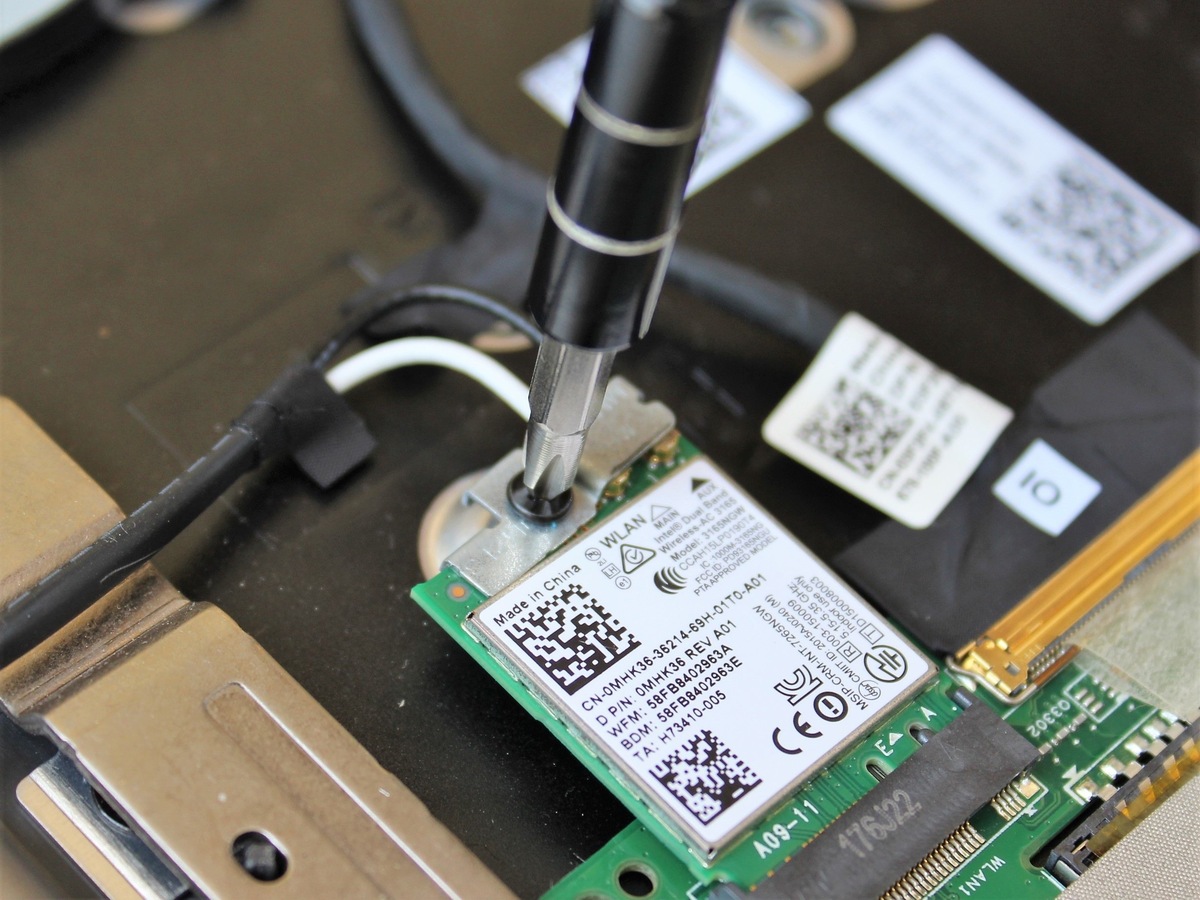
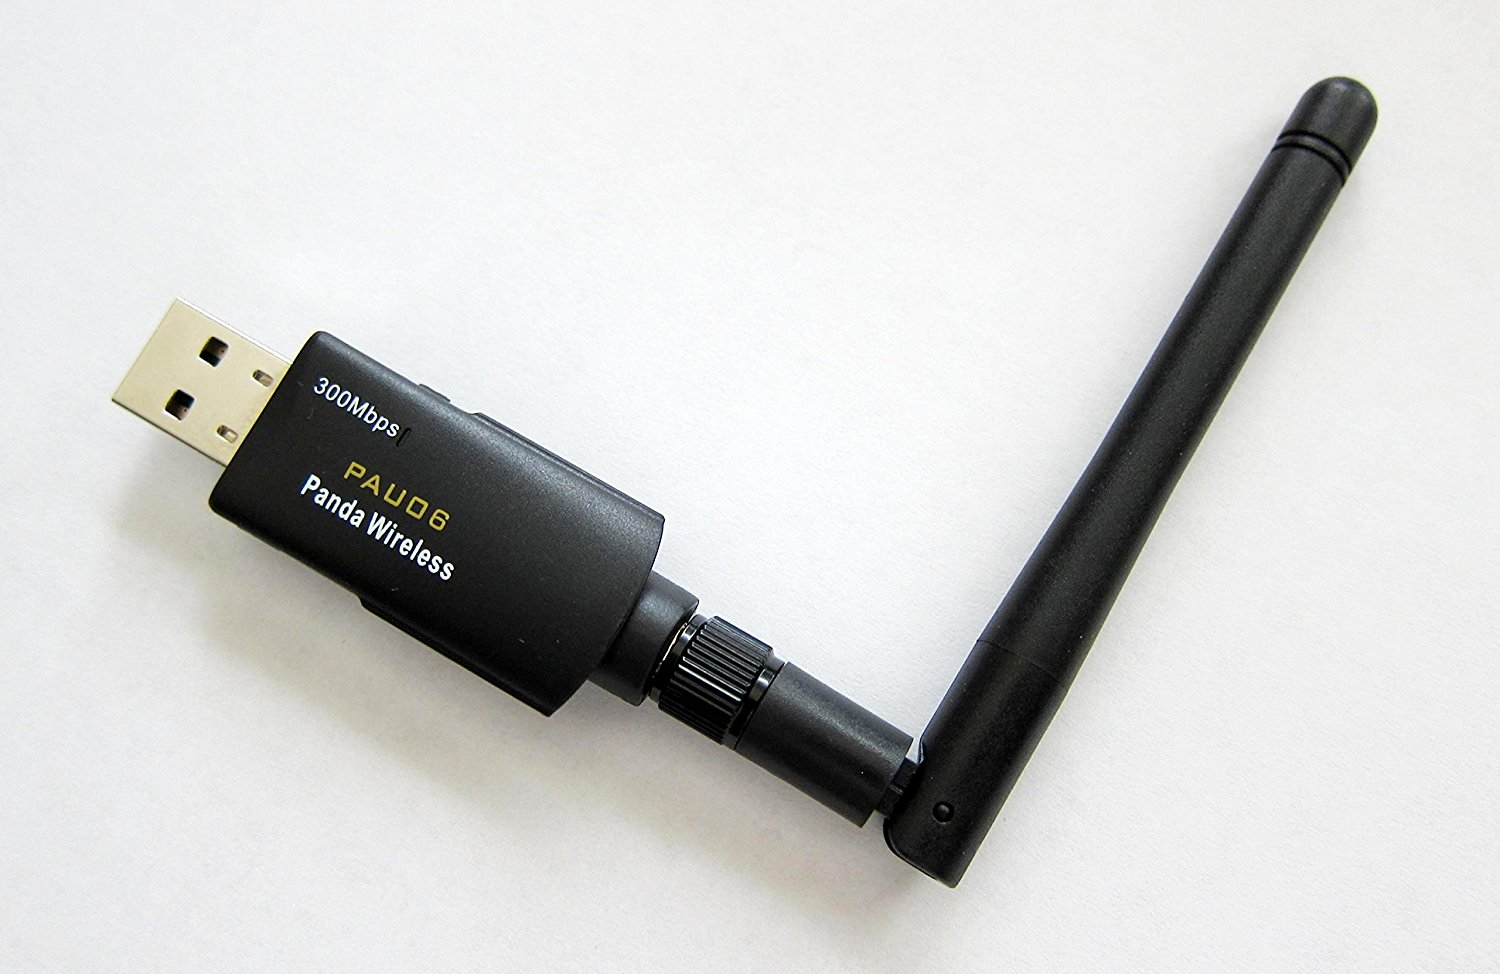
- Inspect the physical connection: Ensure that the WiFi adapter is properly inserted into the appropriate slot on your computer or laptop. If it’s a USB WiFi adapter, make sure it is securely plugged into a USB port.
- Try a different USB port or slot: If you are using a USB WiFi adapter and experiencing issues, try using a different USB port. Sometimes, a faulty USB port can cause connectivity problems. If you have a laptop with a built-in WiFi adapter, consider using an external USB WiFi adapter to see if the issue persists.
- Test the adapter on another device: If possible, try connecting the WiFi adapter to another computer or laptop. This will help determine if the issue is specific to your device or if it’s a problem with the adapter itself.
- Check for physical damage: Inspect the WiFi adapter for any physical damage, such as bent pins or broken parts. Physical damage can interfere with the proper functioning of the adapter. If you notice any damage, it may be necessary to replace the adapter.
By checking for hardware issues, you can pinpoint whether the problem lies with the WiFi adapter itself or with other components of your computer or laptop. If you determine that the adapter is indeed the source of the problem, you may need to replace it with a new one.
It’s worth noting that WiFi adapters are relatively inexpensive, and upgrading to a newer model or a different type of WiFi adapter may improve your overall wireless performance and reliability.
Read more: Where Is Wifi Adapter In Pc
Conclusion
WiFi adapter issues can be frustrating, but with the right troubleshooting steps, they can often be resolved. By following the methods outlined in this article, you can effectively troubleshoot and fix common problems with your WiFi adapter, ensuring a stable and reliable internet connection.
Starting with simple solutions such as restarting the WiFi adapter or updating the drivers can often resolve minor issues. Resetting the adapter settings and troubleshooting network configurations can help tackle more complex problems. And if all else fails, reinstalling the WiFi adapter or checking for hardware issues may be necessary.
Remember to approach the troubleshooting process systematically, testing your connection at each step to see if the issue is resolved. Patience is key, as it may take some trial and error to pinpoint the exact cause of the problem.
If, after trying all the methods described in this article, you are still experiencing issues, it’s advisable to seek professional assistance. They can offer further guidance or help determine if the WiFi adapter needs to be replaced.
Having a reliable WiFi connection is important in today’s digital world, and by following the steps in this article, you can overcome WiFi adapter problems and enjoy uninterrupted internet access for all your online activities.
Frequently Asked Questions about How To Fix Wifi Adapter
Was this page helpful?
At Storables.com, we guarantee accurate and reliable information. Our content, validated by Expert Board Contributors, is crafted following stringent Editorial Policies. We're committed to providing you with well-researched, expert-backed insights for all your informational needs.

0 thoughts on “How To Fix Wifi Adapter”