Articles
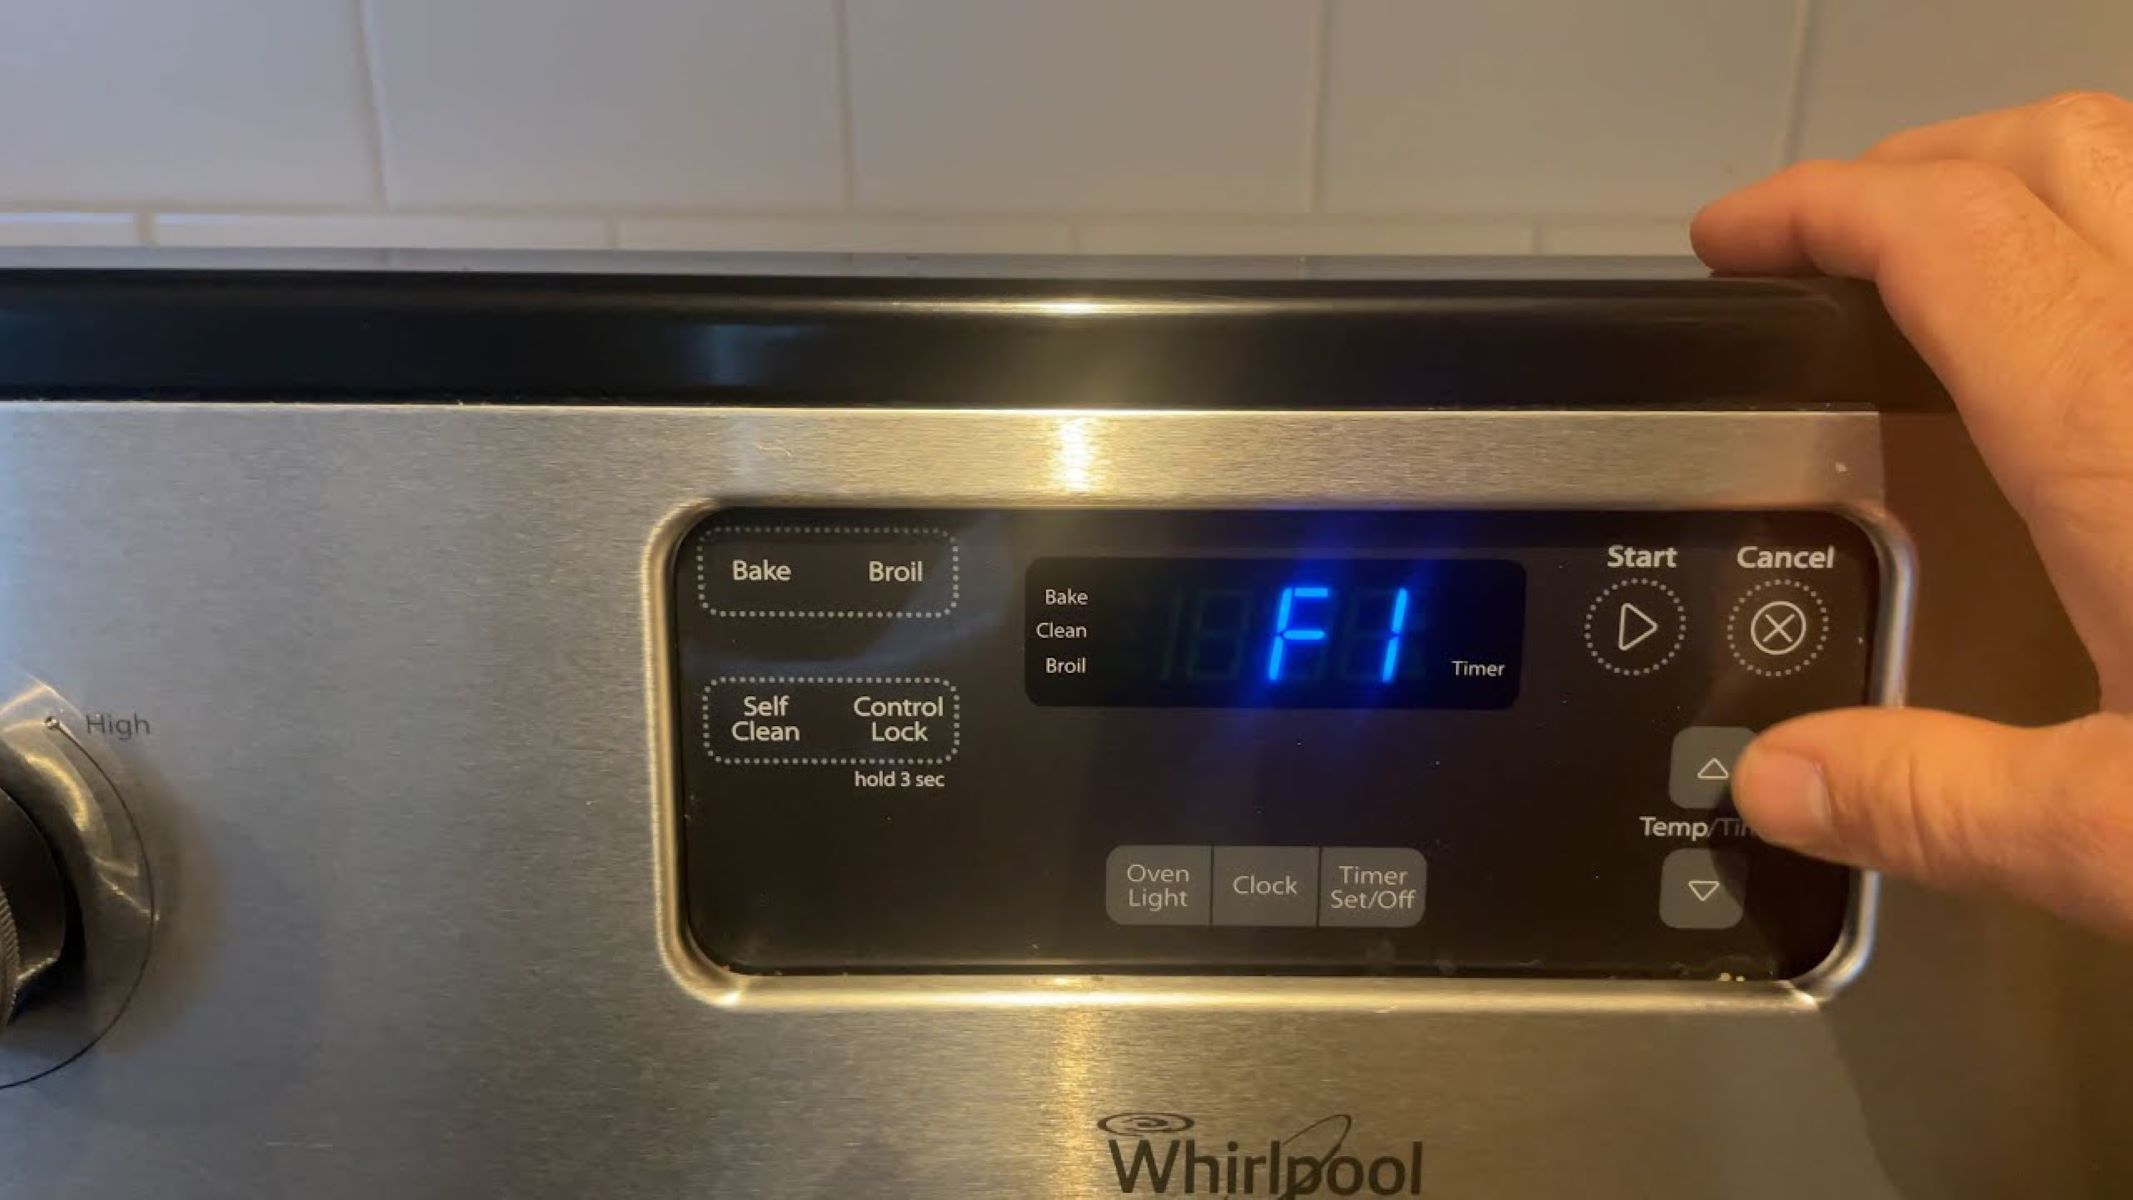
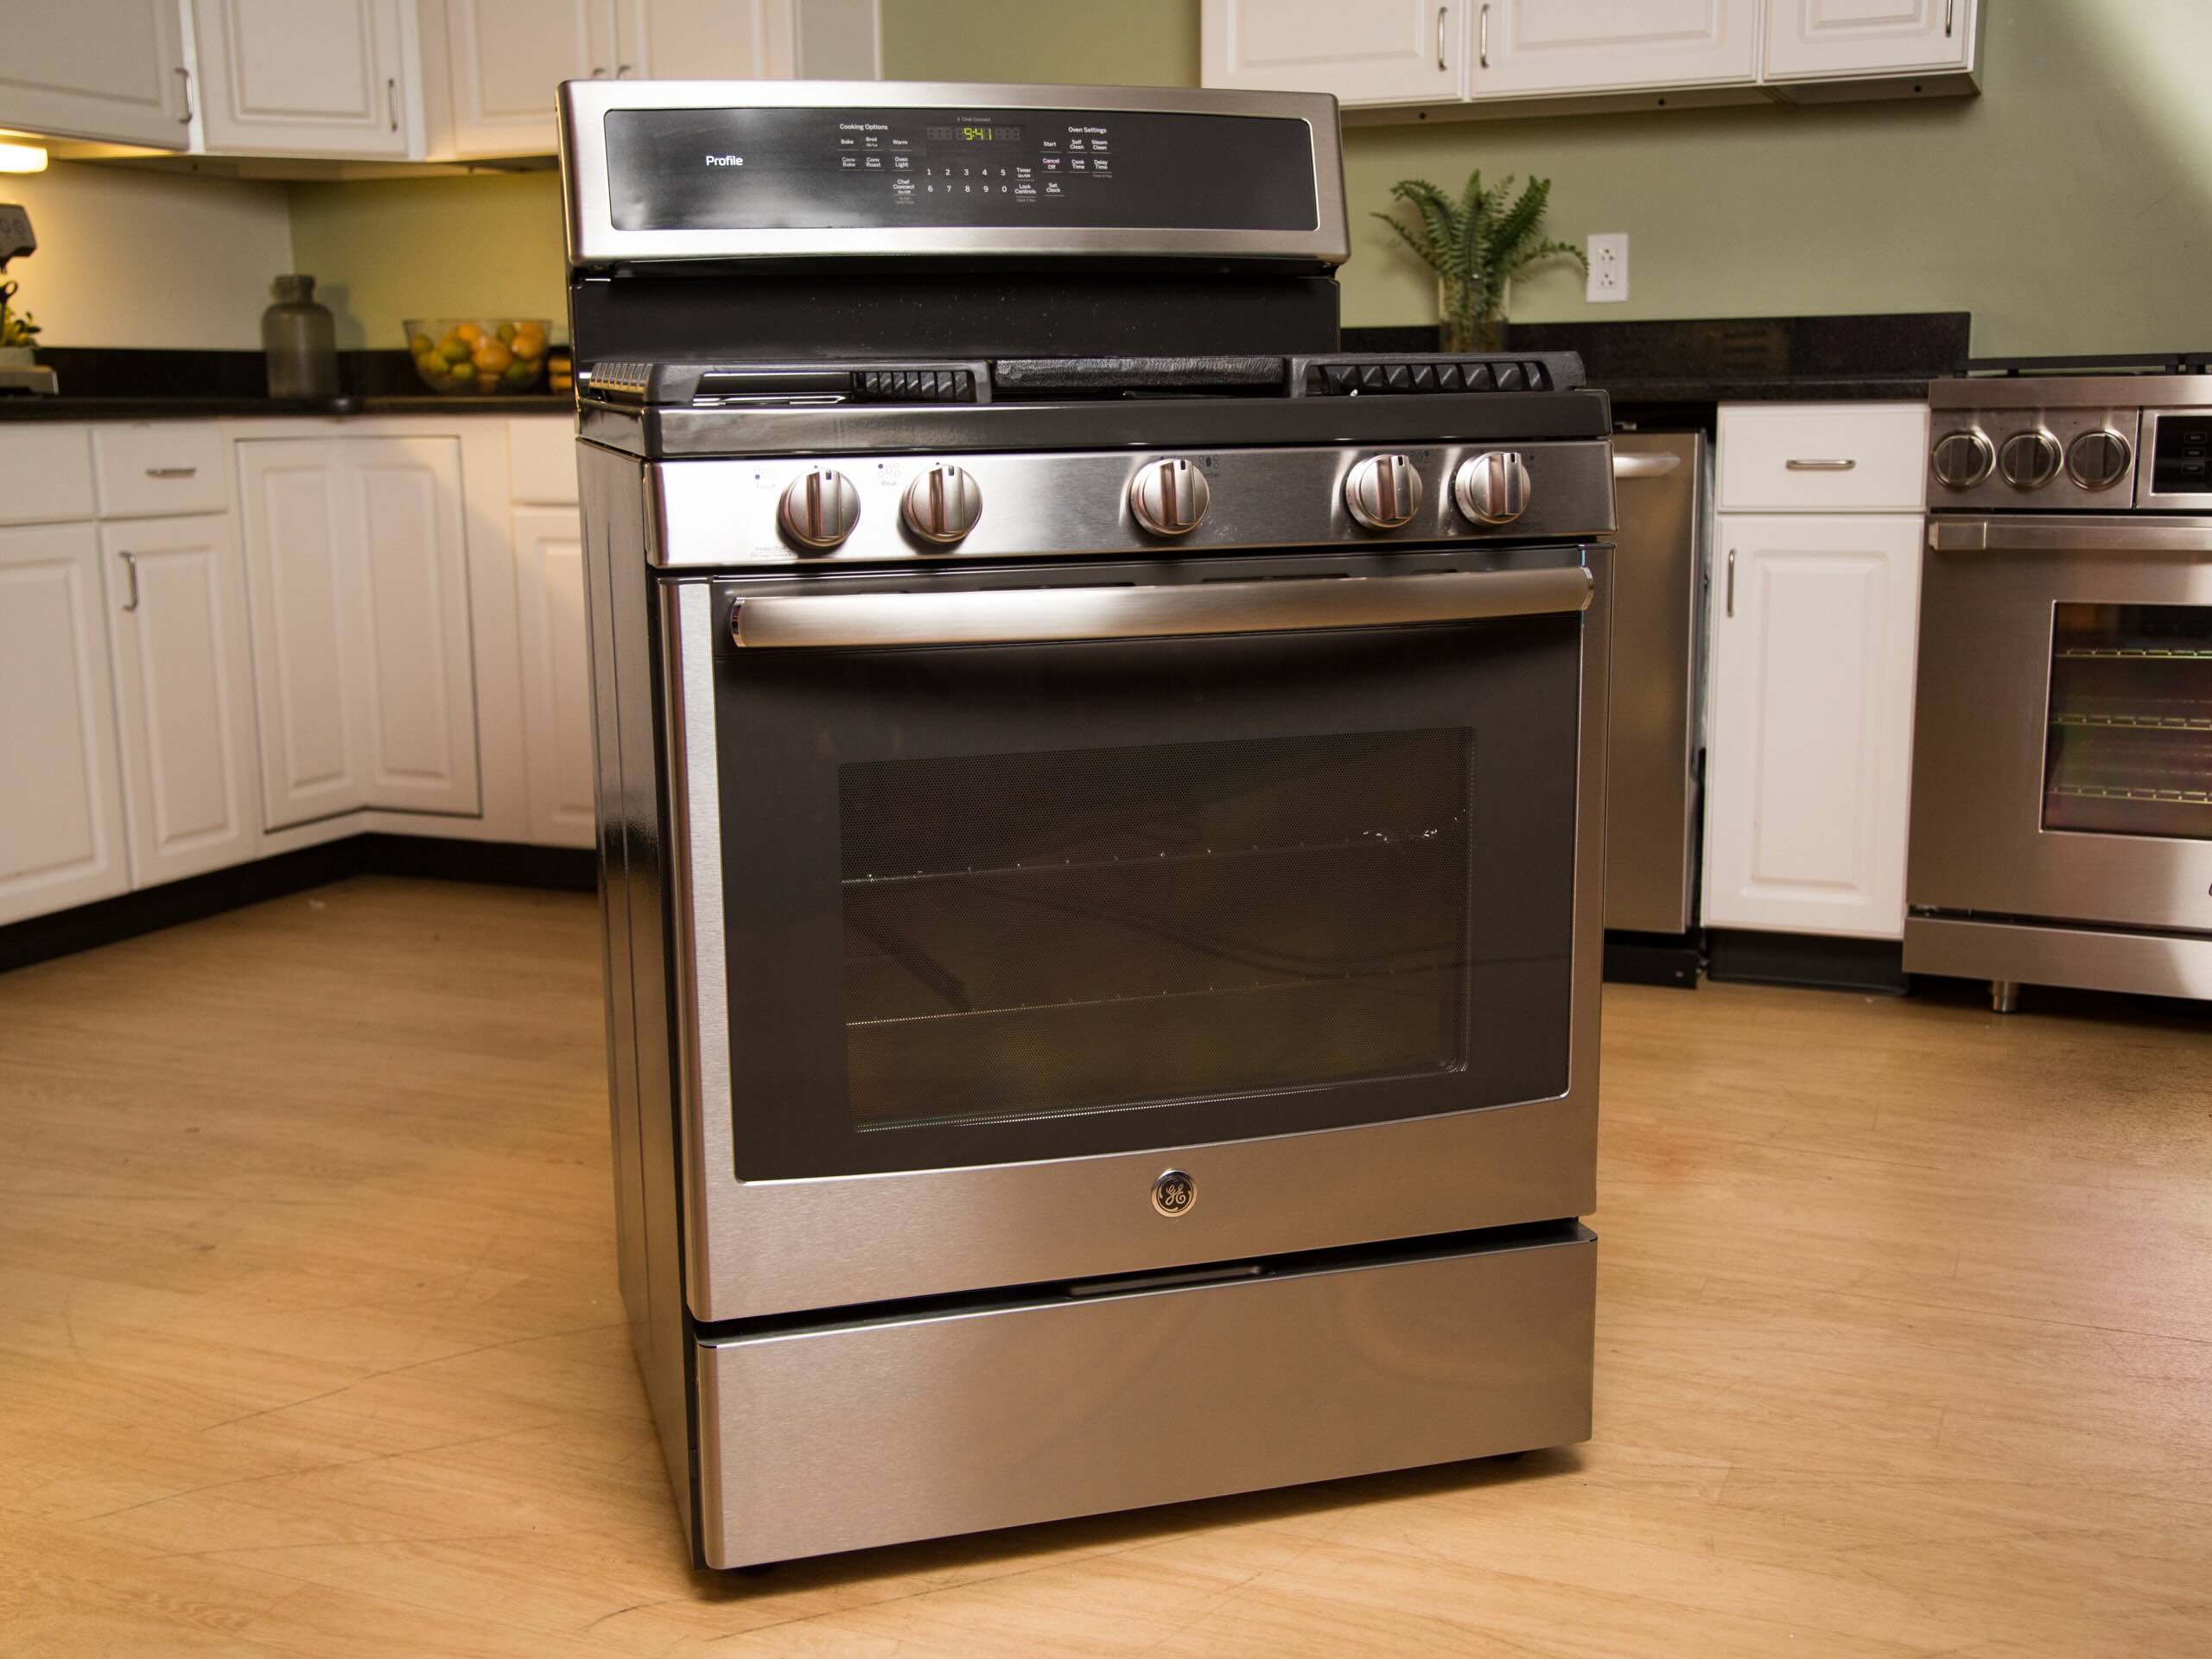
How To Fix The Error Code F1 For GE Oven
Modified: August 27, 2024
Looking for solutions to fix the F1 error code on your GE oven? Check out our helpful articles with step-by-step instructions and troubleshooting tips.
(Many of the links in this article redirect to a specific reviewed product. Your purchase of these products through affiliate links helps to generate commission for Storables.com, at no extra cost. Learn more)
A Guide to Fixing F1 Error Code on Your GE Oven
Have you ever been in the middle of baking a delicious meal, only to be interrupted by an error code flashing on your GE oven’s display? It can be frustrating, but fear not! In this guide, we will delve into the F1 error code, its meaning, and most importantly, how to fix it. So, let’s get started!
Key Takeaways:
- The F1 error code on your GE oven indicates a stuck relay circuit, but fear not! With careful steps, you can replace the faulty relay control board and get back to baking in no time.
- If the F1 error code persists, seek professional help. DIY repairs are possible, but safety and accuracy are key. Don’t hesitate to reach out for expert assistance if needed.
Read more: How To Fix The Error Code F1 For LG Oven
Understanding the F1 Error Code
When you see the F1 error code on your GE oven’s display, it is an indication that there is a stuck relay circuit. In simpler terms, the relay control board, responsible for controlling various oven functions, might need replacement.
Check the oven temperature sensor for any damage or loose connections. If everything looks good, try resetting the oven by turning off the power for a few minutes and then turning it back on. If the error persists, it may be a faulty control board that needs to be replaced.
How to Fix the F1 Error Code
Now, let’s dive into fixing the F1 error code on your GE oven. Follow these steps carefully:
- Turn off the Power: Safety first! Before attempting any repairs, make sure to turn off the power supply to your oven. This step is essential to prevent any electrical mishaps.
- Access the Control Panel: Locate and remove the screws securing the oven’s control panel. Gently lift the panel and set it aside, ensuring not to damage any wiring behind it.
- Locate the Relay Control Board: You will find the relay control board mounted behind the control panel. Take note of its position and the wire connections leading to it.
- Replace the Faulty Relay Control Board: Carefully disconnect the wire connections from the faulty relay control board. Make sure to match the wire positions to their respective connectors to avoid confusion. Once all connections are removed, carefully remove the old relay control board and replace it with a new one.
- Reassemble and Test: After successfully replacing the faulty relay control board, it’s time to put everything back together. Reattach the wire connections to their corresponding connectors on the new relay control board. Gently place the control panel back in its original position and secure it with the screws. Turn on the power supply and test the oven to ensure the F1 error code is resolved.
Following these steps should help you resolve the F1 error code on your GE oven. However, if you are unsure about performing the repairs yourself or if the issue persists even after replacement, it is advisable to seek assistance from a qualified technician.
Remember, fixing the F1 error code may require technical expertise, so don’t hesitate to reach out for professional help if needed. With the right approach, you’ll soon be back to cooking up a storm in your well-functioning GE oven!
Frequently Asked Questions about How To Fix The Error Code F1 For GE Oven
Was this page helpful?
At Storables.com, we guarantee accurate and reliable information. Our content, validated by Expert Board Contributors, is crafted following stringent Editorial Policies. We're committed to providing you with well-researched, expert-backed insights for all your informational needs.


0 thoughts on “How To Fix The Error Code F1 For GE Oven”