
Articles
How To Bake On The Stove Top
Modified: January 5, 2024
Learn how to bake your favorite dishes on the stove top with these easy-to-follow articles. Discover tips and techniques for stovetop baking today!
(Many of the links in this article redirect to a specific reviewed product. Your purchase of these products through affiliate links helps to generate commission for Storables.com, at no extra cost. Learn more)
Introduction
When it comes to baking, most people automatically think of using an oven. However, did you know that you can also bake delicious goods on the stove top? Yes, that’s right! Baking on the stove top is a fantastic alternative for those who don’t have access to an oven or simply want to try something different.
Stove top baking allows you to create mouthwatering treats, from fluffy pancakes and golden brown cornbread to delectable cakes and moist muffins. Plus, it’s a great option during hot summer months when you don’t want to heat up your entire kitchen by using an oven.
In this article, we will guide you through the process of baking on the stove top, providing you with all the tips and tricks you need to get started. So, let’s get ready to embark on a delicious baking adventure!
Key Takeaways:
- Stove top baking is a versatile and accessible alternative to oven baking, allowing you to create delicious treats without the need for an oven. With the right cookware and careful monitoring, you can achieve delectable results right on your stove top.
- From preheating the cookware to flipping the baked goods, mastering the art of stove top baking opens up a world of creative possibilities. Embrace the joy of experimenting with different recipes and flavors to indulge in scrumptious homemade treats.
Read more: How To Bake A Cake On Stove Top
Getting Started
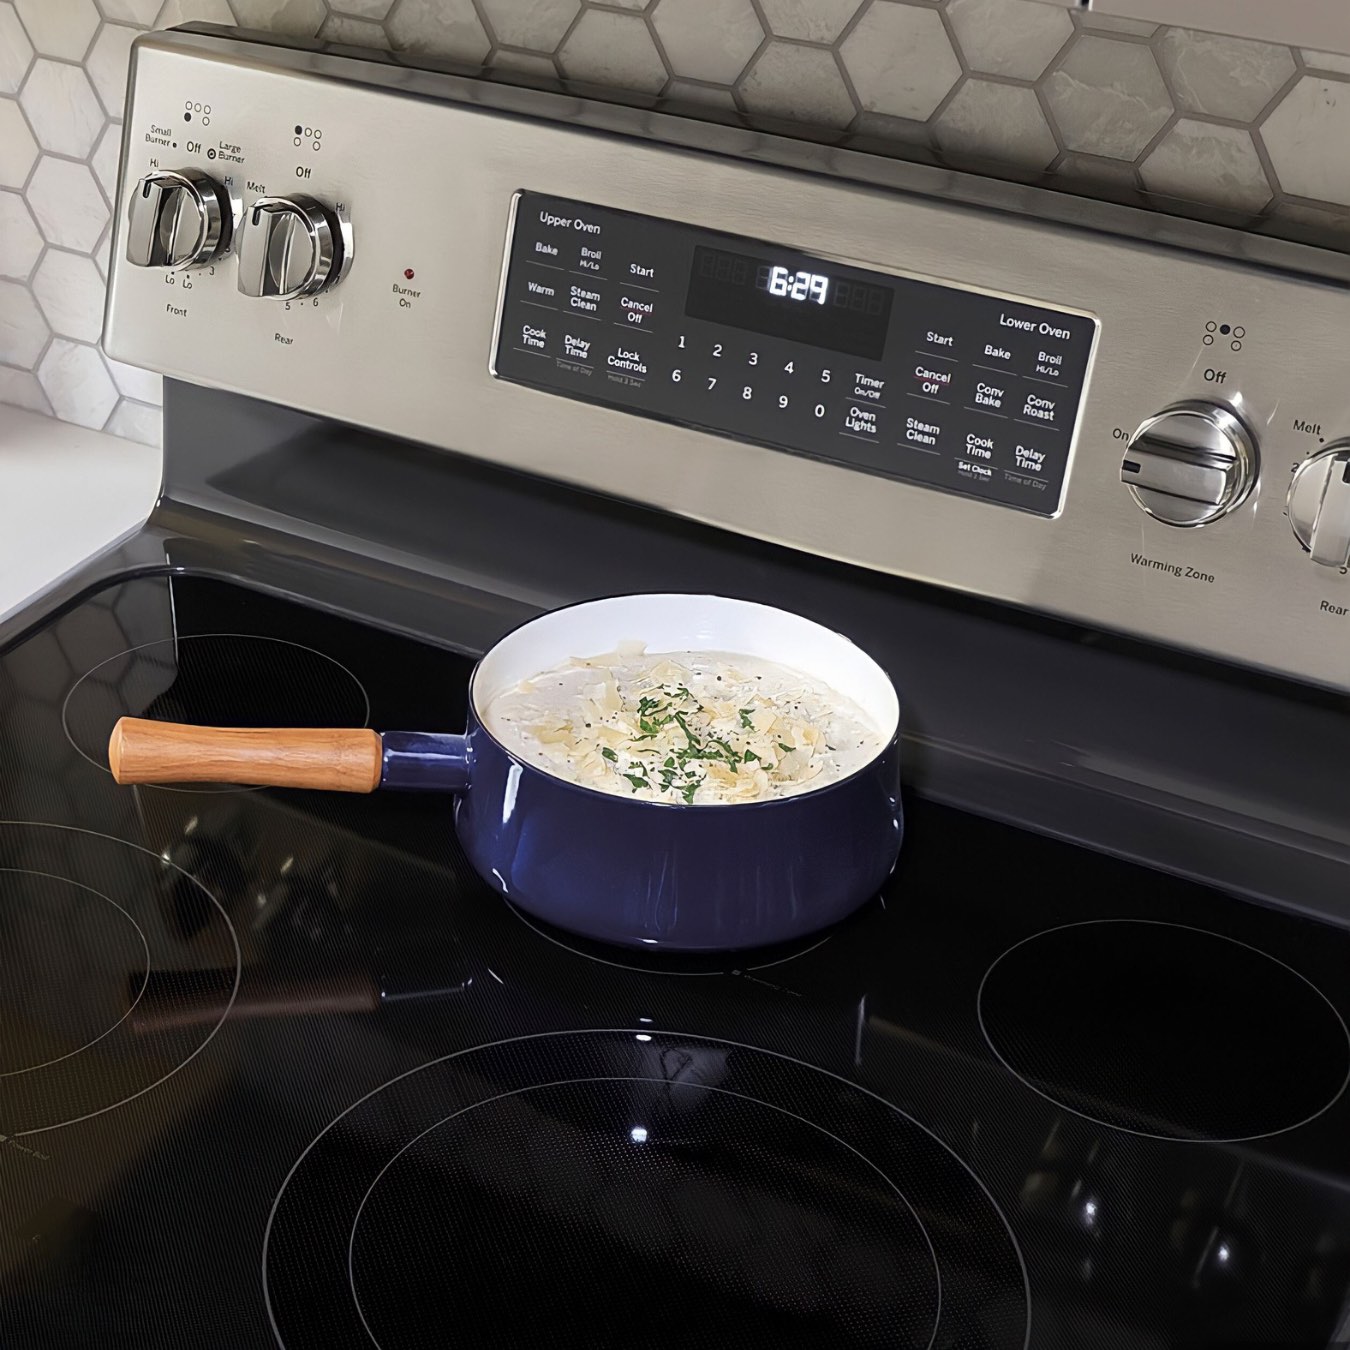
Before you begin baking on the stove top, there are a few essential items you’ll need. Firstly, make sure you have a sturdy and reliable cookware. A heavy-bottomed skillet or a cast iron skillet works best for stove top baking as it distributes heat evenly and retains it well.
Next, gather all the necessary ingredients for your recipe. Whether you’re making pancakes, cornbread, or a cake, ensure you have all the ingredients measured and ready to go. It’s also a good idea to read through the recipe instructions thoroughly to familiarize yourself with the steps ahead of time.
Lastly, make sure you have the right tools on hand. A spatula or a wooden spoon for mixing the batter, a ladle or a measuring cup for pouring the batter onto the skillet, and a timer to keep track of the baking time. Having these tools within reach will make the baking process much smoother.
Once you have all your equipment and ingredients prepared, it’s time to move on to the next step: choosing the right cookware for stove top baking.
Choosing the Right Cookware
When it comes to stove top baking, selecting the right cookware is crucial for achieving optimal results. As mentioned earlier, a heavy-bottomed skillet or a cast iron skillet is ideal for stove top baking. The weight and thickness of these pans help to distribute heat evenly, resulting in evenly baked goods.
Additionally, make sure the cookware you choose has a tight-fitting lid. This will help in trapping the heat and creating a slightly convection-like environment, ensuring that your baked goods cook evenly from both the top and the bottom.
Size is also an important consideration. Choose a skillet that is appropriate for the size of the baked goods you want to make. If you’re planning to make small individual muffins or pancakes, opt for a smaller skillet. For larger cakes or cornbread, use a larger skillet. The size of the skillet should allow the batter to spread out evenly without overflowing the edges.
Lastly, make sure the cookware is in good condition. Check for any signs of damage, such as cracks or chips, as this can affect the baking process. A well-seasoned cast iron skillet is particularly desirable as it helps to prevent sticking and promotes even browning.
Choosing the right cookware for stove top baking ensures that your baked goods will be cooked to perfection. Now that you have your cookware sorted, let’s move on to preparing the stove top for baking.
Preparing the Stove Top
Before you start baking on the stove top, it’s important to properly prepare the cooking surface. Here are a few steps to follow:
1. Clean the stovetop: Ensure that the surface of your stove top is clean and free from any debris or residue. This will prevent any unwanted flavors or particles from affecting the taste of your baked goods.
2. Use a flat surface: If your stove top has grates or raised burners, place a flat cast iron griddle or a heat conductor on top. This will provide a level surface for baking and help distribute heat evenly.
3. Check the heat distribution: Turn on each burner individually and observe how evenly the heat is distributed across the cooking surface. If you notice any hot spots or uneven heat, adjust the placement of the skillet or the griddle to compensate.
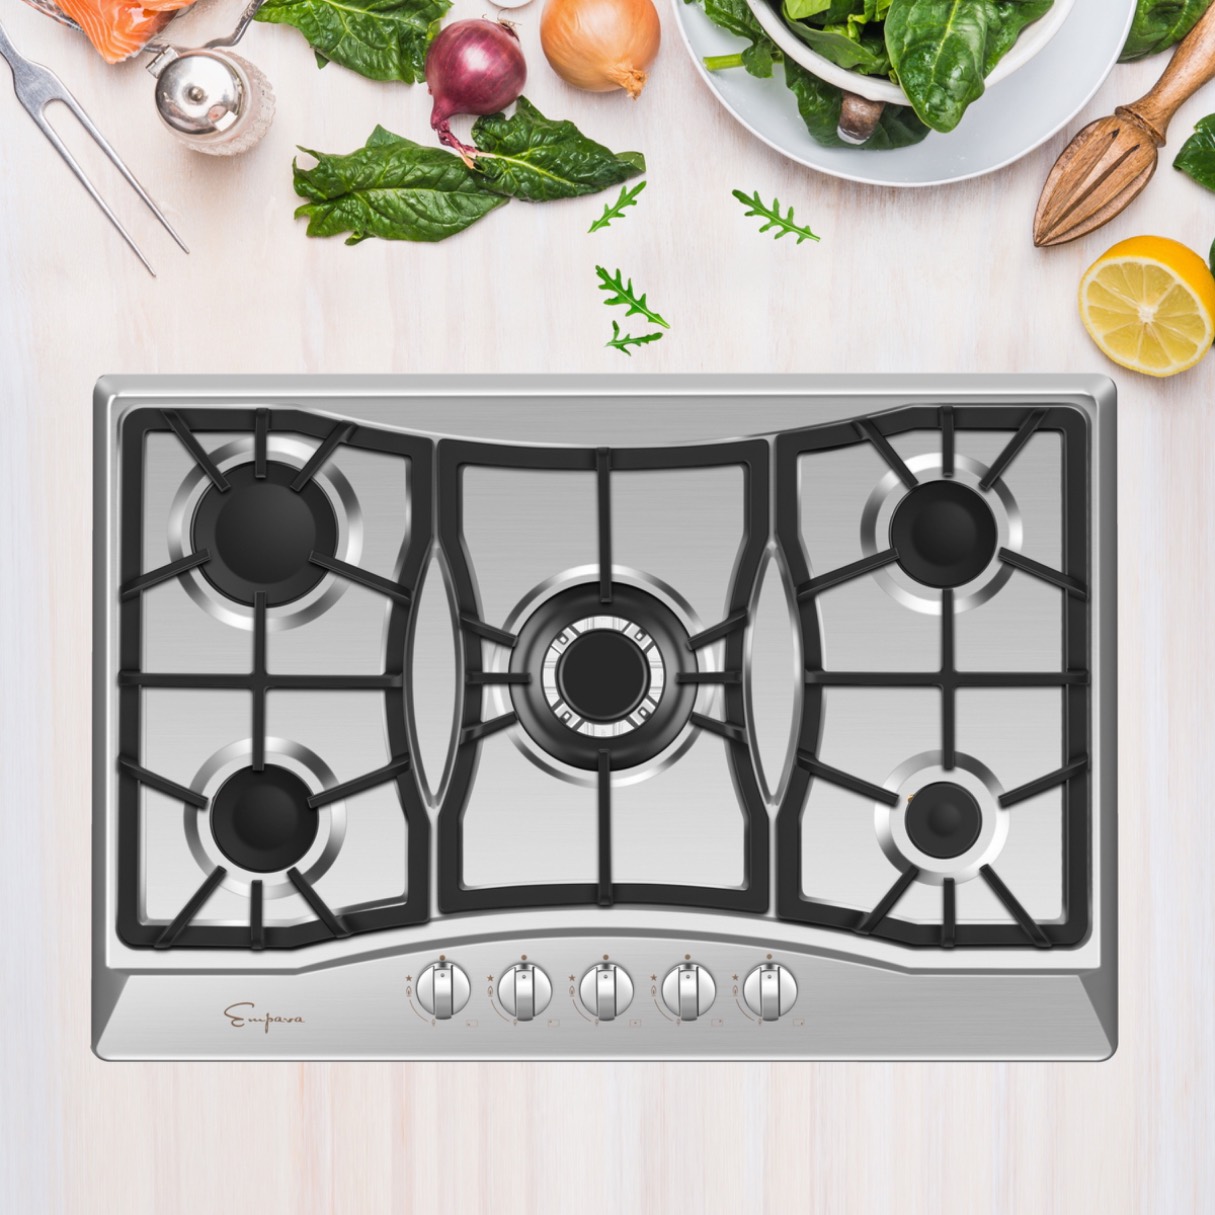
4. Use a heat diffuser: If you’re using a gas stove top, consider using a heat diffuser. This handy tool helps distribute heat evenly and prevents hot spots. Simply place it on the burner before placing the skillet or griddle on top.
5. Test the temperature: Before you start baking, test the temperature of the cooking surface. Place a drop of water on the skillet or griddle and observe its reaction. If the water evaporates immediately, the surface is too hot. If the water beads up and dances on the surface, it’s too cool. You’re looking for the water droplets to sizzle and then evaporate after a few seconds, indicating that the surface is at the right temperature.
By properly preparing the stove top, you’ll ensure that your baked goods cook evenly and come out perfectly. Now that the stove top is ready, it’s time to preheat the cookware.
Preheating the Cookware
Properly preheating your cookware is essential for successful stove top baking. It allows for even heat distribution and helps ensure that your baked goods cook evenly. Here’s how to preheat your cookware:
1. Place the skillet or griddle on the stove top: Position your chosen cookware on the prepped stove top. Make sure it is centered and stable.
2. Turn on the heat: Set the burner to medium heat or as specified in your recipe. This moderate level of heat will allow the cookware to gradually heat up without burning the bottom of your baked goods.
3. Allow time for preheating: Give the cookware sufficient time to preheat. This usually takes around 5 to 10 minutes, but can vary depending on the thickness of the cookware and the heating capacity of your stove top.
4. Test the temperature: To check if the cookware is adequately heated, sprinkle a few drops of water onto the surface. If the water sizzles and evaporates immediately, the cookware is ready. If the water just sits on the surface without any reaction, allow more time for preheating.
Remember, proper preheating ensures that your baked goods start cooking right away, resulting in a beautifully golden crust and a moist interior. Once your cookware is preheated, it’s time to mix the batter.
Read more: How To Make A Stove Top Distiller
Mixing the Batter
Now that your cookware is preheated, it’s time to mix the batter for your stove top baked goods. Whether you’re making pancakes, cornbread, or a cake, the key to achieving the perfect consistency lies in the mixing process. Here’s how to do it:
1. Gather your ingredients: Measure out all the ingredients needed for your recipe. This may include flour, sugar, baking powder, eggs, milk, and any additional flavorings or mix-ins specified in your recipe.
2. Sift the dry ingredients: In a large mixing bowl, sift together the dry ingredients, such as flour, sugar, and baking powder. Sifting helps remove any lumps and ensures even distribution of the ingredients.
3. Create a well in the center: Make a well in the center of the dry ingredients and crack the eggs into it. This method allows you to gradually incorporate the wet ingredients without overmixing.
4. Add the wet ingredients: Pour in the milk or any other liquid specified in your recipe. You can also add melted butter or oil at this stage, if required. Use a whisk or a wooden spoon to gently combine the wet and dry ingredients, being careful not to overmix. Overmixing can lead to tough and dense baked goods.
5. Incorporate any additional ingredients: If your recipe calls for any mix-ins, such as chocolate chips, berries, or nuts, now is the time to fold them into the batter. Gently stir until everything is well incorporated.
6. Check the consistency: The consistency of the batter will vary depending on the recipe. Some may require a thick and fluffy batter, while others may need a thinner and pourable consistency. Follow the instructions in your recipe for the desired consistency.
By following these steps, you’ll be able to mix the batter for your stove top baked goods with ease and precision. Once the batter is ready, it’s time to pour it onto the stove top and begin the baking process.
Pouring the Batter onto the Stove Top
With your batter prepared and mixed to perfection, it’s time to pour it onto the stove top and begin the baking process. Here’s how you can do it:
1. Ensure the preheated cookware is still at the desired temperature. Adjust the heat if needed to maintain a consistent temperature throughout the baking process.
2. Grease the cookware if necessary. Depending on the recipe and the type of cookware you’re using, you may need to lightly grease the surface with oil or butter to prevent sticking. Refer to your recipe for specific instructions.
3. Using a ladle or a measuring cup, carefully pour the batter onto the center of the preheated cookware. Start with a small amount and adjust the quantity based on the size and thickness of the baked goods you’re making. Avoid pouring the batter too close to the edges, as it may cause uneven cooking or spillage.
4. Allow the batter to spread naturally on the cookware. Tilt the skillet or use the back of a spoon to help spread the batter evenly if needed. The batter should form a smooth and even layer on the surface.
5. If making multiple batches or individual portions, repeat the process for each batch, leaving enough space between the portions for easy flipping and removal later on.
6. Once the batter is poured, resist the temptation to constantly touch and move the baked goods around. Allow the heat to work its magic and let the batter set and cook properly.
Remember to keep an eye on the heat to ensure that the cookware is not too hot or too cold. Maintaining the right temperature will help you achieve evenly cooked and delicious stove top baked goods. After pouring the batter onto the stove top, you need to monitor the baking process.
When baking on the stovetop, use a heavy-bottomed pan to ensure even heat distribution. Place a heat diffuser under the pan to prevent direct heat and avoid burning the bottom of your baked goods.
Adjusting the Heat
Adjusting the heat properly during the baking process is crucial to ensure that your stove top baked goods cook evenly and to prevent burning or undercooking. Here are some tips for adjusting the heat:
1. Start with medium heat: Begin baking with the skillet or griddle set to medium heat. This moderate heat allows the batter to cook gradually without burning the bottom layer.
2. Monitor the cooking progress: Pay close attention to the color and texture of the bottom surface of the baked goods. If the bottom is becoming too dark or burning, reduce the heat slightly. On the other hand, if the bottom is not browning or cooking fast enough, increase the heat a bit.
3. Make small adjustments: When adjusting the heat, do it gradually by a notch or two. Small adjustments help you maintain control and prevent sudden temperature changes that could affect the baking process.
4. Consider using a heat diffuser: A heat diffuser can be a helpful tool for maintaining an even and consistent heat during stove top baking. It helps distribute the heat evenly to prevent hot spots and promotes a more controlled baking process.
5. Use a lid: For certain recipes, covering the skillet or griddle with a lid can help create a slightly convection-like environment, ensuring even cooking from both the top and bottom. Use a lid that fits tightly and traps the heat inside.
Remember, adjusting the heat during the baking process is a skill that comes with experience. Pay attention to the visual cues and make small adjustments as needed to achieve perfectly baked goods. Now that you’re monitoring the baking process, it’s time to flip the baked goods to ensure they’re cooked on both sides.
Monitoring the Baking Process
Monitoring the baking process is key to achieving perfectly cooked stove top baked goods. By paying attention to the cues and using your senses, you can ensure that your treats are cooked to perfection. Here’s how to effectively monitor the baking process:
1. Keep an eye on the color: As the batter cooks, observe the color of the bottom surface. It should gradually turn golden brown. If the bottom is becoming too dark or if there are any burnt spots, it’s a sign that the heat is too high and needs to be adjusted. On the other hand, if the color is not changing or if it’s taking too long to brown, the heat may need to be slightly increased.
2. Look for bubbles: Bubbles will start to form on the top surface of your baked goods as they cook. This is an indication that the batter is cooking through. Keep an eye on the size and frequency of the bubbles. If they are too large and forming rapidly, the heat may be too high. If they are too small or not forming at all, the heat may be too low.
3. Use your sense of smell: Your sense of smell is a great indicator of doneness. As your baked goods cook, you’ll start to smell the delicious aroma. The scent will become more prominent as they near completion. Be attentive to any burnt or overcooked smells, which might indicate that the heat is too high.
4. Test for doneness: To determine if your baked goods are fully cooked, you can perform a simple toothpick or skewer test. Insert a toothpick or skewer into the center of the baked goods. If it comes out clean with no wet batter sticking to it, the baked goods are done. If there are crumbs or wet batter, they need more time to cook.
By closely monitoring the color, bubbles, aroma, and performing the toothpick test, you’ll be able to ensure that your stove top baked goods are cooked to perfection. Once they’re ready, it’s time to flip them over for even cooking.
Read more: How To Clean A Smooth Top Range Or Cooktop
Flipping the Baked Goods
Flipping the baked goods is a crucial step in stove top baking to ensure even cooking on both sides. Here’s how to do it:
1. Assess the readiness: Before flipping, make sure that the bottom side of the baked goods is cooked to a golden brown color and has a firm texture. The top surface should also be set and no longer appear wet or runny.
2. Prepare a spatula: Use a flat spatula that’s large enough to support the entire baked goods. A silicone spatula or a fish spatula works best as they provide good grip and minimize the risk of breaking or tearing the baked goods during flipping.
3. Steady the baked goods: Place one hand on top of the baked goods to keep it stable while you carefully slide the spatula underneath. Make sure the spatula is positioned flat against the surface to avoid any uneven or partial flipping.
4. Flip with confidence: Using a swift yet controlled motion, lift the spatula with the baked goods and confidently flip it over. Be mindful of any potential hot spots or steam that may escape during the flipping process.
5. Adjust the heat if necessary: After flipping, take a moment to assess the heat. If you notice that the new bottom side is cooking too quickly or too slowly, adjust the heat accordingly. Remember that the second side generally requires less cooking time than the first side.
6. Cook the second side: Allow the baked goods to cook on the second side for the remaining time specified in your recipe. Keep an eye on the color, texture, and aroma, and perform the toothpick test if needed to ensure proper doneness.
Flipping the baked goods ensures that both sides cook evenly and results in a beautifully browned and fully cooked product. Once the second side is cooked to perfection, it’s time to remove the baked goods from the cookware and get ready to serve and enjoy.
Removing from the Cookware
After the stove top baking process is complete, it’s time to carefully remove the baked goods from the cookware. Follow these steps to ensure a smooth and successful removal:
1. Assess the doneness: Before removing the baked goods from the cookware, ensure that they are fully cooked and have reached the desired level of doneness. Use visual cues, such as a golden brown color, and perform the toothpick test to check for any uncooked batter.
2. Turn off the heat: Before handling the cookware, make sure to turn off the heat source to avoid any accidents or burns.
3. Use caution when handling hot cookware: Stove top cookware can retain heat even after the heat source is turned off. To protect yourself from burns, use oven mitts or potholders to handle the cookware.
4. Loosen the edges: Use a spatula or a butter knife to gently loosen the edges of the baked goods from the sides of the cookware. This will help facilitate the releasing process and prevent any sticking.
5. Invert onto a plate or a wire rack: Place a plate or a wire rack on top of the cookware. Holding the cookware with one hand, use the other hand to carefully flip it over, allowing the baked goods to release onto the plate or wire rack.
6. Tap or shake to release: If the baked goods do not immediately release from the cookware, gently tap or shake the cookware to encourage them to fall onto the plate or wire rack. Avoid using excessive force, as it may cause the baked goods to break or lose their shape.
7. Lift the cookware: Slowly lift the cookware, being mindful of any remaining hot steam or heat. Set it aside and allow it to cool before cleaning.
By following these steps, you can safely and successfully remove the baked goods from the cookware. Now it’s time to serve up your delicious creations and enjoy the fruits of your stove top baking efforts.
Serving and Enjoying
After all the hard work of baking on the stove top, it’s time to reap the rewards and indulge in the delightful flavors and textures of your creations. Here’s how to serve and enjoy your stove top baked goods:
1. Plating presentation: Transfer your baked goods onto a serving plate or individual plates. Arrange them in an appealing manner, considering colors, shapes, and textures. You can garnish with fresh fruits, powdered sugar, a drizzle of syrup, or any other toppings that complement the flavors.
2. Pairings and accompaniments: Consider pairing your baked goods with delicious accompaniments to enhance the taste experience. For example, serve fluffy pancakes with a side of bacon or fresh berries, or enjoy cornbread with a bowl of warm chili. Coffee, tea, or a tall glass of milk can also be great beverage options to accompany your treat.
3. Share and gather: Invite family, friends, or loved ones to enjoy the fruits of your baking labor. Sharing your creations can make the experience even more enjoyable and create memories around the table. Engage in conversations and savor every bite together.
4. Take note of feedback: Listen to the feedback from those enjoying your baked goods. Their insights can help you fine-tune your recipe or inspire new flavor combinations for future baking adventures.
5. Store any leftovers: If there are leftovers, store them properly to maintain freshness. Allow them to cool completely, then store in airtight containers or wrap in plastic wrap. Refrigerate or store in a cool, dry place based on the specific baked goods.
6. Experiment and have fun: Stove top baking opens up a world of possibilities, so don’t be afraid to experiment with different recipes, flavors, and techniques. Embrace the joy of baking on the stove top and continue to explore new creations.
Remember, the ultimate goal is to savor and enjoy the delicious results of your stove top baking. So take a moment to appreciate your hard work and indulge in the scrumptious treats that you have lovingly prepared.
Now that you’ve mastered the art of baking on the stove top, continue to explore and delight in the limitless possibilities that this alternative baking method offers. Happy baking and happy indulging!
Conclusion
Baking on the stove top is a versatile and enjoyable alternative to traditional oven baking. It offers the opportunity to create delicious treats without the need for an oven, making it accessible to those who may not have access to one or simply want to try something different. By following the steps outlined in this article, you can successfully bake a variety of goodies, from pancakes and cornbread to cakes and muffins, right on your stove top.
Choosing the right cookware, properly preheating it, mixing the batter with care, pouring it onto the stove top, and adjusting the heat all contribute to a successful baking experience. By monitoring the baking process and flipping the baked goods when needed, you can achieve even cooking and a delectable end result. Remember to handle the cookware with caution and remove the baked goods carefully to prevent any accidents or burns.
Serving and enjoying your stove top baked goods is the final step in this delightful journey. Whether you’re enjoying your treats with loved ones or savoring them on your own, the satisfaction of homemade baked goods is unmatched. Pair them with complementary accompaniments, share them with others, and take note of feedback to continue refining your baking skills.
Baking on the stove top is not only a practical solution for those without an oven, but it’s also a fun way to explore creative possibilities in the kitchen. With a bit of experimentation and a willingness to try new recipes, you can continue to expand your baking repertoire and impress others with your stove top creations.
So, next time you crave a batch of fresh pancakes or a warm slice of cornbread, remember that you can achieve it all on your stove top. Embrace the art of stove top baking, enjoy the process, and relish the delightful results of your homemade treats. Happy baking!
Frequently Asked Questions about How To Bake On The Stove Top
Was this page helpful?
At Storables.com, we guarantee accurate and reliable information. Our content, validated by Expert Board Contributors, is crafted following stringent Editorial Policies. We're committed to providing you with well-researched, expert-backed insights for all your informational needs.


0 thoughts on “How To Bake On The Stove Top”