Articles
How To Make Oatmeal On Stove Top
Modified: December 7, 2023
Learn how to make delicious oatmeal on the stove top with our step-by-step guide. Read our articles for the best recipes and tips.
(Many of the links in this article redirect to a specific reviewed product. Your purchase of these products through affiliate links helps to generate commission for Storables.com, at no extra cost. Learn more)
Introduction
When it comes to a hearty and nutritious breakfast, oatmeal is a timeless classic. It is not only delicious but also provides numerous health benefits. Making oatmeal on the stovetop is a simple and satisfying way to start your day. With just a few ingredients and minimal effort, you can create a warm and comforting bowl of oatmeal that will keep you energized throughout the morning.
In this article, we will guide you through the process of making oatmeal on the stovetop, ensuring that you achieve the perfect texture and flavor every time. So, put on your apron, grab your favorite pot, and let’s get started!
Before we dive into the step-by-step instructions, let’s briefly discuss why oatmeal is an excellent choice for breakfast. Oats are packed with vitamins, minerals, fiber, and antioxidants that can benefit your overall health. They are known to provide a slow release of energy, keeping you feel fuller for longer and helping to maintain stable blood sugar levels.
Moreover, oatmeal is incredibly versatile and can be customized to suit your taste preferences. You can add a variety of toppings such as fresh fruits, nuts, seeds, honey, or cinnamon to enhance the flavor and nutritional value.
Now that you understand the benefits of oatmeal and its endless possibilities, let’s move on to the step-by-step guide on how to make oatmeal on the stovetop.
Key Takeaways:
- Making oatmeal on the stovetop is a simple and customizable process that results in a warm, nutritious breakfast. With the right ingredients and technique, you can create a satisfying bowl of oatmeal to fuel your day.
- Oatmeal offers a versatile and nutritious breakfast option, providing a rich source of vitamins, minerals, fiber, and antioxidants. By following the step-by-step guide, you can enjoy a delicious and comforting bowl of stovetop oatmeal with endless topping possibilities.
Read more: How To Make A Stove Top Distiller
Step 1: Gather Your Ingredients
Before you begin making oatmeal on the stovetop, it’s important to gather all the necessary ingredients. Here’s what you’ll need:
- 1 cup of old-fashioned rolled oats: These oats will give your oatmeal a hearty and satisfying texture.
- 2 cups of liquid: You can use water, milk, or a combination of both. Milk will add creaminess to the oatmeal, while water will result in a lighter consistency.
- Pinch of salt: Salt enhances the flavor of the oatmeal, so don’t skip this step.
- Sweetener (optional): Depending on your preference, you can add a sweetener like honey, maple syrup, or brown sugar to enhance the taste of your oatmeal.
Once you have gathered all these ingredients, you are ready to move on to the next step and start cooking your oatmeal on the stovetop.
Step 2: Measure the Oats and Liquid
Now that you have your ingredients ready, it’s time to measure out the oats and liquid for your oatmeal. This step is crucial for achieving the perfect consistency and balance of flavors.
Start by measuring out 1 cup of old-fashioned rolled oats. These oats will give your oatmeal a nice texture without becoming overly mushy. If you prefer a thicker oatmeal, you can increase the amount of oats accordingly.
Next, measure out 2 cups of liquid. You can use water, milk, or a combination of both. Water will give you a lighter and more neutral flavor, while milk will add richness and creaminess to your oatmeal. If you prefer a creamier oatmeal, you can increase the ratio of milk to water. Feel free to experiment and find the ratio that suits your taste.
Remember to keep a pinch of salt on hand. Adding a small amount of salt to the cooking liquid will enhance the overall flavor of the oatmeal.
Now that you have measured out your oats and liquid, you’re ready to move on to the next step: bringing the liquid to a boil.
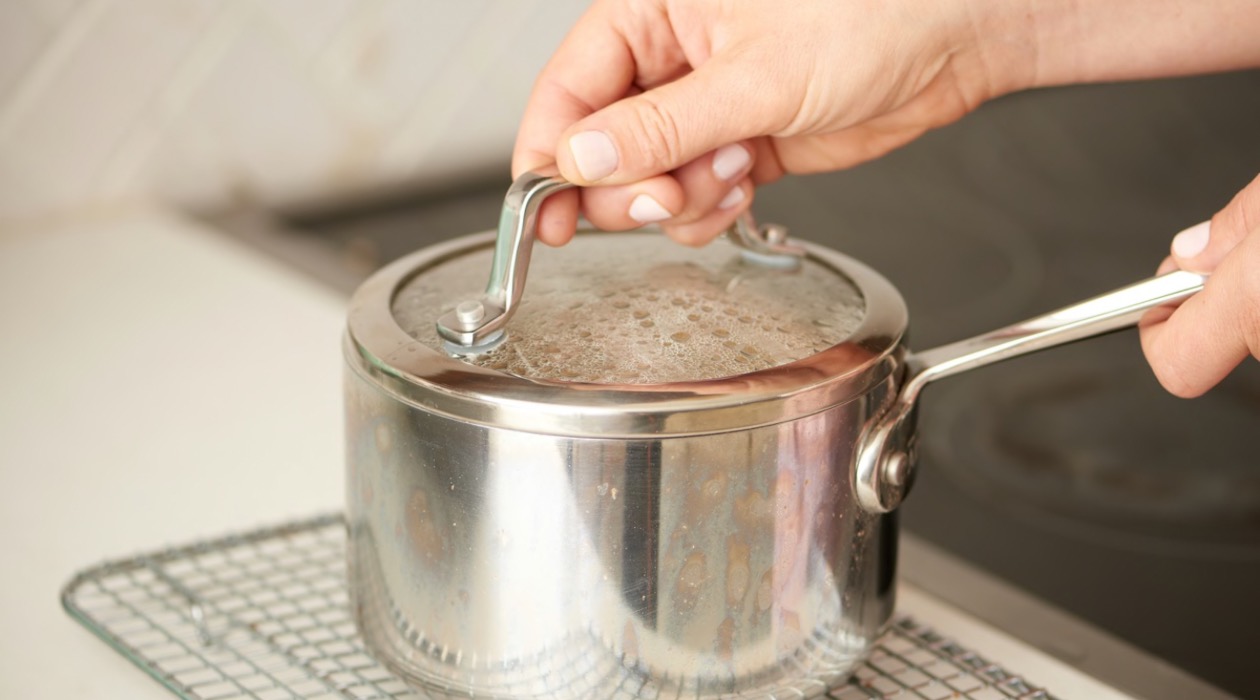
Step 3: Bring the Liquid to a Boil
Now that you have measured out your oats and liquid, it’s time to start cooking your oatmeal on the stovetop. This step involves bringing the liquid to a boil before adding the oats.
Begin by placing a pot or saucepan on the stovetop over medium heat. Pour the measured liquid into the pot and add a pinch of salt. Stir briefly to ensure that the salt is well-distributed.
As you heat the liquid, it will gradually come to a boil. Keep a close eye on it to prevent any overflow or scorching. Once the liquid starts boiling, reduce the heat to low. This will allow the oatmeal to cook slowly and evenly without sticking to the bottom of the pot.
Bringing the liquid to a boil helps to soften the oats and release their natural starch, which thickens the oatmeal. It also helps to concentrate the flavors, resulting in a delicious and satisfying bowl of oatmeal.
Now that the liquid is boiling, it’s time to add the oats. This will be covered in the next step.
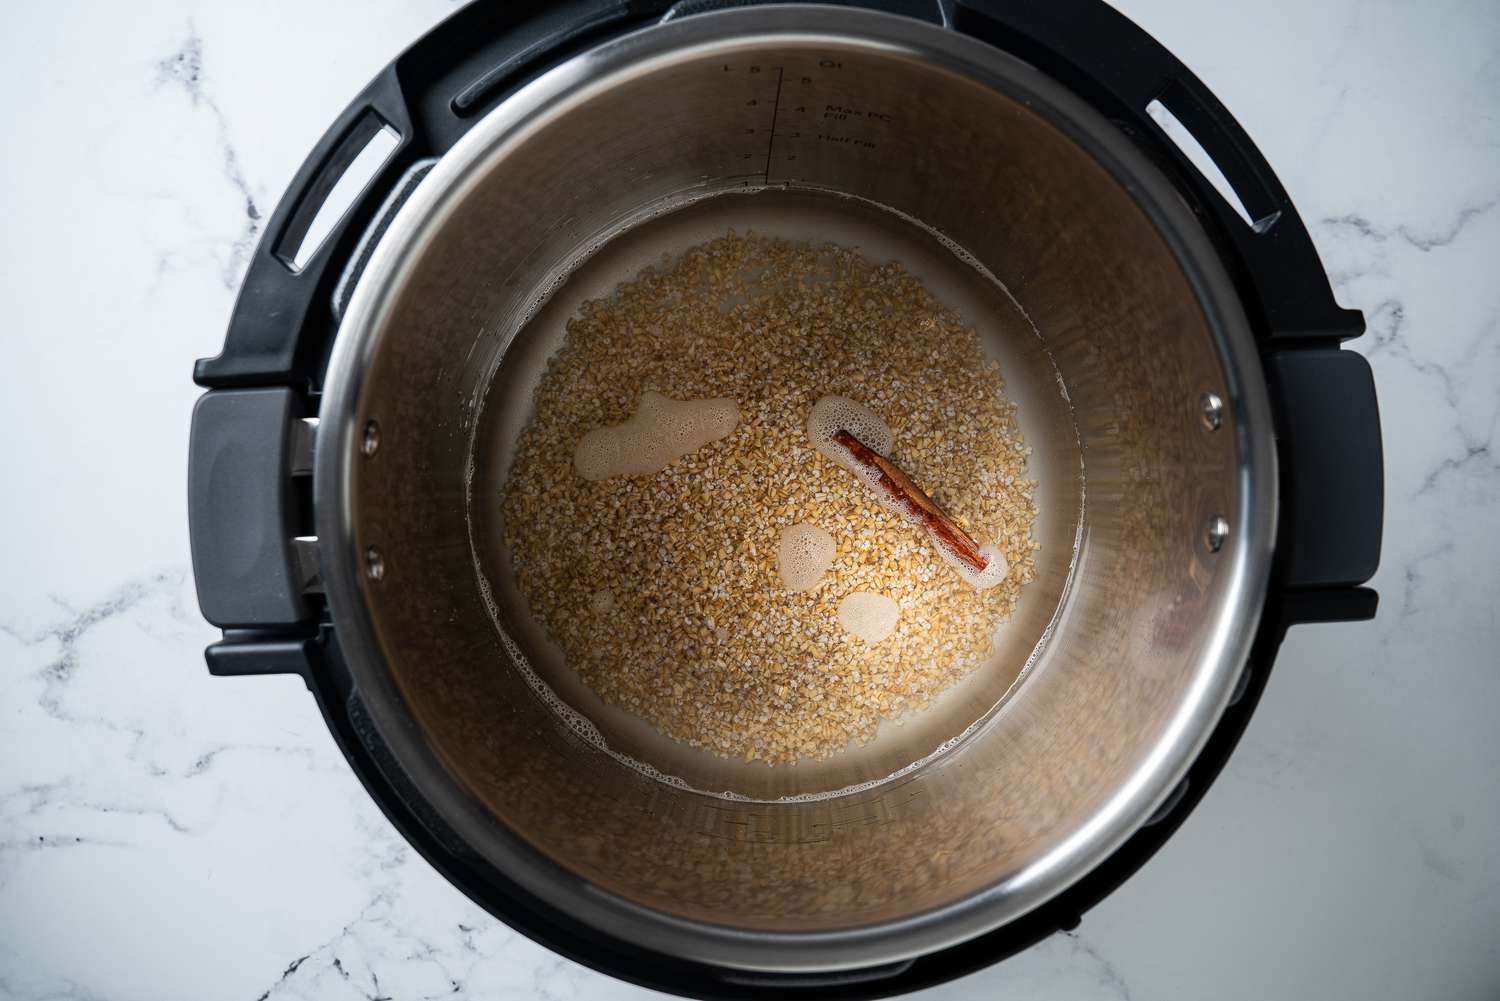
Step 4: Add the Oats to the Boiling Liquid
Now that your liquid is boiling and simmering gently, it’s time to add the oats to the pot. Adding the oats at just the right moment will ensure that they cook to perfection and absorb the flavors from the liquid.
Slowly pour the measured oats into the boiling liquid, stirring gently as you do so. This will help distribute the oats evenly and prevent them from clumping together. Stirring at this stage is important to ensure that the oats cook evenly and don’t stick to the bottom of the pot.
Once you have added the oats, continue to stir the mixture for a minute or two. This will help the oats absorb the liquid and start to thicken. You’ll notice the oatmeal taking on a creamy and comforting consistency.
Now that the oats are added to the boiling liquid, it’s time to move on to the next step: cooking the oatmeal on low heat.
To make oatmeal on the stove top, use a 2:1 ratio of water to oats, bring to a boil, then simmer for 10-15 minutes, stirring occasionally. Add your favorite toppings and enjoy!
Read more: How To Make Bread On Stove Top
Step 5: Cook the Oatmeal on Low Heat
Now that you have added the oats to the boiling liquid, it’s time to cook the oatmeal on low heat. Cooking the oatmeal on low heat ensures that it simmers gently and allows the oats to cook through without becoming mushy or clumpy.
Reduce the heat to low and let the oatmeal simmer. It’s important to maintain a gentle simmer rather than a rapid boil to prevent the oatmeal from sticking to the bottom of the pot or burning.
Cooking times may vary depending on the type of oats you are using. Old-fashioned rolled oats typically take about 5-7 minutes to cook. Instant oats will cook much faster, typically within 1-2 minutes, while steel-cut oats will take longer, usually around 20-30 minutes.
Take this opportunity to stir the oatmeal occasionally to prevent it from sticking and ensure even cooking. As the oatmeal simmers, it will continue to thicken and develop a creamy consistency.
Now that your oatmeal is cooking on low heat, let’s move on to the next step: stirring occasionally.
Step 6: Stir Occasionally
As your oatmeal simmers and cooks on low heat, it’s important to stir it occasionally to prevent it from sticking to the bottom of the pot and to ensure even cooking.
Stirring the oatmeal every few minutes helps distribute the heat and moisture evenly throughout the mixture. It also helps prevent lumps from forming and ensures that the oats cook uniformly.
While stirring, you may notice the oatmeal thickening and taking on a creamy consistency. This is exactly what you want to achieve, as it indicates that the oats are cooking and absorbing the liquid.
Continue to stir the oatmeal occasionally for the duration of the cooking time, which is typically around 5 to 7 minutes for old-fashioned rolled oats. If you are using instant oats or steel-cut oats, the cooking times may vary, so be sure to follow the instructions on the packaging.
As you stir, you’ll also have the opportunity to monitor the consistency of the oatmeal. If you prefer a thicker texture, you can cook it for a few extra minutes. If you prefer a thinner consistency, you can add a bit more liquid. It’s all about personal preference and finding the perfect balance.
With the oatmeal simmering and occasional stirring, you’re well on your way to a delicious and comforting bowl of oatmeal. Next, let’s move on to the final steps: removing from heat and letting it rest.
Step 7: Remove from Heat and Let It Rest
After cooking the oatmeal on low heat and stirring occasionally, it’s time to remove it from the heat and let it rest. This step is important as it allows the oatmeal to settle and absorb any remaining liquid, resulting in a perfectly cooked and flavorful bowl of oatmeal.
Turn off the heat and carefully remove the pot from the stove. Place it on a heat-resistant surface and let it rest for a few minutes. During this resting period, the oatmeal will continue to thicken slightly, and the flavors will meld together.
Give the oatmeal a gentle stir before serving to ensure that any remaining liquid is fully incorporated. This will also help distribute any toppings you plan to add and give your oatmeal a consistent texture.
While the oatmeal is resting, you can take this time to prepare your desired toppings or gather any additional ingredients such as fruits, nuts, seeds, or sweeteners. These will add an extra dimension of flavor and texture to your oatmeal.
Now that your oatmeal has had a chance to rest and develop its final flavors, it’s time to move on to the last step: serving and enjoying your delicious and comforting bowl of stovetop oatmeal.
Step 8: Serve and Enjoy
Congratulations! You have successfully cooked a delightful batch of oatmeal on the stovetop. Now it’s time to serve it up and savor every spoonful of your homemade creation.
Before serving, give the oatmeal a final stir to ensure a creamy and consistent texture. If desired, you can adjust the consistency by adding a splash of additional liquid such as milk or water.
Now comes the fun part – adding your favorite toppings! The possibilities are endless when it comes to oatmeal toppings. Consider adding fresh fruits like sliced bananas, berries, or diced apples. You can also sprinkle in nuts or seeds for added crunch and nutritional value. A drizzle of honey, maple syrup, or a sprinkle of cinnamon can add a touch of sweetness and warmth.
Once you’ve customized your oatmeal with toppings, it’s time to grab a spoon and dig in. Take a moment to appreciate the comforting aroma and the satisfying combination of flavors. Enjoy each spoonful, savoring the nourishment and energy that a bowl of oatmeal provides.
Remember, oatmeal is a versatile and nutritious breakfast option, so don’t limit yourself to just the stovetop version. Explore different variations like overnight oats or baked oatmeal to switch up your breakfast routine and keep things exciting.
By following these eight simple steps – gathering the ingredients, measuring the oats and liquid, bringing the liquid to a boil, adding the oats, cooking on low heat, stirring occasionally, removing from heat and letting it rest, and finally serving and enjoying – you can create a delicious and satisfying bowl of oatmeal on the stovetop.
So, next time you’re craving a hearty and wholesome breakfast, turn to this stovetop oatmeal recipe and start your day with a nutritious and delicious meal.
Happy cooking and bon appétit!
Read more: How To Make Espresso With Stove Top
Conclusion
In conclusion, making oatmeal on the stovetop is a simple and rewarding process that allows you to create a warm and nutritious breakfast. By following the step-by-step guide outlined in this article, you can achieve a perfectly cooked and flavorful bowl of oatmeal every time.
Oatmeal is not only delicious but also offers numerous health benefits. It provides a rich source of vitamins, minerals, fiber, and antioxidants that support overall well-being. Its slow-release energy makes it an excellent choice for starting your day off on the right foot.
Whether you prefer a creamy and comforting bowl of old-fashioned rolled oats or a chewier texture with steel-cut oats, the stovetop method allows you to customize your oatmeal according to your personal taste preferences and dietary needs.
Remember to gather your ingredients, measure the oats and liquid, bring the liquid to a boil, add the oats, cook on low heat, stir occasionally, remove from heat and let it rest, and finally, serve and enjoy your delicious bowl of oatmeal.
Don’t be afraid to get creative with your oatmeal toppings, adding fresh fruits, nuts, seeds, or sweeteners to enhance the flavor and add nutritional value. The beauty of oatmeal lies in its versatility, allowing you to experiment and customize your breakfast to suit your individual preferences.
So, the next time you crave a satisfying and nourishing breakfast, turn to this stovetop oatmeal recipe and savor the comfort and flavors it brings. With a little time and effort, you can create a wholesome and delicious breakfast to fuel your day.
Now, go forth and embrace the joy of making oatmeal on the stovetop. Bon appétit!
Frequently Asked Questions about How To Make Oatmeal On Stove Top
Was this page helpful?
At Storables.com, we guarantee accurate and reliable information. Our content, validated by Expert Board Contributors, is crafted following stringent Editorial Policies. We're committed to providing you with well-researched, expert-backed insights for all your informational needs.


0 thoughts on “How To Make Oatmeal On Stove Top”