Articles
How To Hang A Hand Towel Ring
Modified: October 20, 2024
Learn the proper technique for hanging a hand towel ring with our step-by-step articles. Create a stylish and functional bathroom space today!
(Many of the links in this article redirect to a specific reviewed product. Your purchase of these products through affiliate links helps to generate commission for Storables.com, at no extra cost. Learn more)
Introduction
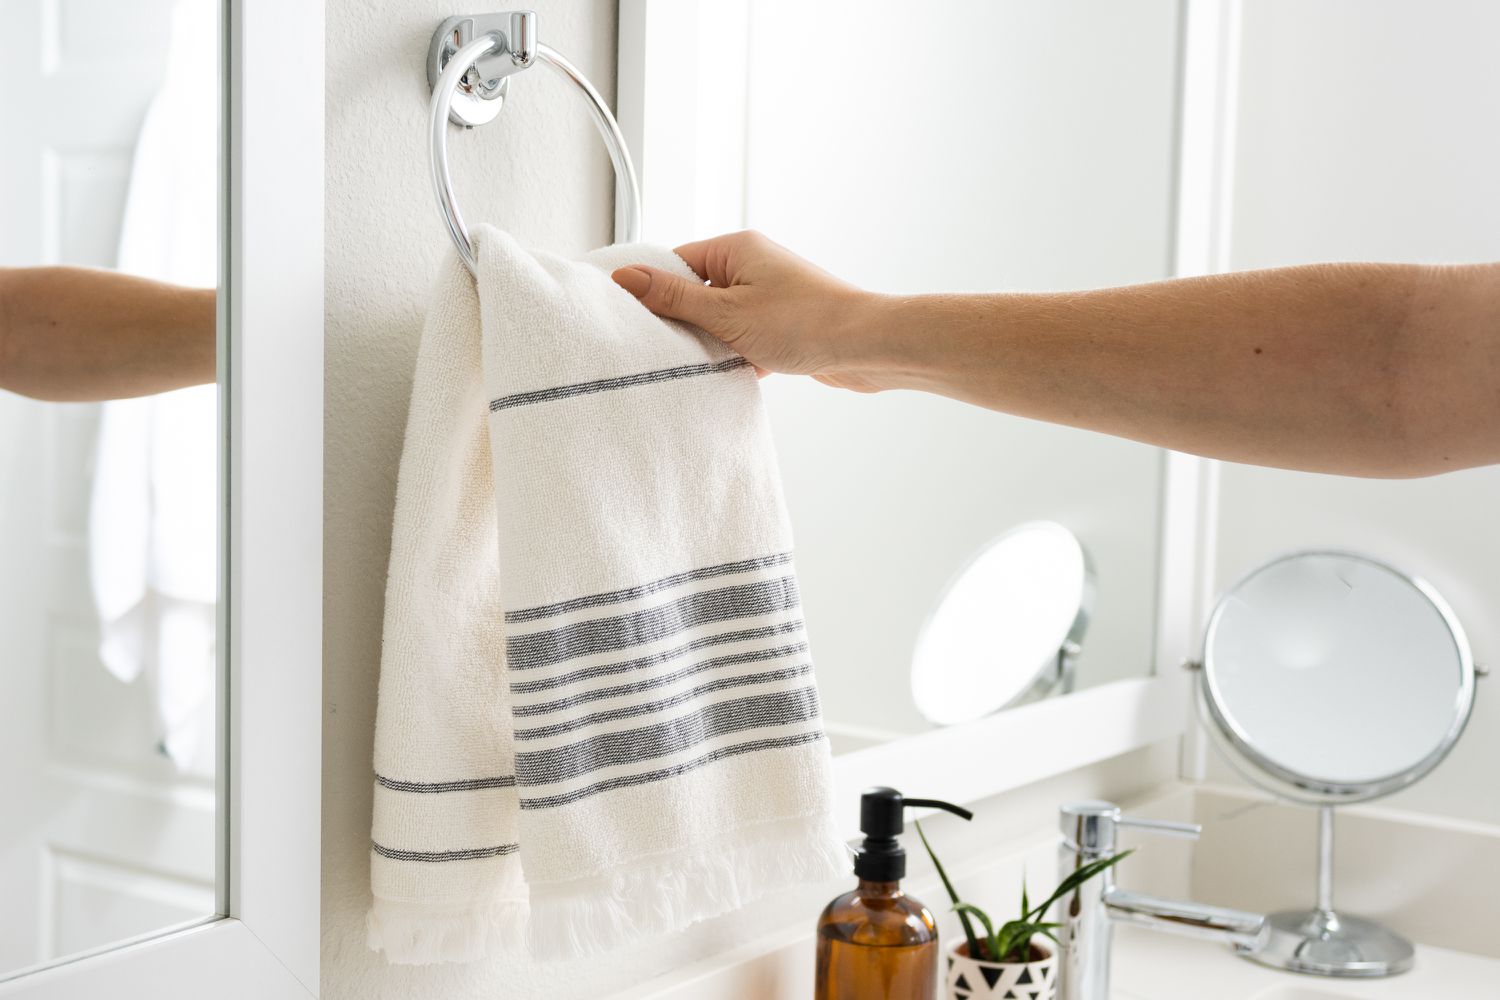
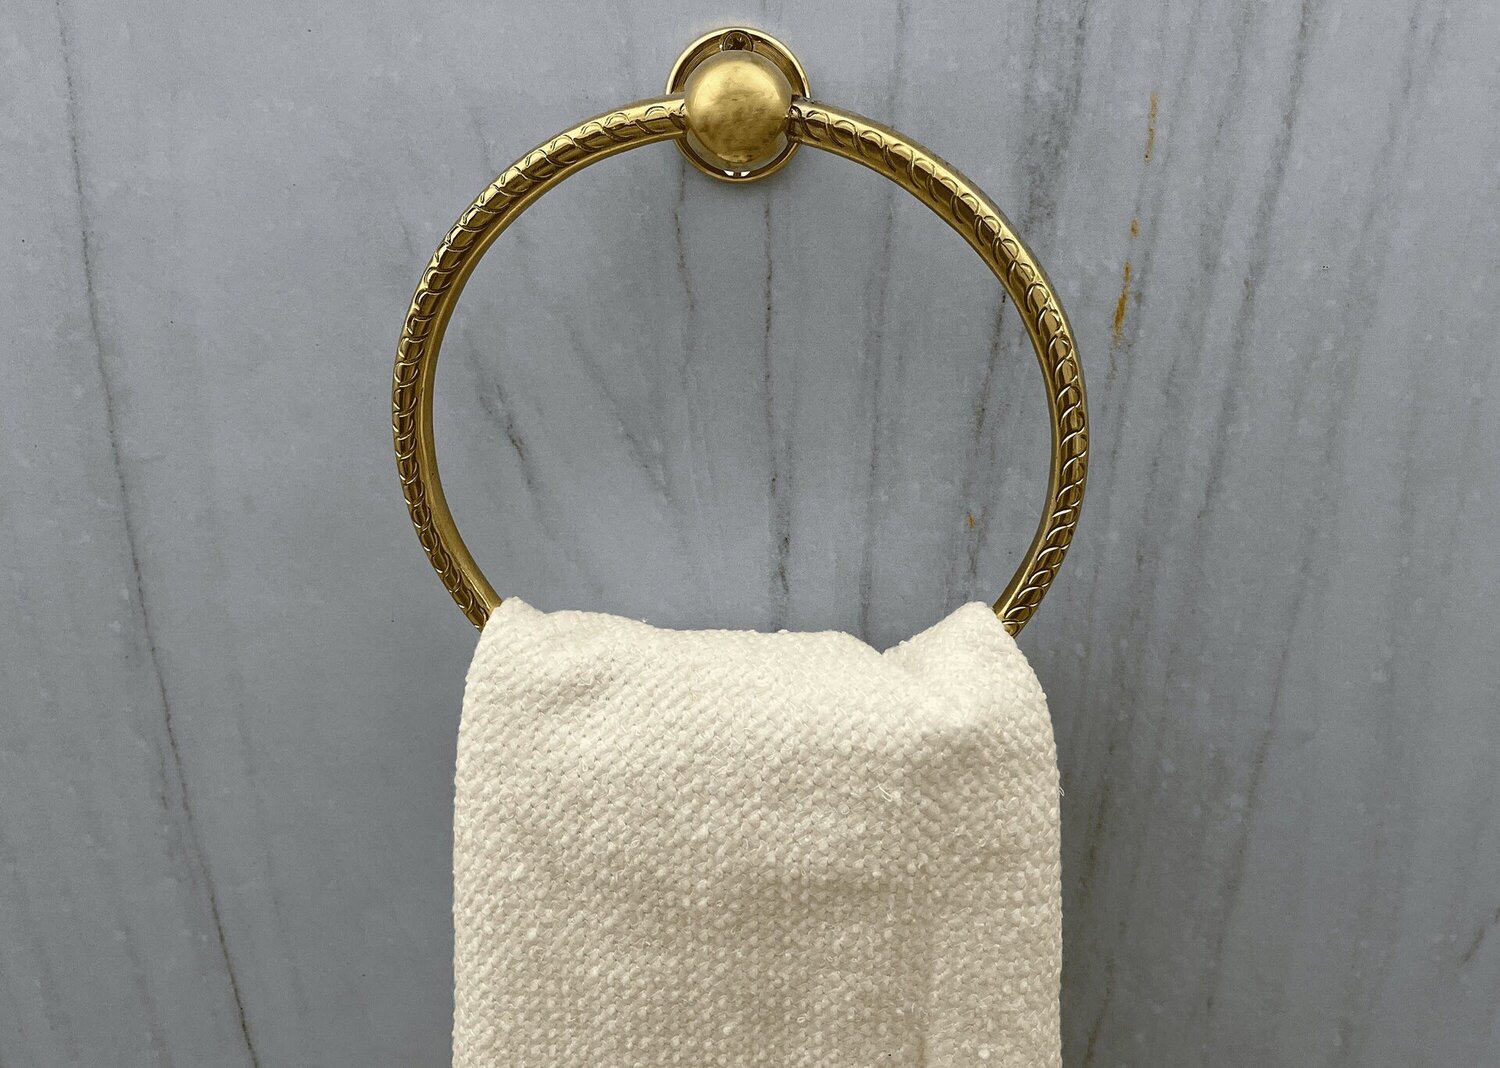
Having a hand towel ring in your bathroom can be both functional and aesthetically pleasing. It provides a convenient place to hang your hand towel, keeping it within easy reach and helping to keep your bathroom tidy. Hanging a hand towel ring may seem like a simple task, but it’s important to do it properly to ensure it is securely installed and can withstand regular use.
In this article, we will guide you through the steps of hanging a hand towel ring in your bathroom. From gathering the necessary tools to securing the towel ring, we will cover all the essential details to help you complete this DIY project with ease.
Key Takeaways:
- Properly hanging a hand towel ring involves gathering tools, choosing a suitable location, and securing the ring. It’s a simple DIY project that enhances bathroom functionality and aesthetics.
- Testing stability and making necessary adjustments are crucial for ensuring a securely installed hand towel ring. Enjoy the convenience and elegance it adds to your bathroom space.
Read more: Where To Hang A Bathroom Towel Ring
Step 1: Gather the necessary tools and materials
Before you begin hanging a hand towel ring, it’s important to gather all the tools and materials you’ll need. This will ensure that you have everything on hand, preventing any interruptions or delays during the installation process.
Here are the tools and materials you’ll need:
- Tape measure
- Pencil or marker
- Level
- Electric drill
- Drill bits
- Wall anchors (if necessary)
- Screwdriver
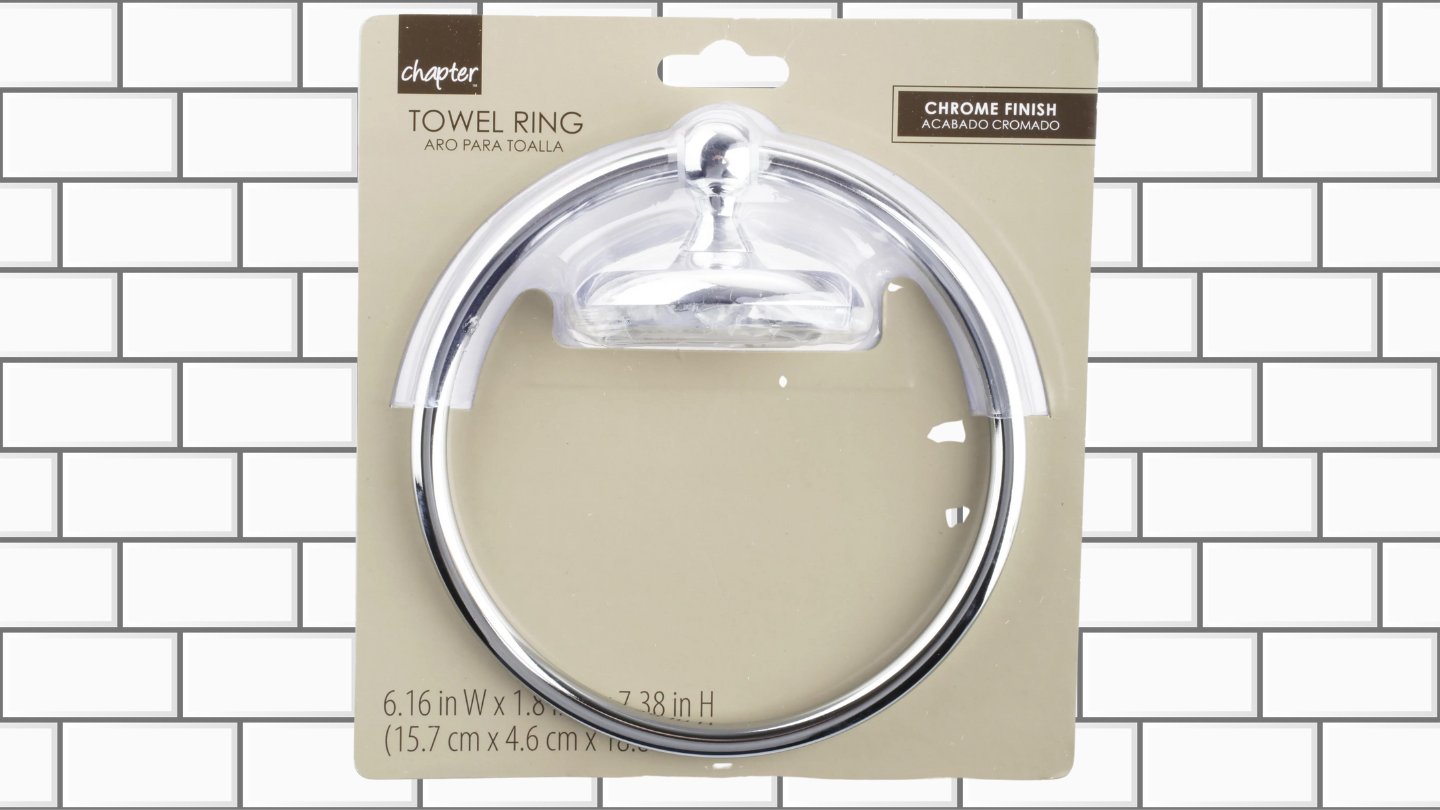
- Hand towel ring
- Screws
Make sure your tape measure is accurate and in good condition, as precise measurements are crucial for proper placement of the towel ring. Tightly secured screws are essential for stability, so ensure that your screwdriver is appropriate for the size and type of screws you’ll be using.
Choosing a high-quality hand towel ring is also important to ensure durability and longevity. Consider the design and finish of the towel ring, as well as its weight-bearing capacity, to match your bathroom aesthetics and meet your functional needs.
Once you have gathered all the necessary tools and materials, you’re ready to move on to the next step: choosing a suitable location for your hand towel ring.
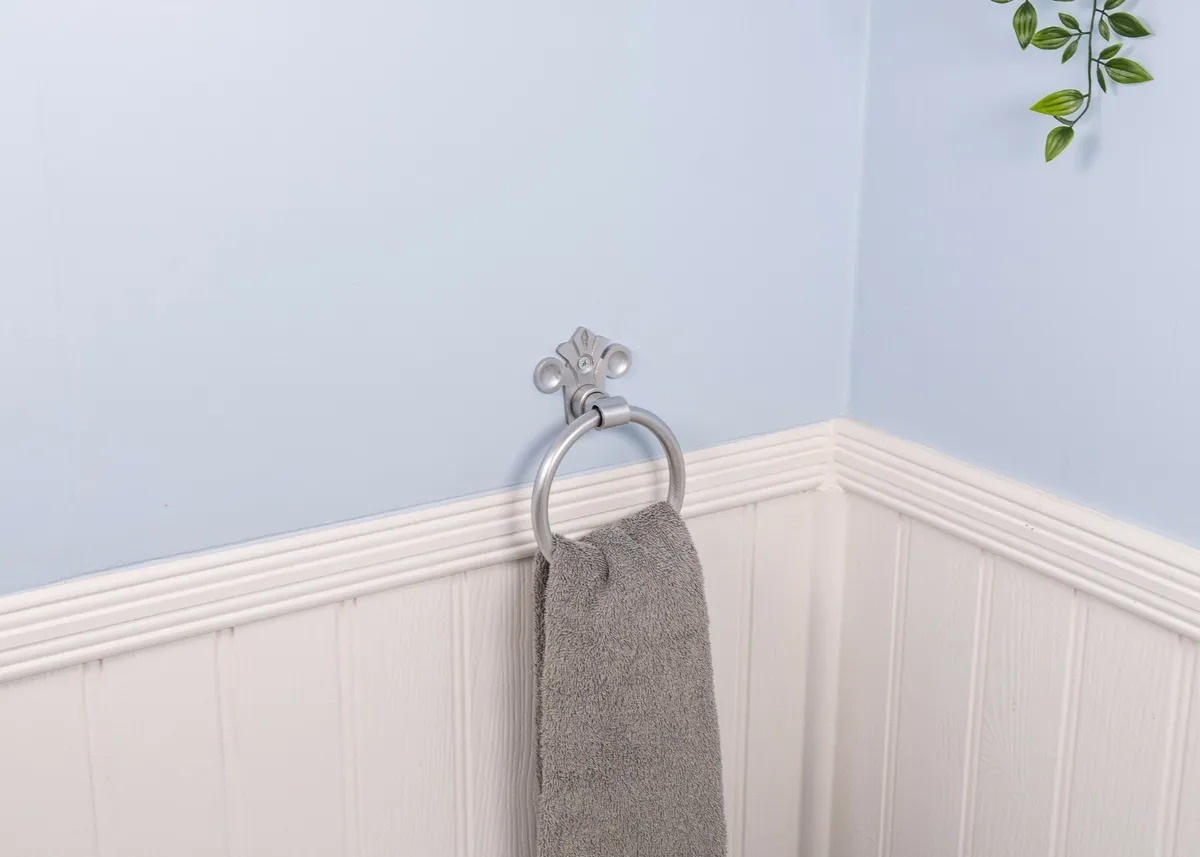
Step 2: Choose a suitable location
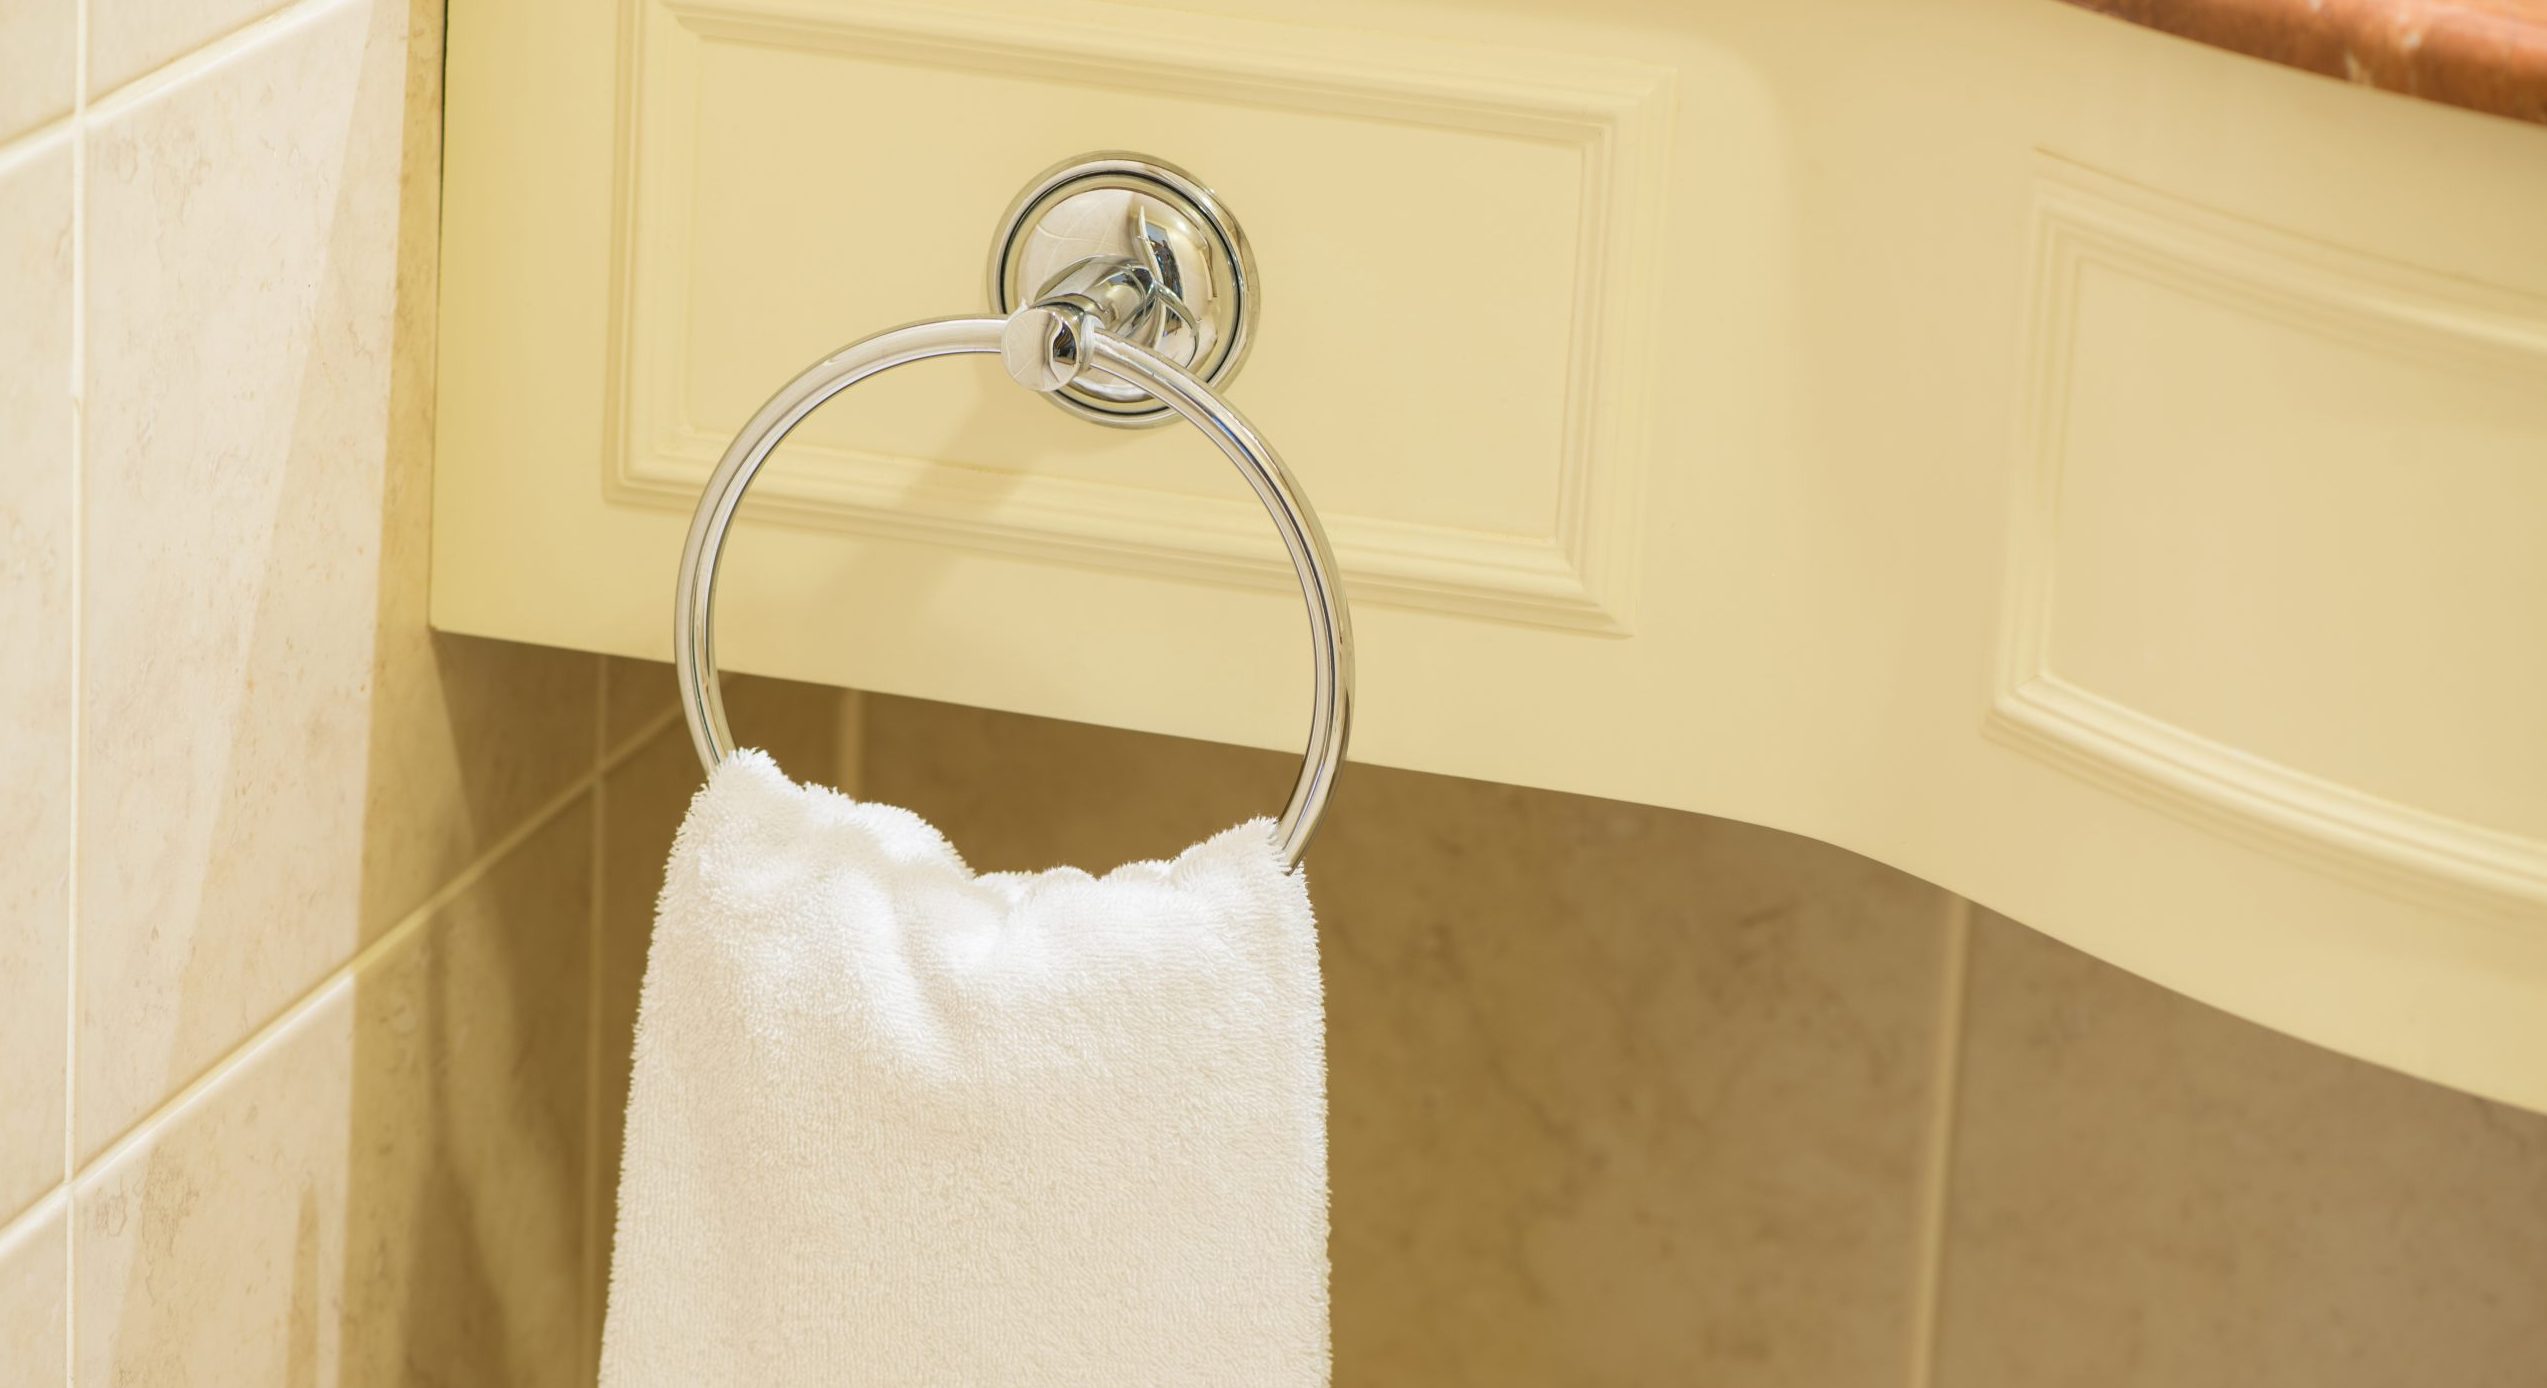
Choosing the right location to hang your hand towel ring is essential for both functionality and aesthetics. You want it to be easily accessible and within reach, while also complementing the overall design of your bathroom.
Here are a few factors to consider when selecting a suitable location:
Height: The height at which you hang the hand towel ring is a matter of personal preference. However, a general rule of thumb is to place it at a height that is convenient for most users. A height of around 36 to 48 inches (91 to 122 cm) above the floor is commonly recommended.
Accessibility: Ensure that the hand towel ring is easily accessible from the sink or shower. It should be within arm’s reach, allowing you to comfortably grab the towel without stretching or straining.
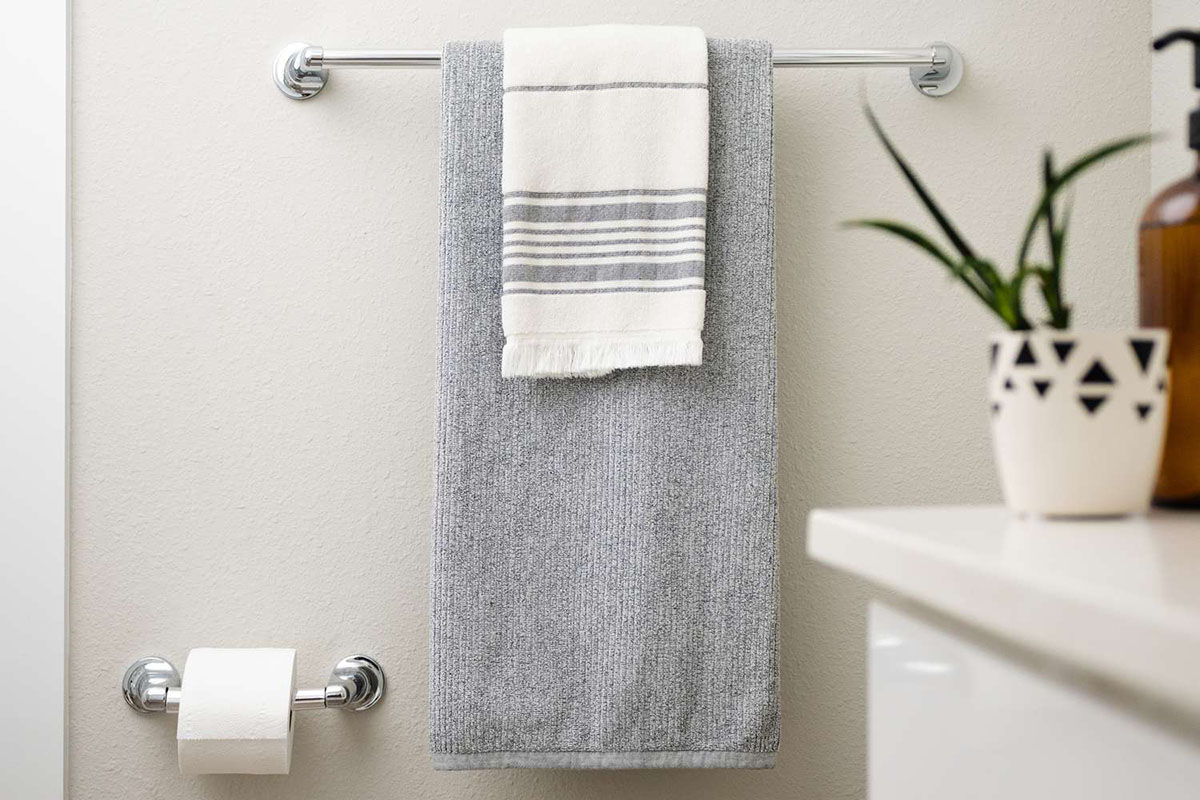
Spacing: If you have multiple hand towel rings in your bathroom, ensure that they are spaced apart appropriately. Leave enough room between each towel ring so that the towels can hang freely without overlapping.
Proximity to water sources: It’s important to select a location that is not directly above a water source, such as a sink or shower. This will prevent the towel from getting wet every time it’s used, maintaining its cleanliness and functionality.
Balance and symmetry: Consider the overall layout and design of your bathroom. Choose a location that creates a sense of balance and symmetry within the space. For example, if you have a double sink vanity, you may opt to hang the hand towel ring between the two sinks.
Take your time to evaluate different locations and visualize how the hand towel ring will look in each spot. Once you’ve identified the ideal location, it’s time to mark the placement of the towel ring.
Step 3: Mark the placement of the towel ring
Now that you have chosen a suitable location for your hand towel ring, it’s time to mark the exact placement on the wall. This step is crucial to ensure accurate installation and a visually pleasing result.
Follow these steps to mark the placement of the towel ring:
- Hold the hand towel ring against the wall at the desired height and position.
- Use a pencil or marker to mark the spots where the mounting holes of the towel ring will be.
- Make sure the towel ring is level by using a level tool. Adjust the positioning as needed to achieve a level position.
- Double-check your markings to ensure they are accurate and aligned with your desired placement.
After marking the placement of the towel ring, step back and visually inspect the marks. Ensure that they are at a comfortable height and in a position that is visually appealing. Take into consideration any other elements in the bathroom, such as nearby fixtures or tiles, to create a cohesive look.
Once you’re satisfied with the placement marks, it’s time to move on to the next step: pre-drilling the holes.
Step 4: Pre-drill the holes
Pre-drilling the holes is an important step in the installation process to ensure secure attachment of the hand towel ring to the wall. By pre-drilling the holes, you can prevent the wall from cracking or splitting when inserting the screws.
Follow these steps to pre-drill the holes:
- Choose a drill bit that is slightly smaller in diameter than the screws you will be using to mount the towel ring. This will ensure a snug fit and provide optimal support.
- Attach the appropriate size drill bit to your electric drill.
- Align the tip of the drill bit with one of the marked spots on the wall.
- Apply gentle pressure and activate the drill on a low speed setting.
- Slowly drill into the wall at a perpendicular angle to the surface.
- Once the hole is drilled, remove any excess dust or debris from the hole.
- Repeat the process for the remaining marked spots.
Remember to maintain a steady and controlled drilling motion to avoid damaging the wall surface. Take your time and be patient to ensure precise and clean holes.
If you’re mounting the towel ring on a tiled wall, it’s important to use a tile-specific drill bit designed for drilling through ceramic or porcelain tiles. These bits have a unique design that reduces the risk of cracking or chipping the tile surface.
Now that you have pre-drilled the holes, you can move on to the next step: inserting wall anchors (if necessary).
Read more: Where Should A Hand Towel Ring Be Placed
Step 5: Insert wall anchors (if necessary)
Wall anchors provide additional support and stability when mounting items on drywall or other fragile surfaces. They help distribute the weight evenly and prevent the screws from becoming loose or damaging the wall. Depending on the weight of your hand towel ring and the type of wall you’re working with, it may be necessary to use wall anchors.
Follow these steps to insert wall anchors:
- Choose wall anchors that are appropriate for the size and weight of your hand towel ring. There are various types of wall anchors available, such as plastic anchors, toggle bolts, or metal anchors.
- Align the tip of the wall anchor with one of the pre-drilled holes.
- Gently tap the wall anchor into the hole using a hammer. Make sure it is flush with the wall surface.
- Repeat the process for the remaining pre-drilled holes.
If you’re unsure whether or not to use wall anchors, consider the weight of your hand towel ring. Lightweight towel rings may not require wall anchors, but heavier ones should be secured with anchors to ensure stability.
Inserting wall anchors is especially important if you’re mounting the towel ring on drywall, as drywall alone may not provide enough support for long-term use. Wall anchors distribute the weight and prevent the screws from pulling out of the wall.
Once you have inserted the wall anchors, you’re ready to move on to the next step: attaching the mounting bracket.
When installing a hand towel ring, use a level to ensure it is straight. Also, use wall anchors if mounting on drywall to ensure a secure hold.
Step 6: Attach the mounting bracket
Attaching the mounting bracket is a crucial step in the installation process as it serves as the foundation for securing the hand towel ring to the wall. The bracket provides support and stability, ensuring that the towel ring remains securely in place.
Follow these steps to attach the mounting bracket:
- Hold the mounting bracket against the wall, aligning it with the pre-drilled holes and wall anchors (if used).
- Insert the screws through the mounting bracket and into the pre-drilled holes.
- Using a screwdriver or electric drill, tighten the screws until the mounting bracket is securely attached to the wall.
Make sure to tighten the screws evenly to ensure that the mounting bracket is level and provides a sturdy foundation for the hand towel ring. The bracket should be flush against the wall and firmly secured to prevent any wobbling or movement.
If you’re using wall anchors, ensure that the screws are inserted into the anchors and not directly into the wall. This will provide maximum stability and prevent the screws from becoming loose over time.
Take a moment to double-check the alignment and position of the mounting bracket. Ensure that it is straight and level to maintain a visually pleasing appearance once the hand towel ring is attached.
Now that the mounting bracket is securely in place, you’re ready to move on to the next step: attaching the hand towel ring to the bracket.
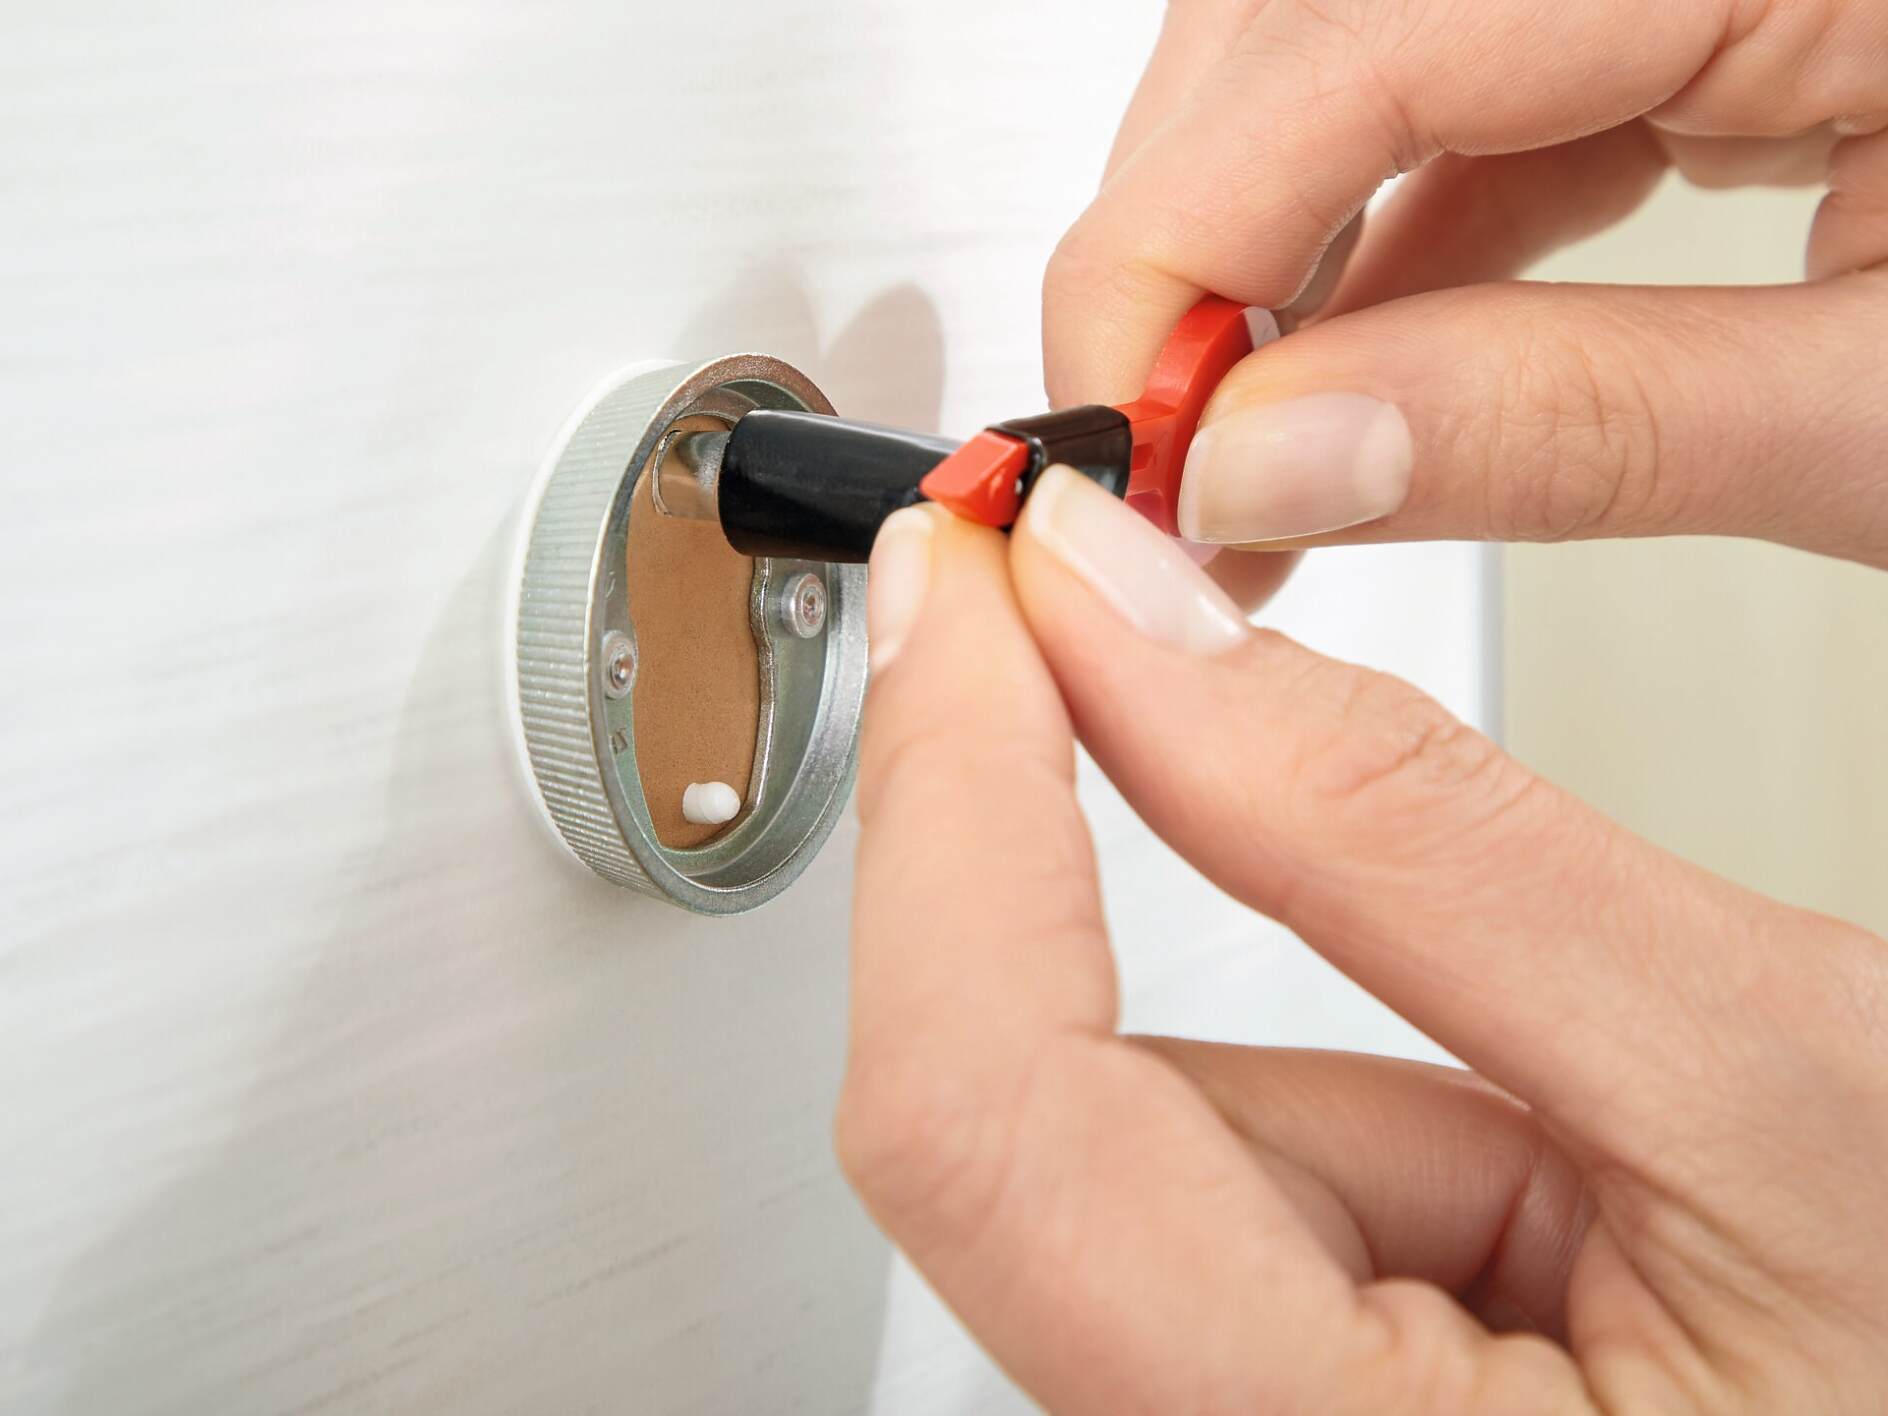
Step 7: Secure the towel ring to the bracket
After the mounting bracket is securely attached to the wall, it’s time to secure the hand towel ring onto the bracket. This step will ensure that the towel ring is properly attached and can hold the weight of the towel without any issues.
Follow these steps to secure the towel ring to the bracket:
- Take the hand towel ring and align it with the mounting bracket.
- Ensure that the screw holes on the back of the towel ring align with the screws on the mounting bracket.
- Insert the screws through the screw holes on the towel ring and into the mounting bracket.
- Tighten the screws using a screwdriver or electric drill, ensuring a secure fit.
Make sure to tighten the screws evenly on both sides of the towel ring to ensure balance and stability. This will prevent any wobbling or movement once the towel ring is in use.
Take a moment to test the towel ring by gently pulling on it to ensure that it is securely attached and can hold the weight of a towel without coming loose. If you notice any instability or movement, double-check the screws and tighten them if necessary.
It’s important to follow the manufacturer’s instructions when attaching the towel ring to the bracket. Some towel rings may have a specific method of attachment, such as using a set screw or a different type of mounting mechanism.
Once the towel ring is securely attached to the bracket, you’re ready to move on to the next step: testing the stability and making any necessary adjustments.
Step 8: Test the stability and adjust if needed
Testing the stability of the hand towel ring is an important step to ensure that it is securely installed and can withstand regular use. By checking its stability, you can identify any issues or adjustments that may be necessary to ensure optimal performance and longevity.
Follow these steps to test the stability of the towel ring:
- Gently tug on the towel ring to simulate the weight and movement of a towel.
- Observe if there is any wobbling or instability in the towel ring.
- If the towel ring feels loose or wobbly, it may indicate that the screws need to be tightened further.
- If the towel ring is not level, use a level tool to adjust its position. Loosen the screws slightly and reposition the towel ring before retightening the screws.
It’s important to make any necessary adjustments to ensure that the towel ring is stable and secure. This will prevent it from coming loose or falling off the wall during use.
Additionally, take the opportunity to visually inspect the towel ring and its attachment. Ensure that it is aligned with your desired placement and that it complements the overall aesthetics of your bathroom.
If you encounter any issues during the stability test or notice any defects with the towel ring or mounting bracket, refer to the manufacturer’s instructions or contact customer support for further assistance.
Once you are satisfied with the stability and alignment of the towel ring, you have successfully completed the installation process. It’s time to move on to the final step: enjoying your newly hung towel ring!
Read more: How High Above Vanity To Hang Towel Ring
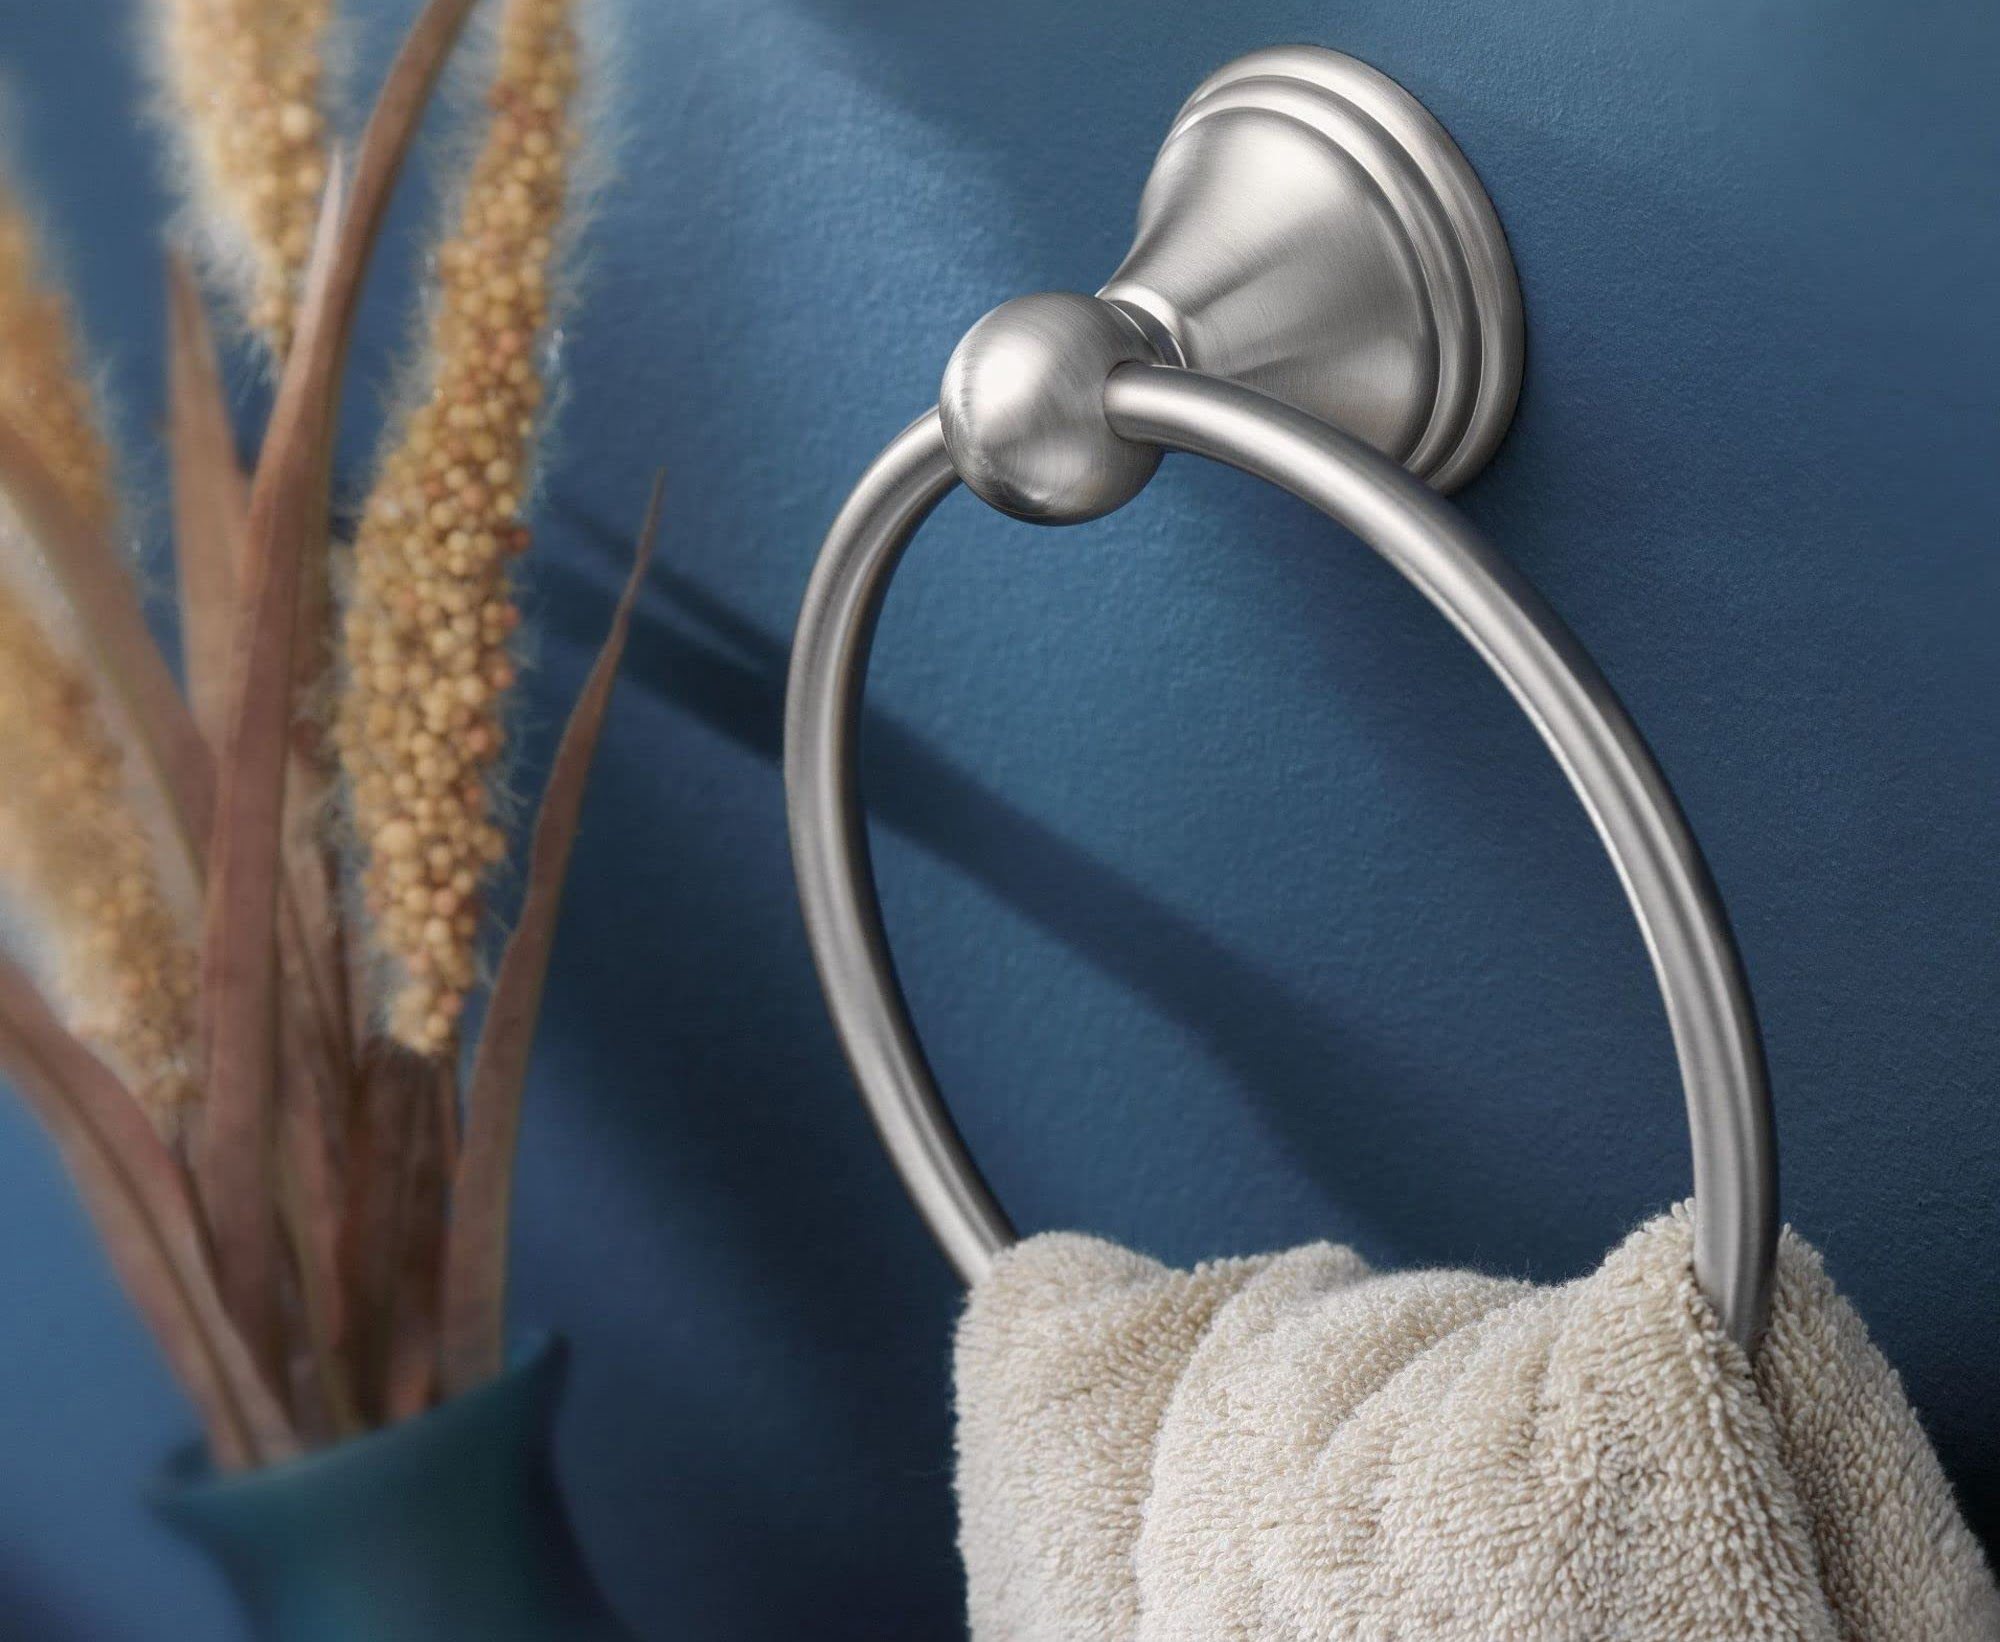
Step 9: Enjoy your newly hung towel ring
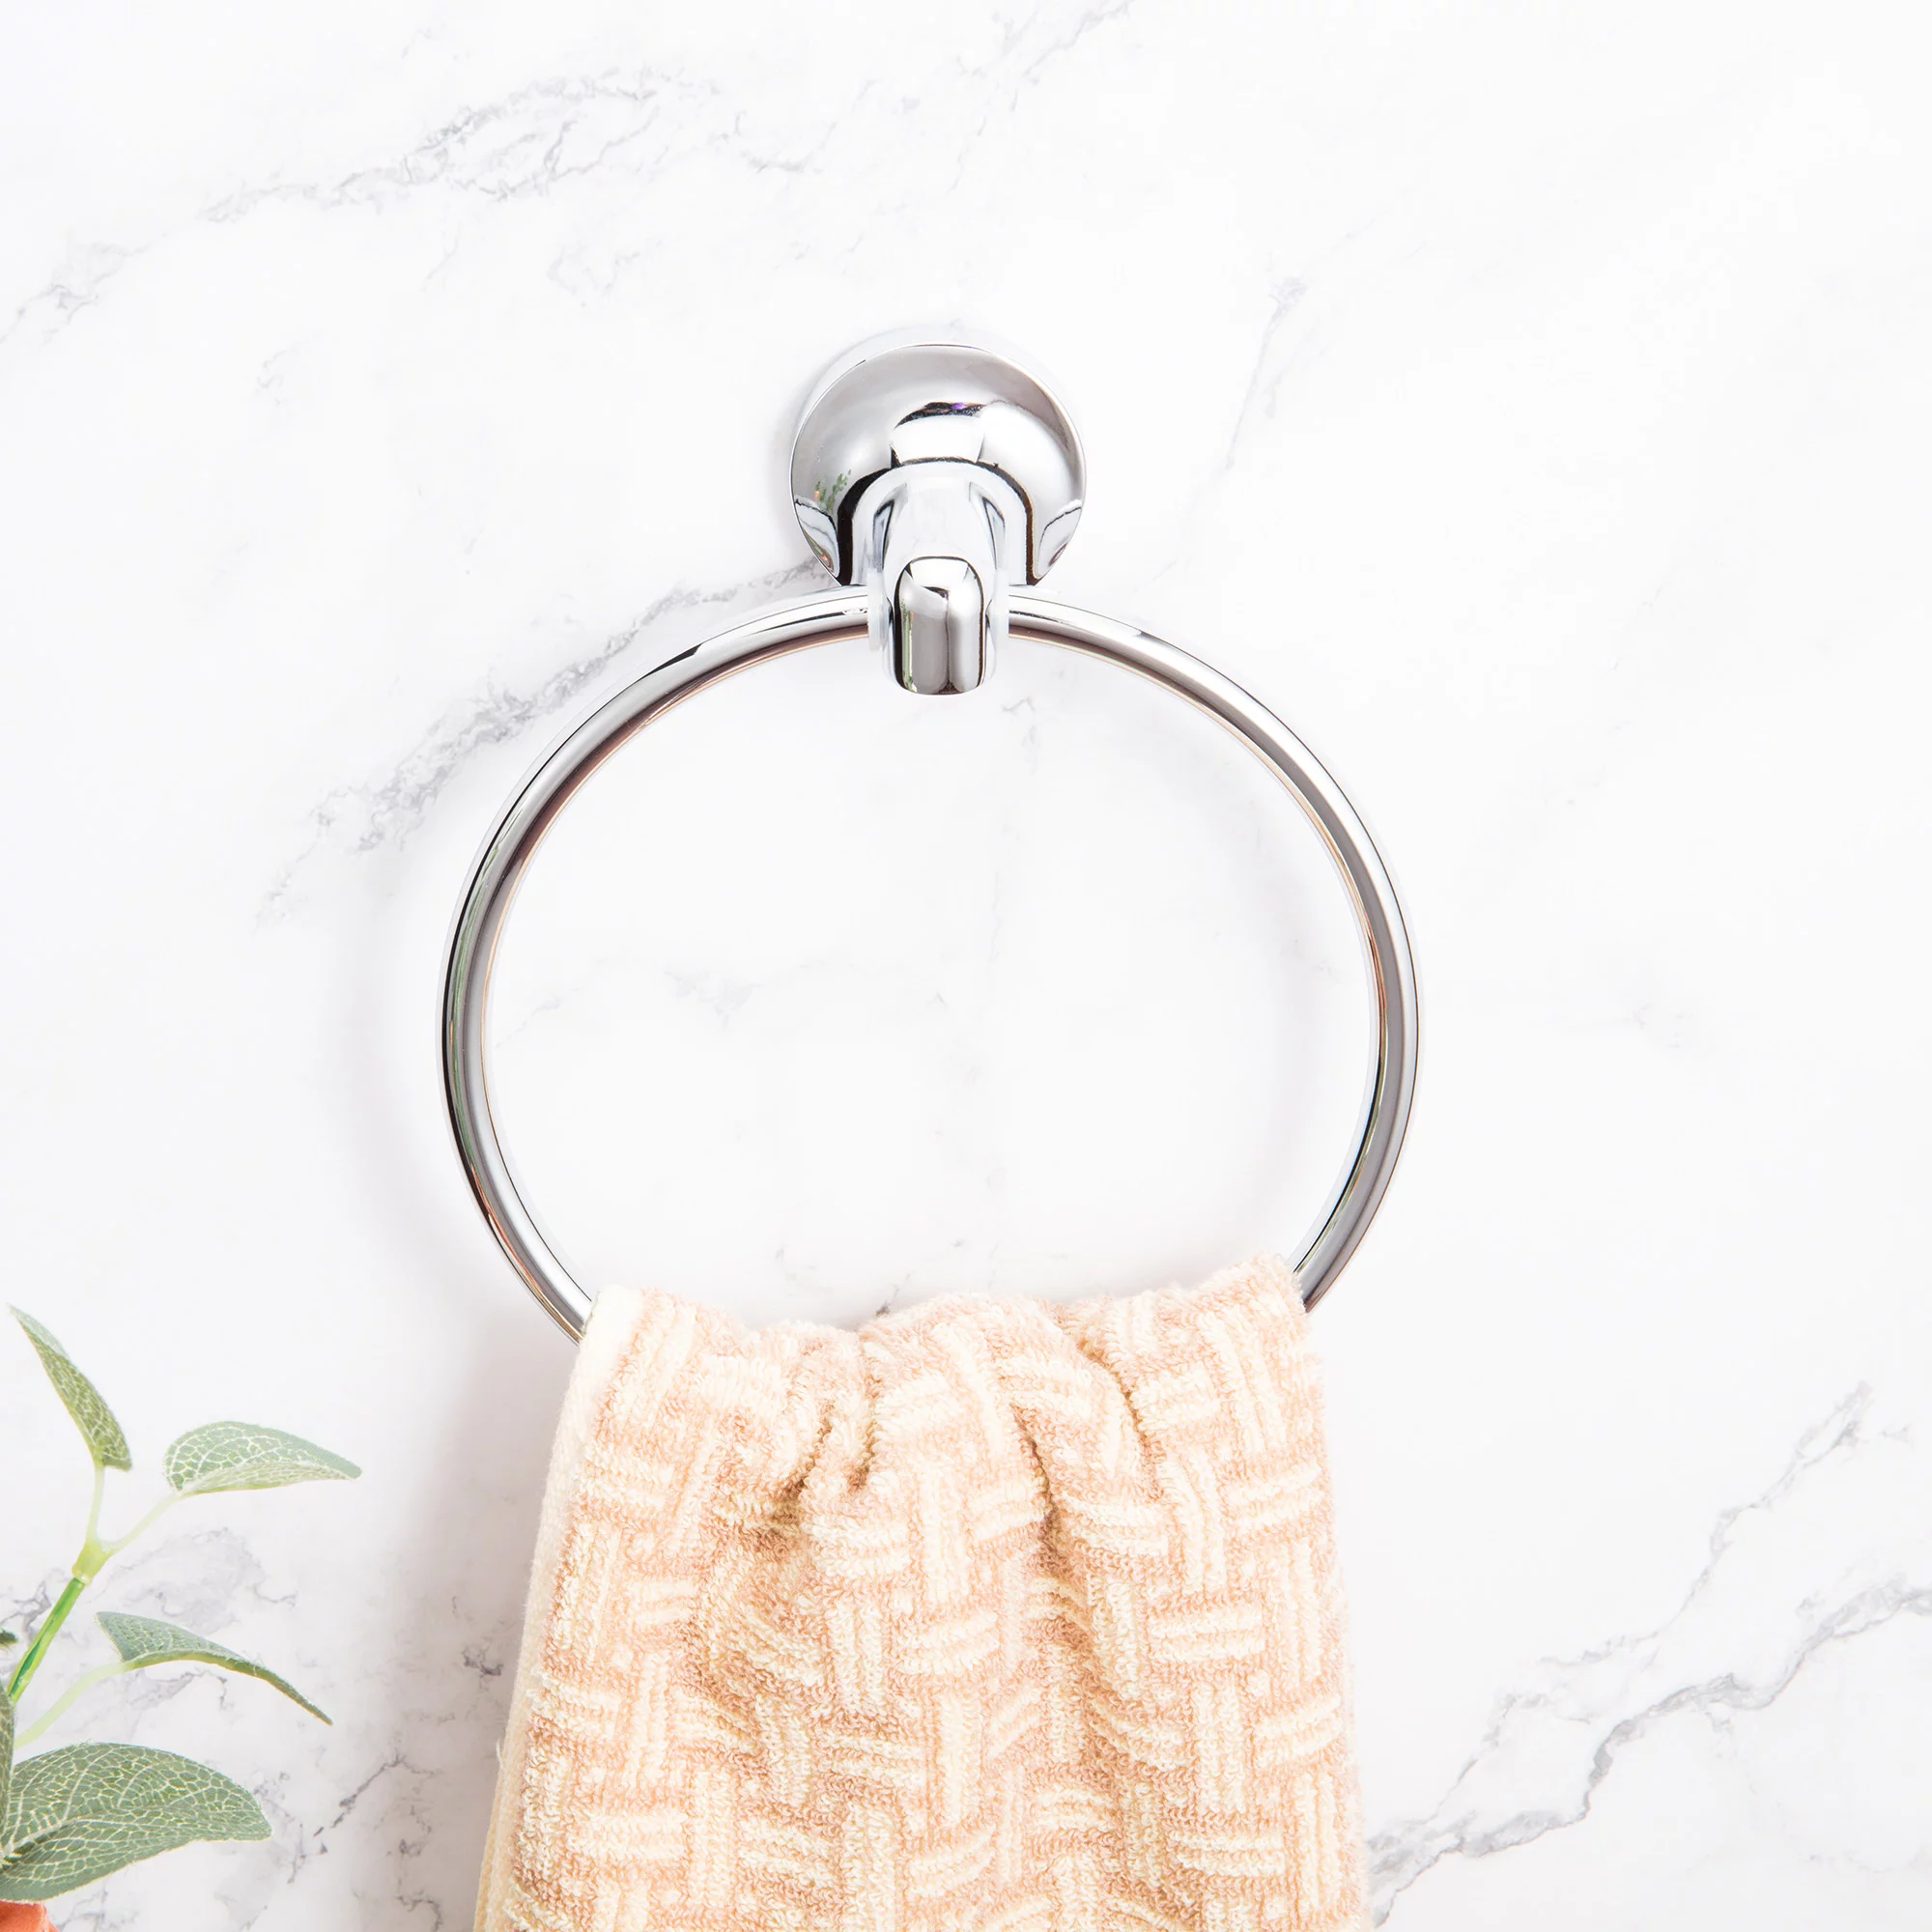
Congratulations! You have successfully hung your hand towel ring and it is now ready to be enjoyed. Having a properly installed and functional towel ring in your bathroom adds convenience and enhances the overall aesthetics of the space.
Here are some tips to fully enjoy your newly hung towel ring:
- Hang your hand towel neatly on the towel ring. Ensure it is within reach and easily accessible.
- Encourage household members and guests to use the towel ring to keep the bathroom clean and organized.
- Regularly clean the towel ring and towel to maintain a hygienic bathroom environment.
- Consider having multiple hand towel rings in larger bathrooms or near different sink areas for added convenience.
- Personalize the towel ring with decorative accents or accessories that match your bathroom decor.
- Periodically check the screws and stability of the towel ring to ensure it remains securely attached to the wall.
By following these tips, you can maximize the functionality and visual appeal of your hand towel ring for years to come.
Remember, if you ever decide to rearrange or redecorate your bathroom, you can easily remove and reposition the towel ring following the steps outlined in this article.
Now, go ahead and enjoy the convenience of having a hand towel ring in your bathroom. Whether it’s for drying your hands or simply adding a touch of elegance, your newly hung towel ring is sure to elevate your bathroom experience.
Thank you for following this guide, and we hope you found it helpful. Happy towel hanging!
Conclusion
Hanging a hand towel ring in your bathroom is a simple yet rewarding DIY project that can enhance both functionality and aesthetics. By following the step-by-step guide outlined in this article, you have learned how to properly hang a hand towel ring and ensure its stability and longevity.
From gathering the necessary tools and materials to choosing a suitable location, marking the placement, pre-drilling holes, inserting wall anchors if needed, attaching the mounting bracket, securing the towel ring, testing stability, and making necessary adjustments, each step has been carefully explained to help you achieve a successful installation.
Remember to consider the height and accessibility of the towel ring, as well as the overall design and balance of your bathroom. Take your time during the installation process to ensure accurate measurements and secure attachments. Regularly check the stability of the towel ring to maintain its functionality over time.
Now that your hand towel ring is securely installed, you can enjoy the convenience of having your hand towel within easy reach. Keep your bathroom tidy and organized while adding a stylish touch to the space.
We hope this guide has provided you with the necessary knowledge and confidence to hang a hand towel ring in your bathroom. Enjoy the benefits of a well-placed and functional towel ring, and don’t forget to personalize it to match your bathroom decor and personal style.
Thank you for following this comprehensive guide. Happy towel hanging!
Now that you've mastered hanging your hand towel ring, why not spruce up your kitchen with the perfect accessory? Our next guide reviews the best kitchen towel rings available for 2024, ensuring your space is as stylish as it is functional. Discover options that blend seamlessly with any decor, offering both elegance and convenience. Don't miss out on finding the ideal addition to your kitchen setup.
Frequently Asked Questions about How To Hang A Hand Towel Ring
Was this page helpful?
At Storables.com, we guarantee accurate and reliable information. Our content, validated by Expert Board Contributors, is crafted following stringent Editorial Policies. We're committed to providing you with well-researched, expert-backed insights for all your informational needs.


0 thoughts on “How To Hang A Hand Towel Ring”