Articles
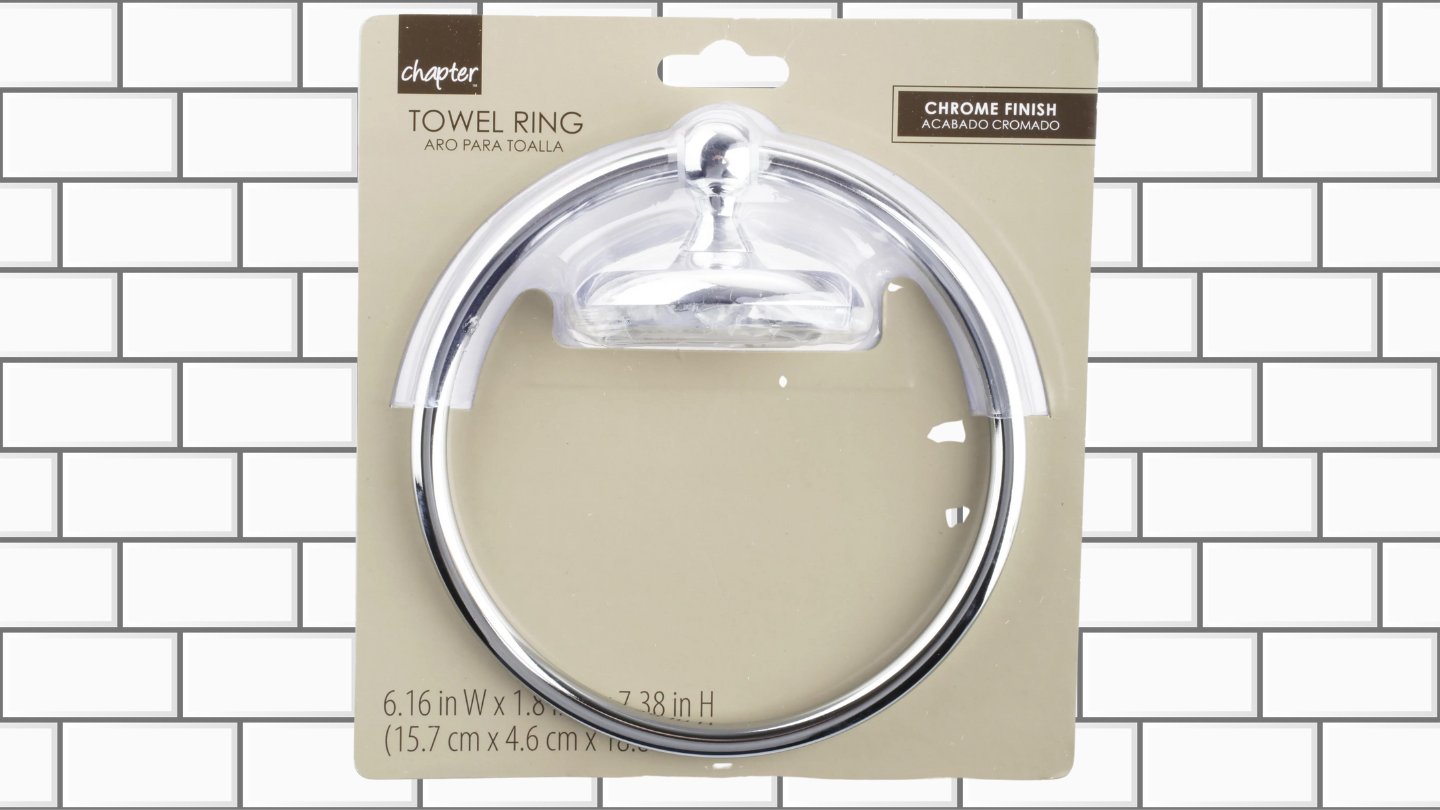
How To Install Chapter Towel Ring
Modified: October 20, 2024
Learn how to install a chapter towel ring with our step-by-step article. Discover expert tips and tricks for a seamless installation process.
(Many of the links in this article redirect to a specific reviewed product. Your purchase of these products through affiliate links helps to generate commission for Storables.com, at no extra cost. Learn more)
Introduction
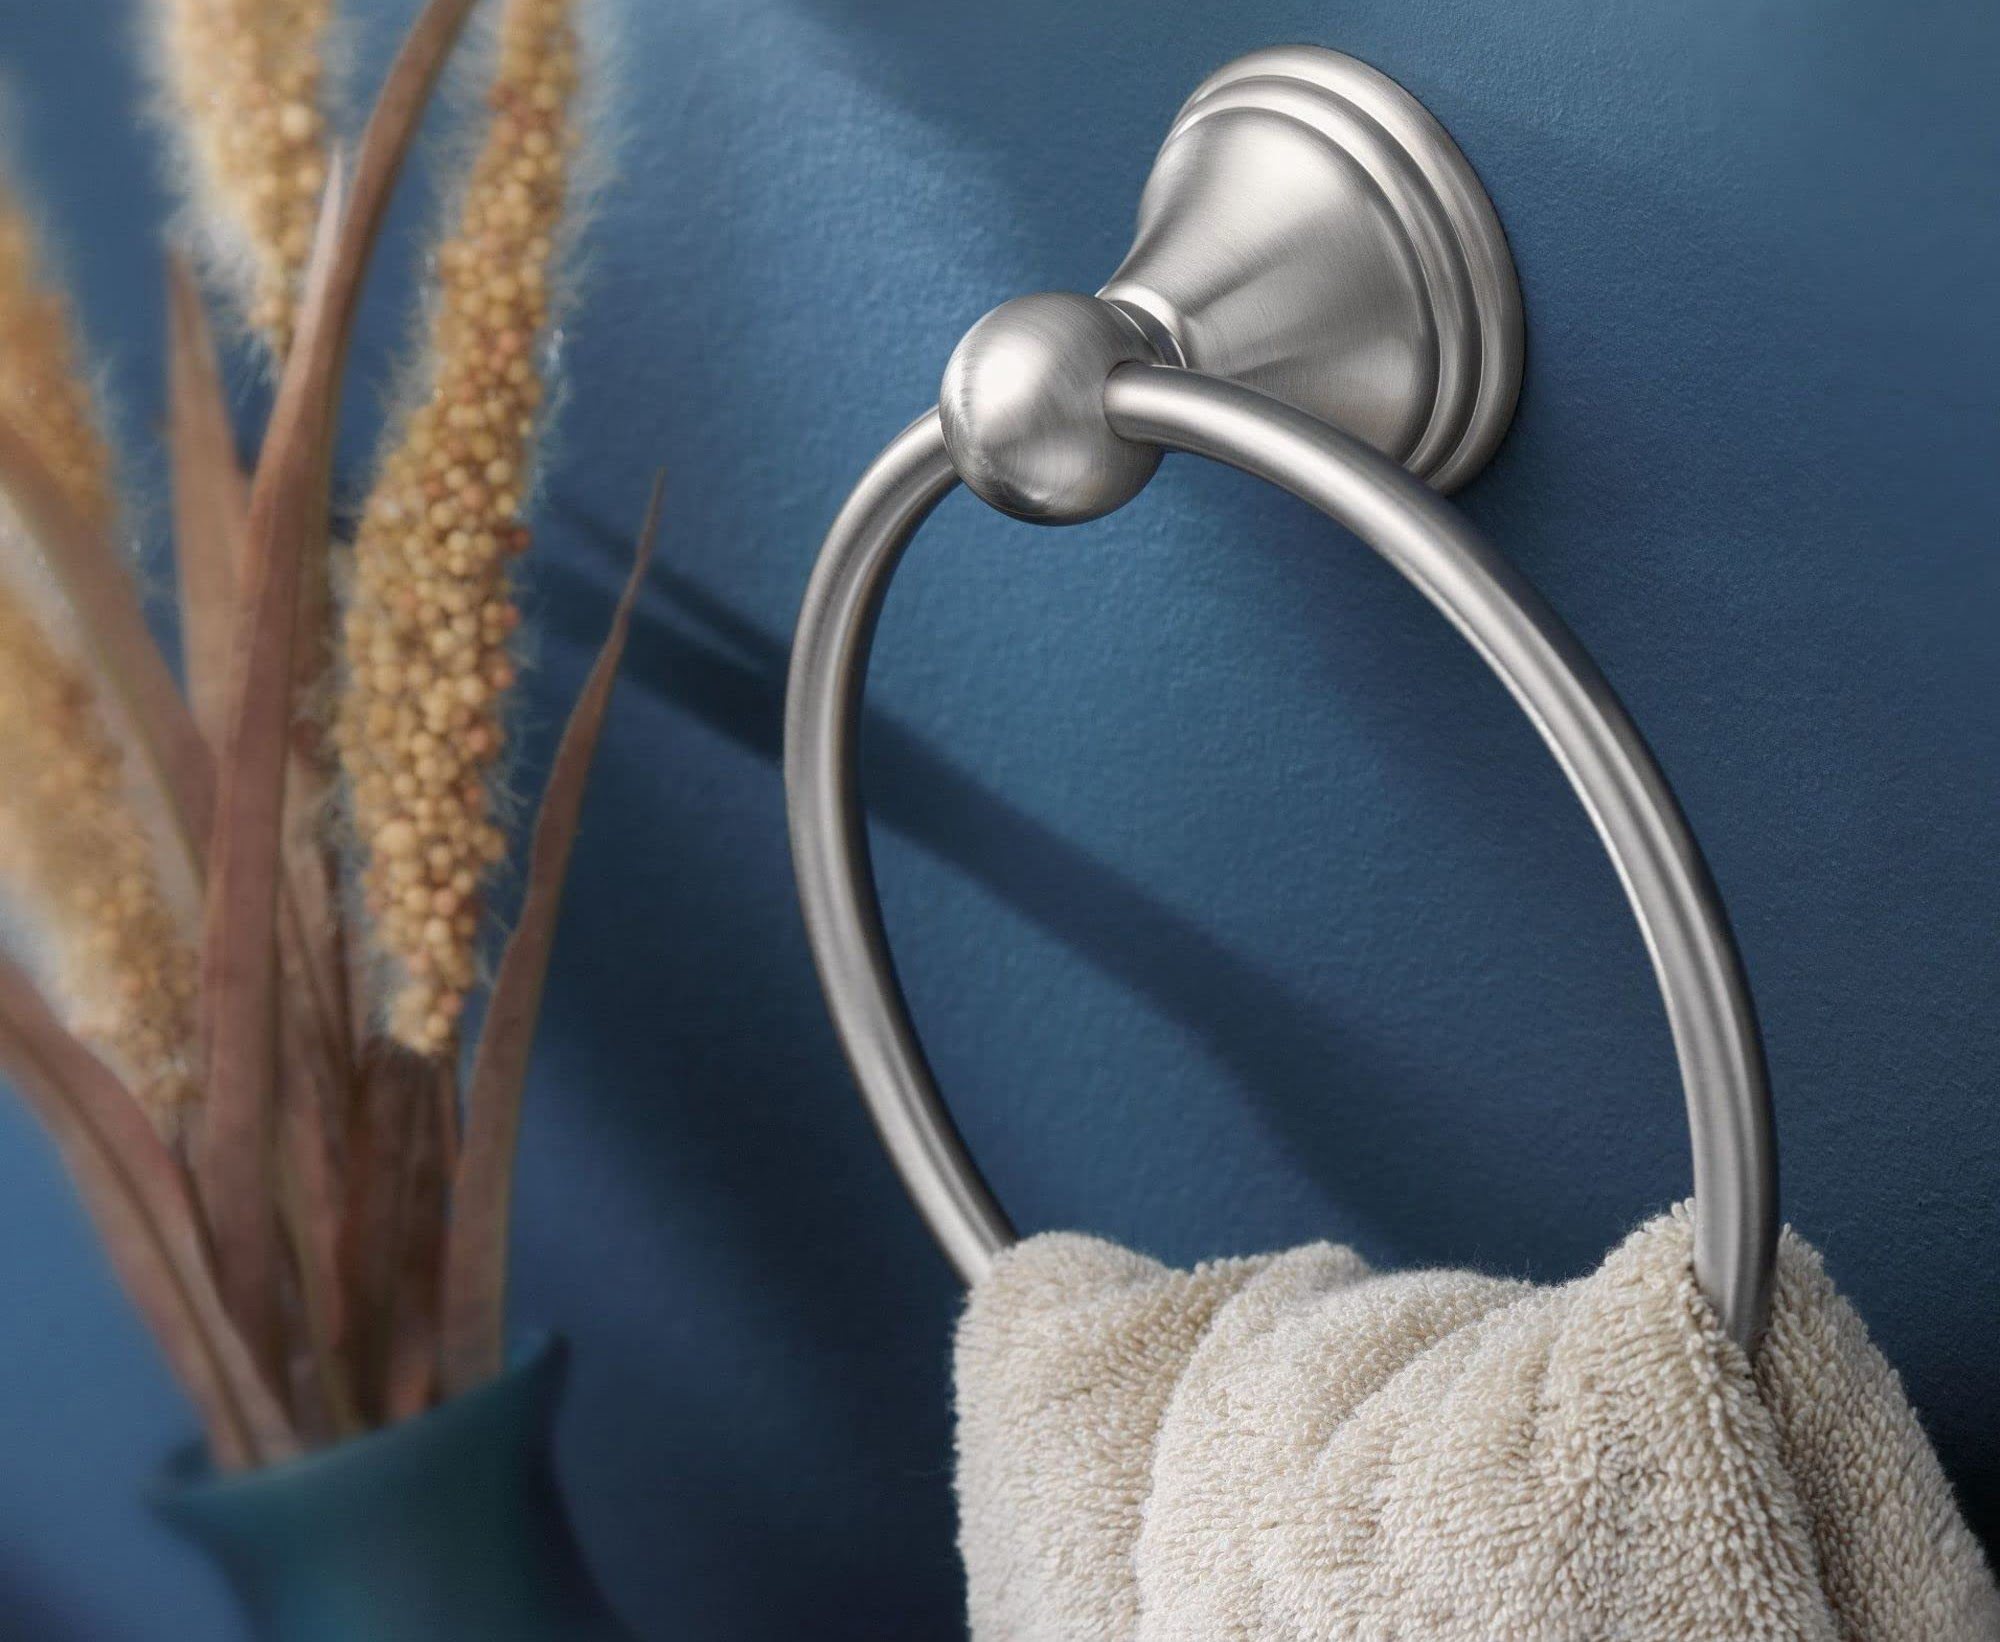
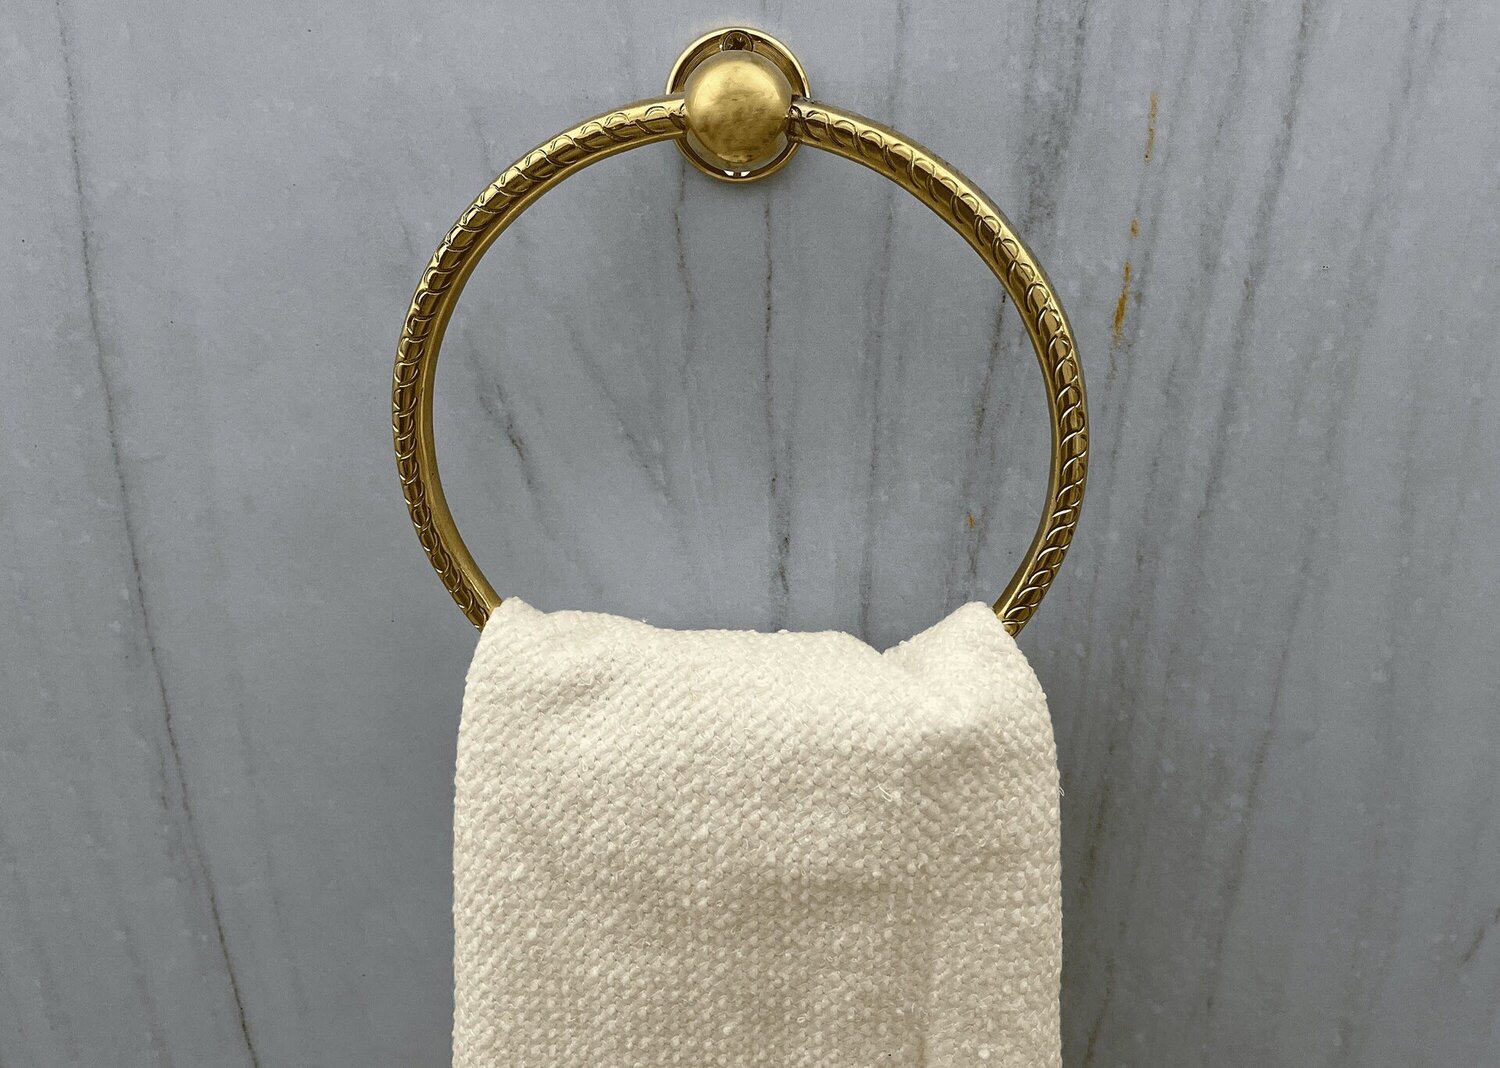
Installing a towel ring in your bathroom can be a simple and effective way to add functionality and style to your space. A towel ring provides a convenient place to hang your hand towels or washcloths, keeping them within easy reach. Whether you’re completing a bathroom remodel or simply updating the look of your existing bathroom, installing a towel ring is a project that can be tackled by DIY enthusiasts of all skill levels.
In this article, we will guide you through the step-by-step process of installing a chapter towel ring, from preparing the mounting surface to securing the towel ring in place. By following these instructions, you’ll be able to confidently install a towel ring that not only serves its purpose but also complements the overall aesthetics of your bathroom.
Key Takeaways:
- Ensure a professional installation by preparing the mounting surface, determining precise placement, and securing the towel ring with attention to detail and stability.
- Achieve both functionality and style by following the step-by-step process, testing for optimal performance, and enjoying the convenience and visual appeal of your newly installed towel ring.
Read more: How To Install Towel Ring On A Cabinet
Tools and Materials Needed
Before you begin the installation process, gather the following tools and materials to ensure a smooth and hassle-free experience:
- Drill
- Hammer
- Screwdriver
- Tape measure
- Pencil or marker
- Level
- Wall anchors (if not already included with the towel ring)
- Towel ring
- Mounting bracket
- Screws
- Optional: Stud finder (to locate wall studs for extra stability)
Make sure you have all these tools and materials ready before you proceed with the installation. This will save you time and allow you to complete the project without any interruptions.
Step 1: Prepare the Mounting Surface
Before you can install the towel ring, it’s important to prepare the mounting surface. Start by making sure the wall surface is clean and free from any dust or debris. Use a damp cloth or sponge to wipe down the area where you’ll be installing the towel ring.
Next, assess the material of your wall. If you have drywall, you’ll need to use wall anchors for extra support. If you have tile or a solid surface, you may need special drill bits to penetrate the material.
If you’re unsure about the wall’s composition, you can use a stud finder to locate wall studs. Mounting the towel ring onto a stud will provide the most secure and stable installation.
Once you’ve determined the location for the towel ring, use a tape measure and a pencil or marker to mark the spot where the mounting bracket will be placed. Double-check your measurements and ensure that they’re level before moving on to the next step.
Preparing the mounting surface is an important first step to ensure a successful and long-lasting installation. Taking the time to clean the wall and properly mark the placement will result in a professional-looking towel ring that stays securely in place.
Step 2: Determine the Placement
Now that you’ve prepared the mounting surface, it’s time to determine the placement of the towel ring. Consider the height at which you want the towel ring to be installed, keeping in mind the average height of the members of your household.
A general rule of thumb is to install the towel ring at a height that is convenient for everyone. Typically, it should be around 48 to 52 inches from the floor. This allows for easy access to the towels while also maintaining a visually pleasing aesthetic.
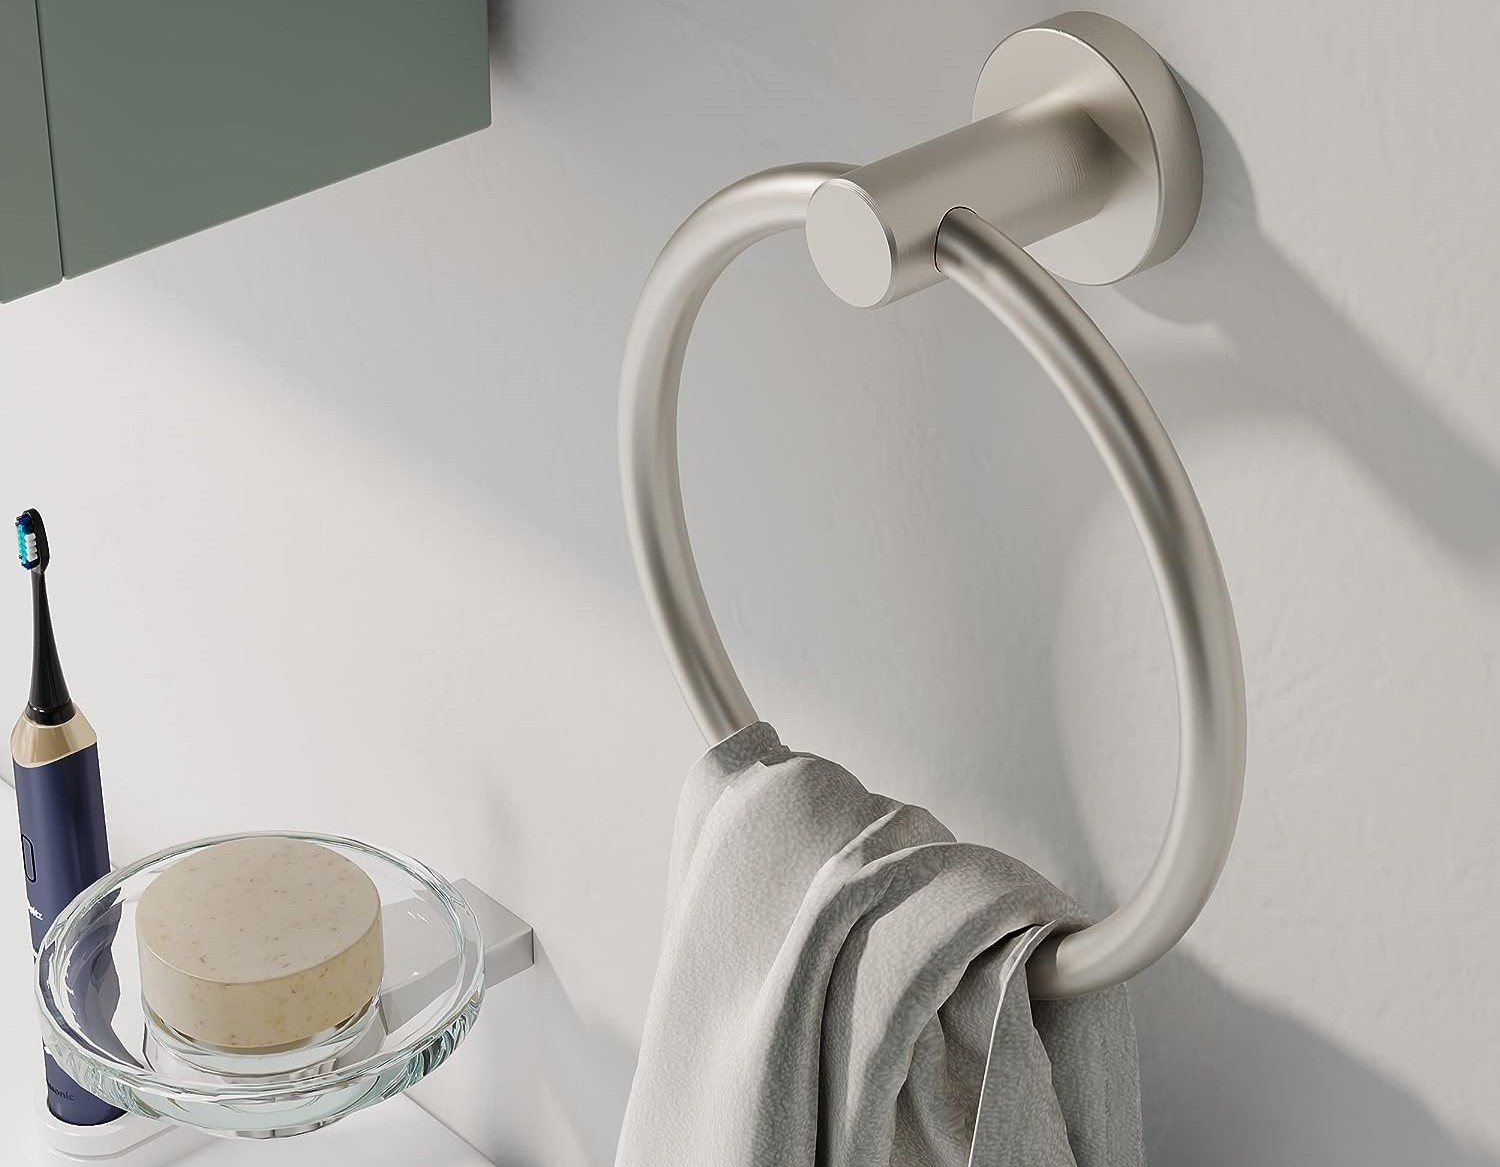
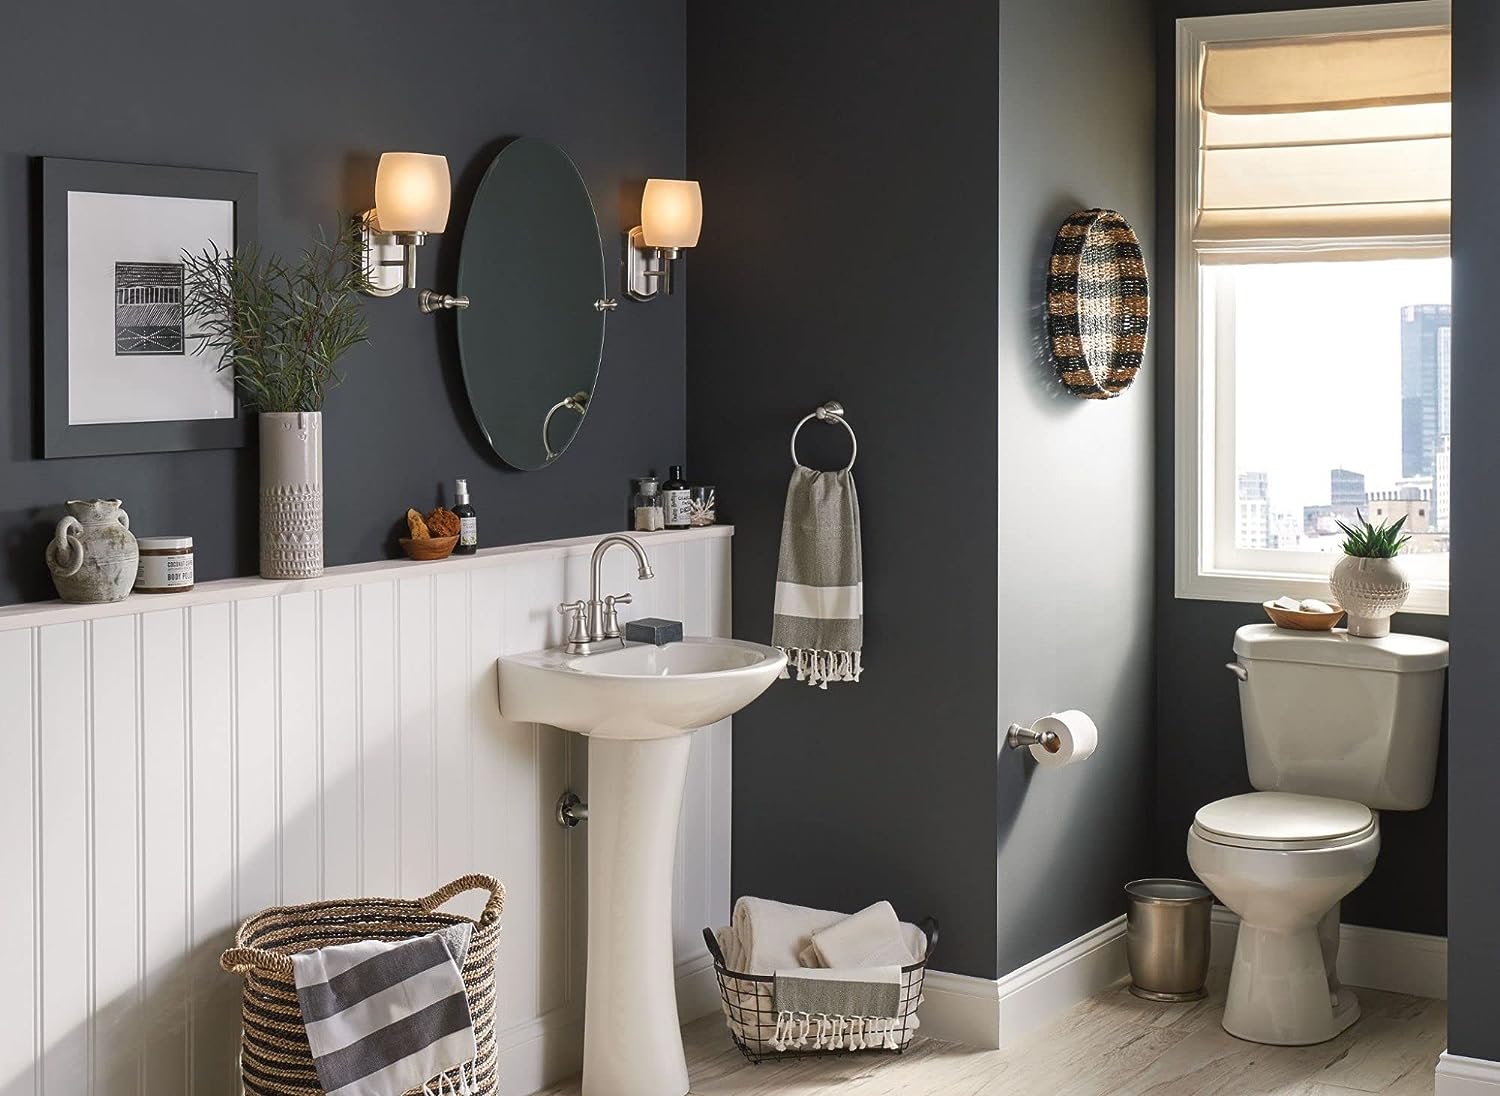
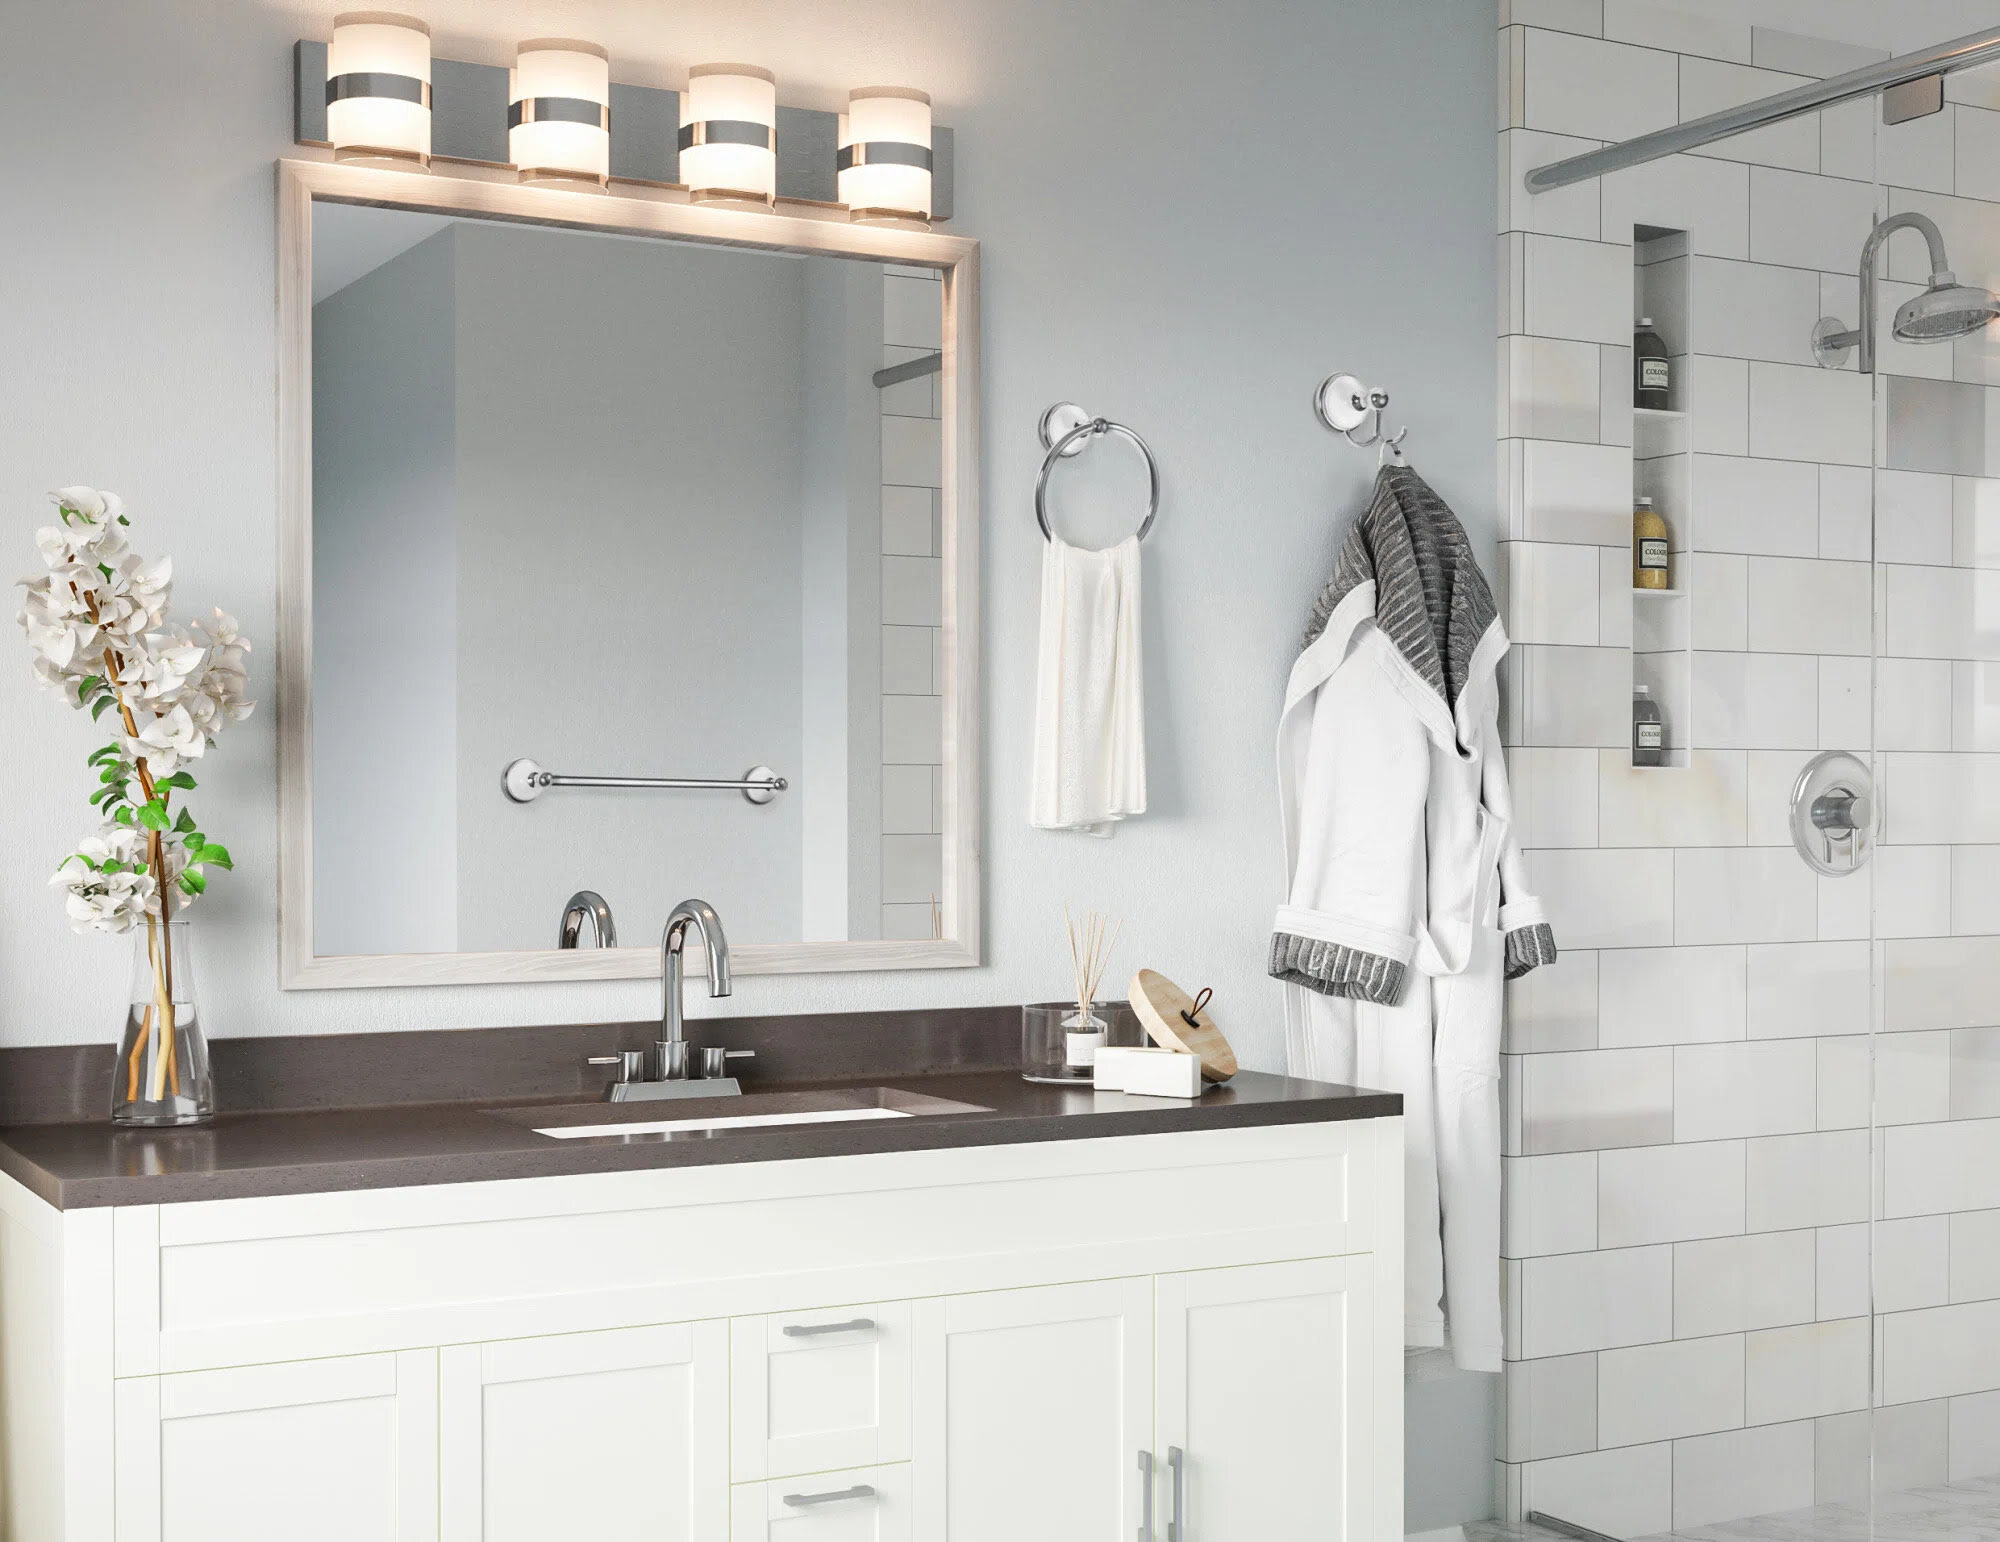
Additionally, consider the location in terms of functionality and accessibility. Place the towel ring near the sink or shower, where it will be easily reachable and convenient to hang towels after use.
If you’re installing multiple towel rings, make sure to space them evenly on the wall. Measure the distance between each towel ring and adjust accordingly to create a symmetrical and balanced look.
Take your time to carefully determine the placement of the towel ring, as it will greatly impact both the functionality and visual appeal of your bathroom. Once you’re satisfied with the positioning, proceed to the next step.
Step 3: Mark the Mounting Holes
With the placement of the towel ring determined, it’s time to mark the mounting holes on the wall. Take the mounting bracket and align it with the marks you made in Step 2.
Using a pencil or marker, trace the outline of the screw holes onto the wall. This will serve as a guide for drilling pilot holes in the next step.
Make sure to take precise measurements and ensure that the bracket is level before marking the holes. Using a level will help you achieve a straight and balanced installation.
If you are installing multiple towel rings, repeat this step for each bracket, making sure to space them evenly.
Take a step back and double-check your markings to ensure accuracy. Making sure the holes are properly aligned will make the installation process much smoother.
Once you’re confident in the placement and marking, proceed to the next step to drill pilot holes for the mounting screws.
Read more: How To Install A Towel Ring With A Set Screw
Step 4: Drill Pilot Holes
Now that you have marked the mounting holes on the wall, it’s time to drill pilot holes. Pilot holes are small, pre-drilled holes that will guide the screws into the wall, ensuring a secure and stable installation.
Using an appropriate size drill bit for the screws provided with the towel ring, carefully drill into the marked spots on the wall. Hold the drill perpendicular to the wall and apply gentle pressure. Take care not to drill too deep or at an angle, as this could affect the stability of the towel ring.
If you’re installing the towel ring onto drywall, it is crucial to use wall anchors for added support. In this case, drill the pilot holes slightly smaller than the size of the wall anchors. Insert the anchors into the holes and tap them gently with a hammer until they are flush with the wall surface.
If your wall is made of a harder material like tile or stone, you may need special drill bits designed for that material. Be sure to use appropriate safety precautions when drilling into these surfaces.
Once you have drilled the pilot holes, remove any dust or debris from the holes to ensure a clean and proper fit for the mounting bracket. With the pilot holes drilled, you are now ready to proceed to the next step.
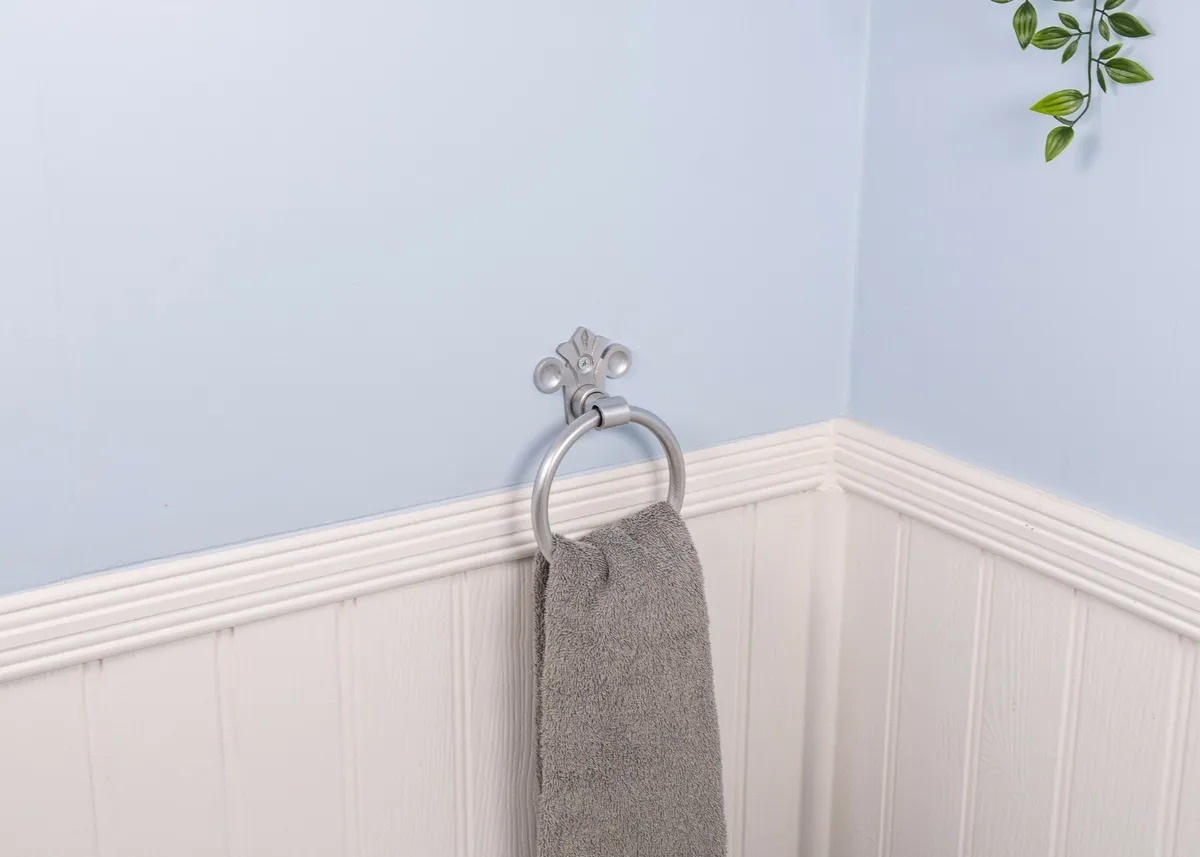
When installing a chapter towel ring, make sure to use a level to ensure it is straight. Use the provided hardware and follow the manufacturer’s instructions for a secure installation.
Step 5: Install Wall Anchors (if necessary)
If you’re installing the towel ring onto drywall or any other wall surface that cannot provide sufficient support on its own, you’ll need to install wall anchors. Wall anchors are small plastic or metal devices that help distribute the weight of the towel ring and provide a secure attachment point.
Start by selecting the appropriate size of wall anchors for the pilot holes you drilled in Step 4. The size of the wall anchors should match the size of the screws provided with the towel ring.
Insert the wall anchors into the pilot holes. You may need to tap them gently with a hammer until they are flush with the wall surface. Make sure the wall anchors are fully inserted and secure.
Once the wall anchors are in place, you can proceed to the next step, which is attaching the mounting bracket to the wall.
Note: If you’re installing the towel ring directly onto a stud, you do not need to install wall anchors. Simply align the mounting bracket with the pilot holes and proceed to the next step.
Installing wall anchors provides essential support and stability for the towel ring. Make sure they are properly installed before moving forward with the installation process.
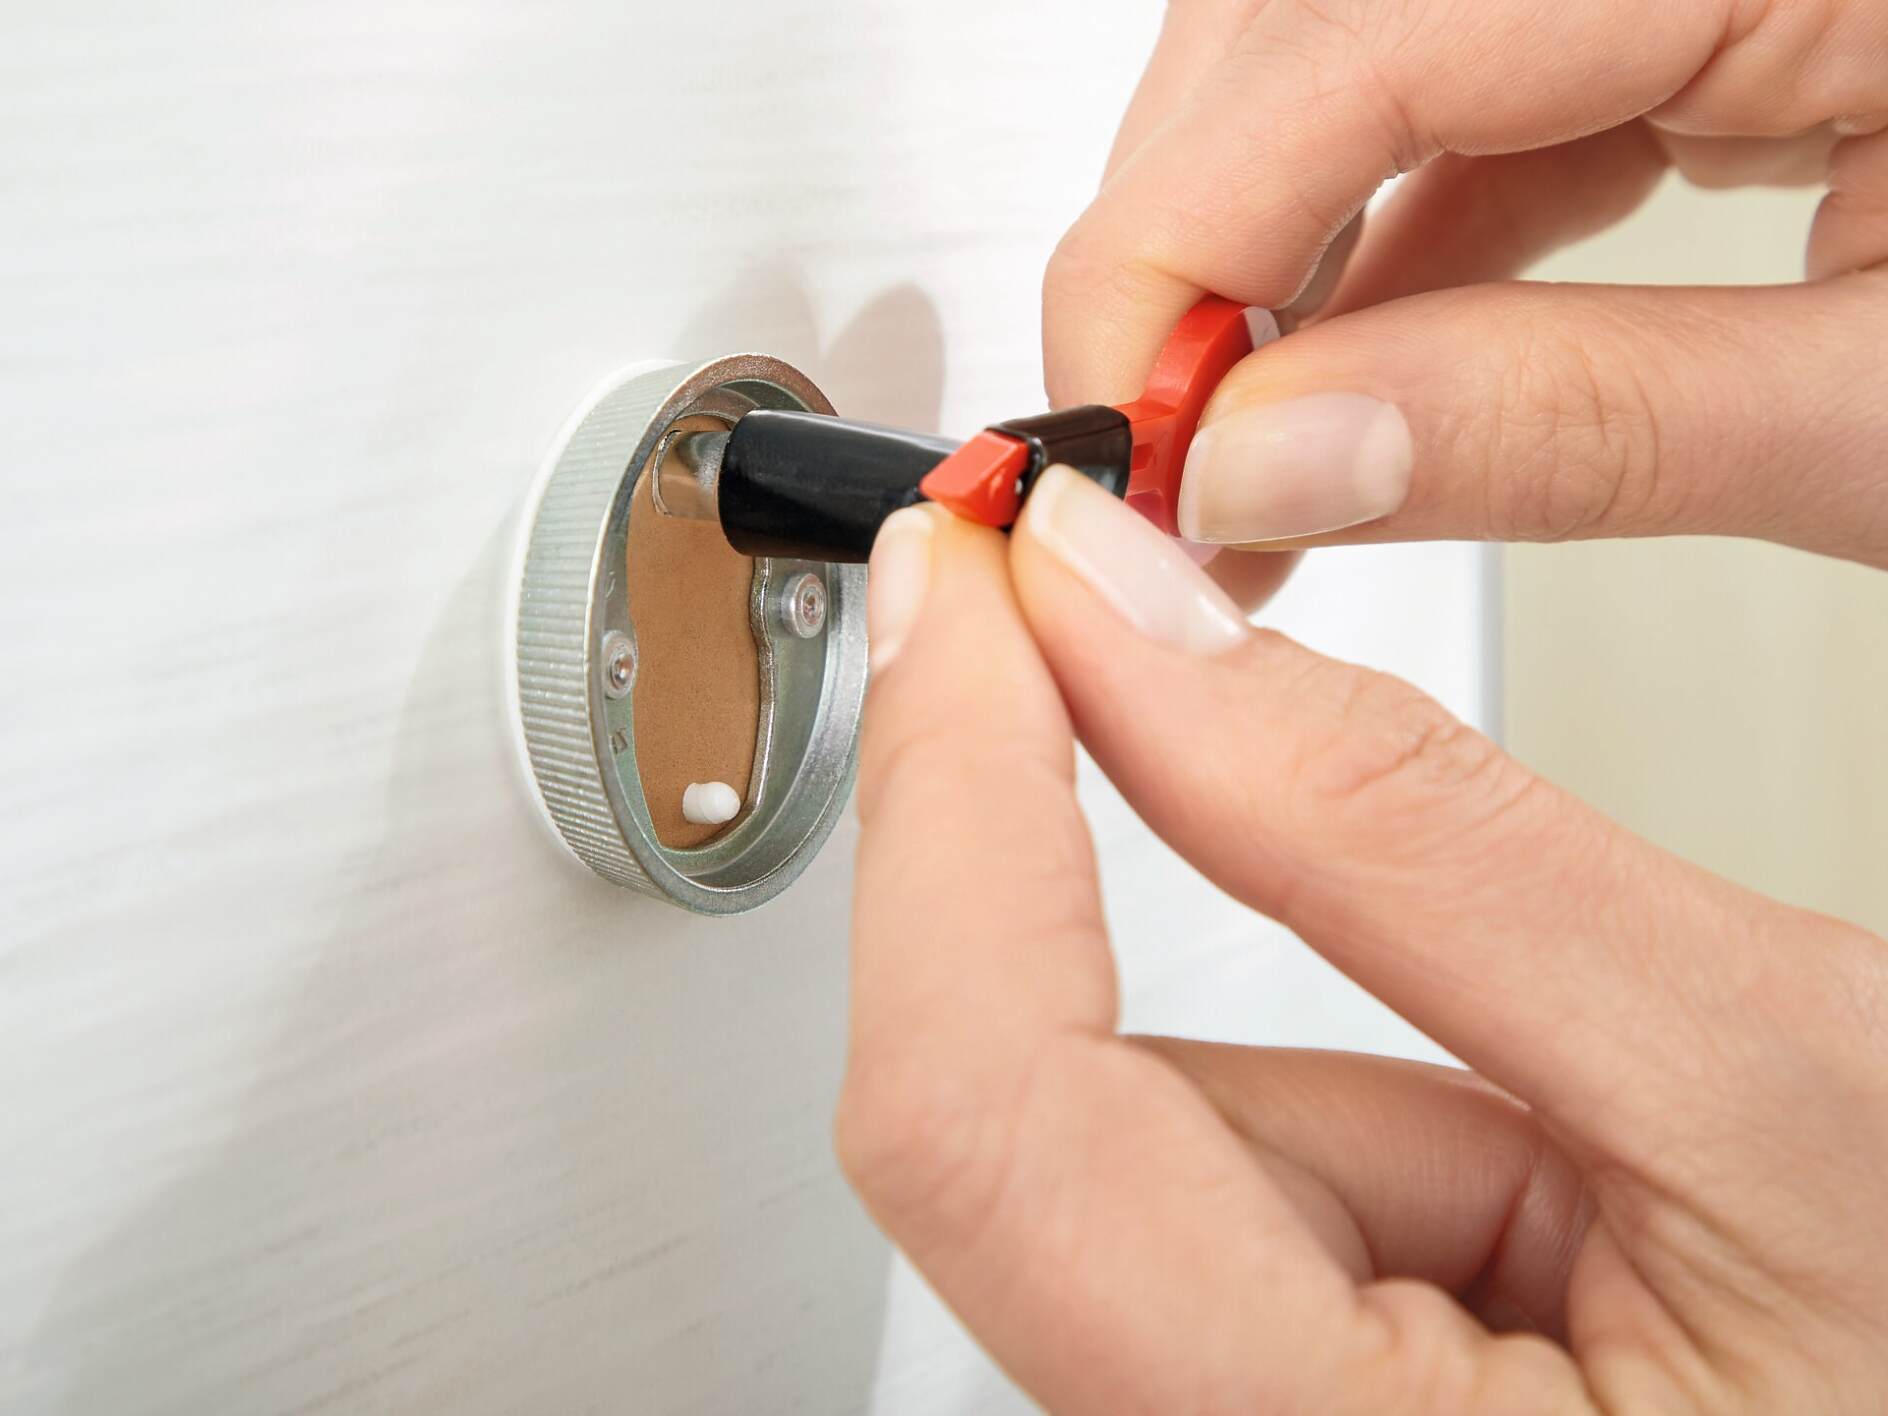
Step 6: Attach Mounting Bracket to the Wall
With the pilot holes drilled and the wall anchors (if necessary) in place, it’s time to attach the mounting bracket to the wall. The mounting bracket is the piece that will hold the towel ring in place.
Align the holes on the mounting bracket with the pilot holes or wall anchors on the wall. Insert the screws provided with the towel ring into the holes of the bracket and into the wall. Use a screwdriver or drill to tighten the screws, but be careful not to overtighten them, as this can damage the bracket or wall.
Make sure the mounting bracket is securely fastened to the wall, ensuring that it is level by using a spirit level. Double-check the alignment and stability of the bracket before proceeding.
If you’re installing multiple towel rings, repeat this step for each mounting bracket, ensuring that they are all level and securely attached to the wall.
Attaching the mounting bracket is an important step as it provides the foundation for the towel ring. Take your time to ensure that the bracket is level and securely fastened to guarantee a sturdy and aesthetically pleasing installation.
Step 7: Install Towel Ring onto the Mounting Bracket
Now that the mounting bracket is securely attached to the wall, it’s time to install the towel ring itself. This is the step where you will see your installation coming together.
Take the towel ring and align it with the mounting bracket. The towel ring should have openings or slots on the back that correspond to the screws or hooks on the mounting bracket.
Carefully slide the towel ring onto the mounting bracket, ensuring that it is properly seated and aligned. Make sure the towel ring rests securely against the wall and is level. You may need to adjust the position slightly to achieve the desired appearance.
Once the towel ring is in place, give it a gentle tug to ensure that it is securely attached to the mounting bracket. It should feel stable and not wobble or move excessively.
If your towel ring has decorative covers or caps that conceal the screws or mounting hardware, follow the manufacturer’s instructions to install them at this point.
With the towel ring installed, take a step back and admire your work. Ensure that it is positioned at a height and location that is convenient and visually pleasing.
Congratulations! You have successfully installed the towel ring onto the mounting bracket. Now it’s time to move on to the final steps to secure the towel ring in place.
Read more: How To Install Franklin Brass Towel Ring
Step 8: Secure the Towel Ring
After installing the towel ring onto the mounting bracket, it’s important to secure it in place to ensure stability and prevent any accidents or damage. In this step, we will go over the process of securing the towel ring securely.
First, check the back of the towel ring for any screws or tightening mechanisms. These are usually located at the base of the ring or behind any decorative covers. If there are screws, use a screwdriver or Allen wrench to tighten them until the towel ring is snug against the mounting bracket.
Ensure that the towel ring is level and aligned with the wall. Use a spirit level to double-check the position before tightening the screws.
If your towel ring has a spring-loaded or pivoting mechanism, test it by gently pulling or swinging the ring. Make sure it moves smoothly and securely without any wobbling or sticking. If necessary, adjust the tension or positioning to ensure a smooth operation.
Double-check all the screws and fittings on the towel ring to ensure they are tightened properly. Loose screws can lead to instability and may cause the towel ring to detach from the wall over time.
Additionally, give the towel ring a gentle shake to ensure it is securely attached to the mounting bracket. It should feel solid and not exhibit any excessive movement or wobbling.
By securing the towel ring properly, you’ll have peace of mind knowing that it is firmly attached to the wall and can withstand regular use without any issues.
Step 9: Test and Make Adjustments (if needed)
Once the towel ring is securely installed, it’s essential to test its functionality and make any necessary adjustments to ensure optimal performance. This step will ensure that the towel ring meets your needs and complements the overall design of your bathroom.
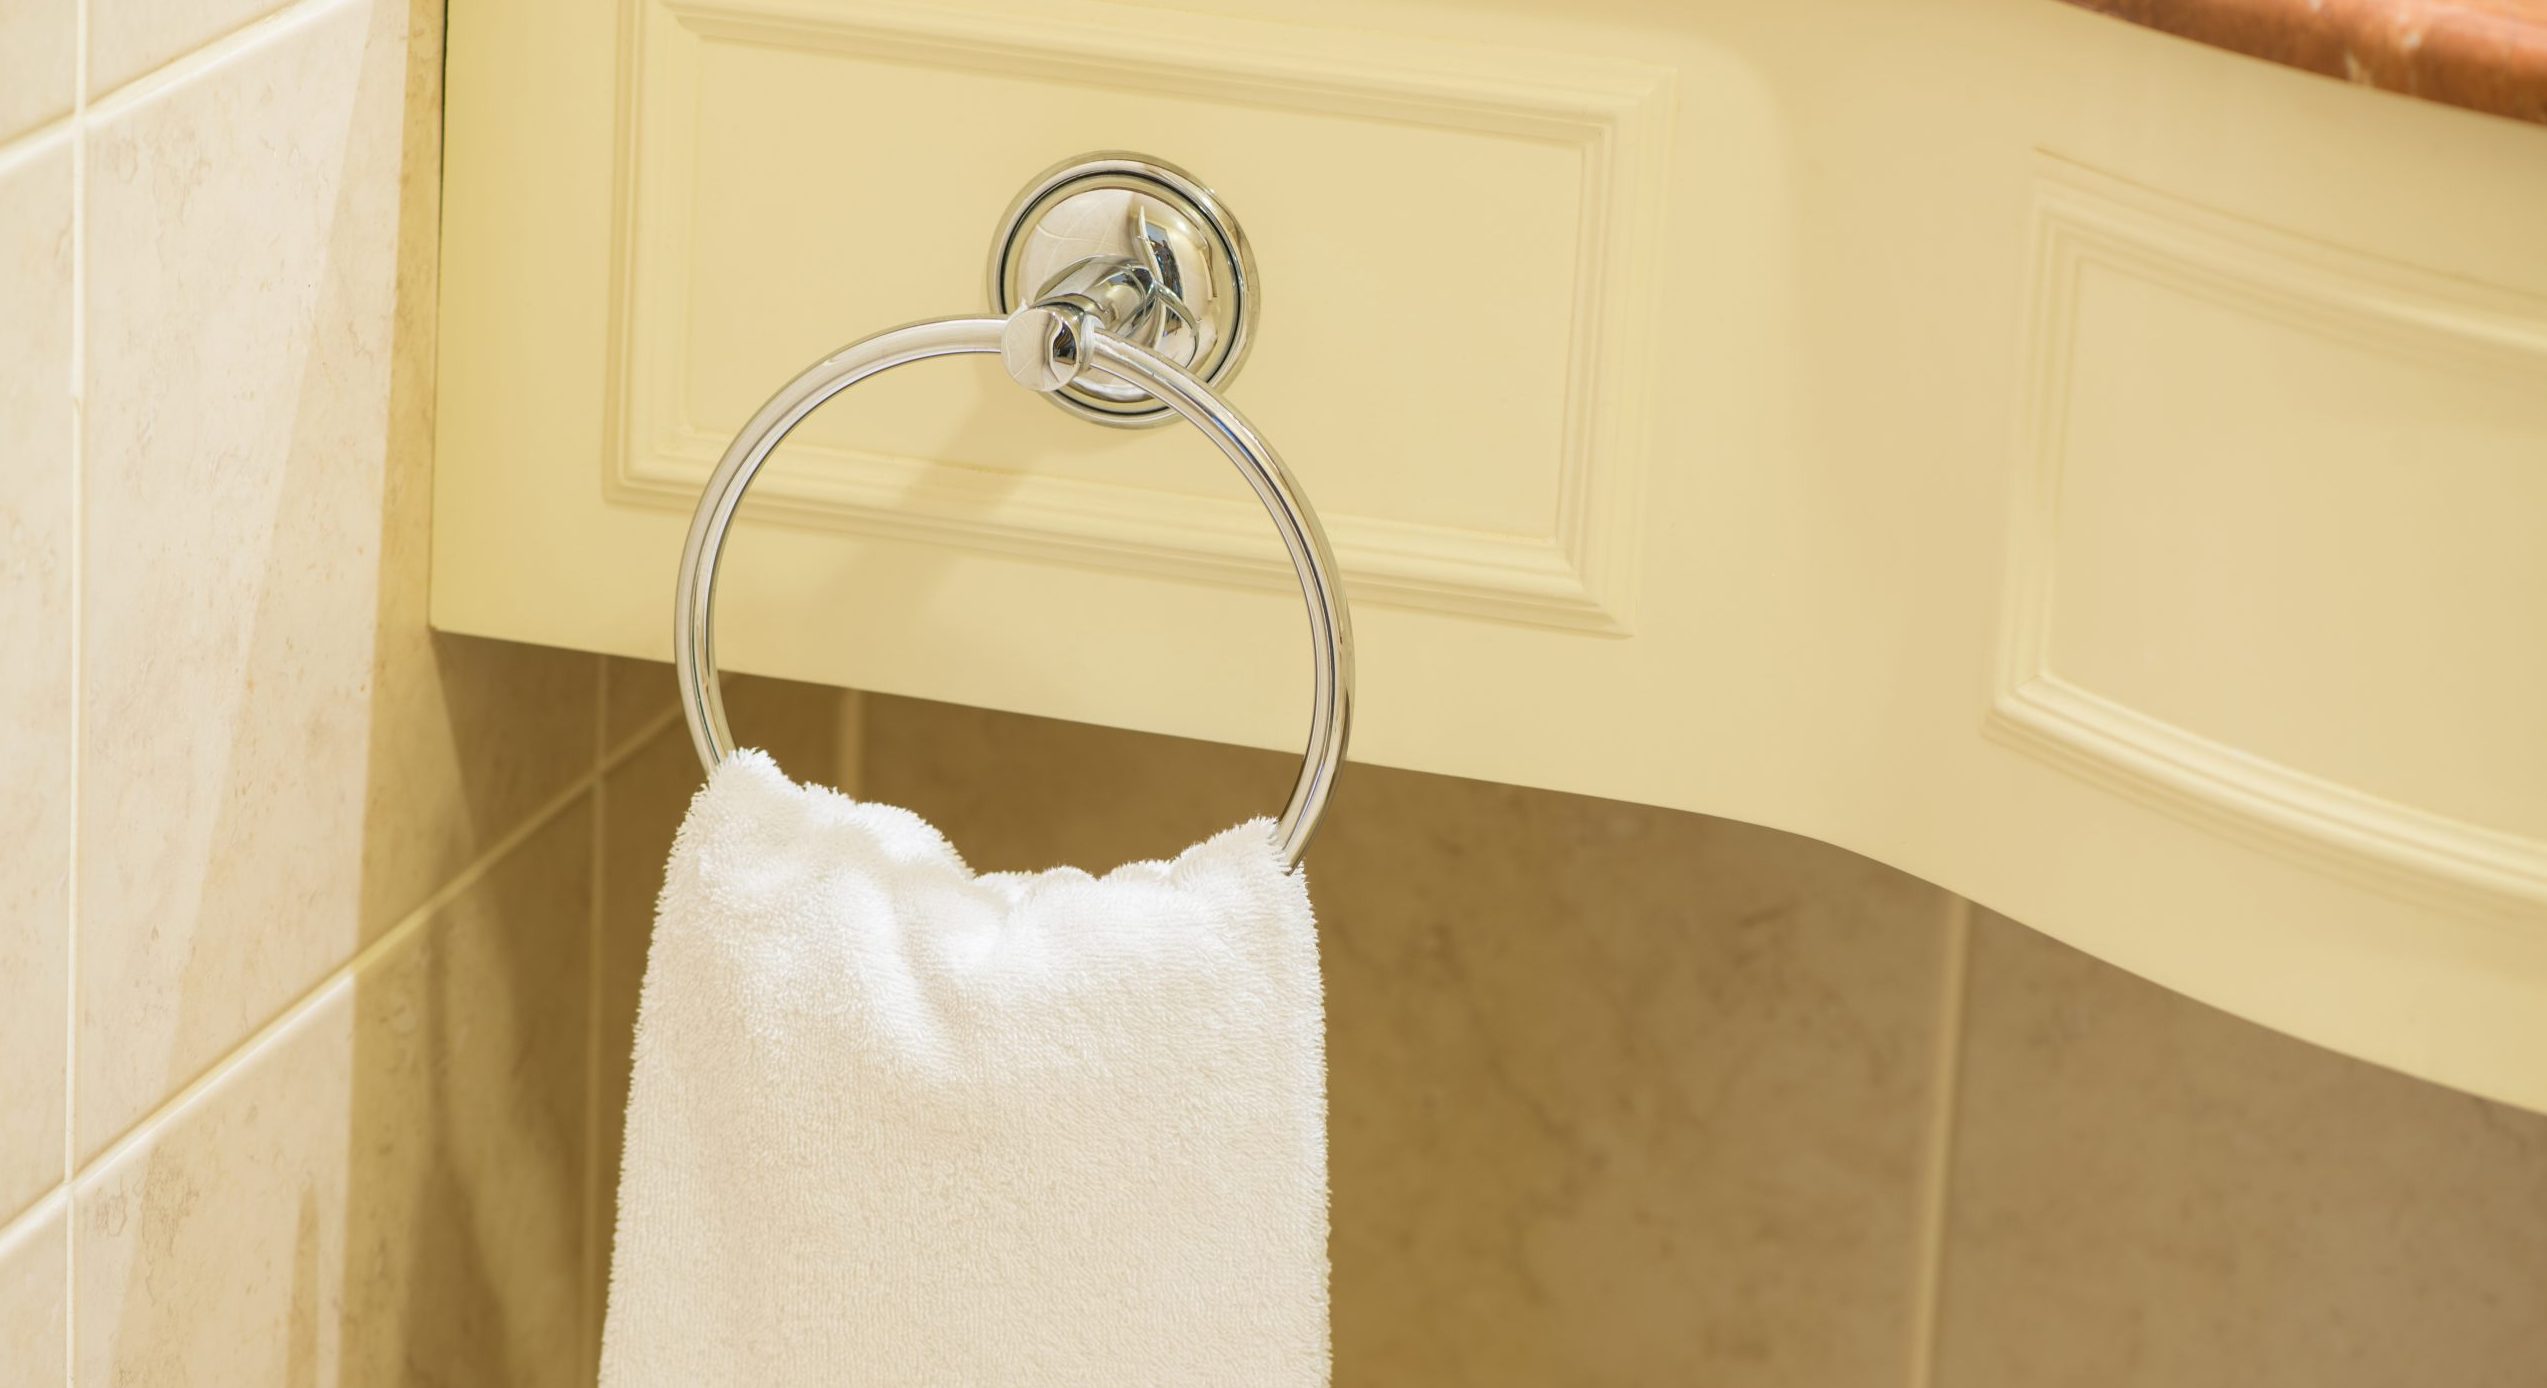
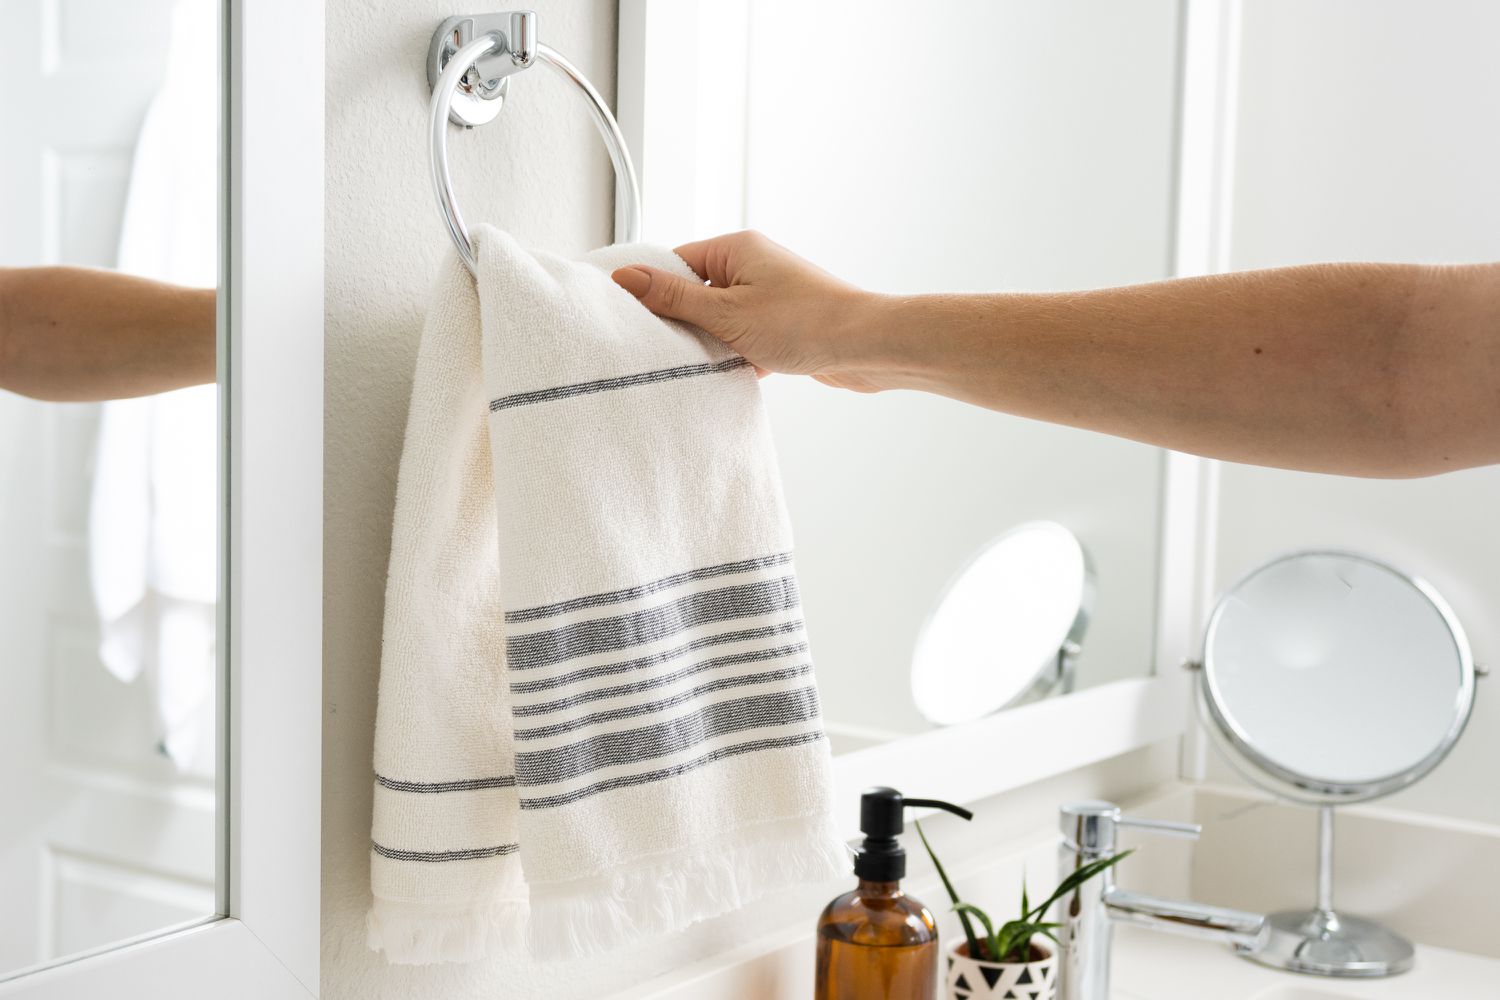
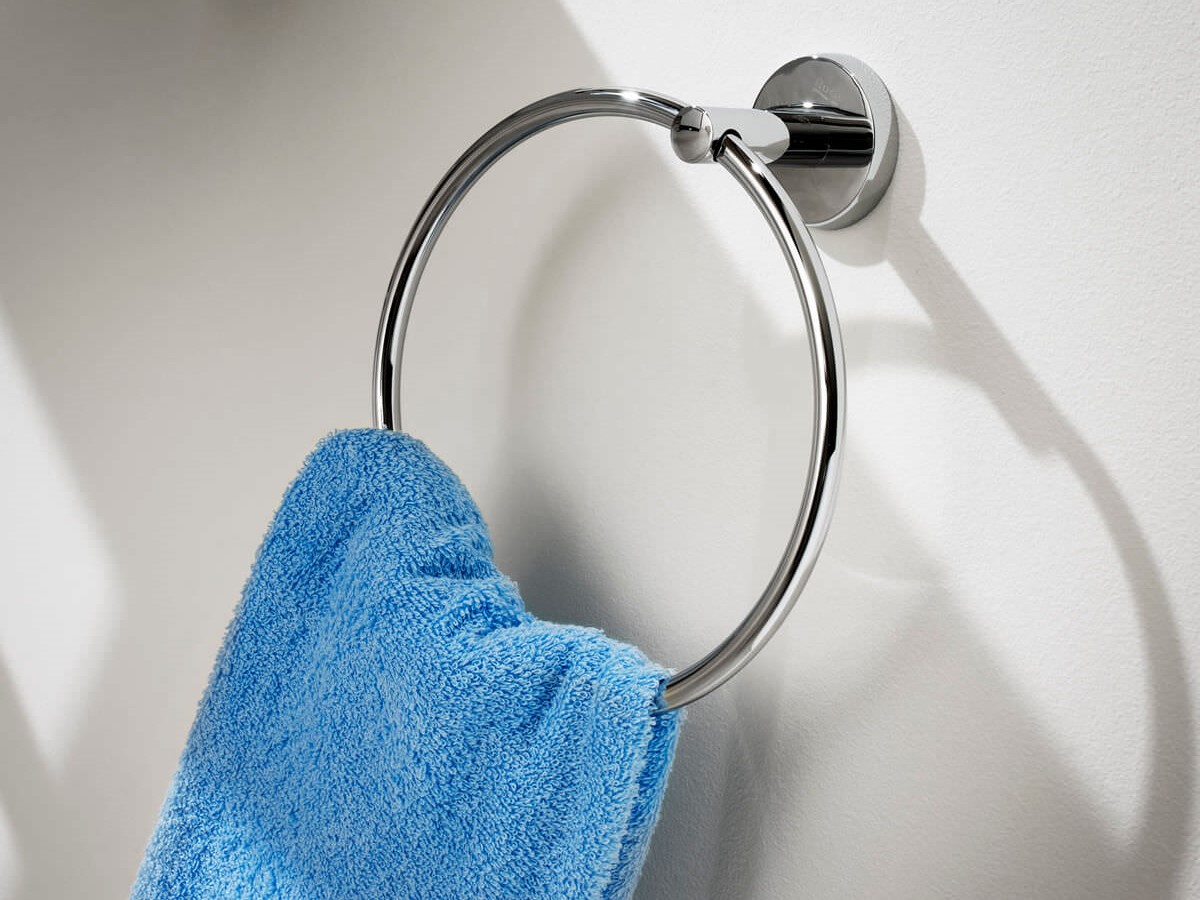
First, test the towel ring by hanging a towel or washcloth on it. Ensure that the towel hangs properly and comfortably, without sliding off or feeling unstable.
Take note of the positioning of the towel ring and adjust if needed. You may find that raising or lowering the towel ring slightly provides better functionality and convenience.
Step back and assess the aesthetic appeal of the towel ring. Check if it complements the overall style and design of your bathroom. If not, consider making adjustments, such as changing the position or even choosing a different style of towel ring altogether.
Pay attention to any gaps or uneven gaps between the towel ring and the wall. If necessary, adjust the position or tighten the screws to eliminate any gaps and ensure a seamless and secure installation.
Lastly, test the towel ring by applying moderate pressure to ensure that it can withstand the weight of a towel without slipping or coming loose. If there are any issues, make the necessary adjustments to enhance the stability of the towel ring.
By taking the time to test and make adjustments, you’ll ensure that the towel ring meets your expectations in terms of both functionality and aesthetics. It’s important to be satisfied with the final result before completing the installation process.
Conclusion
Congratulations! You have successfully installed a towel ring in your bathroom. By following the step-by-step instructions outlined in this article, you have added both functionality and style to your space.
Remember, proper preparation and careful execution are key to achieving a professional-looking installation. Take the time to clean the mounting surface, accurately mark the placement, and drill pilot holes with precision. Installing wall anchors when necessary ensures a secure attachment to the wall, providing additional stability.
By attaching the mounting bracket securely to the wall and properly aligning the towel ring, you have created a sturdy base for the towel ring. Through the tightening of screws, securing of hardware, and testing of functionality, you have ensured that your towel ring will withstand regular use and stay securely in place.
Take a moment to admire your handiwork and appreciate the improved functionality and visual appeal your new towel ring brings to your bathroom. Enjoy the convenience of easily accessible towels and the added style that completes the overall aesthetic of the space.
As you use the towel ring, periodically check for any loosening or adjustments that may be needed. Regular maintenance will keep your towel ring in top-notch condition for years to come.
Thank you for following along with this installation guide. We hope it has been helpful in achieving a successful towel ring installation. Now, go ahead and enjoy the convenience and style of your newly installed towel ring!
Frequently Asked Questions about How To Install Chapter Towel Ring
Was this page helpful?
At Storables.com, we guarantee accurate and reliable information. Our content, validated by Expert Board Contributors, is crafted following stringent Editorial Policies. We're committed to providing you with well-researched, expert-backed insights for all your informational needs.
0 thoughts on “How To Install Chapter Towel Ring”