Articles
How To Remove Savannah Towel Ring
Modified: August 26, 2024
Learn how to easily remove a towel ring in Savannah. Our step-by-step guide provides detailed instructions and helpful tips. Upgrade your bathroom with new articles today!
(Many of the links in this article redirect to a specific reviewed product. Your purchase of these products through affiliate links helps to generate commission for Storables.com, at no extra cost. Learn more)
Introduction
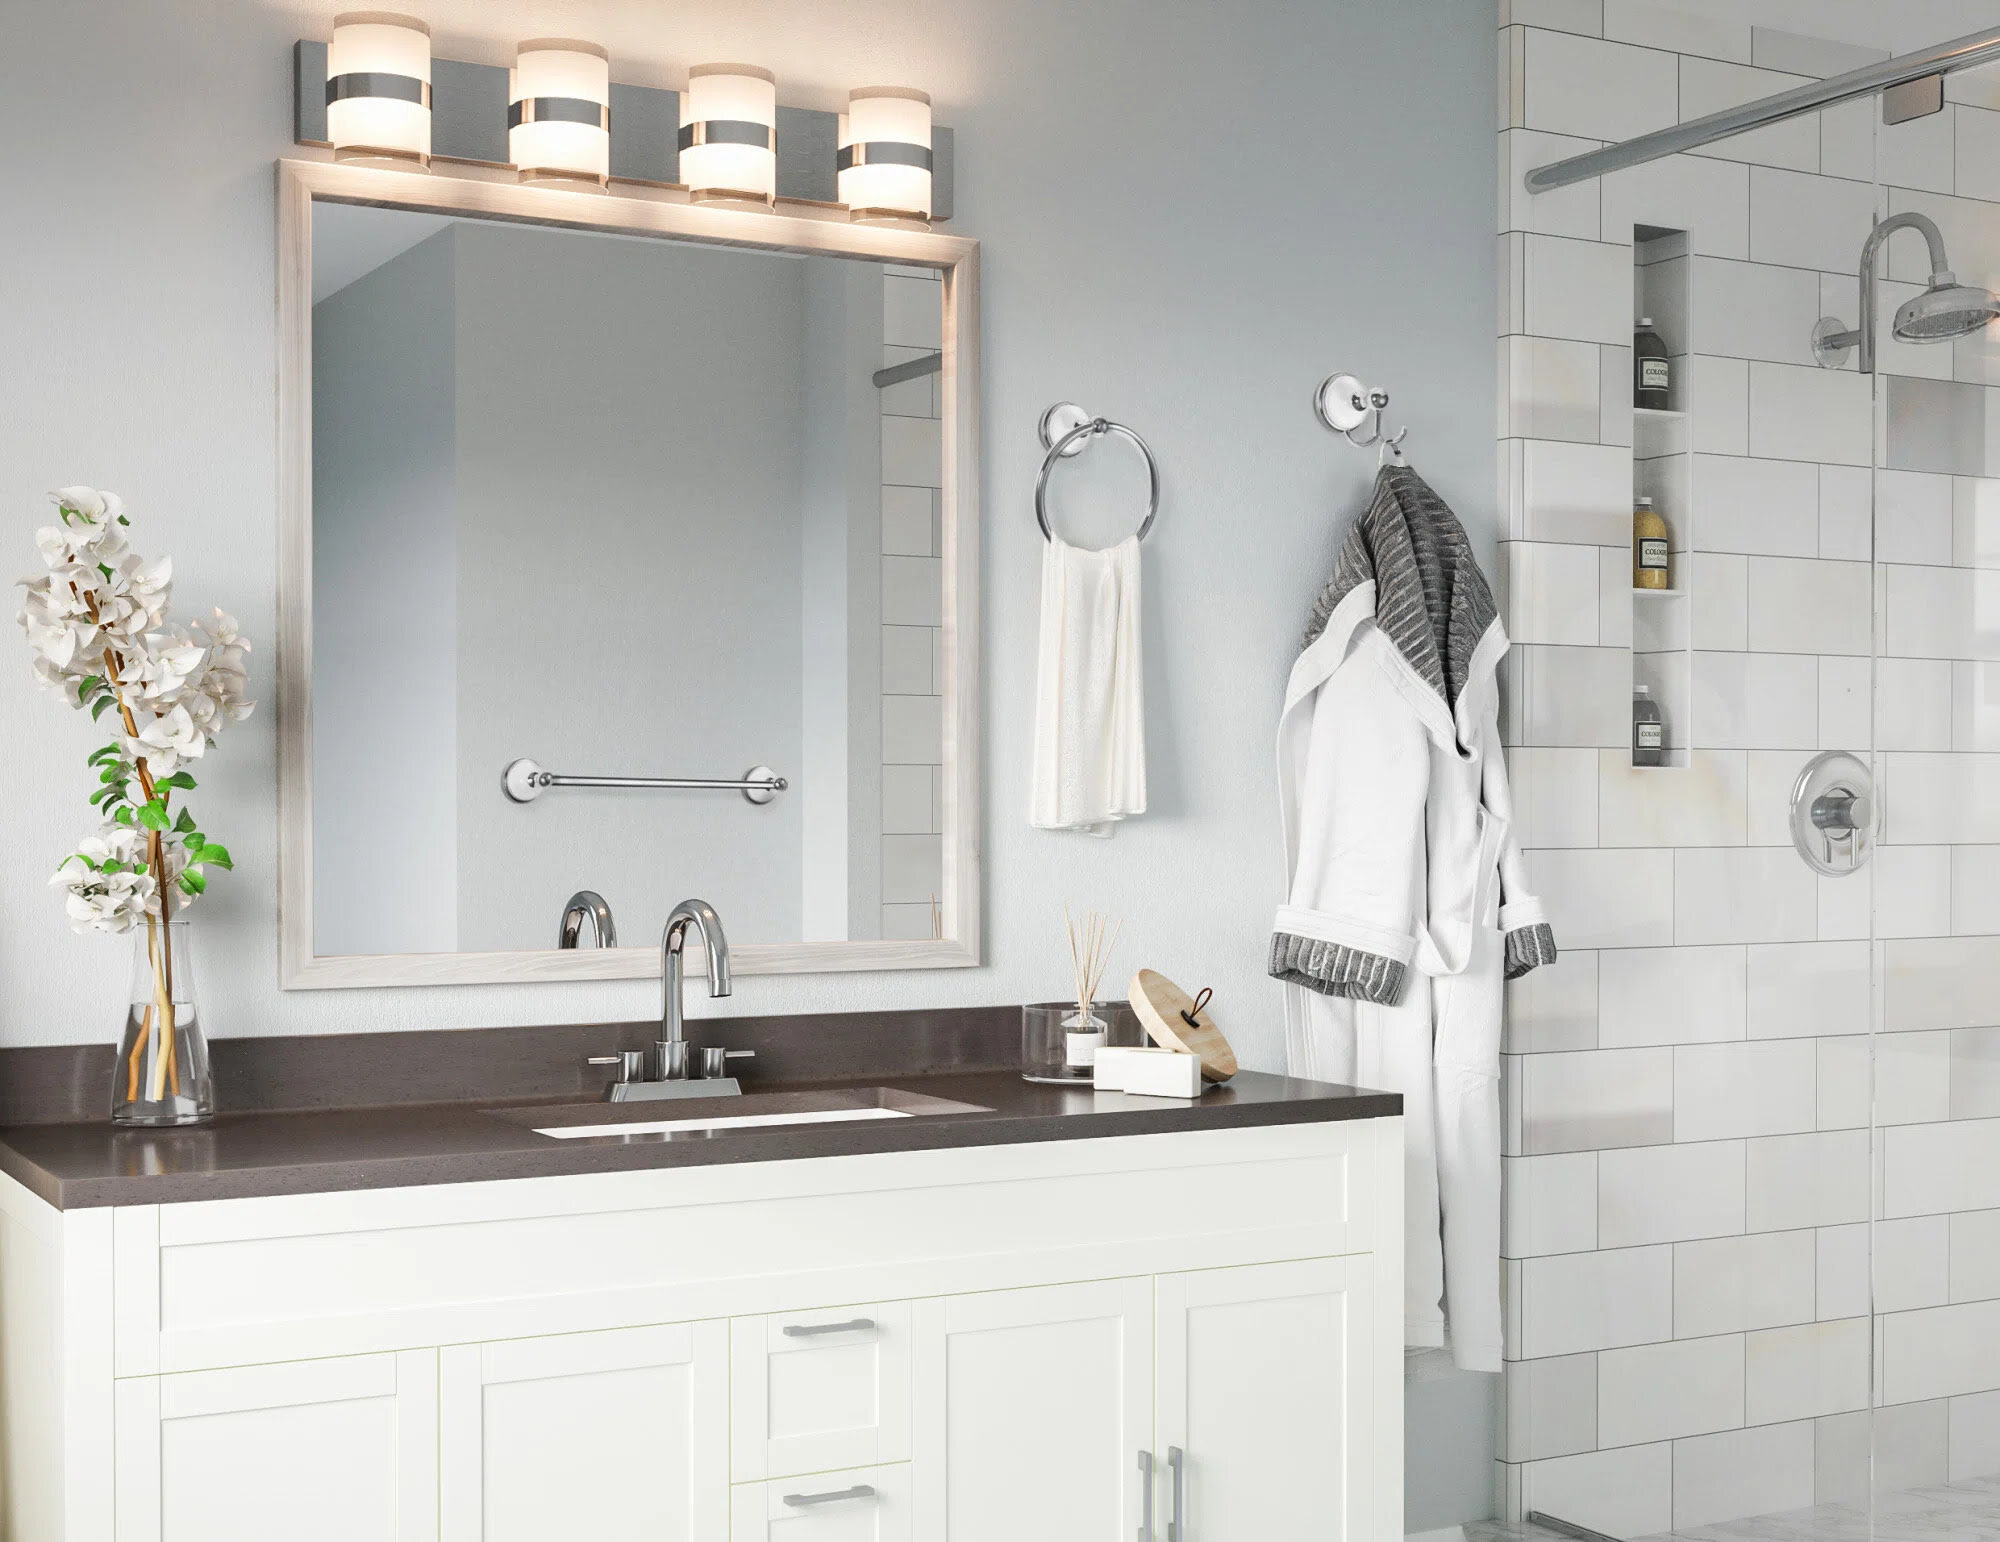
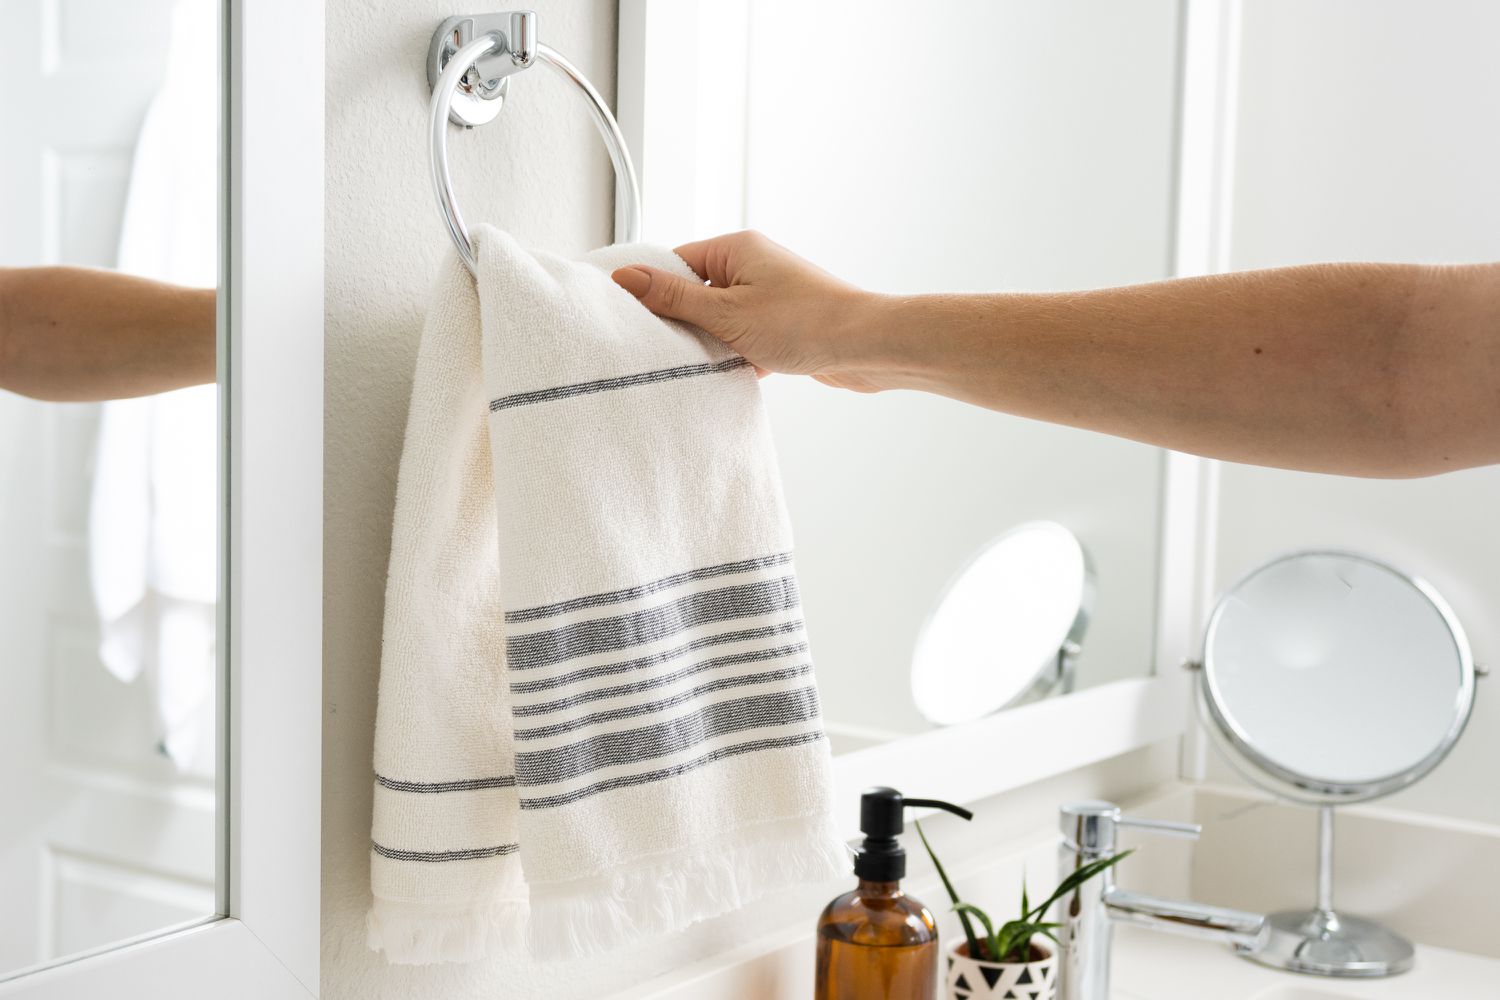
Are you tired of looking at that outdated towel ring hanging in your bathroom? Perhaps the style no longer matches your décor, or it’s simply time for an upgrade. Whatever the reason may be, removing a towel ring and replacing it with a new one is a relatively simple task that can make a big difference in the overall look and functionality of your bathroom.
In this article, we will guide you through the step-by-step process of safely and effectively removing a towel ring in your Savannah bathroom. By following our instructions and using the right tools and techniques, you’ll have your old towel ring removed in no time. So, let’s get started!
Key Takeaways:
- Upgrade your bathroom effortlessly by following these simple steps to remove and replace an outdated towel ring in Savannah. Enjoy a refreshed look and improved functionality with a new towel ring installation.
- Ensure a secure and stable towel ring installation by conducting thorough stability tests. Follow the step-by-step guide for a hassle-free process and enjoy the convenience and style of your newly installed towel ring.
Read more: How To Remove Towel Ring Without Set Screw
Step 1: Gather the necessary tools and materials
Before you begin the process of removing the towel ring, it’s important to gather all the necessary tools and materials. This will ensure that you have everything you need within reach and will save you time and frustration during the project.
Here is a list of tools and materials you will need:
- Screwdriver (flathead or Phillips, depending on the screws used)
- Pliers
- Putty knife or scraper
- Wall patch kit
- Spackle or joint compound
- Sandpaper (medium and fine grit)
- Paint or wallpaper to match the wall (if necessary)
Make sure you have all these items handy before you proceed with the next steps. Additionally, wearing safety goggles and gloves is recommended to protect yourself during the removal process.
By gathering these tools and materials beforehand, you’ll be prepared for any unforeseen challenges that may arise and be able to complete the task without interruptions.
Step 2: Turn off the water supply
Once you have gathered all the necessary tools and materials, the next step is to turn off the water supply to the towel ring. This is a crucial step to avoid any water leakage or damage during the removal process.
The water supply valves for the towel ring are usually located behind the wall or under the sink. You may need to consult your plumbing plan or seek professional assistance if you are unsure about the location of the valves.
To turn off the water supply, locate the valves and turn them clockwise until they are fully closed. This will shut off the water flow to the towel ring, ensuring that you can safely remove it without any water running through the pipes.
It’s important to double-check that the water supply is indeed turned off by testing the faucet or any other fixtures connected to the same water line. If there is no water flow, then you can proceed with confidence.
Remember to inform other household members about the temporary water shut-off to avoid any inconvenience. It’s also a good idea to have a towel or bucket handy in case there is any residual water in the pipes that needs to be drained.
By turning off the water supply, you are taking a proactive step to prevent any potential water damage or accidents during the towel ring removal process. Now that the water is shut off, you can move on to the next step with peace of mind.
Step 3: Unscrew the towel ring mounting bracket
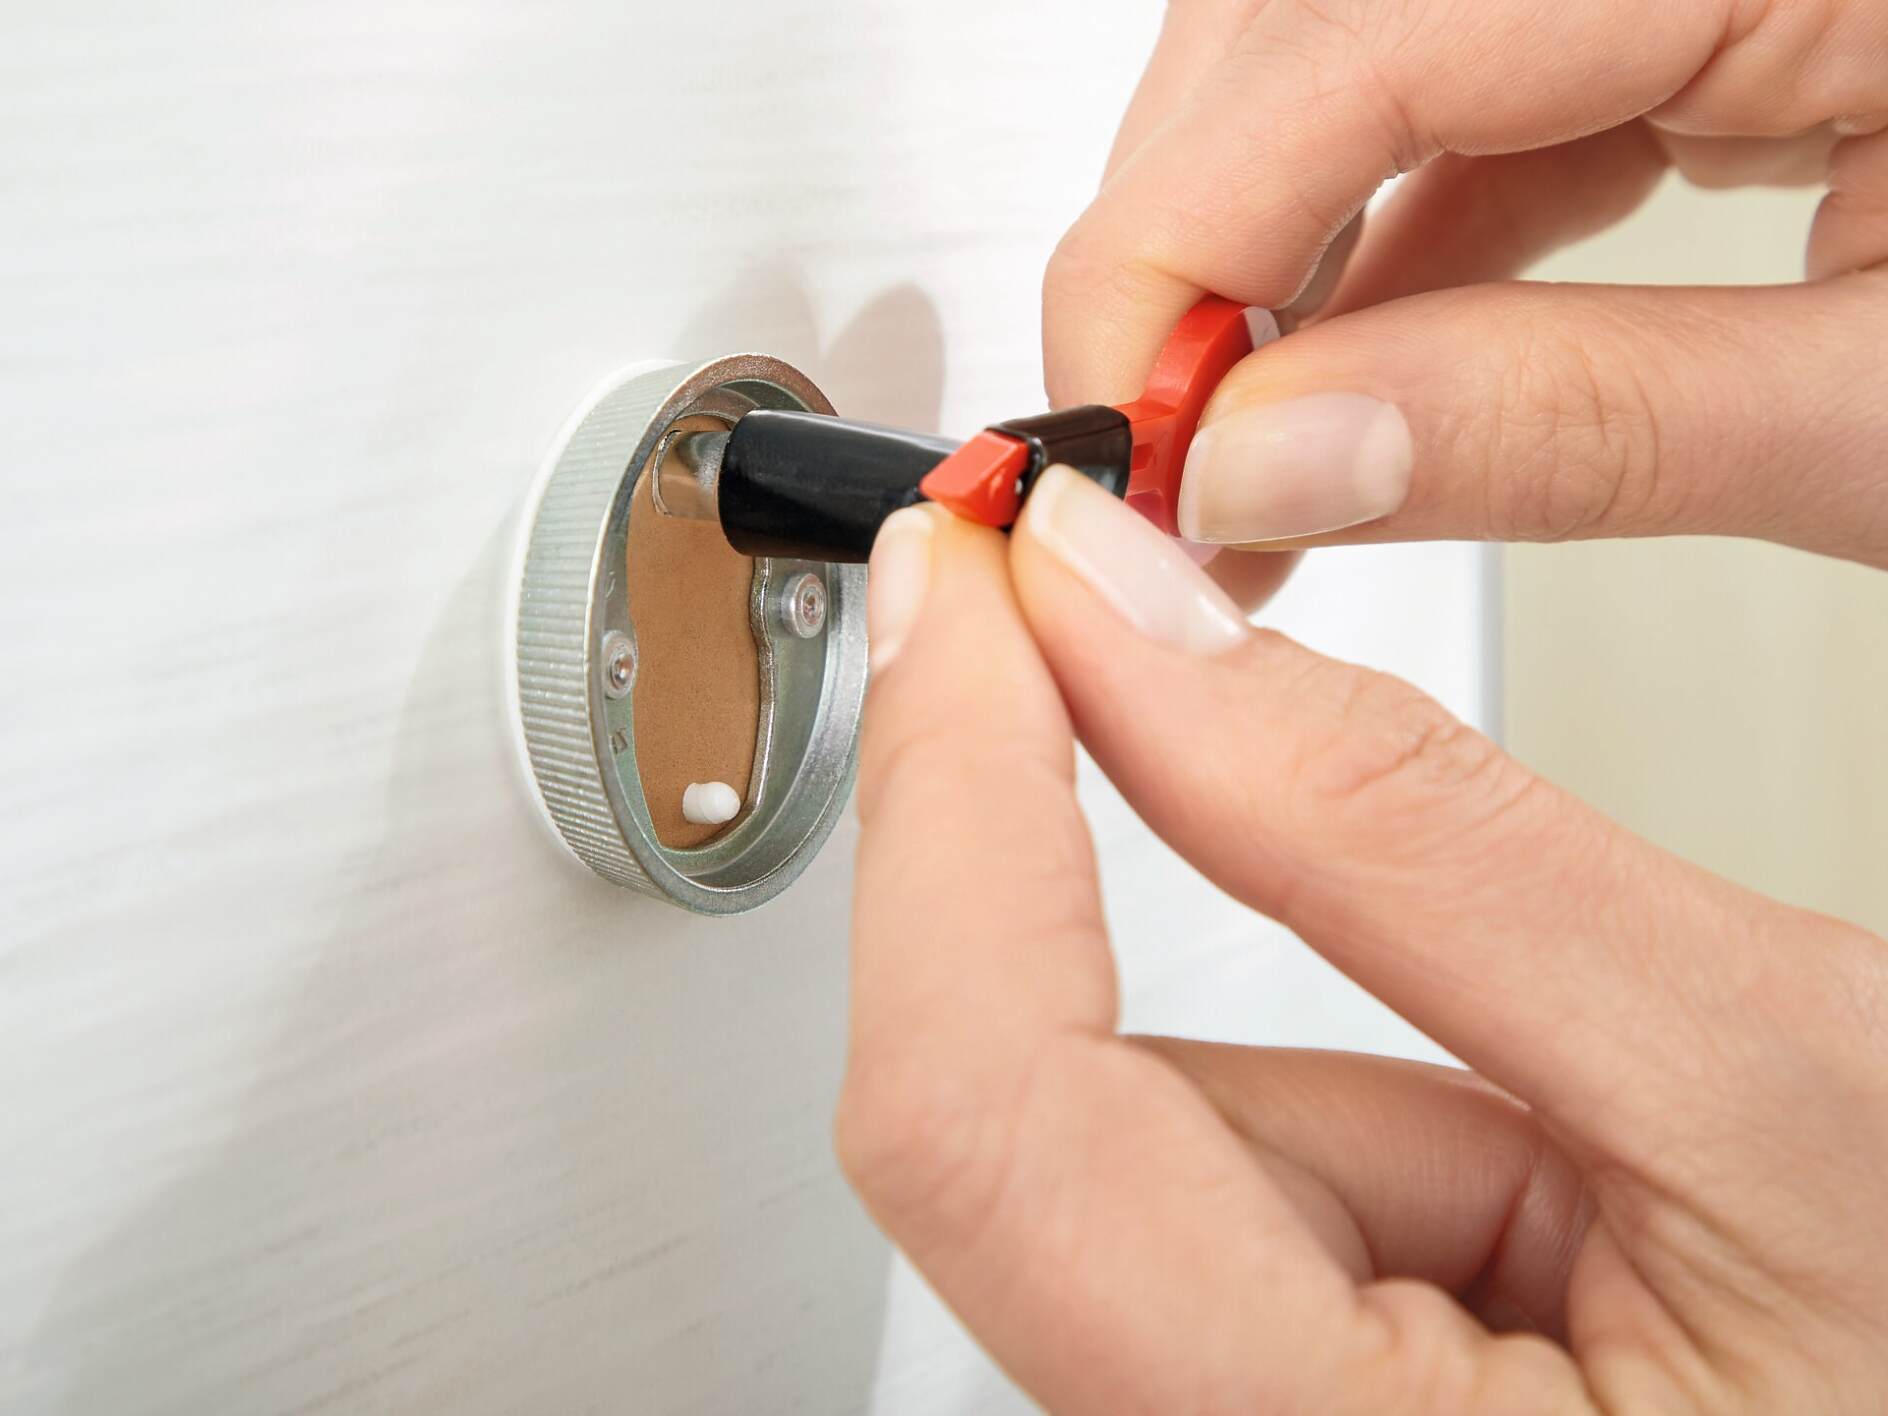
Now that you have turned off the water supply, it’s time to start removing the towel ring itself. The first step in doing so is to unscrew the towel ring mounting bracket from the wall.
Start by examining the towel ring mounting bracket to determine the type of screws used to secure it to the wall. Most towel rings use either flathead or Phillips screws. Take note of the type of screws so that you can choose the appropriate screwdriver for removal.
Using the screwdriver, slowly and carefully begin unscrewing the screws holding the mounting bracket in place. Depending on the condition of the screws, you may need to apply some extra pressure or use pliers to help loosen them.
Once the screws are fully removed, set them aside in a safe place for later use or disposal. With the mounting bracket detached, gently remove the towel ring from the wall. If there are any additional screws or hardware holding the towel ring in place, remove them as well.
Be cautious when removing the towel ring to avoid any damage to the surrounding wall or tile. If the towel ring is stuck or stubborn to remove, you may need to use a scraper or putty knife to help carefully pry it away from the wall.
Once the towel ring is removed, inspect the mounting area for any damage or residue left behind. If there are any holes or marks from the previous installation, take note of them for further repair in the upcoming steps.
By unscrewing the towel ring mounting bracket, you have successfully detached the main component of the towel ring from the wall. Now, with the towel ring removed, you can move on to the next steps of patching any holes or damage on the wall.
Step 4: Patch any holes or damage on the wall
With the towel ring removed, it’s time to address any holes or damage left behind on the wall. Patching these areas will ensure a clean and smooth surface for the installation of the new towel ring.
Start by inspecting the wall where the towel ring was located. Look for any holes, cracks, or dents that need to be repaired. If there are small nail or screw holes from the previous installation, you can skip to the next step.
If you find larger holes or damage, you’ll need to patch them using a wall patch kit. These kits typically include a patching compound, adhesive, and a putty knife. Follow the instructions on the kit for best results.
Here’s a general guide for patching small to medium-sized holes:
- Clean the area around the hole using a damp cloth or sponge.
- Apply the patching compound to the hole, using a putty knife to smooth it out and fill the space.
- Allow the compound to dry completely, following the recommended drying time on the package.
- Once dry, sand the patched area using medium-grit sandpaper to achieve a smooth surface.
- Remove any dust or debris from sanding and wipe the area clean.
If there are larger holes or more extensive damage, you may need to use a wall patch or fill the area with spackle or joint compound. Consult the instructions on your chosen product for specific application guidelines.
After patching the holes, take a step back and inspect the wall for any imperfections. If necessary, repeat the patching process or apply an additional layer of compound to achieve a seamless surface.
Remember to allow the patched areas to fully dry before moving on to the next step. This will ensure that the wall is ready for the installation of the new towel ring and prevent any potential issues in the future.
By patching any holes or damage on the wall, you are creating a clean and even surface for the installation of the new towel ring. With this step completed, you are one step closer to enjoying your updated bathroom décor.
To remove a towel ring in Savannah, use a screwdriver to loosen the screws holding it in place. Once the screws are loose, carefully lift the towel ring off the wall and patch any holes left behind.
Read more: What Is A Towel Ring
Step 5: Install a wall anchor, if necessary
Before proceeding with the installation of the new towel ring, it’s important to assess the stability of the wall and determine if a wall anchor is needed. A wall anchor provides additional support and prevents the towel ring from coming loose or causing damage to the wall over time.
If the previous towel ring was securely mounted in a stud or if your new towel ring has built-in support that does not require a wall anchor, you can skip this step. However, if the wall has no stud support or the new towel ring requires a wall anchor, follow these instructions:
- Choose the appropriate wall anchor for your specific towel ring and wall material. Anchors are available in various types, such as plastic anchors, toggle anchors, or molly bolts.
- Mark the desired location for the anchor on the wall. Use a level to ensure that the towel ring will be properly aligned.
- Drill a pilot hole at the marked location, using a drill bit that matches the size of the wall anchor.
- Insert the wall anchor into the pilot hole until it is flush with the wall surface.
- If using a toggle anchor or molly bolt, follow the specific instructions provided with the anchor to properly secure it to the wall. This may involve tightening screws, toggling the anchor, or expanding the molly bolt.
- Test the stability of the wall anchor by gently pulling on it. If it feels secure and does not move or wobble, it is properly installed.
Installing a wall anchor, if necessary, will provide added strength and stability to your new towel ring installation. It is an important step in ensuring that the towel ring remains securely attached to the wall and can withstand daily use.
Once the wall anchor is properly installed and tested, you are ready to move on to the next step of mounting the new towel ring.
Step 6: Mount the new towel ring
After completing the necessary preparations, including turning off the water supply, removing the old towel ring, patching any holes or damage on the wall, and installing a wall anchor if needed, it’s time to mount the new towel ring.
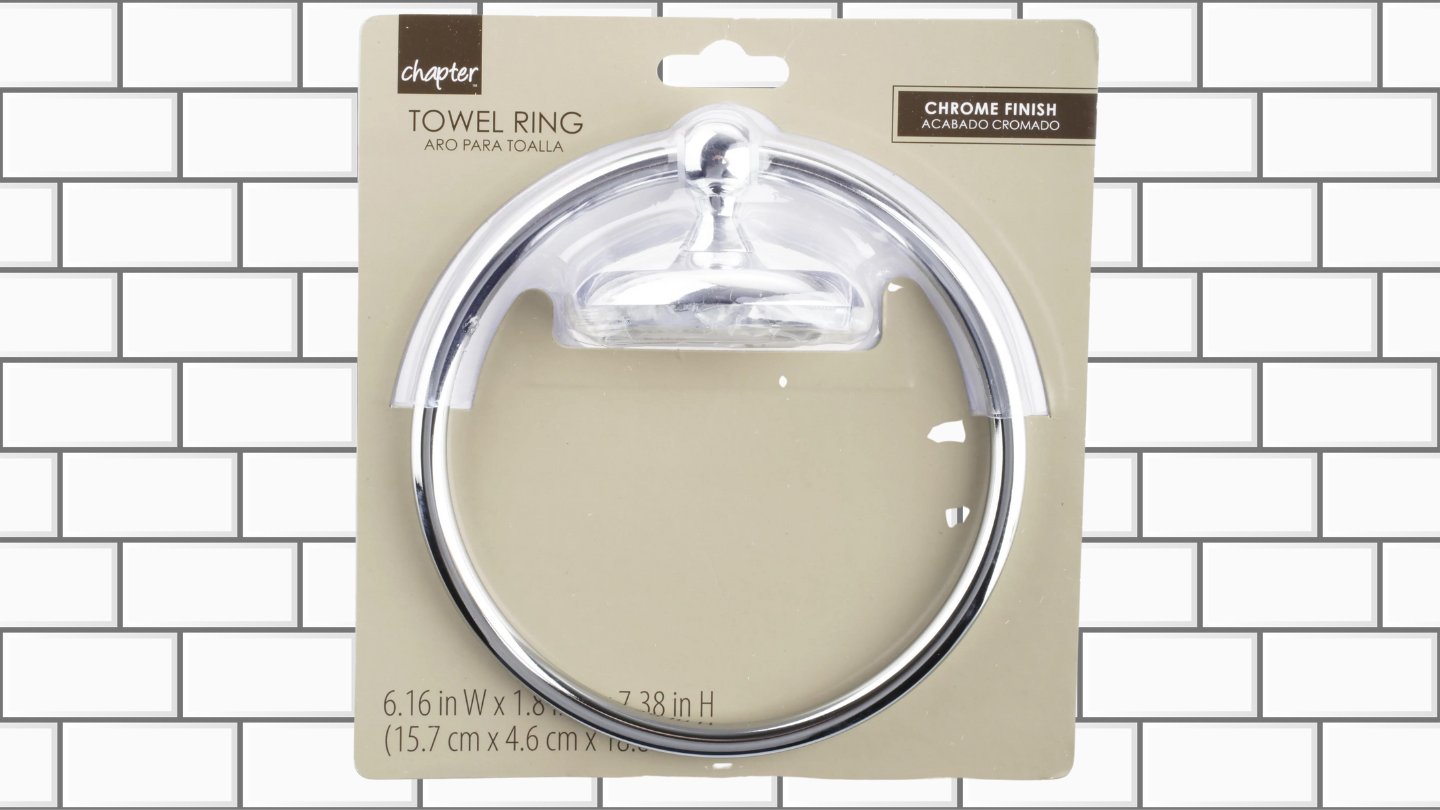
Start by unpacking the new towel ring and familiarizing yourself with its components. Take note of any specific instructions or mounting guidelines provided by the manufacturer.
Hold the towel ring against the wall at the desired location and use a level to ensure that it is perfectly horizontal or vertical, depending on the design. Adjust the position as needed until it is aligned correctly.
Once you have determined the ideal placement, mark the mounting holes on the wall with a pencil or marker. These marks will serve as a guide for drilling or screwing in the new towel ring.
Using the appropriate screws or mounting hardware provided with the towel ring, start attaching the mounting bracket to the wall. Make sure to securely fasten the screws while maintaining the proper alignment.
If you are using a wall anchor, insert the screws into the anchor and tighten them until the towel ring feels securely attached to the wall. For towel rings with built-in support, follow the manufacturer’s instructions for mounting.
Once the towel ring is mounted, give it a gentle tug to ensure that it is stable and securely attached to the wall. If it wobbles or feels loose, double-check the mounting screws or anchor and tighten them as needed.
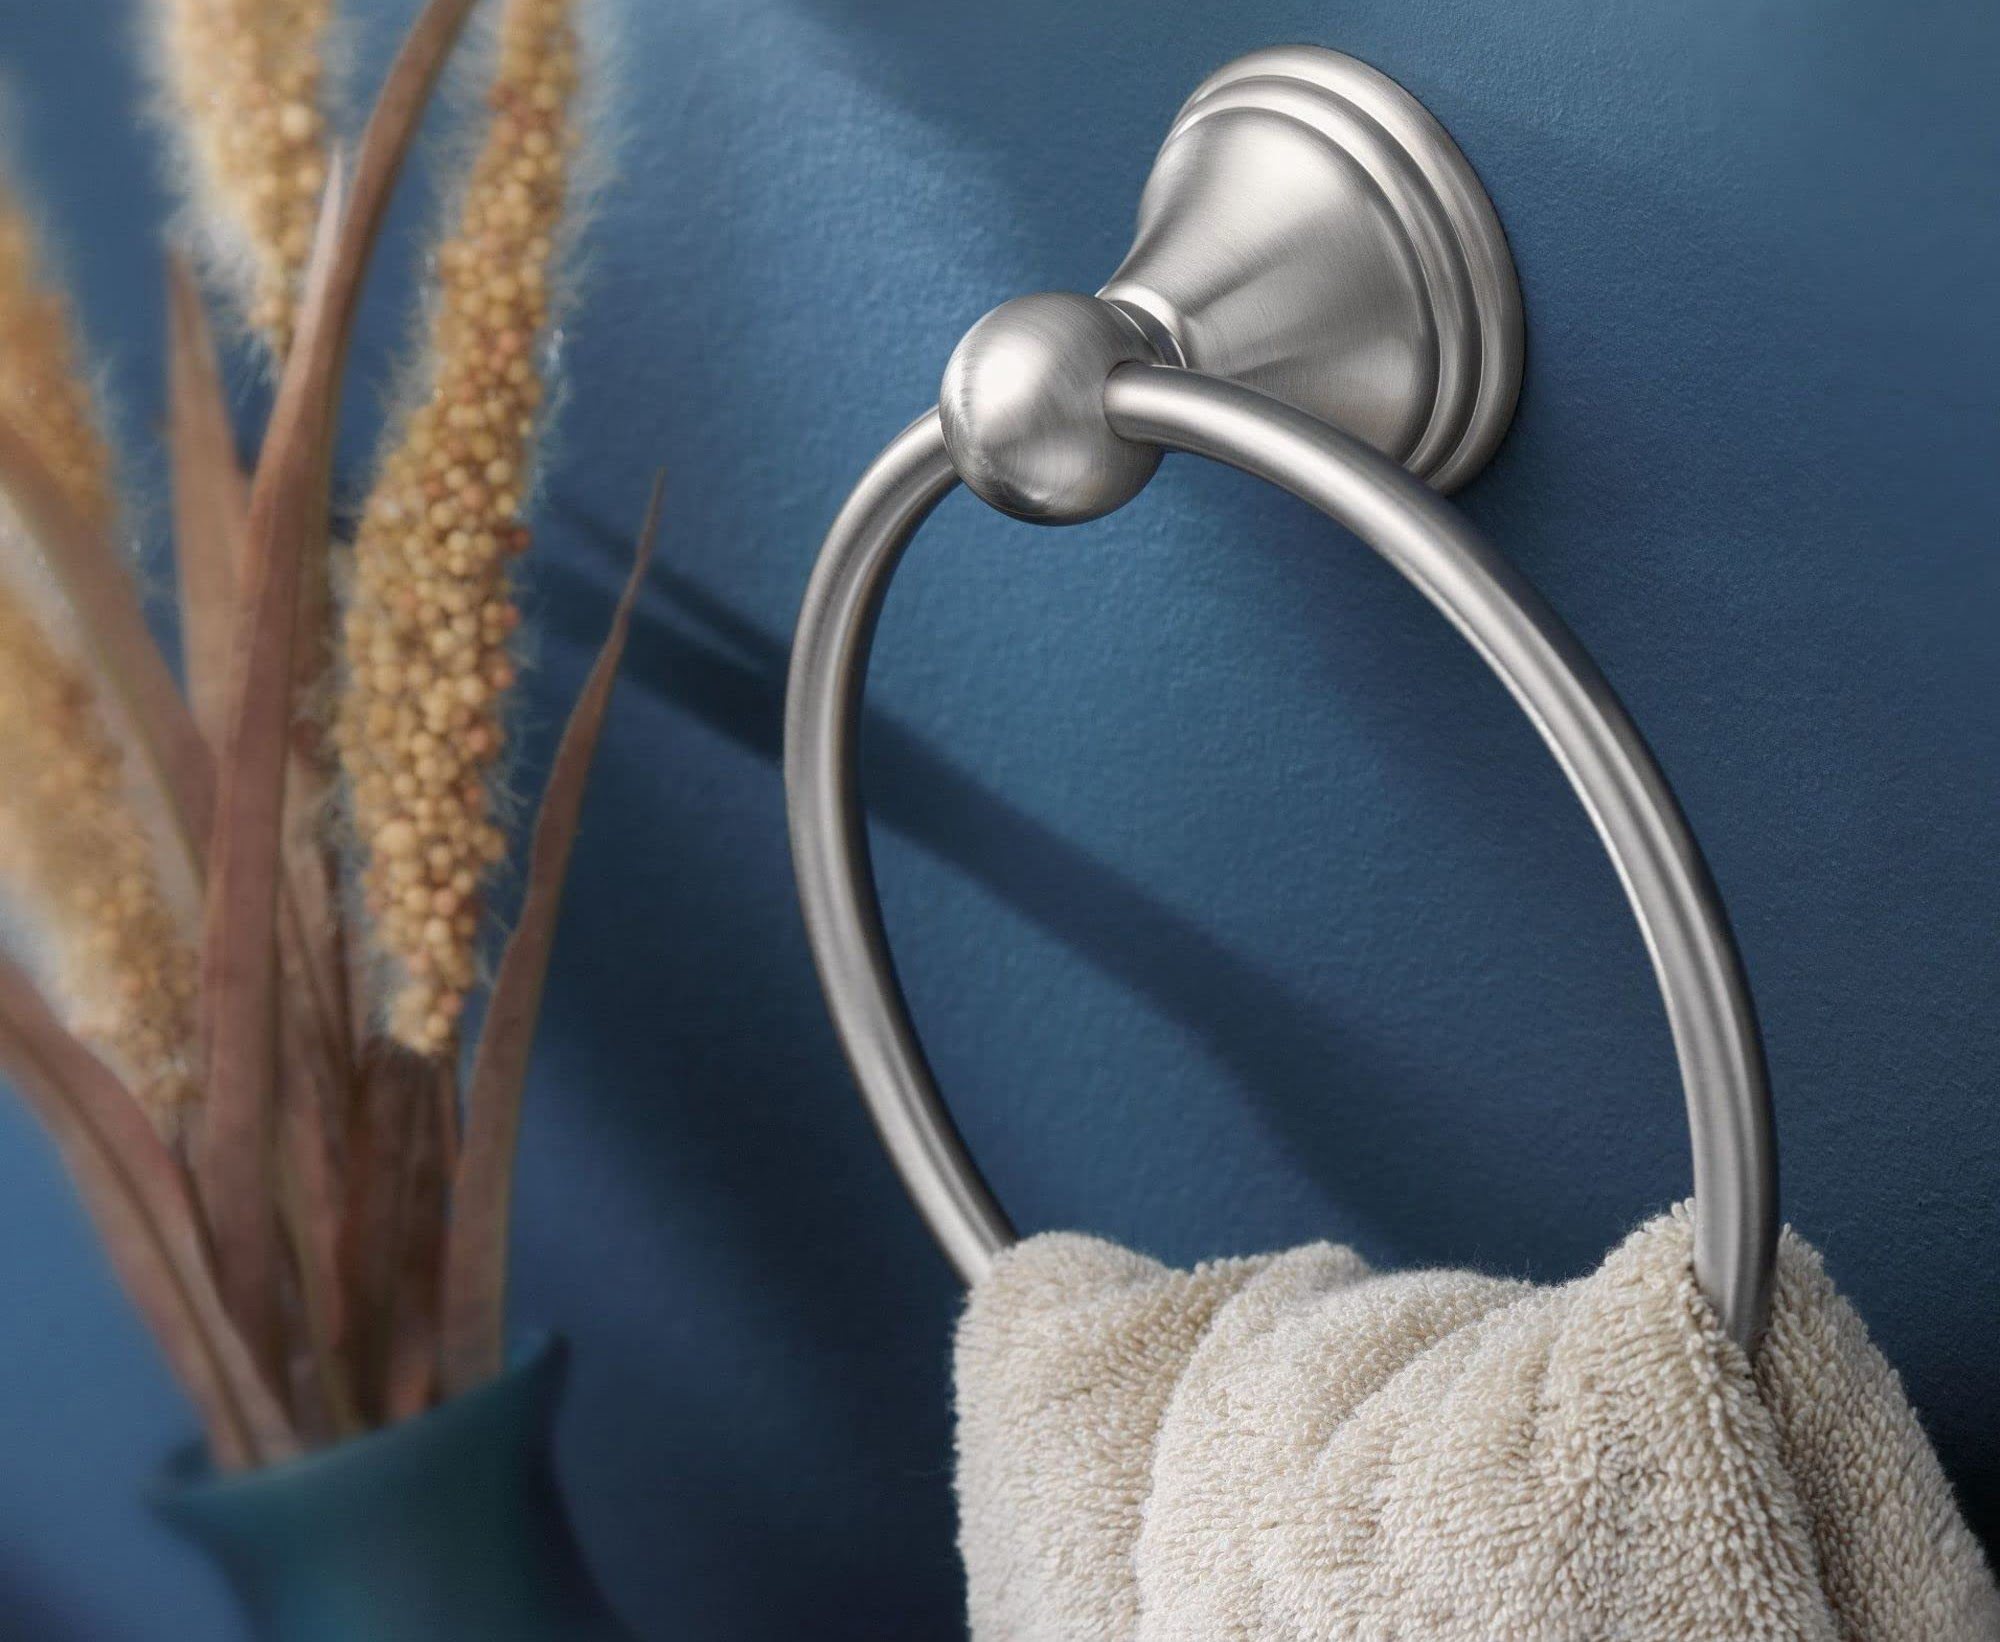
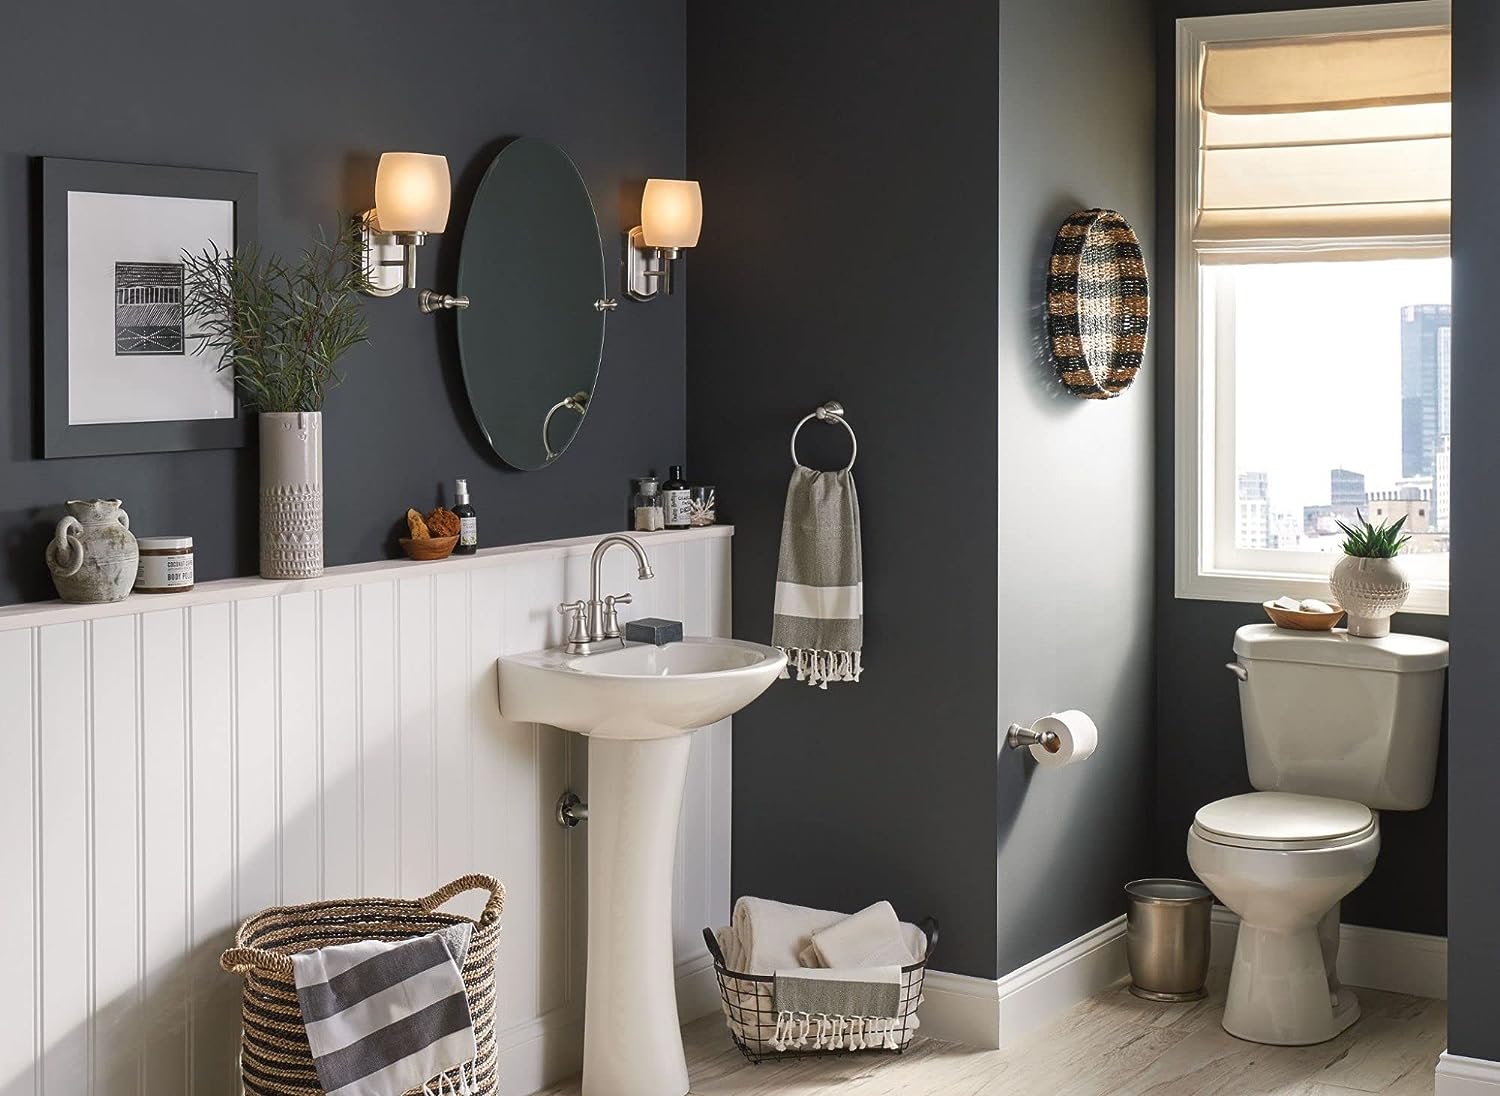
Take a moment to step back and admire your newly installed towel ring. It should complement your bathroom décor and provide a functional and stylish addition to the space.
By successfully mounting the new towel ring, you have completed a major step in the process of upgrading your bathroom. Now, all that’s left is to turn the water supply back on and give it a test run!
Step 7: Turn the water supply back on
Now that you have mounted the new towel ring and ensured its stability, it’s time to turn the water supply back on. This step will allow you to test the functionality of the towel ring and ensure that there are no leaks or issues with the water flow.
To turn the water supply back on, locate the water supply valves that were previously turned off. These valves are typically located behind the wall or under the sink.
Using a clockwise motion, slowly open the valves until you hear the water flowing. Make sure to open them gradually to avoid sudden surges of water or pressure. Keep an eye out for any leaks around the valves or the newly installed towel ring. If you notice any leaks, immediately turn the valves back off and check the connections.
Once the water supply is back on and there are no visible leaks, test the functionality of the towel ring by hanging a towel or exerting pressure on it. Ensure that it is firmly attached and can hold the weight without any issues.
If there are no issues, congratulations! You have successfully installed and tested your new towel ring. Enjoy the updated functionality and aesthetics it adds to your bathroom.
However, if you encounter any leaks or problems with the water flow, you may need to recheck the installation and connections. Make sure the mounting screws or anchor are properly tightened and that there are no loose or damaged parts.
If the issues persist, it might be necessary to seek professional assistance to address any underlying plumbing problems.
By turning the water supply back on, you have completed the final step in the process of installing a new towel ring. Take a moment to appreciate your hard work and enjoy the upgraded functionality and style it brings to your bathroom.
Step 8: Test the towel ring for stability
After installing a new towel ring in your bathroom, it’s important to take the time to test its stability and ensure that it is securely mounted. This step will help you identify any potential issues and make any necessary adjustments for maximum safety and functionality.
Start by applying gentle pressure to the towel ring, testing its stability and resistance. Give it a slight tug to ensure that it stays firmly attached to the wall without any wobbling or looseness.
If you notice any instability or movement, it may indicate that the mounting screws or anchor need to be tightened further. Use a screwdriver or pliers if necessary to securely fasten the mounting hardware.
Additionally, check for any visible gaps or spaces between the towel ring and the wall. If there are gaps, it may be an indication that the mounting bracket is not flush against the wall. In this case, you may need to readjust the positioning of the towel ring and tighten the screws or anchor accordingly.
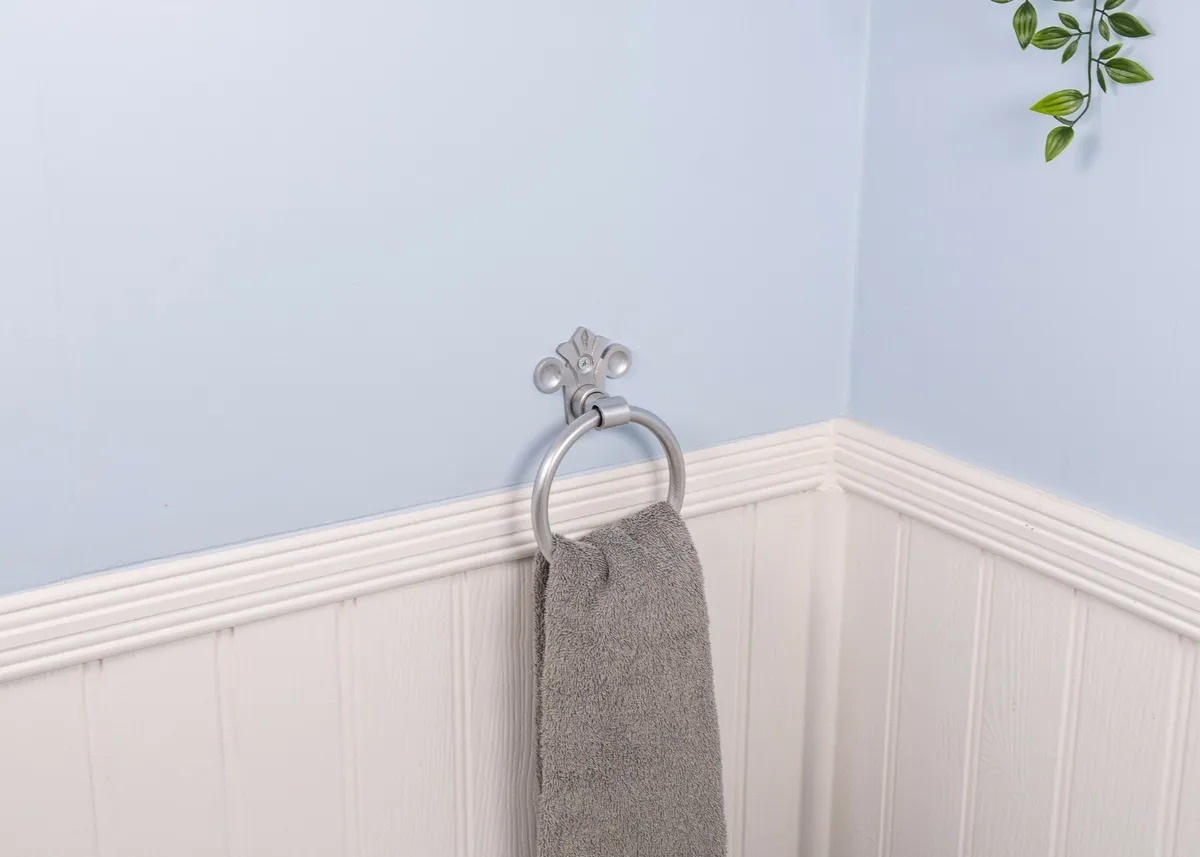
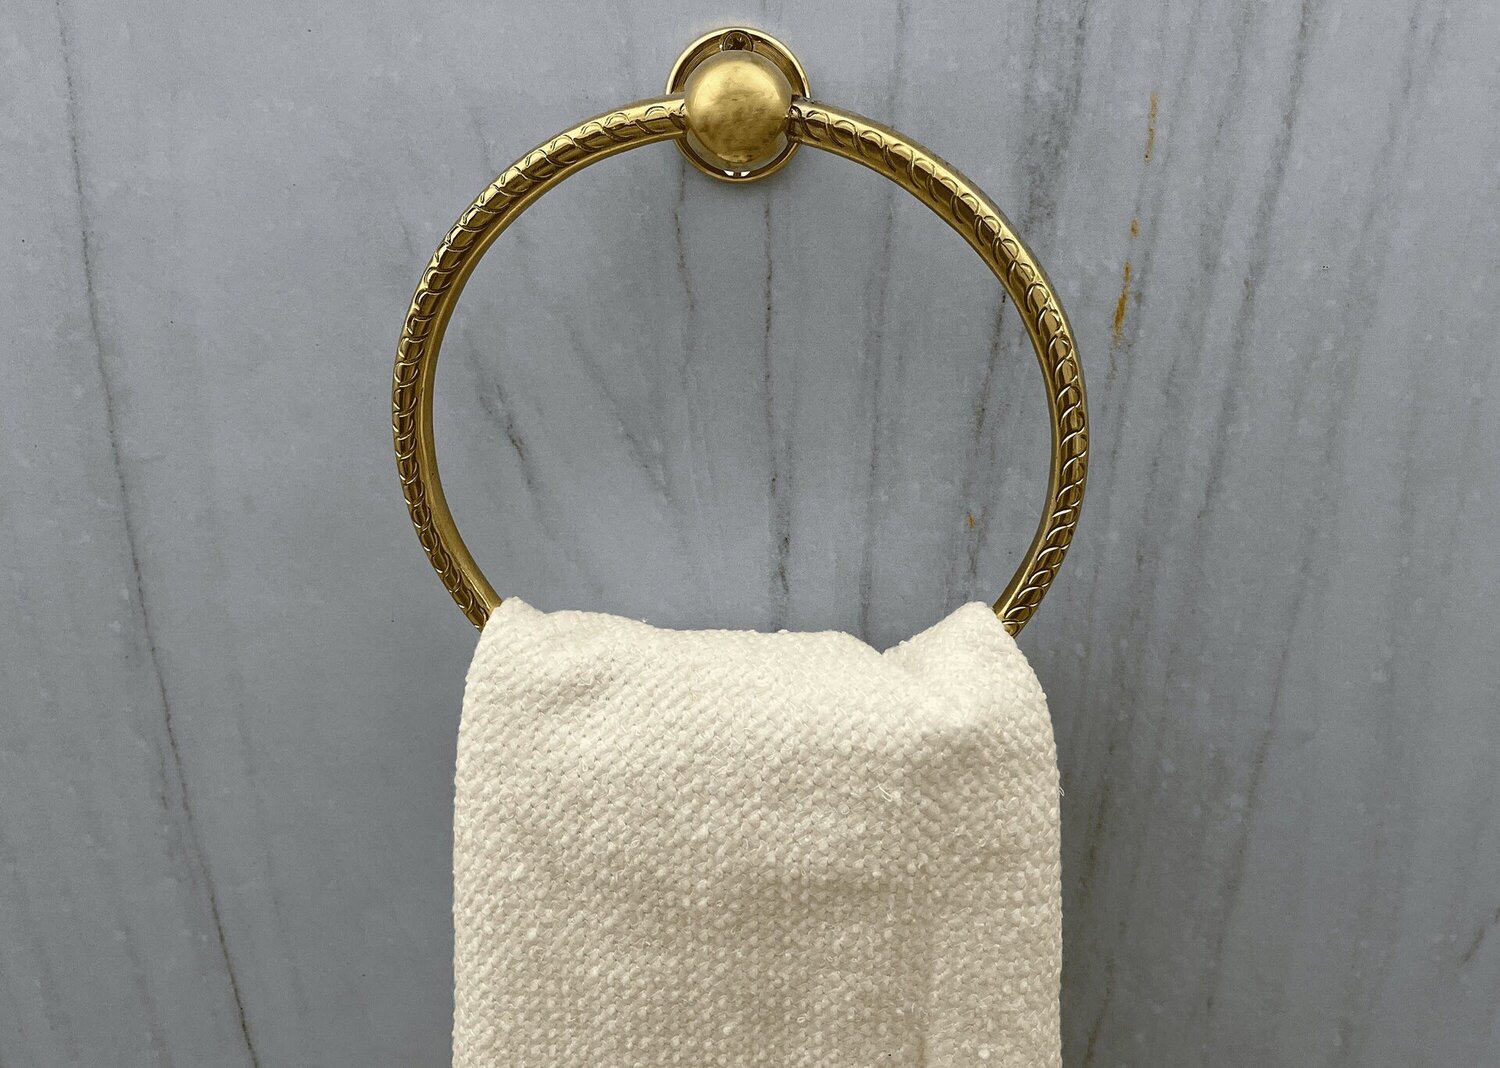
Next, hang a towel on the towel ring and test its weight-bearing capacity. Ensure that the towel ring can support the weight of the towel without it slipping or falling off. Give the towel a gentle pull to verify its stability.
Repeatedly test the towel ring over a period of a few days to make sure it remains secure and stable. This will help you catch any potential issues or loosening of the mounting hardware early on.
If you encounter any problems during the stability test or notice that the towel ring becomes loose over time, you may need to revisit the installation process. Double-check the mounting screws or anchor and tighten them as needed.
Remember to follow the manufacturer’s instructions for maintenance and care of the towel ring to ensure its longevity and functionality.
By thoroughly testing the towel ring for stability, you can have peace of mind knowing that it is securely mounted and ready for everyday use in your bathroom. Enjoy the convenience and style of your newly installed towel ring!
Conclusion
Removing an old towel ring and replacing it with a new one can be a simple and rewarding task that can transform the look and functionality of your bathroom. By following the step-by-step guide outlined in this article, you can confidently complete the entire process with ease.
Starting with gathering the necessary tools and materials, including a screwdriver, pliers, putty knife, wall patch kit, spackle, and sandpaper, you’ll have everything you need within reach. Turning off the water supply is a critical step to ensure a safe and dry working environment.
Through unscrewing the towel ring mounting bracket and carefully removing the old towel ring, you can prepare the wall for the installation of a new one. Patch any holes or damage on the wall using a wall patch kit and create a smooth surface.
If needed, install a wall anchor to provide additional support for the new towel ring. Mount the new towel ring securely, ensuring it is level and aligned properly. Once mounted, turn the water supply back on and test the towel ring for stability.
By following these steps and conducting thorough stability tests, you can ensure that your new towel ring is securely installed and ready for everyday use. With its upgraded style and functionality, your bathroom will have a refreshed look and improved convenience.
Remember to refer to the manufacturer’s instructions for any specific details or maintenance recommendations for your towel ring. Regularly check for any signs of loosening or damage and make any necessary adjustments or repairs promptly.
With your newly installed towel ring, you can enjoy the practicality and aesthetic appeal it brings to your bathroom. So go ahead, indulge in the satisfaction of a job well done, and enjoy the benefits of your upgraded towel ring!
Frequently Asked Questions about How To Remove Savannah Towel Ring
Was this page helpful?
At Storables.com, we guarantee accurate and reliable information. Our content, validated by Expert Board Contributors, is crafted following stringent Editorial Policies. We're committed to providing you with well-researched, expert-backed insights for all your informational needs.

0 thoughts on “How To Remove Savannah Towel Ring”