Articles
How To Mount A Moen Towel Ring
Modified: October 26, 2024
Learn how to easily mount a Moen towel ring with step-by-step instructions and expert tips. Read our informative articles for a hassle-free installation.
(Many of the links in this article redirect to a specific reviewed product. Your purchase of these products through affiliate links helps to generate commission for Storables.com, at no extra cost. Learn more)
Introduction
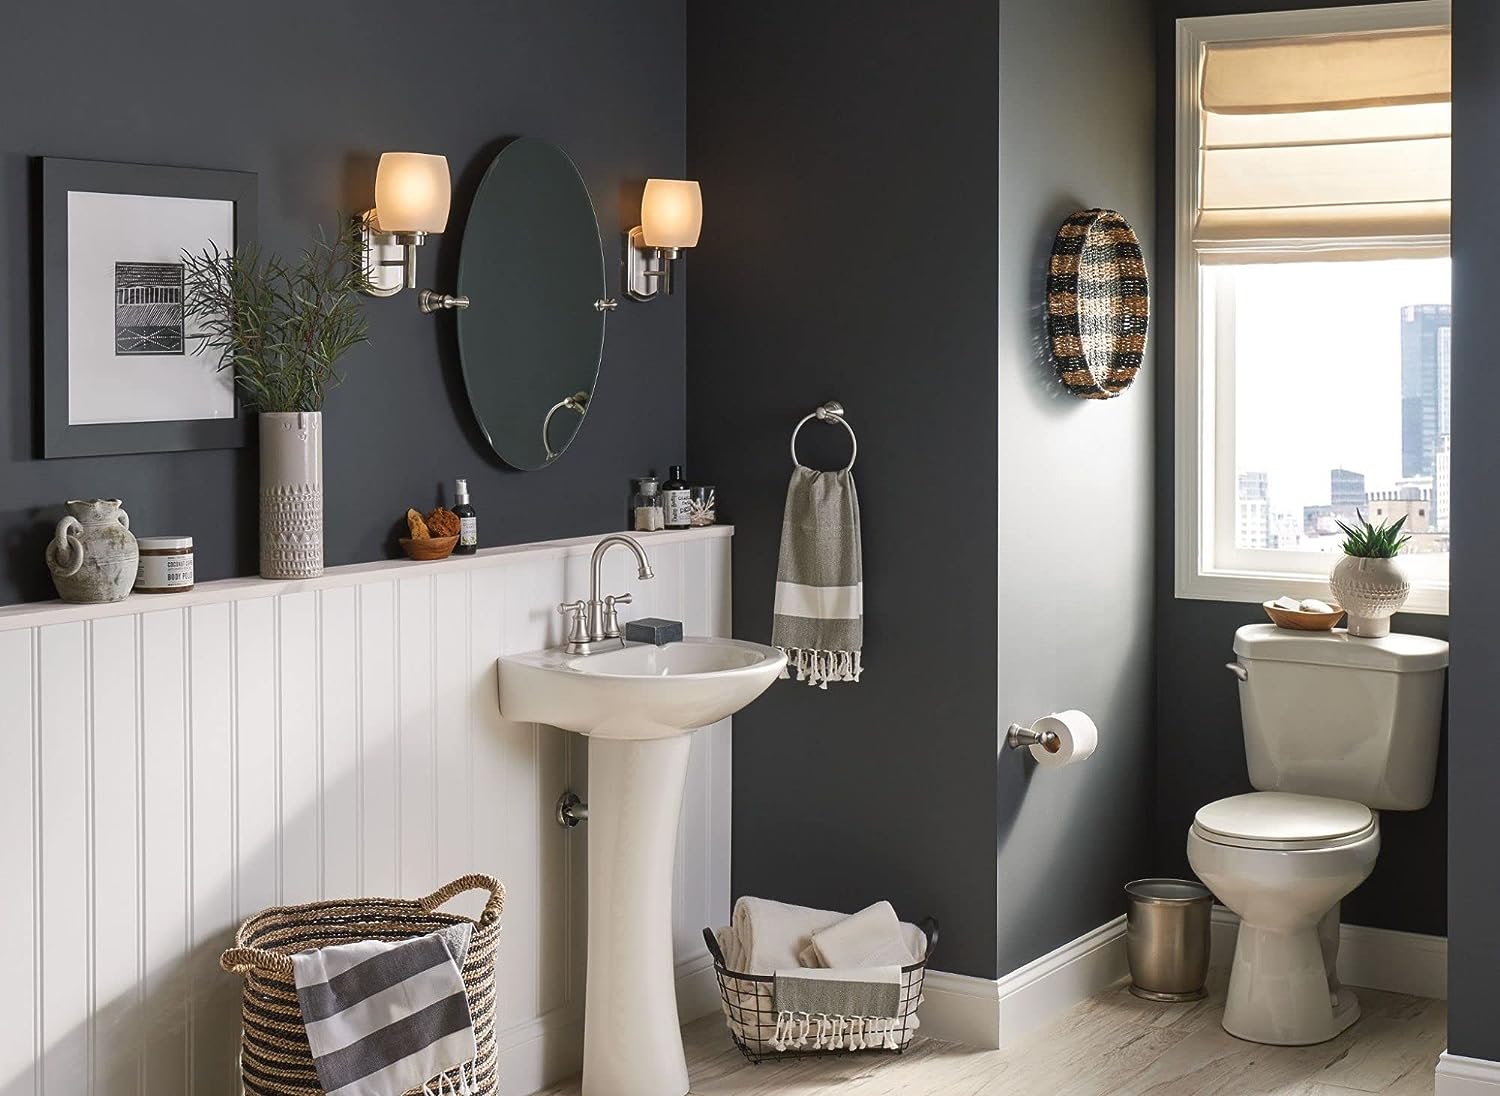
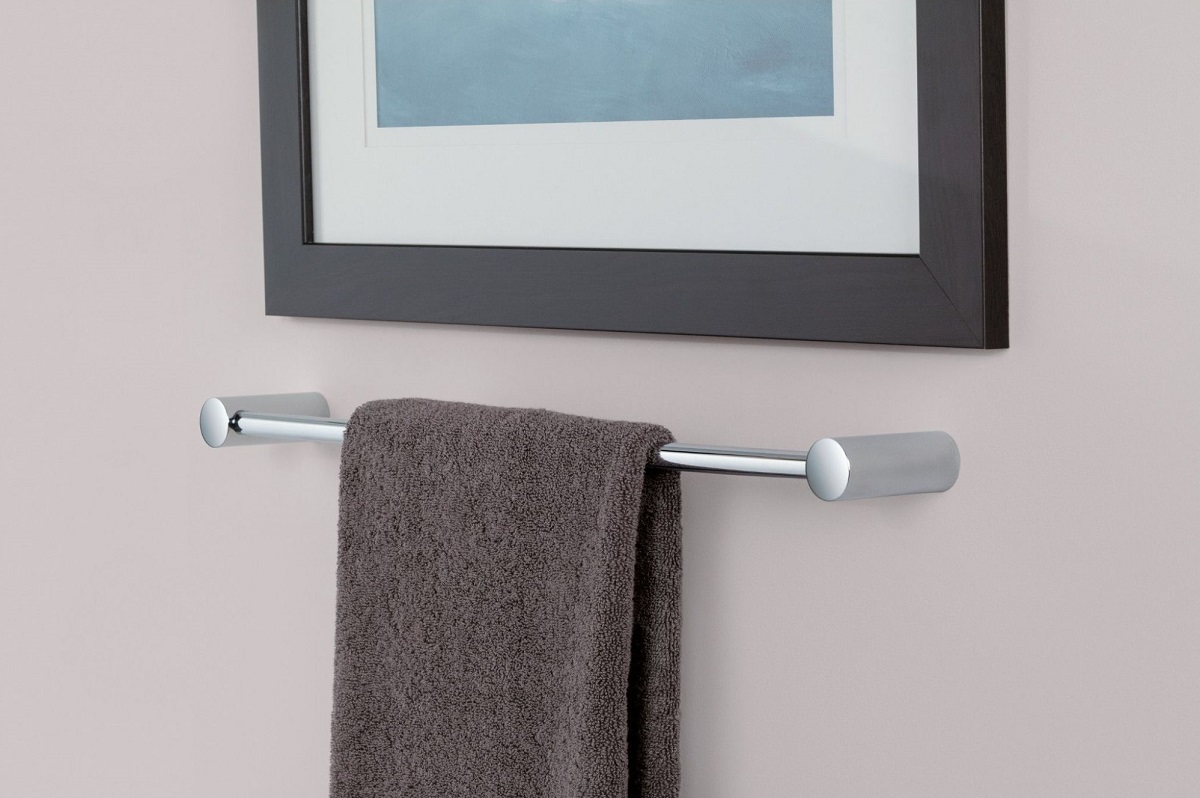
Welcome to our step-by-step guide on how to mount a Moen towel ring! A towel ring is not only a functional bathroom accessory for holding towels, but it can also add a touch of style and elegance to your space. Whether you are upgrading your bathroom decor or simply replacing an old towel ring, this guide will walk you through the process.
Before we dive into the details, it’s important to note that mounting a Moen towel ring may require some basic DIY skills and tools. If you feel uncomfortable with any of the steps or lack the necessary tools, it’s always best to consult a professional for assistance. With that said, let’s get started!
Key Takeaways:
- Properly mounting a Moen towel ring requires gathering the right tools, determining the ideal location, and securing the ring to ensure stability and functionality in your bathroom space.
- Attention to detail, from marking the spot to adding final touches, is crucial for a successful installation. Following the step-by-step guide ensures a secure and visually appealing result.
Read more: Moen Preston Towel Ring – How Wide Is Ring?
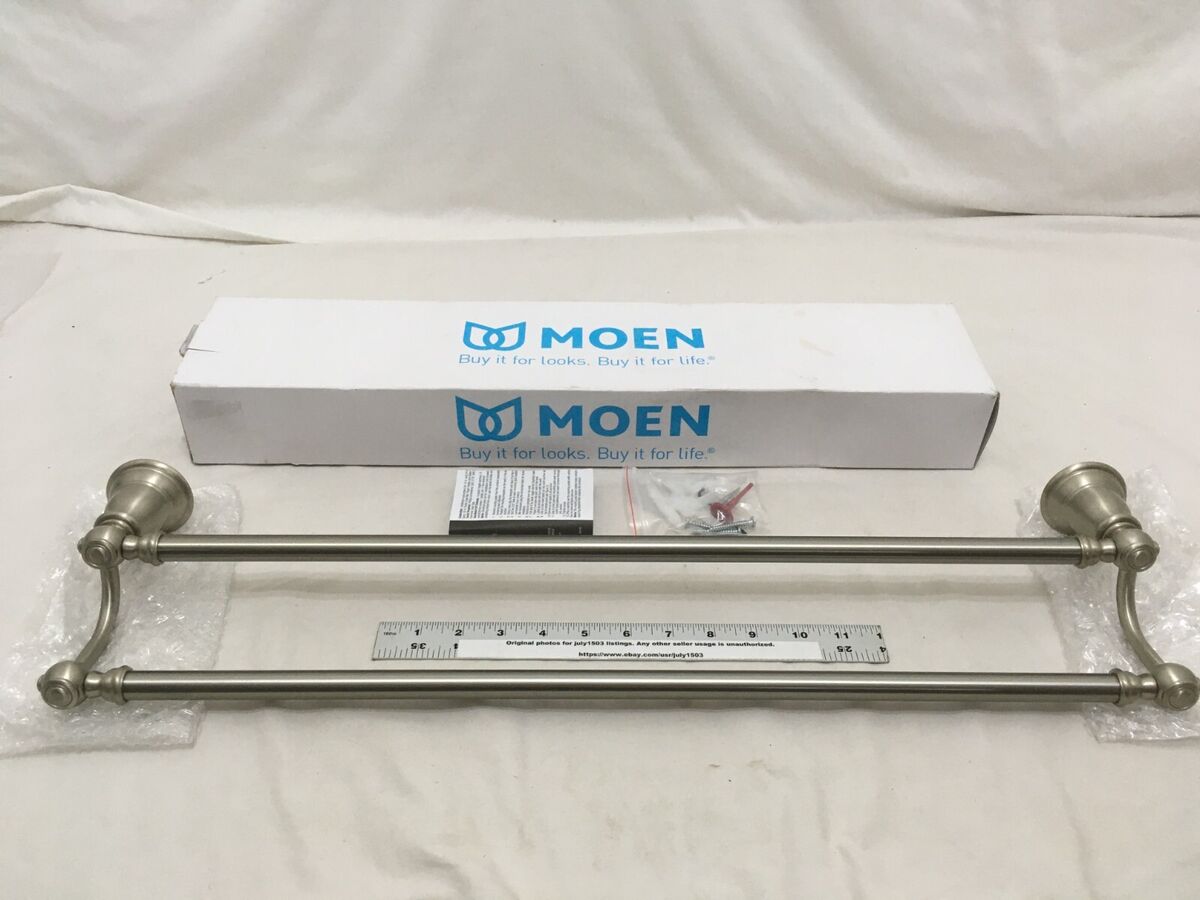
Tools and Materials Needed
Before you begin mounting your Moen towel ring, make sure you have the following tools and materials on hand:
- Drill
- Screwdriver (Phillips or flathead, depending on the screws provided)
- Tape measure
- Pencil or marker
- Level
- Wall anchors (if not provided with the towel ring)
- Screws (if not provided with the towel ring)
In addition to the tools, you will need the following materials:
- Moen towel ring
- Wall surface suitable for mounting (drywall, tile, etc.)
- Optional: Wall anchors (if not already provided with the towel ring)
Having all these tools and materials ready before you start will ensure a smooth and efficient installation process.
Step 1: Gather the necessary tools
Before you begin mounting your Moen towel ring, it’s important to gather all the necessary tools. This will help ensure a smooth and efficient installation process. Here are the tools you will need:
- Drill: You will need a drill to create the holes in the wall for mounting the towel ring.
- Screwdriver: Depending on the screws provided with your towel ring, you will need either a Phillips or flathead screwdriver to securely attach it to the wall.
- Tape measure: Accuracy is key when it comes to mounting a towel ring. A tape measure will help you determine the proper placement and alignment.
- Pencil or marker: Marking the spot where you will be mounting the towel ring is essential. A pencil or marker will allow you to create accurate reference points.
- Level: To ensure that your towel ring is perfectly straight, a level is essential. This will help you achieve a professional-looking installation.
- Wall anchors: If your towel ring does not come with wall anchors, you may need to purchase them separately. These anchors provide additional support and stability when mounting on drywall or other surfaces.
- Screws: If your towel ring does not include screws, make sure you have the appropriate size and length for your specific installation.
Gathering these tools ahead of time will save you from unnecessary interruptions or delays during the installation process. Once you have all your tools ready, you can proceed to the next step of determining the location for mounting your Moen towel ring.
Step 2: Determine the location
Now that you have gathered all the necessary tools, it’s time to determine the ideal location for mounting your Moen towel ring. Choosing the right location is crucial for both functionality and aesthetics. Here’s what you need to consider:
1. Accessibility: The towel ring should be easily accessible, ideally within arm’s reach from the sink or shower. Consider the height at which it will be convenient to grab a towel.
2. Wall space: Look for a suitable wall space where the towel ring will not be obstructed by other bathroom fixtures or accessories. It’s important to provide enough clearance for the towel to hang freely without touching other surfaces.
3. Height: The recommended height for mounting a towel ring is typically between 48-54 inches (122-137 cm) from the floor. However, you may adjust this based on your personal preference and the height of the people using the towels. Consider the height of all family members to ensure comfortable access for everyone.
4. Studs or wall anchors: If possible, try to locate a stud behind the wall where you plan to mount the towel ring. Mounting the towel ring onto a stud provides extra strength and stability. However, if there are no studs in the desired location, you will need to use wall anchors to securely attach the towel ring to the wall.
5. Symmetry: If you have multiple towel rings or other bathroom accessories, consider the overall placement and symmetry. Ensure that the towel ring is aligned with other fixtures for a visually appealing and balanced look.
Take your time to evaluate different options and visualize how the towel ring will fit into the overall bathroom design. Once you have determined the perfect location, you can move on to the next step of marking the spot on the wall.
Step 3: Mark the spot
After determining the ideal location for your Moen towel ring, the next step is to mark the spot on the wall. Accurate marking will ensure proper alignment and a professional-looking installation. Follow these steps to mark the spot:
- Use a tape measure: Measure the desired height for the towel ring from the floor. Using a tape measure, find the appropriate spot and make a small mark with a pencil or marker.
- Measure the width: If you are installing multiple towel rings, measure the distance between them to ensure proper spacing. Use the tape measure to mark the width between the towel rings.
- Check for studs: Use a stud finder tool to check if there are any studs behind the marked spot. If you find a stud, it’s recommended to mount the towel ring directly onto it for added strength and stability. Make note of the location of the stud.
- Mark the mounting holes: Grab the towel ring and position it on the marked spot. Make sure it is level and straight. With the towel ring in place, mark the locations of the mounting holes on the wall using a pencil or marker. This will serve as your guide for drilling.
Double-check your measurements and markings to ensure accuracy. If you made any mistakes or changed your mind about the location, now is the time to adjust the markings before proceeding to the next step. Once you are confident with the markings, you can move on to preparing the mounting area in Step 4.
Read also: 12 Best Moen Towel Ring for 2025
Step 4: Prepare the mounting area
With the spot for your Moen towel ring marked on the wall, it’s time to prepare the mounting area to ensure a secure and stable installation. Follow these steps to prepare the mounting area:
- Clear the area: Remove any obstacles or decorative items from the wall where you will be mounting the towel ring. This will provide a clear and clean surface for installation.
- Hold the mounting bracket against the wall: Take the mounting bracket that came with the towel ring and hold it against the wall, aligning it with the marked spots. Ensure that the bracket sits level and straight. If necessary, use a level to double-check the alignment.
- Mark the screw hole placements: Once the mounting bracket is properly aligned, use a pencil or marker to mark the positions of the screw holes on the wall. These marks will guide you during the drilling process.
- Prepare the drill bit: Select the appropriate drill bit size based on the type of wall surface you have (e.g., wood, drywall, tile). Insert the drill bit into your drill and tighten it securely.
- Protect the surrounding area: To avoid any damage to the wall or surrounding surfaces, you may want to place a piece of masking tape or painter’s tape over the marked spots. This can help prevent any accidental scratches or chips during the drilling process.
- Put on safety gear: Before you start drilling, put on safety goggles to protect your eyes from any debris that may be generated during the process. Safety should always be a top priority.
Once you’ve completed these steps, you’re now ready to move on to the next step of actually installing the mounting bracket in Step 5. Taking the time to properly prepare the mounting area will ensure a smooth and successful installation of your Moen towel ring.
When mounting a Moen towel ring, use a level to ensure it is straight. Use the provided template for accurate placement and secure it with the included hardware for a sturdy installation.
Step 5: Install the mounting bracket
With the mounting area prepared, it’s time to install the mounting bracket for your Moen towel ring. The mounting bracket provides the necessary support for attaching the towel ring securely to the wall. Follow these steps for a hassle-free installation:
- Align the bracket: Take the mounting bracket and align it with the marked screw hole placements on the wall. Make sure the bracket sits flush against the wall and matches the level and straightness of the markings.
- Attach the bracket: Using a drill, insert the appropriate screw bit and secure the bracket to the wall by driving the screws through the pre-drilled holes in the bracket. Make sure the screws are tightened firmly, but be careful not to overtighten and damage the wall.
- Double-check the alignment: After attaching the mounting bracket, use a level to check the alignment again. Adjust as needed to ensure the bracket is perfectly level and straight.
- Test the stability: Give the mounting bracket a gentle tug to check its stability. It should feel secure and firmly attached to the wall. If it feels loose or wobbly, double-check the screws and tighten them if necessary.
By following these steps, you will ensure that the mounting bracket is properly installed and ready to support the weight of your Moen towel ring. Taking the time to securely attach the bracket will help prevent any potential issues or accidents when using the towel ring in the future.
Once the mounting bracket is in place, you’re now ready to move on to the exciting part – actually attaching and securing the Moen towel ring, which we will cover in the next step, Step 6.
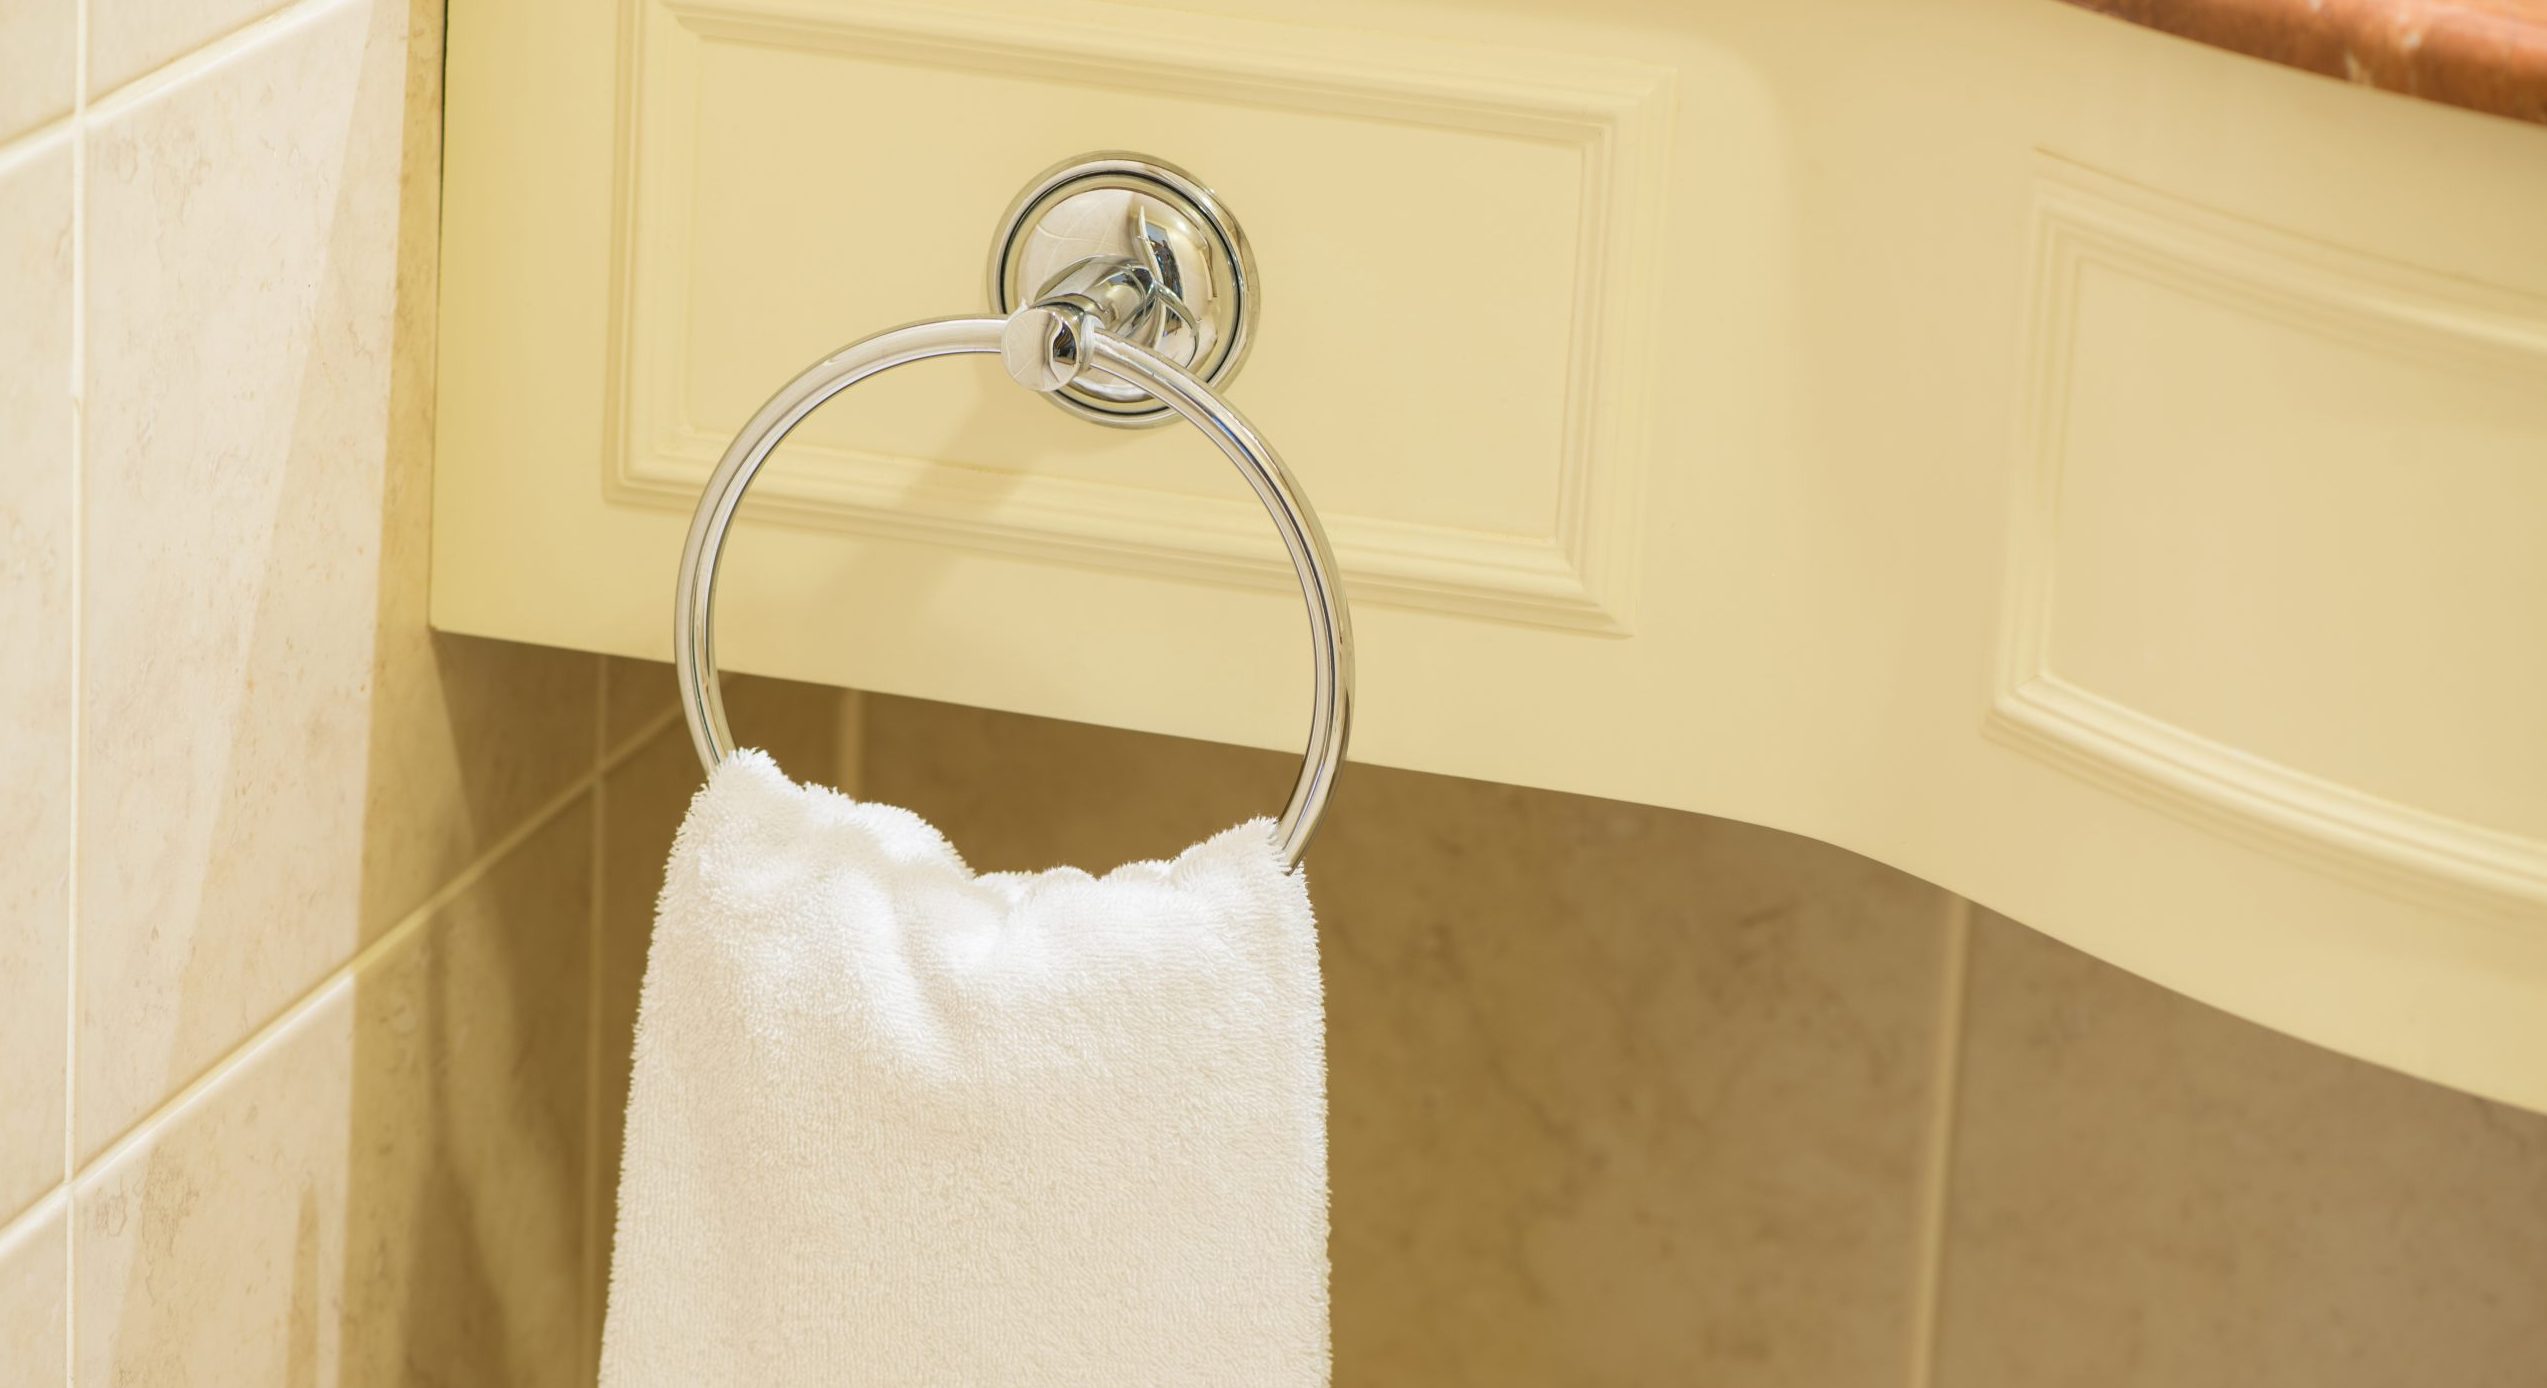
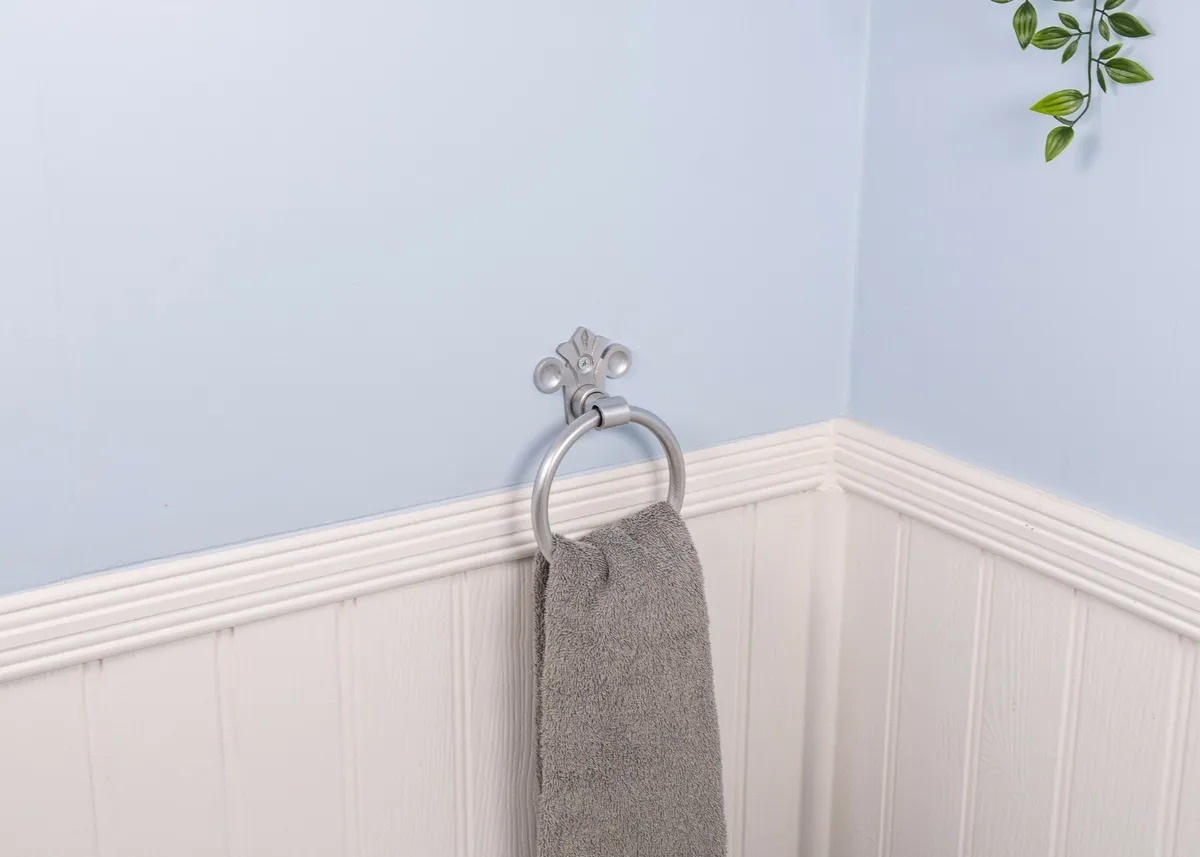
Step 6: Secure the towel ring
Now that the mounting bracket is securely installed, it’s time to attach and secure the Moen towel ring to complete the installation process. Follow these steps to ensure a tight and stable connection:
- Position the towel ring: Take the Moen towel ring and position it onto the mounting bracket. Ensure that it is aligned properly and sits flush against the wall.
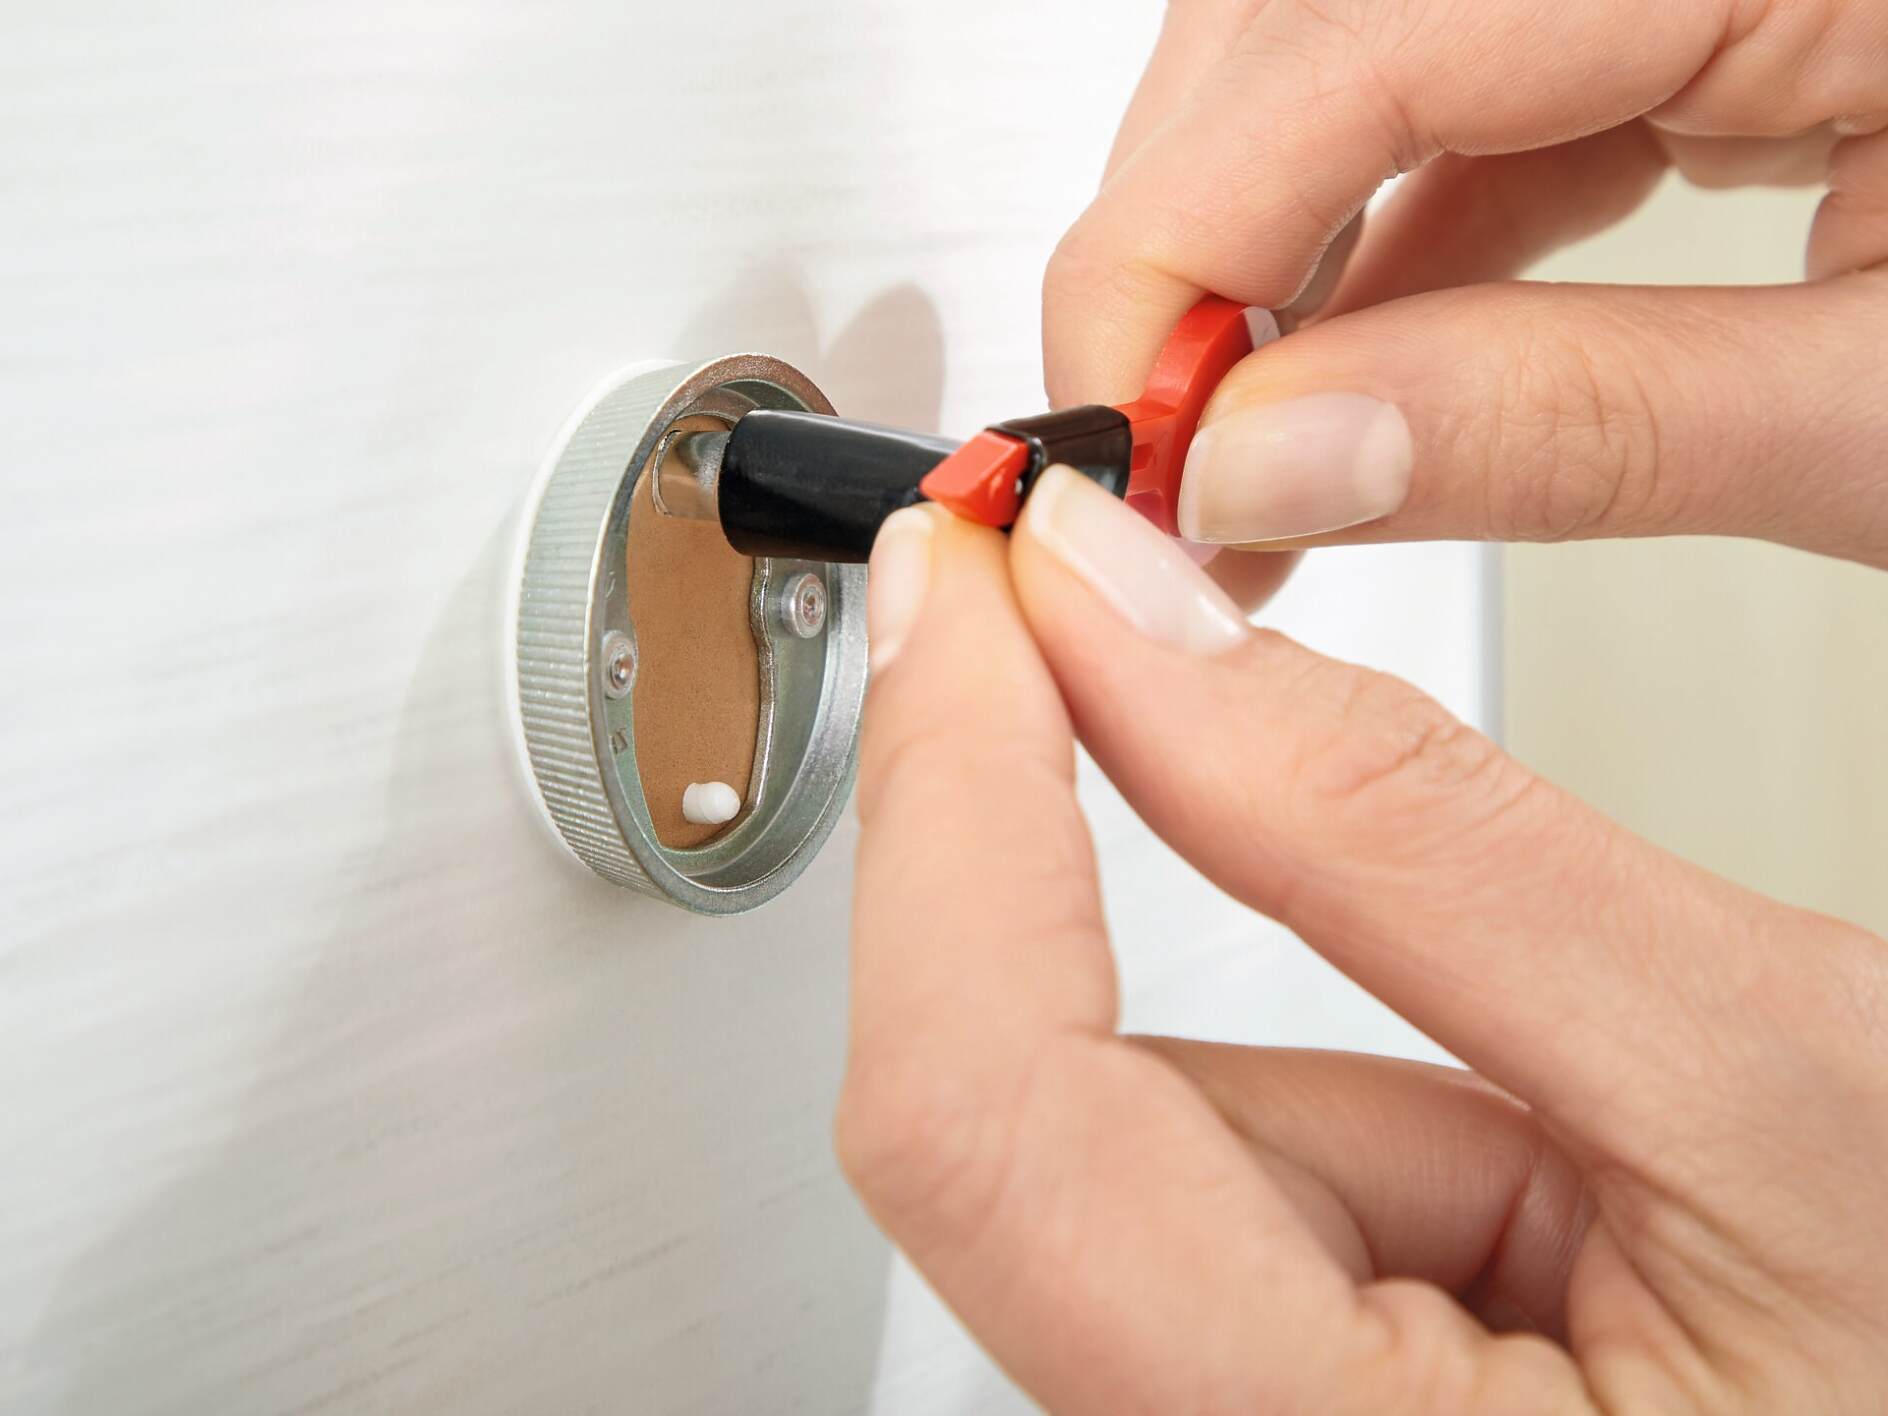
- Locate the set screw: Look for the set screw on the underside of the towel ring. This small screw is used to secure the ring to the mounting bracket.
- Tighten the set screw: Using a screwdriver, tighten the set screw to secure the towel ring in place. Be sure not to overtighten, as it may strip the threads or damage the towel ring.
- Test the stability: Give the towel ring a gentle tug to ensure it is securely attached to the mounting bracket. It should feel stable and firm in place.
It’s important to note that Moen towel rings may have different mechanisms for securing the ring to the bracket. Some models may require twisting or snapping the ring onto the bracket, while others may have different types of screws or attachment methods. Always refer to the manufacturer’s instructions for your specific towel ring model to ensure proper installation.
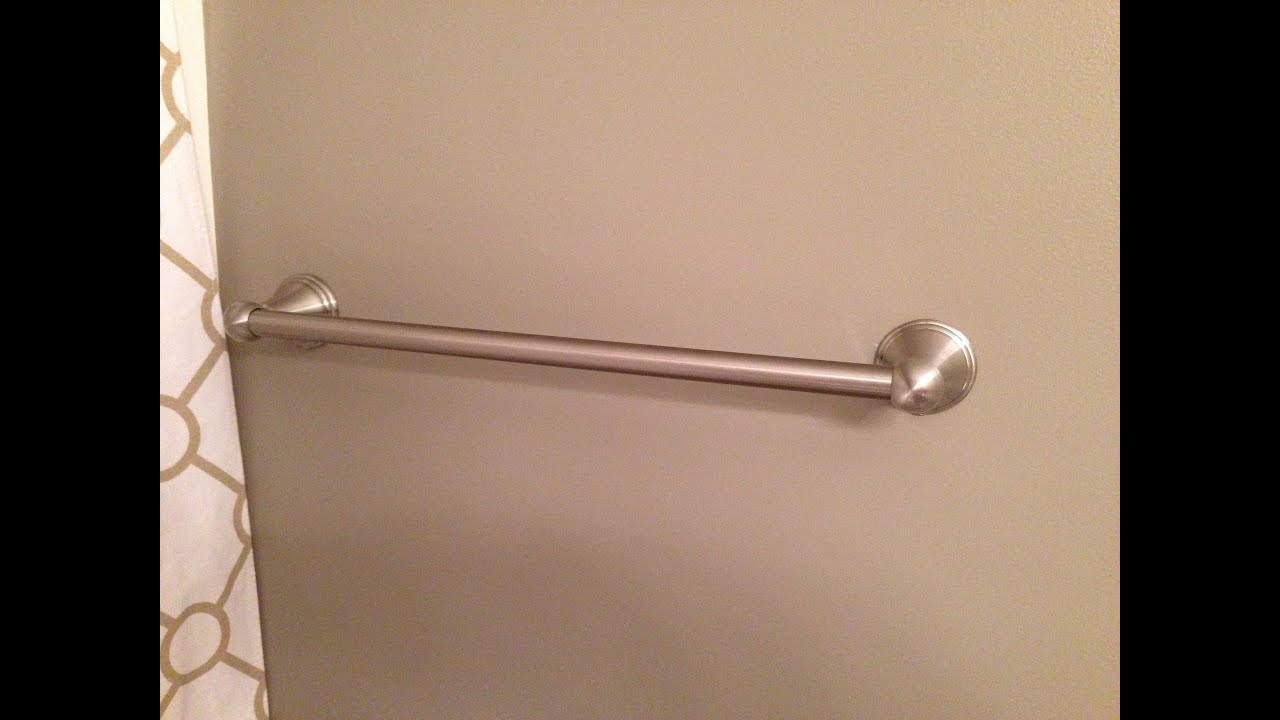
Once you have securely attached the towel ring to the mounting bracket, take a step back and admire your work! The towel ring is now ready to be used and will provide both functionality and aesthetics to your bathroom space.
In the next step, Step 7, we will test the stability of the towel ring to ensure it can withstand regular use and the weight of towels.
Step 7: Test the stability
After securing the Moen towel ring onto the mounting bracket, it’s important to test its stability to ensure that it can withstand the weight of towels and regular use. By following these steps, you can ensure that your towel ring is securely mounted:
- Apply pressure: Gently apply pressure to the towel ring by placing a towel or your hand on it. This will help you determine if the towel ring feels stable and can hold the weight without wobbling or coming loose.
- Tug test: Give the towel ring a light tug to check if it remains firmly in place. It should not slide or move easily on the mounting bracket.
- Reinforce if necessary: If you notice any instability or movement, double-check the screws and tighten them if needed. Additionally, you may consider adding additional support by using wall anchors or locating a stud behind the towel ring for added stability.
- Repeat the test: Perform the pressure and tug tests multiple times to ensure consistent stability. This will help identify any potential issues that need to be addressed before regular use.
By thoroughly testing the stability of the towel ring, you can ensure its long-term durability and prevent any accidents or damage caused by a loose or unstable installation. It’s better to address any stability issues upfront to avoid future inconveniences or the need for reinstallation.
Once you are satisfied with the stability test and confident in the secure installation of your Moen towel ring, you are now ready to move on to the final step – adding some finishing touches in Step 8.
Step 8: Final touches
Congratulations on successfully installing your Moen towel ring! Now that the towel ring is securely mounted, it’s time to add some final touches to complete the installation process and enhance its overall appearance. Follow these steps to give your bathroom a polished and finished look:
- Clean the area: Wipe off any dust, debris, or fingerprints around the towel ring and the surrounding area. This will ensure a clean and presentable finish.
- Check for alignment: Stand back and visually assess the towel ring’s alignment with other bathroom fixtures and accessories. Make any necessary adjustments to create a visually balanced and cohesive look.
- Secure loose ends: If there are any loose or hanging towel loops, thread them through the ring and adjust as needed. This will ensure a neat and organized appearance.
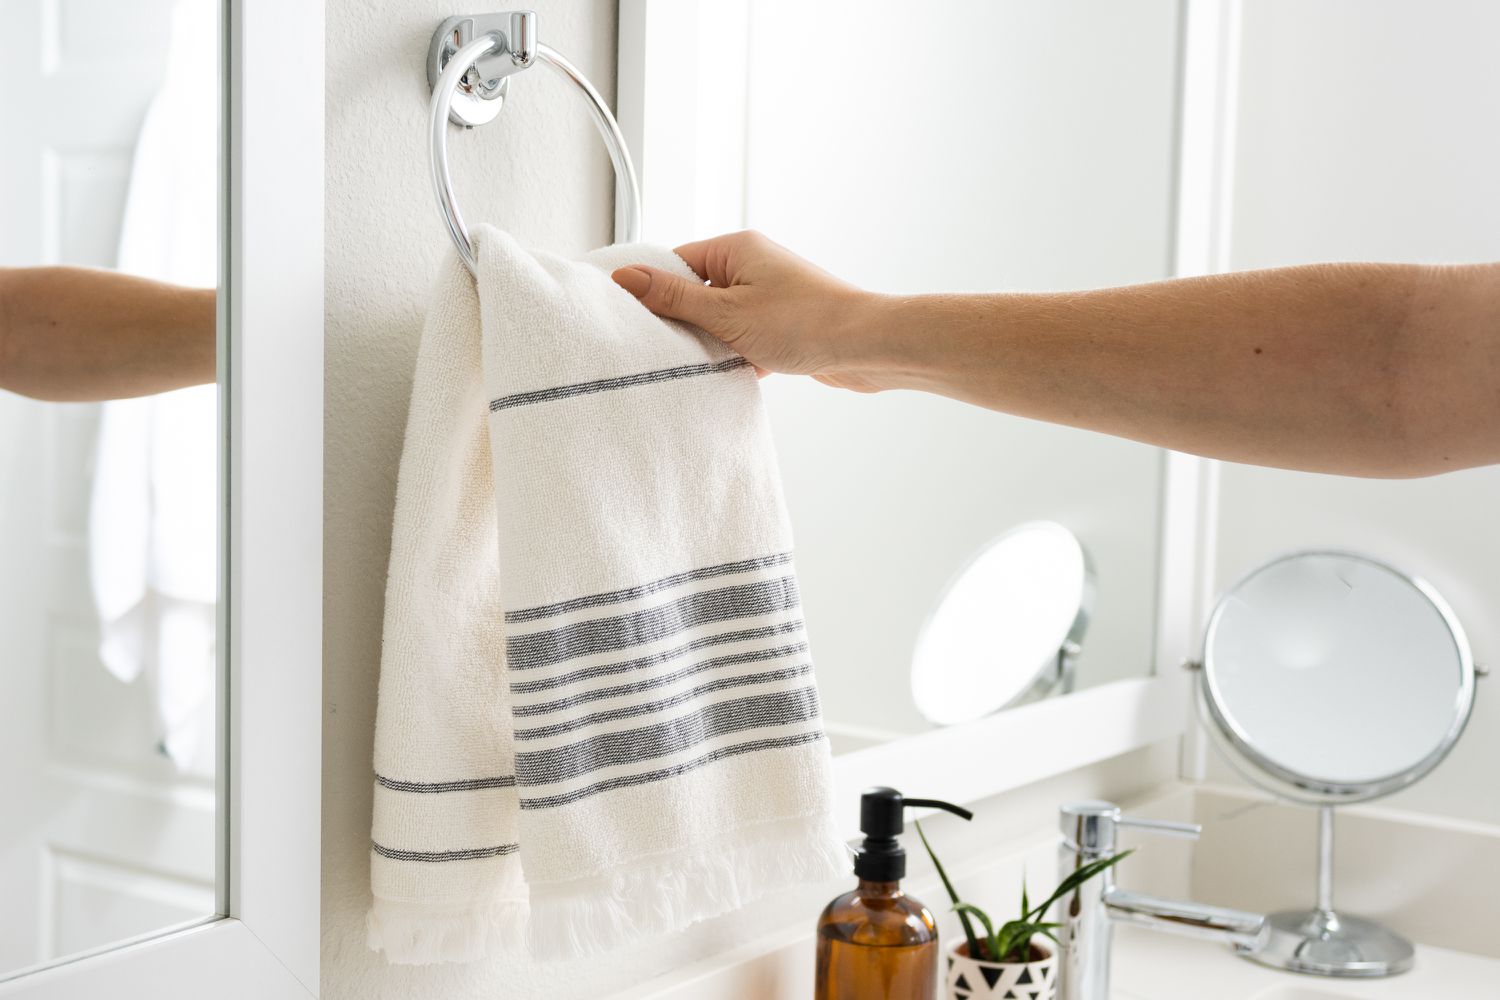
- Verify functionality: Test the functionality of the towel ring by hanging a towel and ensuring that it remains securely in place. Make any minor adjustments to the towel’s position or alignment as necessary.
- Enjoy the finished result: Step back and admire your work! Take a moment to appreciate the stylish and functional addition the Moen towel ring brings to your bathroom.
By focusing on these final touches, you can transform your bathroom into a more organized and visually appealing space. The small details can make a big difference in creating a cohesive and elevated aesthetic.
Remember to periodically check the towel ring to ensure it remains secure over time. If you notice any loosening or instability, promptly tighten any loose screws to maintain a solid and reliable installation.
Thank you for following this step-by-step guide on how to mount a Moen towel ring. We hope this installation process has been helpful and that you enjoy your newly installed towel ring for years to come!
Conclusion
Mounting a Moen towel ring is a straightforward DIY project that can enhance the functionality and style of your bathroom. By following the step-by-step guide provided, you can confidently install your towel ring and achieve a secure and visually appealing result.
Throughout the installation process, we’ve covered important steps such as gathering the necessary tools, determining the location, marking the spot, preparing the mounting area, installing the mounting bracket, securing the towel ring, testing the stability, and adding the final touches. Each step is essential in ensuring a successful installation that will withstand regular use and provide a convenient place to hang your towels.
Remember to always read and follow the instructions provided by Moen for your specific towel ring model. This will ensure that you correctly install and secure the towel ring according to the manufacturer’s guidelines.
As you enjoy your newly installed Moen towel ring, make sure to periodically check for any signs of loosening or instability. Promptly address any issues and tighten the screws as needed to maintain a reliable installation.
We hope this guide has been helpful in assisting you with mounting your Moen towel ring. Whether you are upgrading your bathroom decor or simply replacing an old towel ring, proper installation is key to achieving the desired functionality and aesthetic appeal.
Thank you for following along, and we wish you many enjoyable and convenient towel-hanging moments in your beautifully enhanced bathroom!
Frequently Asked Questions about How To Mount A Moen Towel Ring
Was this page helpful?
At Storables.com, we guarantee accurate and reliable information. Our content, validated by Expert Board Contributors, is crafted following stringent Editorial Policies. We're committed to providing you with well-researched, expert-backed insights for all your informational needs.


0 thoughts on “How To Mount A Moen Towel Ring”