Articles
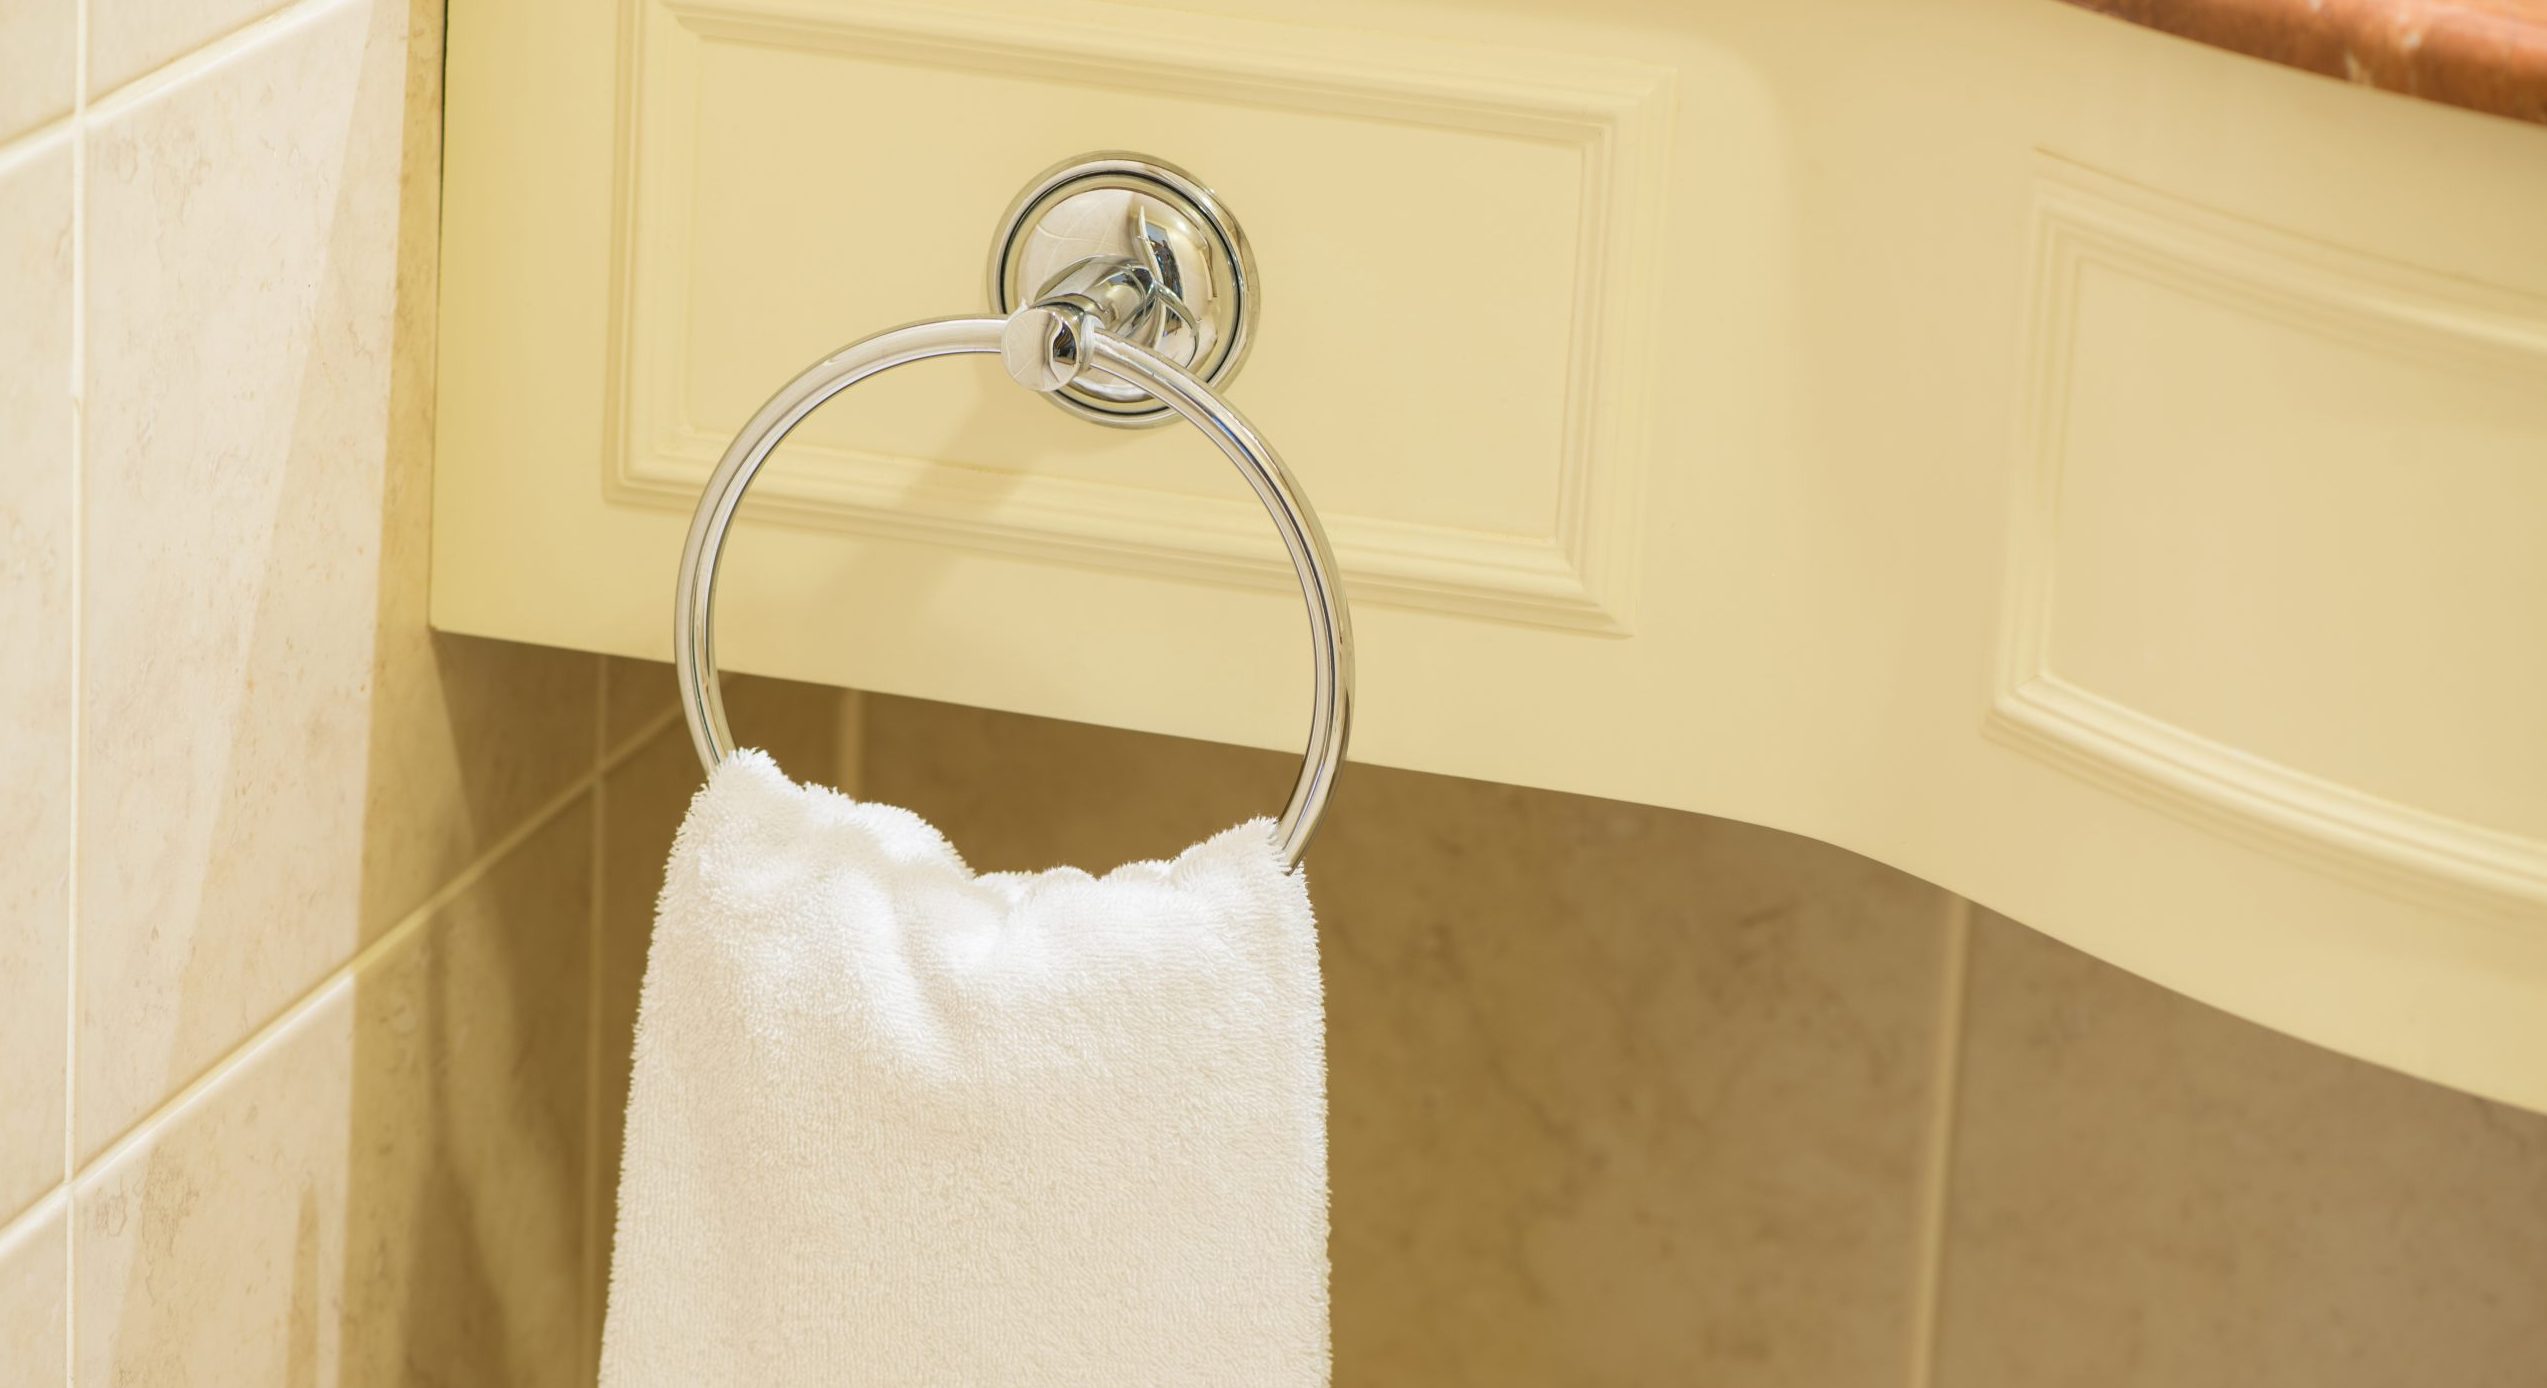
How To Install A Towel Ring Without Screws
Modified: October 22, 2024
Learn how to easily install a towel ring without the need for screws. Our step-by-step articles provide simple and effective solutions for your bathroom needs.
(Many of the links in this article redirect to a specific reviewed product. Your purchase of these products through affiliate links helps to generate commission for Storables.com, at no extra cost. Learn more)
Introduction
Installing a towel ring without screws may seem like a daunting task, but with the right techniques and materials, it can be a simple and efficient process. Whether you are a renter who wants to avoid damaging the walls or simply prefer an alternative method, using adhesive or mounting tape can provide a secure and hassle-free solution.
In this article, we will guide you through the step-by-step process of installing a towel ring without screws. We will cover everything from gathering the necessary materials to testing the stability of your installation. By following these instructions, you can have a functional and stylish towel ring in just a few easy steps.
So, let’s get started with the first step – gathering the materials you will need for this project.
Key Takeaways:
- Say goodbye to wall damage
Installing a towel ring without screws is a hassle-free solution for renters and those who prefer an alternative method. With adhesive or mounting tape, you can enjoy a functional and stylish towel ring without damaging your walls. - Secure and stylish towel storage
By following the step-by-step guide, you can confidently install a towel ring using adhesive or mounting tape. Choose an ideal location, prepare the surface, and allow for proper drying to enjoy a secure and stylish towel storage solution.
Read more: How To Install A Towel Ring With A Set Screw
Step 1: Gather Materials
Before you begin installing a towel ring without screws, it is important to gather all the necessary materials. Having everything ready will ensure a smooth and hassle-free installation process. Here is a list of materials you will need:
- Adhesive or mounting tape: Look for a high-quality adhesive or mounting tape specifically designed for use on walls. Make sure it is strong enough to support the weight of the towel ring.
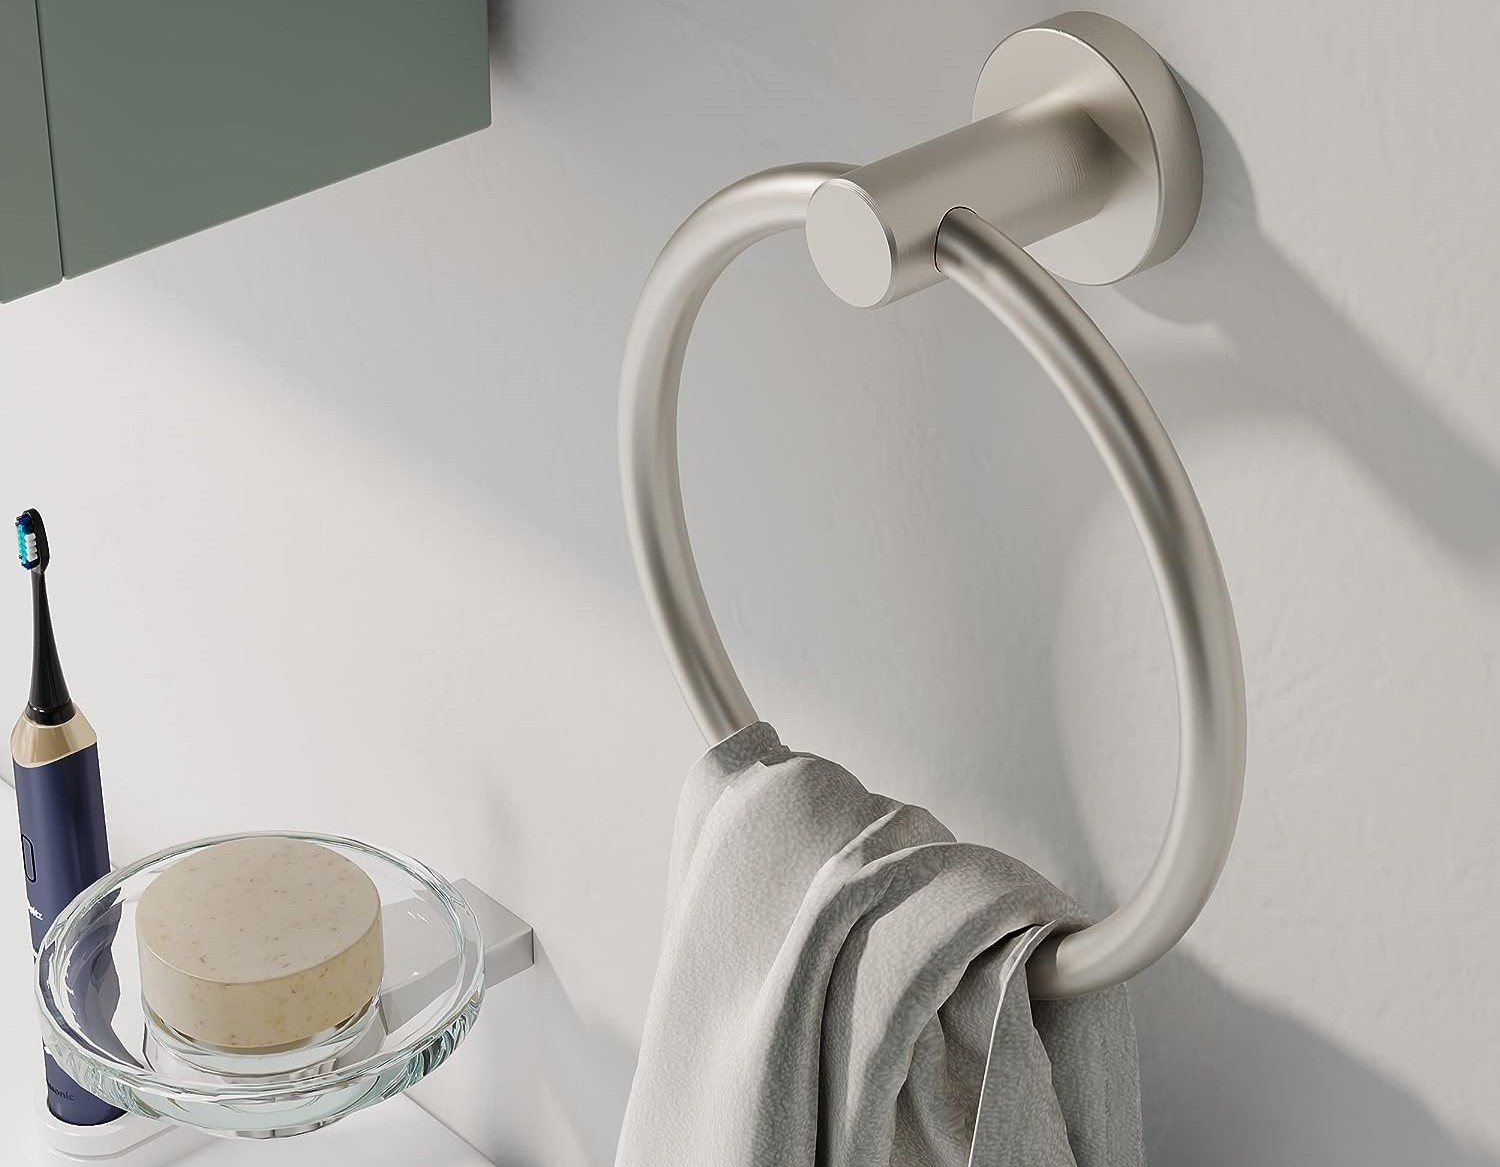
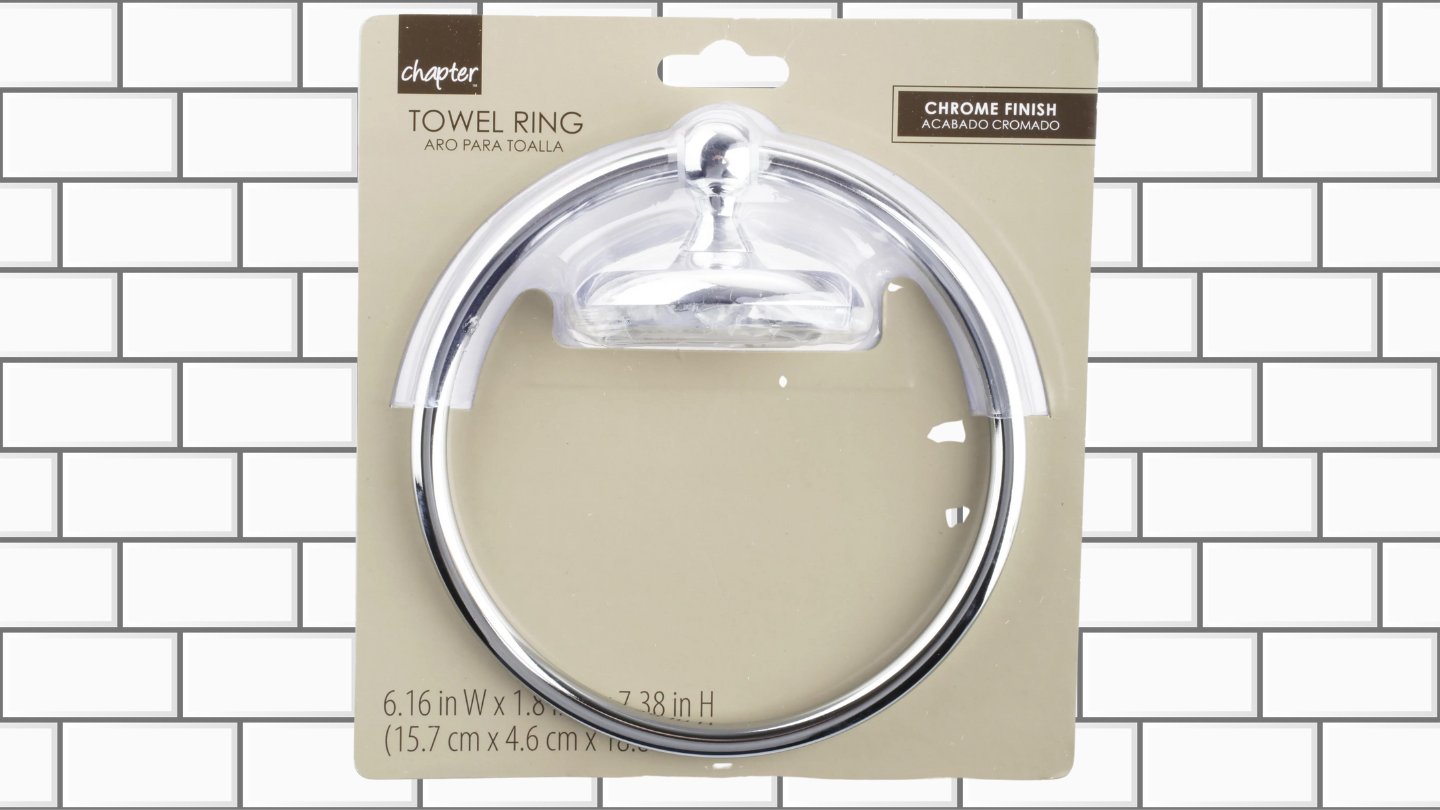
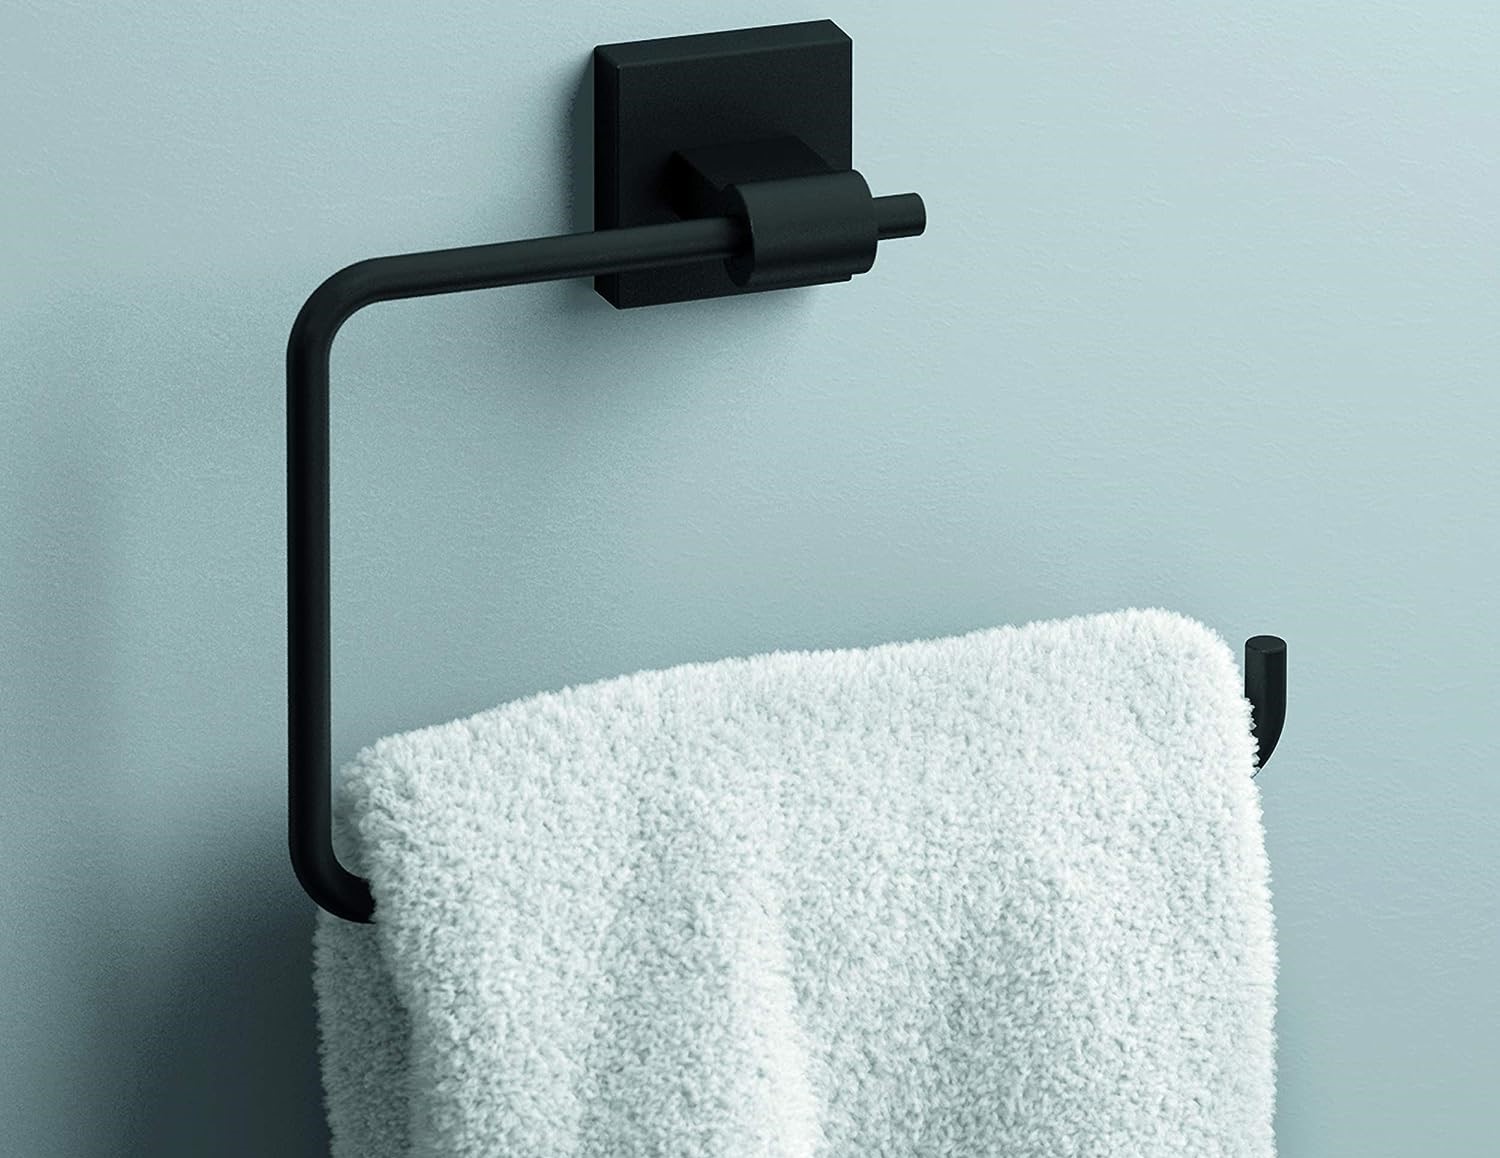
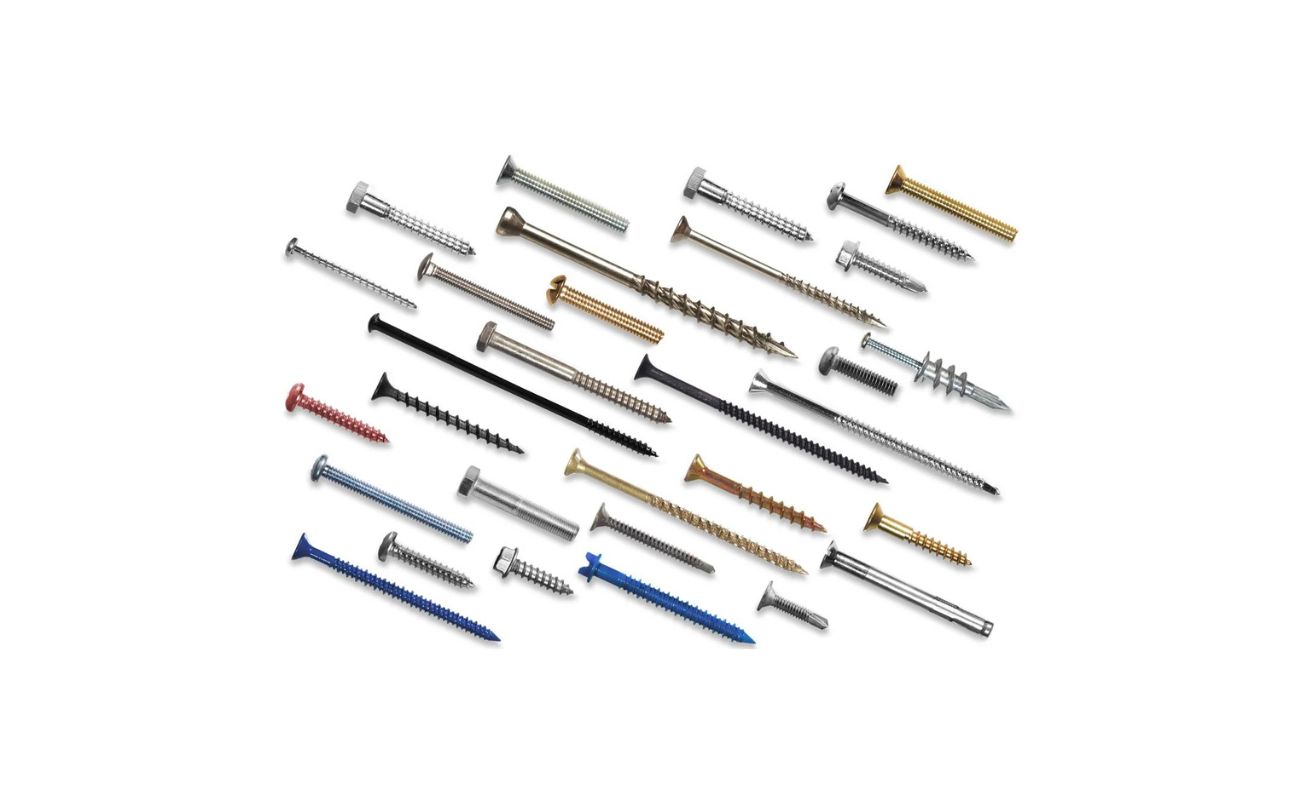
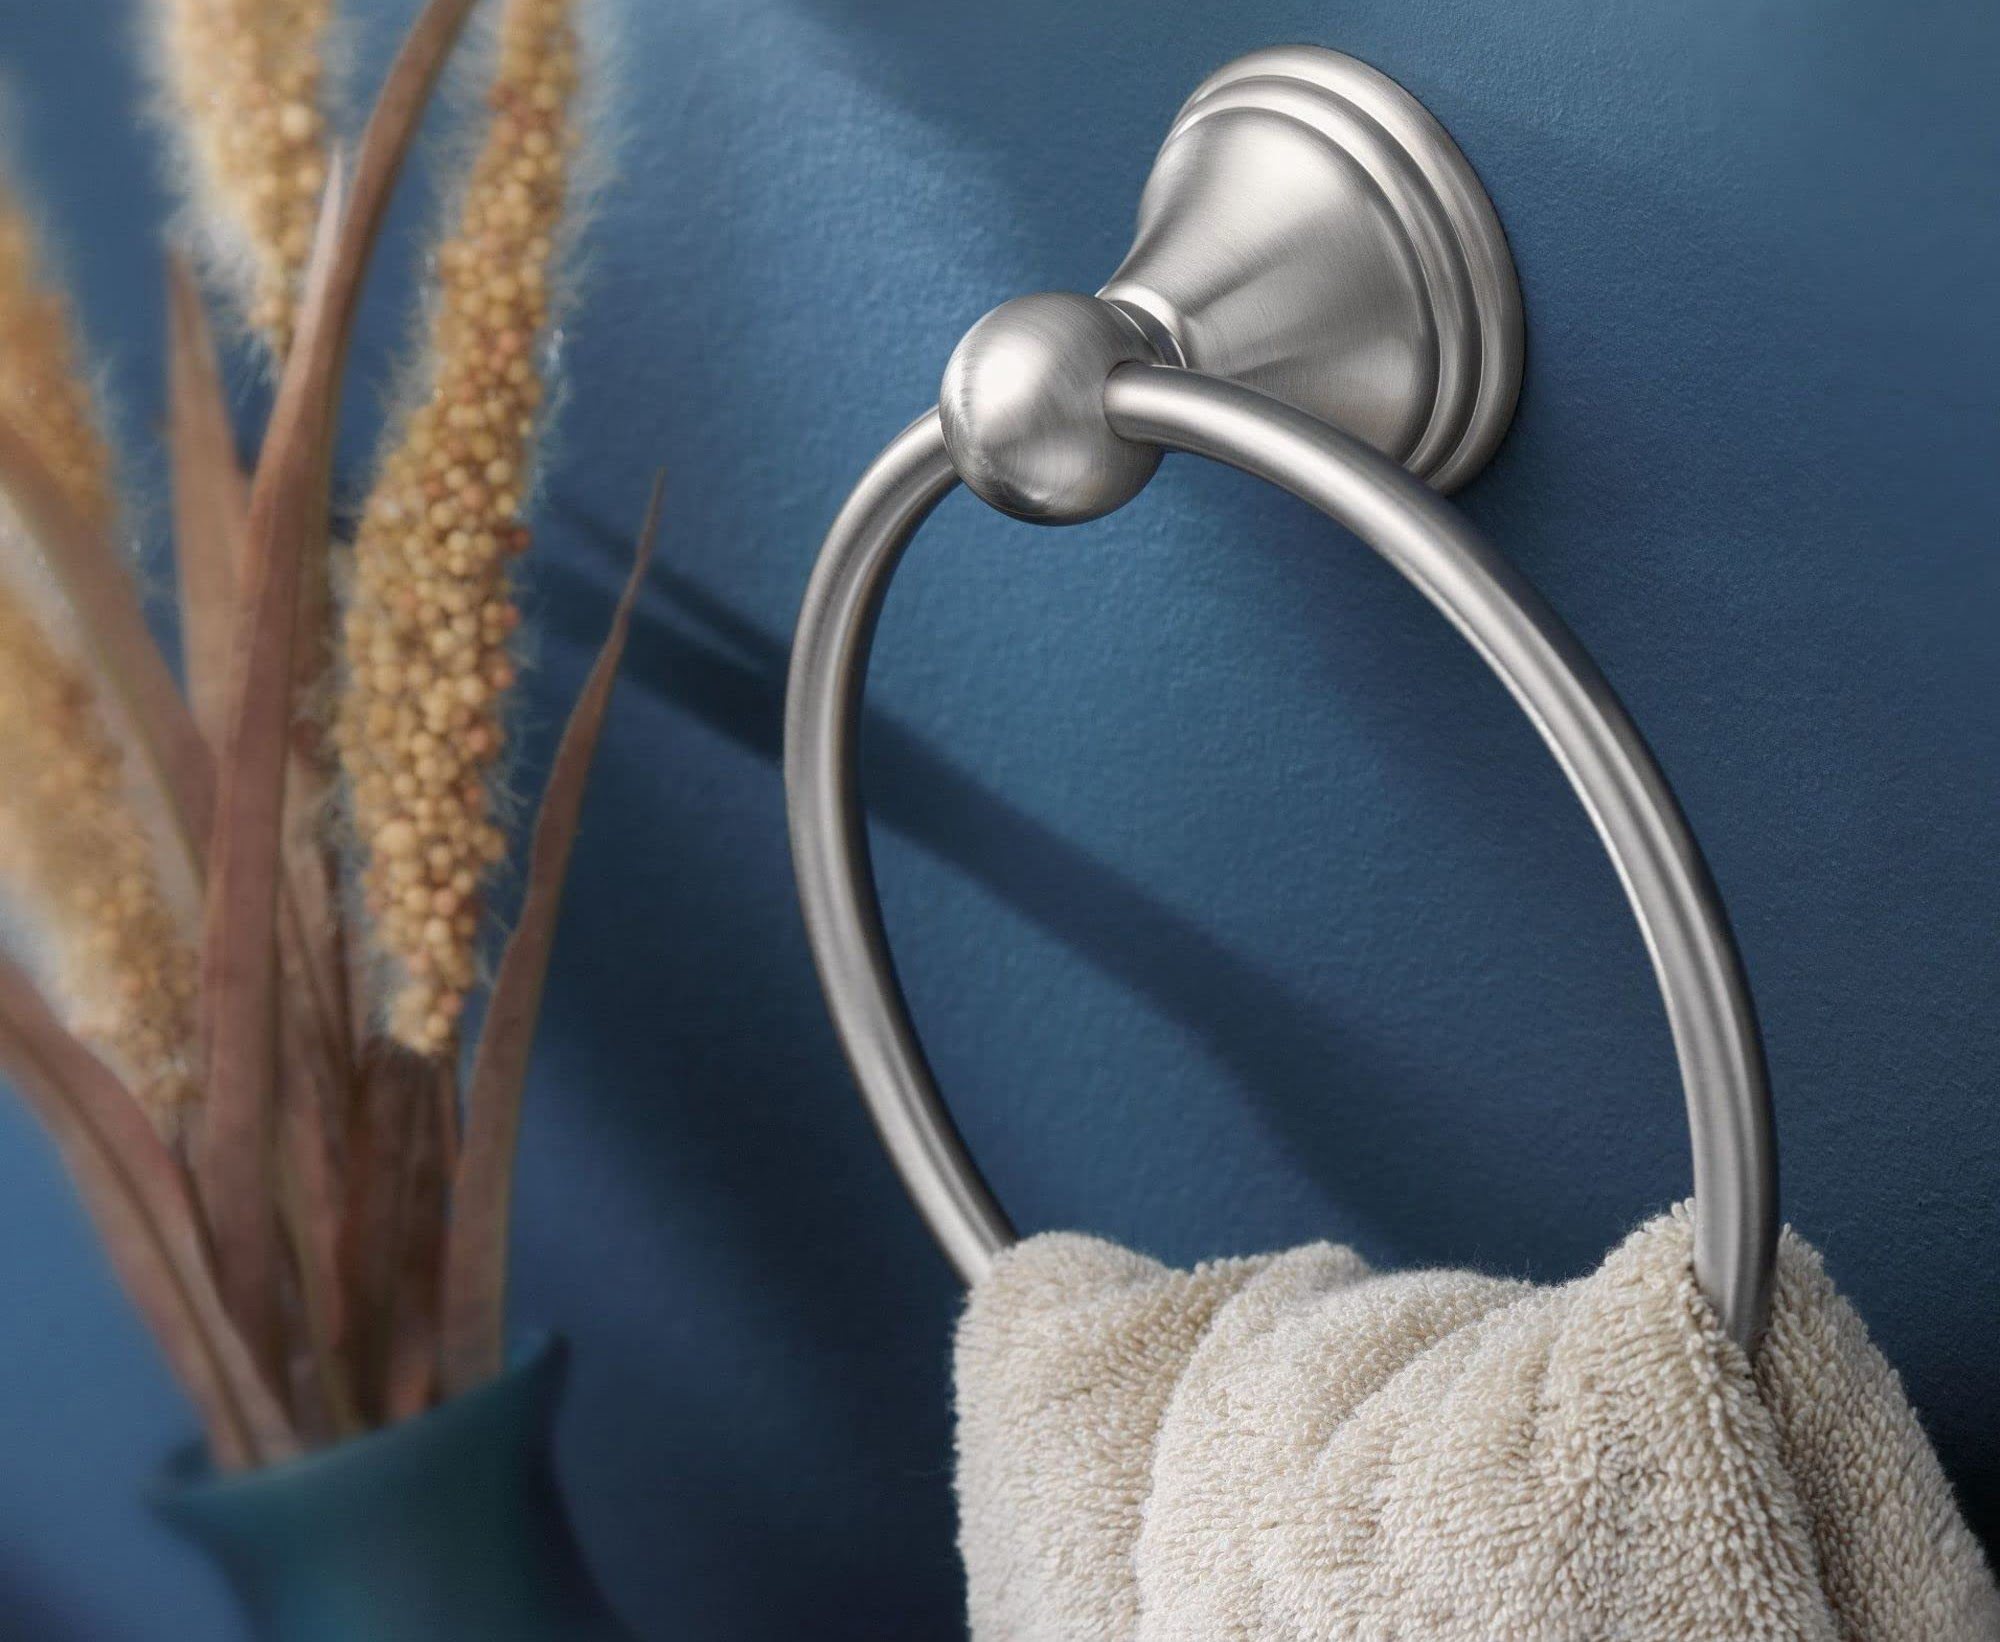
- Towel ring: Choose a towel ring that suits your style and matches the overall aesthetic of your bathroom. There are various designs and finishes available to choose from, so select one that fits your preferences.
- Clean cloth: A clean cloth or rag will come in handy during the installation process to wipe and clean the surface of the wall.
- Measuring tape: You will need a measuring tape to ensure accurate placement of the towel ring. This will help you determine the ideal distance from other fixtures or objects in your bathroom.
- Level: A level tool will ensure that the towel ring is properly aligned and straight.
- Pencil or marker: Use a pencil or a marker to mark the desired location for the towel ring on the wall.
- Optional: If the surface of your wall is uneven or has imperfections, you may want to consider using a sanding block or filler to smooth it out before installing the towel ring.
Once you have gathered all the necessary materials, you are ready to move on to the next step – choosing the location for your towel ring.
Step 2: Choose a Location
Choosing the right location for your towel ring is crucial for both functionality and aesthetics. You’ll want to consider factors such as accessibility, convenience, and visual appeal. Here are some guidelines to help you choose the perfect spot:
- Accessibility: The towel ring should be easily accessible from the shower or bathtub area. It should be within arm’s reach, allowing you to easily grab and hang your towel.
- Height: Aim to install the towel ring at a height that is convenient for everyone in your household. The standard height is around 48-54 inches (approximately 121-137 cm) from the floor.
- Consider wall space: Take note of the available wall space in your bathroom. Choose a location that is not obstructed by other fixtures, such as mirrors, cabinets, or electrical outlets.
- Avoid moisture-prone areas: Keep in mind that excessive moisture can weaken adhesive or mounting tape. Try to avoid installing the towel ring in areas that are frequently exposed to water, such as directly above the showerhead.
- Aesthetics: Consider the overall aesthetics of your bathroom. Choose a location that complements the style and design of the space.
Once you have chosen the ideal location for your towel ring, mark it using a pencil or marker. Take a step back and double-check if the chosen spot meets all the criteria mentioned above.
Now that you have chosen the location, it’s time to prepare the surface before applying adhesive or mounting tape. This brings us to step 3 of the installation process.
Step 3: Prepare the Surface
Before applying adhesive or mounting tape, it is crucial to ensure that the surface of the wall is clean, dry, and free of any debris. This will help the adhesive or tape form a strong bond and ensure the longevity of your towel ring installation. Follow these steps to properly prepare the surface:
- Remove any existing towel ring or hardware: If there is an old towel ring or any other hardware in the chosen location, remove it carefully. Clean the area where the previous hardware was attached to remove any residue.
- Clean the surface: Use a clean cloth or rag to wipe down the wall surface. Remove any dust, dirt, or grease that may be present. If needed, mild soap and warm water can be used for stubborn stains or buildup.
- Dry the wall: Ensure that the wall is completely dry before moving forward with the installation. Moisture can interfere with the adhesive or mounting tape’s effectiveness.
- Optional: If the surface of your wall is uneven or has imperfections, consider using a sanding block or filler to smooth it out. This will help create a flat and even surface for the adhesive or tape to adhere to.
Take your time during this step to ensure that the surface is thoroughly cleaned and prepared. This will help guarantee a strong and secure attachment between the towel ring and the wall. Once the surface is clean and dry, you can proceed to the next step – applying the adhesive or mounting tape.
Step 4: Apply Adhesive or Mounting Tape
Now that the surface is clean and prepared, it’s time to apply adhesive or mounting tape to securely attach the towel ring to the wall. Follow these steps to ensure a strong and durable installation:
- Read the manufacturer’s instructions: Different adhesive or mounting tape products may have specific instructions and recommendations. Familiarize yourself with the instructions provided by the manufacturer.
- Apply the adhesive or tape: Apply a generous amount of adhesive or cut a piece of mounting tape to the appropriate length. Make sure to distribute it evenly on the backside of the towel ring or on the designated area of the wall.
- Press firmly: Press the towel ring firmly against the wall, applying even pressure to ensure good adhesion. Use your hands or a level tool to make sure it is straight and aligned with the markings you made earlier.
- Hold it in place: Depending on the adhesive or tape you are using, you may need to hold the towel ring in place for a specified period of time. This will allow the adhesive or tape to create a strong bond with the wall surface.
Make sure to follow the manufacturer’s recommended curing time and weight capacity guidelines. This will ensure that the towel ring remains secure and stable once installed. Avoid putting any weight or strain on the towel ring until the adhesive or tape has fully cured.
With the towel ring securely attached, you can move on to the next step – allowing sufficient time for drying.
Use adhesive mounting tape designed for bathroom accessories to attach the towel ring to the wall without the need for screws. Make sure to clean and dry the wall surface before applying the tape for a secure hold.
Read more: How To Remove Towel Ring Without Set Screw
Step 5: Attach the Towel Ring
Now that you have applied the adhesive or mounting tape and secured the towel ring to the wall, it’s time to attach the actual towel ring. Follow these steps to ensure a proper attachment:
- Position the towel ring: Gently position the towel ring onto the adhesive or tape, aligning it with the attachment point.
- Push and twist: Apply a slight amount of pressure while twisting the towel ring clockwise or counterclockwise, depending on the design. This will help secure it in place and create a snug fit.
- Check alignment: Use a level tool or visually inspect the towel ring to ensure that it is properly aligned and straight. Make any necessary adjustments before the adhesive or tape fully sets.
Take your time during this step to ensure that the towel ring is properly attached. Double-check its stability and alignment before moving on to the next step.
With the towel ring securely attached, it’s important to allow sufficient time for drying and curing, ensuring a strong and durable installation.
Step 6: Allow Time to Dry
After attaching the towel ring, it is important to allow sufficient time for the adhesive or mounting tape to dry and set properly. This will ensure a strong and secure installation. Follow these guidelines to ensure effective drying:
- Refer to the manufacturer’s instructions: Different adhesive or mounting tape products may have varying drying times. Refer to the instructions provided by the manufacturer to determine the recommended drying duration.
- Avoid putting weight on the towel ring: During the drying period, it is important to avoid placing any weight or strain on the towel ring. This can disrupt the bonding process and compromise the stability of the installation.
- Stay patient: It can be tempting to test the towel ring’s strength before it is fully dried, but it is important to exercise patience. Allow ample time for the adhesive or mounting tape to dry and set as recommended by the manufacturer. This will ensure a long-lasting and secure attachment.
By following these guidelines and allowing sufficient drying time, you can ensure that your towel ring remains securely attached to the wall. Once the drying period is complete, you can proceed to the final step – testing the stability of the installation.
Step 7: Test the Stability
Once the adhesive or mounting tape has fully dried, it is essential to test the stability of the towel ring installation. This will help ensure that it can securely hold the weight of your towels and withstand everyday use. Follow these steps to test the stability:
- Gently tug on the towel ring: Carefully apply pressure by gently tugging on the towel ring to test its stability. Make sure to do this with caution, as excessive force may damage the adhesive or tape.
- Check for any movement: Pay close attention to whether the towel ring moves or feels loose. If there is any noticeable movement, you may need to reinforce the attachment using additional adhesive or mounting tape.
- Hang a towel: Hang a towel on the ring and observe if it stays securely in place. Give it a little shake to ensure it doesn’t easily come off. If the towel ring holds the towel without any issues, it is a good indication of a stable installation.
If there are any concerns about the stability of the towel ring, consider reinforcing the attachment by applying extra adhesive or mounting tape as needed. It’s better to address any issues before regularly using the towel ring to prevent accidents.
By following these steps and conducting a stability test, you can ensure that your towel ring is securely installed and ready for use.
Conclusion
Installing a towel ring without screws can be a simple and effective solution, whether you are a renter looking to avoid damaging walls or simply prefer an alternative method. By following the step-by-step instructions outlined in this article, you can successfully install a towel ring using adhesive or mounting tape.
Remember, the key to a successful installation is proper preparation and attention to detail. Gather all the necessary materials, choose an ideal location, ensure the surface is clean and prepared, and carefully apply the adhesive or mounting tape. Allow sufficient drying time before testing the stability of the towel ring installation.
By choosing the right location, considering accessibility and aesthetics, and following the manufacturer’s instructions, you can ensure a secure and functional towel ring in your bathroom. The adhesive or mounting tape should provide a sturdy attachment, allowing you to hang your towels with confidence.
However, it is important to note that the lifespan of an adhesive-based installation may vary depending on factors such as humidity, weight, and maintenance. If you notice any issues or instability over time, it may be necessary to reapply the adhesive or mounting tape or explore alternative installation methods.
Overall, installing a towel ring without screws can be a convenient and damage-free solution, providing both functionality and style in your bathroom. Enjoy the convenience of a towel ring in your desired location without the hassle of drilling holes or using screws.
Now that you have learned how to install a towel ring without screws, it’s time to get started on your own installation project. Follow the steps outlined in this article, and you’ll have a fully functional and stylish towel ring in no time!
Frequently Asked Questions about How To Install A Towel Ring Without Screws
Was this page helpful?
At Storables.com, we guarantee accurate and reliable information. Our content, validated by Expert Board Contributors, is crafted following stringent Editorial Policies. We're committed to providing you with well-researched, expert-backed insights for all your informational needs.


0 thoughts on “How To Install A Towel Ring Without Screws”