Articles
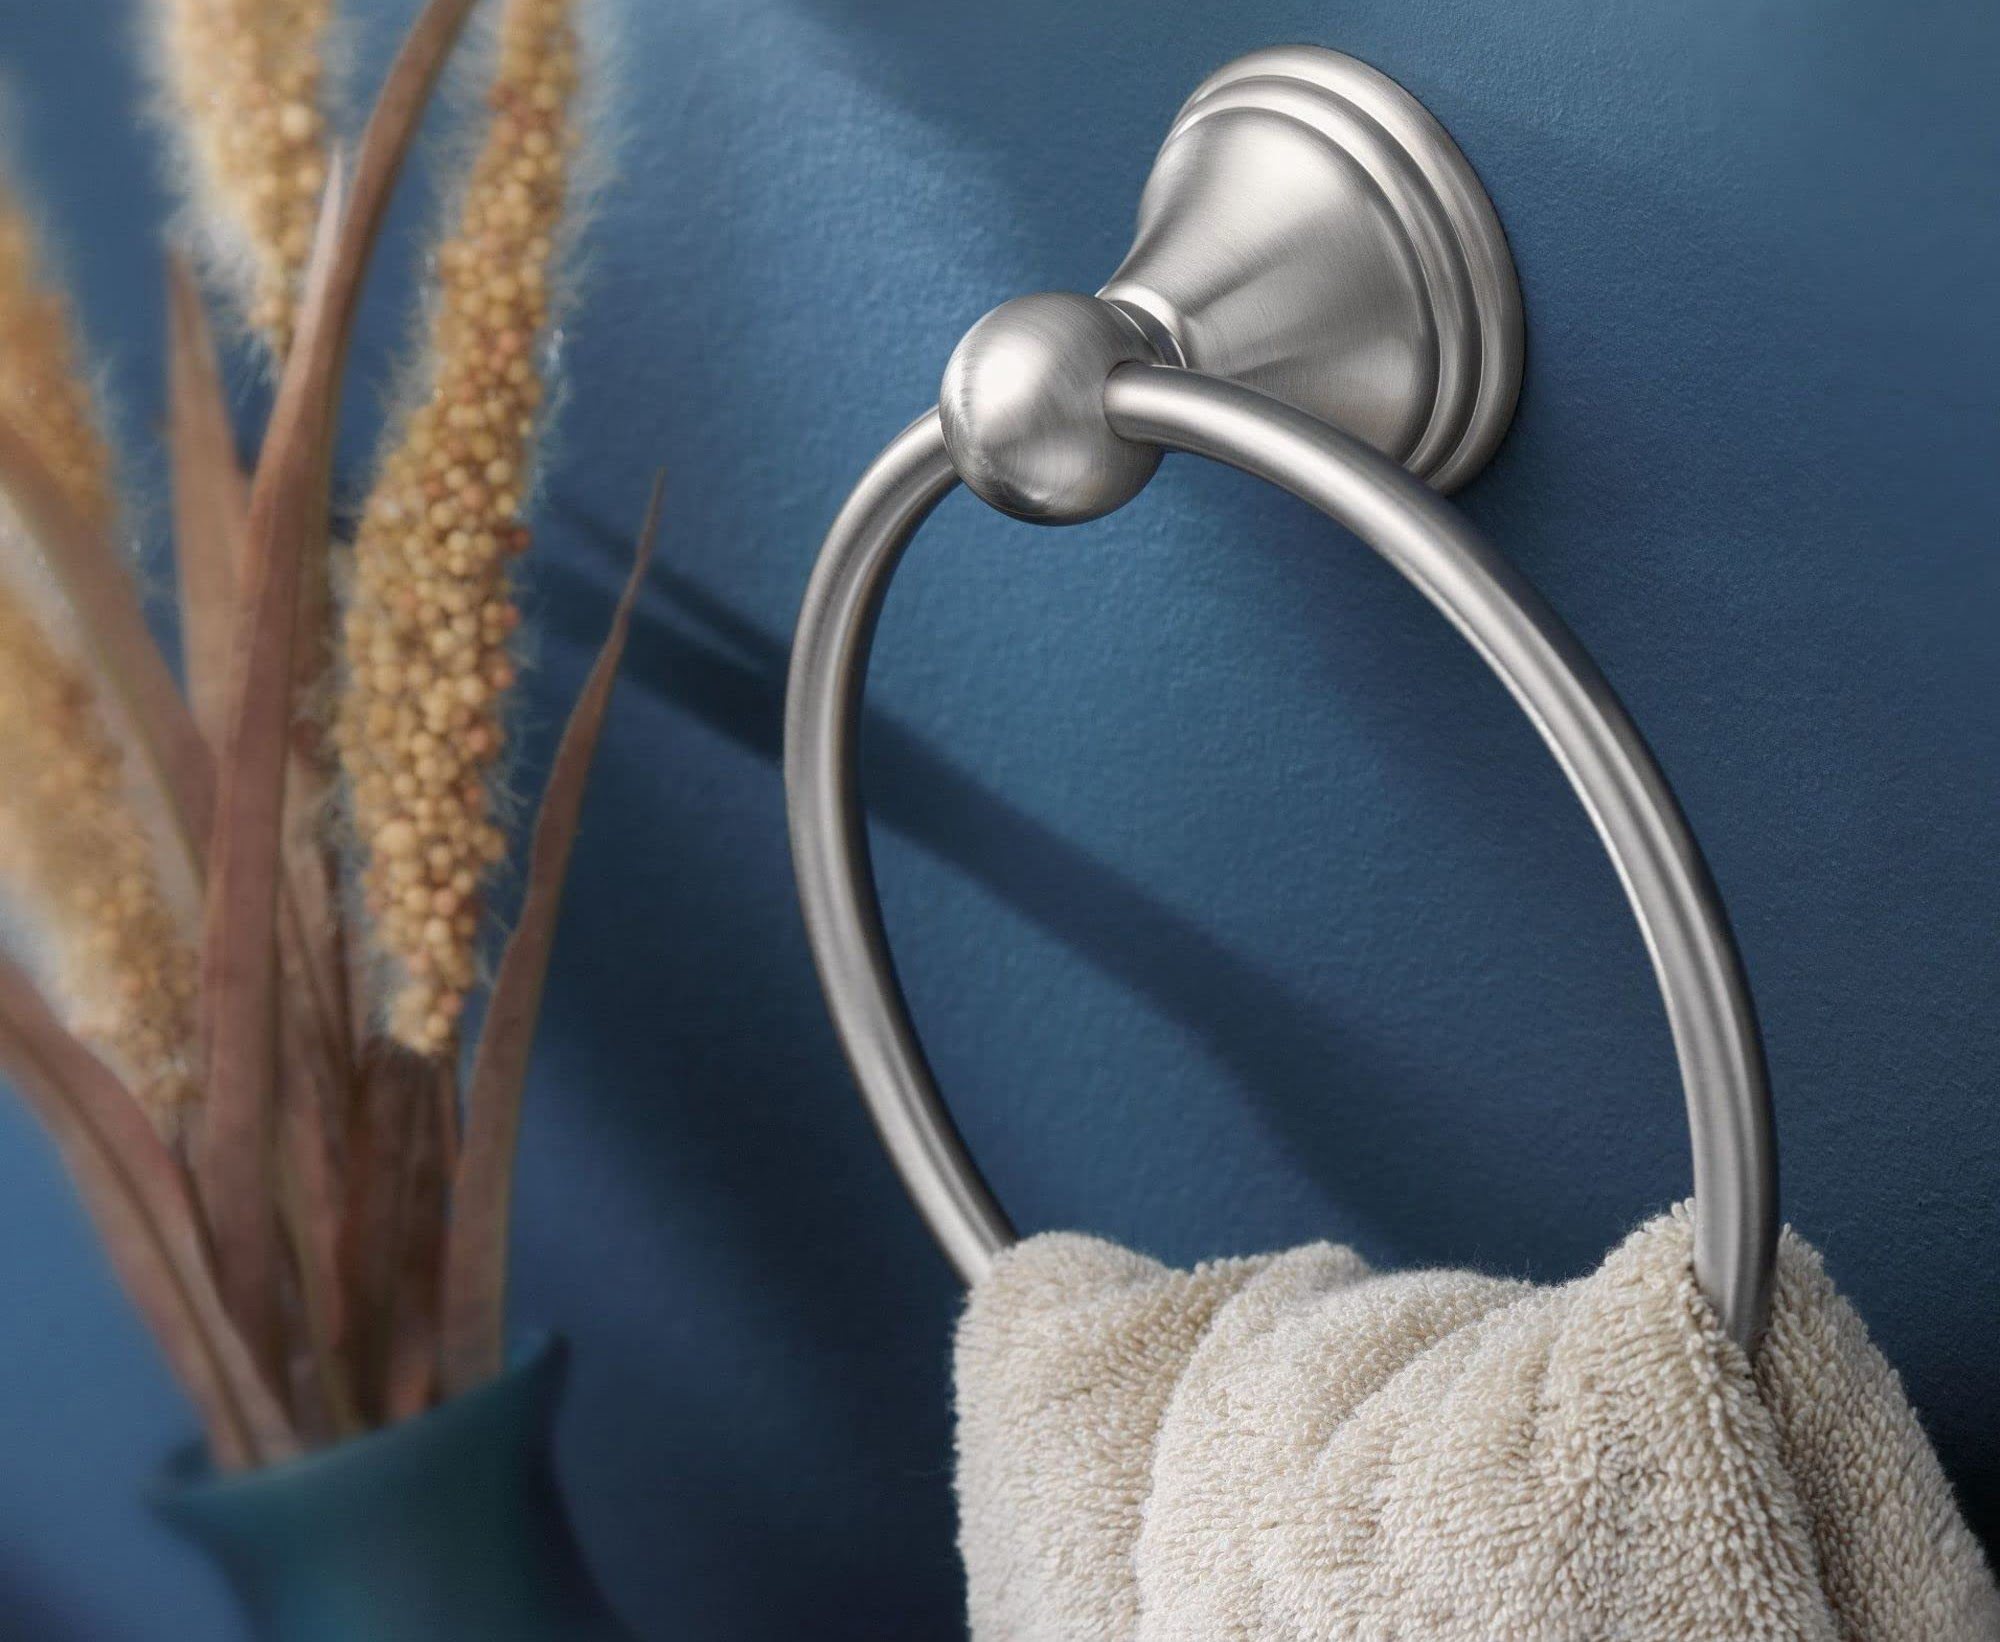
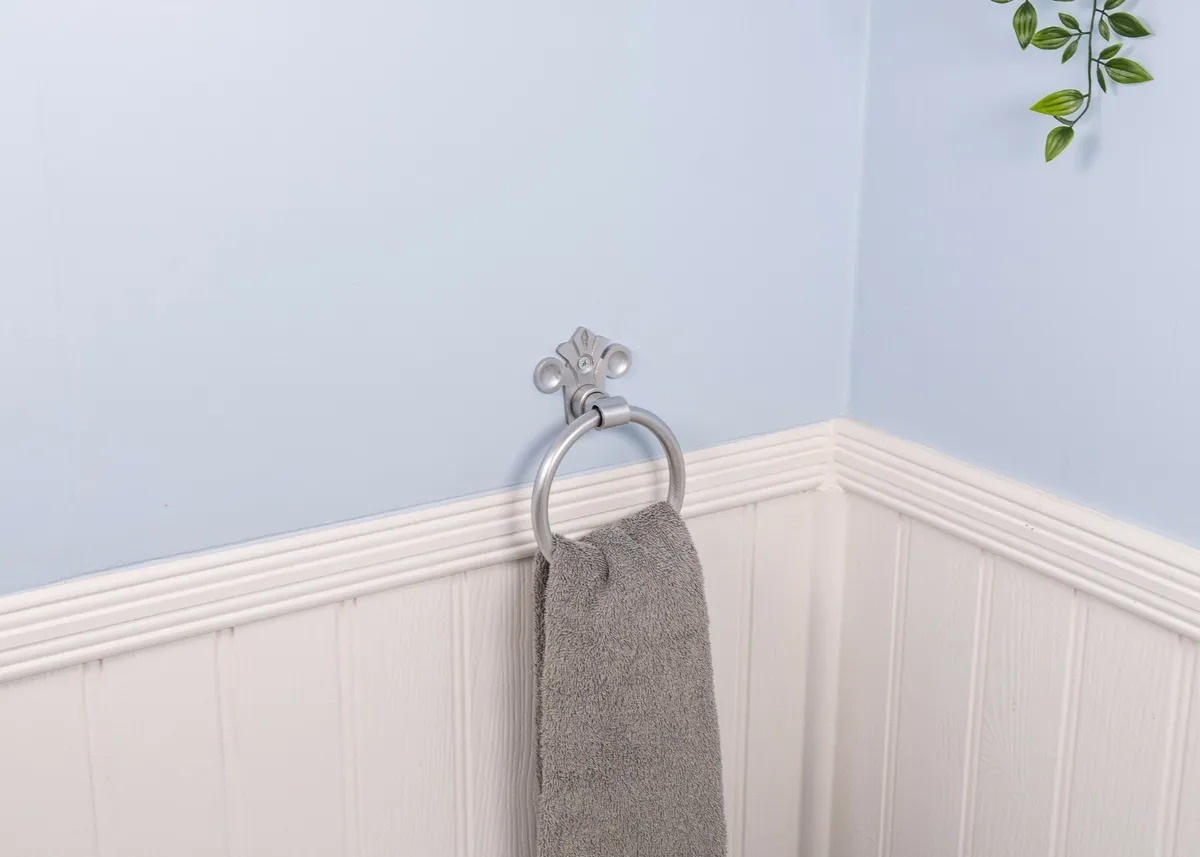
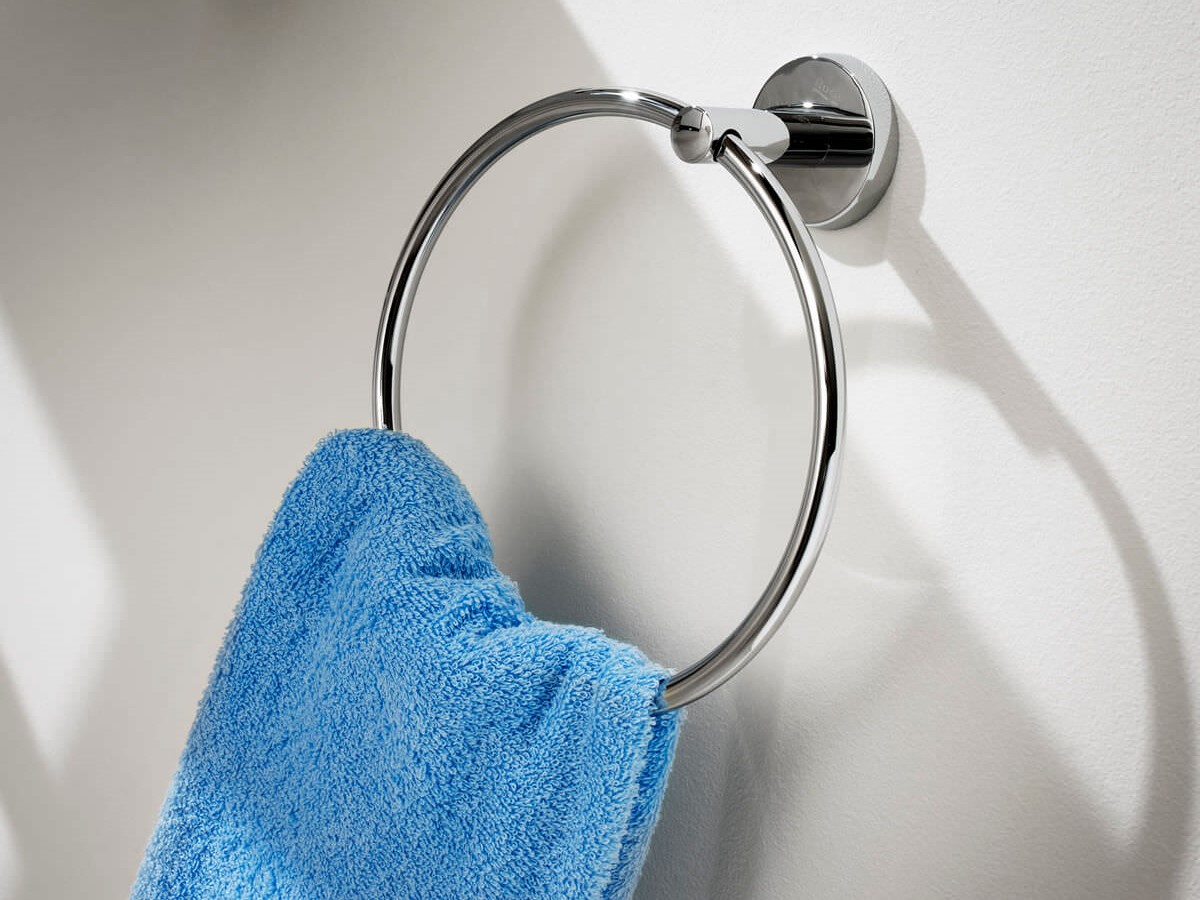
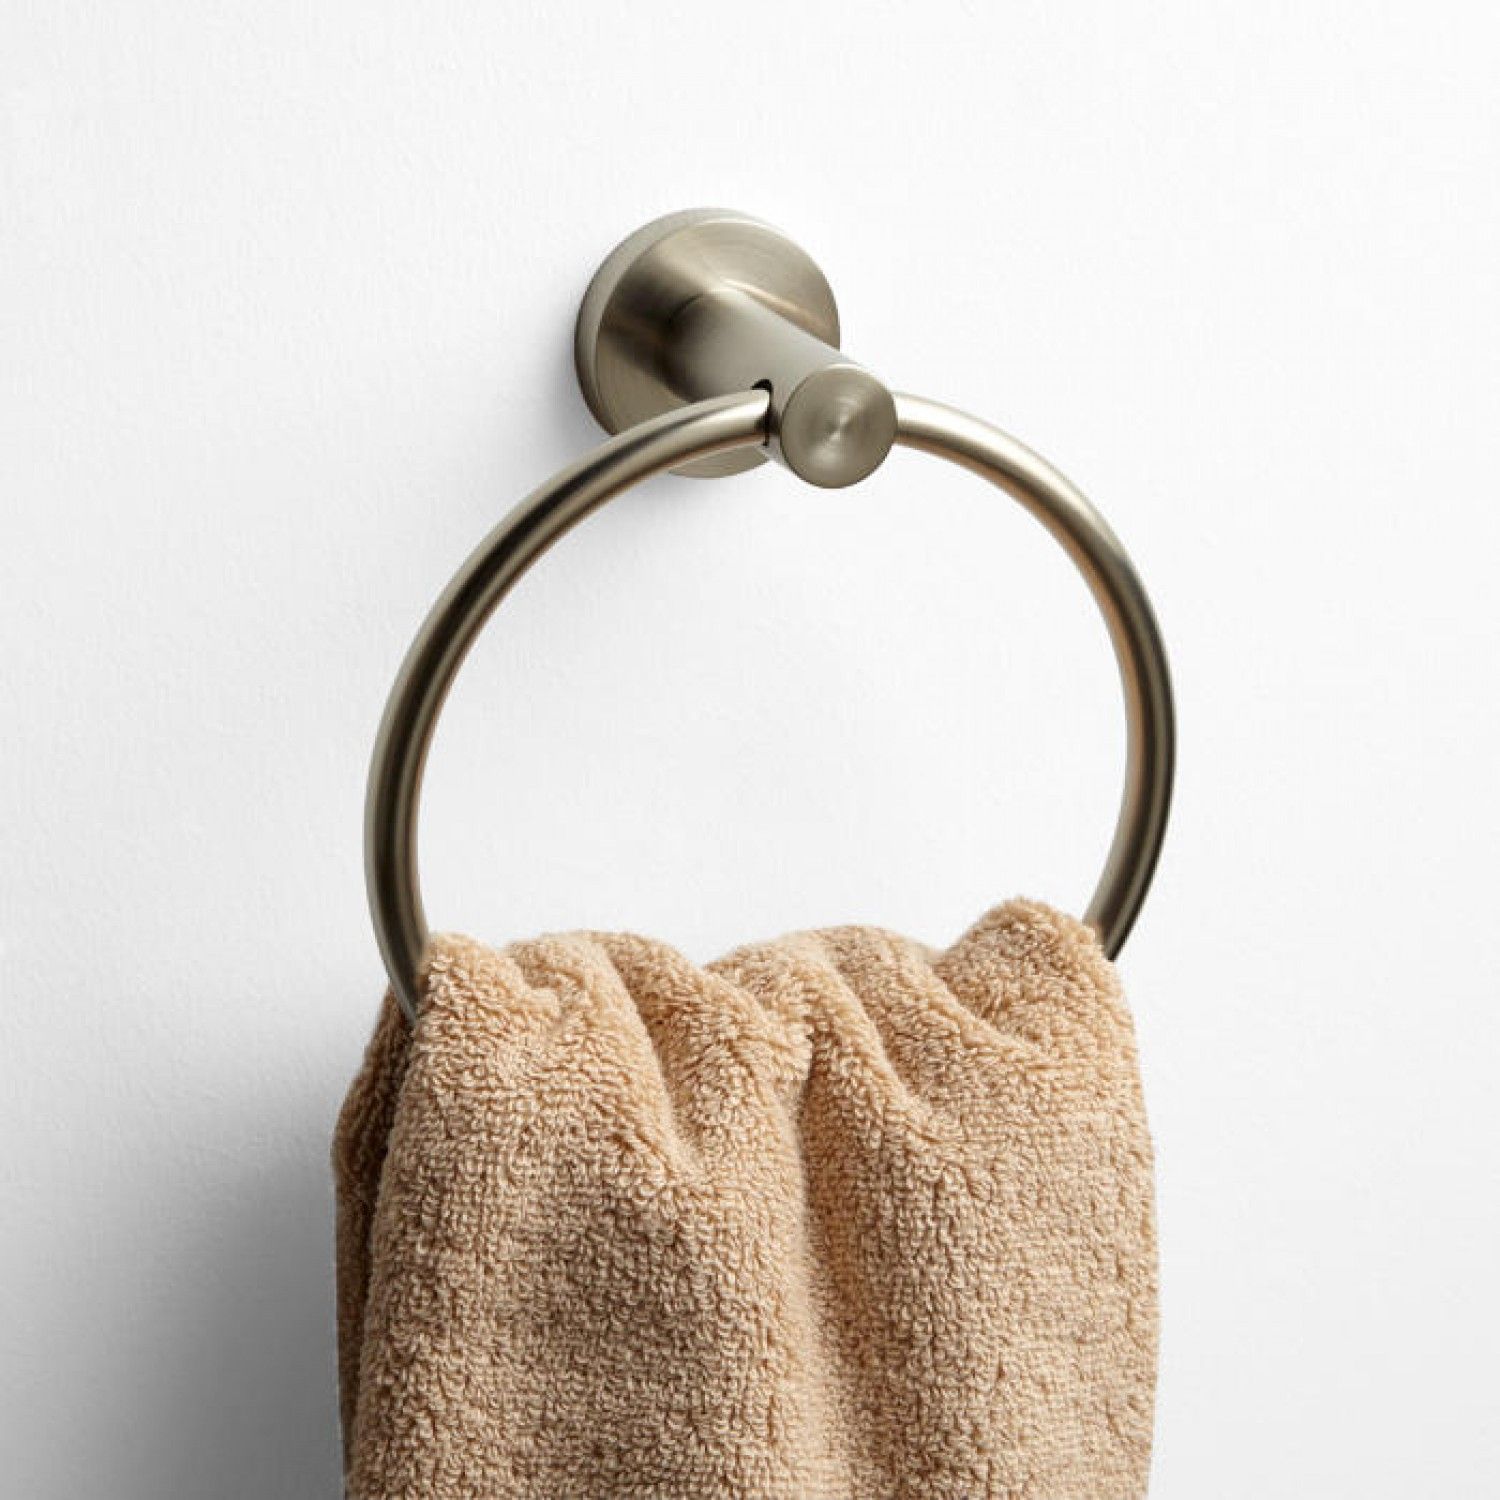
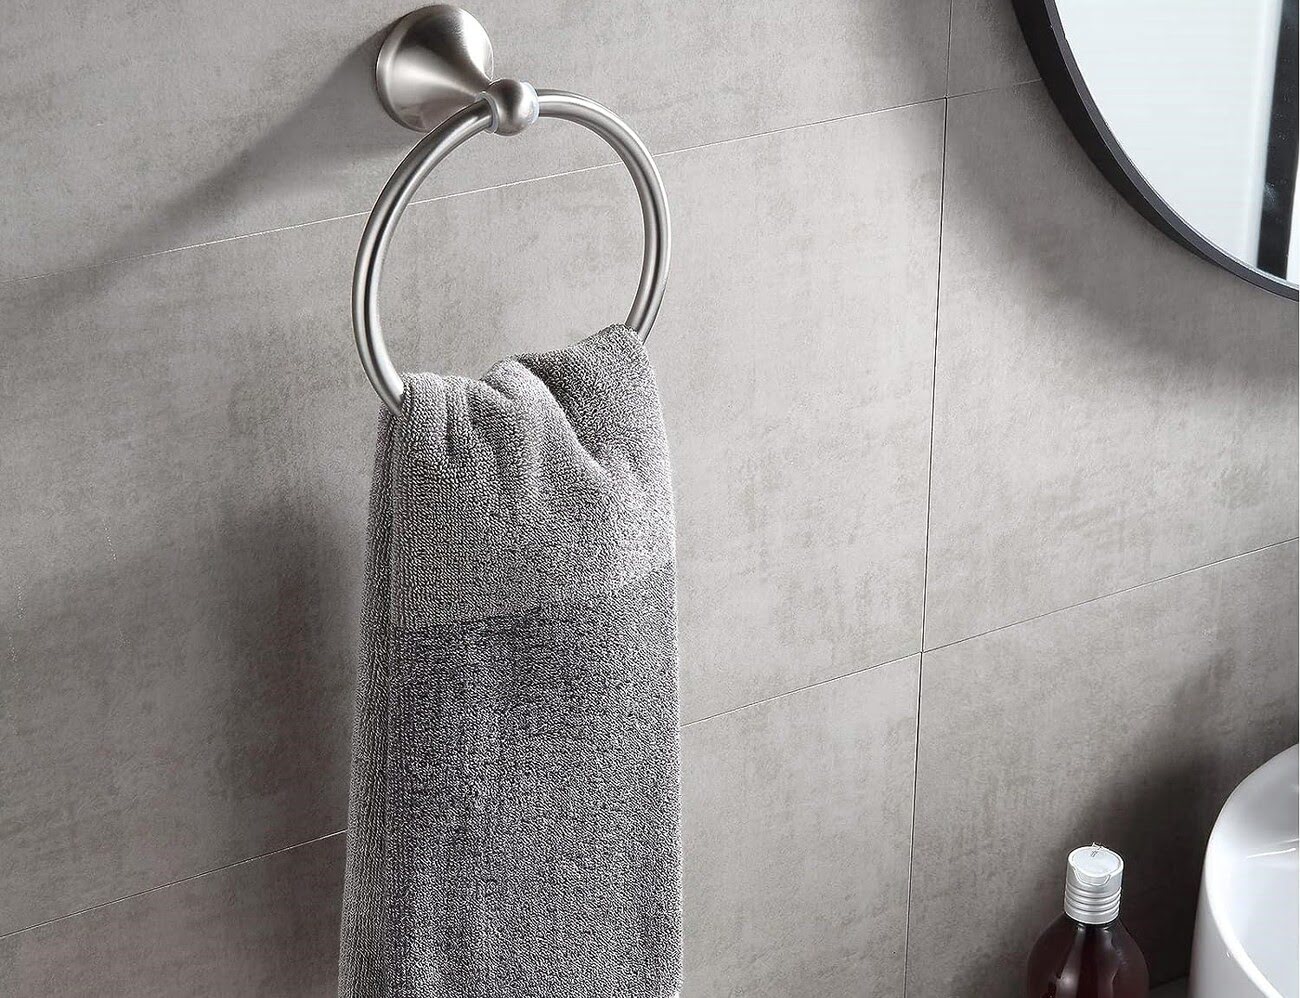
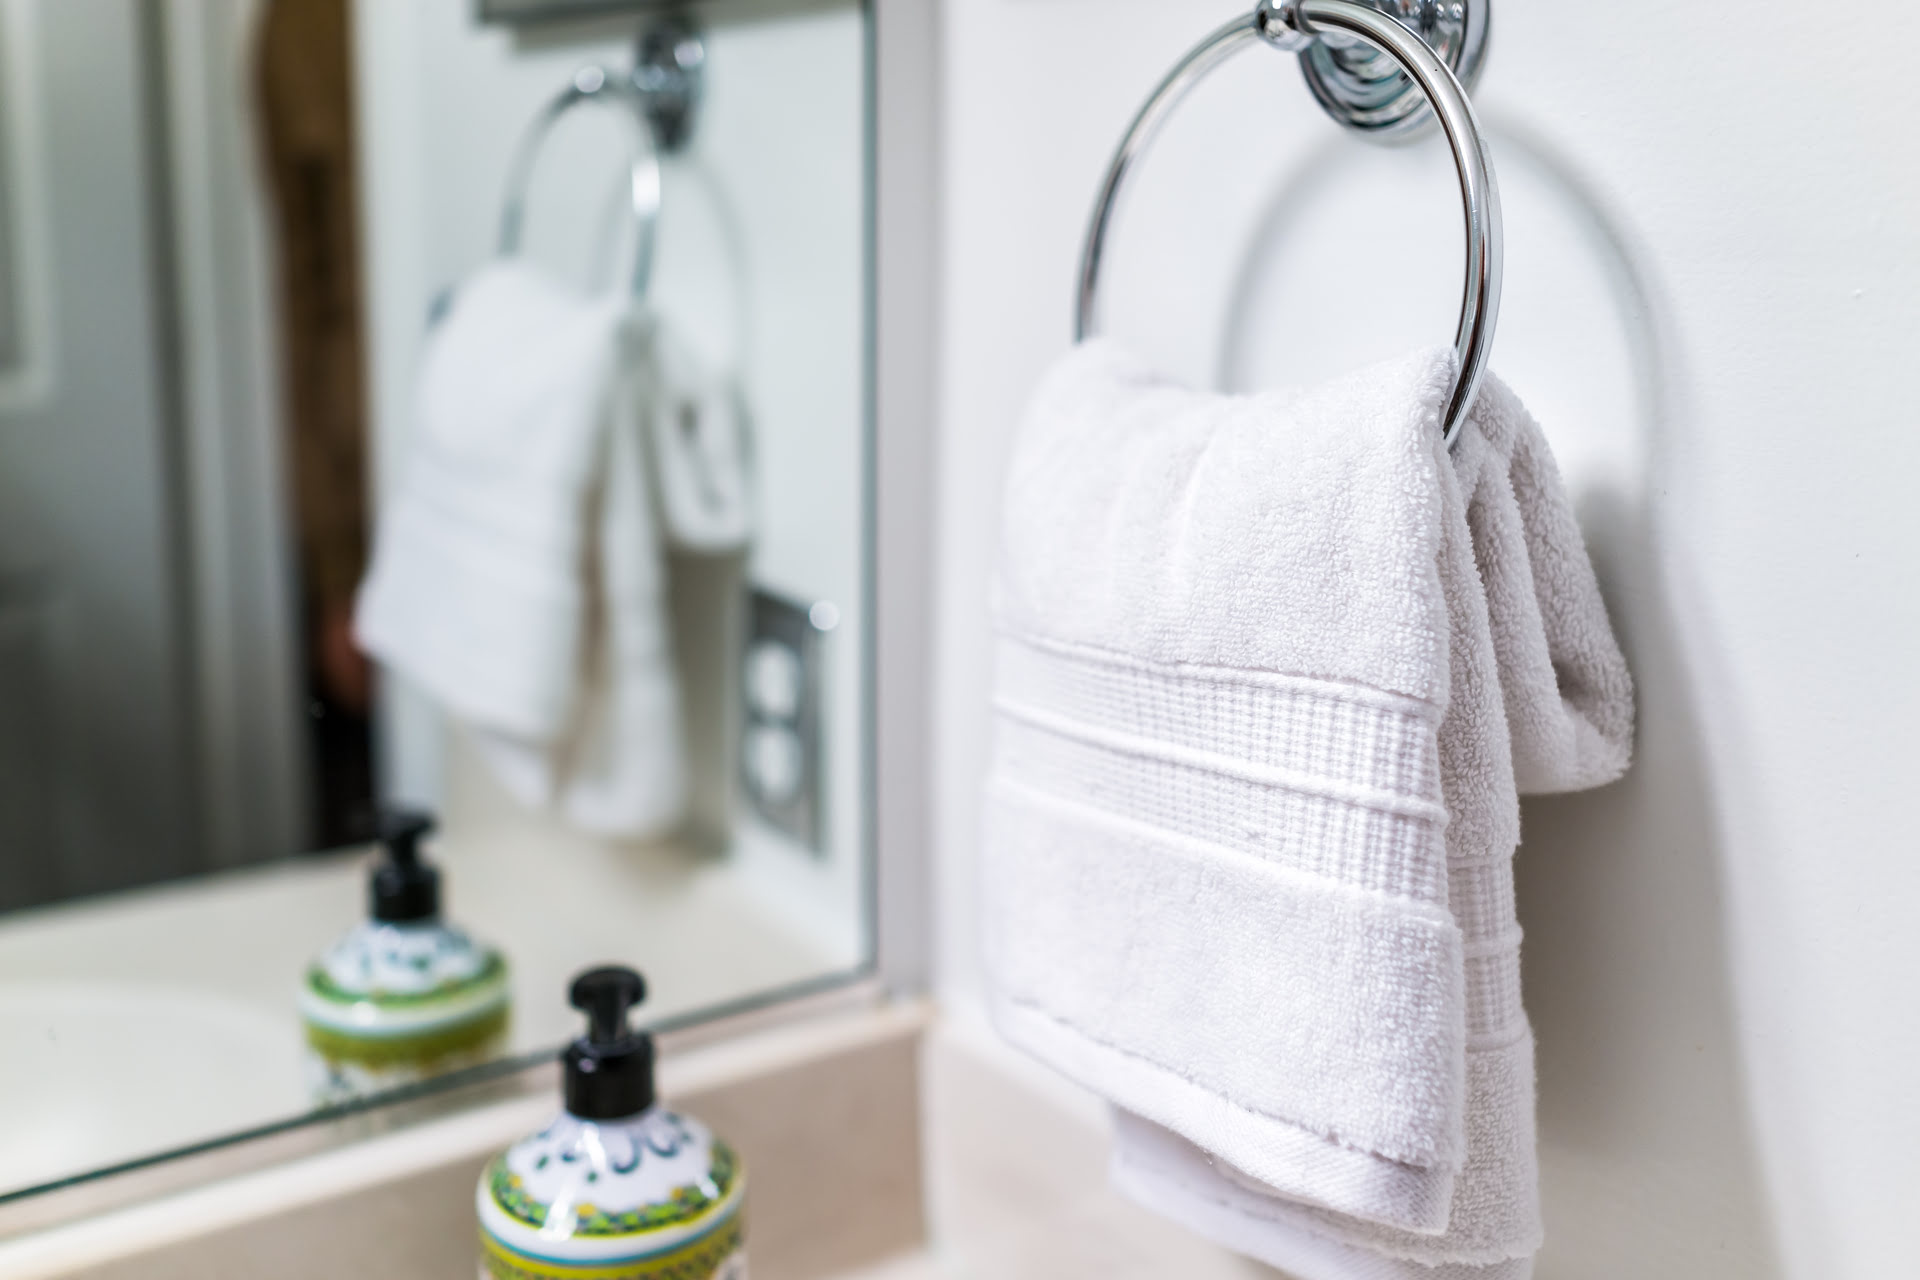
How To Tighten A Towel Ring
Modified: August 25, 2024
Learn how to tighten a towel ring with these helpful articles. Find step-by-step instructions and expert tips to get the job done right.
(Many of the links in this article redirect to a specific reviewed product. Your purchase of these products through affiliate links helps to generate commission for Storables.com, at no extra cost. Learn more)
Introduction
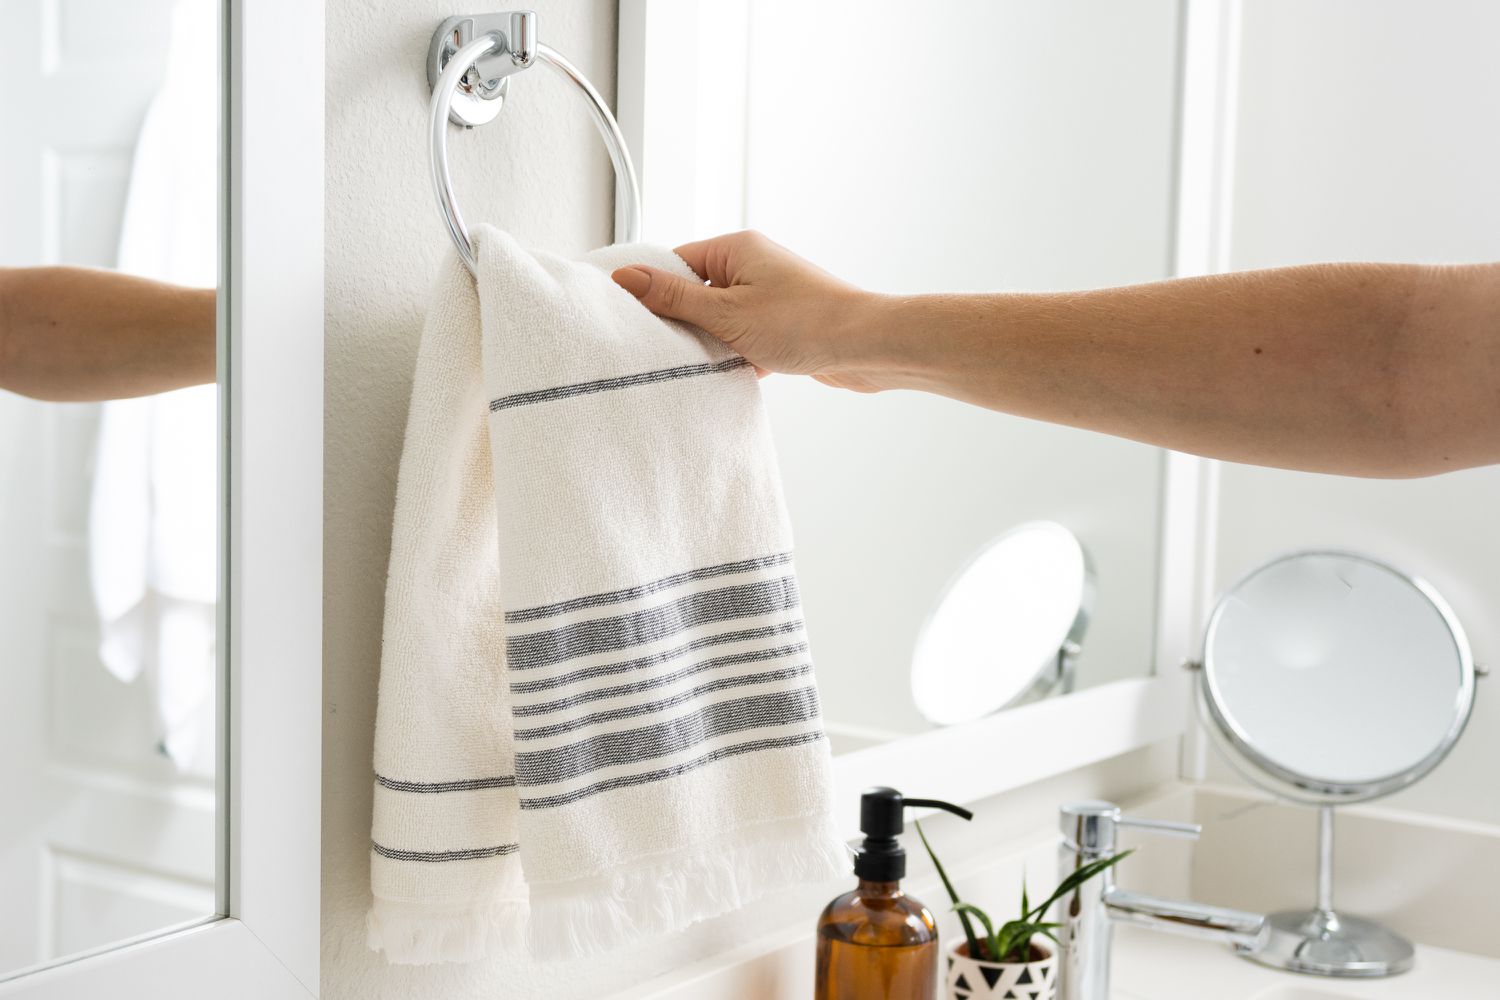
Welcome to our guide on how to tighten a towel ring! Towel rings are a convenient and practical addition to any bathroom, providing a designated spot for hanging towels within easy reach. However, over time, these fixtures may become loose or wobbly, diminishing their functionality and aesthetic appeal. Thankfully, with a few simple steps, you can easily tighten a towel ring and restore it to its proper position.
In this article, we will walk you through the process of tightening a towel ring, from gathering the necessary tools to reattaching the fixture securely to the wall. Whether you are a handy DIY enthusiast or a beginner looking to tackle a small home improvement project, this guide is here to help.
Before we dive into the steps, it’s important to note that different towel rings may have varying mechanisms for securing them to the wall. The most common type uses set screws that require tightening, while others may have different mounting options. We will focus on the set screw method, as it is the most popular. If your towel ring differs in its mounting mechanism, consult the manufacturer’s instructions for specific guidance.
Now that we have covered the basics, let’s gather our tools and materials and get started on tightening your towel ring!
Key Takeaways:
- Easily restore a loose towel ring to its proper position with simple steps, ensuring a secure and functional fixture for your bathroom.
- Regular maintenance and occasional re-tightening are necessary to maintain the stability and functionality of your towel ring over time.
Read more: What Is A Towel Ring
Step 1: Gather the necessary tools and materials
Before you begin tightening your towel ring, it’s essential to gather the right tools and materials to ensure a smooth and successful process. Here’s a list of what you’ll need:
- Phillips head screwdriver or Allen wrench (depending on the type of set screws used)
- Adjustable wrench or pliers
- Level
- Damp cloth or towel
- Optional: Wall anchors and screws (if the towel ring needs extra support or if the existing mounting brackets are damaged)
Once you have all the necessary tools and materials ready, you can move on to the next steps in tightening your towel ring. It’s important to note that if you’re unsure about any of the steps or encounter any difficulties, it is always advised to seek professional help.
Now that we have everything we need, let’s proceed to the next step: removing the towel ring from the wall.
Step 2: Remove the towel ring from the wall
Before you can tighten a towel ring, you’ll need to remove it from the wall. This step allows you to access the mounting brackets and set screws for adjustment. Follow these steps to safely and effectively remove the towel ring:
- Start by locating the set screws on the bottom or sides of the towel ring. These screws are typically small and may require a Phillips head screwdriver or Allen wrench to loosen.
- Insert the appropriate tool into the set screw and turn it counterclockwise to loosen. Make sure to hold onto the towel ring while loosening the set screws to prevent it from falling or dropping.
- Once the set screws are loose, gently slide the towel ring away from the wall. Be cautious not to scratch the wall or damage any surrounding fixtures during this process.
- If the towel ring has any adhesive or caulk residue on the wall, use a damp cloth or towel to wipe it away. This step ensures a clean surface for reattaching the towel ring later on.
After successfully removing the towel ring from the wall, proceed to the next step: inspecting the mounting brackets.
Step 3: Inspect the mounting brackets
Once you have removed the towel ring from the wall, it’s time to inspect the mounting brackets. These brackets are responsible for securing the towel ring in place and may contribute to any looseness or instability. Follow these steps to assess the condition of the mounting brackets:
- Examine the mounting brackets for any visible signs of damage, such as cracks, breaks, or bends. If you notice any significant damage, it may be necessary to replace the brackets entirely. Consult the manufacturer’s instructions or seek professional assistance for guidance on finding suitable replacement brackets.
- Check that the brackets are securely attached to the wall. If you find any screws or anchors are loose or missing, use the appropriate tools to tighten or replace them as needed.
- Ensure that the brackets are level. Place a level on top of each bracket to verify that they are straight and not tilted. If you discover any misalignment, use the adjustable wrench or pliers to loosen the screws holding the brackets in place. Adjust the position of the brackets, aligning them with the level, and tighten the screws once they are properly aligned.
By thoroughly inspecting the mounting brackets, you can identify any issues that may contribute to the towel ring’s looseness. Addressing these issues now will help ensure a stable and secure towel ring once it is reattached to the wall. Once you have inspected the mounting brackets, it’s time to move on to the next step: tightening the set screws.
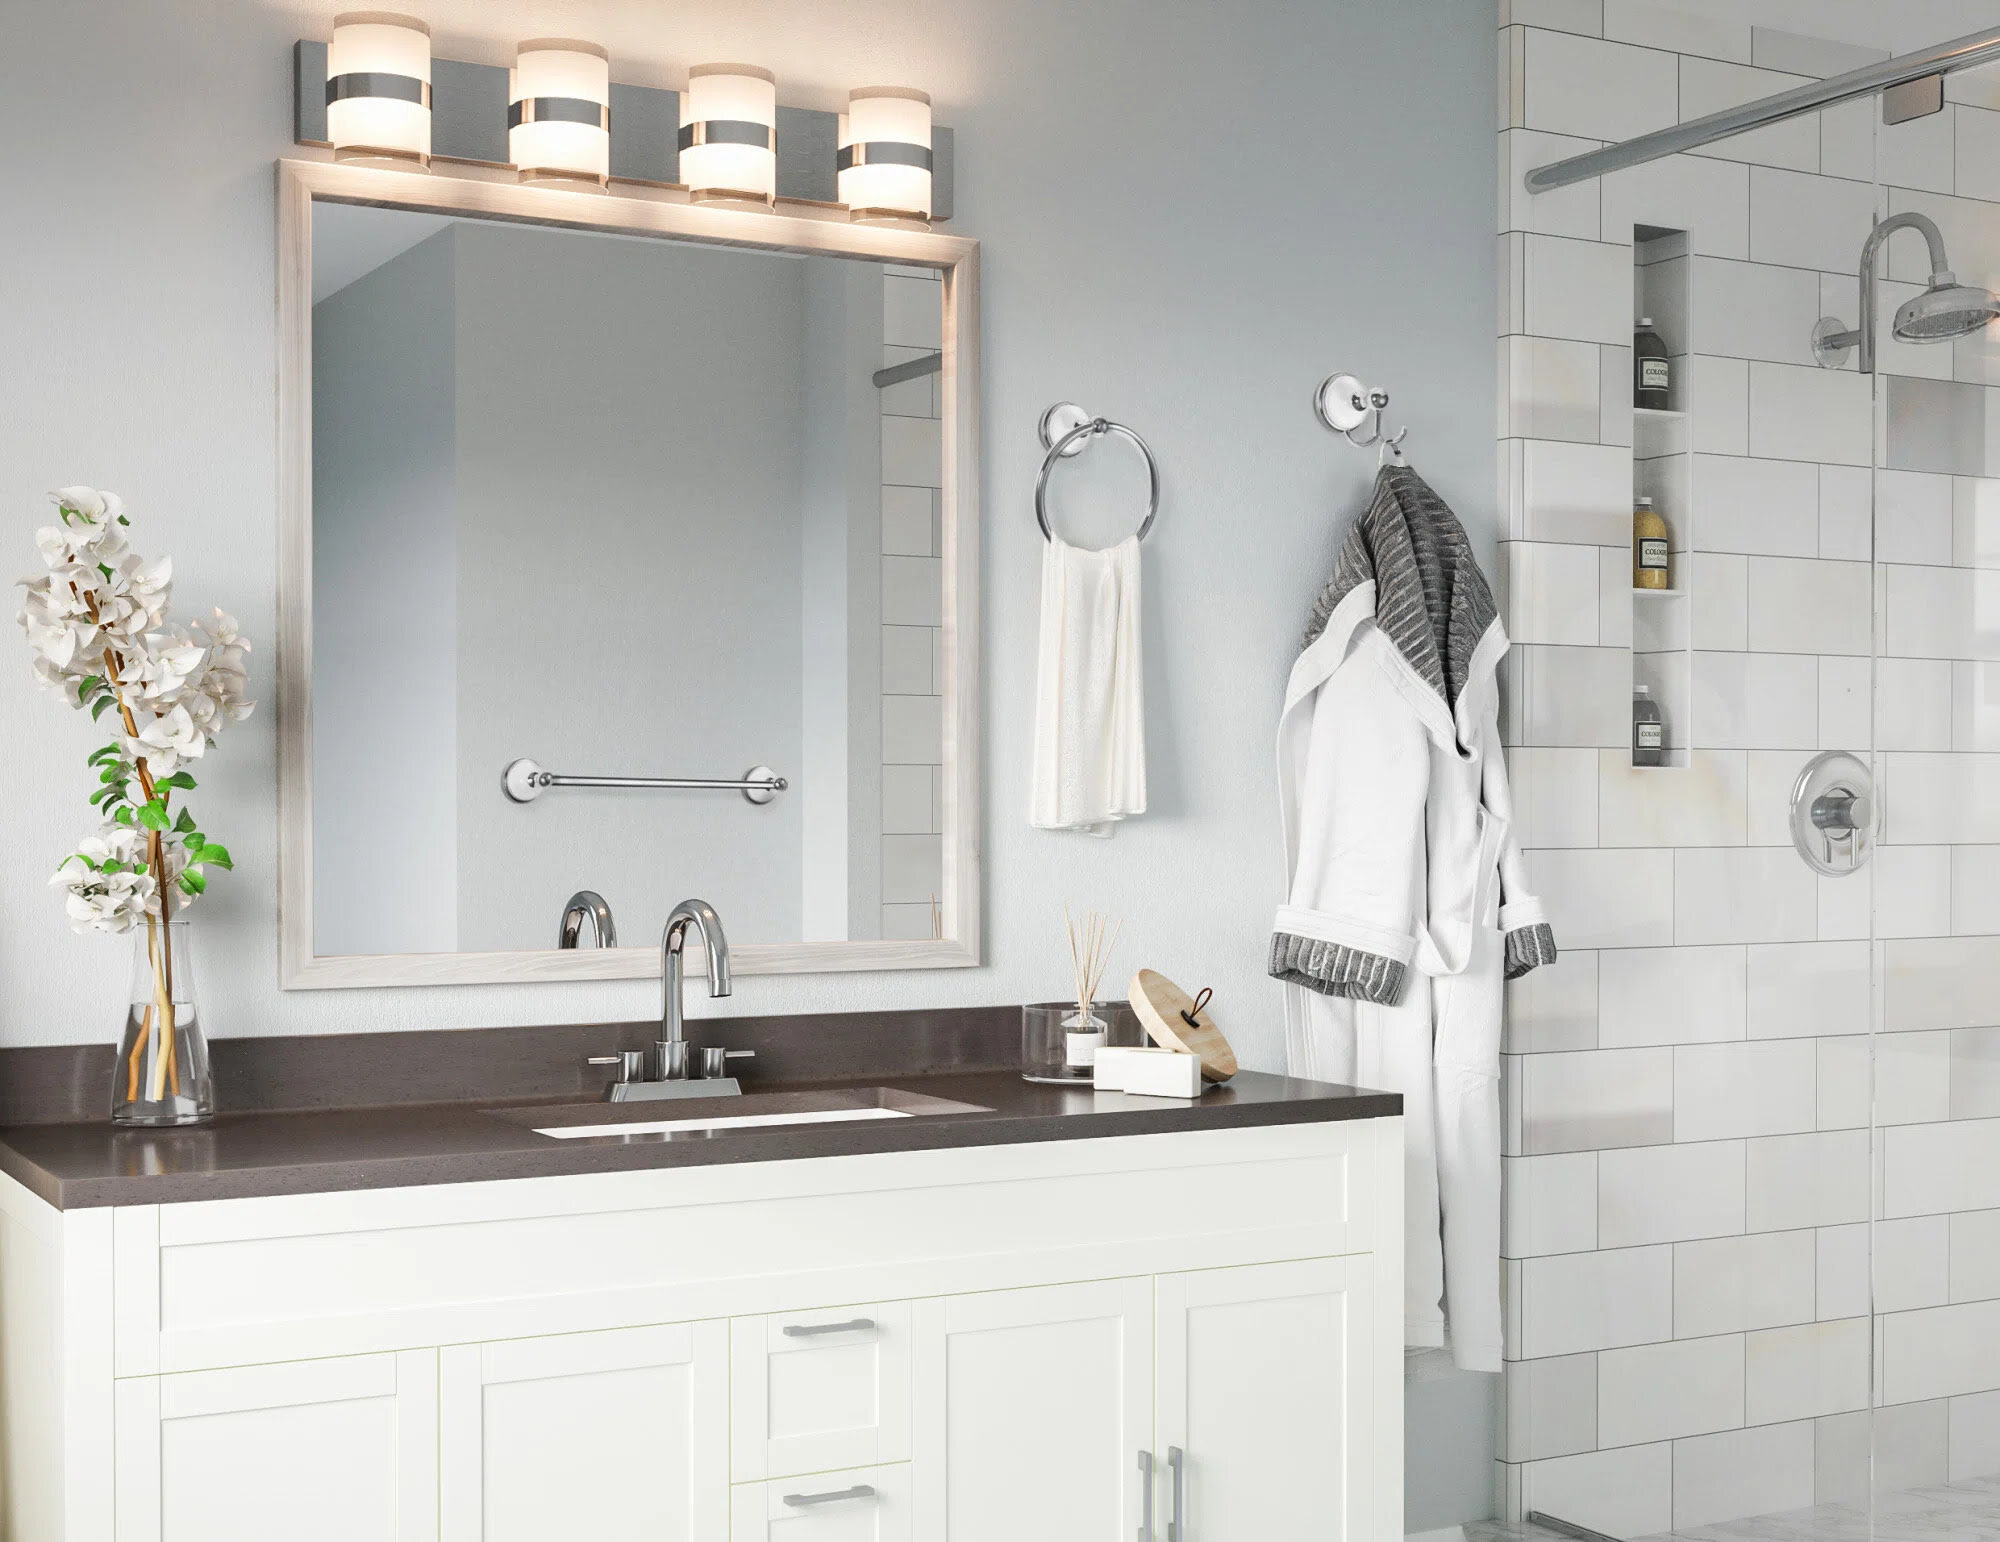
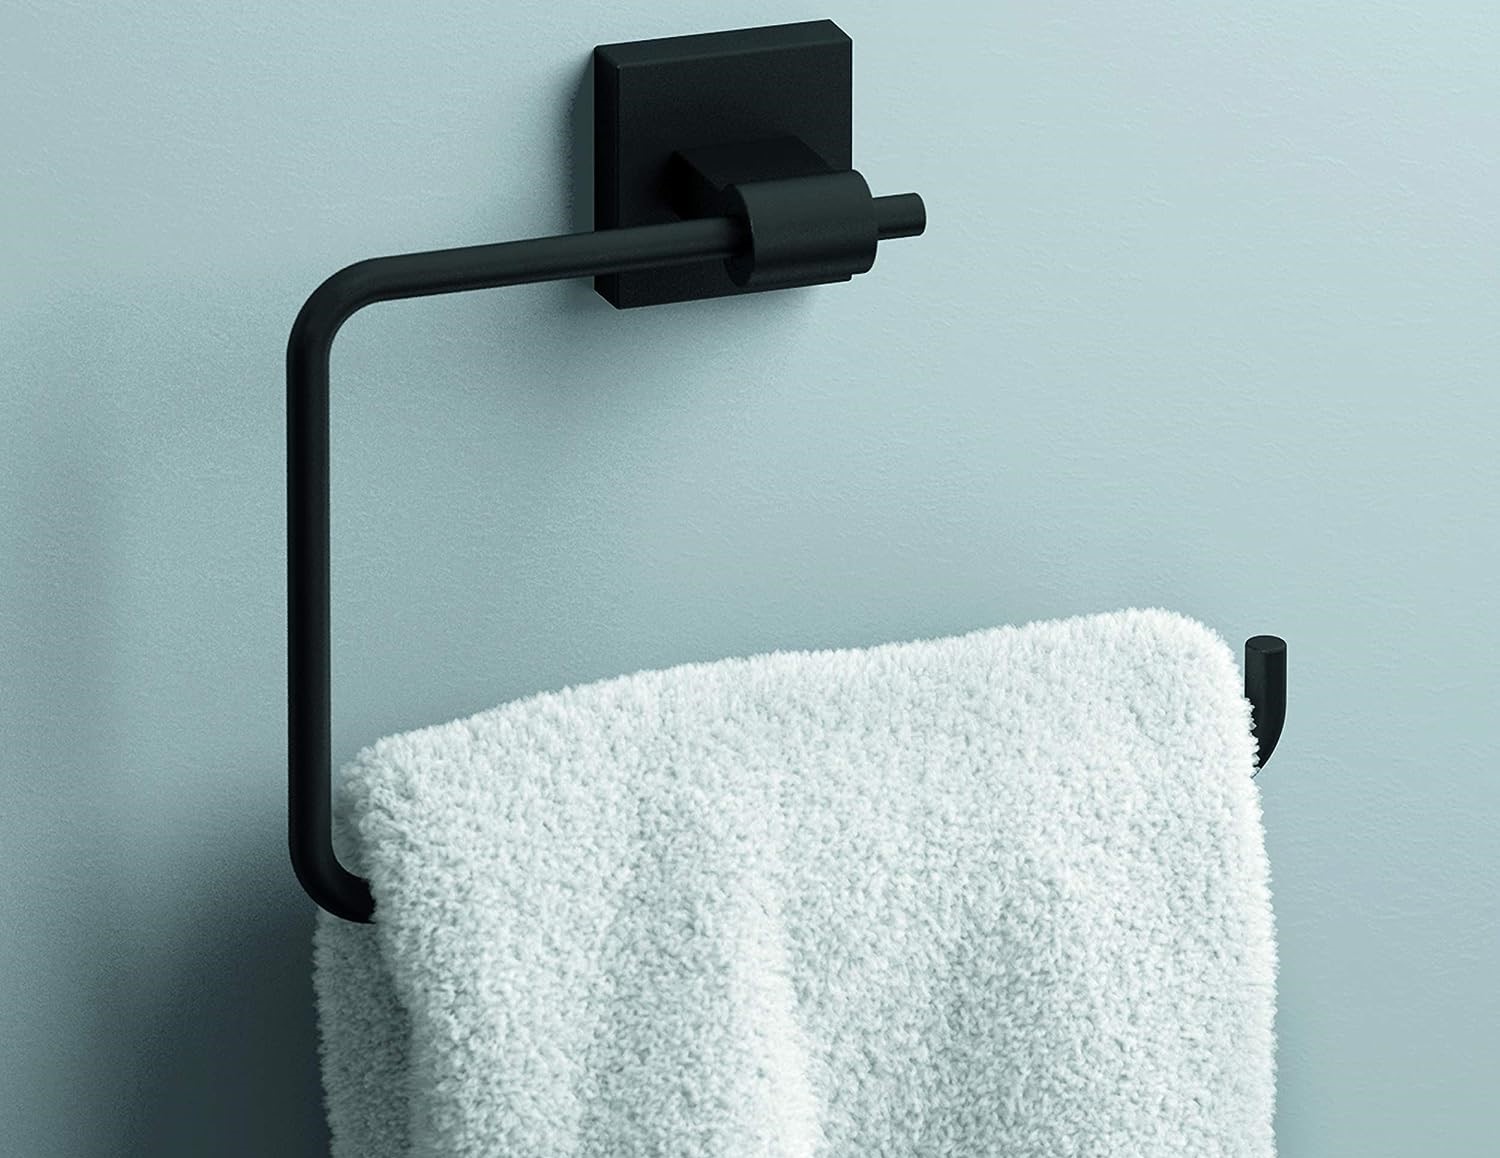
Use a screwdriver to tighten the screws on the base of the towel ring. Make sure the screws are securely fastened to the wall to prevent the towel ring from becoming loose.
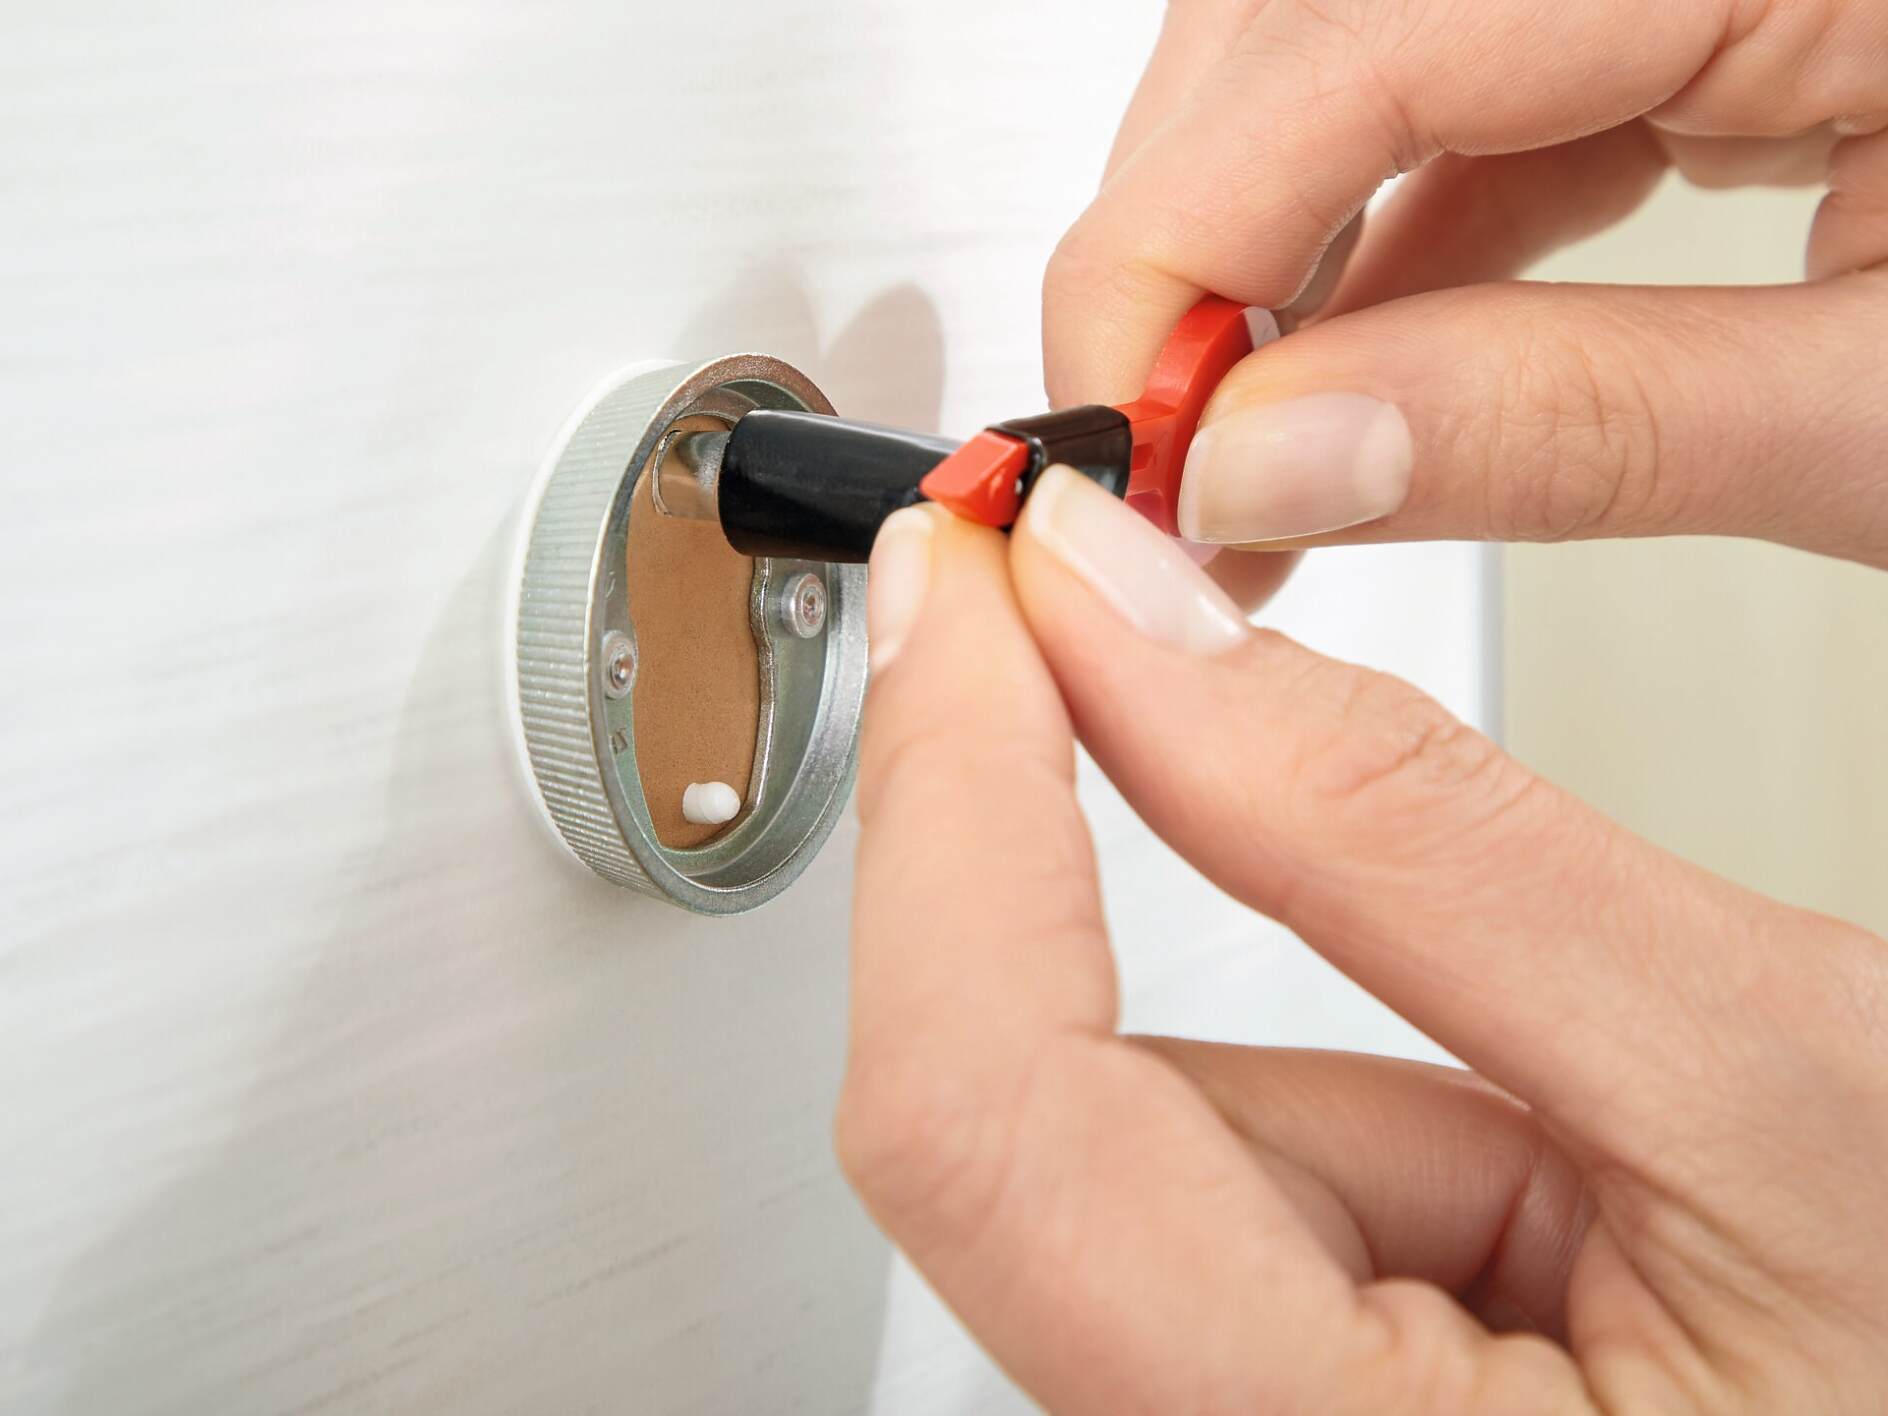
Step 4: Tighten the set screws
Now that you have inspected the mounting brackets, it’s time to focus on tightening the set screws. These screws are responsible for holding the towel ring securely in place and preventing it from becoming loose or wobbly. Follow these steps to tighten the set screws effectively:
- Locate the set screws on the bottom or sides of the towel ring. These screws may require a Phillips head screwdriver or Allen wrench, depending on the design of your towel ring.
- Insert the appropriate tool into each set screw and turn it clockwise to tighten. Apply gentle pressure to ensure the screws are securely tightened, but be careful not to overtighten, as this may risk damaging the towel ring or the screws themselves.
- If you are unsure about the ideal tightness, use your judgment and periodically check the stability of the towel ring as you tighten the set screws. The goal is to achieve a comfortable level of tightness that prevents any movement or wobbling.
Remember to tighten all the set screws evenly to distribute the pressure evenly across the towel ring. This will help maintain balance and stability throughout the fixture.
Once you have tightened the set screws, move on to the next step: reattaching the towel ring to the wall.
Read more: How To Tighten Your Moen Towel Bar
Step 5: Reattach the towel ring to the wall
After tightening the set screws, it’s time to reattach the towel ring to the wall. This step ensures that the towel ring is securely fastened and ready to be used. Follow these steps to reattach the towel ring:
- Hold the towel ring against the wall in the desired position. Make sure the mounting brackets align with the holes or screws on the wall.
- If your towel ring requires wall anchors, insert them into the designated holes on the wall. Use a screwdriver or drill to secure the anchors in place.
- Align the mounting brackets of the towel ring with the holes or screws on the wall. Ensure the towel ring is level by using a level and adjusting as necessary.
- Insert the screws through the mounting brackets and into the designated holes on the wall. Use a screwdriver or drill to tighten the screws, ensuring a secure attachment.
Take a moment to double-check the stability and alignment of the towel ring after reattaching it to the wall. Gently tug on the towel ring and test its resistance to ensure it is securely fastened.
If you encounter any difficulties or the towel ring remains loose despite tightening the set screws, consider using additional wall anchors or seeking professional assistance. It’s important to ensure a stable and secure towel ring for optimal functionality.
Now that you have successfully reattached the towel ring to the wall, proceed to the final step: testing the tightness of the towel ring.
Step 6: Test the tightness of the towel ring
Once you have reattached the towel ring to the wall, it’s important to test its tightness to ensure a secure and stable fixture. Follow these steps to test the tightness of the towel ring:
- Gently pull on the towel ring in different directions to check for any movement or wobbling. If you notice any looseness, it may indicate that the set screws need further tightening.
- If the towel ring feels secure and does not move when pulled, it is a good sign that the tightening process was successful. Congratulations on a job well done!
- Continue testing the towel ring’s tightness periodically over the next few days to ensure that it remains stable. If you notice any changes or loosening, revisit the set screw tightening process to tighten them further.
It’s important to keep in mind that regular maintenance and occasional re-tightening may be necessary as the towel ring is subjected to daily use and wear.
By testing the tightness of the towel ring, you can ensure its stability and functionality for the long term. Remember, maintaining a secure towel ring not only enhances the overall appearance of your bathroom but also provides a convenient and reliable spot for hanging towels.
With the tightness of the towel ring successfully tested, you have completed the final step. Congratulations! You can now enjoy your securely attached towel ring and the convenience it brings to your bathroom.
Now that you’ve successfully tightened your towel ring, take a moment to step back and appreciate your handiwork. By following these steps, you have restored your towel ring to its proper position, ensuring it remains secure and functional for years to come.
Remember, if you encounter any difficulties or feel unsure about any of the steps, it’s always a good idea to consult the manufacturer’s instructions or seek professional assistance. Safety and proper installation are essential when it comes to home improvement projects.
Thank you for choosing our guide on how to tighten a towel ring. We hope this has been helpful, and we wish you the best of luck with your home improvement endeavors!
Conclusion
Securing and tightening a towel ring is a simple yet important task that can greatly improve the functionality and appearance of your bathroom. By following the steps outlined in this guide, you can easily restore a loose or wobbly towel ring to its proper position, ensuring it remains securely attached to the wall.
Throughout this article, we covered the necessary tools and materials needed to tighten a towel ring, the process of removing the towel ring from the wall, inspecting the mounting brackets, tightening the set screws, reattaching the towel ring, and testing its tightness. Each step is vital in ensuring a stable and secure towel ring that can withstand regular use.
Remember, always gather the necessary tools and materials before starting the process. Inspect the mounting brackets for any damage or misalignment, and tighten the set screws evenly to distribute the pressure across the towel ring. Reattach the towel ring securely to the wall, and test its tightness to ensure its stability.
If you encounter any difficulties or feel uncertain about any of the steps, it’s advisable to consult the manufacturer’s instructions or seek professional assistance. Safety is paramount when working on any home improvement project.
We hope this guide has been valuable in helping you tighten your towel ring effectively. By following these steps, you can enjoy a securely attached towel ring that adds functionality and style to your bathroom for years to come.
Thank you for choosing our guide, and happy tightening!
Frequently Asked Questions about How To Tighten A Towel Ring
Was this page helpful?
At Storables.com, we guarantee accurate and reliable information. Our content, validated by Expert Board Contributors, is crafted following stringent Editorial Policies. We're committed to providing you with well-researched, expert-backed insights for all your informational needs.


0 thoughts on “How To Tighten A Towel Ring”