Articles
How To Hang Valance And Curtains
Modified: October 23, 2024
Learn how to hang valance and curtains with our informative articles. Get step-by-step instructions and tips for a perfect window treatment.
(Many of the links in this article redirect to a specific reviewed product. Your purchase of these products through affiliate links helps to generate commission for Storables.com, at no extra cost. Learn more)
Introduction
When it comes to dressing up your windows, adding a valance and curtains can instantly transform a room and add a touch of elegance and style. Whether you’re aiming for a classic, formal look or a more casual and cozy vibe, knowing how to hang valance and curtains properly can make all the difference in achieving the desired aesthetic. In this article, we will guide you through the step-by-step process of hanging a valance and curtains, from assessing the window to adding those final finishing touches.
Before we get started, it’s important to note that hanging valance and curtains is a task that requires some basic DIY skills and tools. However, with the right guidance and a bit of patience, you’ll be able to successfully complete this project and enjoy the results for years to come.
So, if you’re ready to enhance the beauty and functionality of your windows, let’s dive into the steps involved in hanging a valance and curtains.
Key Takeaways:
- Transform your windows with elegance and style by following our step-by-step guide to hanging valance and curtains. Achieve a professional look and elevate the aesthetic of any room with confidence and ease.
- Embrace your personal style and experiment with fabrics, colors, and patterns to create the perfect window treatment. Enjoy the beauty and functionality of well-dressed windows for years to come.
Read more: How To Hang Valances
Step 1: Assessing the Window
Before you embark on the process of hanging a valance and curtains, it’s important to assess your window and take note of its size, shape, and any unique characteristics. This step will help you determine the appropriate measurements and style options for your valance and curtains.
Start by measuring the width and height of your window. This will give you an idea of the amount of fabric you will need for both the valance and curtains. Additionally, take note of any architectural features, such as moldings or window sills, that may affect the placement of the valance and curtains.
Consider the functionality of the window as well. Is it a window that you frequently open and close? If so, you’ll want to choose curtain hardware that allows for easy operation. On the other hand, if the window is purely decorative and doesn’t require frequent access, you have more freedom to experiment with different curtain styles.
Lastly, take into account the overall style and theme of the room. Are you going for a formal, traditional look or a more relaxed, contemporary vibe? This will influence the choice of fabric, colors, and patterns for both the valance and curtains.
By thoroughly assessing your window, you’ll be able to make informed decisions throughout the hanging process and ensure that the valance and curtains complement the window and the room’s decor.
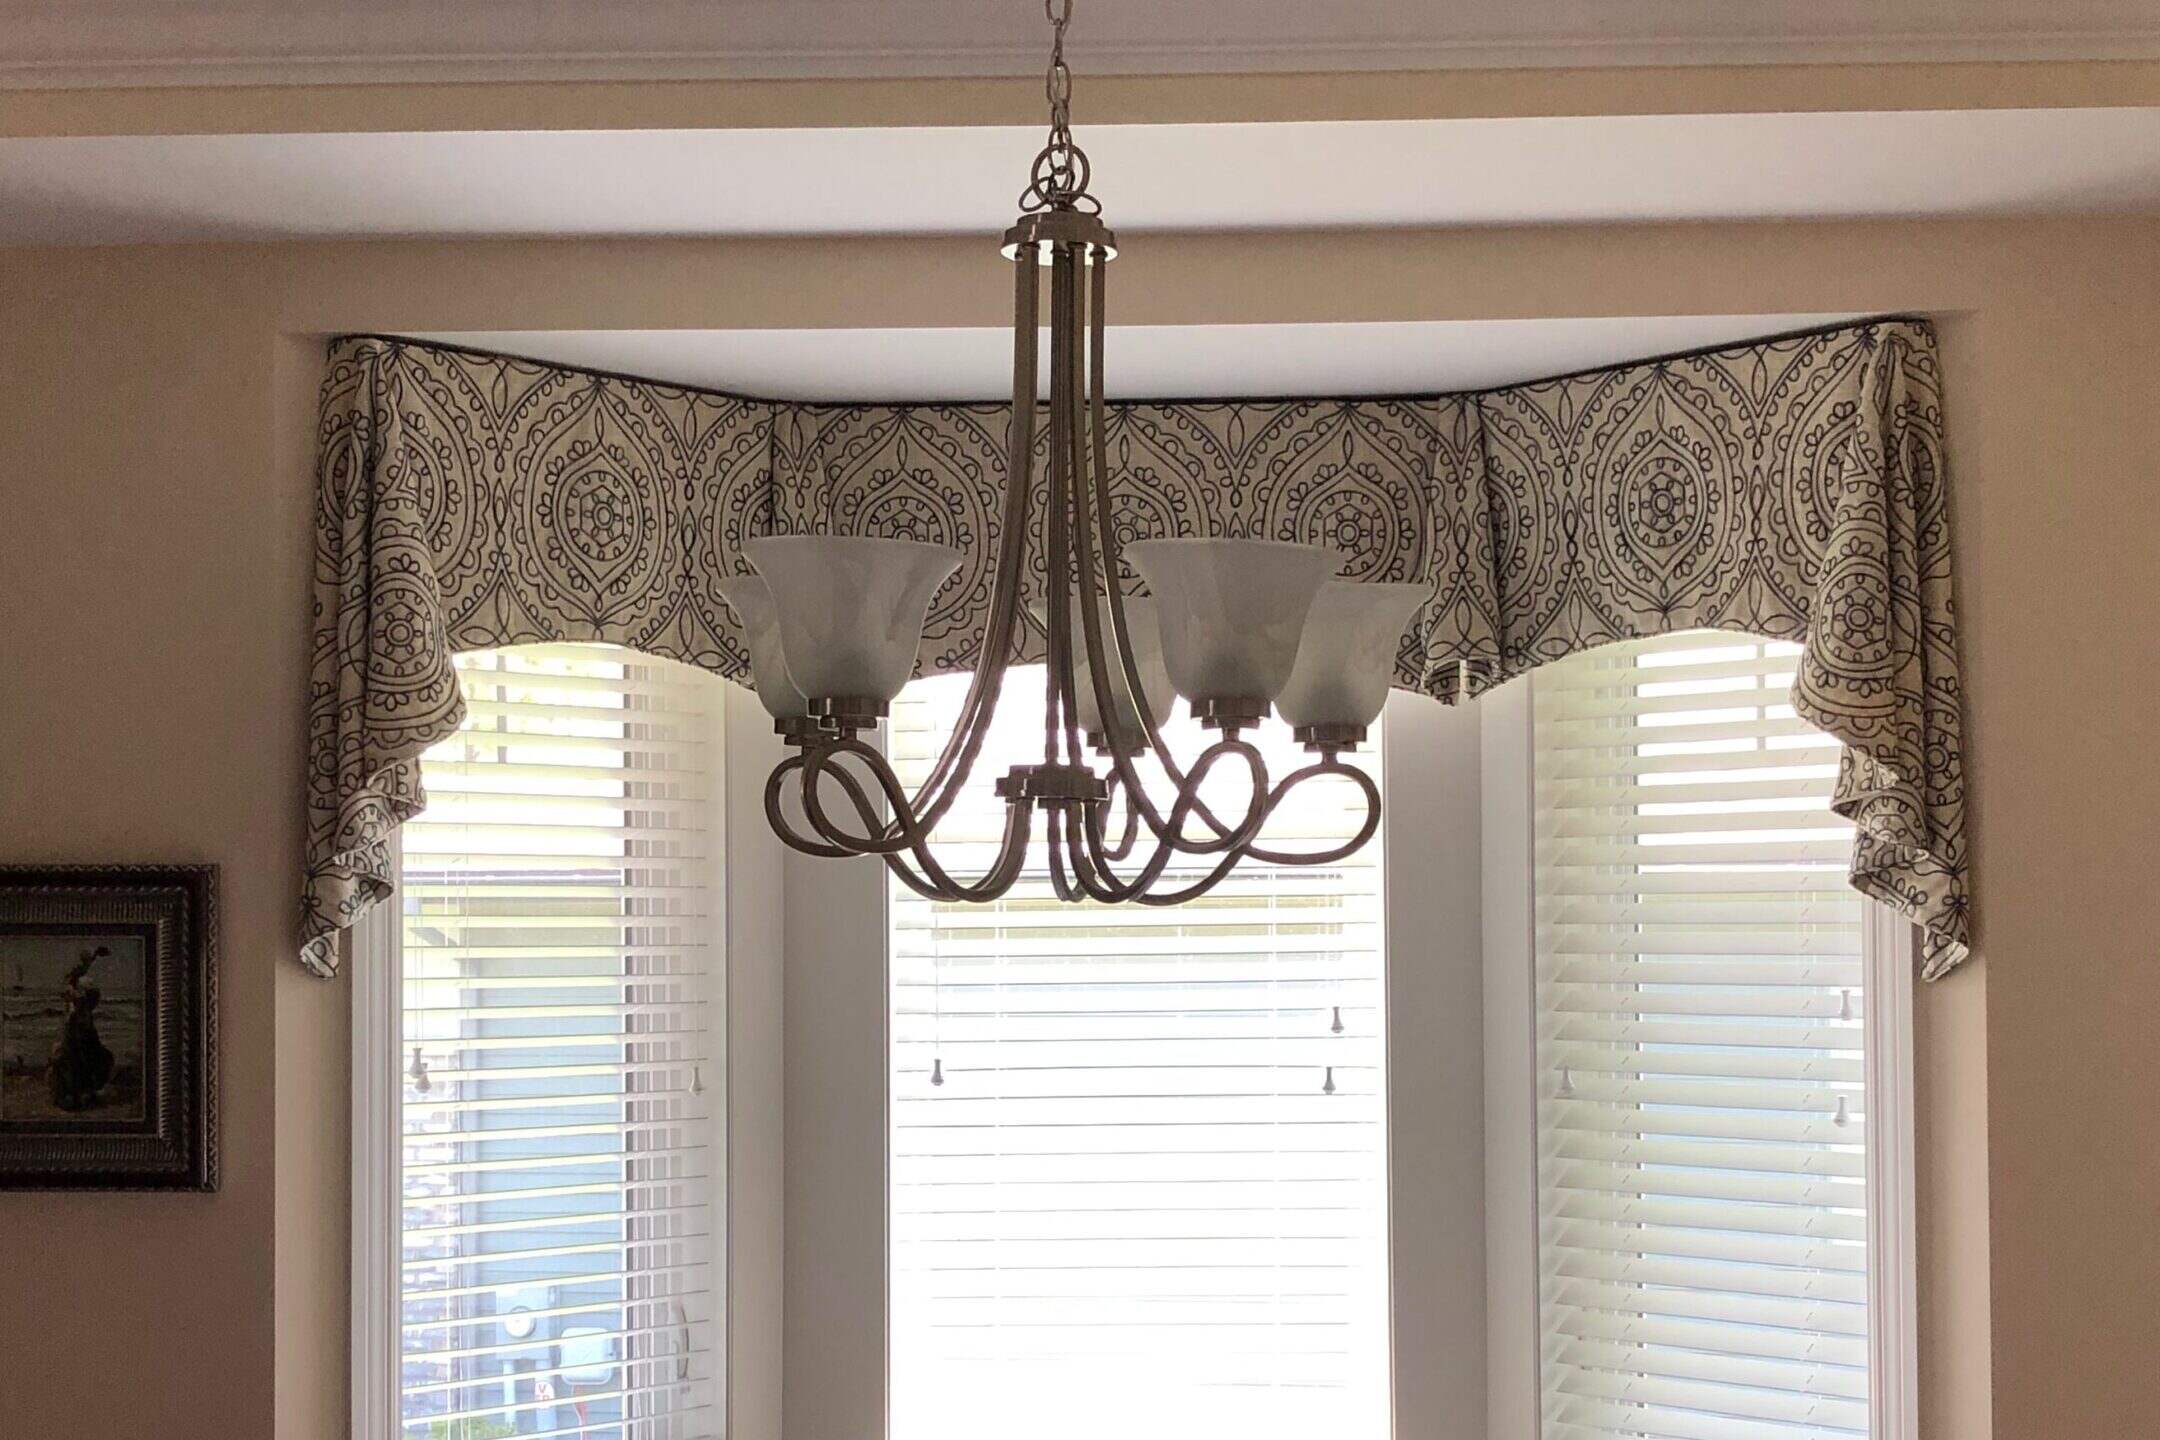
Step 2: Measuring the Valance and Curtains
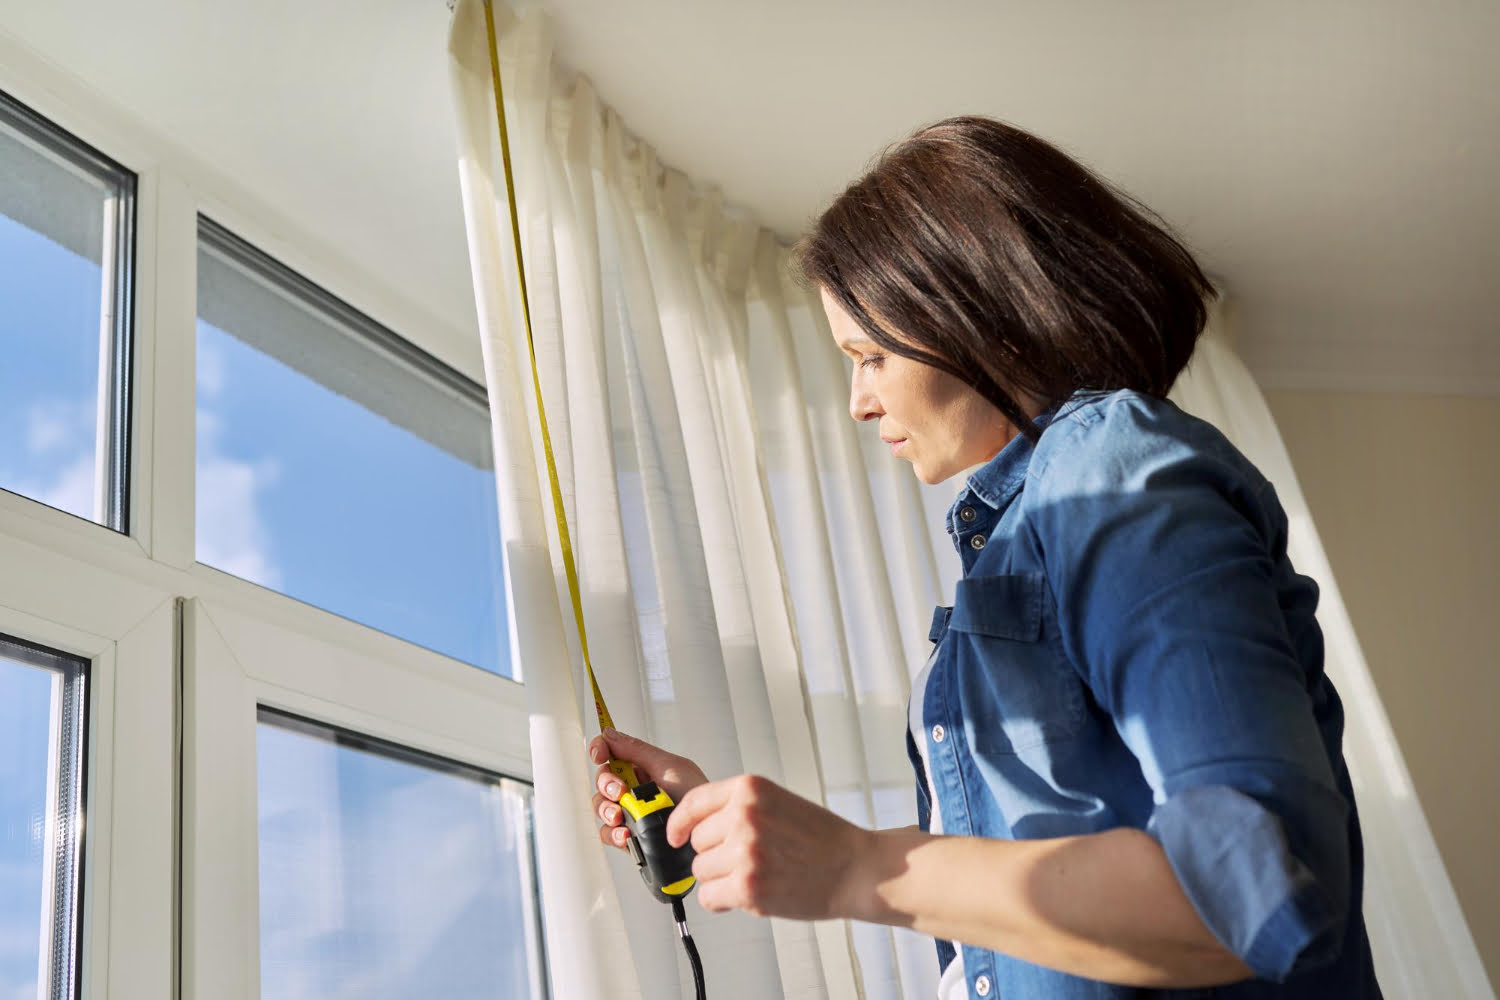
Accurate measurements are crucial for a successful valance and curtain installation. In this step, we will guide you through the process of measuring the valance and curtains to ensure a proper fit.
Start by measuring the width of the window frame from left to right. This will determine the width of the valance. For a standard look, add about 4 to 6 inches to the window width to allow for a bit of overhang on each side. If you prefer a more dramatic effect, you can increase the overhang even further.
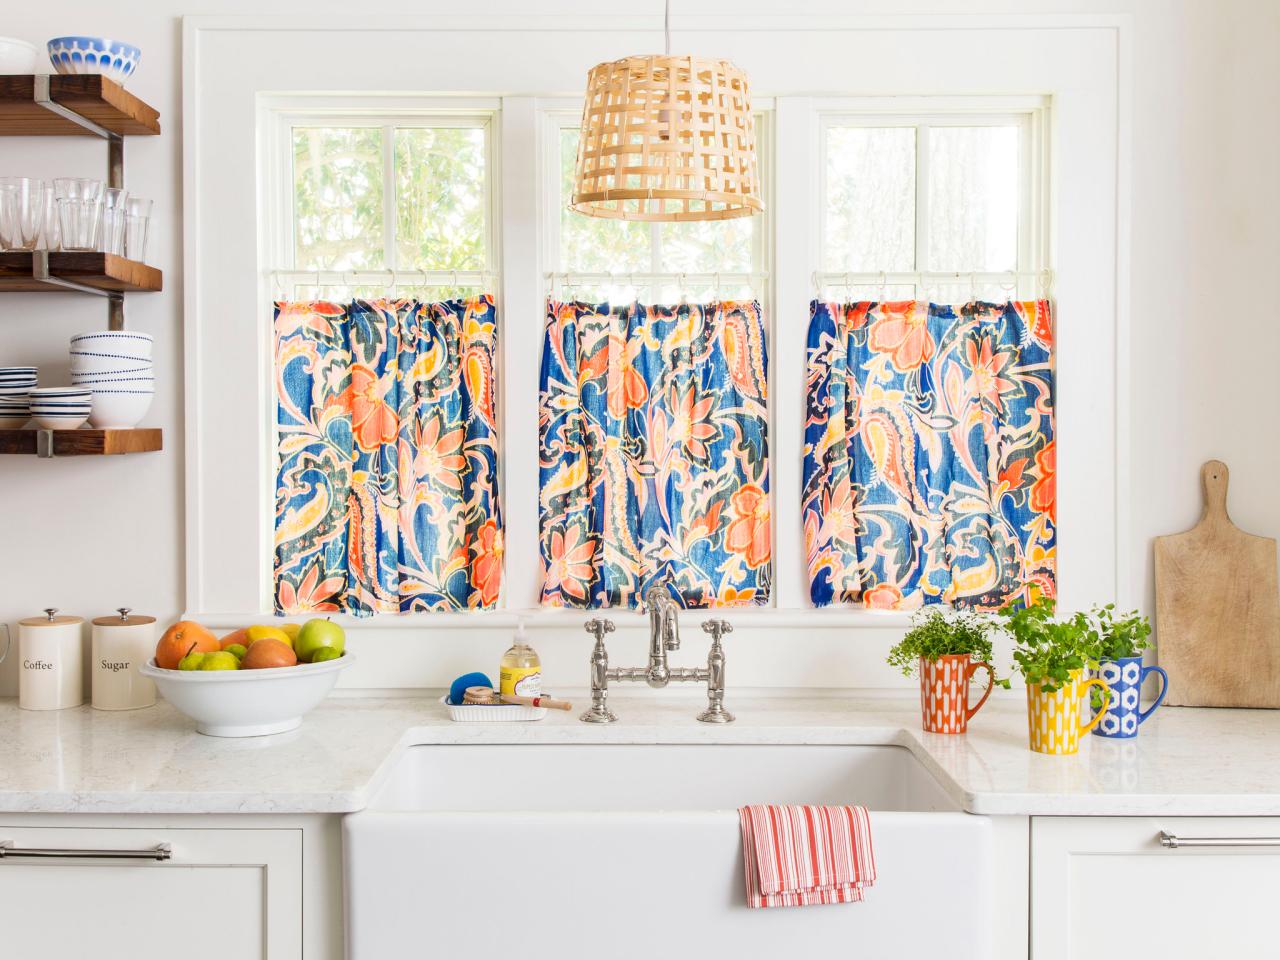
Next, measure the height from the top of the window frame to the desired length for the valance. This measurement will vary depending on your personal preference and the style of the room. For a traditional look, allow the valance to cover about one-third of the window height. For a more contemporary look, you can opt for a shorter valance.
When measuring for the curtains, start by determining the desired length. Measure from the top of the window frame to the floor for full-length curtains or to a specific point, such as the windowsill or the bottom of the radiator, for shorter curtains.
For the curtain width, take into account the amount of fullness you desire. To achieve a gathered, voluminous look, multiply the window width by 1.5 or 2. For a sleeker, more tailored appearance, multiply the width by 1 or 1.5.
Make sure to add an extra inch or two to the width and height measurements for both the valance and curtains to allow for seam allowances and hems.
By taking accurate measurements, you’ll ensure that the valance and curtains fit perfectly and contribute to the overall aesthetic of the window and the room.
Step 3: Gathering the Necessary Tools and Materials
Before you begin the process of hanging a valance and curtains, it’s essential to gather all the necessary tools and materials. Having everything on hand will help streamline the installation process and ensure a successful outcome.
Here’s a list of the tools and materials you’ll need:
- Measuring tape: Used to take accurate measurements of the window and fabrics.
- Drill: Required for installing any necessary hardware, such as curtain rods or brackets.
- Screws and wall anchors: Necessary for securing the curtain rod brackets to the wall.
- Level: Ensures that the curtain rod is installed straight and level.
- Pencil: Used for marking the placement of the brackets and any other measurements.
- Valance and curtain fabrics: Choose a fabric that complements the room’s decor and meets your style preferences.
- Curtain rod: Select a sturdy and stylish curtain rod that fits the width of your window. Ensure it includes the necessary brackets and hardware for installation.
- Valance hardware: Depending on the style of your valance, you may need valance clips, hooks, or a tension rod.
- Iron and ironing board: Use these to press the fabric before installation for a polished look.
- Scissors: Required for trimming the fabric to the correct size and shape.
Ensure that you have all of these items ready before you begin the installation process. It’s always a good idea to double-check your measurements and make sure you haven’t missed any necessary tools or materials.
By having everything prepared, you’ll save time and effort as you hang the valance and curtains, leading to a seamless and enjoyable installation.
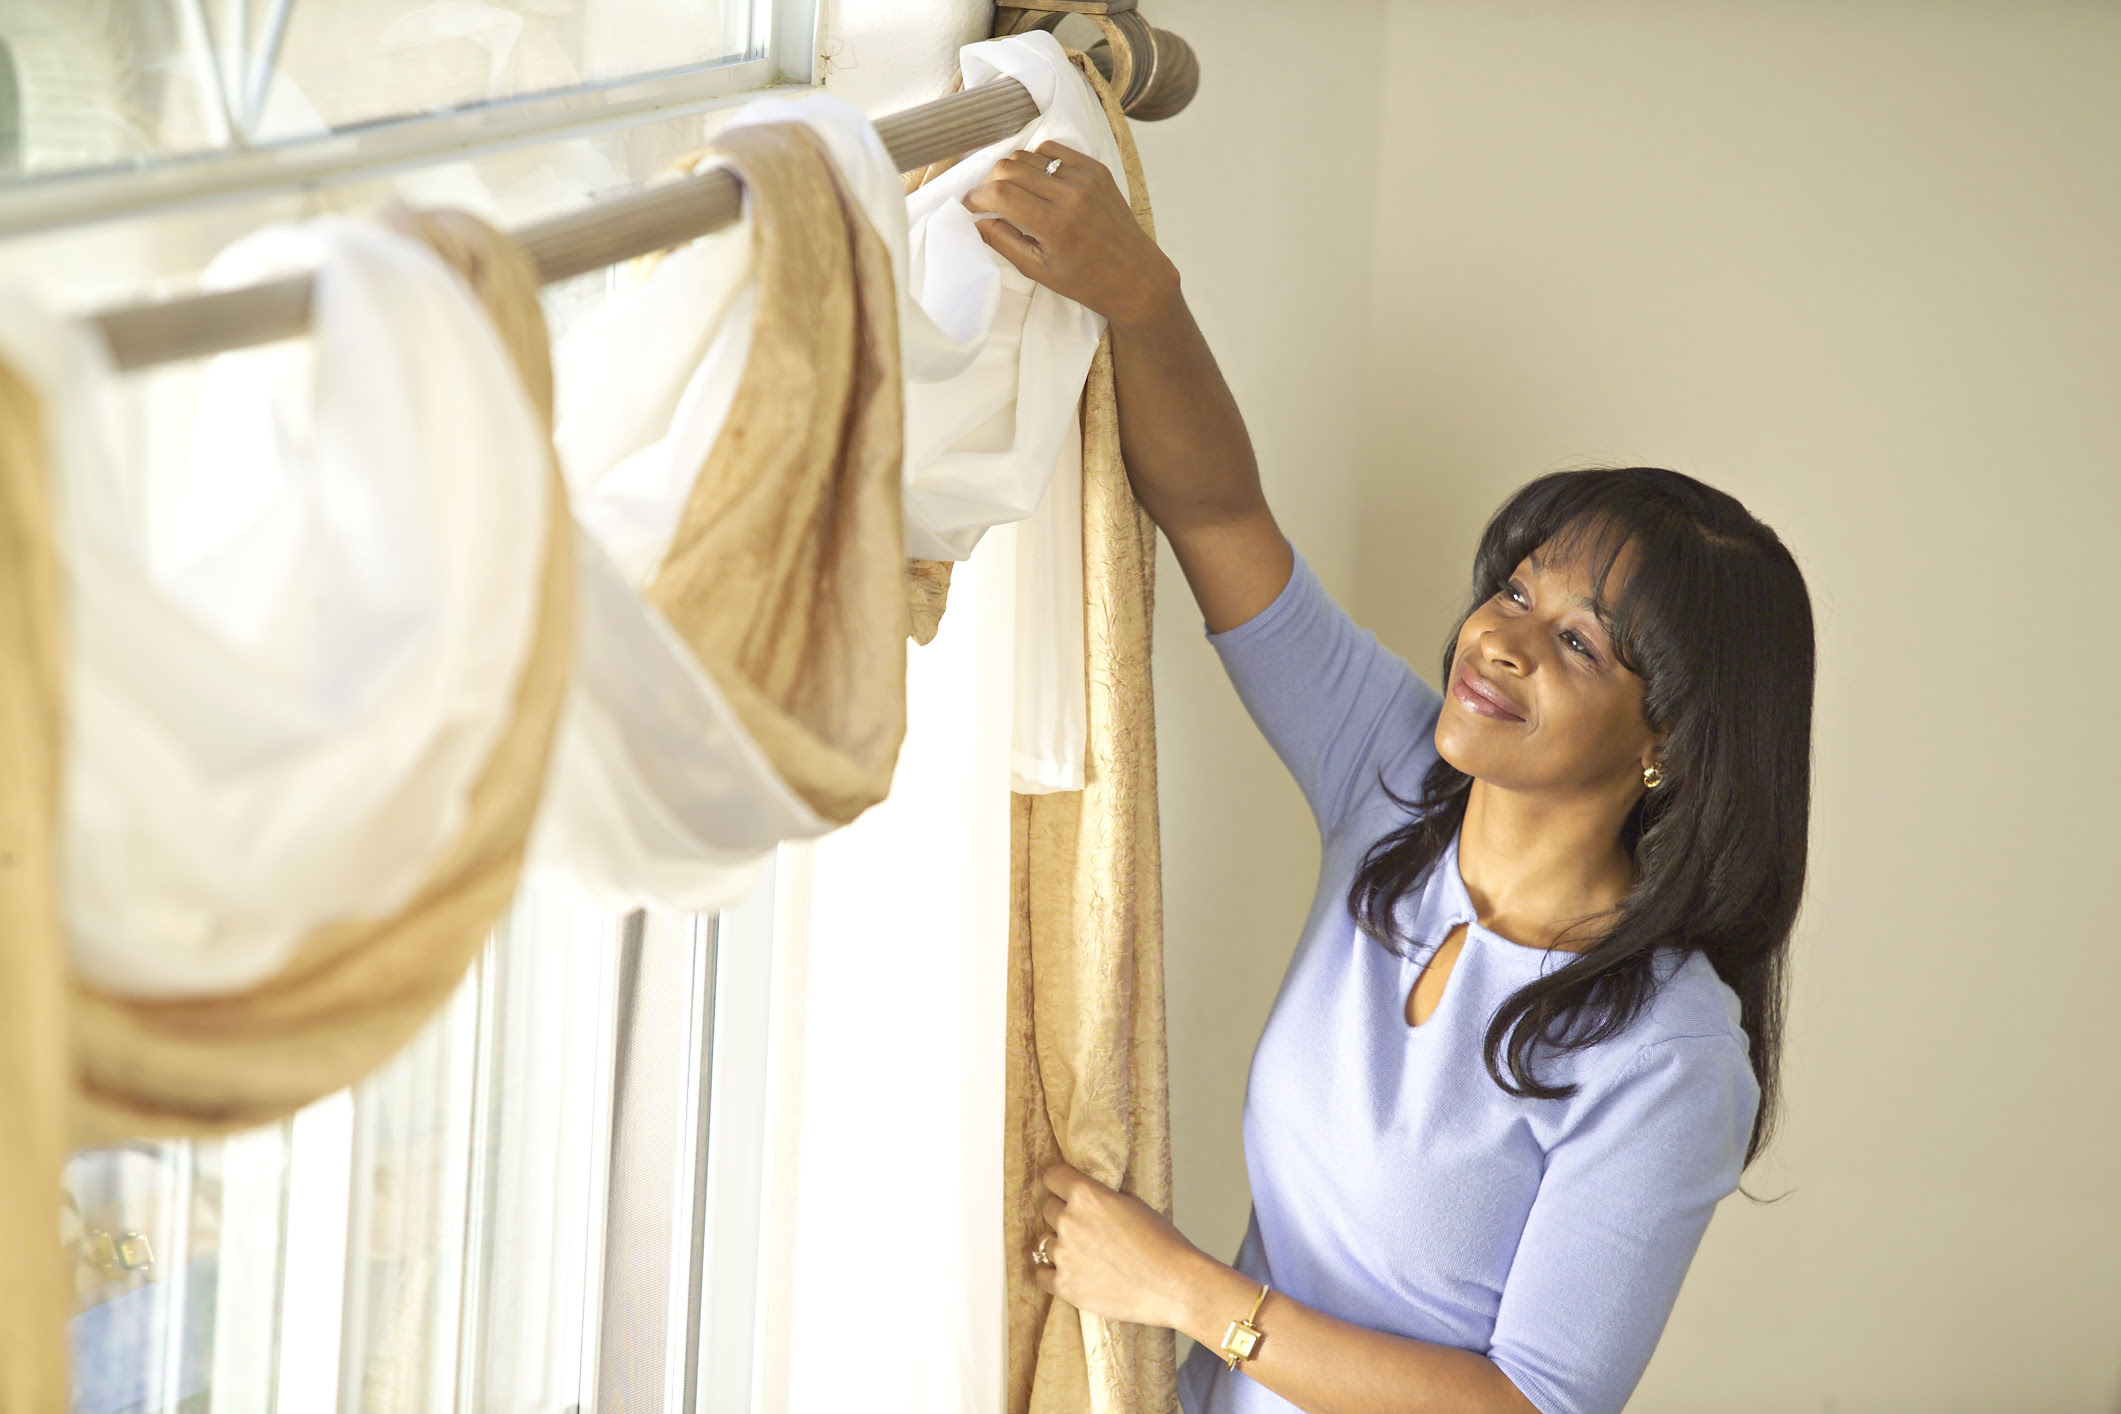
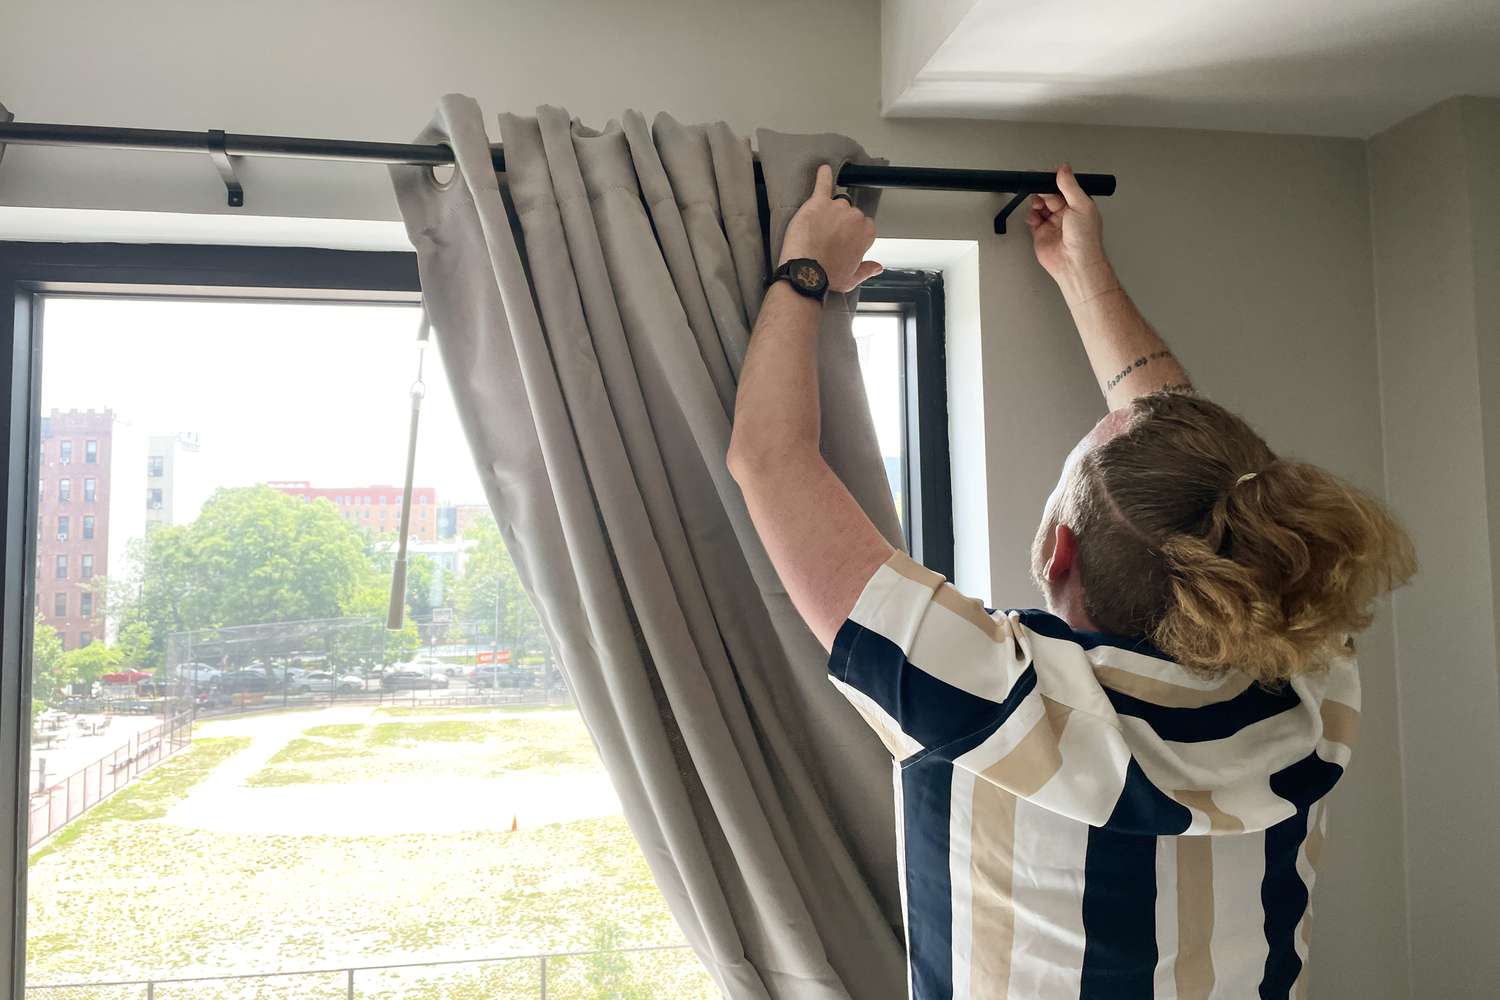
Step 4: Installing the Valance
Now that you have assessed the window, measured the valance, and gathered your tools and materials, it’s time to move on to installing the valance. Follow these steps to ensure a secure and visually pleasing installation:
- Start by marking the placement of the valance. Use a level and a pencil to draw a straight line across the window frame where you want the bottom edge of the valance to rest. Take into account any architectural features or obstructions that may affect the positioning.
- If you’re using a tension rod for the valance, follow the manufacturer’s instructions to adjust the rod to the correct width. Then, insert it into the window frame at the marked line and adjust it until it is securely in place.
- If you’re using valance clips or hooks, install them onto the wall or window frame according to the measurements and style of your valance. Use a drill and screws to secure them firmly in place.
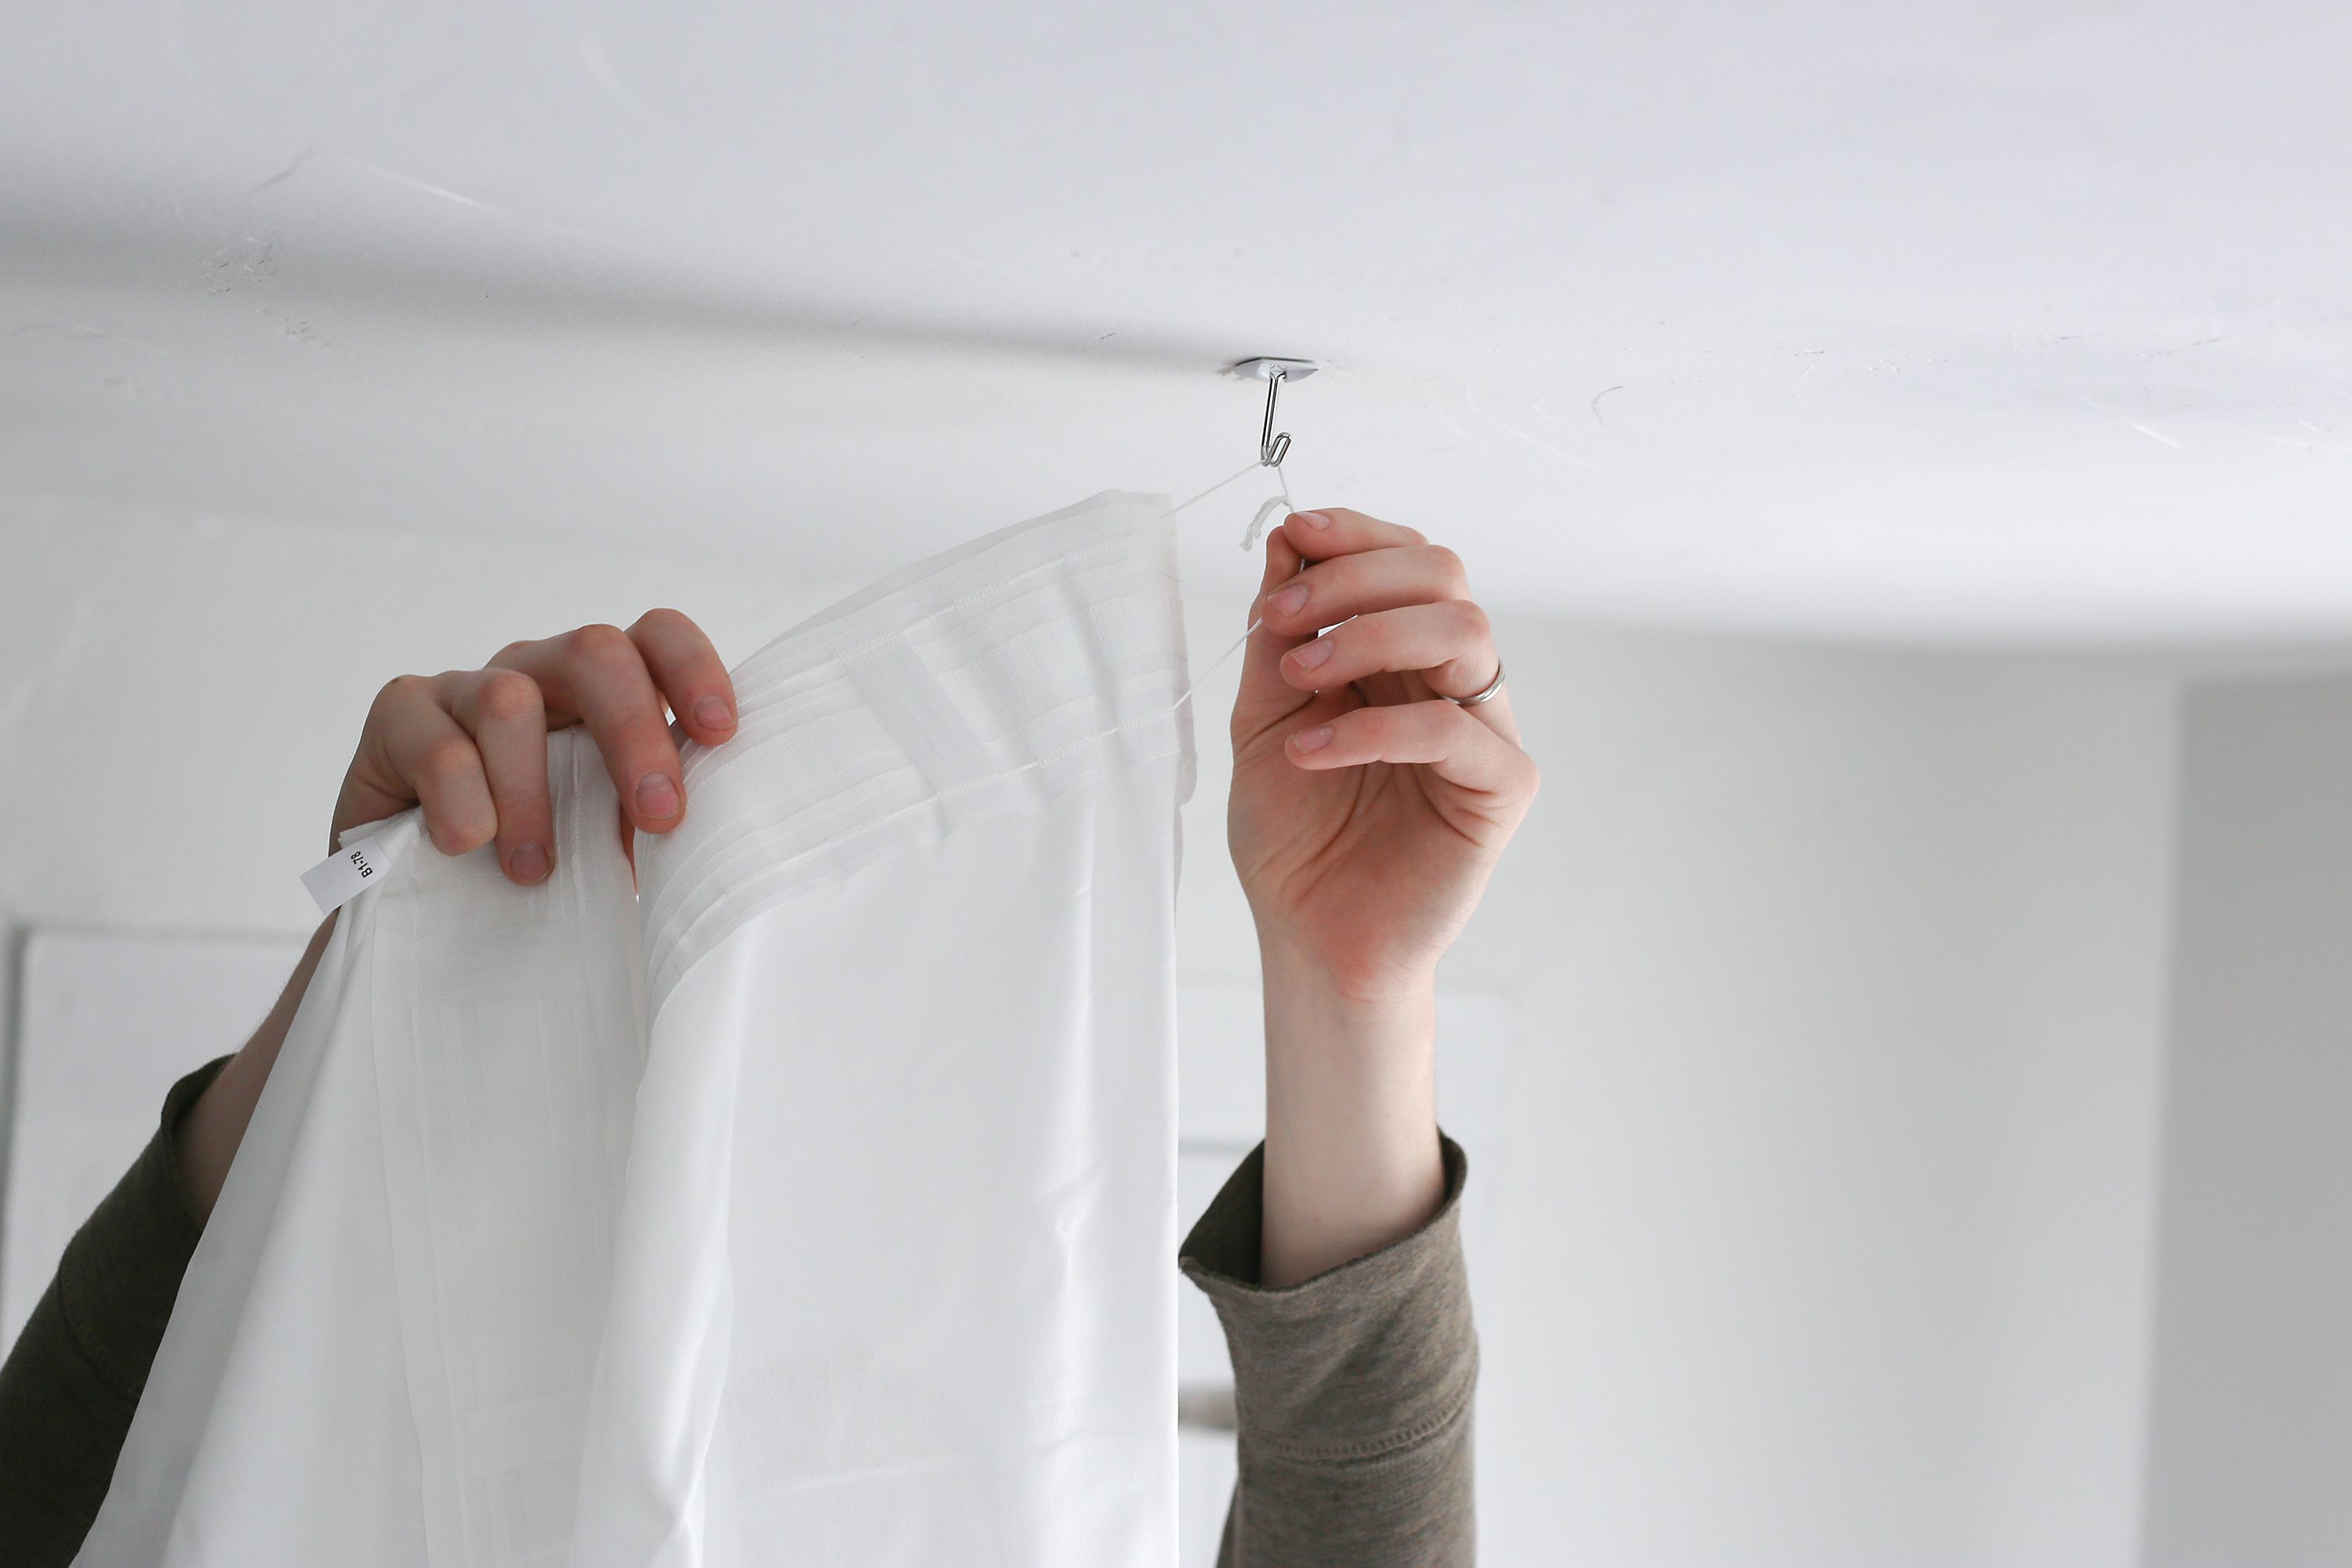
- Once the hardware is ready, it’s time to hang the valance. If you have a valance with a rod pocket, slide the rod into the pocket and place it onto the installed brackets or clips. If you’re using a valance with hooks, attach the hooks to the valance and then hang them onto the installed hardware.
- Step back and assess the placement of the valance. Make any necessary adjustments to ensure that it is level and centered.
- Once you’re satisfied with the positioning, step back once again and admire your beautifully installed valance.
Remember to follow any specific instructions provided by the manufacturer of your valance or hardware. This will ensure a proper installation and guarantee that your valance is secure and enhances the aesthetic of your window.
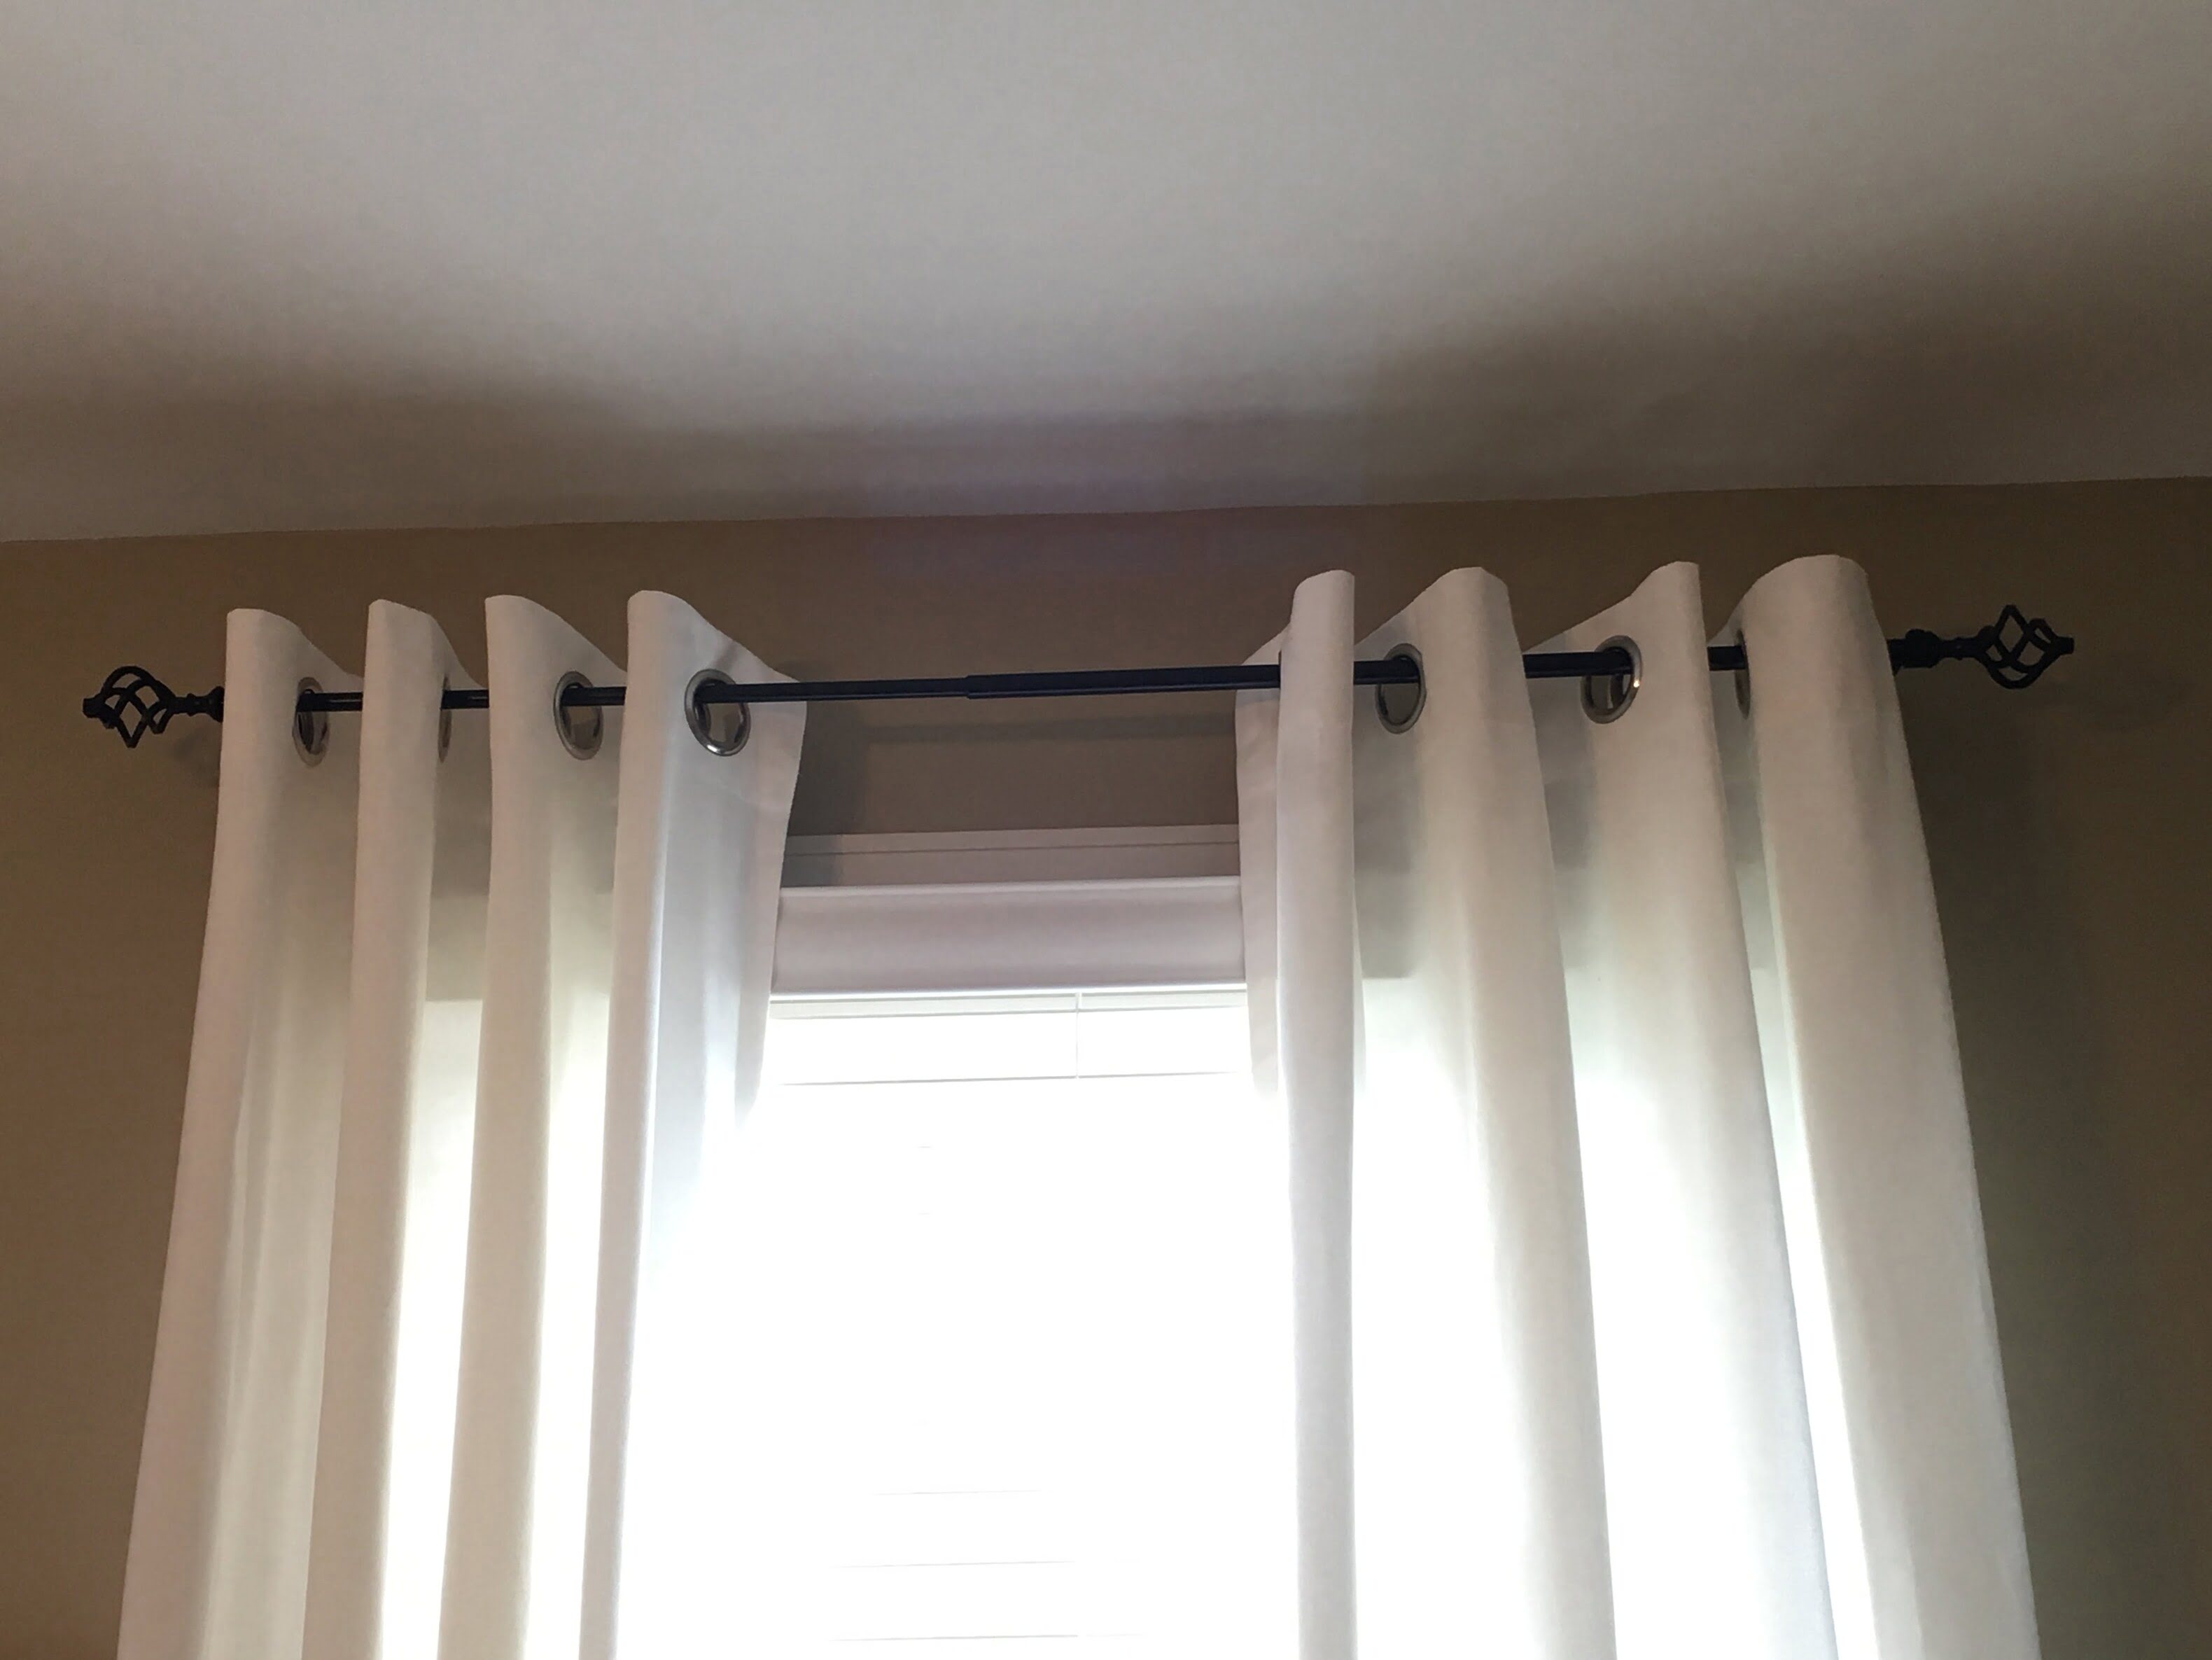
When hanging a valance and curtains, make sure to measure the width of your window and add extra width to the rod to allow the curtains to hang properly without blocking the light. This will ensure a balanced and visually appealing look for your window treatment.
Read more: What Are Valance Curtains
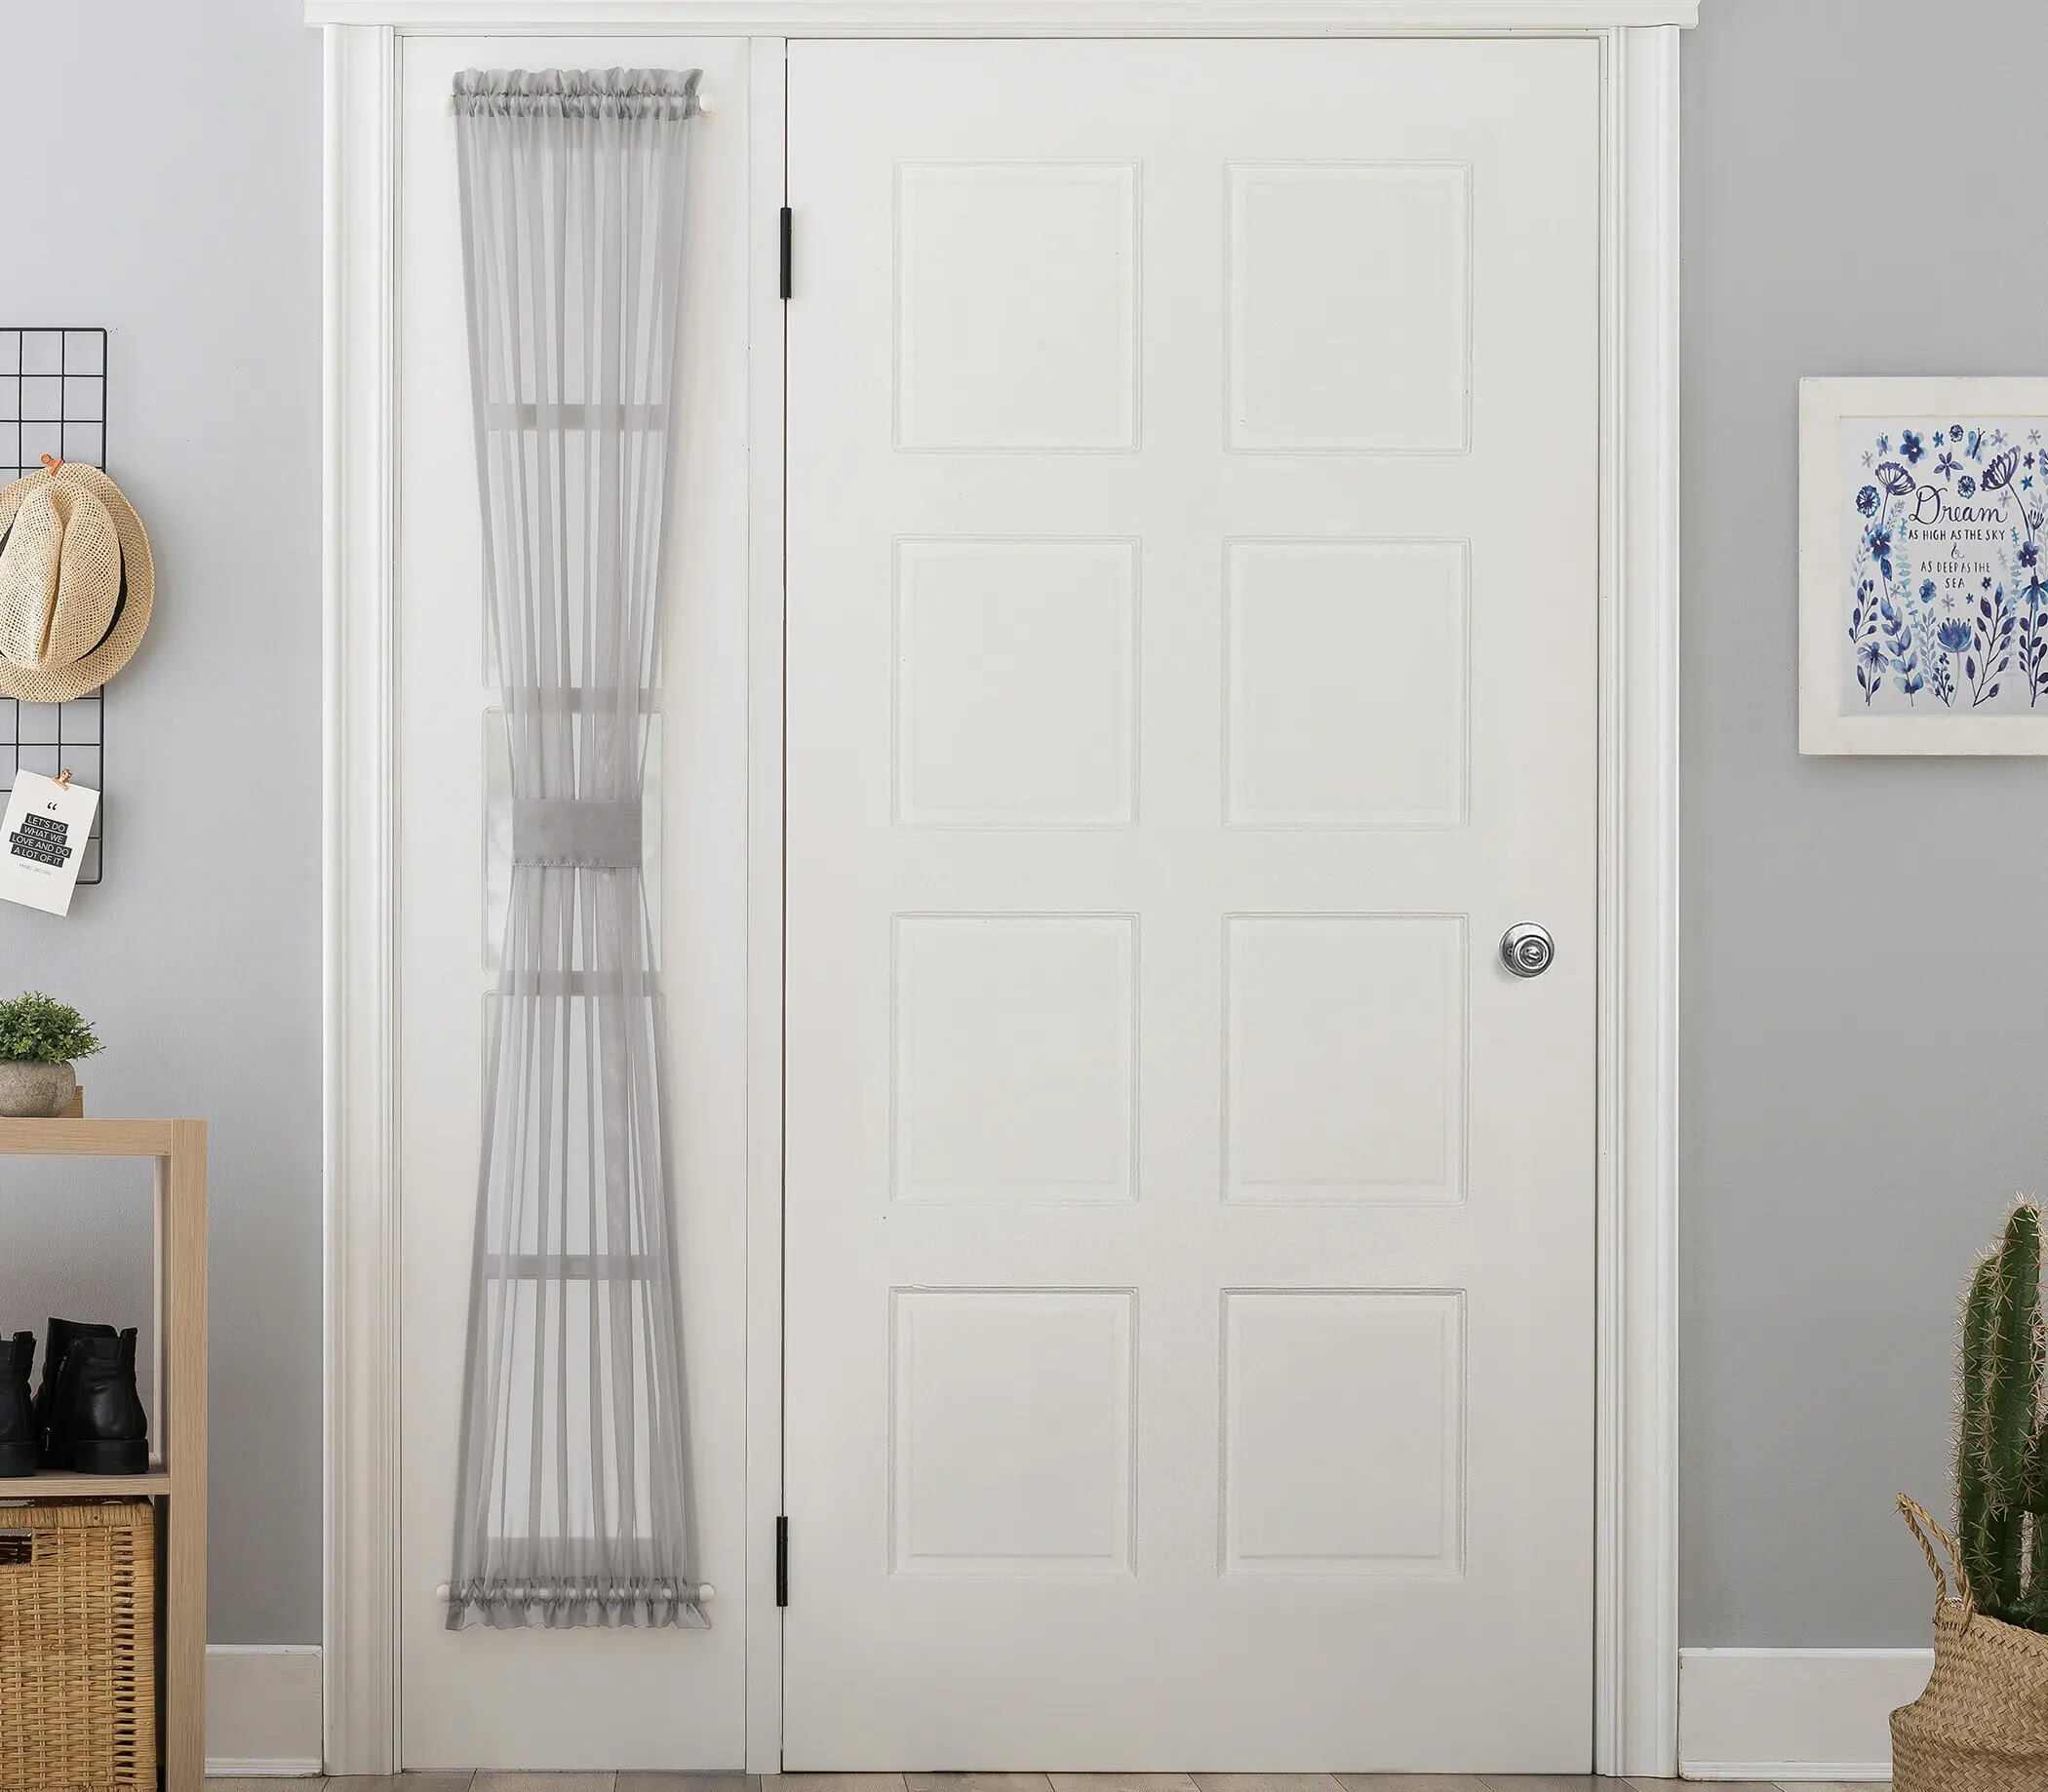
Step 5: Hanging the Curtains
With the valance successfully installed, it’s time to move on to hanging the curtains. Follow these steps to ensure a smooth and visually appealing curtain installation:
- Start by marking the placement of the curtain rod brackets. Use a pencil to make small marks on the wall or window frame at the desired height for the curtain rod. Ensure that the marks are level and evenly spaced.
- Before drilling any holes, double-check the measurements and alignment of the pencil marks. Use a level to ensure that they are perfectly straight.
- Once you’re satisfied with the placement, use a drill to attach the curtain rod brackets to the wall or window frame. Make sure to use screws and wall anchors if necessary for a secure installation.
- Depending on the style of your curtains, either slide the curtain hooks onto the rod or thread the curtain directly onto the rod.
- Place the curtain rod onto the installed brackets, ensuring that it is level and centered.
- Step back and assess the positioning of the curtains. Make any necessary adjustments to ensure that they hang evenly and at the desired length.
- For a polished look, use an iron to remove any wrinkles or creases from the curtains before hanging them.
- Once you’re satisfied with the placement and appearance of the curtains, step back once again and admire your newly hung curtains.
Remember to follow any specific instructions provided by the manufacturer of your curtain rod or hardware. This will ensure a proper installation and guarantee that your curtains hang beautifully.
By following these steps, you’ll be able to hang your curtains with ease and achieve a cohesive and stylish look for your windows.
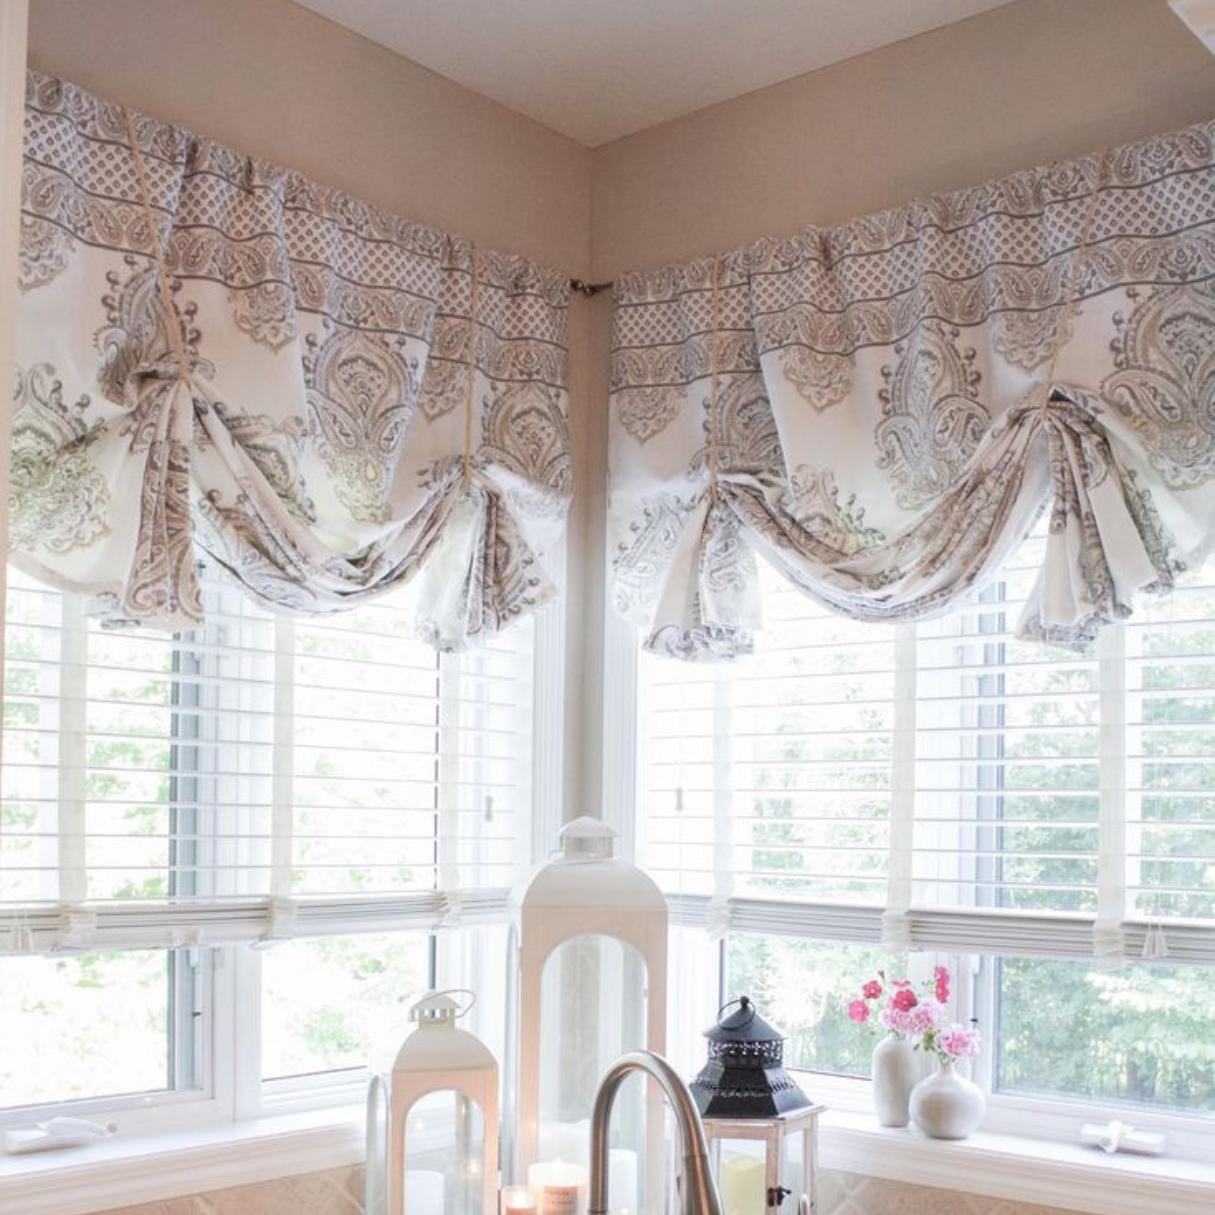
Step 6: Adjusting for Proper Fit and Style
Once the valance and curtains are hung, it’s time to make any necessary adjustments to ensure the proper fit and style. This step is crucial for achieving a polished and cohesive look for your window treatment. Follow these tips to fine-tune the appearance:
- Step back and assess the overall look of the window. Take note of any areas that may require adjustments.
- If the valance appears uneven, use a level to make sure it is perfectly straight. Make any necessary adjustments to straighten it.
- If the curtains appear uneven or do not drape properly, adjust the curtain rod brackets. This can be done by loosening the screws and repositioning the brackets to achieve a more balanced look.
- If the curtains are too long, you may need to hem them. Measure the desired length and use fabric scissors to trim the excess fabric. Alternatively, you can use curtain clips or drapery hooks to create a gathered or pleated effect, which can help shorten the curtains visually.
- If the curtains appear too stiff or wrinkled, consider using curtain weights or fabric softener to achieve a smoother, more flowing look.
- Assess the overall color and pattern scheme. If you feel that the valance and curtains are overpowering the room or clash with the existing decor, consider replacing them with more subtle or complementary options.
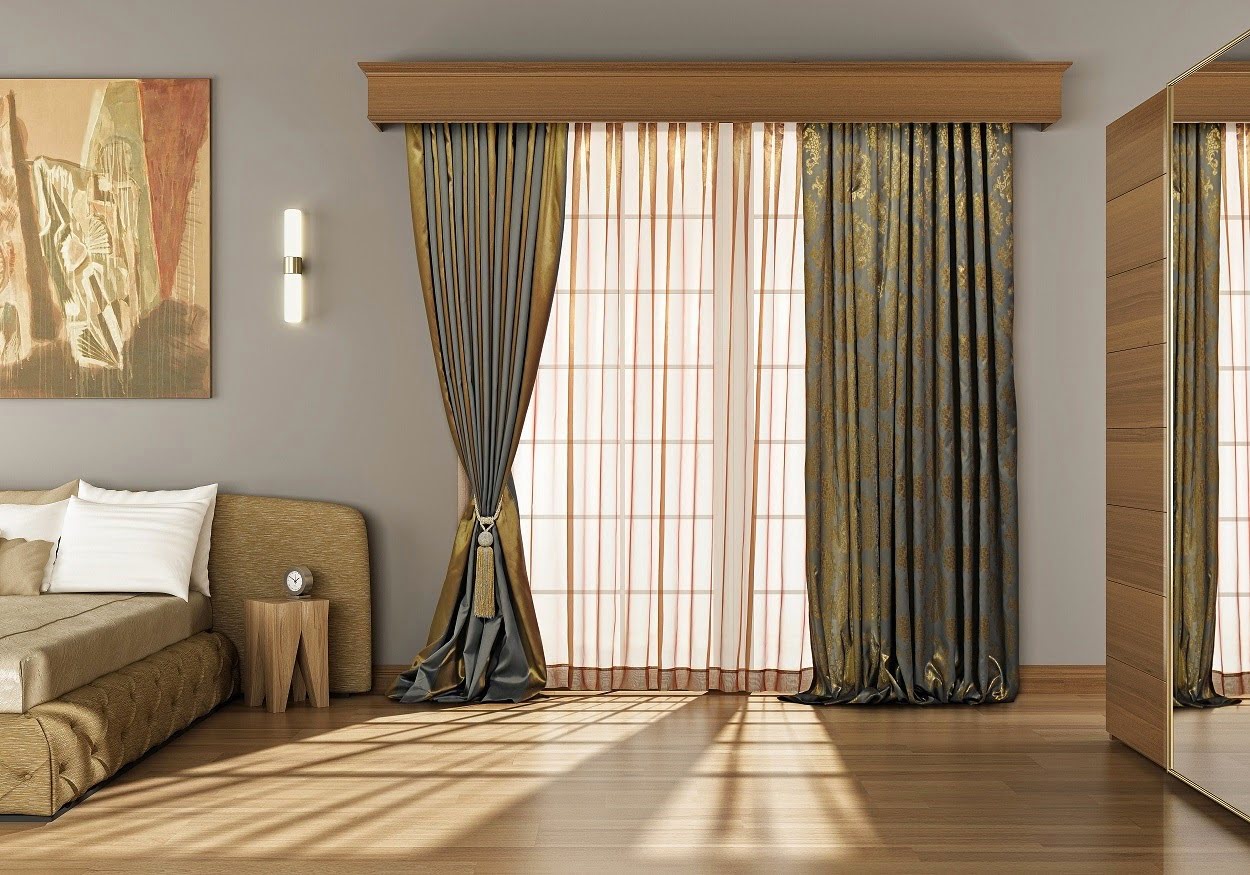
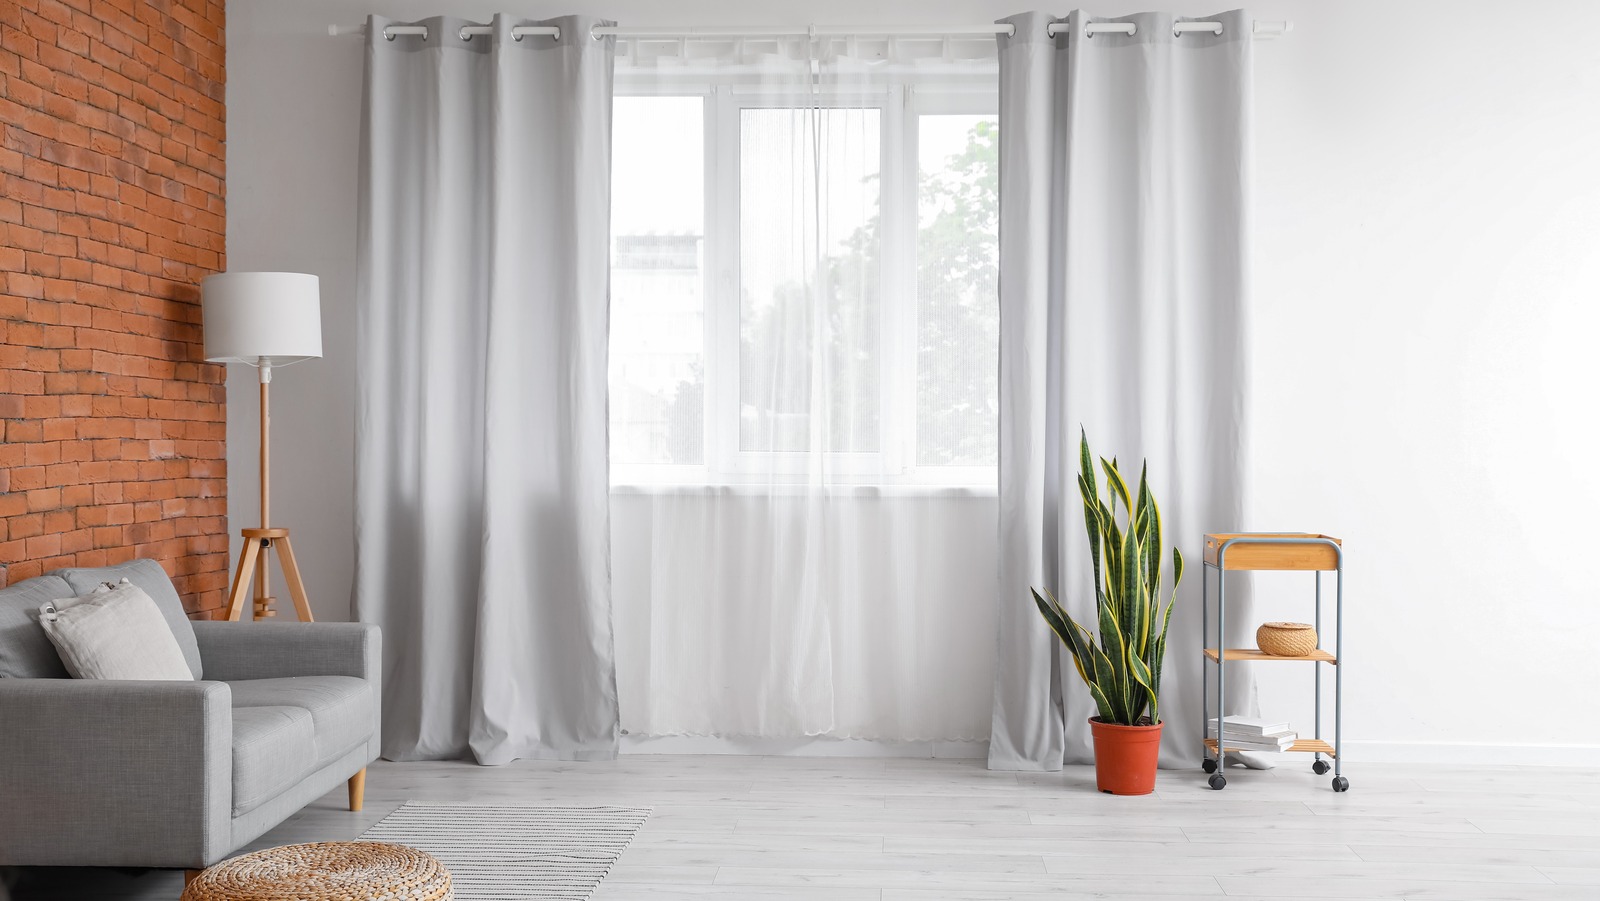
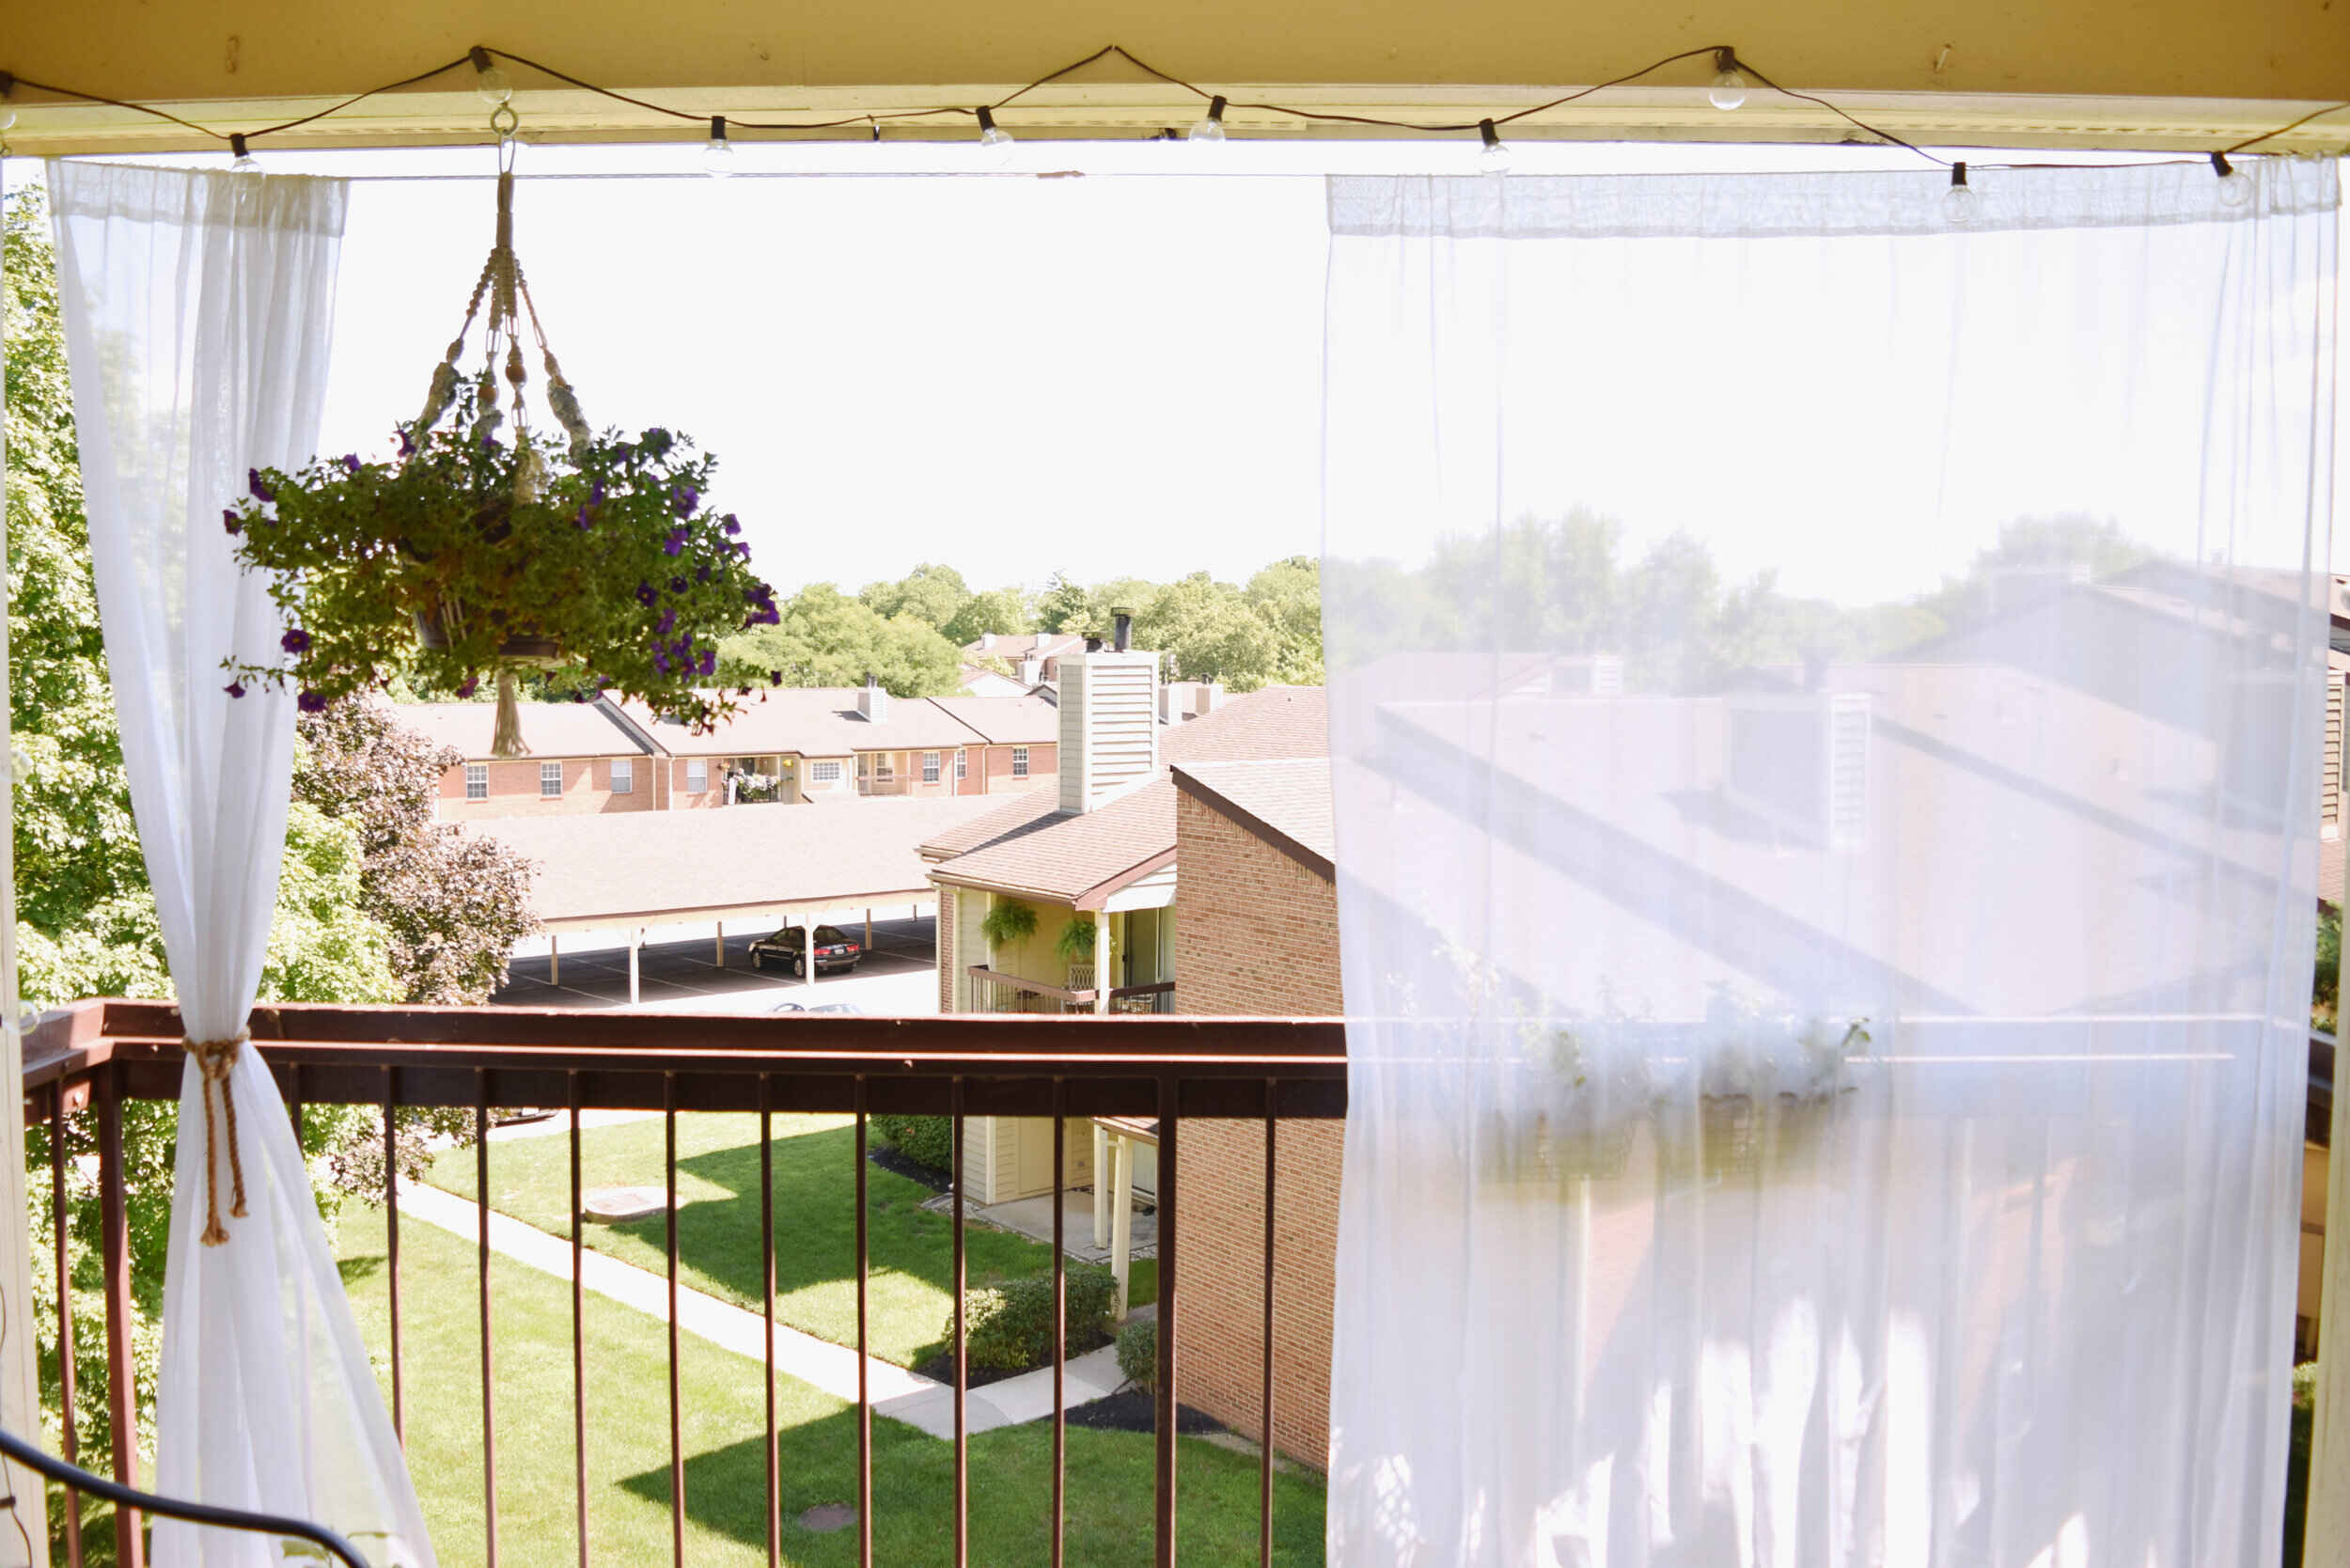
- Don’t be afraid to experiment with different styles and arrangements. You can try layering sheer curtains with heavier drapes for added privacy and dimension or adding tiebacks or holdbacks to create a more tailored and elegant look.
Remember, achieving the perfect fit and style may require some trial and error. Take your time to make adjustments and assess the results until you are satisfied with the overall appearance of your window treatment.
By paying attention to these details, you’ll be able to create a visually appealing and well-balanced window treatment that enhances the overall aesthetics of the room.
Step 7: Final Touches and Considerations
As you near the completion of hanging your valance and curtains, it’s important to attend to the final touches and consider certain factors to ensure the longevity and functionality of your window treatment. Follow these final steps for a polished and finished look:
- Take a step back and assess the overall appearance of the window. Make any final adjustments or tweaks to ensure that everything is aligned, level, and visually pleasing.
- Secure any loose ends or seams on the valance and curtains using a needle and thread or fabric glue. This will prevent any fraying or unraveling over time.
- Consider adding additional elements to enhance the functionality and style of your window treatment. This could include installing curtain rings, tiebacks, or adding decorative trim to the valance or curtains.
- Ensure that the curtains are operating smoothly. Check that they open and close easily without any obstructions or resistance.
- Regularly clean and maintain the valance and curtains to keep them looking fresh and vibrant. Follow the manufacturer’s instructions for proper care and cleaning.
- Consider the positioning of furniture and other elements in the room that may obstruct the functionality of the valance and curtains. Ensure that there is enough clearance for them to hang freely and move without any interference.
- Lastly, step back and admire your beautifully hung valance and curtains. Take a moment to appreciate the transformation they have brought to your space.
Remember that proper maintenance and care will help preserve the quality and appearance of your window treatment over time. Regularly inspect and clean them to maintain their functionality and visual appeal.
By paying attention to these final touches and considerations, you’ll have a completed window treatment that not only enhances the aesthetics of your space but also adds value and functionality to your home.
Conclusion
Hanging a valance and curtains may seem like a daunting task, but with the right guidance and a little bit of patience, you can transform your windows and elevate the style of any room. By following the step-by-step process we’ve provided, you’ll be able to hang your valance and curtains with confidence and achieve a professional-looking result.
Remember to assess your window, take accurate measurements, gather the necessary tools and materials, and follow the installation steps for both the valance and curtains. Once they are hung, don’t forget to make any necessary adjustments for fit and style, and attend to the final touches and considerations to ensure a polished and finished look.
Having well-dressed windows adds warmth, elegance, and personality to your space. Whether you prefer a formal and traditional look or a more relaxed and contemporary vibe, the valance and curtains you choose can significantly impact the overall aesthetic of a room.
As you embark on this creative endeavor, don’t be afraid to let your personal style shine through. Experiment with different fabrics, colors, patterns, and styles to find the perfect combination that reflects your individual taste and complements your decor.
With good maintenance and regular care, your valance and curtains will continue to enhance your windows for years to come. Enjoy the beauty they bring to your space and the functional benefits they provide in terms of privacy, light control, and insulation.
Now, armed with the knowledge and guidance provided in this article, you’re ready to hang your valance and curtains with confidence. So go ahead, take that step, and transform your windows into stunning focal points that truly enhance the beauty of your home.
Frequently Asked Questions about How To Hang Valance And Curtains
Was this page helpful?
At Storables.com, we guarantee accurate and reliable information. Our content, validated by Expert Board Contributors, is crafted following stringent Editorial Policies. We're committed to providing you with well-researched, expert-backed insights for all your informational needs.

0 thoughts on “How To Hang Valance And Curtains”