
Articles
How To Make Beaded Curtains
Modified: October 20, 2024
Learn how to make beautiful beaded curtains with our step-by-step articles. Create your own unique designs and add a touch of elegance to any space.
(Many of the links in this article redirect to a specific reviewed product. Your purchase of these products through affiliate links helps to generate commission for Storables.com, at no extra cost. Learn more)
Introduction
Beaded curtains are a stylish and unique way to add a touch of elegance and charm to any room. Whether you want to create a sense of privacy, divide a space, or simply enhance the aesthetic appeal of your home or office, beaded curtains offer a versatile and eye-catching solution. With their shimmering beads and intricate designs, these curtains can transform any space into a mesmerizing and inviting environment.
In this article, we will guide you through the process of making your own beaded curtains, providing step-by-step instructions and tips to help you create a stunning focal point in your interior design. From choosing the right beads to hanging the curtains, we will cover all the essential aspects to ensure a successful DIY project. So, let’s dive in and discover the art of making beaded curtains!
Key Takeaways:
- Create a mesmerizing focal point in your space by making your own beaded curtains. From choosing the right beads to hanging the curtains, unleash your creativity and add a unique touch to your decor.
- Enjoy the enchanting ambiance of your handcrafted beaded curtains. Follow the step-by-step process and care tips to preserve their beauty and longevity, adding elegance and charm to your surroundings.
Read more: How To Make Glass Beads
Materials Needed
Before you embark on your beaded curtain-making journey, it’s important to gather all the necessary materials. Having everything at your fingertips will ensure a smooth and seamless creative process. Here’s a list of the materials you’ll need:
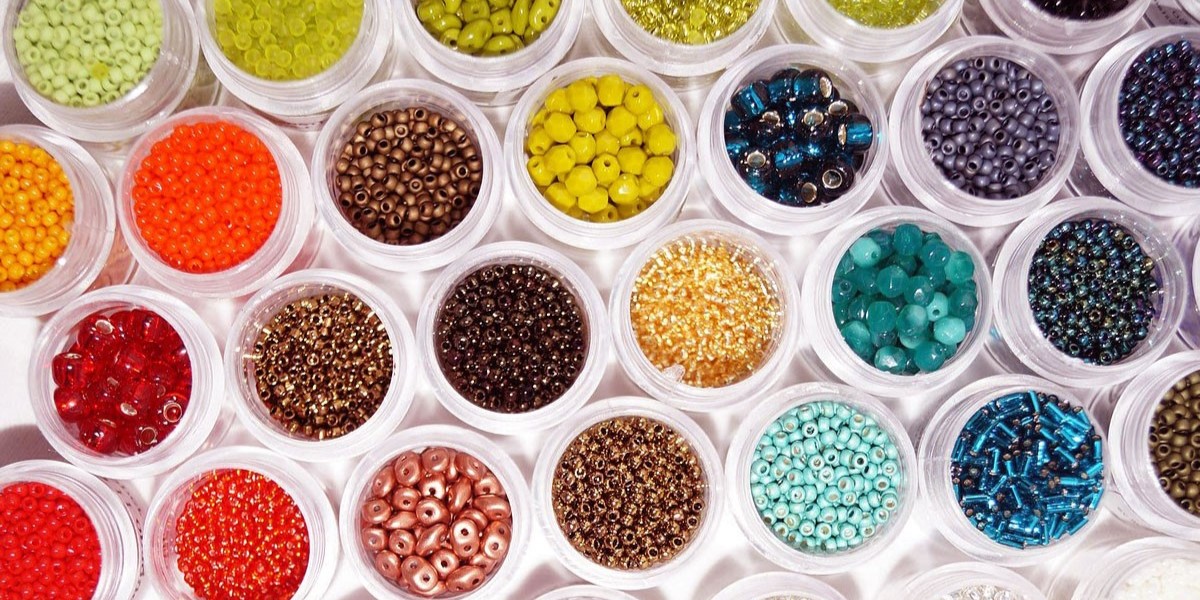
- Beads: Choose beads that suit your style and desired aesthetics. You can opt for glass beads, plastic beads, wooden beads, or even crystal beads. Consider the size, color, and shape of the beads to achieve the desired look.
- String: Select a strong and durable string that can withstand the weight of the beads. Nylon thread or fishing line is commonly used for beaded curtains.
- Scissors: You’ll need a pair of sharp scissors to cut the string to the desired length and trim any excess.
- Measuring Tape: A measuring tape or ruler will come in handy to determine the length and width of your curtains.
- Rod or String: Depending on how you want to hang your beaded curtains, you’ll need a suitable rod or string. This could be a curtain rod, tension rod, or a piece of sturdy string or wire.
- Hooks or Rings (optional): If you’re planning to hang your curtains on a rod, you may need hooks or rings to attach the curtains to the rod.
- Pliers (optional): Pliers can be useful for opening and closing jump rings, making it easier to attach the curtains to the rod or string.
Having these materials ready before you begin will streamline the process and prevent any delays or interruptions. Additionally, feel free to get creative and explore other materials or accessories that you think would complement your beaded curtains.
Step 1: Choosing the Beads
The beads you choose will play a significant role in the overall look and feel of your beaded curtains. They will determine the color palette, texture, and style of the finished product. Here are some factors to consider when selecting your beads:
- Size: Beads come in various sizes, from tiny seed beads to larger focal beads. Consider the scale of your space and the desired visual impact. Smaller beads will create a more delicate and intricate look, while larger beads will make a bold statement.
- Material: Beads can be made from a wide range of materials, including glass, plastic, wood, metal, and crystal. Each material has its unique qualities and reflects light differently. Experiment with different materials to achieve the desired effect.
- Color: Choose colors that complement your existing décor or create a striking contrast. You can go for a monochromatic color scheme, a blend of complementary colors, or even a vibrant mix of hues. Consider the mood or ambiance you want to create in the room.
- Shape: Beads come in various shapes, such as round, faceted, square, or irregular. The shape of the beads can add visual interest and dimension to your curtains. Mix and match different shapes to create a dynamic and visually appealing design.
- Pattern or Design: Some beads may have patterns or designs on them, such as stripes, flowers, or geometric shapes. These can add an extra layer of detail and complexity to your curtains.
Take your time to explore different bead options and experiment with different combinations. You can even create a sample strand of beads to see how they look together before committing to a particular design.
Remember, the beads you choose should align with your personal style and the overall aesthetic you want to achieve. They are the building blocks of your beaded curtains, so make sure they resonate with your vision and bring your creative ideas to life.
Step 2: Determining the Length and Width
Once you’ve selected your beads, the next step is to determine the length and width of your beaded curtains. This will depend on the specific area where you plan to hang them and the desired coverage and functionality. Here’s how to go about it:
- Measure the Space: Use a measuring tape to determine the height and width of the area where you want to hang the curtains. Consider the height of the ceiling, the length of the doorway or window, or any specific space you wish to divide or decorate.
- Consider Functionality: Think about the purpose of the curtains. Do you want them to serve as purely decorative elements, providing a touch of elegance and visual interest? Or do you need them to offer privacy or divide a space? This will help you determine how long and wide the curtains should be.
- Add Extra Length: It’s a good idea to add some extra length to your measurements to account for any additional drop or fullness you desire. This will ensure that the curtains hang properly and have a flowing appearance.
- Account for Rod or String Length: If you’re planning to hang the curtains on a rod or string, consider the length of the rod or string as well. It should be wide enough to accommodate the width of the curtains and allow for easy movement.
Once you have all the measurements, you can start stringing your beads and creating the curtain panels. It’s important to have a clear understanding of the dimensions before proceeding to ensure that the finished curtains fit perfectly into the designated area.
Remember, the length and width of the curtains are completely customizable, so feel free to adjust them according to your personal preferences and the specific requirements of your space. This step sets the foundation for the overall look and functionality of your beaded curtains, so take your time and get it right.
Step 3: Stringing the Beads
Now that you have determined the length and width of your beaded curtains, it’s time to start stringing the beads. This step requires patience and attention to detail to ensure a well-crafted and visually appealing result. Follow these steps to string your beads:
- Prepare the String: Cut a length of string that is slightly longer than the desired length of your curtains. This will give you some extra room to work with. Make sure the string is strong and durable enough to hold the weight of the beads.
- Knot the End: Tie a knot at one end of the string to prevent the beads from sliding off while you work. This will serve as the starting point of your string of beads.
- Start Stringing: Select your first bead and thread it onto the string, sliding it all the way down to the knot. You can choose to thread a single type of bead or mix different beads for a varied and dynamic look. Continue adding beads to the string in your desired pattern or design.
- Space the Beads: As you string the beads, make sure to leave a small gap between each bead to allow for movement and flexibility. This will give your curtains a graceful drape when hung.
- Experiment with Spacing: To achieve a more customized and unique look, you can vary the spacing between beads. Create clusters of closely spaced beads or add longer gaps between certain beads for visual interest.
- Repeat the Process: Continue adding beads to the string until you reach the desired length for one curtain panel. Once one panel is complete, repeat the process to string beads for additional panels if desired.
- Secure the End: Once you have finished stringing the beads for a panel, tie a knot at the end of the string to keep the beads in place. This will prevent them from sliding off when you hang the curtains.
Remember to take your time and maintain a steady hand while stringing the beads. It’s essential to ensure that the beads are threaded securely and evenly spaced to achieve a professional and polished look.
Once all the panels are strung with beads, you’re ready to move on to the next step – creating the curtain panels.
When making beaded curtains, be sure to use a sturdy base such as a metal rod or wooden dowel to hang the beads from. This will ensure that the curtains hang straight and don’t sag over time.
Step 4: Creating the Curtain Panels
Now that you have successfully strung the beads, it’s time to transform them into curtain panels. This step involves attaching the string of beads to a structure that will hold them in place and form the desired shape of your beaded curtains. Follow these steps to create the curtain panels:
- Prepare the Structure: Depending on your preference and the look you want to achieve, you can use a wooden dowel, a curtain rod, or even a strong string as the support structure for your curtain panels. Ensure that the structure is sturdy and can withstand the weight of the beads.
- Attach the Strings: For each curtain panel, take the string of beads and tie it securely to the structure. You can use knots or small hooks to attach the strings. Make sure the strings are evenly spaced and taut.
- Check the Length: Before finalizing the attachment, double-check the length of each curtain panel to ensure they are consistent and match the measurements you determined in earlier steps.
- Finishing Touches: Once the strings are attached, you can add embellishments or decorative elements to further enhance the look of the curtains. This could include bows, tassels, or additional beads strategically placed along the strings.
- Repeat for Additional Panels: If you want multiple curtain panels, repeat the process of attaching the strings of beads to the structure for each panel. Ensure that the panels are aligned and evenly spaced to create a cohesive and visually appealing display.
During this step, pay attention to the overall aesthetics of the curtain panels. Adjust the placement and spacing of the strings of beads as needed to achieve the desired look and balance. This is your chance to unleash your creativity and add your personal touch to the design.
Once all the curtain panels are created, you’re one step closer to enjoying your beautiful and custom-made beaded curtains.
Step 5: Attaching the Panels to a Rod or String
After creating the individual curtain panels, the next step is to attach them to a rod or string for hanging. This will allow you to suspend the beaded curtains and showcase their beauty. Here’s how to attach the panels:
- Choose the Hanging Method: Decide whether you want to hang the curtain panels on a traditional curtain rod, a tension rod, or a string/wire. The choice will depend on the desired look, the weight of the curtains, and the available options in your space.
- Measure and Cut the Rod or String: If using a rod, measure the width of the area where the curtains will hang and cut the rod to the appropriate length. If using a string or wire, measure the desired height and width and cut accordingly. Ensure that the rod or string is strong enough to support the weight of the curtains.
- Attach the Panels: Start by attaching the first panel to the rod or string. Use hooks, rings, or ties to secure the top of the panel to the rod or string. Ensure that the panel is centered and evenly spaced. Repeat the process for each additional curtain panel.
- Adjust the Positioning: Once all the panels are attached, step back and assess the positioning and alignment. Make any necessary adjustments to ensure that the panels are hanging straight and evenly spaced.
During this step, you can get creative with the placement of the curtain panels. Experiment with different arrangements and spacing to achieve the desired visual impact. You can overlap the panels slightly or leave small gaps between them for an airy and whimsical feel.
Remember to step back and view the overall effect from different angles to ensure that the curtains are hanging as intended. This step is crucial in creating a captivating display that enhances the aesthetics of your space.
Once the panels are securely attached, you’re ready to move on to the final step – hanging the beaded curtains.
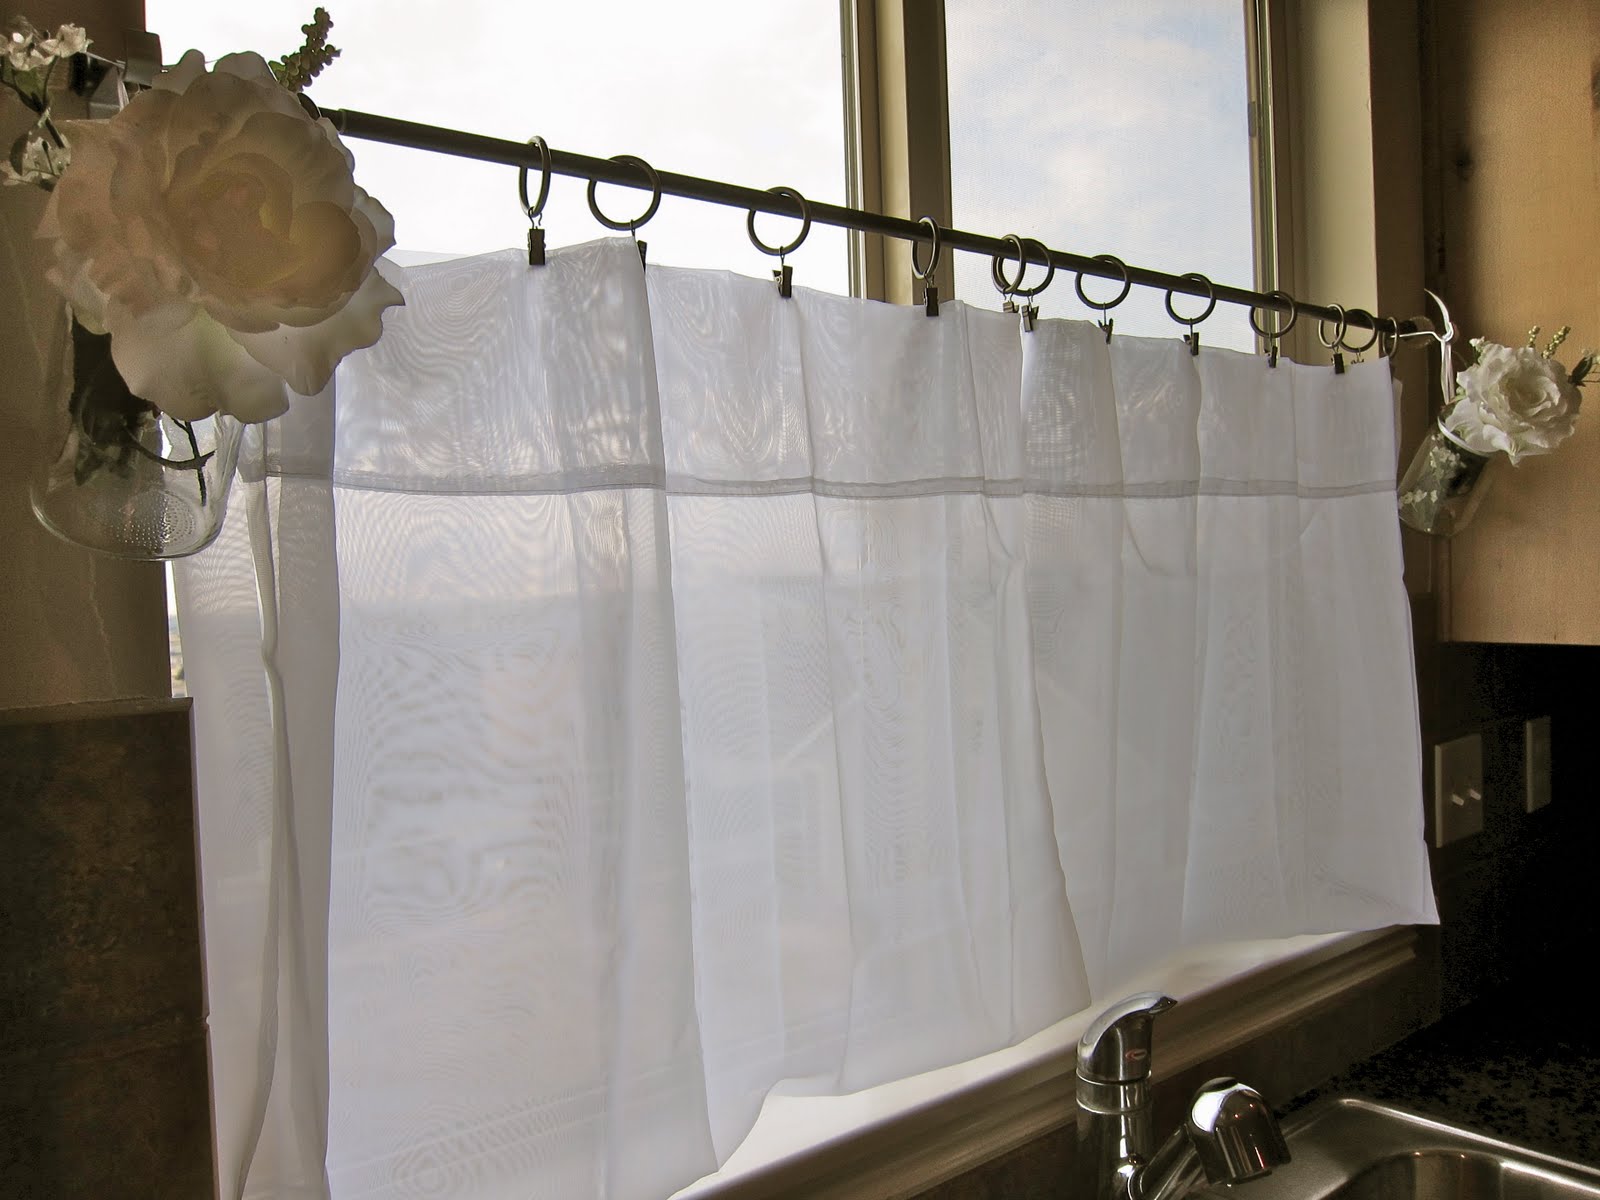
Step 6: Hanging the Beaded Curtains
Now that your beaded curtain panels are securely attached to a rod or string, it’s time to hang them in their designated space. Properly hanging the curtains will ensure they are displayed beautifully and are free to move and shimmer as intended. Follow these steps to hang your beaded curtains:
- Choose the Hanging Location: Decide where you want to hang your beaded curtains. Whether it’s a doorway, window, or a specific area in a room, consider the height, width, and overall aesthetics of the space.
- Position the Rod or String: Install the curtain rod or secure the string/wire in the chosen location. Ensure that it is level and properly anchored. If using a tension rod, adjust it to fit securely between the two surfaces.
- Hang the Curtain Panels: Carefully lift the curtain panels and hang them on the rod or string. If you’re using hooks, rings, or ties, slide them over the rod or string to secure the panels in place. Make adjustments as necessary to ensure the panels hang straight and evenly spaced.
- Check for Clearance: Ensure that the bottom of the curtains clears the floor or any other obstructions. They should hang freely and move with ease when touched or when there is a slight breeze in the room.
- Final Adjustments: Step back and assess the overall hanging position and appearance of the beaded curtains. Make any final adjustments to the placement or alignment of the panels to achieve the desired visual effect.
Once you’re satisfied with the hanging of the beaded curtains, take a moment to appreciate the transformation they bring to your space. The shimmering beads and graceful movement of the curtains will instantly elevate the ambiance and add a touch of elegance to any room.
If desired, you can also add additional accessories or decorative elements to enhance the overall look of the curtains and complement your existing decor. Get creative and enjoy the beauty and uniqueness of your handcrafted beaded curtains.
Now that your beaded curtains are hung, it’s important to know how to properly maintain and care for them to ensure their longevity and continued appeal.
Step 7: Maintenance and Care Tips
Proper maintenance and care will help keep your beaded curtains looking beautiful and in optimal condition. Follow these tips to ensure their longevity:
- Dust Regularly: Dust accumulation can diminish the sparkle and shine of the beads. Use a feather duster or a soft cloth to gently remove dust from the surface of the beads. Avoid using abrasive materials or harsh cleaners that can damage the beads.
- Spot Clean: If you notice any stains or dirt on the curtains, spot clean the affected area using a mild detergent diluted in water. Dab the stain gently with a soft cloth or sponge, being careful not to rub too vigorously. Rinse with clean water and allow the curtains to air dry completely.
- Avoid Moisture: Beaded curtains should be kept away from excessive moisture or humid environments as it can cause the beads to tarnish or lose their luster. Avoid hanging them in areas such as bathrooms or kitchens where moisture levels are high.
- Handle with Care: When moving or adjusting the beaded curtains, handle them with care to avoid snagging or tangling the strands. Take hold of the rod or string rather than directly touching the beads to prevent any accidental damage.
- Protect from Direct Sunlight: Prolonged exposure to direct sunlight can fade the colors of the beads over time. Consider using curtains or blinds to shield the beaded curtains from harsh sunlight, especially during peak hours.
- Regular Inspections: Periodically check the strings, hooks, or rings that hold the beads to ensure they are secure and in good condition. Replace any damaged or worn-out components promptly to prevent accidents or further damage.
- Store Properly: If you need to remove the beaded curtains temporarily, store them in a clean and dry area to prevent dust buildup. Gently roll or fold the curtains, ensuring that the beads are protected and not tangled. Place them in a breathable storage bag or wrap them in a soft cloth.
By following these maintenance and care tips, you can preserve the beauty and longevity of your beaded curtains for years to come. Enjoy the enchanting ambiance they create and the unique focal point they bring to your space.
Now, you have successfully completed all the steps to create and care for your beaded curtains. Sit back, relax, and admire the dazzling display you’ve created.
Happy beading!
Read more: How To Make Beaded Wine Glasses
Conclusion
Congratulations! You have learned how to create beautiful and captivating beaded curtains from start to finish. By following the step-by-step process outlined in this article, you have unlocked your creativity and added a unique touch to your home or office decor.
From choosing the right beads to determining the length and width, stringing the beads, creating the curtain panels, attaching them to a rod or string, and finally, hanging the curtains, each step was carefully explained to ensure your success in this DIY project.
By making your own beaded curtains, you have the opportunity to personalize your space and express your unique style. The shimmering beads and graceful movement of the curtains will draw attention and create a mesmerizing focal point.
Remember to take proper care of your beaded curtains by dusting regularly, spot cleaning when necessary, and protecting them from excessive moisture and direct sunlight. With proper maintenance, your beaded curtains will continue to enhance your space for years to come.
Now it’s time to sit back, relax, and enjoy the beauty and ambiance that your handcrafted beaded curtains bring to your surroundings. Whether it’s a doorway, window, or a space divider, these curtains will undoubtedly add a touch of elegance and charm.
Thank you for joining us on this creative journey. We hope you had fun and found inspiration in the world of beaded curtains. Happy crafting!
Now that you've mastered creating beaded curtains, why not expand your creative horizons with other home projects? Our next guide covers everything you need for crafting stunning DIY home decor. From simple accents to major room transformations, this article provides easy-to-follow instructions and creative ideas to spruce up your living space. Don't miss out on this opportunity to personalize your home with unique, handmade decorations that reflect your style and taste.
Frequently Asked Questions about How To Make Beaded Curtains
Was this page helpful?
At Storables.com, we guarantee accurate and reliable information. Our content, validated by Expert Board Contributors, is crafted following stringent Editorial Policies. We're committed to providing you with well-researched, expert-backed insights for all your informational needs.


0 thoughts on “How To Make Beaded Curtains”