Articles
How To Hang Curtain Lights Over Curtains
Modified: December 7, 2023
Learn how to hang curtain lights over curtains with this helpful article. Get step-by-step instructions on creating a beautiful and cozy ambiance in your space.
(Many of the links in this article redirect to a specific reviewed product. Your purchase of these products through affiliate links helps to generate commission for Storables.com, at no extra cost. Learn more)
Introduction
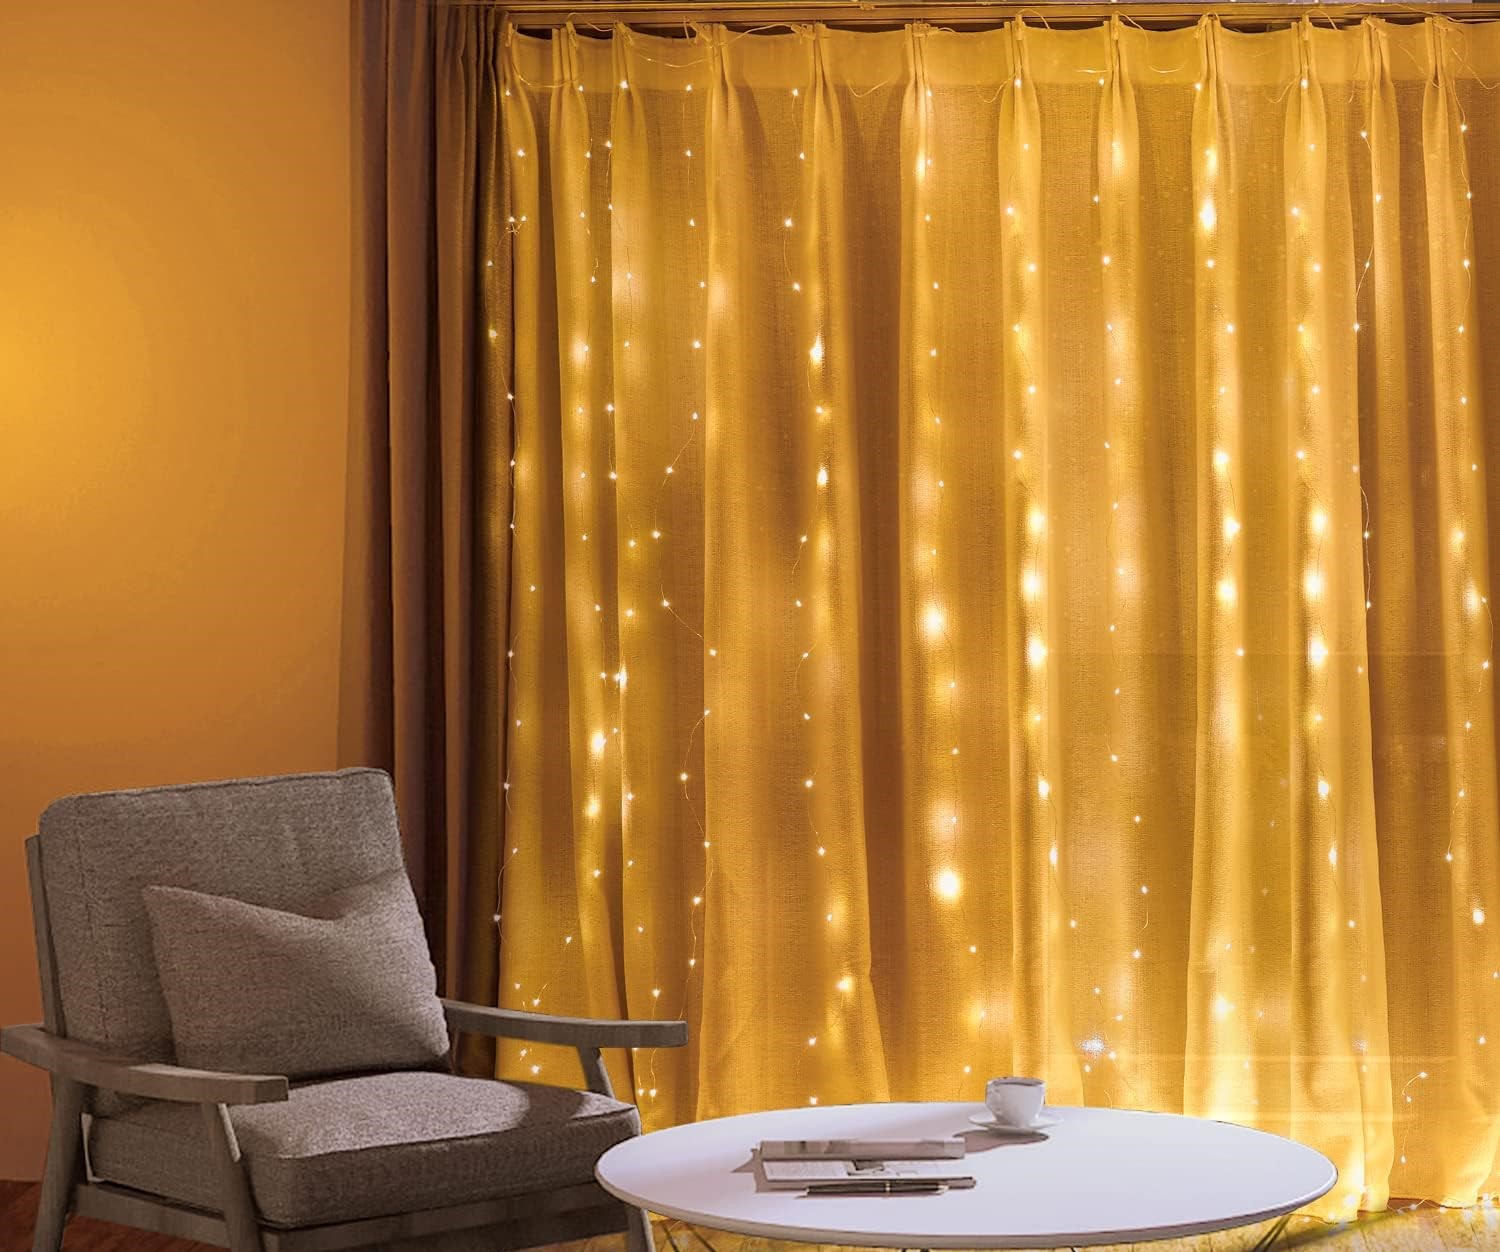
Adding curtain lights to your curtains is a fantastic way to bring a touch of magic and ambiance to any room. Whether you want to create a cozy and warm atmosphere or add a whimsical flair to your space, curtain lights can do wonders. In this article, we will guide you through the process of hanging curtain lights over curtains, ensuring that you achieve the perfect lighting effect that fits your style.
Before we get into the nitty-gritty of hanging curtain lights, it’s important to note that there are various types of curtain lights available in the market. Some curtain lights are specifically designed to be hung over curtains, while others can be adapted for this purpose. Make sure you choose curtain lights that suit your needs and preferences.
Now, let’s dive into the step-by-step process of hanging curtain lights over curtains so you can bring a stunning glow to your living space.
Key Takeaways:
- Transform any room into a magical space by hanging curtain lights over curtains. Follow our step-by-step guide for a stunning lighting effect that adds warmth and charm to your home.
- Prioritize safety, choose the right curtain lights, and let your creativity shine as you test, arrange, and enjoy the cozy ambiance created by your illuminated curtains.
Read more: How To Hang Curtains Over Blinds And Shades
Step 1: Gather the necessary materials
Before you begin hanging curtain lights over your curtains, it’s essential to gather all the materials you’ll need for the task. Here’s a list of items that you should have on hand:
- Curtain lights: Choose curtain lights that best suit your style and preference. They come in various lengths, colors, and styles, so select the one that complements your existing decor.
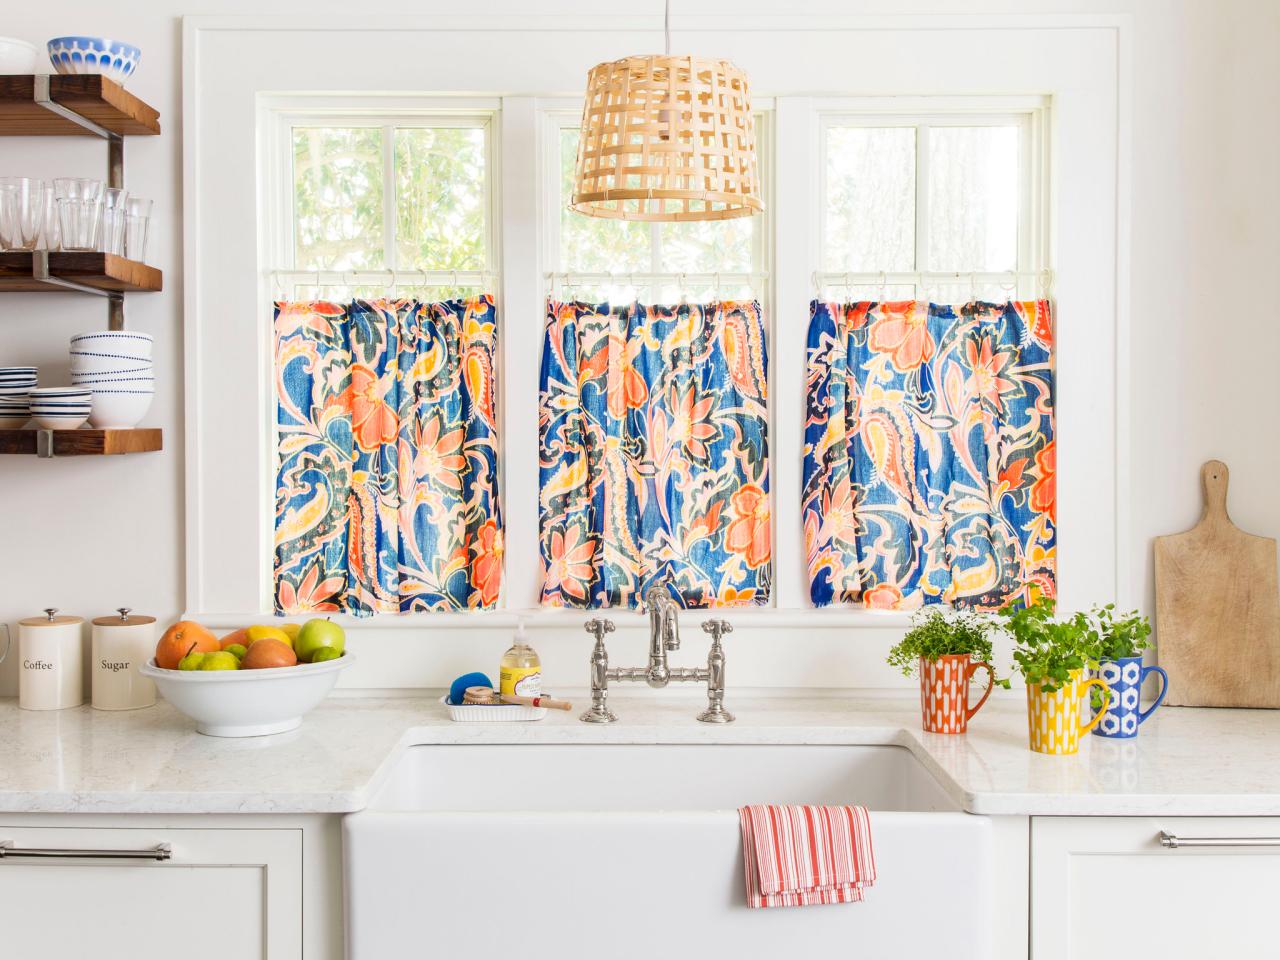
- Curtains: Make sure you have curtains already installed in the desired area. If you don’t have curtains, choose ones that are lightweight and have a sheer or semi-transparent fabric to allow the curtain lights to shine through.
- Hanging hardware: Depending on the type of curtain lights you have, you may need hooks, clips, or adhesive hanging strips to secure them to the curtain rod or wall. Ensure that the hanging hardware is strong enough to hold the weight of the lights.
- Measuring tape: To ensure proper placement and alignment of the curtain lights, you’ll need a measuring tape to measure the length and width of your curtains.
- Scissors: These will be handy for cutting any excess wires or threads as you install the curtain lights.
- Power source: Determine the location of the nearest power outlet or extension cord to ensure that your curtain lights can be connected and powered.
Once you have gathered all the necessary materials, you’re ready to move on to the next step: measuring and planning the placement of the curtain lights.
Step 2: Measure and plan the placement of the curtain lights
Before you start hanging the curtain lights, it’s important to measure your curtains and plan where you want to place them. Follow these steps to ensure a well-organized and visually pleasing arrangement:
- Measure the length and width: Use a measuring tape to determine the length and width of your curtains. This will help you decide how many curtain lights you need and how to distribute them evenly.
- Determine the desired height: Consider how high or low you want the curtain lights to hang over the curtains. Take into account any furniture or fixtures that may obstruct the view or pose a safety hazard. Aim for a height that provides adequate illumination while maintaining a balanced aesthetic.
- Divide the curtain length: Divide the length of your curtains into equal sections, depending on the number of curtain lights you have. This will help you distribute the lights evenly across the width of the curtains.
- Mark the placement: Using a pencil or removable marker, lightly mark the spots where you want to hang the curtain lights. Make sure the marks are clear and visible.
- Plan for power source: Consider the location of the nearest power outlet or extension cord. Ensure that the curtain lights can reach the power source without any obstructions or hazards. If needed, plan the arrangement of the lights accordingly.
By measuring and planning the placement of the curtain lights in advance, you can achieve a visually balanced and well-organized display. With these preparations complete, you’re now ready to move on to the next step: preparing the curtains for hanging.
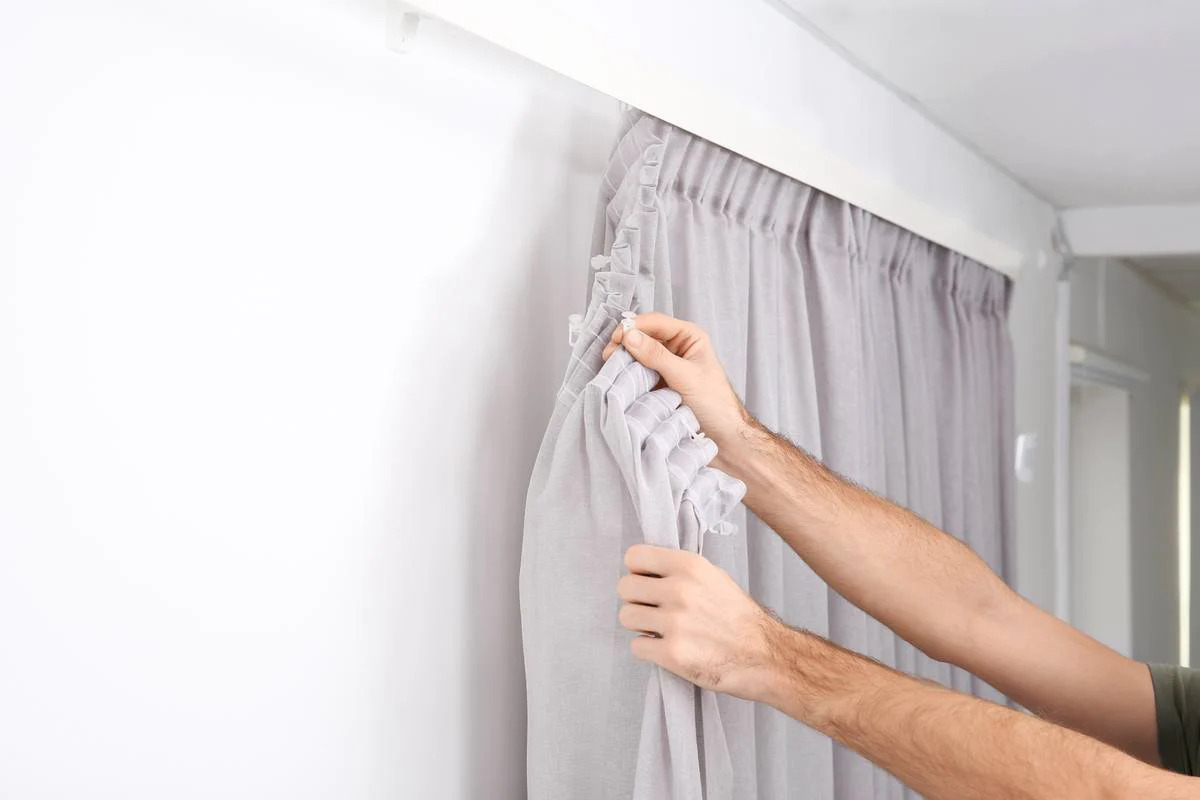
Step 3: Prepare the curtains for hanging
Before you start hanging the curtain lights, it’s important to prepare your curtains to ensure a smooth and secure installation. Follow these steps to get your curtains ready:
- Remove any wrinkles or creases: If your curtains are wrinkled or creased, iron or steam them according to the fabric’s instructions. Smooth curtains will not only enhance the overall appearance but also make it easier to hang the lights evenly.
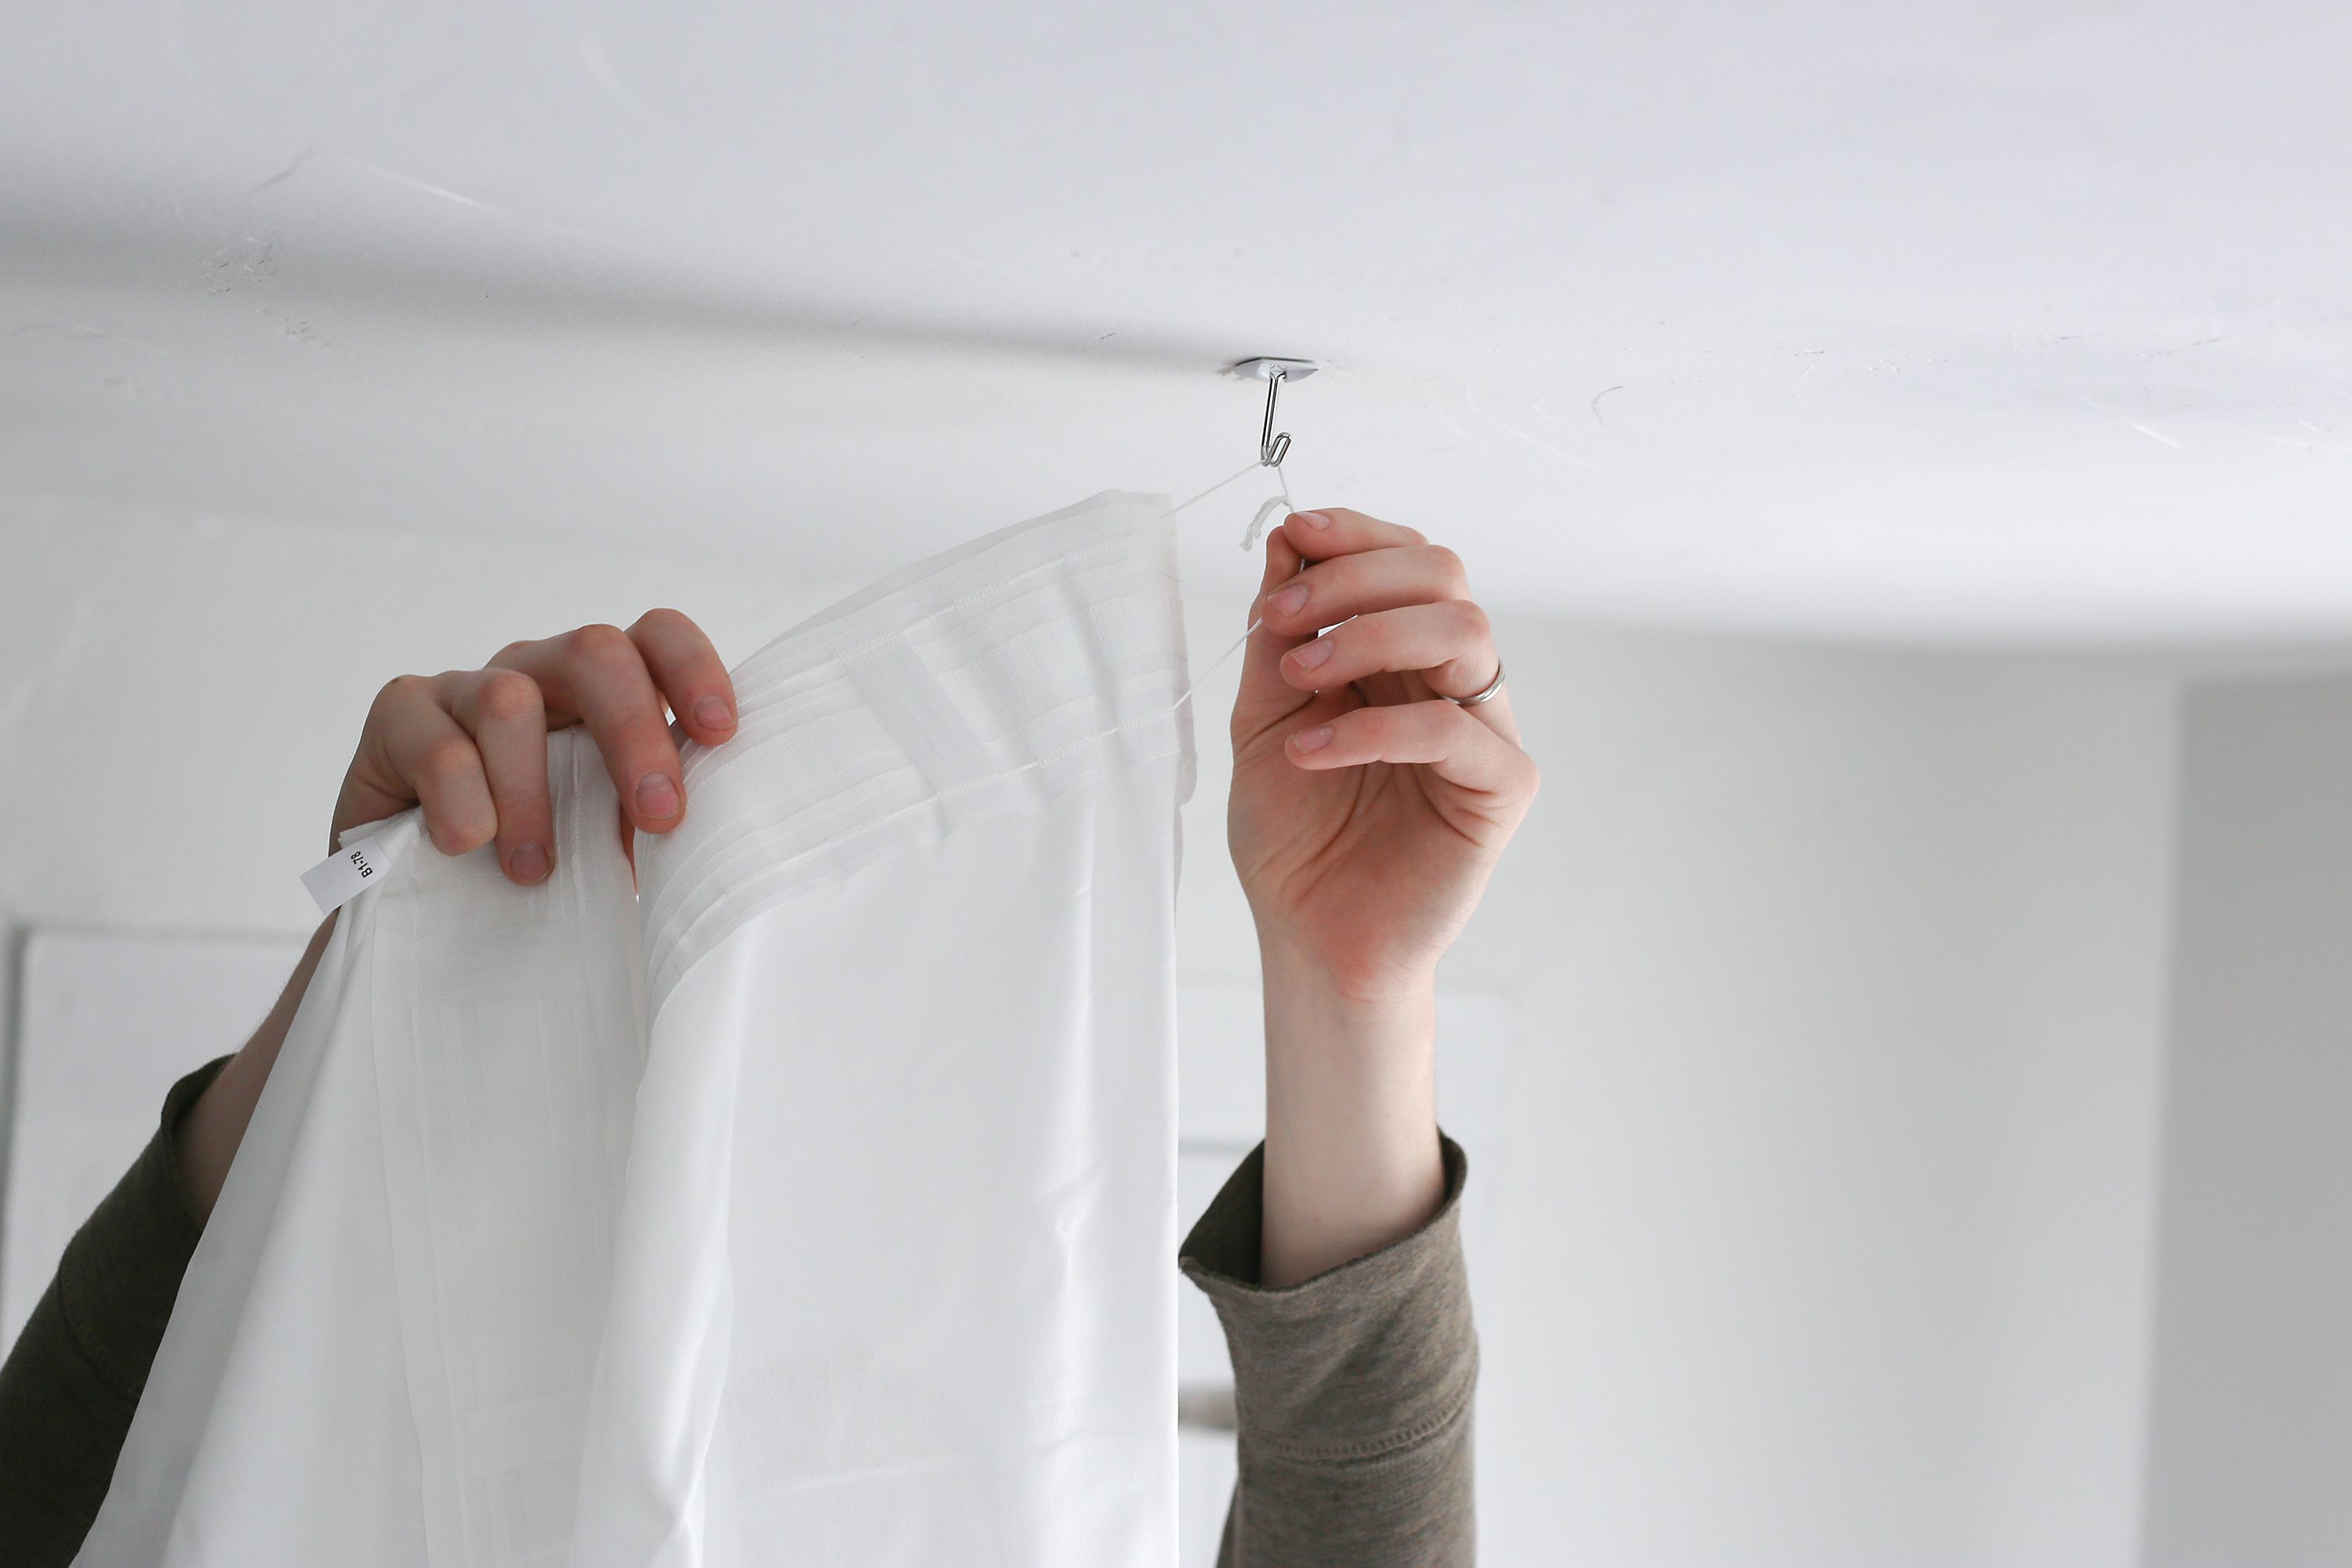
- Ensure proper curtain rod installation: Check if your curtain rod is securely and correctly installed. Make any adjustments or tighten the screws if necessary. A stable curtain rod will provide a solid foundation for hanging the lights.
- Consider curtain hooks or rings: If your curtains have hooks or rings, ensure they are properly attached and secure. These accessories will help in hanging the curtain lights evenly and neatly.
- Clear any obstructions: Remove any accessories, trims, or tiebacks that may interfere with the installation of the curtain lights. You want a clear and unobstructed path for attaching the lights.
- Inspect the curtain fabric: Check the condition of the curtain fabric, particularly along the top where you’ll be attaching the curtain lights. Repair any loose threads or small tears to prevent any further damage during the installation process.
By properly preparing your curtains for hanging, you ensure a clean and secure installation of the curtain lights. With these preparations complete, you’re now ready to move on to the next step: hanging the curtain lights.
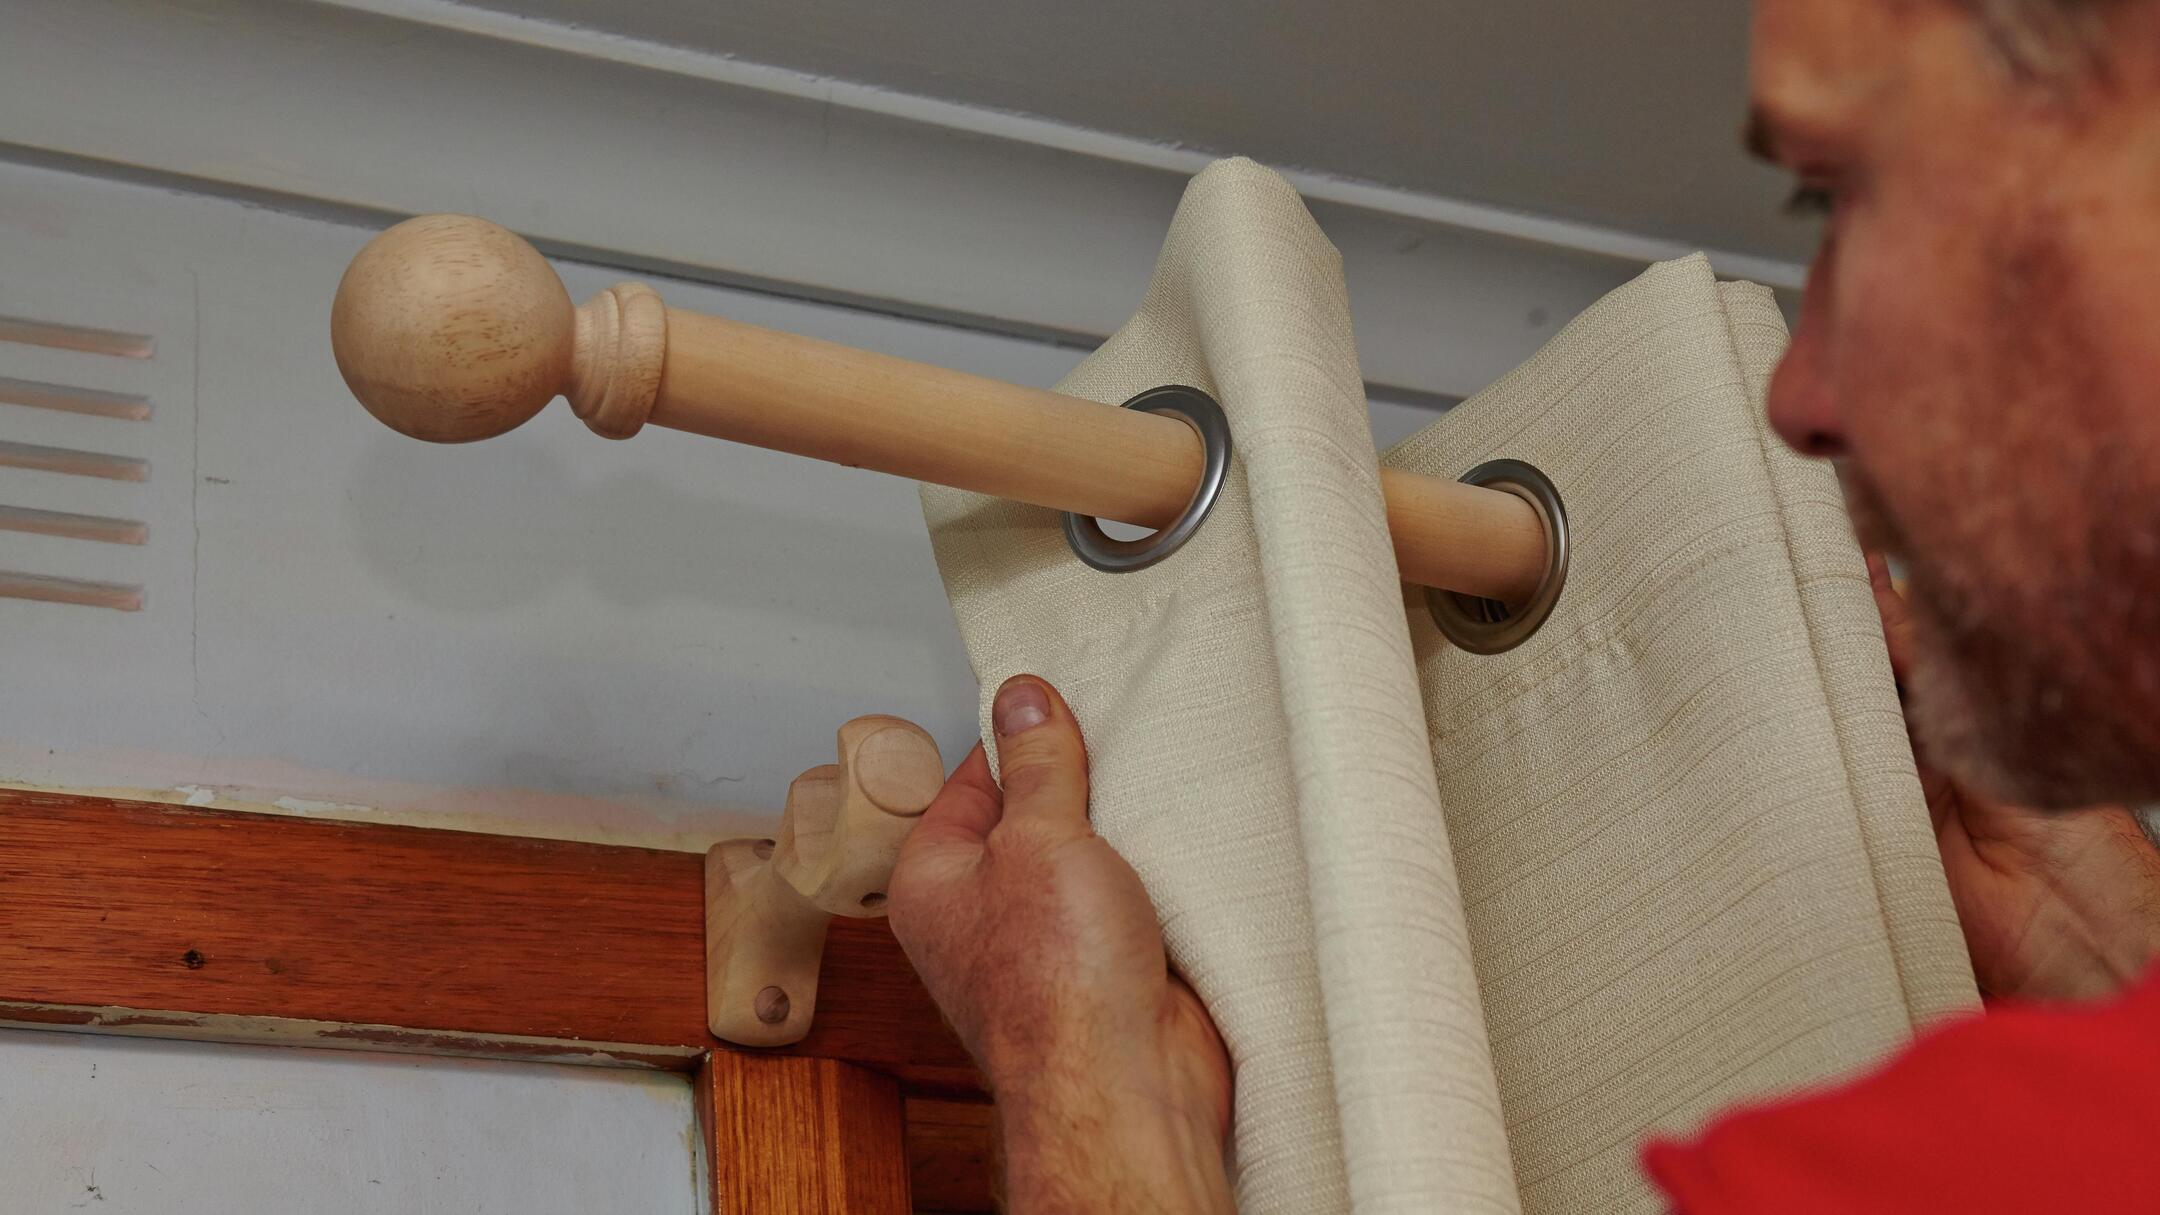
When hanging curtain lights over curtains, use curtain rod clips or adhesive hooks to secure the lights in place. This will ensure they stay in position and create a beautiful display.
Step 4: Hang the curtain lights
Now that you have prepared your curtains, it’s time to hang the curtain lights and bring a magical glow to your space. Follow these steps to ensure a seamless installation:
- Start at one end: Begin by attaching the curtain lights to the top of your curtains at one end. If you have curtain hooks or rings, secure the lights through them. If not, you can use clips or adhesive hanging strips to attach the lights directly to the curtain fabric.
- Work your way across: Move along the top of the curtains, attaching the lights evenly across the width. Ensure that the lights are spaced out properly, and there are no gaps or overlaps between them.
- Keep the wires hidden: As you attach the lights, try to hide the wires behind the curtain fabric as much as possible. This will create a cleaner and more polished look.
- Secure the lights: Make sure the lights are securely fastened to the curtains to prevent them from sliding or falling. Double-check the attachments to ensure they can support the weight of the lights.
- Continue to the other end: Once you have attached the curtain lights to one end, continue to the other end, following the same process. Be mindful of maintaining an even distribution and proper spacing.
As you hang the curtain lights, step back occasionally to assess the overall appearance and make any necessary adjustments. Taking your time and ensuring a careful installation will result in a stunning display of illuminated curtains.
With the curtain lights successfully hung, it’s time to move on to the next step: adjusting and securing the lights to achieve the perfect look.
Read more: How To Hang Curtains Over Sliding Glass Door
Step 5: Adjust and secure the lights
Once you have hung the curtain lights, it’s essential to take the time to adjust and secure them properly to achieve the desired lighting effect. Follow these steps to ensure that the lights are positioned correctly and securely:
- Step back and assess: Take a few steps back and evaluate the placement of the curtain lights. Check if they are evenly distributed, properly spaced, and hanging at the desired height. Make any necessary adjustments to achieve the desired look.
- Fix any sagging or unevenness: If you notice that the lights are sagging or if there are any areas with unevenness, gently lift them up and reattach them. Ensure that the lights are taut and straight along the curtains.
- Secure any loose attachments: Double-check all the connections and attachments of the lights. If you find any loose hooks, clips, or adhesive strips, reattach or tighten them as needed. This will ensure that the lights stay in place and don’t come loose over time.
- Tuck away excess wires: If you have any excess wire hanging down from the lights, carefully tuck them behind the curtain fabric or use small cable ties or twist ties to keep them neatly organized and hidden from view.
- Test the lights: Before completing the installation, plug in the curtain lights and test them to ensure that they are working properly. Make sure all the bulbs are lit, and there are no flickering or faulty connections.
By adjusting and securing the curtain lights, you can achieve a polished and professional appearance. Taking the time to fine-tune the placement and ensure their stability will ensure that your lighting installation is long-lasting and visually appealing.
With the lights adjusted and secured, it’s time to move on to the final step: testing and arranging the curtain lights for the perfect ambiance.
Step 6: Test and arrange the curtain lights
Now that you have adjusted and secured the curtain lights, it’s time to test them and arrange them for the perfect ambiance. Follow these steps to ensure that your curtain lights create a stunning visual effect:
- Plug in the lights: Connect the curtain lights to the power source and turn them on to test the illumination. Check if all the bulbs are evenly lit and if the overall brightness meets your expectations.
- Check the positioning: Step back and evaluate the arrangement of the curtain lights. Pay attention to how the lights interact with the curtains and the overall effect they create. Make any necessary adjustments to achieve the desired appearance.
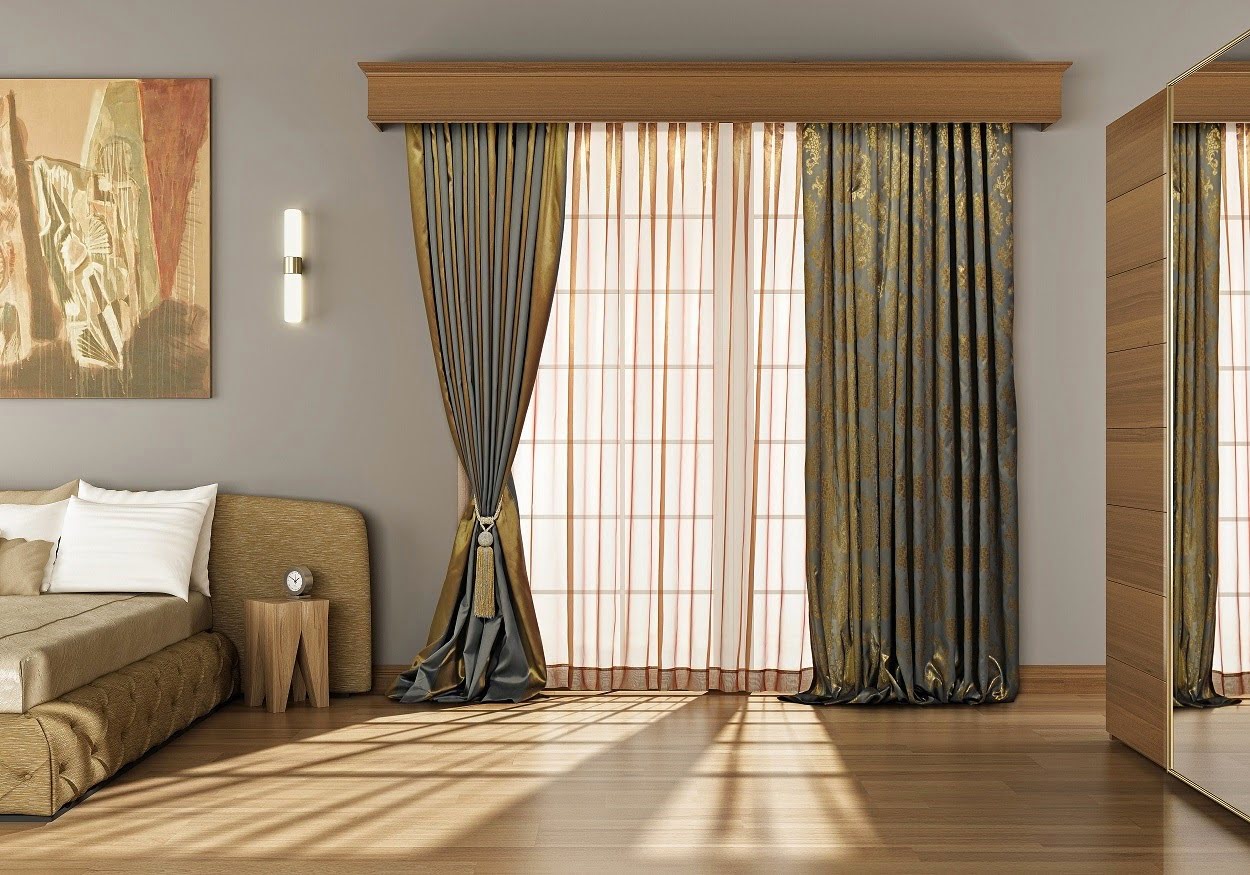
- Experiment with different arrangements: If you’re not fully satisfied with the initial arrangement, feel free to experiment with different patterns and configurations. You can create cascades, waves, or even cluster the lights in specific areas for a unique look.
- Consider additional decor: Think about incorporating additional decor elements to enhance the ambiance created by the curtain lights. For example, you can add sheer fabric draping, floral garlands, or ornaments to complement and accentuate the curtain lights.
- Hide wires: If there are any visible wires or cords, find creative ways to conceal them. You can use fabric tape, cord covers, or strategically placed decor items to camouflage the wires and maintain a clean and polished appearance.
- Extend the arrangement: Depending on the overall look and feel you want to achieve, consider extending the curtain lights beyond the curtains. For example, you can drape them along the wall, create a backdrop, or even hang them from the ceiling for a more dramatic effect.
By testing and arranging the curtain lights, you can create a captivating and personalized ambiance in your space. Allow your creativity to shine and experiment with different ideas until you achieve the desired atmosphere.
With the curtain lights tested, arranged, and your vision realized, you have successfully completed the process of hanging curtain lights over curtains. Step back, admire your illuminated space, and enjoy the magical glow it brings.
Remember, always follow safety precautions when working with electricity and ensure that the curtain lights are designed for indoor use. If in doubt, consult a professional electrician.
Now, it”s time to sit back, relax, and bask in the cozy and enchanting ambiance created by your curtain lights.
Conclusion
Hanging curtain lights over curtains is a wonderful way to transform any room into a magical and enchanting space. With careful planning, proper preparation, and a touch of creativity, you can achieve a stunning lighting effect that adds a warm and inviting ambiance to your home.
In this article, we provided a step-by-step guide on how to hang curtain lights over curtains. We started by gathering the necessary materials and measuring and planning the placement of the lights. We then walked you through preparing the curtains, hanging the lights, adjusting and securing them, and testing and arranging for the perfect ambiance.
Remember to choose curtain lights that suit your style and preferences, and ensure that your curtains are prepared and securely hung. Take the time to adjust and arrange the lights to achieve the desired visual effect, and don’t forget to test them to ensure they are working properly.
As you hang curtain lights over curtains, let your creativity soar. Experiment with different arrangements, consider additional decor elements, and find ways to hide the wires for a polished look. The result will be a beautiful and inviting space that exudes warmth and charm.
Lastly, always prioritize safety when working with electricity. Make sure the curtain lights are designed for indoor use, and if in doubt, consult a professional electrician.
Now, it’s time to sit back, relax, and enjoy the cozy and enchanting ambiance created by your curtain lights. Let the magical glow illuminate your space and bring joy to your everyday life.
Frequently Asked Questions about How To Hang Curtain Lights Over Curtains
Was this page helpful?
At Storables.com, we guarantee accurate and reliable information. Our content, validated by Expert Board Contributors, is crafted following stringent Editorial Policies. We're committed to providing you with well-researched, expert-backed insights for all your informational needs.


0 thoughts on “How To Hang Curtain Lights Over Curtains”