Articles
How To Hang Vinyl Blinds
Modified: August 17, 2024
Discover step-by-step articles on how to hang vinyl blinds, ensuring a seamless installation process for your windows. Enhance your home décor with professional guidance and expert tips.
(Many of the links in this article redirect to a specific reviewed product. Your purchase of these products through affiliate links helps to generate commission for Storables.com, at no extra cost. Learn more)
Introduction
Welcome to our guide on how to hang vinyl blinds! Whether you’re a seasoned DIY enthusiast or just starting out, installing vinyl blinds can be a simple and rewarding project. Vinyl blinds are an affordable and versatile window treatment option that can provide privacy, filter light, and add a touch of style to any room.
In this article, we’ll take you through the step-by-step process of measuring your window, selecting the right blinds, preparing them for hanging, installing the mounting brackets, attaching the blinds, and making any necessary adjustments. By following these instructions, you’ll be able to successfully hang your vinyl blinds and enjoy the benefits they offer.
Before we dive into the installation process, here are a few essential materials you’ll need to gather:
Key Takeaways:
- Properly measuring the window, selecting the right size and style of vinyl blinds, and meticulously preparing them for installation are crucial steps for a successful DIY blind-hanging project. Attention to detail ensures a seamless and stylish outcome.
- Testing and adjusting the blinds for smooth operation, adding finishing touches, and maintaining cleanliness post-installation are essential for maximizing the functionality and aesthetic appeal of vinyl blinds. Attention to detail and care contribute to a polished and satisfying result.
Read more: How To Hang Paper Blinds
Materials Needed
- Measuring tape
- Level
- Screwdriver
- Pencil
- Drill (optional)
- Mounting brackets
- Screws
- Vinyl blinds
Now that you have everything you need, let’s get started!
Key Takeaways:
- Properly measuring the window, selecting the right size and style of vinyl blinds, and meticulously preparing them for installation are crucial steps for a successful DIY blind-hanging project. Attention to detail ensures a seamless and stylish outcome.
- Testing and adjusting the blinds for smooth operation, adding finishing touches, and maintaining cleanliness post-installation are essential for maximizing the functionality and aesthetic appeal of vinyl blinds. Attention to detail and care contribute to a polished and satisfying result.
Read more: How To Hang Paper Blinds
Materials Needed
Before you begin the process of hanging vinyl blinds, make sure you have the following materials readily available:
- Measuring tape: Accurate measurements are crucial for properly fitting your blinds to the window. A measuring tape will help you determine the width and height of the window.
- Level: A level is used to ensure that the blinds are hung straight. It will help you avoid any unevenness or slanted blinds.
- Screwdriver: Depending on the type of mounting brackets you are using, you may need a screwdriver to secure the brackets into place.
- Pencil: A pencil will come in handy for marking the position of the mounting brackets on the window frame.
- Drill (optional): If you are using a drill to make pilot holes for the screws, make sure you have it ready along with the appropriate drill bit.
- Mounting brackets: These brackets will hold the blinds in place. Ensure that you have the correct type and size of brackets that are suitable for your specific blinds.
- Screws: You will need screws to attach the mounting brackets securely to the window frame.
- Vinyl blinds: Lastly, make sure you have the vinyl blinds themselves. Choose blinds that are the correct size and style for your window.
Having these materials ready before you start the installation process will help ensure a smooth and efficient workflow.
Now that you are equipped with the necessary materials, we can move on to the next step: measuring the window.
Step 1: Measure the Window
Before you can hang your vinyl blinds, it’s important to measure the window accurately. This step is crucial to ensure that the blinds fit properly and function correctly. Follow these steps to measure your window:
- Start by measuring the width of the window. Take your measuring tape and measure from inside the window frame on the left side to the inside frame on the right side. Write down the measurement and double-check its accuracy. This measurement will determine the width of the blinds.
- Next, measure the height of the window. Measure from the top inside frame to the bottom inside frame. Again, write down the measurement and confirm its accuracy. This measurement will determine the length of the blinds.
- It’s always a good idea to measure the window in multiple places to account for any variations. If there are any obstructions, such as handles or locks, measure around them to ensure the blinds will fit properly.
Once you’ve recorded the measurements, you can use them to determine the size of the vinyl blinds you need to purchase. Most blinds are available in standard sizes, but you can also find custom options if your window dimensions are not standard.
Remember, it’s better to have blinds that are slightly larger than the window opening than blinds that are too small. You can always trim down the blinds to fit if they are too wide, but you can’t make them larger if they are too narrow.
Now that you have accurate measurements and know the size of the blinds you need, you can move on to the next step: purchasing the vinyl blinds.
Step 2: Purchase the Vinyl Blinds
Now that you have measured your window and determined the size of the blinds you need, it’s time to purchase the vinyl blinds. Here are some factors to consider when selecting the blinds:
- Size: Look for blinds that match the measurements you took earlier. If you have non-standard window sizes, consider getting custom blinds or blinds that can be trimmed to fit.
- Style: Vinyl blinds come in various styles, such as horizontal or vertical slats. Choose a style that complements your room decor and personal preferences.
- Color: Consider the color scheme of your room when selecting the blinds. You can choose a color that matches the existing decor or opt for a contrasting color to make a statement.
- Features: Some vinyl blinds offer additional features like light filtering, cordless operation, or motorized controls. Decide which features are important to you and choose accordingly.
- Budget: Set a budget for your vinyl blinds and try to find options within that range. Keep in mind that higher-quality blinds may be more durable and provide better functionality in the long run.
When shopping for vinyl blinds, you can visit home improvement stores, blinds specialty shops, or even search online for a wider range of options and competitive prices. Take your time to compare different brands, styles, and prices before making a decision.
Once you have purchased your vinyl blinds, make sure to check that they are the correct size and inspect them for any defects or damage. With the blinds in hand, you are ready to move on to the next step: preparing the blinds for hanging.
Read more: How To Hang Something On Vinyl Siding
Step 3: Prepare the Blinds for Hanging
Before you can hang your vinyl blinds, it’s important to prepare them for installation. This step involves unpacking the blinds, removing any packaging materials, and making any necessary adjustments. Follow these steps to prepare your blinds:
- Start by carefully unpacking the blinds from their packaging. Avoid using sharp objects that could damage the blinds, and be mindful of any cords or strings.
- Inspect the blinds for any defects or damage. Check that all the slats are in good condition and that the mechanism for opening and closing the blinds is functioning properly.
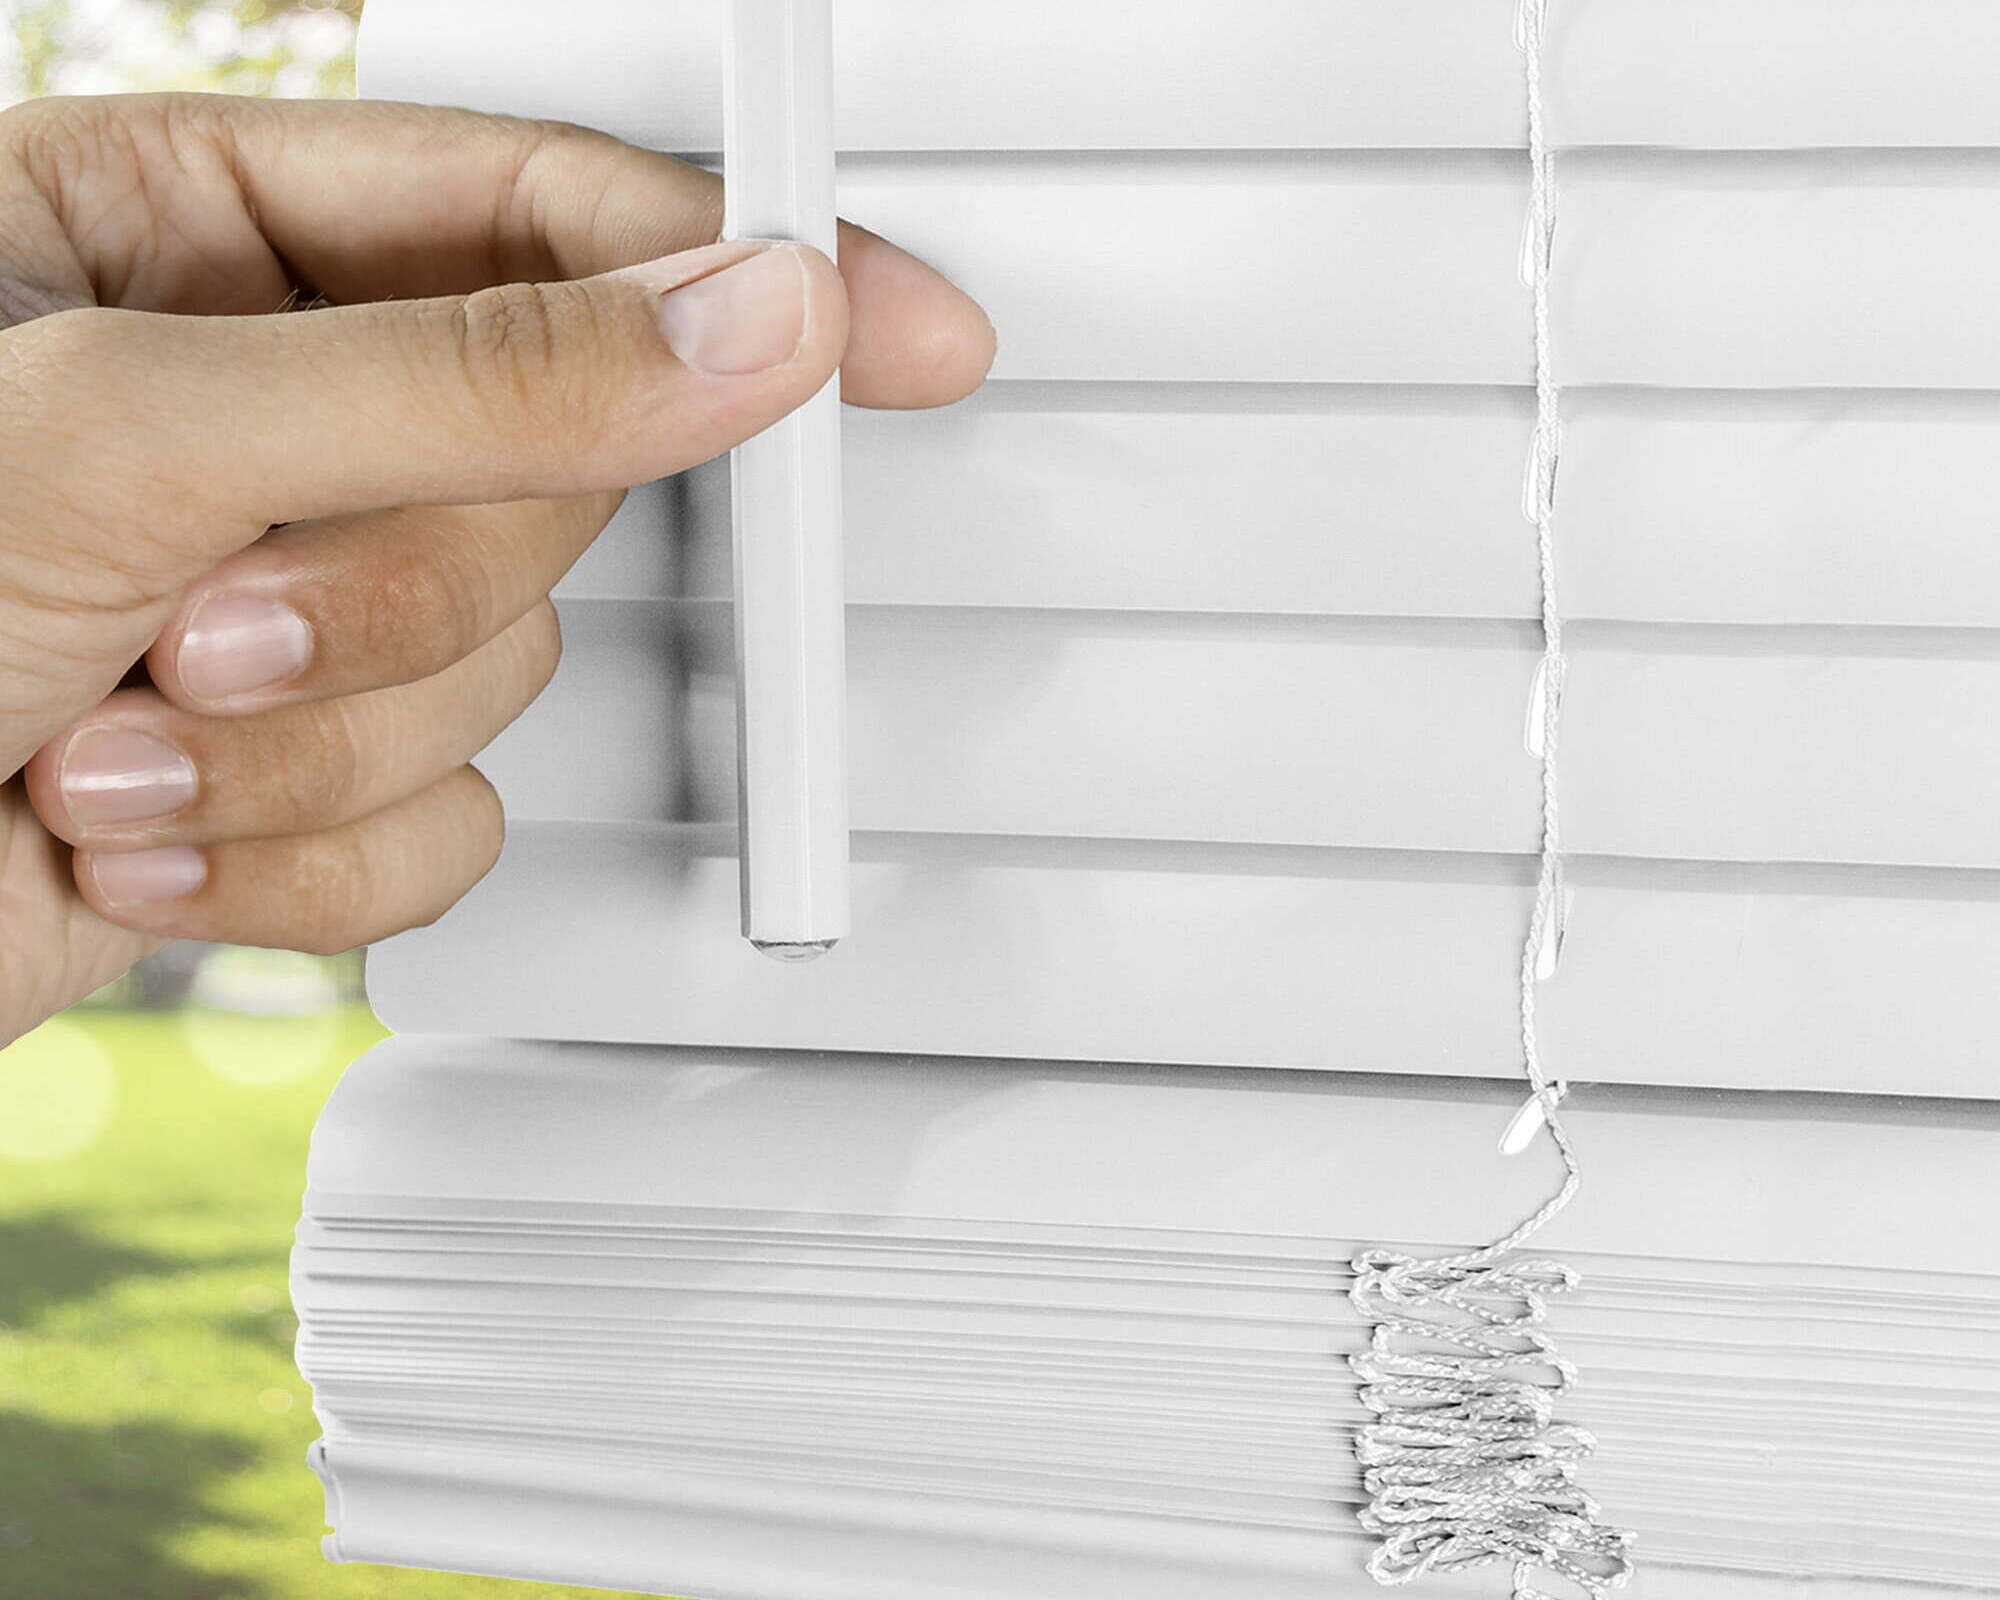
- If the blinds are too long for your window, you may need to trim them to the correct length. Most vinyl blinds can be easily trimmed using a pair of scissors or a utility knife. Follow the manufacturer’s instructions for proper trimming.
- Some blinds may come with additional hardware or accessories, such as valances or hold-down brackets. If these are included, set them aside for later installation.
- If your blinds have any creases or wrinkles from being packaged, you can gently use your hand to smooth them out or hang them for a few hours to allow gravity to naturally straighten them.
By properly preparing your vinyl blinds before hanging them, you ensure that they are in good condition and ready for installation. Take your time to complete this step carefully, as it will contribute to the overall appearance and functionality of the blinds.
Now that your blinds are properly prepared, you can move on to the next step: installing the mounting brackets.
When hanging vinyl blinds, make sure to measure the window accurately before purchasing the blinds. This will ensure a proper fit and easy installation.
Step 4: Install the Mounting Brackets
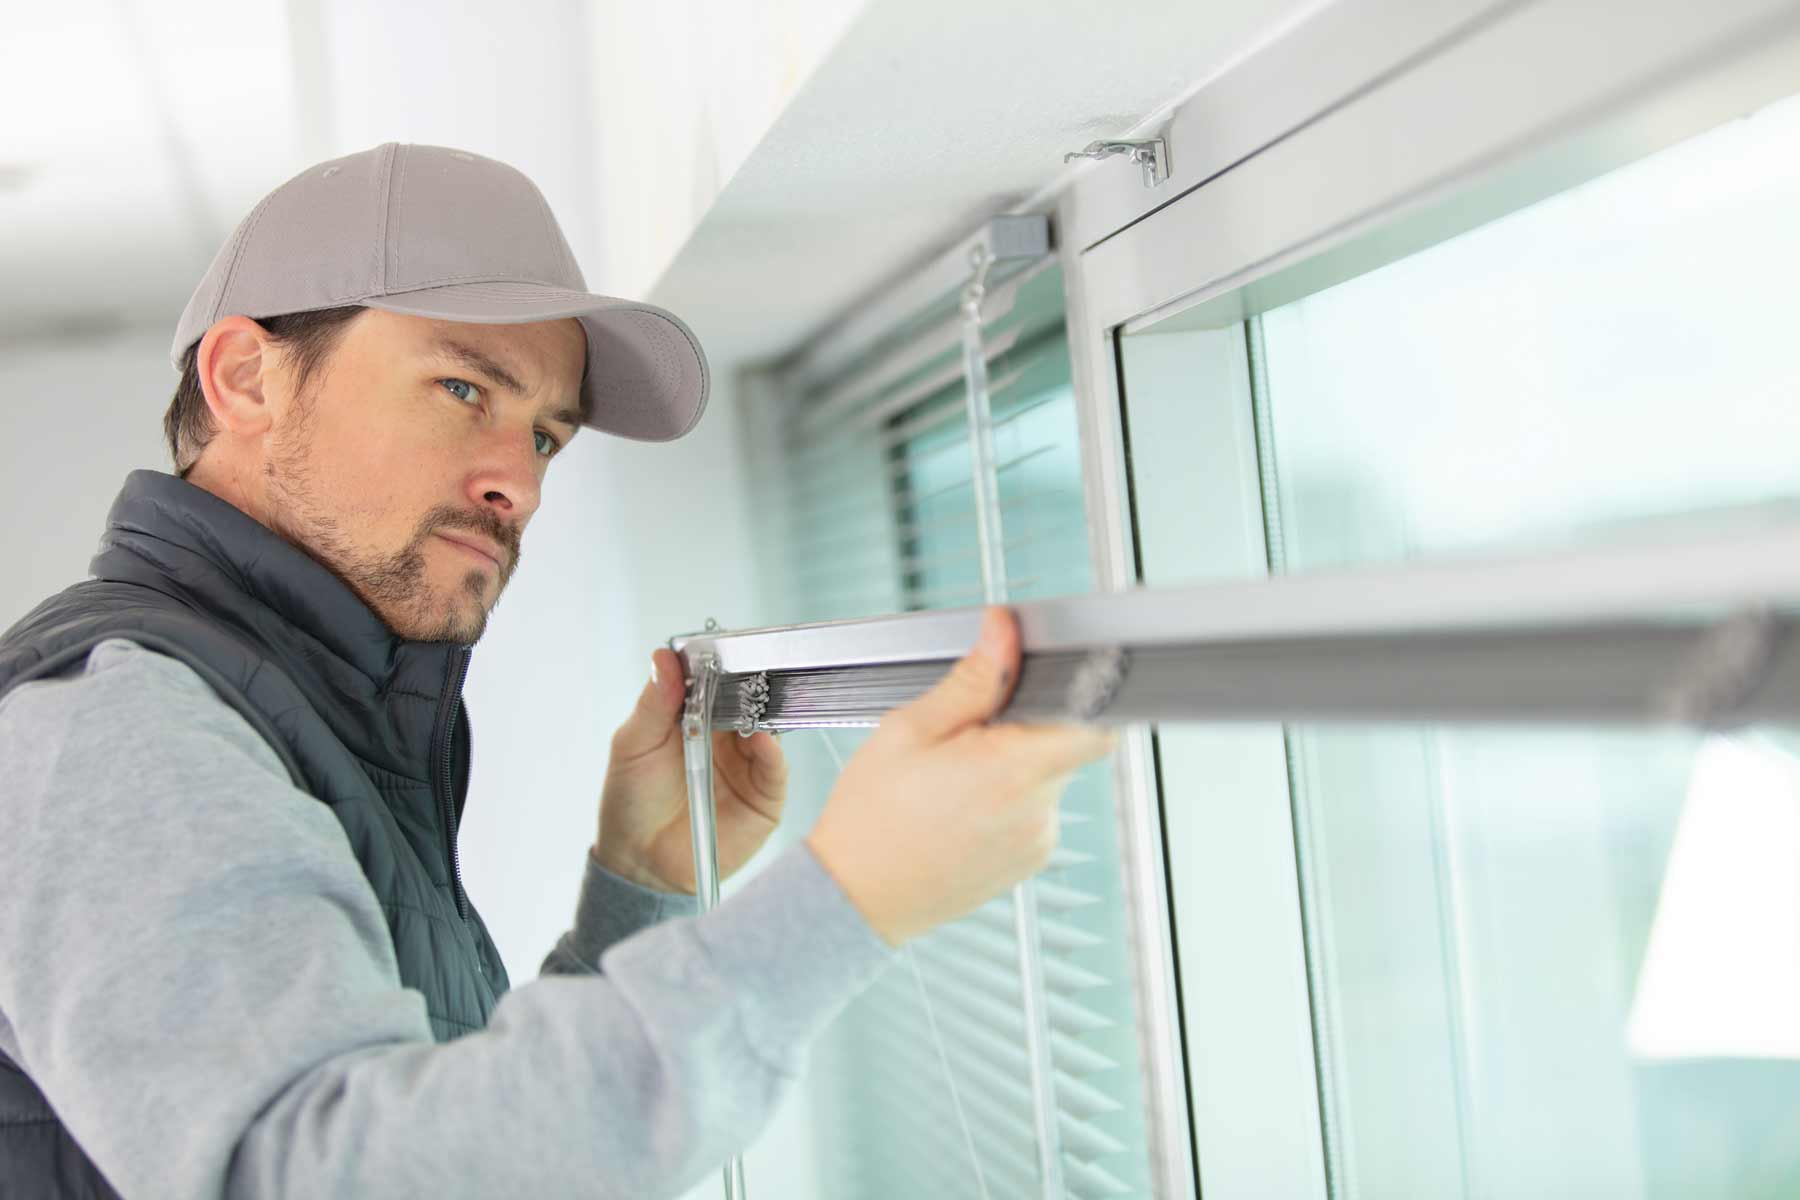
Once you have prepared your vinyl blinds, it’s time to install the mounting brackets. These brackets will securely hold the blinds in place. Follow these steps to install the mounting brackets:
- Start by determining the placement of the brackets. Generally, you will need at least two brackets for horizontal blinds, with one on each end, and additional brackets for wide or heavy blinds.
- Using a pencil, mark the position of the brackets on the window frame or wall. Ensure that the brackets are evenly spaced and aligned with each other.
- If you are installing the brackets inside the window frame, make sure there is enough depth for the blinds to fit properly. If not, consider installing the brackets outside the frame.
- Hold the first bracket against the marked position and use a level to ensure it is perfectly horizontal. This is important to ensure that your blinds will hang straight.
- Using a screwdriver or drill, attach the first bracket securely to the window frame or wall using the provided screws. Repeat this process for the remaining brackets, ensuring they are all level and aligned.
- Once all the brackets are installed, give them a gentle tug to ensure they are firmly attached and can support the weight of the blinds.
It’s essential to follow the manufacturer’s instructions when installing the mounting brackets, as different blinds may have specific installation requirements. If you are unsure about the process or encounter any difficulties, consult the instruction manual or seek professional assistance.
With the mounting brackets securely in place, you are ready to move on to the next step: attaching the vinyl blinds to the brackets.
Step 5: Attach the Vinyl Blinds to the Brackets
Now that the mounting brackets are installed, it’s time to attach the vinyl blinds. Follow these steps to securely hang your blinds:
- Hold the headrail of the blinds, which is the top part containing the mechanism and slats.
- Position the headrail between the brackets, making sure it aligns with the brackets and sits snugly in place.
- Depending on the type of mounting brackets you have, there may be a locking mechanism or clips that secure the headrail in place. Follow the manufacturer’s instructions to properly lock or clip the headrail.
- Give the blinds a gentle tug to ensure they are securely attached to the brackets and can support their weight.
- If your blinds have a valance or decorative cover, install it according to the manufacturer’s instructions. This will provide a finished look to your blinds.
Once the blinds are attached to the brackets, check that they hang evenly and are level. Make any necessary adjustments to ensure they are straight and aligned with the window.
It’s important to note that some blinds may have a cord or wand that needs to be attached to the blind mechanism for operating the blinds. Follow the manufacturer’s instructions to properly attach and secure any cords or wands.
With the vinyl blinds securely attached to the mounting brackets, you are almost finished! The next step is to test and adjust the blinds for smooth operation.
Step 6: Test and Adjust the Blinds
After attaching the vinyl blinds to the brackets, it’s essential to test and adjust them to ensure smooth operation. Follow these steps to ensure your blinds are working properly:
- Slowly raise and lower the blinds using the provided cords, wand, or control mechanism. Observe if the blinds move smoothly and evenly.
- If the blinds are not raising or lowering as desired, check if the cords or wands are tangled or caught on anything. Untangle any knots or obstructions that may be hindering the movement.
- If the blinds are uneven or slanted when raised or lowered, adjust the tension settings or reposition the blinds within the brackets. This will help ensure they hang straight and level.
- Take note of any blinds that may be sticking or binding. This could indicate a problem with the mechanism or slats. In such cases, refer to the manufacturer’s instructions for troubleshooting or consider contacting customer support.
- Test the blinds at different positions to ensure they stop and secure properly. This is particularly important for blinds with adjustable slats or blinds that can be partially opened.
By testing and adjusting the blinds, you can ensure they function smoothly and provide the desired level of light control and privacy. Take the time to make any necessary adjustments to achieve optimal performance.
Once you are satisfied with the functionality of the blinds, you can move on to the final step: adding finishing touches and cleaning up.
Read more: How To Hang Bamboo Blinds
Step 7: Finishing Touches and Cleaning up
With the vinyl blinds successfully installed and adjusted, it’s time to add the finishing touches and clean up any mess that may have been created during the installation process. Follow these final steps for a polished look:
- Carefully inspect the blinds and their surroundings for any dust, debris, or fingerprints. Use a soft cloth or duster to gently remove any dirt or smudges from the blinds and the window area.
- If your blinds have a valance or decorative cover, double-check that it is level and securely attached. Make any adjustments as needed to ensure a neat appearance.
- Trim any excess cords or strings to prevent them from becoming tangled or posing a safety hazard, especially if you have pets or young children.
- Consider installing cord cleats or cord tensioners to keep the cords out of reach and prevent entanglement.
- Lastly, take a moment to step back and admire your newly hung vinyl blinds. Take note of how they enhance the overall aesthetic and functionality of the space.
Now that the blinds are clean and tidy, make sure to keep them well-maintained by periodically dusting or vacuuming them to prevent the buildup of dirt and dust.
By adding these final touches and taking care of the cleaning up process, you complete the installation of your vinyl blinds and ensure they look their best.
Congratulations! You have successfully hung your vinyl blinds and transformed your windows into stylish and functional focal points of your space. Enjoy the privacy, light control, and aesthetic appeal that your new blinds provide!
Thank you for following this step-by-step guide. We hope it has been helpful and that you are satisfied with the results of your DIY project.
Remember, if you ever need to remove or replace the blinds in the future, simply follow these steps in reverse. Happy decorating!
Conclusion
Congratulations on successfully hanging your vinyl blinds! By following the step-by-step guide outlined in this article, you have acquired the knowledge and skills necessary to install these versatile window treatments. Vinyl blinds not only provide privacy and light control but also add a touch of style to any room.
We started by measuring the window accurately and purchasing the correct size and style of vinyl blinds. Then, we prepared the blinds by unpacking them, checking for any defects, and making necessary adjustments. Next, we installed the mounting brackets securely and attached the blinds to them.
We took the time to test and adjust the blinds for smooth operation, ensuring that they raised, lowered, and stopped at the desired positions. Lastly, we added the finishing touches, cleaned up any mess, and admiringly surveyed the newly installed vinyl blinds.
Remember, proper maintenance is crucial in prolonging the lifespan of your vinyl blinds. Regularly clean them to prevent the accumulation of dirt and dust, and be mindful of any tangled cords or strings to ensure the safety of your household members.
We hope this comprehensive guide has provided you with the confidence and knowledge to successfully install vinyl blinds. Enjoy the enhanced functionality and aesthetic appeal these blinds bring to your space, and may they brighten your everyday life.
Thank you for choosing this guide as your resource for installing vinyl blinds. Happy decorating!
Frequently Asked Questions about How To Hang Vinyl Blinds
Was this page helpful?
At Storables.com, we guarantee accurate and reliable information. Our content, validated by Expert Board Contributors, is crafted following stringent Editorial Policies. We're committed to providing you with well-researched, expert-backed insights for all your informational needs.