Articles
How To Hang Lights On Vinyl Fence
Modified: May 6, 2024
Learn how to hang lights on a vinyl fence with our informative articles. Enhance the ambiance of your outdoor space with our expert tips and tricks.
(Many of the links in this article redirect to a specific reviewed product. Your purchase of these products through affiliate links helps to generate commission for Storables.com, at no extra cost. Learn more)
Introduction
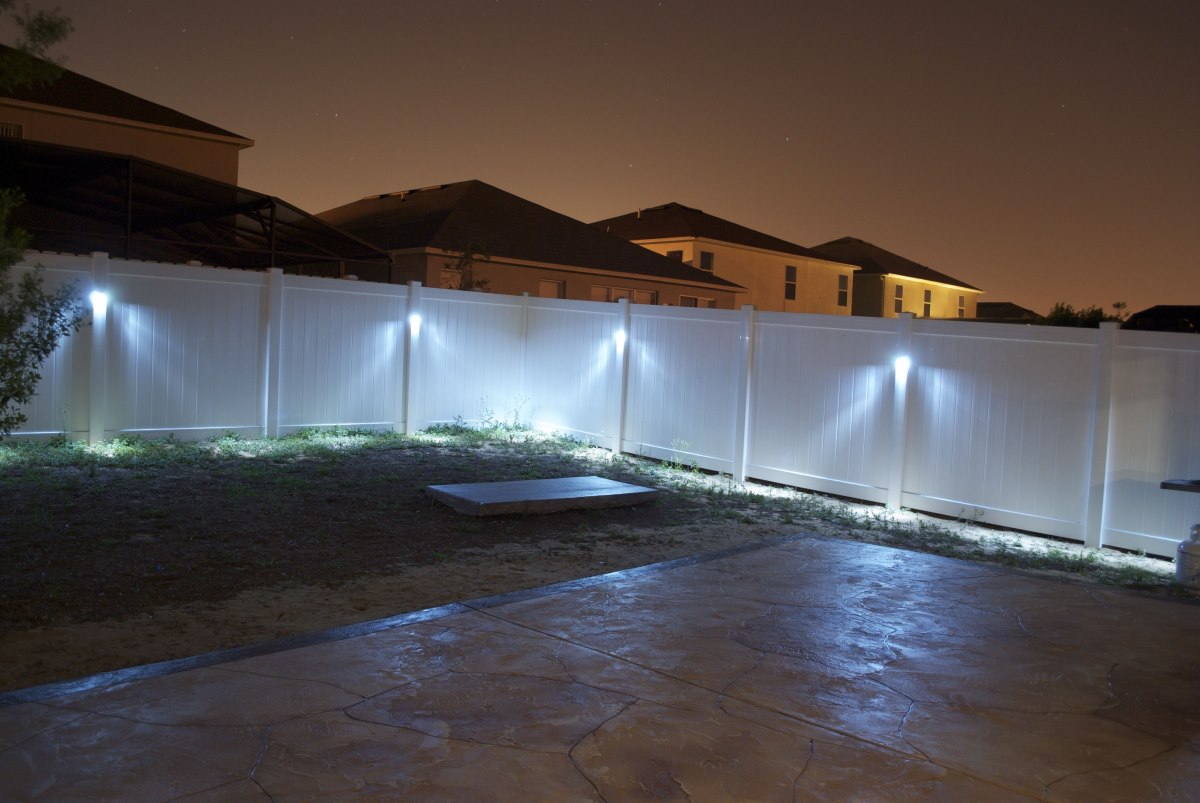
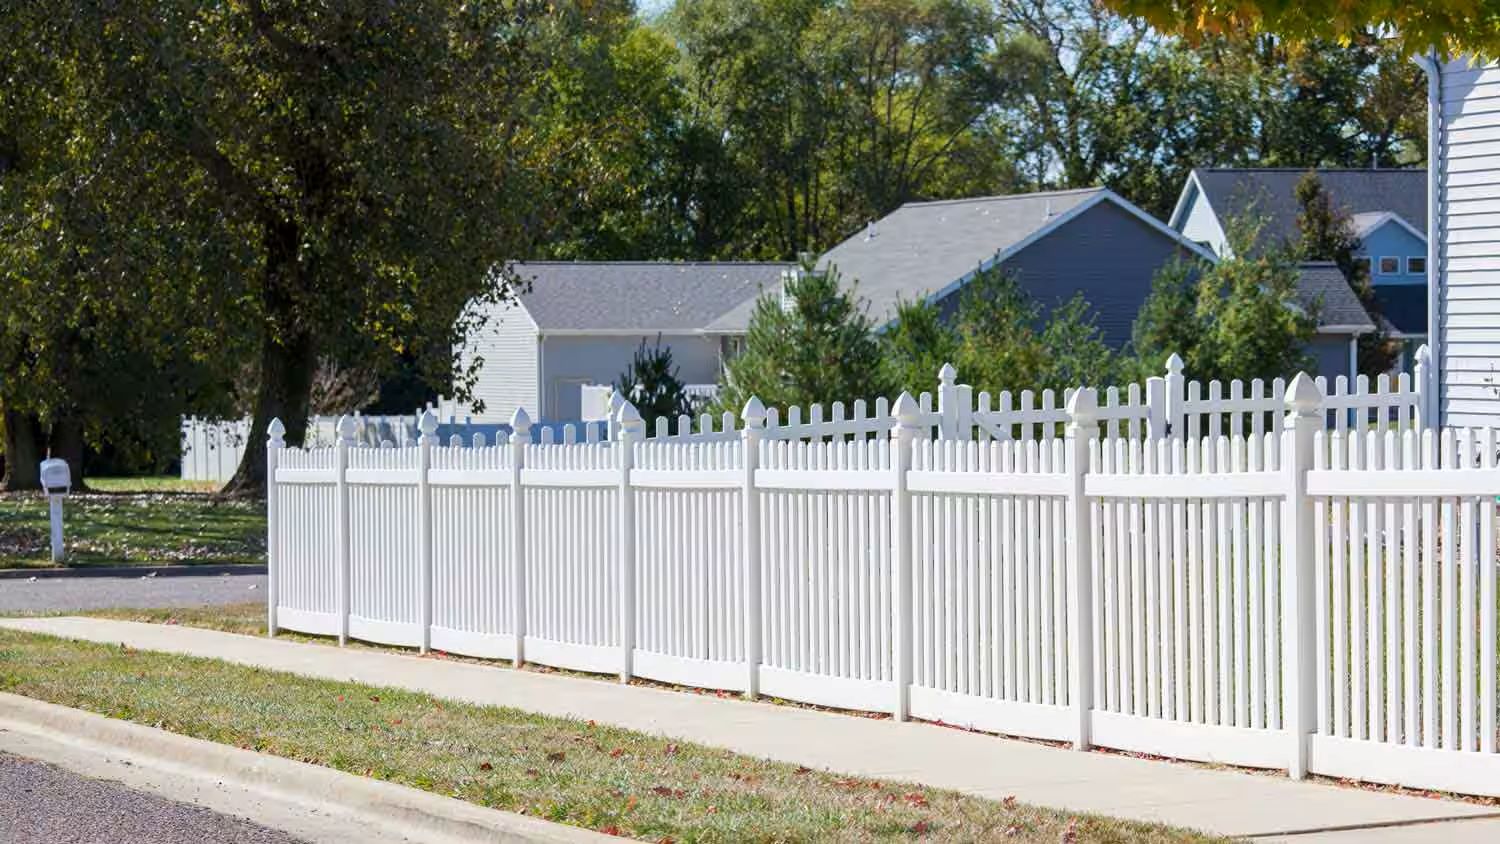
Decorative lights can instantly transform the ambiance of any space, and hanging them on a vinyl fence is a popular way to add a touch of magic to your outdoor area. Whether you want to create a cozy atmosphere for an evening gathering or add some festive cheer during the holiday season, properly hanging lights on your vinyl fence is crucial to ensure they stay in place and create the desired effect.
Hanging lights on a vinyl fence may seem like a challenging task, but with the right materials and techniques, it can be a straightforward process. In this article, we will guide you through the step-by-step process of hanging lights on a vinyl fence, ensuring that your finished display is secure, aesthetically pleasing, and brings your outdoor space to life.
Before we dive into the details, it’s important to note that safety should always be a top priority. When working with electricity and outdoor installations, consider consulting a professional electrician, especially if you are unsure of how to handle electrical connections. Now, let’s get started with the materials you’ll need for this project.
Key Takeaways:
- Transform your outdoor space with a magical ambiance by hanging lights on your vinyl fence. Follow the step-by-step guide for a secure and visually appealing display that elevates your outdoor experience.
- Prioritize safety and creativity as you gather materials, plan placement, and secure the wiring for a cozy and enchanting outdoor space. Test and adjust the lights to create a captivating display that enhances your outdoor ambiance.
Read more: How To Hang String Lights On Fence
Step 1: Gather the necessary materials
Before you begin hanging lights on your vinyl fence, it’s essential to gather all the materials you’ll need. Here’s a checklist to help you get started:
- Lights: Choose lights that are suitable for outdoor use. LED lights are a popular choice due to their energy efficiency and durability.
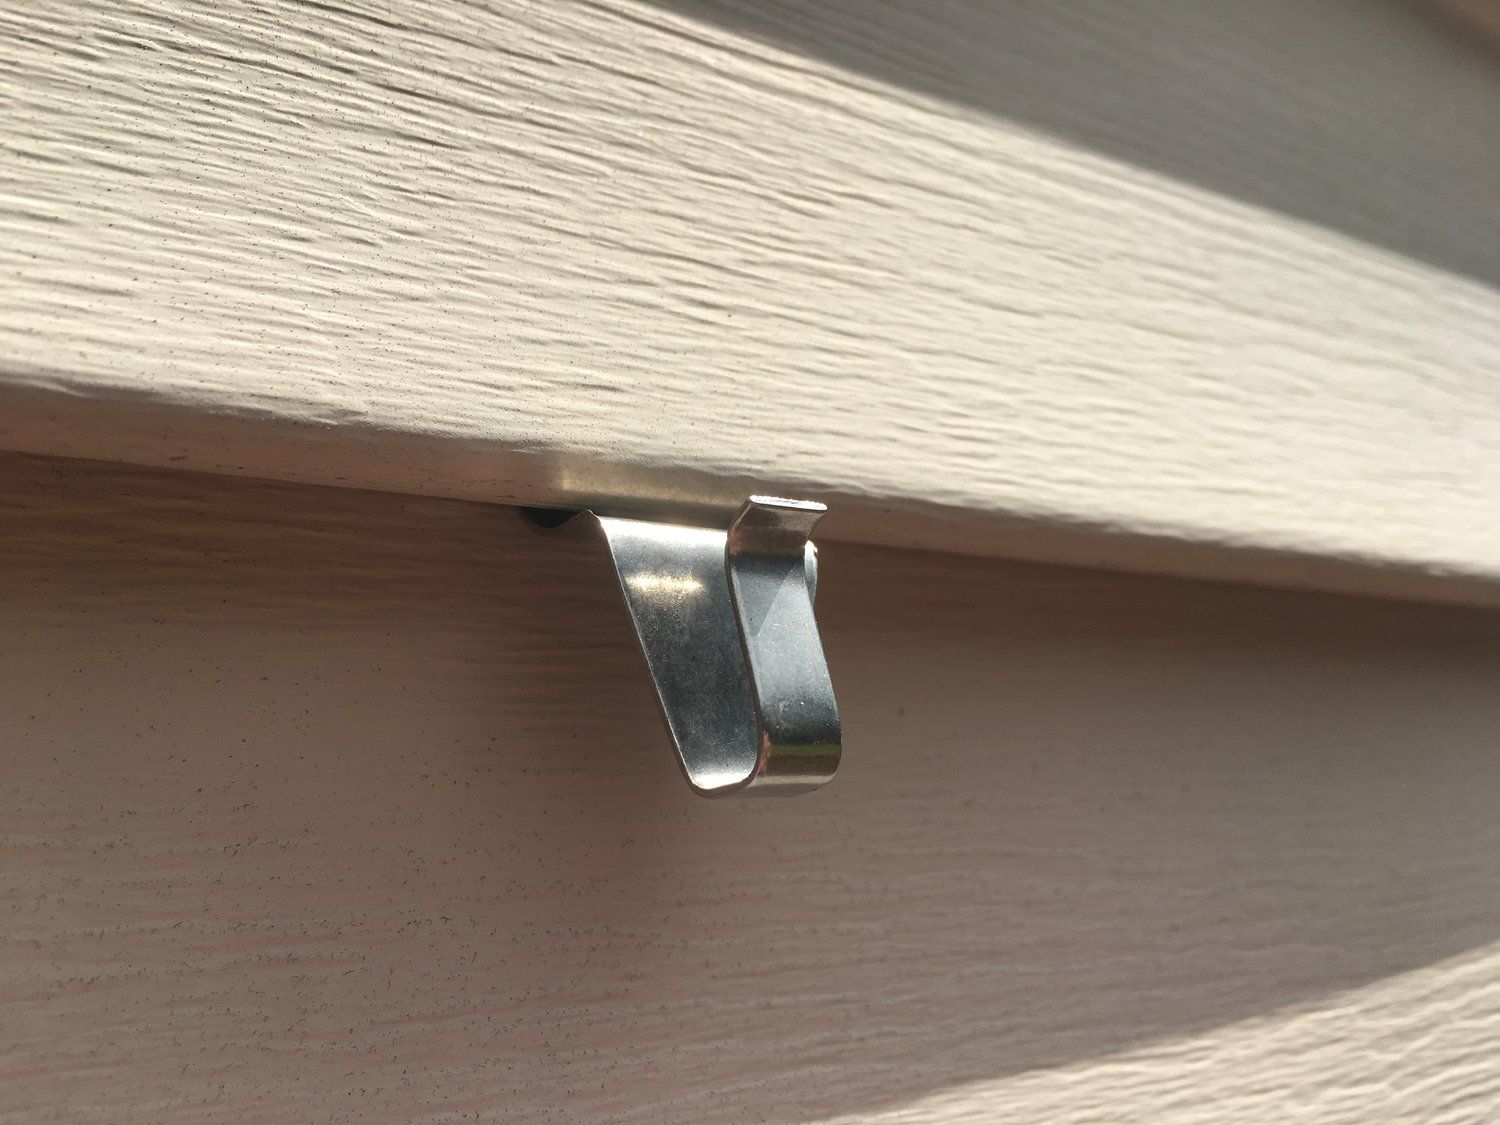
- Hooks or clips: Depending on the design and weight of your lights, you can opt for adhesive hooks, zip ties, or vinyl fence clips that are specifically designed for attaching decorations to vinyl fences.
- Extension cords: Make sure you have enough extension cords to connect your lights to a power source if needed. Look for outdoor-rated extension cords that can withstand various weather conditions.
- Outdoor-rated electrical tape: This will be useful for securing any connections and preventing them from coming loose.
- Measuring tape: Accurate measurements are crucial to ensure your lights are spaced evenly and hung at the desired height.
- Timer or remote control: Consider using a timer or remote control to automate your lights, allowing you to easily turn them on and off without needing to manually plug and unplug them.
- Ladder or step stool: Depending on the height of your fence, you may need a ladder or step stool to safely install the lights.
- Pliers and wire cutters: These tools will come in handy if you need to adjust or secure any wiring or connections.
Once you have gathered all the necessary materials, you are ready to move on to the next step: measuring and planning the placement of your lights.
Step 2: Measure and plan placement
Measuring and planning the placement of your lights is crucial to achieve an evenly spaced and visually appealing display on your vinyl fence. Here’s how you can do it:
- Measure the length of your vinyl fence: Use a measuring tape to determine the total length of your fence. This measurement will help you determine how many lights you will need and the spacing between them.
- Choose the desired height: Decide how high you want your lights to be hung on the fence. This can depend on the style of lights you have and the overall aesthetic you want to achieve. Consider whether you want the lights to be prominent or more subtle.
- Mark the placement points: With the help of a pencil or chalk, mark the spots on the fence where you want to hang the lights. It’s essential to create evenly spaced markings to ensure a balanced look.
- Determine spacing: Measure the distance between each marking to ensure equal spacing between the lights. This will give your display a polished and organized appearance.
By carefully measuring and planning the placement, you can ensure that your lights will be evenly distributed and create the desired effect on your vinyl fence.
Once you have marked the placement points and determined the spacing, it’s time to move on to the next step: preparing the vinyl fence surface for hanging the lights.
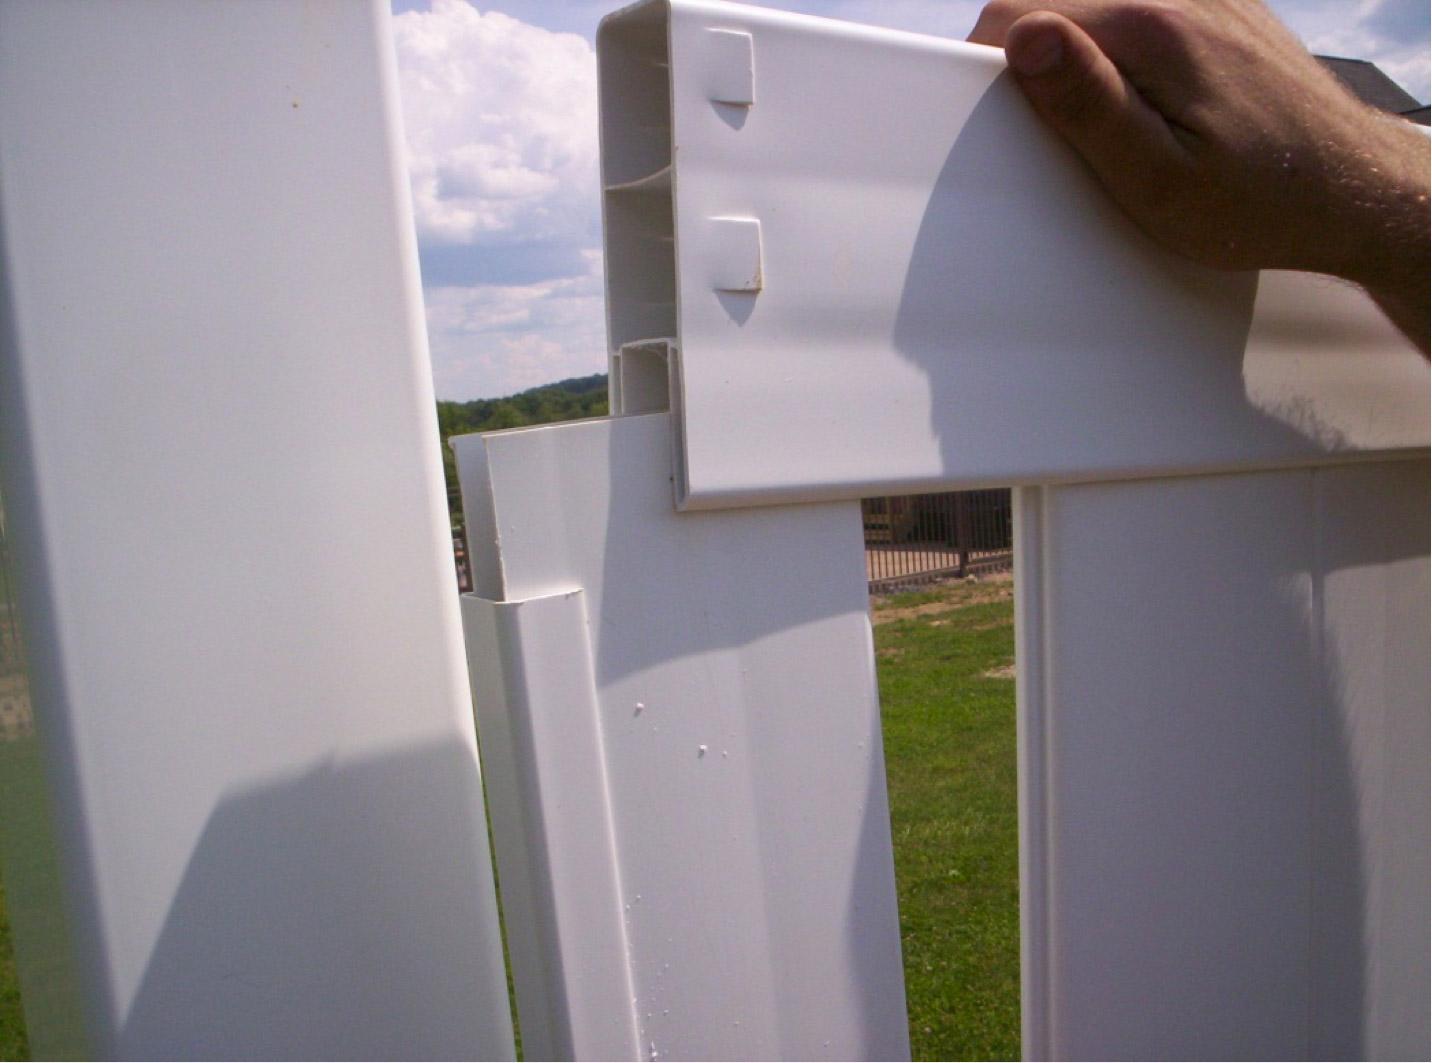
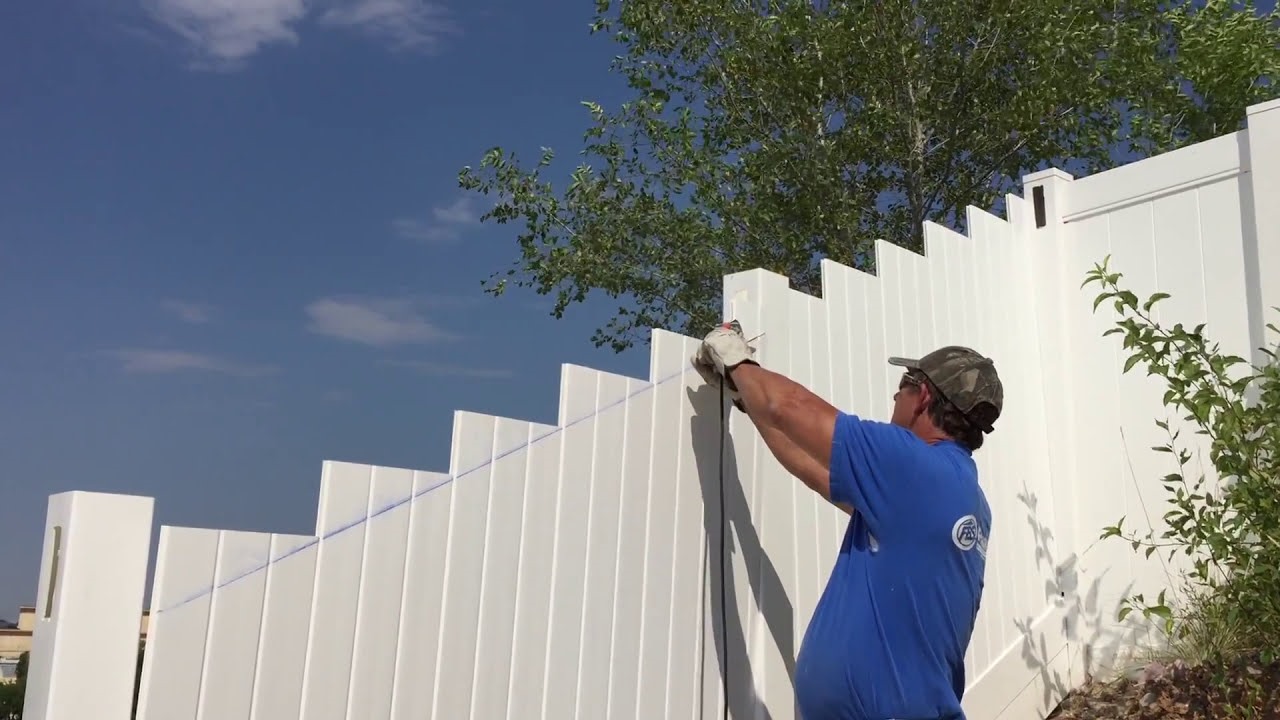
Step 3: Prepare the vinyl fence surface
Before you can hang the lights on your vinyl fence, it’s important to properly prepare the surface to ensure a secure attachment. Here are the steps to follow:
- Clean the fence: Use a mild soap and water solution or a vinyl fence cleaner to remove any dirt, dust, or grime from the fence surface. This will help the hooks or clips adhere better and provide a stronger grip.
- Dry the surface: After cleaning, make sure the fence is thoroughly dried before proceeding. Moisture can affect the adhesive properties of the hooks or clips.
- Apply adhesive hooks or clips: Depending on the type of lights you have and your personal preference, choose either adhesive hooks or clips specifically designed for vinyl fences. Follow the manufacturer’s instructions to attach them securely to the fence surface.
- Allow the adhesive to cure: If you’re using adhesive hooks, allow them to cure for the recommended time before hanging the lights. This will ensure a strong bond between the hooks and the fence.
By preparing the vinyl fence surface properly, you can ensure a stable and secure attachment for your lights. This step is crucial in preventing the lights from falling or shifting due to weather conditions or movement.
With the fence surface prepared, you’re now ready to move on to the next step: attaching the hooks or clips to hang the lights.
Step 4: Attach hooks or clips
Attaching hooks or clips to your vinyl fence is essential for securely hanging the lights. Follow these steps to ensure a strong and stable attachment:
- Start at one end: Begin at one end of the fence and attach the hooks or clips according to your marked placement points. Ensure that they are firmly attached to the fence surface.
- Space them evenly: Maintain consistent spacing between each hook or clip along the fence. This will help create a balanced and visually appealing display.
- Consider the weight: If you’re hanging heavier lights, make sure the hooks or clips you use have the appropriate weight capacity. This will prevent them from coming loose or causing damage to the fence.
- Test the stability: Before proceeding, gently tug on each hook or clip to ensure they are securely attached to the fence. Make any necessary adjustments to ensure a strong and stable hold.
By attaching hooks or clips properly, you can rest assured that your lights will stay in place, even during windy conditions or outdoor activities. With the hooks or clips securely attached, you’re now ready to move on to the next step: hanging the lights on your vinyl fence.
When hanging lights on a vinyl fence, use outdoor-rated clips or hooks to avoid damaging the fence. Make sure the lights are designed for outdoor use and use waterproof extension cords if needed.
Read more: What Is A Vinyl Fence
Step 5: Hang the lights
Now that you have prepared the vinyl fence and attached the hooks or clips, it’s time to hang the lights. Follow these steps to ensure a beautiful and well-arranged display:
- Start at one end: Begin at one end of the fence and hang the lights on the hooks or clips. Depending on the type of lights you have, you may need to loop them through the hooks or clip them onto the designated areas.
- Align the lights: As you hang the lights, ensure they are straight and aligned with the fence. This will give your display a more polished and organized look.
- Follow the spacing: Refer to the measured spacing from Step 2 to maintain consistent distance between each light. This will create an evenly distributed and visually pleasing arrangement.
- Test the positioning: Step back and take a look at the lights from a distance to make sure they are positioned according to your desired aesthetic. Make any necessary adjustments to achieve the desired effect.
As you hang the lights, take your time to ensure they are evenly spaced and aligned with the fence. This attention to detail will enhance the overall appearance of your display.
With the lights beautifully hanging on your vinyl fence, it’s time to move on to the next step: securing the wiring to maintain a neat and safe setup.
Step 6: Secure the wiring
Securing the wiring for your lights is an important step to ensure a neat and safe setup. Here’s how you can do it:
- Organize the wires: Gather all the wires and gently untangle them, if necessary. Straighten them out and position them neatly along the fence, following the path of the lights.
- Use zip ties or clips: Use zip ties or clips designed for outdoor use to secure the wires to the fence. Space them out evenly, making sure the wires are snug but not overly tight.
- Avoid sagging: Make sure the wires are not sagging in between the hooks or clips. If you notice any sag, adjust the positioning of the wires or add additional zip ties or clips to provide support.
- Secure near power source: If you have an extension cord or power source nearby, secure the end of the wires near it to ensure a clean and organized connection.
- Use electrical tape for connections: If you have any exposed connections or loose ends, use outdoor-rated electrical tape to secure them. This will protect the connections from moisture and ensure a safe electrical setup.
By securing the wiring, you will prevent any tangles, tripping hazards, or damage to the lights. It will also create a more polished and professional-looking display.
Once you have secured the wiring, it’s time for the final step: testing the lights and making any necessary adjustments.
Step 7: Test the lights and make adjustments
After hanging and securing the lights on your vinyl fence, it’s important to test them to ensure they are working properly and make any necessary adjustments for optimal results. follow these steps:
- Turn on the lights: Plug in the lights or activate the power source to turn on the lights. Check if all the lights are working and if they are illuminated as expected.
- Inspect the arrangement: Take a moment to observe the overall appearance of the lights. Check if they are evenly spaced, aligned with the fence, and creating the desired effect.
- Adjust spacing if needed: If you notice any areas where the lights are too close together or too far apart, make adjustments by moving the hooks or clips accordingly.
- Make additional securements: If any lights or wiring appear loose or unstable, reinforce them with additional hooks, clips, or zip ties. This will ensure a sturdy and reliable display.
- Troubleshoot any issues: If you encounter any issues such as flickering lights or loose connections, troubleshoot the problem by checking the bulbs, connections, and power source. Make necessary repairs or replacements as needed.
Testing the lights and making adjustments allows you to fine-tune the display to your liking. By ensuring that everything is working properly and looks as desired, you can enjoy your beautifully lit vinyl fence to the fullest.
With the lights tested and any necessary adjustments made, you have successfully completed the process of hanging lights on your vinyl fence.
Conclusion
Adding lights to your vinyl fence can instantly elevate the ambiance and visual appeal of your outdoor space. By following the steps outlined in this guide, you can hang lights on your vinyl fence in a secure and visually pleasing manner. Remember to prioritize safety throughout the process and consult a professional if you have any concerns about electrical connections.
Start by gathering the necessary materials, including lights, hooks or clips, extension cords, and measuring tools. Measure and plan the placement of the lights, considering the length of the fence and the desired height of the lights. Prepare the vinyl fence surface by cleaning it thoroughly and attaching adhesive hooks or clips.
Next, attach the hooks or clips evenly along the fence, ensuring they can hold the weight of the lights. Carefully hang the lights, aligning them straight and maintaining consistent spacing. Secure the wiring to the fence using zip ties or clips to create a neat and safe setup, and use electrical tape to protect any exposed connections.
Finally, test the lights to ensure they are working correctly and make any necessary adjustments to the spacing or securements. Troubleshoot any issues that may arise, such as flickering lights or loose connections, to ensure optimal performance.
With the lights beautifully hanging on your vinyl fence, you can now enjoy a cozy and enchanting outdoor space. Whether it’s for everyday enjoyment or special occasions, your illuminated vinyl fence will create a warm and inviting atmosphere for you and your guests to enjoy.
So go ahead, get creative, and transform your vinyl fence into a captivating display of lights!
Now that you've mastered hanging lights on your vinyl fence, why not delve deeper into illuminating your outdoor spaces? If you're keen to add a touch of magic to your evenings, our article on outdoor lighting provides unique and creative ideas to brighten up your patio. For those who love a good weekend project, our guide on DIY outdoor projects offers inspiring ways to enhance your home's curb appeal with hands-on activities. And for an enchanting garden atmosphere, don't miss our suggestions on the best garden lighting techniques that are sure to transform your outdoor area into a captivating retreat.
Frequently Asked Questions about How To Hang Lights On Vinyl Fence
Was this page helpful?
At Storables.com, we guarantee accurate and reliable information. Our content, validated by Expert Board Contributors, is crafted following stringent Editorial Policies. We're committed to providing you with well-researched, expert-backed insights for all your informational needs.


0 thoughts on “How To Hang Lights On Vinyl Fence”