Articles
How To Hang Paper Blinds
Modified: January 9, 2024
Learn the step-by-step process of hanging paper blinds with our informative articles. Get expert tips and tricks to easily install and stylishly enhance your windows.
(Many of the links in this article redirect to a specific reviewed product. Your purchase of these products through affiliate links helps to generate commission for Storables.com, at no extra cost. Learn more)
Introduction
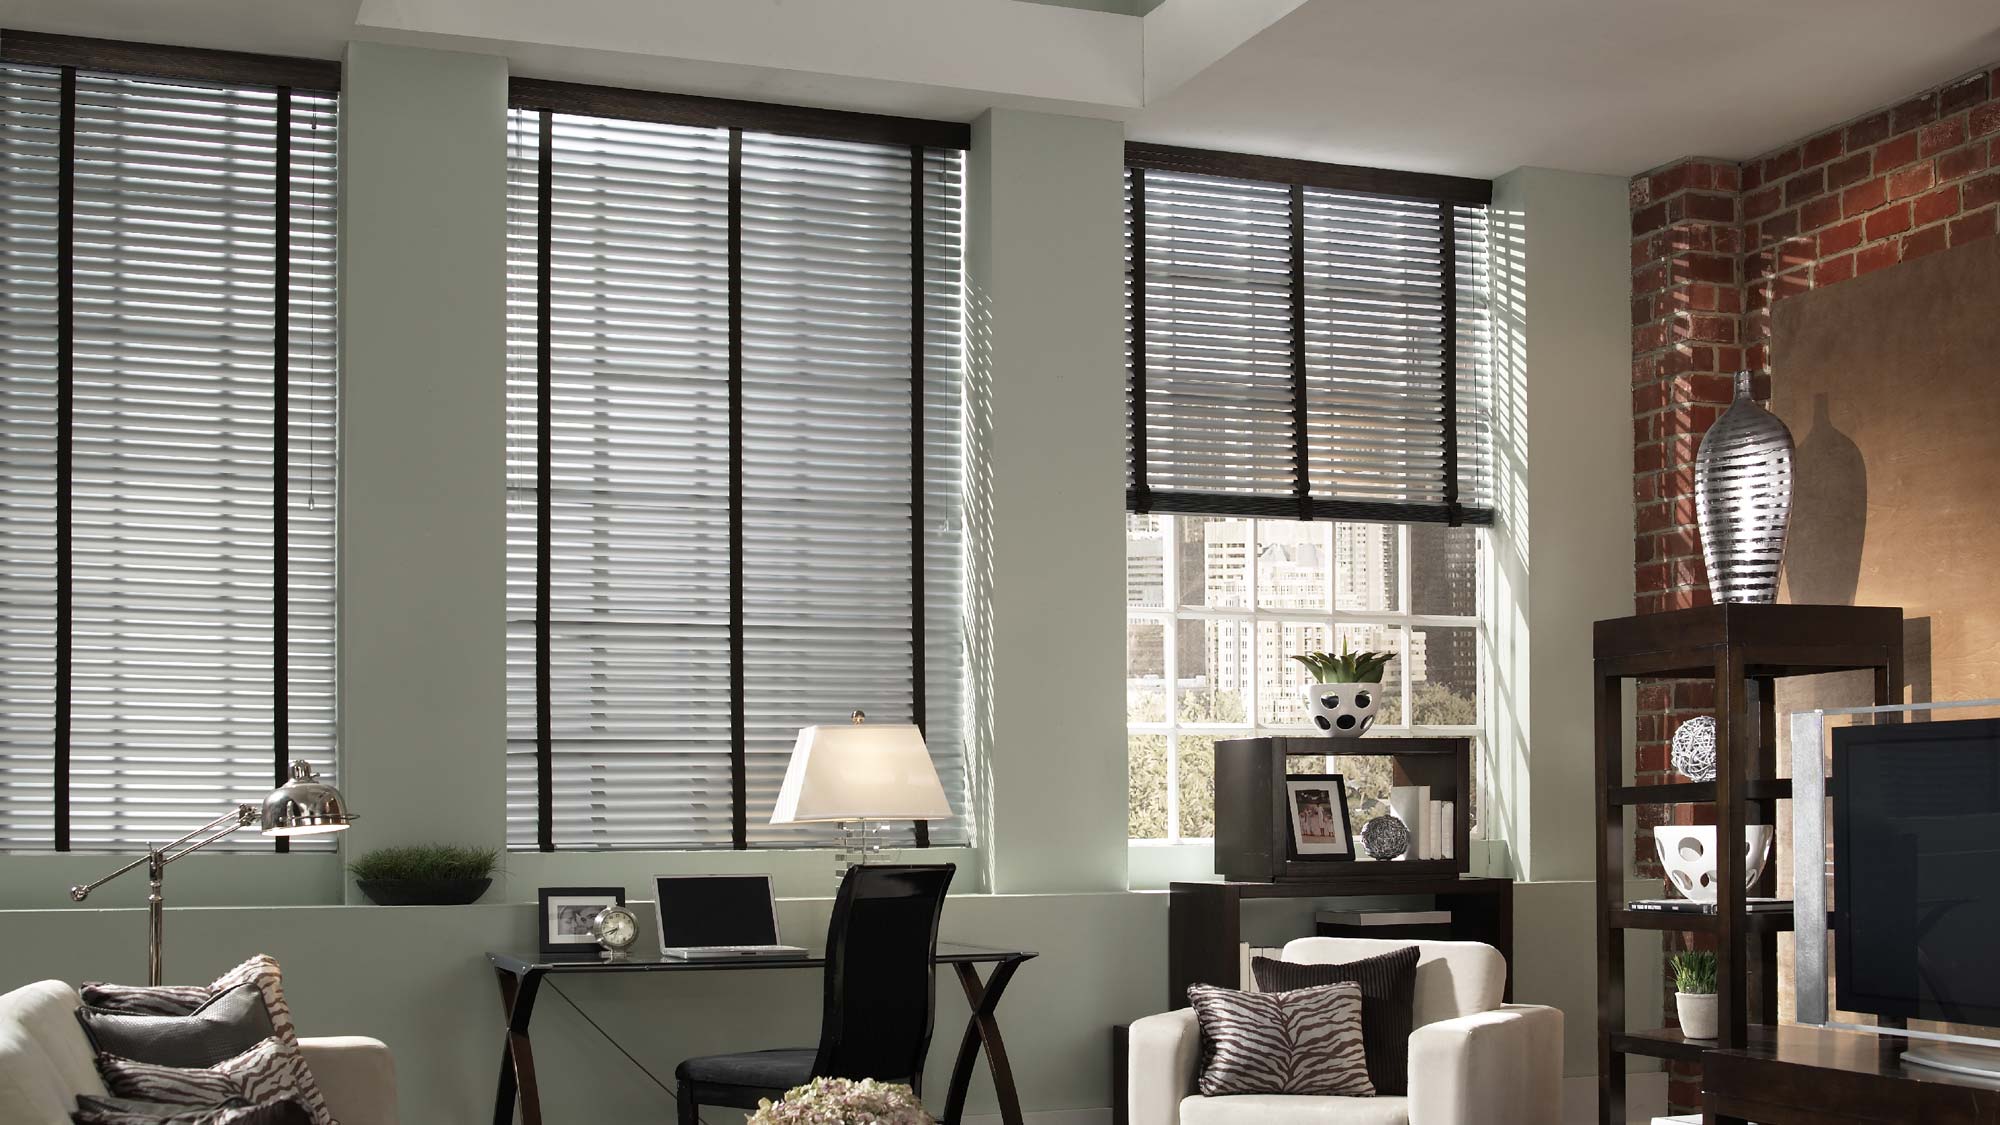
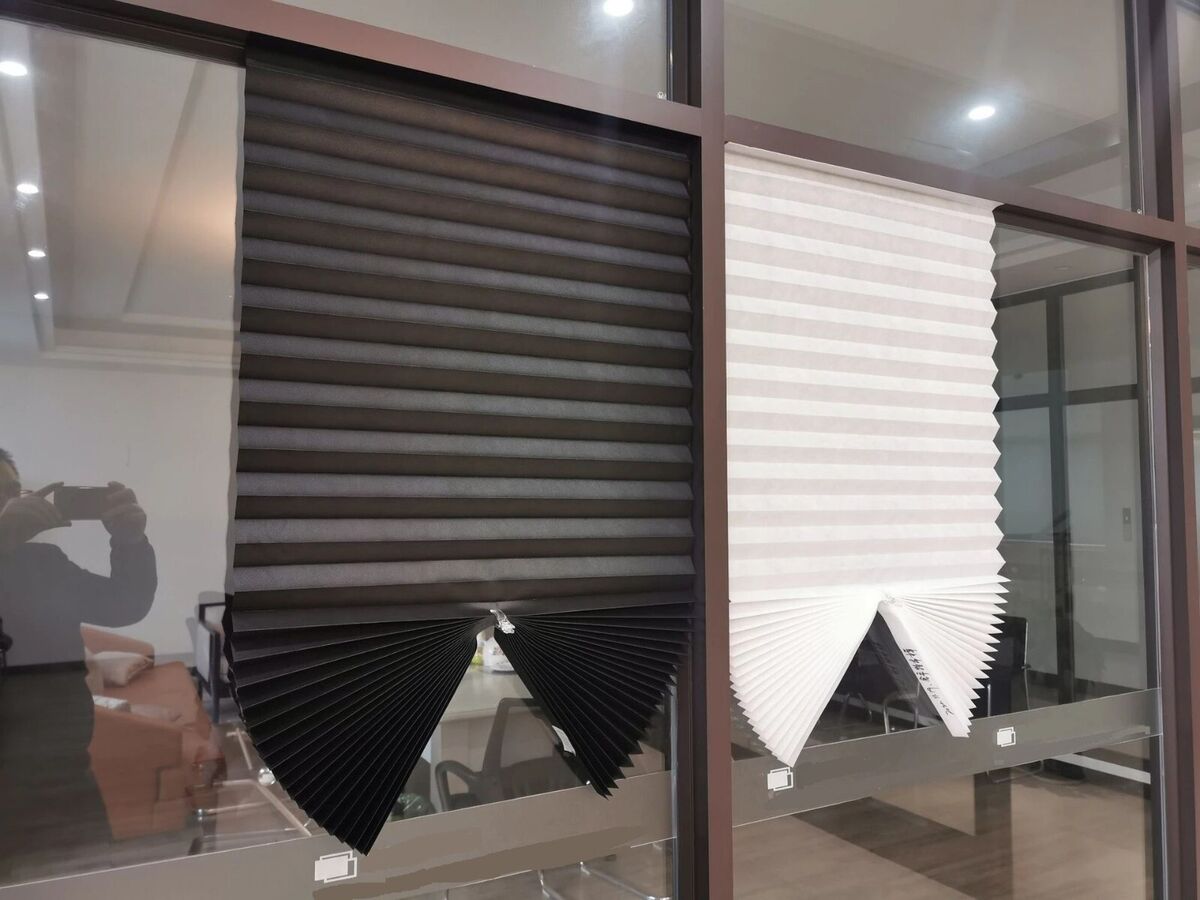
When it comes to window coverings, paper blinds are an affordable and versatile option that can add style and privacy to any room. These lightweight blinds are easy to install and can be adjusted to let in just the right amount of light. Whether you’re a DIY enthusiast or a beginner, hanging paper blinds is a straightforward process that you can easily tackle on your own.
In this article, we will guide you through the step-by-step process of hanging paper blinds. We’ll cover everything from gathering the necessary tools and materials to adjusting and testing the blinds for smooth operation. So, let’s get started and transform your windows with beautiful paper blinds!
Key Takeaways:
- Easily transform your windows with affordable and versatile paper blinds. Follow simple steps to measure, mount, and adjust for a perfect fit and stylish functionality.
- Enjoy the DIY satisfaction of hanging paper blinds and customizing your window coverings. Achieve privacy and style with this straightforward and rewarding project.
Read more: How To Hang Vinyl Blinds
Step 1: Gather the necessary tools and materials
Before you begin hanging paper blinds, it’s important to gather all the tools and materials you’ll need to ensure a smooth installation process. Here’s a checklist of what you’ll need:
- Measuring tape: to measure the size of your windows accurately.
- Pencil or marker: to mark the placement of the brackets on the window frame.
- Screwdriver or drill: to secure the brackets in place.
- Level: to ensure that the blinds are straight and level when installed.
- Paper blinds: choose the style and color that best suits your needs and preferences.
- Brackets: these are usually included with the paper blinds, but if not, you can easily purchase them separately.
- Screws: make sure you have the appropriate screws for mounting the brackets on your window frame.
Once you have gathered all the necessary tools and materials, you’re ready to move on to the next step.
Step 2: Measure the window
Accurate measurements are crucial when hanging paper blinds to ensure a perfect fit. Here’s how to measure your window:
- Start by measuring the width of your window frame. Use a measuring tape to measure from one side to the other, taking note of the measurement.
- Next, measure the height of your window frame. Again, use the measuring tape to measure from the top to the bottom, recording the measurement.
- It’s important to measure both the inside and outside of the frame to determine the best mounting option for your paper blinds.
- For inside mount blinds, subtract a small amount (around 1/8 inch) from the width measurement to allow for easy installation and operation of the blinds.
- For outside mount blinds, decide how much overlap you want on each side of the window frame. Generally, an overlap of 2-3 inches is recommended to ensure full coverage and privacy.
Once you have your measurements, double-check them to ensure accuracy. Remember to measure each window individually, as they may vary slightly in size. With the measurements in hand, you’re ready to move on to the next step.
Step 3: Prepare and mount the brackets
Now that you have your measurements, it’s time to prepare and mount the brackets for your paper blinds. Follow these steps:
- Start by determining the placement of the brackets. For inside mount blinds, mark the position on the top corners of the window frame where the brackets will be installed. Make sure the markings are level.
- If you’re installing outside mount blinds, measure the distance from the edge of the window frame to the desired position of the brackets. Make markings accordingly.
- Once the positions are marked, take the first bracket and align it with the markings. Use a screwdriver or drill to secure it in place with the appropriate screws. Repeat the process for the second bracket, ensuring that they are level with each other.
- If your window is wider than the blinds, you may need to install additional brackets in the center to provide extra support and prevent sagging.
- After mounting the brackets, double-check that they are securely attached and level. Make any necessary adjustments before moving on to the next step.
With the brackets in place, you’re now ready to attach the blinds to complete the installation process. Follow along to the next step to learn how.
When hanging paper blinds, be sure to measure the window carefully before cutting the blinds to size. It’s better to have them slightly too long than too short.
Step 4: Attach the blinds to the brackets
With the brackets securely mounted, it’s time to attach the paper blinds. Follow these steps:
- Unfold the paper blinds and locate the headrail, which is the top portion that holds the blinds together.
- Position the headrail between the brackets, making sure it sits securely in place. The headrail should fit snugly into the brackets without any wobbling or movement.
- Some paper blinds come with a locking mechanism on the brackets. If your blinds have this feature, carefully slide the lock into place to secure the headrail.
- Gently pull down on the blinds to make sure they glide smoothly and evenly. Adjust as necessary to ensure they are aligned and level.
- If your blinds have a cord or chain for operation, follow the manufacturer’s instructions to properly thread and secure it.
- Take a step back and admire your newly attached paper blinds. Ensure that they are hanging straight and level.
Congratulations! You have successfully attached the paper blinds to the brackets. Now, it’s time to make some final adjustments and test the blinds for smooth operation.
Read more: How To Hang Bamboo Blinds
Step 5: Adjust and test the blinds
Now that the paper blinds are attached, it’s important to make some final adjustments and test them for smooth operation. Follow these steps:
- Start by adjusting the tilt of the blinds. Many paper blinds have a wand or cord that allows you to easily adjust the angle of the slats. Test the blinds by tilting them to the desired position and making sure they stay securely in place.
- If your blinds have a cord or chain for raising and lowering, test it to ensure smooth operation. Make any necessary adjustments to ensure the blinds raise and lower evenly.
- Check for any misaligned or overlapping slats. Adjust the blinds as needed to ensure that the slats are evenly spaced and aligned.
- If your blinds have a cord for raising and lowering, be mindful of any safety hazards. Make sure the cord is out of reach of children and pets, or consider using cordless blinds for added safety.
- Take a step back and admire your handiwork. Ensure that the blinds are hanging straight, level, and functioning properly.
By adjusting and testing the blinds, you can ensure that they not only look great but also provide the functionality you need. Make any final adjustments as necessary to achieve the desired look and functionality.
Congratulations! You have successfully hung your paper blinds. Now, sit back, relax, and enjoy your newly transformed window space.
Conclusion
Hanging paper blinds is a simple and rewarding DIY project that can instantly enhance the look and functionality of your windows. By following the step-by-step guide outlined in this article, you can easily install paper blinds and enjoy the benefits they offer.
Remember to gather all the necessary tools and materials before starting, accurately measure your windows for a perfect fit, and carefully mount the brackets. Attaching the blinds and adjusting them for smooth operation is the final step to complete the installation process.
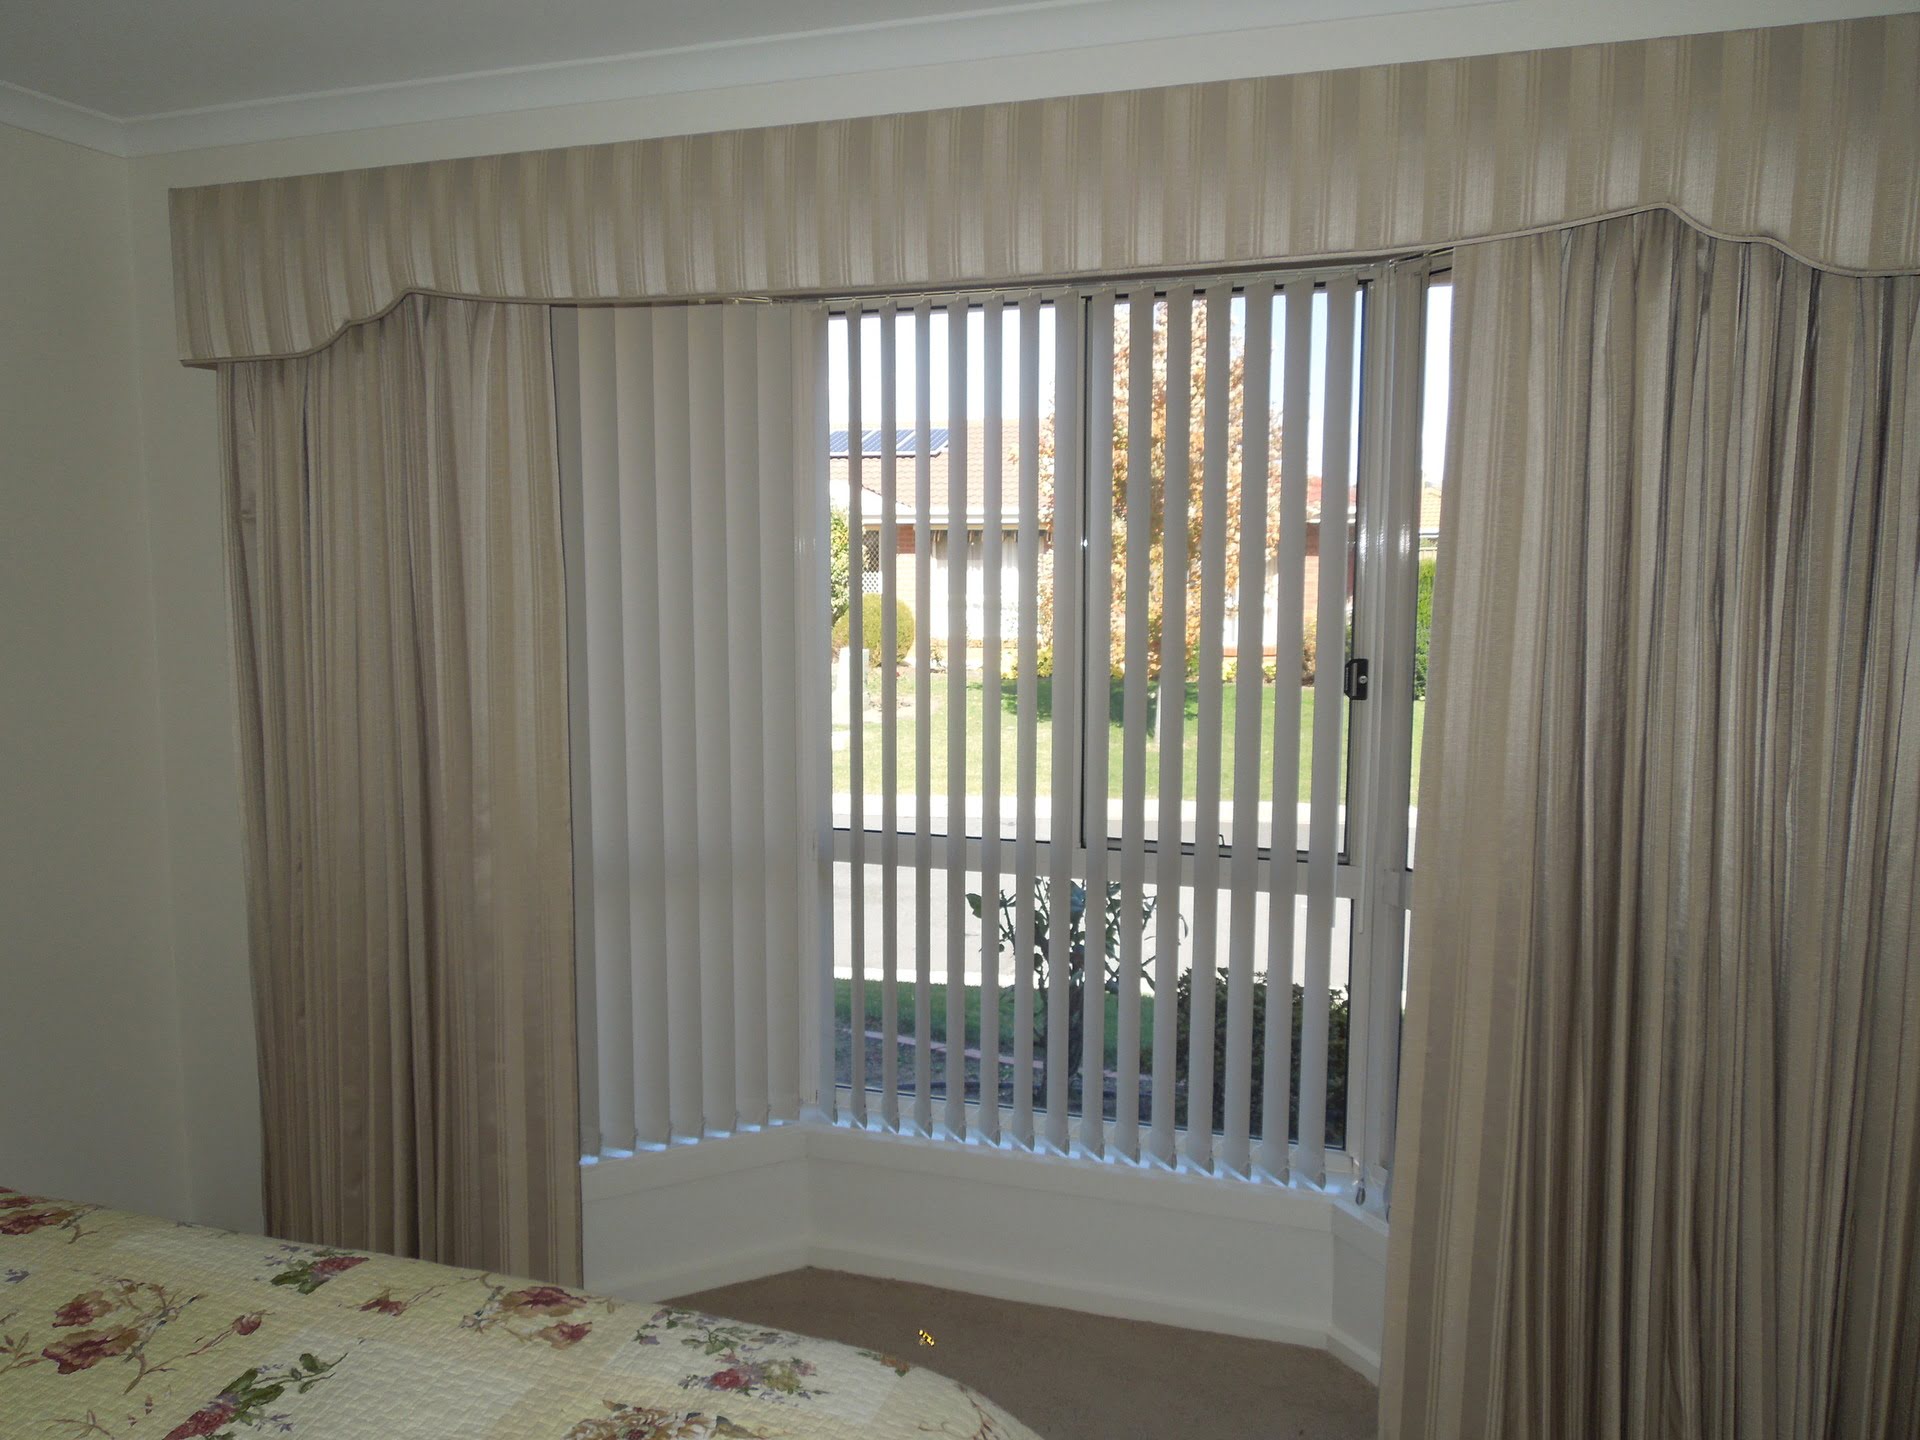
With paper blinds, you have the flexibility to control the amount of light entering your space and ensure privacy as desired. Their affordable price and versatile design make them a popular choice for many homeowners and renters alike.
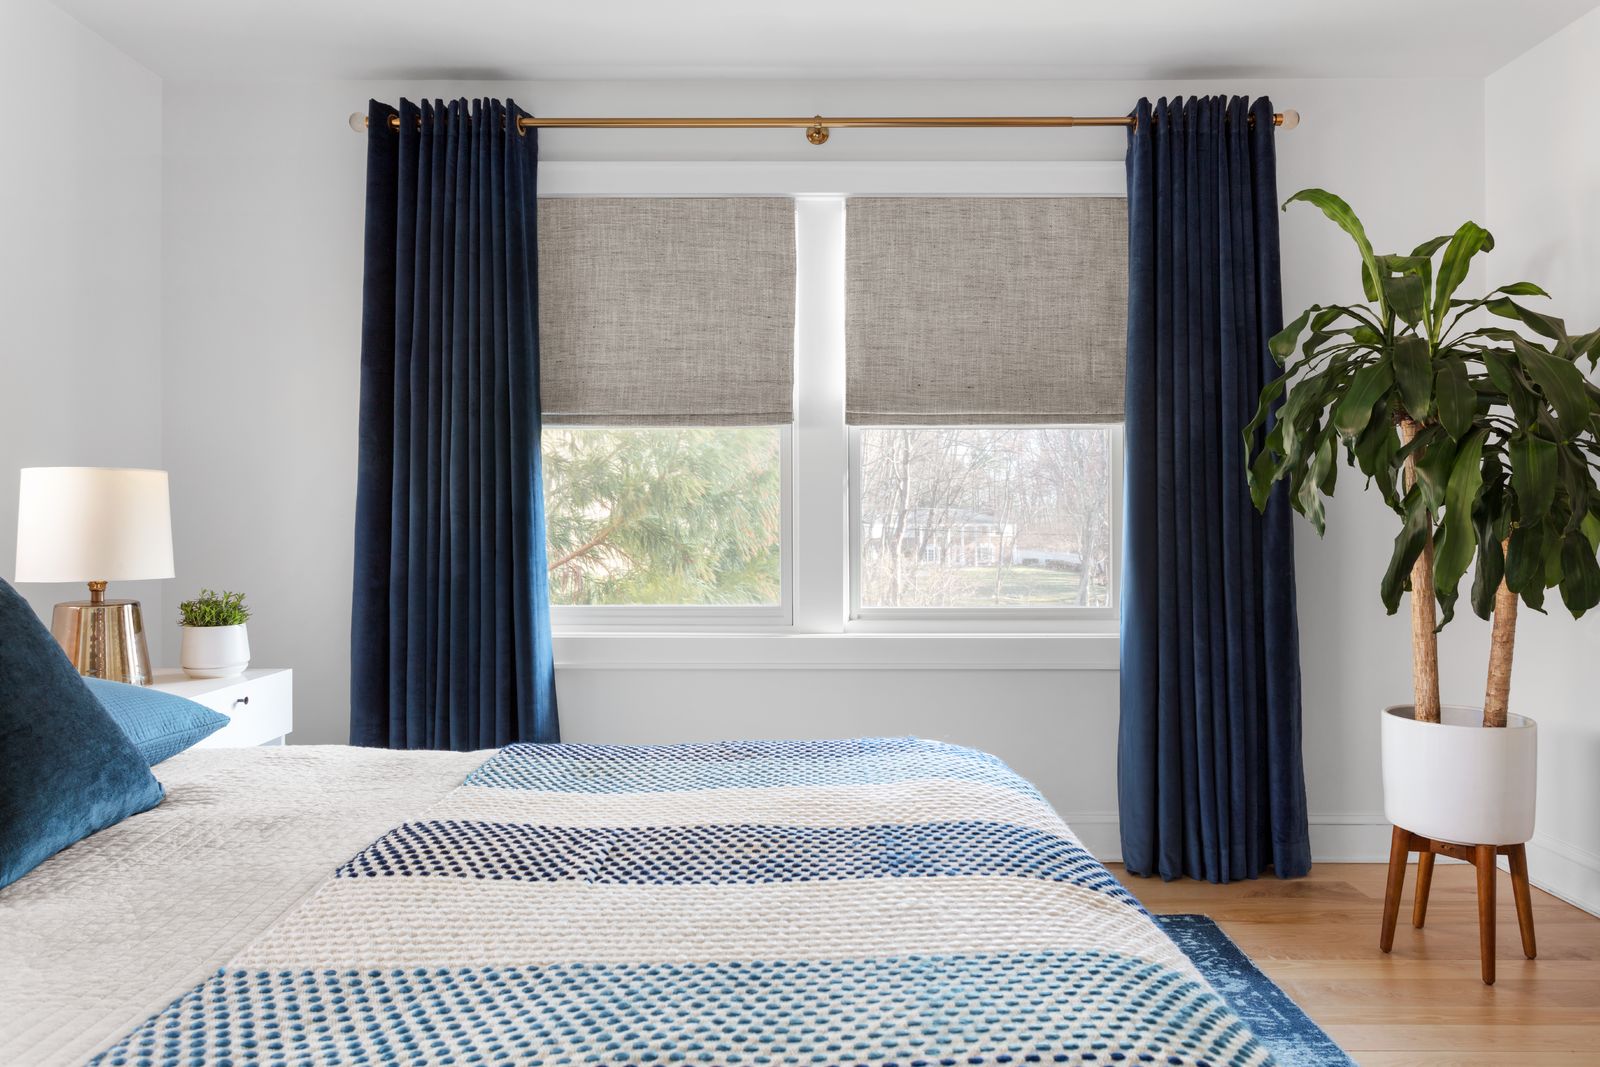
So, why wait? Transform your windows with beautiful paper blinds and enjoy the newfound style and functionality they bring. Whether you’re adding a touch of elegance to your living room or seeking a practical solution for your bedroom, paper blinds can truly elevate the ambiance of any space.
Now that you have the knowledge and confidence to hang paper blinds, go ahead and embark on this exciting project. Enjoy the process and the satisfaction of customizing your window coverings to suit your taste and needs.
Remember to have fun, be creative, and most importantly, enjoy the revamped look of your windows with your newly installed paper blinds!
Frequently Asked Questions about How To Hang Paper Blinds
Was this page helpful?
At Storables.com, we guarantee accurate and reliable information. Our content, validated by Expert Board Contributors, is crafted following stringent Editorial Policies. We're committed to providing you with well-researched, expert-backed insights for all your informational needs.