Articles
How To Hang Home Depot Blinds
Modified: October 20, 2024
Learn how to hang Home Depot blinds with our informative articles. Our step-by-step guides will make installation a breeze.
(Many of the links in this article redirect to a specific reviewed product. Your purchase of these products through affiliate links helps to generate commission for Storables.com, at no extra cost. Learn more)
Introduction
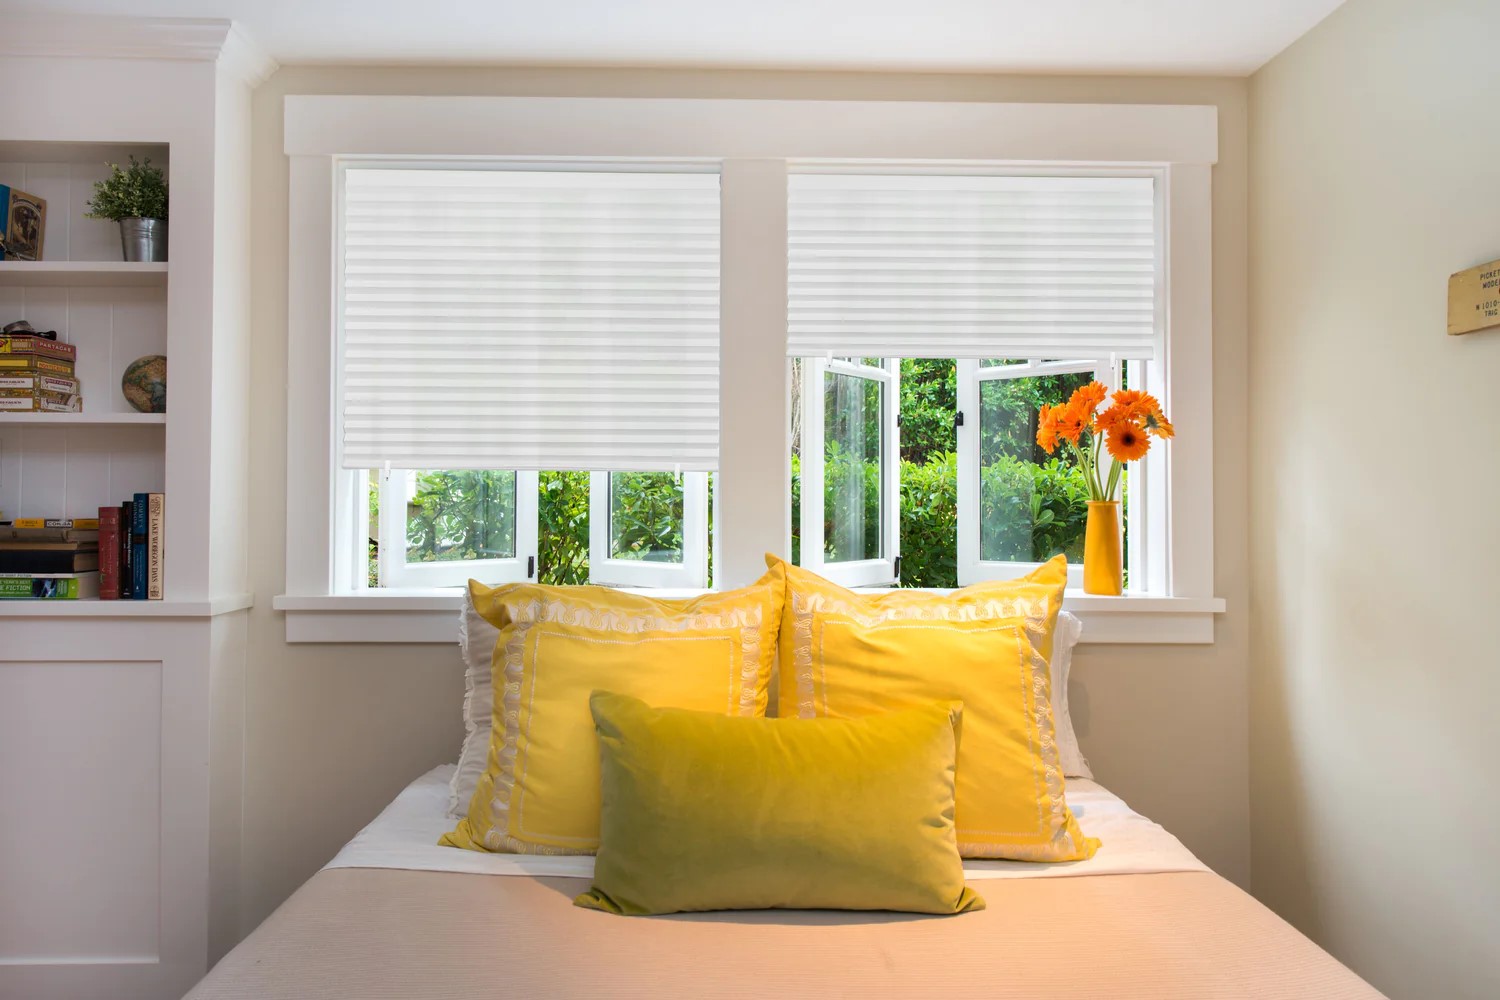
Welcome to this comprehensive guide on how to hang Home Depot blinds. Adding blinds to your windows not only enhances privacy and light control but also adds a touch of style and sophistication to your home’s interior. Whether you’re a seasoned DIY enthusiast or a beginner, this step-by-step tutorial will help you navigate the process with ease.
Home Depot offers a wide range of blinds, including traditional horizontal blinds, contemporary vertical blinds, and convenient cordless options. Before you begin, it’s important to measure your windows accurately to ensure a perfect fit. Additionally, gather the necessary tools, such as a measuring tape, a level, a screwdriver, and a pencil, to make the installation process smooth and hassle-free.
By following these steps and using the tips provided, you’ll be able to hang your Home Depot blinds like a pro.
Key Takeaways:
- Accurately measure your windows and choose the right blinds from Home Depot to ensure a perfect fit and complement your decor, enhancing privacy, light control, and aesthetic appeal.
- Gather the necessary tools, follow the step-by-step installation process, and add finishing touches to enjoy stylish and functional Home Depot blinds that transform your living space with enhanced beauty and functionality.
Read more: How Much Do Blinds Cost At Home Depot
Step 1: Measure your windows
The first step in hanging Home Depot blinds is to accurately measure your windows. This will ensure that you purchase the correct size blinds and that they fit perfectly. Here’s how to do it:
- Start by measuring the width of each window. Use a metal measuring tape and measure from one inside edge of the window frame to the other. Take note of the measurement in inches.
- Next, measure the height of the window. Again, use the metal measuring tape and measure from the top inside edge of the window frame to the bottom. Write down the measurement in inches.
- If you have multiple windows in the same room, it’s a good idea to measure each one individually, as window sizes can vary.
- Once you have your measurements, it’s important to double-check them to ensure accuracy. Mistakes in measurements can lead to blinds that don’t fit correctly.
When purchasing blinds from Home Depot, you’ll typically find them labeled with the width and height dimensions. It’s essential to select blinds that closely match your window measurements. If you cannot find an exact match, it’s generally advised to choose the next size up and trim the blinds down to fit if necessary.
Remember to measure both the width and height of each window accurately to guarantee a proper fit for your Home Depot blinds.
Step 2: Choose the right blinds
Now that you have measured your windows, it’s time to choose the right blinds from Home Depot. With various styles, materials, and colors available, selecting blinds that complement your decor and meet your functionality needs is essential. Here are some factors to consider when choosing the right blinds:
- Privacy and light control: Determine how much privacy and light control you require in the room. Home Depot offers blinds with varying levels of opacity, such as sheer, light-filtering, and blackout options.
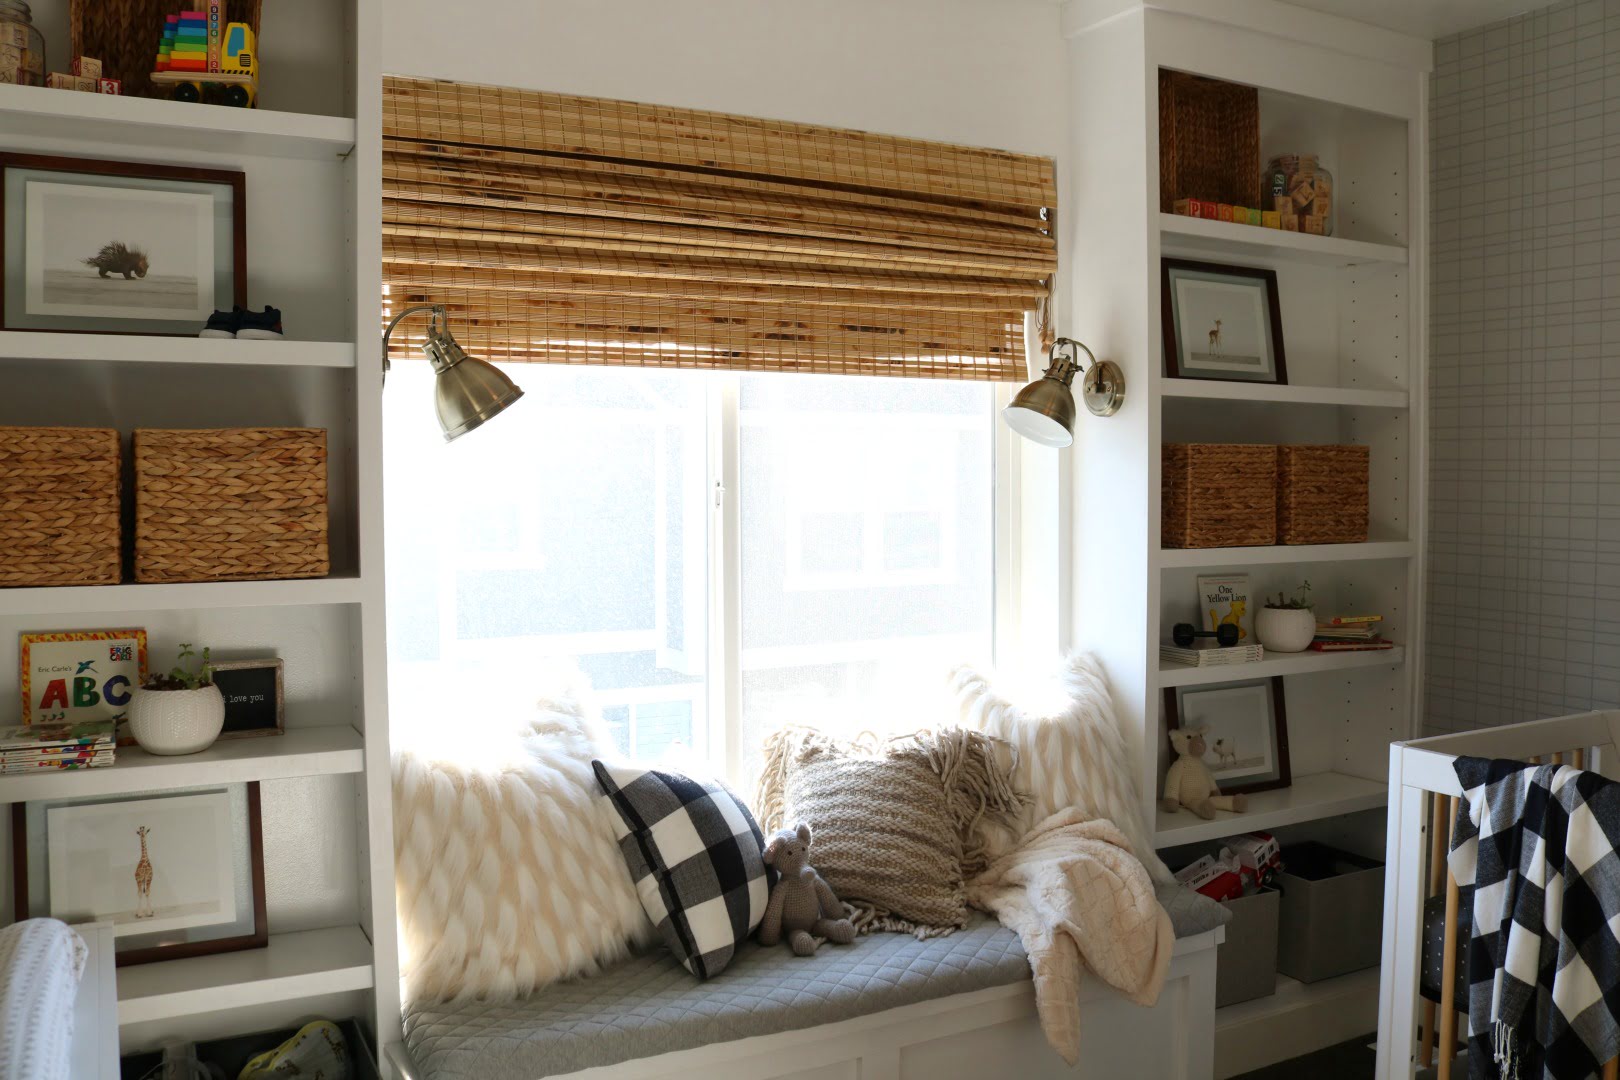
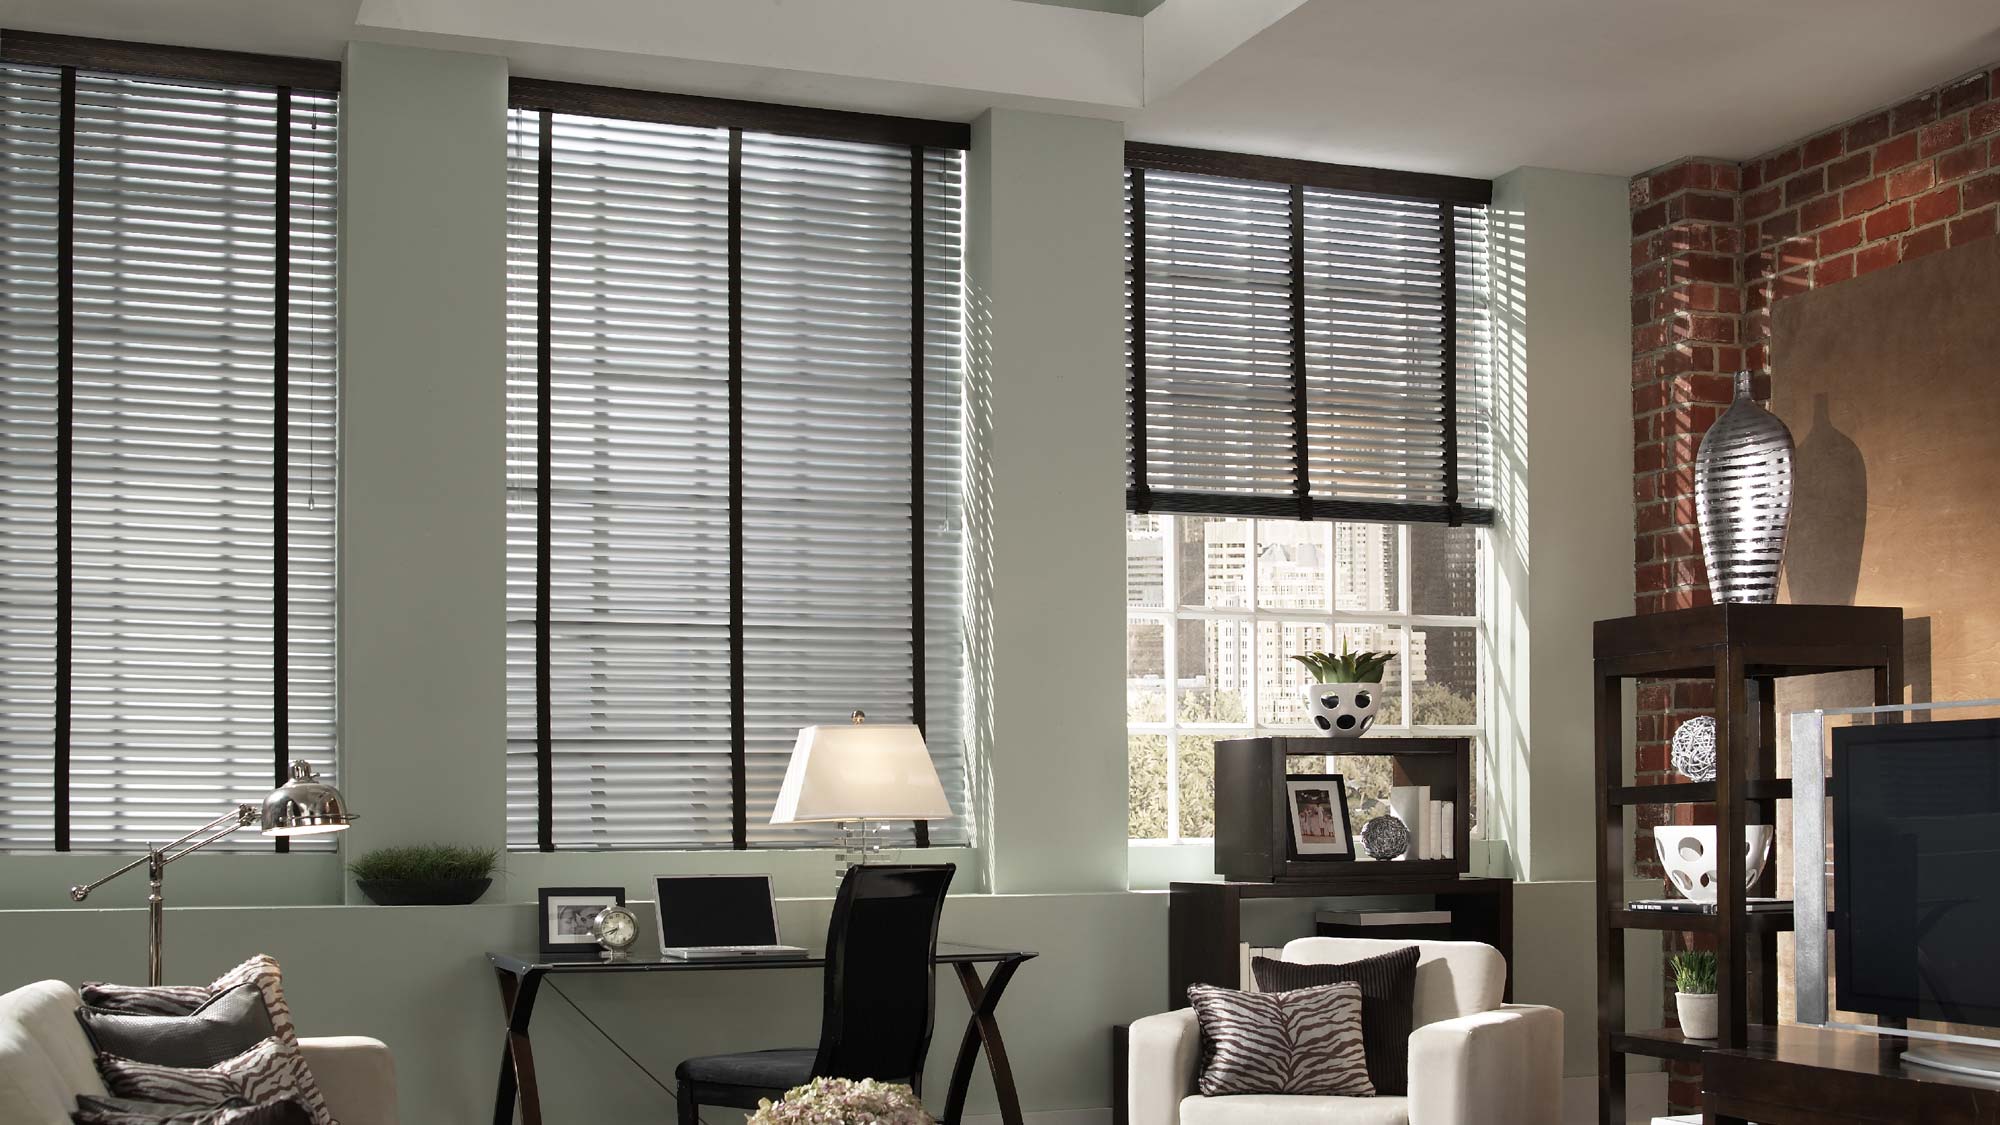
- Style: Consider the overall style of the room and choose blinds that enhance its aesthetic appeal. Home Depot offers a wide range of styles, including classic horizontal blinds, modern vertical blinds, and even faux wood blinds that resemble real wood.
- Material: Select blinds made from durable materials that suit your needs. Popular options include aluminum blinds, vinyl blinds, and wood blinds.
- Color and finish: Look for blinds that either blend seamlessly with your existing color palette or serve as an accent piece that adds visual interest to the room.
- Operating mechanism: Decide whether you prefer traditional cord-operated blinds or the convenience of cordless blinds. Home Depot offers both options to cater to your preference and safety concerns.
Browsing through Home Depot’s selection of blinds can be overwhelming, but considering these factors will help you narrow down your choices. Take advantage of the product descriptions and customer reviews to further assess the blinds’ quality and suitability for your needs.
Once you have chosen the right blinds, you’re ready to move on to the next step of the installation process.
Step 3: Gather the necessary tools
Before you start installing your Home Depot blinds, it’s essential to gather all the necessary tools. Having the right tools at hand will ensure a smooth and efficient installation process. Here are the tools you will need:
- Measuring tape: A measuring tape will help you accurately measure your windows and blinds.
- Level: A level is essential for ensuring that your blinds are straight and properly aligned.
- Screwdriver: Depending on the type of blinds you are installing, you may need a screwdriver to mount the brackets or make any necessary adjustments.
- Pencil: A pencil will come in handy for marking the positions where you will mount the brackets.
These basic tools should be sufficient for most blind installations. However, depending on the specific blinds you choose or any additional hardware requirements, you may need additional tools. It’s always a good idea to consult the installation instructions provided by Home Depot to determine if any extra tools are necessary.
Once you have gathered all the tools you need, ensure that they are easily accessible and within reach. Having everything organized beforehand will save you time and make the installation process more efficient.
With the necessary tools in hand, you’re now ready to move on to the next step, which involves mounting the brackets for your blinds.
Step 4: Mount the brackets
With your tools ready, it’s time to mount the brackets for your Home Depot blinds. The brackets are crucial as they provide support and hold the blinds in place. Follow these steps to mount the brackets:
- Start by deciding whether you want to mount the blinds inside the window frame or outside on the wall or window frame. This decision will depend on the style and measurements of your windows, as well as your personal preference.
- Hold the bracket against the desired mounting location. Use a pencil to mark the screw holes on the wall or window frame. Make sure the bracket is level by using a level tool.
- If you’re mounting the bracket inside the window frame, make sure it’s positioned at the correct depth. Consult the installation instructions provided by Home Depot for specific guidelines.
- Using a screwdriver, attach the brackets to the wall or window frame with the provided screws. Ensure that the brackets are secure and firmly in place.
- Repeat this process for each bracket, evenly spacing them along the width of the window or as instructed by the specific blind manufacturer.
Mounting the brackets accurately is crucial for the proper installation of your blinds. Take your time during this step to ensure that the brackets are mounted securely and level with each other. Double-check the alignment and stability of each bracket before proceeding to the next step.
Once the brackets are securely mounted, you’re now ready to move on to the next step, which involves actually installing the blinds themselves.
When hanging Home Depot blinds, make sure to measure the window accurately before purchasing the blinds. Use a level to ensure the brackets are installed straight for a professional finish.
Read more: How To Hang Vinyl Blinds
Step 5: Install the blinds
Now that the brackets are securely in place, it’s time to install the blinds themselves. Follow these steps to properly install your Home Depot blinds:
- Begin by positioning the headrail of the blinds onto the brackets. Each bracket should have a slot or groove where the headrail fits into.
- Gently push the headrail of the blinds into the brackets, making sure it clicks or locks into place. Depending on the style of blinds you have, there may be a release tab or mechanism that you need to engage to secure the headrail.
- Once the blinds are placed in the brackets, test their movement by pulling the cords or using the control method for your specific blinds. Ensure that the blinds operate smoothly and evenly.
- If your blinds have a valance or decorative trim, follow the manufacturer’s instructions to attach these accessories. They typically clip or snap into place on the headrail.
It’s important to handle the blinds with care during installation to avoid any damage or misalignment. Take your time to ensure that the blinds are properly seated in the brackets and that they operate correctly. If you find that the blinds are not level or aligned, carefully adjust them until they are straight.
Once the blinds are installed and functioning smoothly, you’re ready to move on to the next step, which involves adjusting the blinds to your desired position.
Step 6: Adjust the blinds
After installing your Home Depot blinds, it’s time to adjust them to the desired position. This step will allow you to control the amount of light and privacy in the room. Follow these steps to properly adjust your blinds:
- To raise or lower the blinds, use the attached cords or control mechanism. Gently pull down on the cords to lower the blinds and pull the cords towards the center of the window to raise them. If your blinds have a control wand or a cordless mechanism, follow the manufacturer’s instructions on how to operate them.
- To adjust the slats of horizontal blinds, use the tilt wand or rod to tilt the slats open or closed. For vertical blinds, simply twist the wand or chain to control the angle of the slats.
- Experiment with different adjustments to find the perfect balance of light and privacy. You can vary the slat angle to allow in more or less sunlight while still maintaining privacy.
- If your blinds have a cord cleat or cord tensioner, make sure to secure the cords to prevent them from becoming a safety hazard, especially if you have children or pets in the house.
Take your time to adjust the blinds to your preferred position, ensuring that they operate smoothly and that the slats are properly aligned. Test out different settings to find what works best for your space and needs.
With the blinds adjusted to your liking, you’re now ready for the final step, which involves adding some finishing touches to complete the installation.
Step 7: Finishing touches
With your Home Depot blinds successfully installed and adjusted, it’s time to add some final touches to complete the installation process. These finishing touches will not only improve the overall appearance of your blinds but also help ensure their longevity and functionality. Follow these steps to add the finishing touches:
- Clean the blinds: Before you enjoy the full benefits of your new blinds, give them a thorough cleaning. Use a gentle duster, a soft cloth, or a vacuum cleaner attachment to remove any dust or debris from the surface of the blinds. This will help maintain their appearance and keep them in optimal condition.
- Check for smooth operation: Test the blinds by raising and lowering them a few times to ensure they operate smoothly. Make any necessary adjustments to the blinds or brackets if you notice any issues with their functionality.
- Secure any loose cords or accessories: If you notice any loose cords or accessories, such as valances, make sure to secure them properly. Loose cords can be a safety hazard, so take the time to fasten them and tuck them away neatly.
- Enjoy your new blinds: Sit back and appreciate the transformation your Home Depot blinds have brought to your windows and living space. Take a moment to admire the enhanced beauty, privacy, and light control they provide.
By following these final steps, you’ll ensure that your blinds are in optimal condition and ready for long-lasting use. Regular maintenance and proper care will prolong the life of your blinds and keep them looking their best for years to come.
Congratulations! You have successfully hung your Home Depot blinds and completed the installation process. Now, it’s time to sit back, relax, and enjoy the benefits of your stylish and functional window treatments.
Conclusion
Congratulations! You now have the knowledge and confidence to hang your Home Depot blinds like a pro. By following these step-by-step instructions, you can enhance the privacy, light control, and overall aesthetics of your home. Whether you’re looking for traditional horizontal blinds or modern vertical blinds, Home Depot offers a wide selection to suit your style and needs.
Remember to begin the process by accurately measuring your windows to ensure a perfect fit. Choosing the right blinds is crucial, taking into account factors such as privacy needs, style preferences, and material durability.
Gathering the necessary tools beforehand will save you time and make the installation process smoother. Once you mount the brackets securely, it’s time to install the blinds themselves, taking care to align them properly and ensure smooth operation. Adjust the blinds to your desired position, finding the ideal balance of light and privacy.
Finish the installation with a thorough cleaning, making any necessary adjustments, and securing loose cords or accessories. With these final touches, your Home Depot blinds will not only look great but also function seamlessly.
Now that you’ve successfully hung your Home Depot blinds, take a moment to appreciate the improved aesthetics and functionality they bring to your home. Enjoy the enhanced control over light and privacy, and admire the transformation of your living space.
Remember to regularly clean and maintain your blinds to keep them in optimal condition. With proper care, your Home Depot blinds will continue to enhance your home’s interior for years to come.
Thank you for following this step-by-step guide. We hope it has been helpful in your blind installation journey. Happy decorating!
Frequently Asked Questions about How To Hang Home Depot Blinds
Was this page helpful?
At Storables.com, we guarantee accurate and reliable information. Our content, validated by Expert Board Contributors, is crafted following stringent Editorial Policies. We're committed to providing you with well-researched, expert-backed insights for all your informational needs.