Articles
How To Hang Faux Wood Blinds
Modified: December 7, 2023
Learn how to hang faux wood blinds with our step-by-step articles. Get expert tips and tricks for a perfect installation.
(Many of the links in this article redirect to a specific reviewed product. Your purchase of these products through affiliate links helps to generate commission for Storables.com, at no extra cost. Learn more)
Introduction
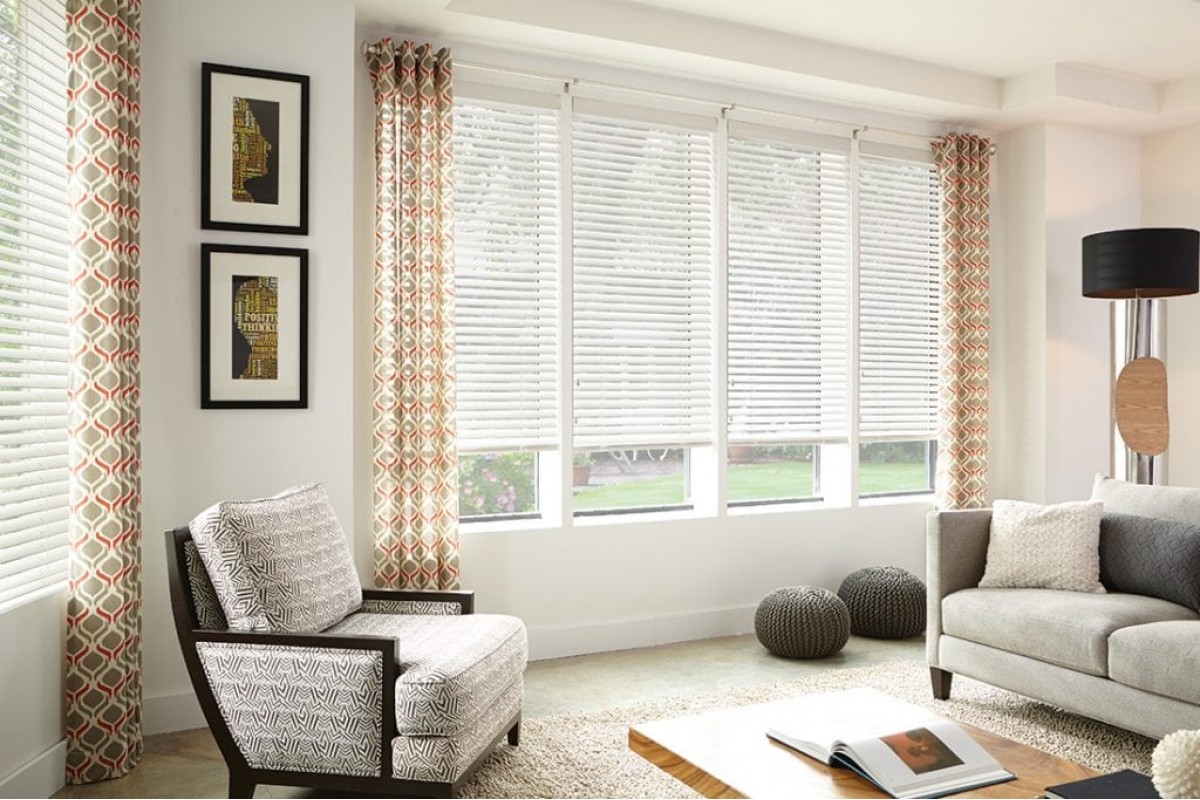
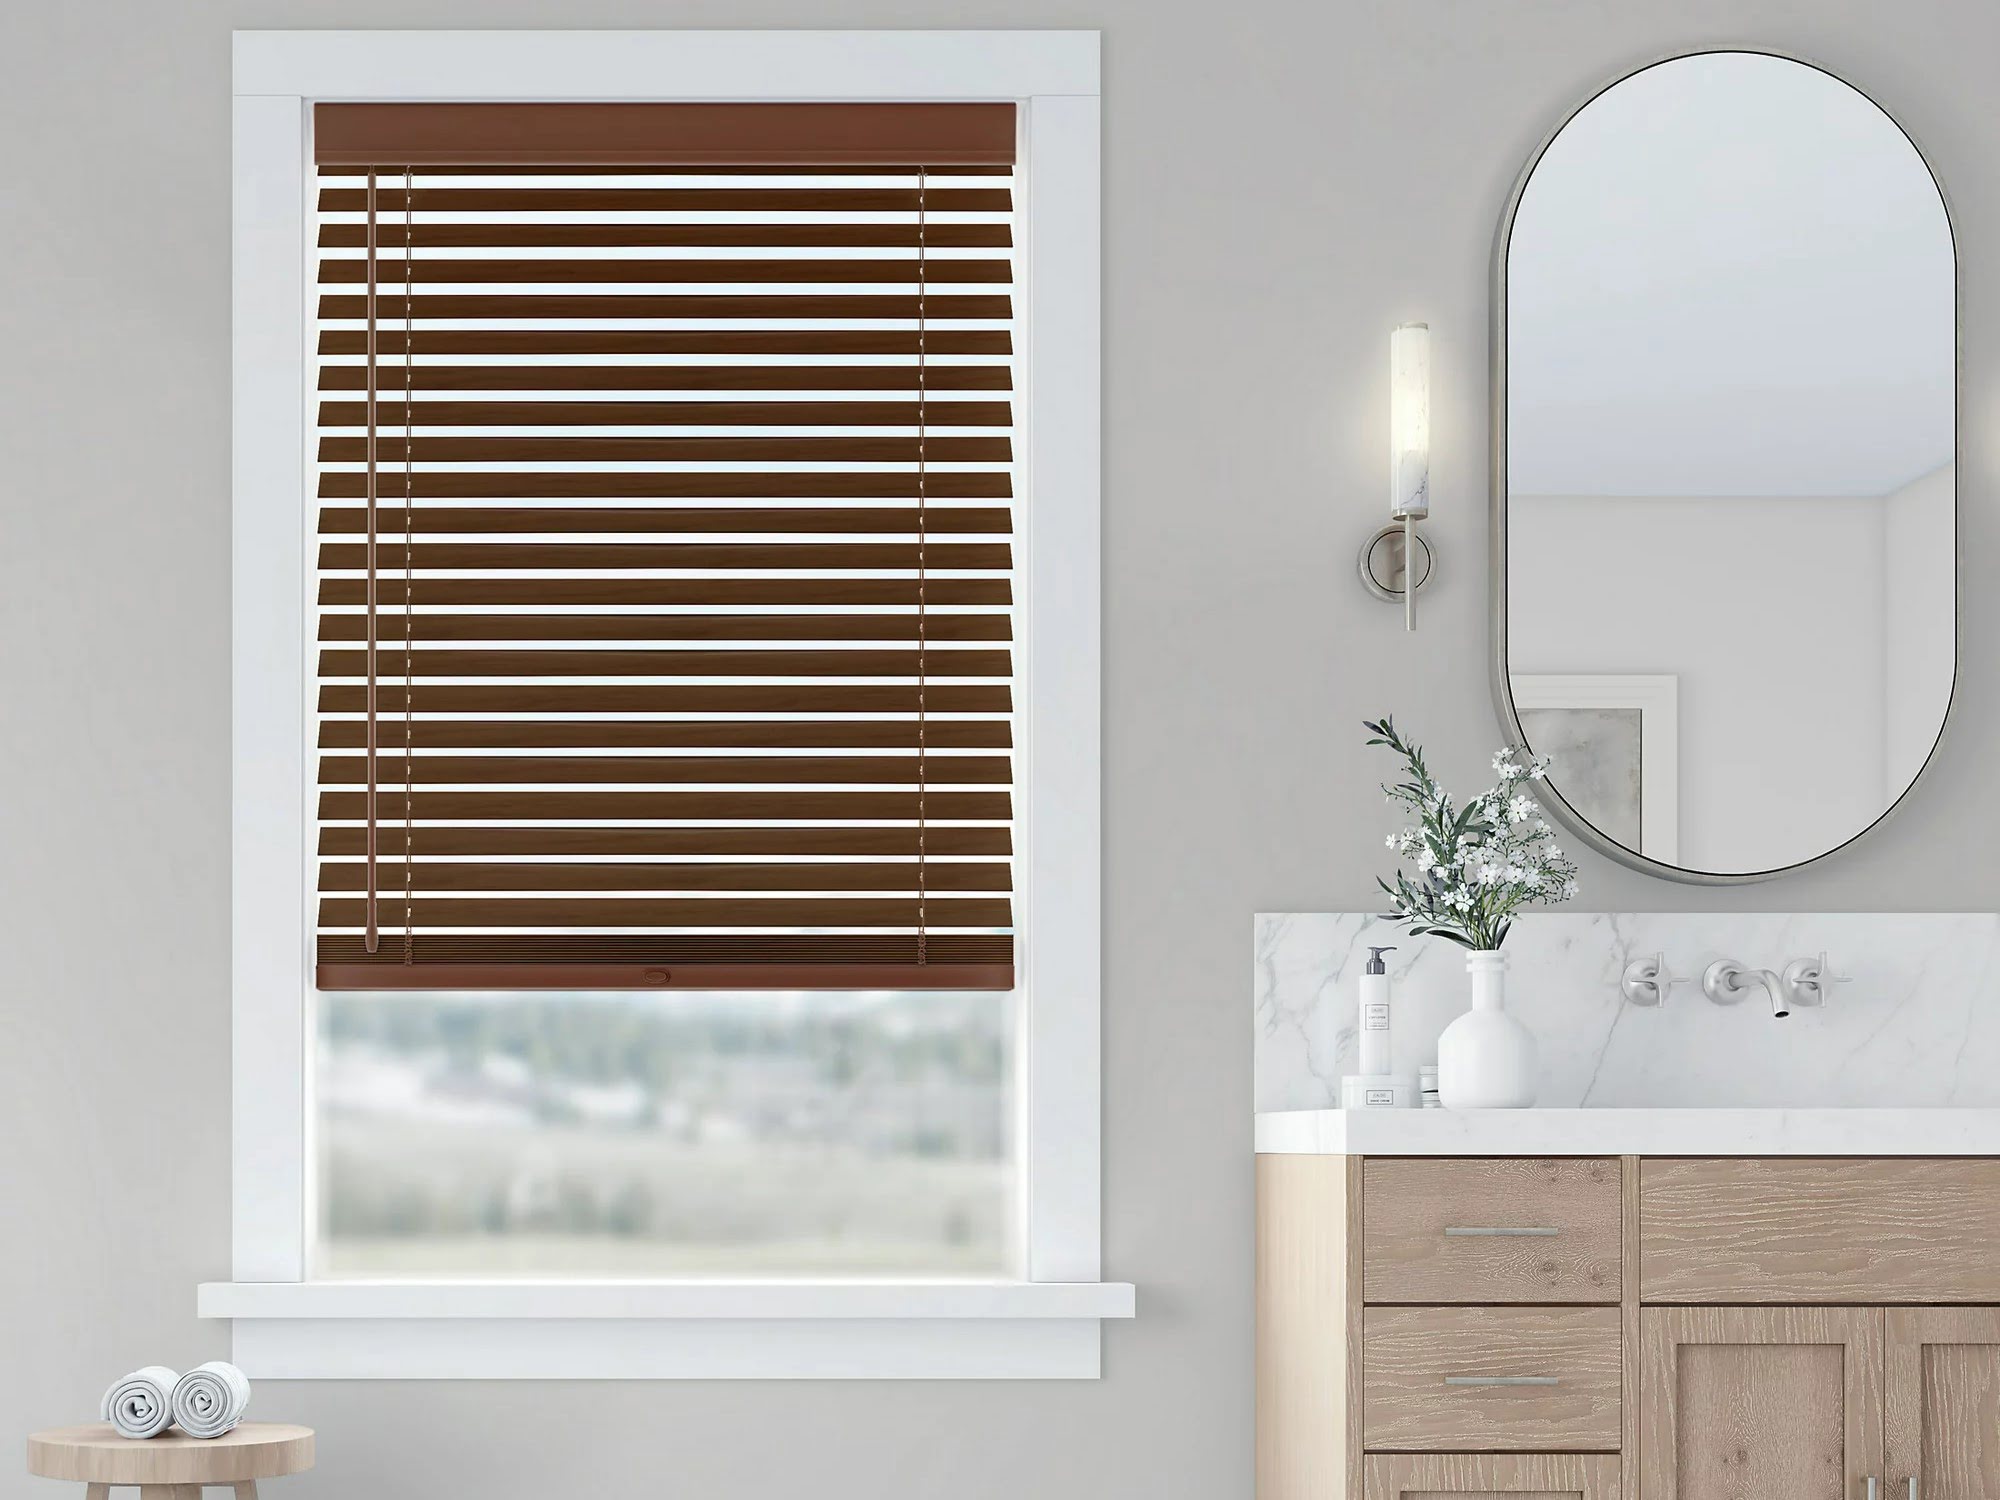
Welcome to our comprehensive guide on how to hang faux wood blinds! Faux wood blinds are a popular choice for homeowners looking to add a touch of elegance and functionality to their windows. Offering the timeless look of real wood but with added durability and affordability, faux wood blinds are a versatile window treatment option that suits any style of interior design.
Installing faux wood blinds may seem like a daunting task, but with the right tools and a step-by-step approach, it can be a straightforward and rewarding DIY project. In this article, we will walk you through the entire process of hanging faux wood blinds, from measuring the window to enjoying your new blinds.
Before we dive into the steps, it’s important to gather all the necessary tools and materials. You will need a measuring tape, pencil, level, screwdriver, brackets, screws, and, of course, the faux wood blinds themselves. Once you have everything ready, you’re all set to embark on your faux wood blinds installation journey.
Now, let’s get started with step one: measuring the window.
Key Takeaways:
- Hanging faux wood blinds is a manageable DIY project that adds elegance and functionality to any home. Proper measurement, bracket selection, and secure installation are crucial for a successful and rewarding outcome.
- Enjoy the timeless beauty and practical benefits of faux wood blinds, including durability, easy maintenance, light control, and energy efficiency. Keep them clean and well-maintained to preserve their appeal and functionality for years to come.
Read more: What Is Faux Wood Blinds?
Step 1: Measure the Window
The first step in hanging faux wood blinds is to accurately measure the dimensions of your window. This ensures that you purchase blinds that fit perfectly and provides a seamless installation process. Here’s how you can measure your window:
- Start by measuring the width of your window. Use a measuring tape and measure the inside width of the window frame from left to right. Take note of this measurement.
- Next, measure the height of your window. Again, using a measuring tape, measure the inside height of the window frame from top to bottom. Make a note of this measurement as well.
- If you’re planning to mount your faux wood blinds inside the window frame, subtract a small amount from both the width and height measurements. This allows for a proper fit and ensures that the blinds don’t scrape against the frame.
- On the other hand, if you prefer an outside mount, where the blinds will hang outside the window frame, add a few inches to both the width and height measurements. This provides better coverage and privacy.
- Once you have your measurements, double-check for accuracy. It’s always a good idea to measure the window twice to eliminate any errors.
Now that you have the accurate measurements of your window, you can confidently move on to the next step: choosing the proper brackets.
Step 2: Choose the Proper Brackets
Choosing the right brackets for your faux wood blinds is crucial for a secure and stable installation. The type of bracket you need depends on whether you’re mounting the blinds inside or outside the window frame. Here’s how to choose the proper brackets:
If you’re planning an inside mount:
- Look for an L-shaped bracket specifically designed for inside mounting. These brackets are typically included with your faux wood blinds purchase.
- Measure the depth of your window frame to ensure the brackets will fit properly. Most L-shaped brackets have a standard depth, but it’s always good practice to double-check.
- If your window frame is too shallow for the brackets, you may need to use extension brackets. These brackets provide additional depth and ensure a secure fit.
If you’re opting for an outside mount:
- Choose a U-shaped or extension bracket that fits your window frame. Unlike the L-shaped brackets used for inside mounts, these brackets allow the blinds to hang outside the window frame.
- Make sure the width of the brackets matches the width of your blinds. This ensures proper support and stability.
Once you’ve determined the correct brackets for your installation, you can proceed to the next step: mounting the brackets.
Step 3: Mount the Brackets
Now that you have chosen the proper brackets for your faux wood blinds, it’s time to mount them onto your window frame or wall. Follow these steps to mount the brackets:
- Position the first bracket at one end of the window frame. Use a level to ensure it is straight. Mark the screw holes with a pencil.
- Using a screwdriver or a drill, insert screws into the marked holes and tighten them securely. Make sure the bracket is firmly attached to the window frame or wall.
- Repeat the process for the second bracket, positioning it at the opposite end of the window frame.
- If your blinds are wider or longer, you may need to install additional brackets evenly spaced between the two end brackets. Make sure the distance between the brackets is appropriate to support the weight of the blinds.
- Before proceeding, ensure that all the brackets are securely mounted and level with each other.
Once the brackets are securely mounted, you’re ready to move on to the next step: installing the faux wood blinds.
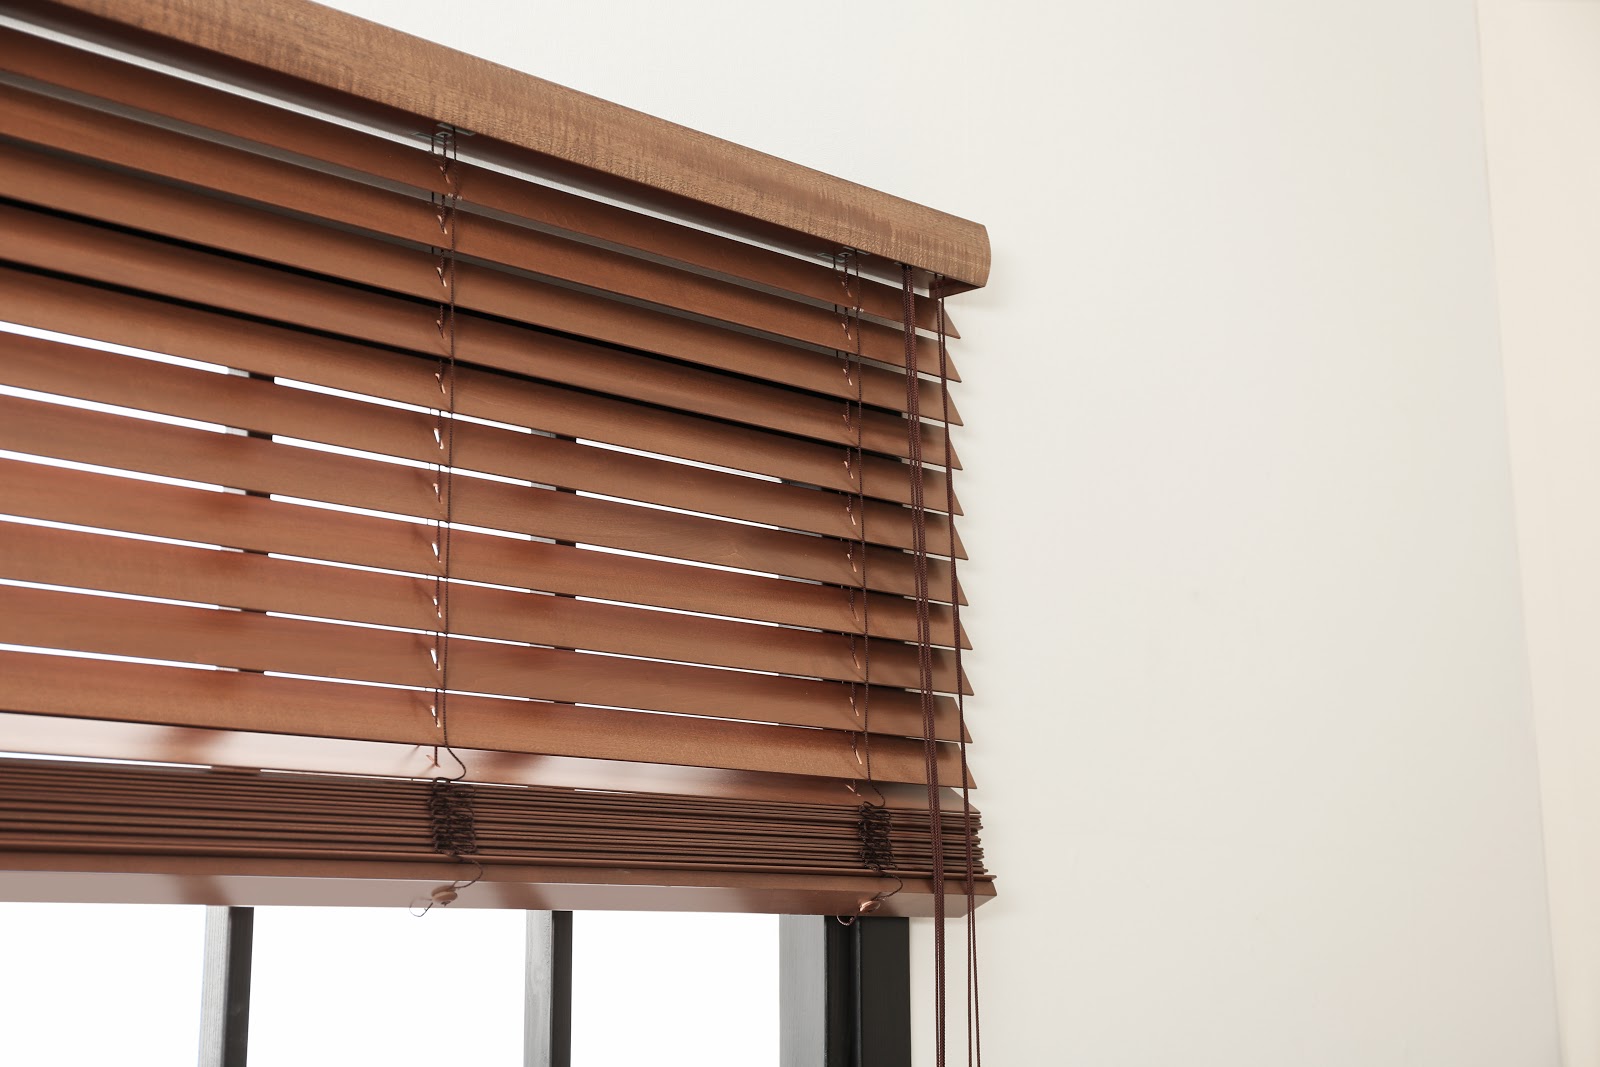
Step 4: Install the Blinds
With the brackets securely mounted, it’s time to install the faux wood blinds onto the brackets. Follow these steps to successfully install the blinds:
- Starting with one end of the blind, tilt the headrail so that the hooks on the back are exposed.
- Align the hooks on the blind with the corresponding slots or holes on the bracket. Make sure the blind is level and centered within the window frame.
- Insert the hooks into the slots or holes on the bracket and push the blind firmly against the window.
- Once the blind is securely attached to the first bracket, repeat the process for the remaining brackets. Make sure to distribute the weight of the blind evenly across the brackets.
- Double-check that all the hooks are securely inserted into the brackets and the blind is properly aligned and level.
At this point, the faux wood blinds should be successfully installed onto the brackets. However, the job isn’t done just yet! The next step is to secure the blinds in place.
When hanging faux wood blinds, make sure to measure the window accurately before purchasing the blinds. This will ensure a perfect fit and easy installation.
Read more: How To Shorten Faux Wood Blinds
Step 5: Secure the Blinds
After installing the faux wood blinds onto the brackets, it’s important to secure them in place to prevent any unwanted movement or potential accidents. Follow these steps to securely fasten the blinds:
- Check if the brackets have locking mechanisms or screws that can be tightened. If they do, use a screwdriver to securely tighten the locking mechanism or screws. This will ensure that the blinds are firmly held in place.
- If your brackets don’t have additional locking mechanisms, consider using small zip ties or cord cleats to secure the cords of the blinds. This will prevent the blinds from swaying or swinging when in use.
- Ensure that the cords are neatly organized and not tangled, as this can affect the functionality of the blinds.
By securely fastening the blinds, you’ll have peace of mind knowing that they will remain stable and safe for everyday use.
Now that the blinds are securely in place, it’s time to move on to step six: adjusting the blinds to your desired position.
Step 6: Adjust the Blinds
Now that the faux wood blinds are securely installed and fastened, it’s time to adjust them to your desired position. Follow these steps to properly adjust the blinds:
- To raise the blinds, gently pull down on the bottom rail and release it. The blinds will lock into position at various levels as you pull down.
- To lower the blinds, pull down the tilt wand to release the locking mechanism and then carefully lower the blinds to your desired height.
- To tilt the blinds, rotate the tilt wand clockwise or counterclockwise. This will adjust the angle of the slats, allowing for more or less light to enter the room.
- Experiment with different positions and angles to find the perfect balance of privacy and natural light for your space.
Remember to handle the blinds gently to avoid any damage and ensure smooth and easy operation. If you encounter any resistance or difficulty while adjusting the blinds, double-check that they are properly installed and that there are no obstructions.
With the blinds adjusted to your liking, you’re almost done! The next step is to test the operation of the blinds.
Step 7: Test the Operation of the Blinds
Once you have adjusted the faux wood blinds to your desired position, it’s essential to test the operation of the blinds to ensure they are functioning smoothly. Here are the steps to effectively test the blinds:
- First, test the raising and lowering mechanism. Gently pull down on the bottom rail to lower the blinds, and then release it to see if the blinds lock into position. Repeat this process to raise the blinds and make sure they lock at different levels.
- Next, check the tilting mechanism. Rotate the tilt wand clockwise and counterclockwise to adjust the angle of the slats. The slats should move smoothly without any resistance.
- During the testing process, pay attention to any unusual noises or stiffness in the operation of the blinds. If you notice any issues, double-check that the blinds are properly installed and adjusted.
If the blinds do not operate smoothly or if you encounter any issues, refer to the manufacturer’s instructions or contact customer support for assistance. It’s important to ensure that the blinds are fully functional to enjoy their benefits to the fullest.
With the operation of the blinds successfully tested, you’re almost finished! The last step is to sit back, relax, and enjoy your newly installed faux wood blinds.
Step 8: Enjoy Your New Faux Wood Blinds
Congratulations! You have successfully hung and adjusted your faux wood blinds. Now it’s time to sit back, relax, and enjoy the many benefits they bring to your space. Here are a few reasons why you’ll love your new faux wood blinds:
- Aesthetic Appeal: Faux wood blinds offer the timeless and elegant look of real wood, adding warmth and sophistication to any room. They complement various interior styles, from traditional to modern.
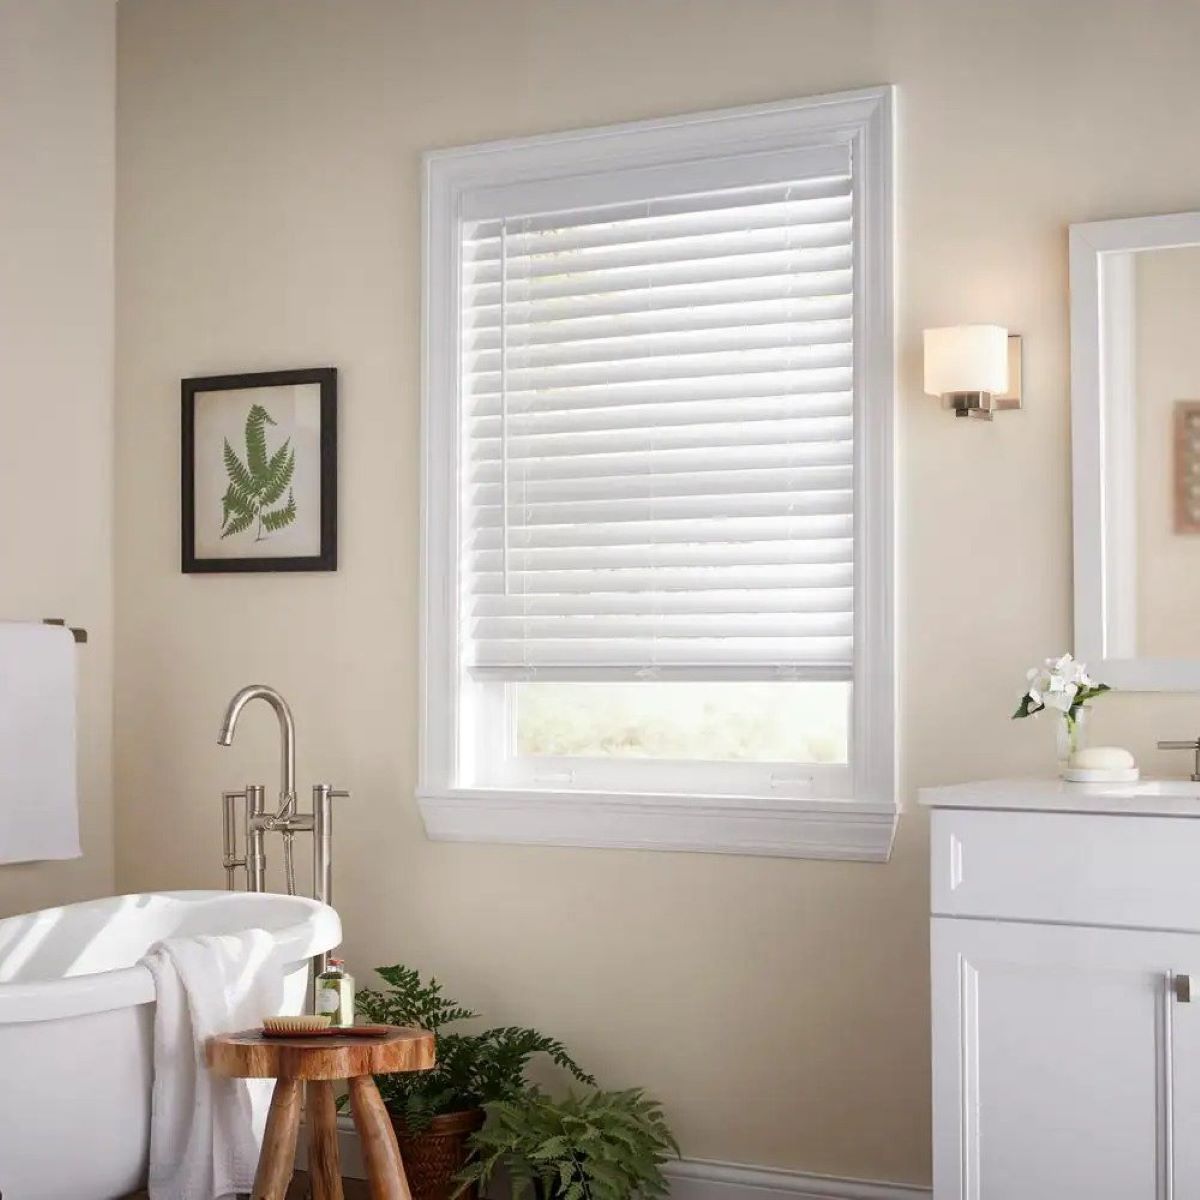
- Durability: Unlike real wood blinds, faux wood blinds are resistant to moisture, warping, and cracking. This makes them a durable and long-lasting window treatment option, ideal for high-humidity areas such as bathrooms and kitchens.
- Easy Maintenance: Faux wood blinds are a breeze to clean. Simply wipe them down with a damp cloth or use a vacuum cleaner with a brush attachment to remove dust and debris. This makes them a practical choice for low-maintenance homeowners.
- Light Control and Privacy: With faux wood blinds, you have full control over the amount of light entering the room. Adjusting the slats allows you to create the perfect balance of natural light and privacy, enhancing the comfort of your living space.
- Energy Efficiency: Faux wood blinds offer insulation properties, helping to regulate the temperature in your home. They can help reduce heat loss during the colder months and block out sunlight during the hotter months, potentially saving on energy costs.
Take the time to appreciate the beauty and functionality of your new faux wood blinds. Open them to let in natural light, close them for privacy, or adjust the slats to create the desired ambience in your space.
Remember to periodically clean and maintain your faux wood blinds to keep them looking their best and functioning smoothly for years to come.
Enjoy the enhanced aesthetics, light control, and functional benefits that your new faux wood blinds bring to your home.
Thank you for following our guide on how to hang faux wood blinds. We hope you found it informative and helpful throughout the installation process. If you have any further questions or need additional assistance, don’t hesitate to reach out to the manufacturer or consult with a professional.
Read more: How To Clean Faux Wood Blinds In The Bathtub
Conclusion
Congratulations on successfully hanging your faux wood blinds! By following the step-by-step guide in this article, you have taken a daunting task and turned it into a manageable and rewarding DIY project. Now, you can enjoy the benefits of beautiful and functional window treatments that elevate the aesthetics of your home.
Remember, proper measurement, choosing the right brackets, and securely mounting the blinds are essential for a successful installation. Adjusting the blinds to your desired position and testing their operation ensures that they function smoothly and provide the desired amount of light control and privacy.
Faux wood blinds offer not only the timeless beauty of real wood but also durability, easy maintenance, and energy efficiency. They can enhance the look of any room and provide you with the versatility to create the desired atmosphere and level of privacy.
As you enjoy your new faux wood blinds, make sure to keep them clean and well-maintained to preserve their visual appeal and functionality. Regular dusting and occasional deep cleaning will help ensure that they continue to look fresh and function smoothly for years to come.
We hope that this comprehensive guide has been helpful to you throughout the process of hanging faux wood blinds. If you ever have any questions or need further assistance, don’t hesitate to consult the manufacturer or seek professional advice. Happy decorating and enjoy the beauty and functionality of your newly installed faux wood blinds!
Frequently Asked Questions about How To Hang Faux Wood Blinds
Was this page helpful?
At Storables.com, we guarantee accurate and reliable information. Our content, validated by Expert Board Contributors, is crafted following stringent Editorial Policies. We're committed to providing you with well-researched, expert-backed insights for all your informational needs.