Home>Articles>How To Hardwire Home Appliances With Safety Tips
Articles
How To Hardwire Home Appliances With Safety Tips
Modified: October 20, 2024
Learn how to safely hardwire 4 home appliances with our comprehensive articles. Discover expert tips and tricks for a successful installation.
(Many of the links in this article redirect to a specific reviewed product. Your purchase of these products through affiliate links helps to generate commission for Storables.com, at no extra cost. Learn more)
Introduction
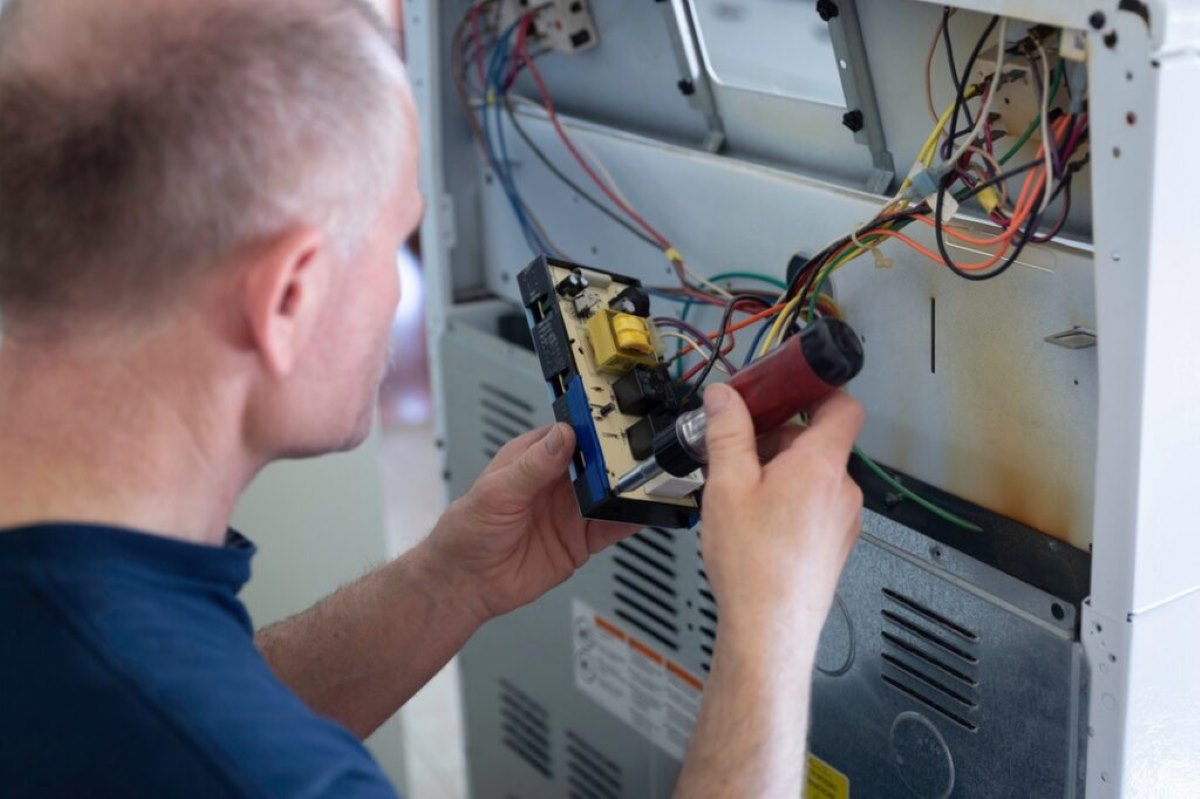
Hardwiring home appliances can provide a sleek and professional look to your living spaces while also ensuring a safer and more efficient electrical setup. By eliminating the need for visible cords and plugs, you can achieve a cleaner and more organized aesthetic. Hardwiring is commonly done for appliances such as ovens, dishwashers, range hoods, and garbage disposals.
However, hardwiring requires careful planning and precise execution to guarantee both functionality and safety. In this article, we will guide you through the step-by-step process of hardwiring four home appliances. We will also provide essential safety tips to keep in mind throughout the process.
Before we delve into the details, it is crucial to understand that hardwiring home appliances should only be done by those with electrical experience or under the guidance of a licensed electrician. Working with electrical connections can be dangerous if not handled properly, so safety should always be the top priority.
Now, let’s gather the tools and materials needed for this project.
Key Takeaways:
- Prioritize Safety and Planning
Careful planning, adherence to local electrical codes, and thorough safety precautions are crucial for a successful and safe hardwiring project. Always prioritize safety and consult a professional if unsure. - Attention to Detail and Precision
From identifying the electrical circuit to testing the connection, attention to detail and precision are essential. Proper preparation, secure connections, and thorough testing ensure a reliable hardwiring setup.
Tools and Materials Needed
Before embarking on the hardwiring process, make sure you have the following tools and materials readily available:
- Wire cutters
- Wire strippers
- Needle-nose pliers
- Screwdrivers (flathead and Phillips)
- Voltage tester
- Electrical tape
- Wire nuts
- Junction box
- Conduit or cable clamps
- Electrical wire (type and gauge specific to your appliance and local electrical code)
- Wire connectors
- Protective gloves and goggles
Additionally, ensure you have access to the electrical panel or circuit breaker box for shutting off power to the specific circuit you’ll be working on.
Keep in mind that the tools and materials required may vary depending on the specific appliances you are hardwiring. Always refer to the manufacturer’s instructions and consult with a professional if you have any doubts.
Now that you’re equipped with the necessary tools and materials, let’s move on to the first step: planning and safety precautions.
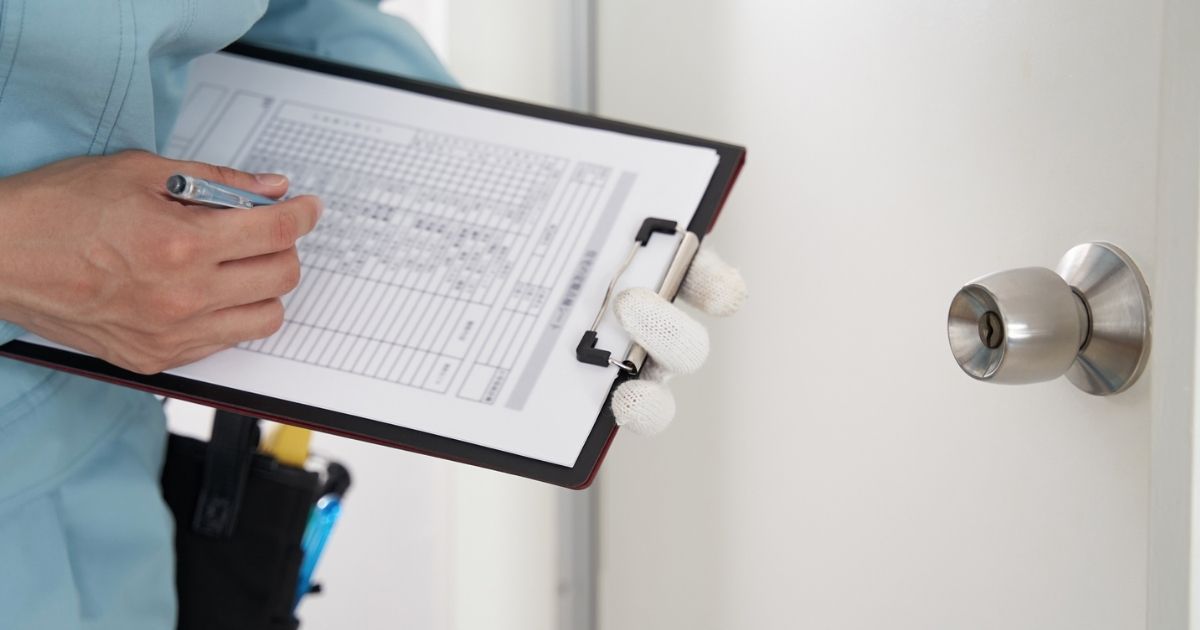
Step 1: Planning and Safety Precautions
Before diving into the hardwiring process, it’s essential to thoroughly plan and take necessary safety precautions. This step ensures that you have a clear understanding of the project scope and minimizes the risk of accidents or electrical hazards.
Here are some key considerations for planning and safety:
- Review local electrical codes: Familiarize yourself with the electrical codes and regulations specific to your area. These codes dictate the minimum safety standards and guidelines for electrical installations. Adhering to these codes is crucial for a safe and legally compliant hardwiring project.
- Assess the load capacity: Determine the electrical load that your circuit can handle. Each circuit has a maximum load capacity, which is the total amount of electricity it can safely supply. Add up the wattage requirements of the appliances you plan to hardwire to ensure it does not exceed the circuit’s capacity.
- Inspect the existing wiring: Evaluate the condition of the current wiring in your home. If you notice any frayed wires, exposed insulation, or other damages, it’s important to address those issues before proceeding with the hardwiring.
- Identify the circuit: Locate and identify the dedicated circuit that will power the appliances you are planning to hardwire. This circuit should be specifically designated for the intended appliances to ensure proper electrical distribution.
- Prepare the workspace: Clear the area around the appliances and create a safe and well-lit workspace. Remove any hazardous objects or obstacles that may impede your work or pose a safety risk.
- Shut off the power: Before starting any electrical work, always turn off the power to the specific circuit you will be working on. This can be done by switching off the corresponding breaker in the electrical panel. Use a voltage tester to verify that the power is indeed off before proceeding.
By carefully planning and taking necessary safety precautions, you set the foundation for a successful and safe hardwiring project. Now that you have completed the planning stage, it’s time to move on to the next step: identifying the electrical circuit.
Step 2: Identifying the Electrical Circuit
Once you have completed the planning and safety precautions, the next step in hardwiring your home appliances is to identify the electrical circuit that will be powering them. This step is crucial for ensuring proper electrical distribution and avoiding overloading the circuit.
Here’s how you can identify the electrical circuit:
- Label the circuit breaker: Locate the circuit breaker in the electrical panel that corresponds to the circuit you will be working on. Label it accordingly so that it’s easy to identify and isolate the power supply for the appliances.
- Turn off the circuit: Switch off the circuit breaker for the designated circuit. This step ensures that there is no electrical power flowing to the appliances, preventing any potential accidents or electrical shocks.
- Double-check the power: Use a voltage tester to verify that the power to the circuit is indeed turned off. Test the outlets or switches associated with the circuit to ensure there is no electricity flowing through them.
- Inform other household members: Communicate with other household members about the electrical work being done. Advise them to avoid using or tampering with the circuit until the hardwiring project is completed and the power is restored.
By identifying and properly isolating the electrical circuit, you create a safe environment for hardwiring your appliances. Now that you have identified the circuit, it’s time to calculate the load capacity in the next step.
Step 3: Calculating the Load Capacity
Calculating the load capacity of the circuit is an essential step in hardwiring home appliances. This step ensures that the total electrical load of the appliances does not exceed the maximum capacity of the circuit, preventing potential hazards such as overheating or tripped breakers.
Follow these steps to calculate the load capacity:
- Gather appliance specifications: Collect the nameplate data or specifications for each appliance you plan to hardwire. This information can usually be found on the appliance itself or in the manufacturer’s documentation. Note down the power rating or wattage for each appliance.
- Convert to amps: Use the formula P (power in watts) = V (voltage in volts) x I (current in amps) to convert the wattage of each appliance to amps. For example, if an appliance has a power rating of 1200 watts and the voltage is 120 volts, the current will be 10 amps (1200 watts / 120 volts = 10 amps).
- Add up the amps: Calculate the total amps for all the appliances you plan to hardwire. Sum up the individual amp values obtained from step 2 for each appliance to give you the total load in amps.
- Compare with circuit capacity: Check the maximum ampacity or rating of the circuit that will be powering the appliances. This information can be found on the circuit breaker or in the electrical panel. Ensure that the total load calculated in step 3 does not exceed the circuit’s capacity. If it does, you may need to redistribute the appliances across multiple circuits or consider upgrading the circuit.
Accurately calculating the load capacity is crucial for maintaining the safety and efficiency of your electrical system. Ensuring that the total load of the appliances is within the capacity of the circuit minimizes the risk of overloading and electrical issues. Now that you know how to calculate the load capacity, let’s move on to choosing the right wiring method in the next step.
Step 4: Choosing the Right Wiring Method
Choosing the right wiring method is essential for the successful hardwiring of your home appliances. The wiring method you select will depend on various factors, including the specific appliances being installed, local electrical codes, and personal preference. In this step, we’ll guide you through the process of determining the most suitable wiring method for your project.
Consider the following factors when choosing the wiring method:
- Appliance requirements: Take into account the specific requirements of each appliance. Some appliances, such as ovens or dishwashers, may require a dedicated circuit or specific wiring method outlined in the manufacturer’s instructions. Ensure that you are aware of any special considerations for your appliances.
- Local electrical codes: Familiarize yourself with the electrical codes and regulations in your area. These codes dictate the acceptable wiring methods and installation practices that must be followed. Ensure that the chosen wiring method meets or exceeds the requirements set forth in the local codes.
- Conduit or cable: Decide whether you will be using conduit or cable for the wiring. Conduit provides additional protection for the wires and is commonly used for exposed or outdoor installations. Cable is more flexible and easier to work with but may require additional protection in certain situations.
- Wiring location: Determine the location of the wiring. Will it be running through walls, ceilings, or floors? Consider the accessibility and aesthetics when choosing the wiring method.
- Consider professional advice: If you’re unsure about the most suitable wiring method for your project, it’s always best to seek the guidance of a licensed electrician. They can assess your specific situation and provide expert advice.
By carefully considering these factors, you can choose the wiring method that ensures the safety, functionality, and compliance of your hardwired appliance installation. Once you have determined the appropriate wiring method, it’s time to move on to the next step: preparing the appliances for hardwiring.
When hardwiring home appliances, always make sure to turn off the power at the circuit breaker before beginning any work to ensure safety.
Step 5: Preparing the Appliances for Hardwiring
Before you can proceed with the hardwiring process, it’s important to properly prepare the appliances. This step ensures that the appliances are ready to be connected to the electrical supply and minimizes the risk of any electrical mishaps during the installation.
Follow these steps to prepare the appliances for hardwiring:
- Disconnect power: Ensure that the power to the appliances is completely turned off. This can be done by unplugging the appliance or shutting off the power supply at the circuit breaker.
- Remove existing cords or plugs: If the appliances were previously connected via cords or plugs, safely remove them by following the manufacturer’s instructions. Disconnect any existing electrical connections.
- Expose the electrical connection points: Depending on the appliance, you may need to remove a cover or access panel to expose the electrical connection points. Carefully remove any necessary components while following the manufacturer’s guidelines to avoid damaging the appliance.
- Inspect the appliance: Take a moment to inspect the appliance for any visible signs of damage or wear. Ensure that all wires and connections are in good condition and free from fraying or exposed insulation. If you notice any issues, consult the manufacturer or contact a professional for further assistance.
- Prepare the wires: Strip the insulation off the ends of the electrical wires using wire strippers. Follow the manufacturer’s instructions or local electrical codes for the appropriate amount of insulation to remove.
- Secure the wires: Use wire nuts or appropriate connectors to secure the wires to the electrical connection points of each appliance. Follow the manufacturer’s instructions or local electrical codes for proper wire connection techniques.
- Double-check the connections: Ensure that all connections are tight and secure. Give each wire a gentle tug to verify that it is properly attached to the appliance. Loose connections can lead to electrical issues and potential hazards.
By properly preparing the appliances for hardwiring, you ensure that they are ready to be safely and securely connected to the electrical supply. With the appliances prepared, we can now move on to the next step: installing the junction box.
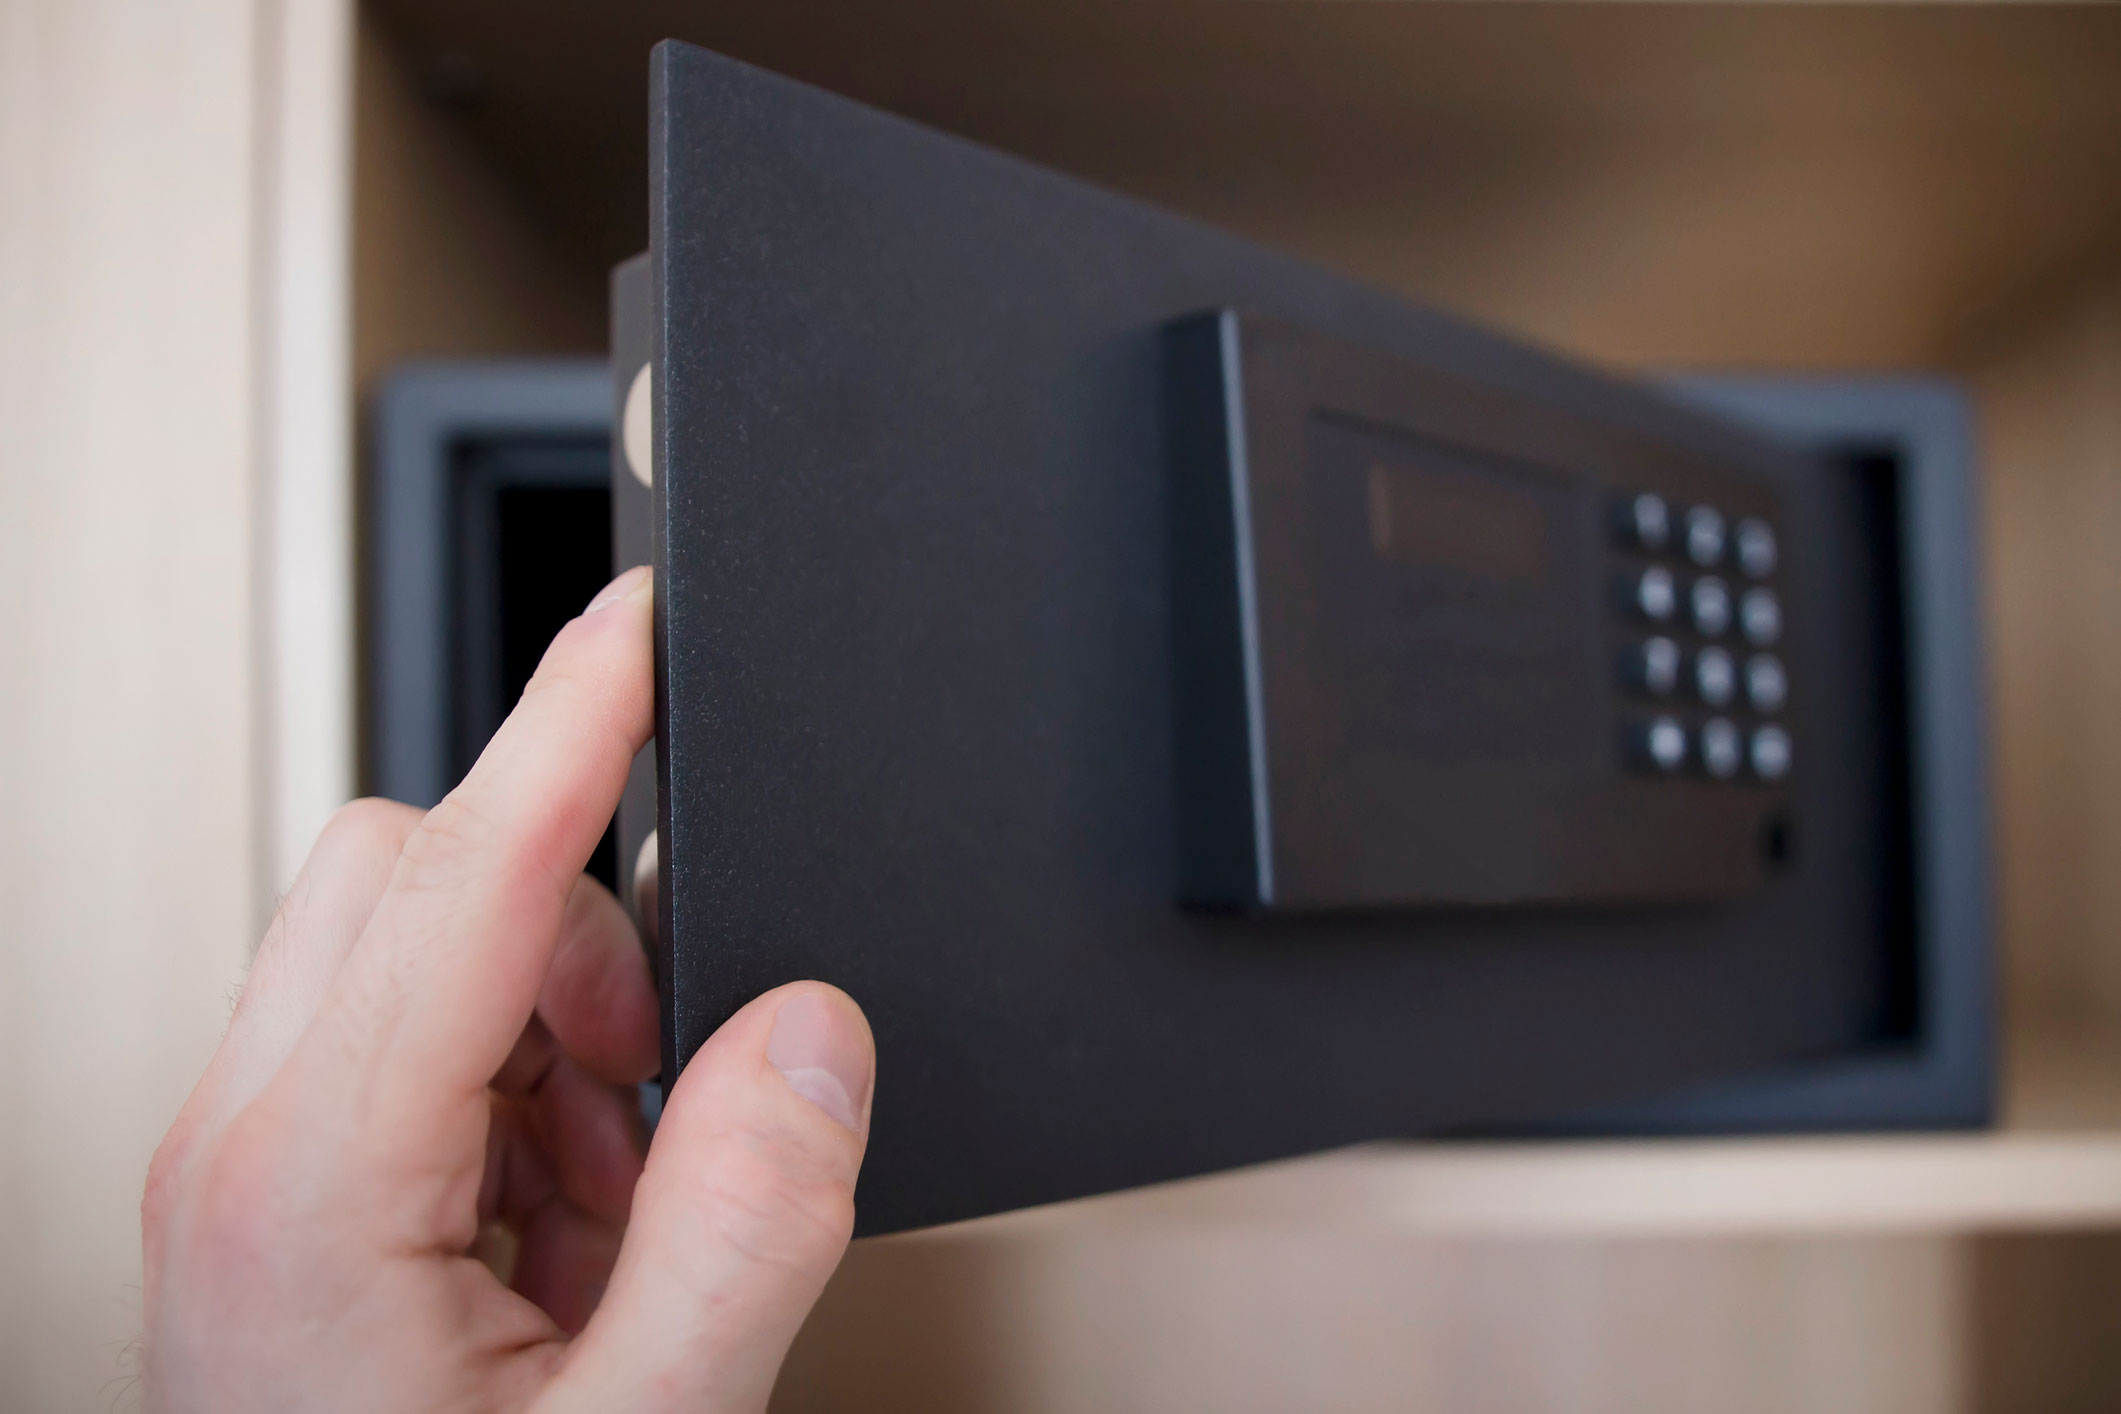
Step 6: Installing the Junction Box
Installing a junction box is a crucial step in the hardwiring process. The junction box serves as a protective enclosure for electrical connections, ensuring safety and facilitating easier maintenance in the future. Follow these steps to correctly install a junction box for your hardwired appliances:
- Choose the appropriate junction box: Select a junction box that meets the requirements of your local electrical codes. Consider the size and type of junction box needed based on the number of wires and connections that will be housed within it.
- Plan the location: Determine the most suitable location for the junction box. It should be easily accessible and located within a reasonable distance of the appliances it will be servicing.
- Turn off the power: Shut off the power supply to the circuit at the electrical panel by flipping the corresponding breaker. Use a voltage tester to confirm that the power is indeed turned off.
- Mark the junction box location: Using a pencil or marker, mark the placement of the junction box on the wall or ceiling. Use a stud finder to ensure that the installation location is free of any structural supports or obstacles.
- Mount the junction box: Securely mount the junction box to the wall or ceiling by screwing it into place. Ensure that it is flush with the surface and level.
- Route the wires: Carefully route the electrical wires from the appliances to the junction box. Use cable clamps or conduit as necessary to secure and protect the wires.
- Make the connections: Connect the wires from the appliances to the corresponding wires within the junction box. Follow proper wiring techniques, ensuring that the connections are secure and insulated with wire nuts or appropriate connectors.
- Secure the cover: Once all connections have been made, securely fasten the cover onto the junction box. This provides an added layer of protection and prevents accidental contact with the electrical connections.
Properly installing a junction box ensures a safe and organized electrical connection for your hardwired appliances. With the junction box in place, we can now move on to the next step: connecting the wiring.
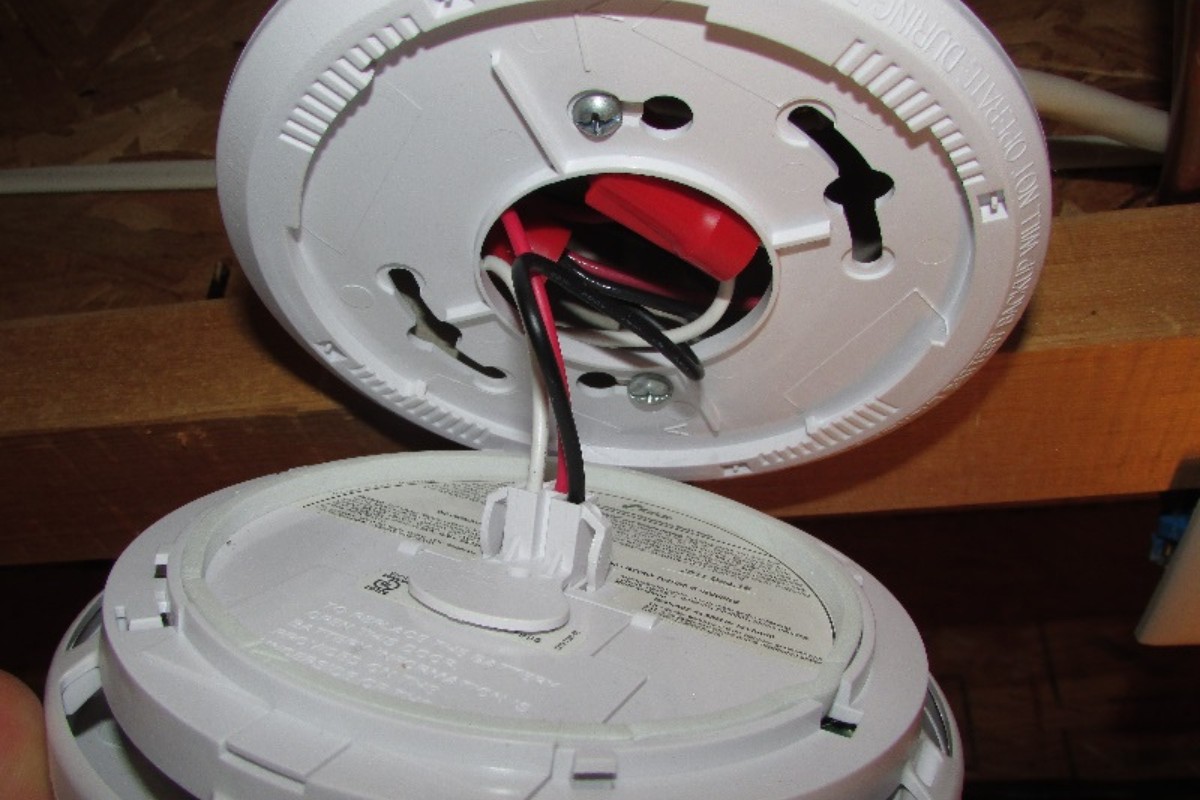
Step 7: Connecting the Wiring
Connecting the wiring is a critical step in the hardwiring process as it establishes the electrical connection between the appliances and the power supply. It is essential to handle the wiring with care and follow proper procedures to ensure a safe and reliable connection. Follow these steps to connect the wiring for your hardwired appliances:
- Turn off the power: Before working with the wiring, ensure that the power supply to the circuit is switched off. Use a voltage tester to confirm that there is no electricity flowing to the junction box.
- Strip the wire ends: Use wire strippers to carefully strip the insulation from the ends of the electrical wires. Follow the manufacturer’s instructions or local electrical codes to determine the appropriate length to strip.
- Match the wire colors: Match the colored wires from the appliances to the corresponding colored wires within the junction box. For example, connect the black wire to the black wire, white wire to the white wire, and so on. Follow proper wiring techniques and ensure that the connections are secure.
- Secure the connections: Use wire nuts or appropriate connectors to secure the wires together. Twist the wires clockwise and slide the wire nut over the twisted ends, ensuring a tight and secure connection.
- Wrap the connections: After making the connections, wrap electrical tape around the wire nuts or connectors. This helps to provide additional insulation and secure the connections.
- Neatly organize the wires: Arrange the wires within the junction box in an organized and neat manner. Avoid overcrowding or bending the wires excessively, as this can cause strain or damage to the connections.
- Double-check the connections: Before proceeding, double-check all the connections to ensure they are properly secured and insulated. Pay attention to any loose or exposed wires and correct them as necessary.
By carefully connecting the wiring, you establish a safe and reliable electrical connection for your hardwired appliances. Once the wiring connections are complete, we can move on to the next step: testing the connection.
Read more: How To Hardwire Blink Doorbell
Step 8: Testing the Connection
Testing the connection is the final step in the hardwiring process and is crucial to ensure that the electrical connection is secure and functions properly. By conducting thorough testing, you can verify that the appliances are receiving power and that there are no electrical issues or hazards present. Follow these steps to test the connection:
- Turn on the power: Switch on the power supply to the circuit by flipping the corresponding breaker in the electrical panel. Allow a few moments for the circuit to become energized.
- Check for power in the appliances: With the power restored, check each appliance to ensure that it is receiving power. Turn on the switches or controls of the appliances and verify that they are functioning correctly.
- Verify proper operation: Test the functionality of each appliance. For example, if you hardwired an oven, ensure that it heats up and that all the cooking functions work as expected. If there are any issues, consult the manufacturer’s instructions or contact a professional for assistance.
- Inspect for any electrical issues: While the appliances are operating, carefully inspect the junction box and the wiring connections within. Look for any signs of overheating, sparking, or unusual sounds. If you notice any abnormalities, immediately turn off the power and consult with a licensed electrician.
- Ensure proper grounding: In addition to testing the electrical connections, verify that the appliances are properly grounded. This is particularly important for appliances with metal housings or components. Consult the manufacturer’s instructions to confirm the grounding requirements.
- Perform final checks: Once you have tested each appliance and ensured proper operation, conduct a final visual inspection of the entire setup. Check that all connections and wiring are secure and properly insulated. Also, verify that the junction box cover is securely in place.
By thoroughly testing the connection, you can confirm the functionality and safety of your hardwired appliances. If at any point during the testing process you encounter problems or doubts, it is advisable to seek the assistance of a professional electrician to address and resolve any issues.
With the testing complete, you have successfully hardwired your home appliances. Now, you can enjoy the clean and professional look of your hardwired appliances while benefiting from a more organized and efficient electrical setup.
Remember to regularly inspect your hardwired appliances and their connections for any signs of wear or damage. Additionally, always follow the manufacturer’s instructions and consult with a professional if you have any concerns or questions.
Safety Tips for Hardwiring Home Appliances
Hardwiring home appliances requires working with electrical connections, which can be hazardous if not handled properly. To ensure your safety and the safety of others, it’s important to follow these essential safety tips:
- Work with caution: Treat all electrical connections with caution and respect. Always assume that the wires are live until proven otherwise. Take your time and avoid rushing through the process to minimize the risk of accidents.
- Turn off the power: Before starting any electrical work, turn off the power supply to the specific circuit you will be working on. Use a voltage tester to verify that there is no electricity flowing through the wires.
- Use appropriate safety gear: Wear protective gloves and goggles to protect your hands and eyes from potential hazards. This is especially important when working with sharp tools or when dealing with electrical connections.
- Follow manufacturer instructions: Refer to the manufacturer’s instructions for each appliance and follow their guidelines for hardwiring. This ensures that you are complying with their specific requirements and recommendations.
- Adhere to local electrical codes: Familiarize yourself with the electrical codes and regulations in your area. Ensure that your hardwiring project meets or exceeds these codes to guarantee safety and compliance.
- Seek professional assistance if unsure: If you are unsure about any aspect of the hardwiring process, such as wiring methods or electrical calculations, it’s best to seek the guidance of a licensed electrician. They can provide expert advice and ensure that the installation is done safely and correctly.
- Properly insulate connections: Ensure that all wiring connections are properly insulated using wire nuts or appropriate connectors. This helps to prevent electrical shocks and reduces the risk of short circuits.
- Regularly inspect the setup: Periodically inspect the junction box, wiring connections, and appliances for any signs of damage or wear. Loose wires, exposed insulation, or other issues should be addressed immediately to maintain the safety and functionality of the hardwiring setup.
- Do not exceed load capacity: Always ensure that the total electrical load of the appliances does not exceed the maximum capacity of the circuit. Overloading the circuit can cause overheating, tripped breakers, or other electrical issues.
- Keep the area clear: Maintain a clutter-free workspace and keep flammable materials away from the electrical connections. This reduces the risk of accidents and potential fire hazards.
By following these safety tips, you can minimize the risk of accidents and ensure a safe and successful hardwiring process for your home appliances. Prioritize safety throughout the entire process, from planning and preparation to testing and maintenance.
Remember, if you encounter any difficulties or uncertainties during the hardwiring process, do not hesitate to consult with a professional electrician. Their expertise and assistance can help you navigate potential challenges and ensure that your hardwired appliances are installed safely and efficiently.
Now that you have a solid understanding of the safety precautions to take, you can confidently embark on your hardwiring project.
Conclusion
Hardwiring home appliances can not only enhance the aesthetic appeal of your living spaces but also provide a safer and more efficient electrical setup. By following the step-by-step process outlined in this article, you can successfully hardwire your appliances while ensuring your safety and compliance with electrical codes.
We began by emphasizing the importance of planning and safety precautions. Understanding local electrical codes, assessing the load capacity, and inspecting the existing wiring are essential steps to create a solid foundation for your hardwiring project.
We then discussed the identification of the electrical circuit and calculating the load capacity of the appliances. By matching the load requirements with the capacity of the circuit, you can prevent overloading and potential electrical issues.
Choosing the right wiring method and properly preparing the appliances for hardwiring are crucial steps in this process. By adhering to manufacturer instructions and local electrical codes, you can ensure a secure and reliable electrical connection.
Installing the junction box, connecting the wiring, and testing the connection are the core steps of the hardwiring process. These steps require precision and attention to detail to guarantee the functionality and safety of your appliances.
Throughout this journey, we emphasized the importance of safety and provided essential safety tips. From turning off the power and using appropriate safety gear to seeking professional assistance when needed, prioritizing safety is paramount during every step of the hardwiring process.
In conclusion, hardwiring home appliances requires careful planning, attention to detail, and adherence to safety guidelines. By following the steps outlined in this article and utilizing the necessary tools and materials, you can achieve a professional-looking hardwiring setup that enhances both the functionality and aesthetics of your living spaces.
However, it’s essential to remember that working with electricity can be dangerous if not done correctly. If you feel unsure or uncomfortable with any aspect of the hardwiring process, it is always advisable to consult with a licensed electrician to ensure a safe and successful installation.
Now that you have the knowledge and understanding, it’s time to grab your tools, plan accordingly, and enjoy the benefits of hardwiring your home appliances!
Frequently Asked Questions about How To Hardwire Home Appliances With Safety Tips
Was this page helpful?
At Storables.com, we guarantee accurate and reliable information. Our content, validated by Expert Board Contributors, is crafted following stringent Editorial Policies. We're committed to providing you with well-researched, expert-backed insights for all your informational needs.


0 thoughts on “How To Hardwire Home Appliances With Safety Tips”