Articles
How To Hardwire Blink Doorbell
Modified: October 21, 2024
Learn how to hardwire your Blink Doorbell with our informative articles. Get step-by-step instructions and expert tips to ensure a seamless installation.
(Many of the links in this article redirect to a specific reviewed product. Your purchase of these products through affiliate links helps to generate commission for Storables.com, at no extra cost. Learn more)
Introduction
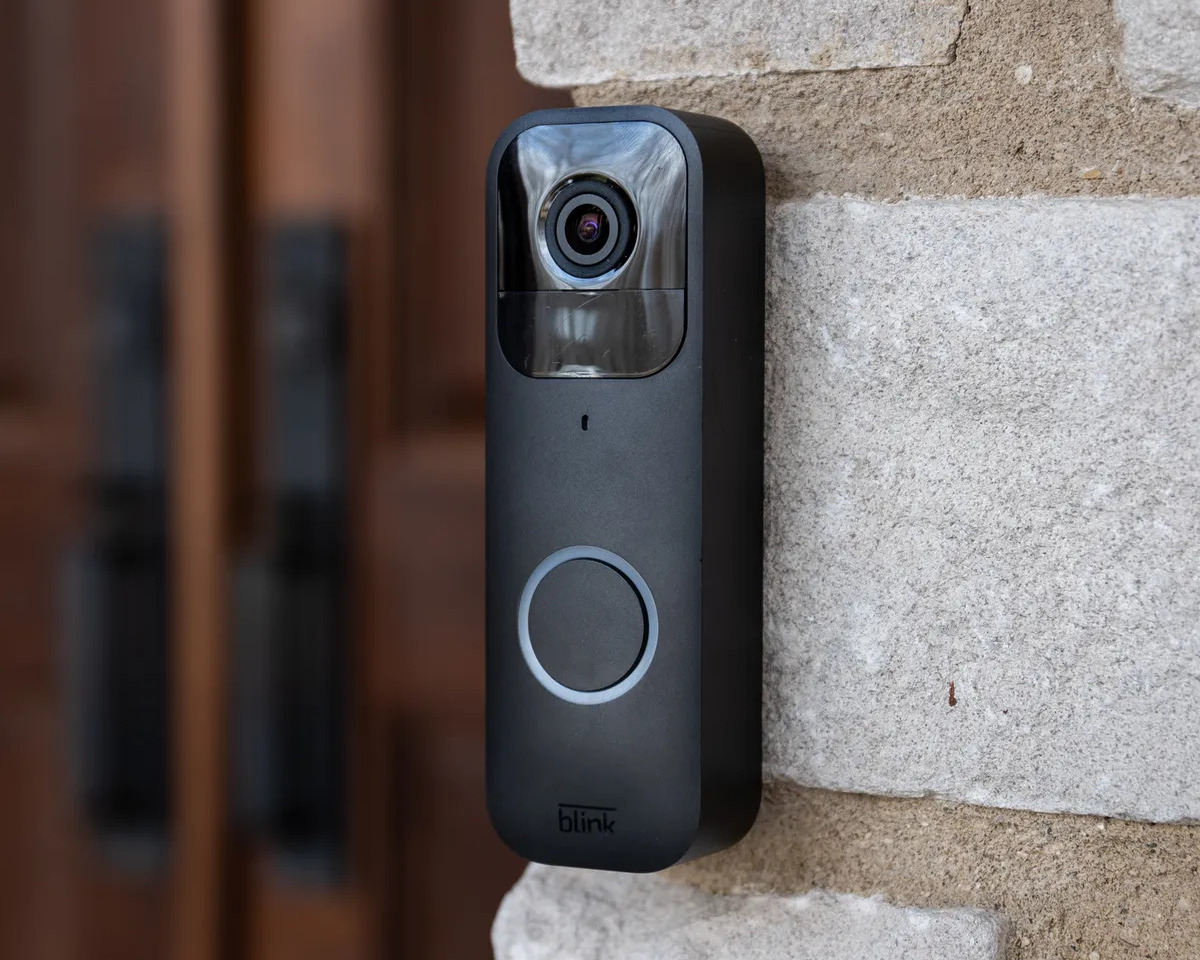
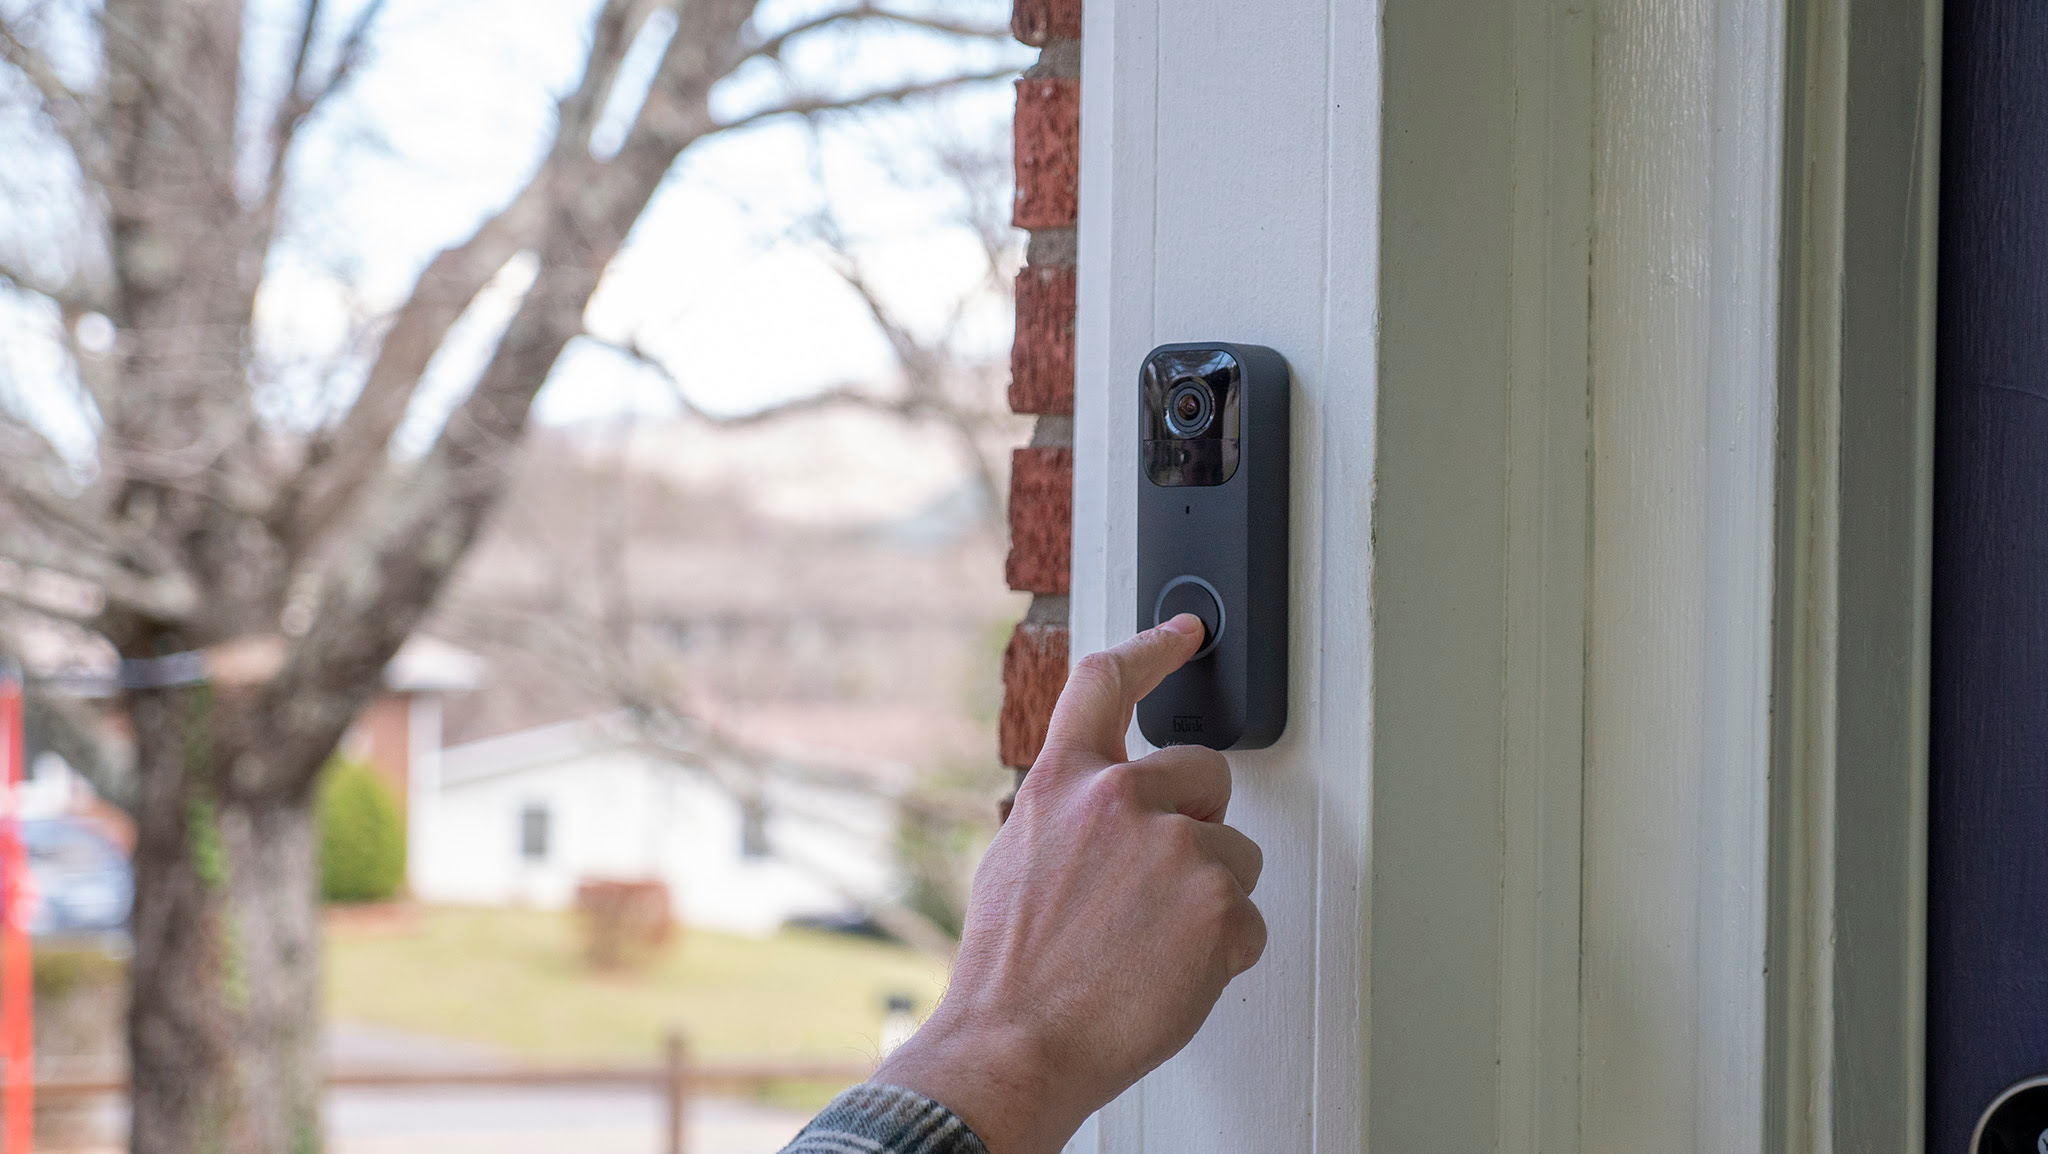
Welcome to this comprehensive guide on how to hardwire your Blink Doorbell! The Blink Doorbell is a fantastic home security device that allows you to monitor your front door and receive notifications when someone approaches. While the Blink Doorbell can be powered by batteries, hardwiring it provides a more reliable power source and eliminates the need for recharging batteries.
In this article, we will walk you through the step-by-step process of hardwiring your Blink Doorbell. By following these instructions, you will be able to ensure a consistent power supply to your doorbell, keeping it operational without the worry of drained batteries.
To help you with this project, we have compiled a list of tools and materials you will need, as well as detailed instructions for each step of the process. Whether you are a DIY enthusiast or simply looking to improve the functionality of your Blink Doorbell, this guide is perfect for you.
Before we get started, please ensure that you have the necessary tools and materials ready. Let’s dive in!
Key Takeaways:
- Hardwiring your Blink Doorbell ensures a reliable power source, eliminating the hassle of battery replacements and providing uninterrupted monitoring of your front door for enhanced security and convenience.
- Following safety precautions and the step-by-step guide, you can successfully hardwire your Blink Doorbell, enjoy its benefits, and customize its features for a tailored home security solution.
Read more: Why Is My Blink Doorbell Blinking Red
Tools and Materials Required
Before embarking on the hardwiring process for your Blink Doorbell, it is important to gather all the necessary tools and materials. Here is a list of what you will need:
- Blink Doorbell
- Low-voltage transformer
- Wire strippers
- Drill with drill bits
- Phillips screwdriver
- Wire nuts
- Electrical tape
- Mounting hardware
- Voltage tester
- Stud finder (optional)
Make sure you have all these tools and materials easily accessible before starting the hardwiring process. This will save you time and ensure a smooth installation experience.
Additionally, it is crucial to follow safety precautions when working with electricity. Always turn off the power at the circuit breaker before beginning any electrical work. If you are unsure about the process or have any concerns, it is recommended to consult a licensed electrician.
Now that you have gathered all the necessary tools and materials, let’s move on to the step-by-step guide for hardwiring your Blink Doorbell. By the end of this process, you will have a professionally installed and reliable home security system.
Step 1: Turn off the Power
Before you start working on hardwiring your Blink Doorbell, it is crucial to turn off the power supply to the existing doorbell. This is essential to ensure your safety and prevent any electrical accidents.
To turn off the power, locate your home’s circuit breaker panel. It is usually located in the basement, garage, or utility room. Open the panel and look for the switch that controls the power to your doorbell. It is often labeled as “Doorbell” or “Front Door.”
Flip the switch to the “Off” position to cut off the power supply. You can also double-check by pressing the doorbell button to see if it no longer triggers any sound or lights. This step eliminates the risk of electric shocks while you work on the wiring.
While turning off the power, it’s a good idea to inform household members that you are performing maintenance on the doorbell to avoid any accidental power restorations during the process. Safety should always be the top priority, so take your time to ensure that the power is indeed switched off.
Once you have confirmed that the power is off, you can proceed to the next step without worrying about any electrical hazards.
Remember, if you are not comfortable working with electrical systems, it is best to seek professional assistance from a licensed electrician.
Step 2: Remove Existing Doorbell
Now that the power is turned off, it is time to remove the existing doorbell from its mounting location. This step is necessary to prepare for the installation of the Blink Doorbell.
Start by examining the current doorbell setup. It is typically attached to the wall or door frame near the entrance of your home. Look for any screws or mounting hardware holding the doorbell in place.
Use a Phillips screwdriver or the appropriate tool to remove the screws and detach the doorbell from its mounting location. Be careful while removing the screws to avoid dropping them or damaging the surrounding area.
Once the screws are removed, gently disconnect the wires from the back of the old doorbell. You may need to use wire strippers to expose a small section of the wire for easier disconnection.
Take note of the wire colors and their corresponding terminals on the existing doorbell. This will be helpful when connecting the wires to the Blink Doorbell later in the process. If needed, take a picture or make a diagram to serve as a reference.
After disconnecting the wires, remove the old doorbell from its mounting location and set it aside. You can keep it as a backup or dispose of it following proper electronic waste disposal guidelines.
With the existing doorbell removed, you now have a clean slate to install the Blink Doorbell. The next step will be preparing the wires for connection.
Keep in mind that some doorbell systems may have additional components, such as chimes or transformers, which may require further disconnection. Refer to the manufacturer’s instructions specific to your existing doorbell setup to ensure a safe and complete removal process.
Step 3: Prepare the Wires
With the existing doorbell removed, it’s time to prepare the wires for the installation of the Blink Doorbell. This step ensures that the wires are ready to be connected securely and properly.
Start by examining the ends of the wires to ensure they are in good condition. Trim off any frayed or damaged sections using wire strippers, leaving clean and undamaged wire ends.
Next, strip off a small section of insulation from the ends of the wires using the wire strippers. Follow the manufacturer’s instructions or guidelines to determine the appropriate length to expose. Typically, it is recommended to expose about 1/4 to 1/2 inch of bare wire.
Once the insulation is stripped, it’s a good idea to twist the exposed wire strands together. This will make it easier to connect them securely to the terminals of the Blink Doorbell later on.
If there are multiple wires connected to your existing doorbell, ensure that each wire end is prepared and twisted individually. This will prevent any confusion or mixing up of the wires during the installation process.
As an additional precaution, consider using wire nuts to temporarily cap the twisted wire ends. This will prevent unintentional contact or short circuits while you continue with the installation.
If you encounter any issues or difficulties during this process, consult the manufacturer’s instructions for your specific doorbell model or seek assistance from a professional electrician.
Once the wires are properly prepared, you are ready to move on to the next step: connecting the wires to the Blink Doorbell.
Before hardwiring your Blink Doorbell, make sure to turn off the power to the existing doorbell at the circuit breaker to avoid any electrical accidents.
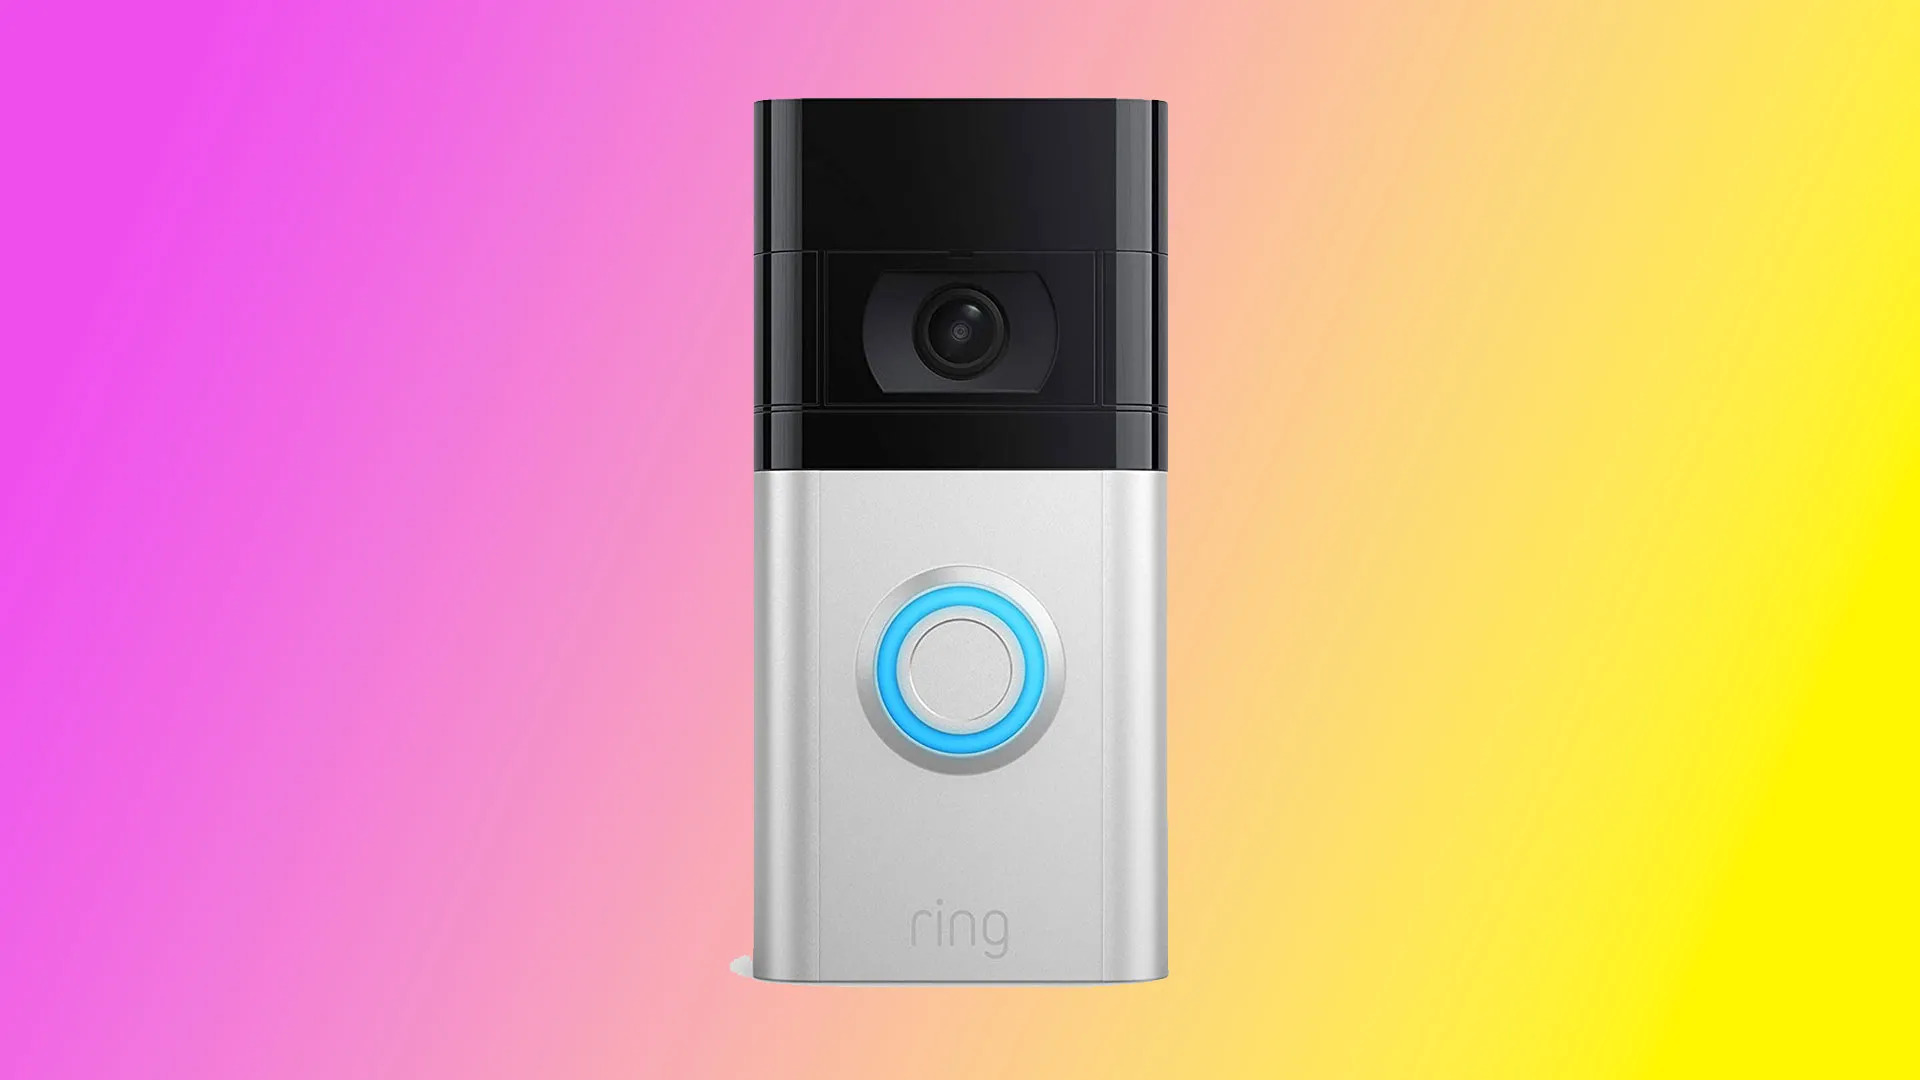
Read more: How Do You Hardwire A Ring Doorbell
Step 4: Connect the Wires to the Blink Doorbell
Now that the wires are prepared, it’s time to connect them to the Blink Doorbell. This step will ensure a secure and reliable electrical connection for your doorbell.
Start by identifying the terminals on the Blink Doorbell. The terminals are usually labeled as “Front,” “Trans,” and “C.” Refer to the manufacturer’s instructions for your specific model to confirm the labeling.
Take the wire that corresponds to the front doorbell button and connect it to the “Front” terminal on the Blink Doorbell. Insert the stripped end of the wire into the hole or clamp of the terminal, making sure it is tightly secured. You may need to use a screwdriver or wire nut to secure the connection, depending on the design of the terminal.
If you have a transformer wire, connect it to the “Trans” terminal. Similarly, connect the common wire (usually labeled as “C”) to the “C” terminal. Make sure all the connections are tight and secure, with no loose wires or exposed metal.
If there are multiple wires for each terminal, you can use a wire nut to connect them together before connecting to the Blink Doorbell. This will ensure a secure connection and prevent any loose or disconnected wires.
Double-check that each wire is connected to the correct terminal based on your reference or diagram from the previous steps. This will prevent any wiring errors and ensure proper functionality of the Blink Doorbell.
Once all the wires are securely connected to the Blink Doorbell, gently tug on each wire to ensure they are firmly attached. This will help avoid any accidental disconnections later on.
With the wires successfully connected, you are one step closer to completing the hardwiring process for your Blink Doorbell. The next step will involve mounting the doorbell to its designated location.
Before proceeding, it’s important to reiterate the importance of following safety precautions and, if needed, seeking assistance from a professional electrician. Safety should always be a top priority when dealing with electrical systems.
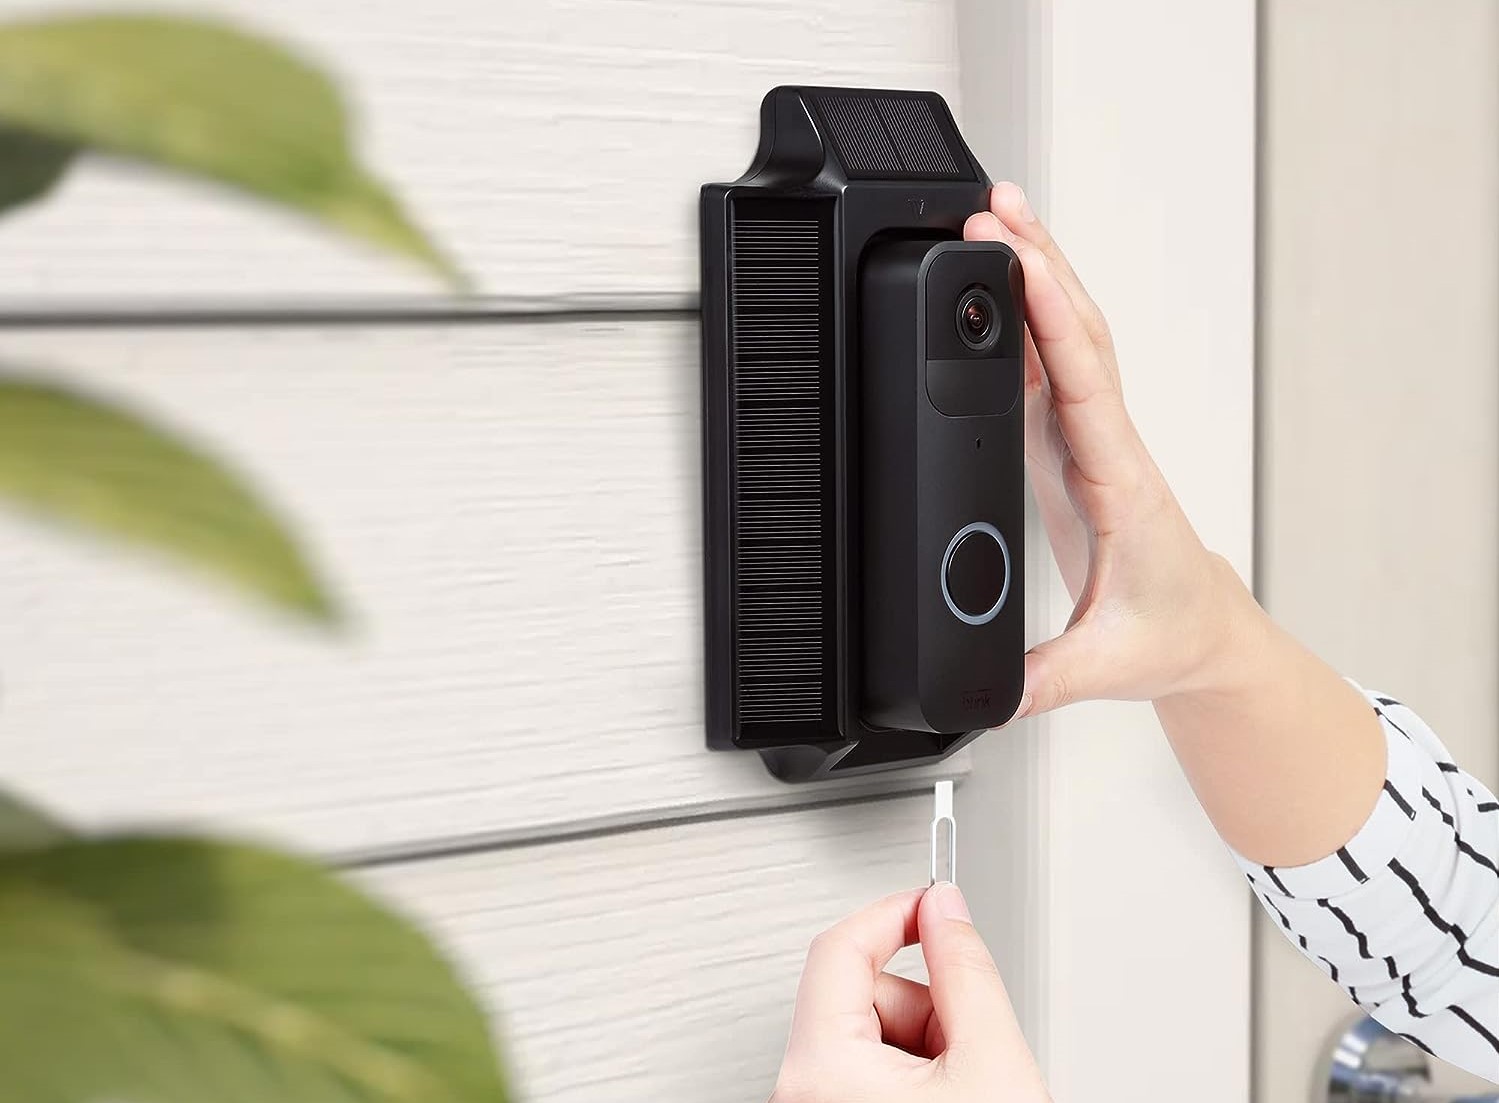
Step 5: Mount the Blink Doorbell
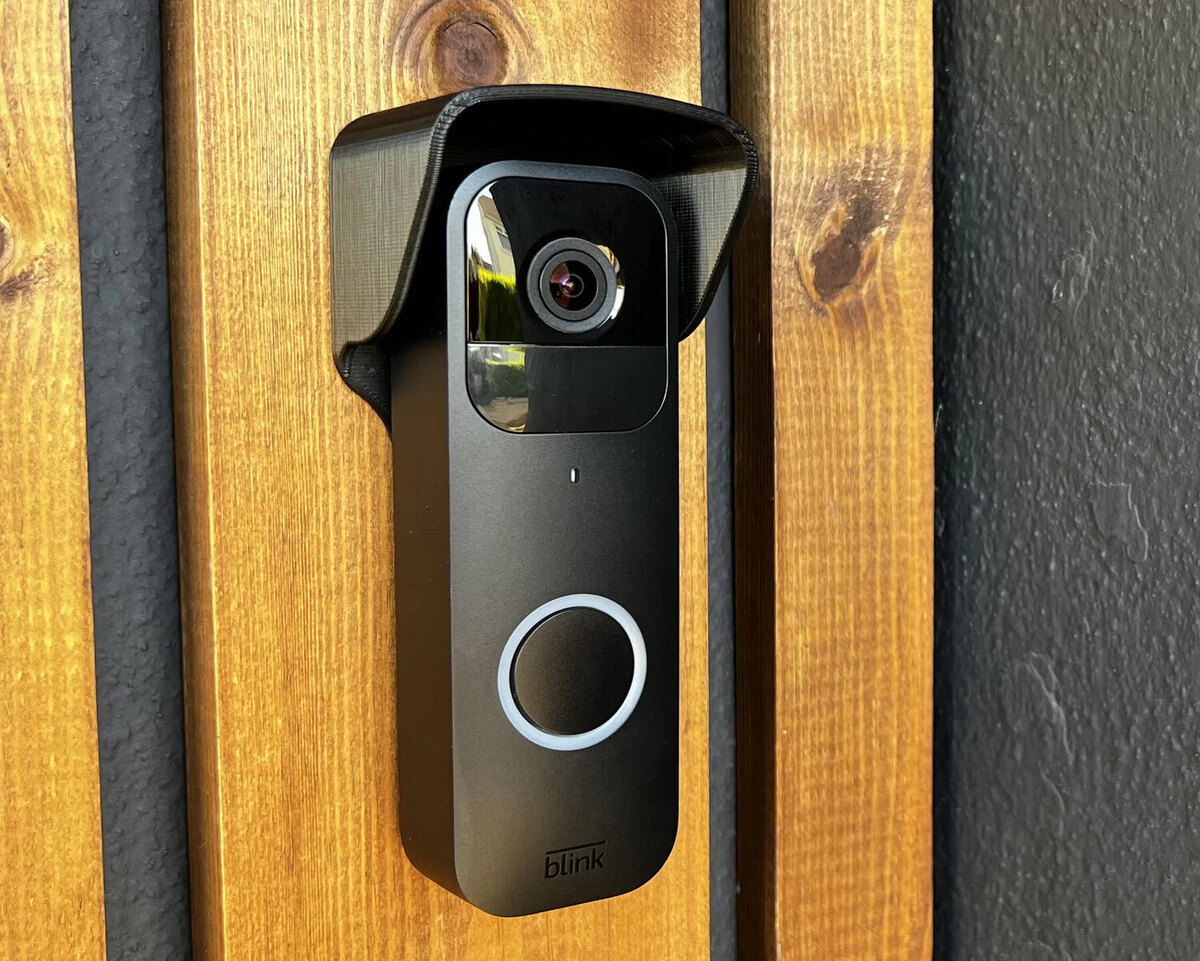
Now that the wires are securely connected, it’s time to mount the Blink Doorbell to its designated location. This step will ensure that the doorbell is positioned properly and securely for optimal functionality.
Start by choosing the mounting location for your Blink Doorbell. It should be near your front door, preferably at eye level for easy visibility. Use a stud finder, if necessary, to locate a solid surface that can support the weight of the doorbell.
Once you have selected the mounting location, hold the Blink Doorbell against the wall or surface and mark the position of the screw holes with a pencil or marker. Ensure that the doorbell is level and aligned symmetrically.
Using a suitable drill bit, create pilot holes at the marked positions. Be cautious and follow the manufacturer’s guidelines to avoid damaging the wall or surface. If drilling into a wooden surface, it may be helpful to use a countersink bit to create a recessed hole for the screw heads.
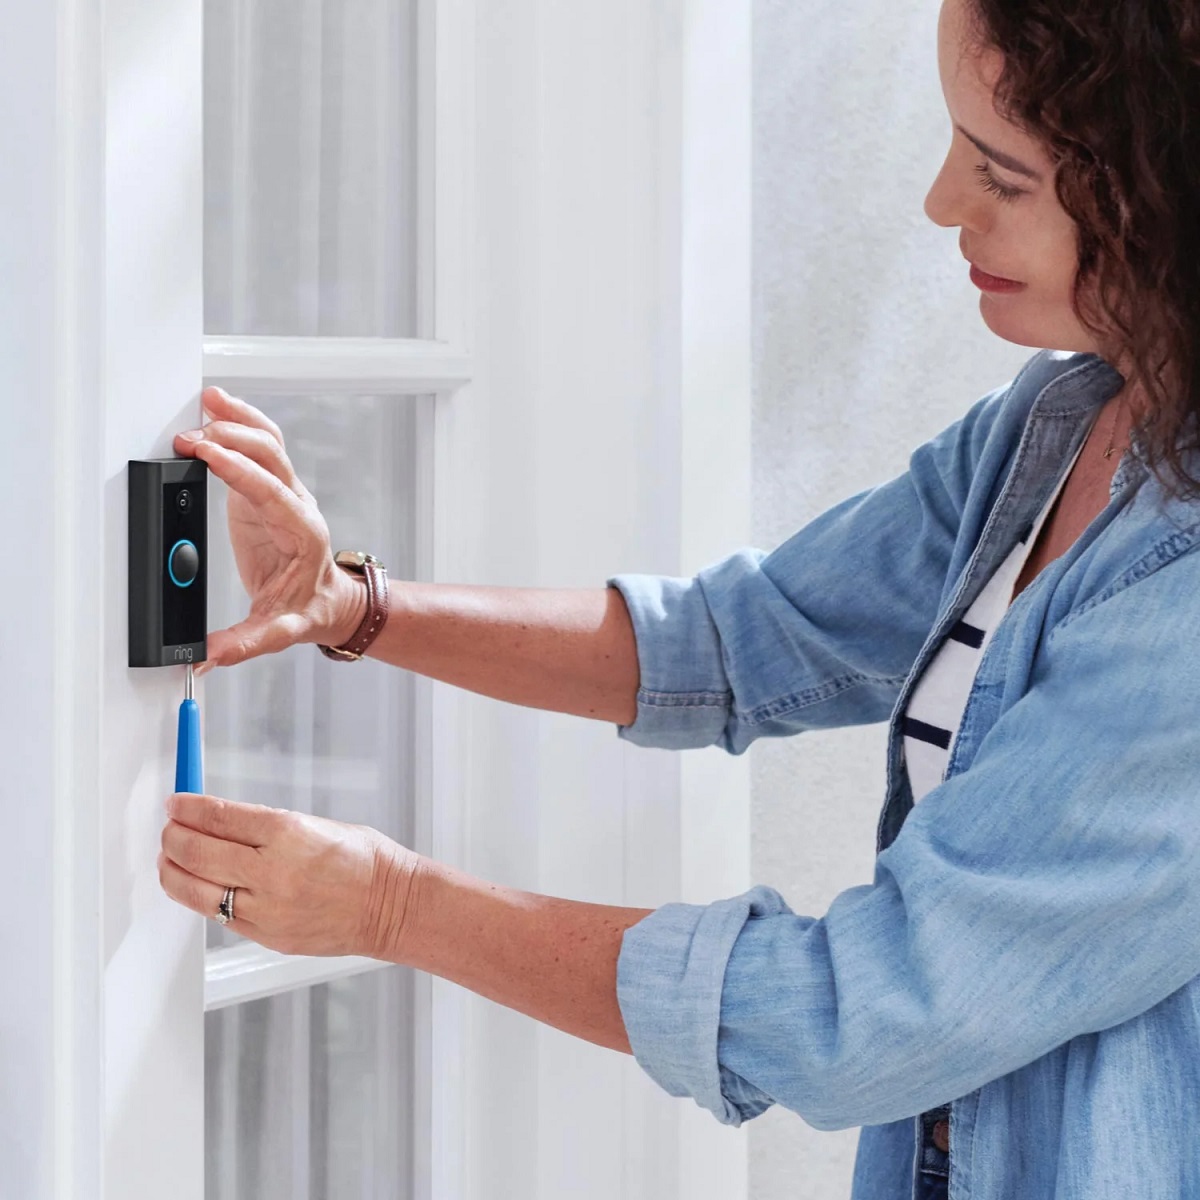
After creating the pilot holes, align the screw holes on the Blink Doorbell with the pilot holes and attach the doorbell using the provided screws. Use a screwdriver or drill to fasten the screws securely, but be careful not to overtighten and damage the doorbell or mounting surface.
Once the Blink Doorbell is securely mounted, give it a gentle shake to ensure it is stable and does not wobble. If it feels loose, double-check the screws and make any necessary adjustments to ensure a snug fit.
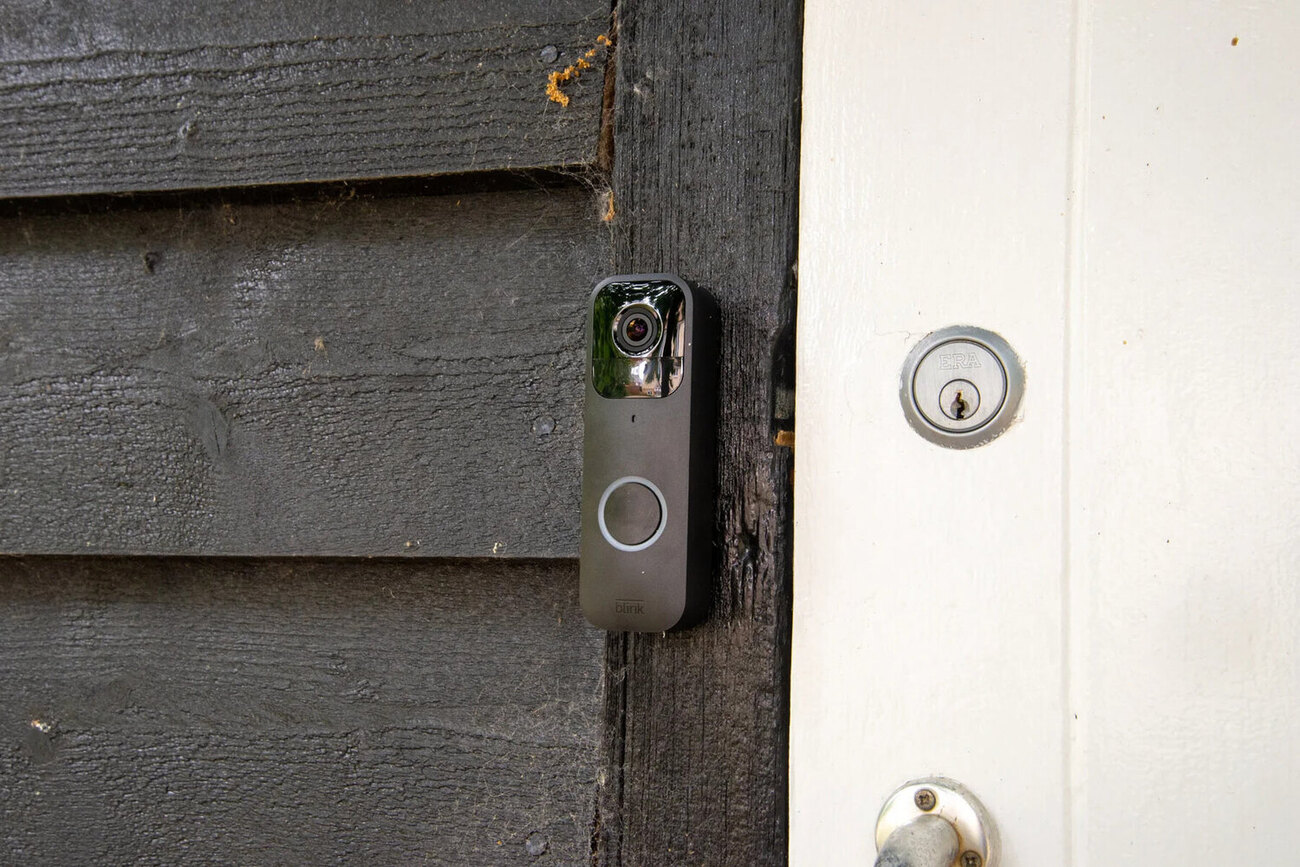
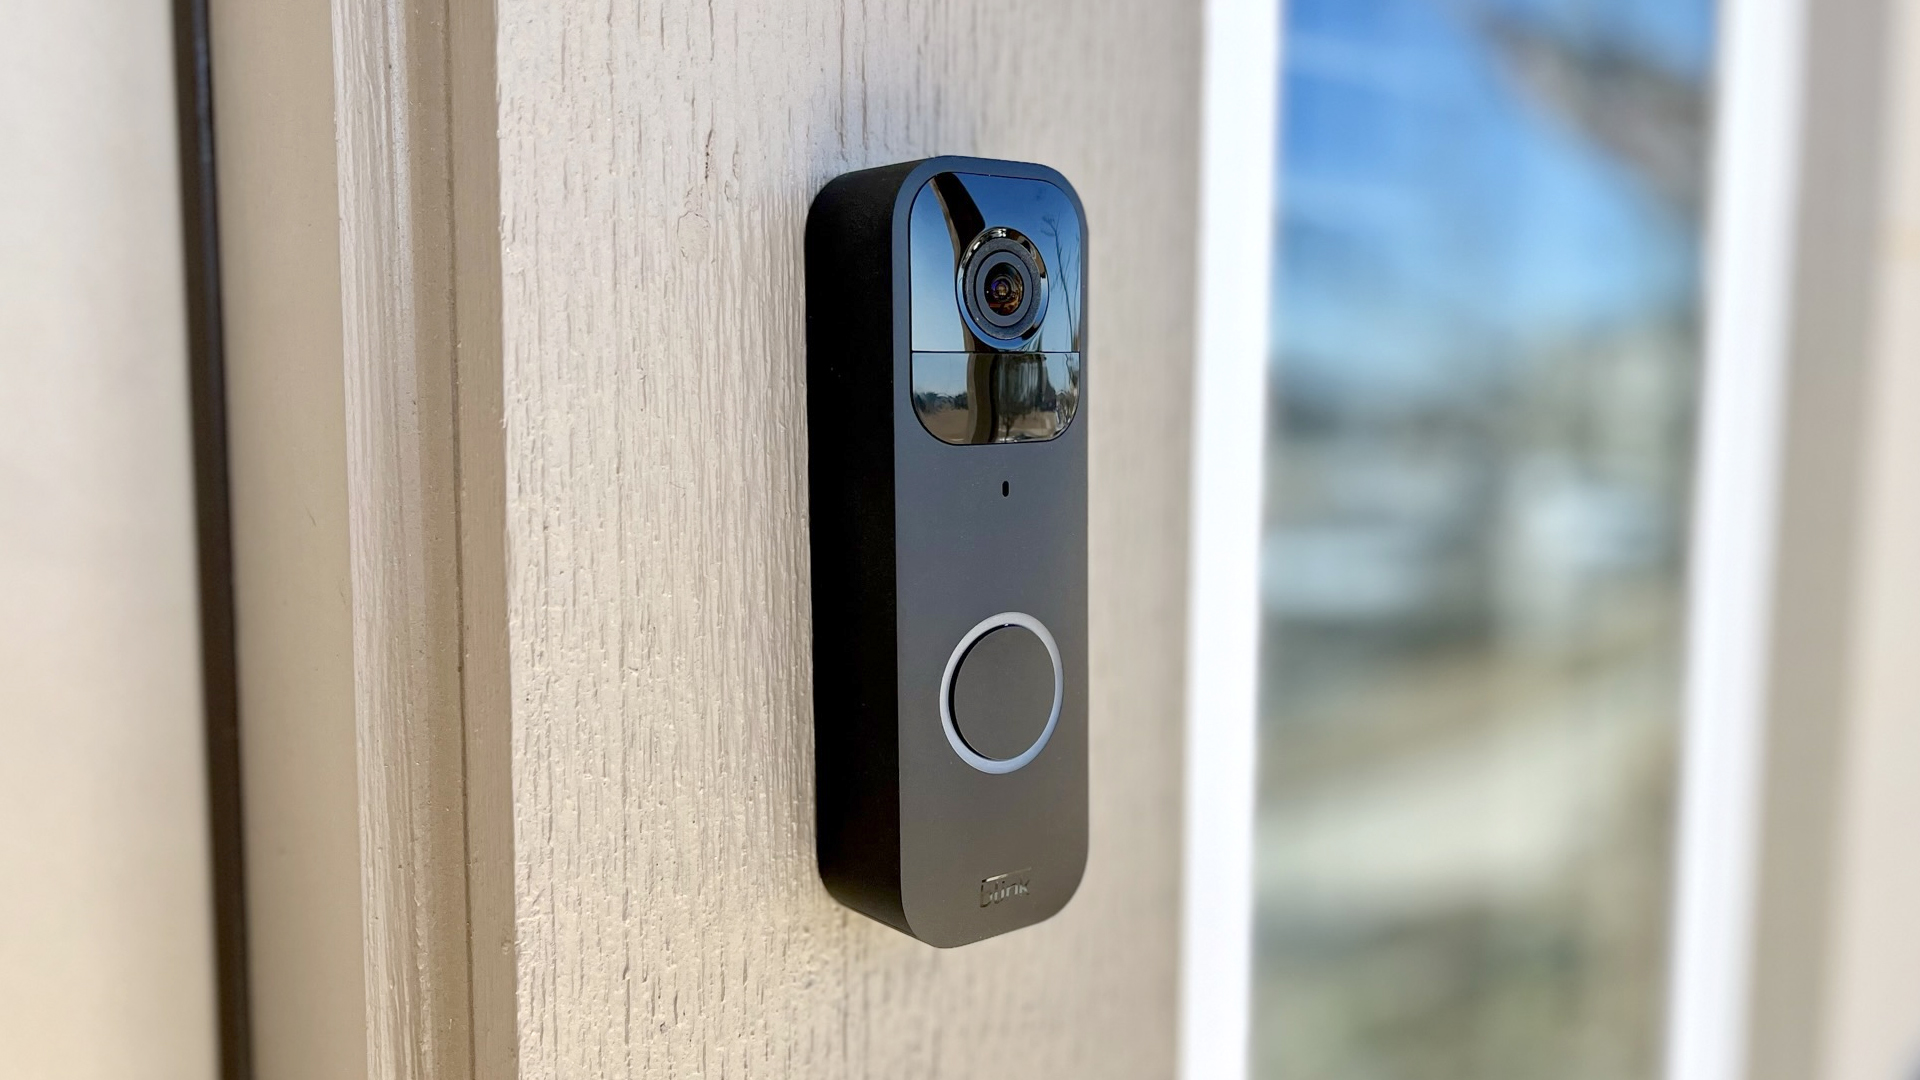
At this point, take a step back and visually inspect the installed Blink Doorbell. Ensure it is level, aligned properly, and aesthetically pleasing. This will give a polished and professional look to your hardwired doorbell system.
Once you are satisfied with the mounting, the final step is to turn on the power and test the functionality of your newly installed Blink Doorbell.
Congratulations! You have successfully mounted the Blink Doorbell. The remaining step will involve turning on the power to complete the hardwiring process.
Remember to exercise caution and follow safety protocols when working with electrical equipment. If you are unsure or uncomfortable with any steps, it is recommended to seek professional assistance.
Step 6: Turn on the Power
With the Blink Doorbell successfully mounted, it’s time to turn on the power and activate your newly hardwired doorbell system. This final step will bring your Blink Doorbell to life and allow you to enjoy its full functionality.
Before proceeding, double-check that all connections are secure and the doorbell is properly mounted. Ensure that there are no loose wires, exposed metal, or any potential hazards.
Return to your home’s circuit breaker panel and locate the switch that controls the power to the doorbell. Flip the switch to the “On” position to restore power to the doorbell system.
Once the power is restored, wait for a few moments to allow the Blink Doorbell to initialize and establish a connection to your Wi-Fi network if applicable. The doorbell’s LED indicator lights will typically provide feedback on its status.
Next, press the doorbell button or use the associated app to test the functionality of the Blink Doorbell. Verify that it is properly ringing, sending notifications to your mobile device, and recording any motion events as desired.
If the Blink Doorbell is not functioning as expected, refer to the manufacturer’s troubleshooting guide or contact their customer support for assistance. They will be able to provide specific instructions to address any issues that may arise during the setup process.
Once you have confirmed that the Blink Doorbell is working, take a moment to enjoy the convenience and security it brings to your home. You can customize its settings, configure additional features, and integrate it into your existing smart home ecosystem as desired.
Congratulations! You have successfully hardwired your Blink Doorbell. By following these steps, you have ensured a reliable power source and eliminated the need for battery replacements. You can now rest assured knowing that your home’s front door is equipped with a dependable and convenient security solution.
Remember to periodically inspect and maintain your Blink Doorbell to keep it in optimal condition. Regularly check for loose screws, clean the lens, and ensure that the wires are securely connected.
Thank you for following this comprehensive guide. We hope this article has been helpful in guiding you through the process of hardwiring your Blink Doorbell. Enjoy the increased security and peace of mind that come with this reliable home security solution!
Conclusion
Congratulations on completing the hardwiring process for your Blink Doorbell! By following the steps outlined in this guide, you have successfully installed a reliable and convenient home security device that no longer relies on batteries.
Hardwiring your Blink Doorbell offers several advantages. It ensures a consistent power supply, eliminating the need for frequent battery replacements and potential downtime. With a reliable power source, you can enjoy uninterrupted monitoring of your front door and receive timely notifications whenever someone approaches.
Throughout this guide, we walked you through each step of the process, from turning off the power to mounting the Blink Doorbell and finally turning the power back on. We also emphasized the importance of safety and caution when working with electrical systems. If you ever felt uncomfortable or unsure about any step, it is always recommended to seek professional assistance.
Now that your Blink Doorbell is hardwired, you can experience the convenience and peace of mind that it brings. Monitor your front door, communicate with visitors, and keep your home secure with ease. Take advantage of the additional features and customization options offered by Blink to tailor the doorbell to your specific needs.
Remember to periodically inspect and maintain your Blink Doorbell, ensuring that the wires are secure, the lens is clean, and the device is functioning properly. Regular maintenance will help maximize the longevity and performance of your doorbell system.
If you encounter any issues or difficulties along the way, refer to the manufacturer’s instructions or reach out to their customer support for assistance. They are equipped to address any specific concerns you may have and provide guidance to resolve any issues.
Thank you for choosing to hardwire your Blink Doorbell and for following this comprehensive guide. We hope that it has provided you with valuable insights and a clear understanding of the process. Enjoy the enhanced security, convenience, and peace of mind that come with your hardwired doorbell system!
Now that you've successfully hardwired your Blink Doorbell, consider taking your home safety to the next level. Our upcoming article on home security reveals why bolstering your household defenses is essential. Learn valuable strategies to protect your residence and provide peace of mind. Don’t miss out on these vital insights that could make all the difference in making your home a secure sanctuary.
Frequently Asked Questions about How To Hardwire Blink Doorbell
Was this page helpful?
At Storables.com, we guarantee accurate and reliable information. Our content, validated by Expert Board Contributors, is crafted following stringent Editorial Policies. We're committed to providing you with well-researched, expert-backed insights for all your informational needs.


0 thoughts on “How To Hardwire Blink Doorbell”