Articles
How To Hookup A Dishwasher
Modified: October 20, 2024
Learn how to hookup a dishwasher in this comprehensive article. Find step-by-step instructions and expert tips to successfully install your dishwasher.
(Many of the links in this article redirect to a specific reviewed product. Your purchase of these products through affiliate links helps to generate commission for Storables.com, at no extra cost. Learn more)
Introduction
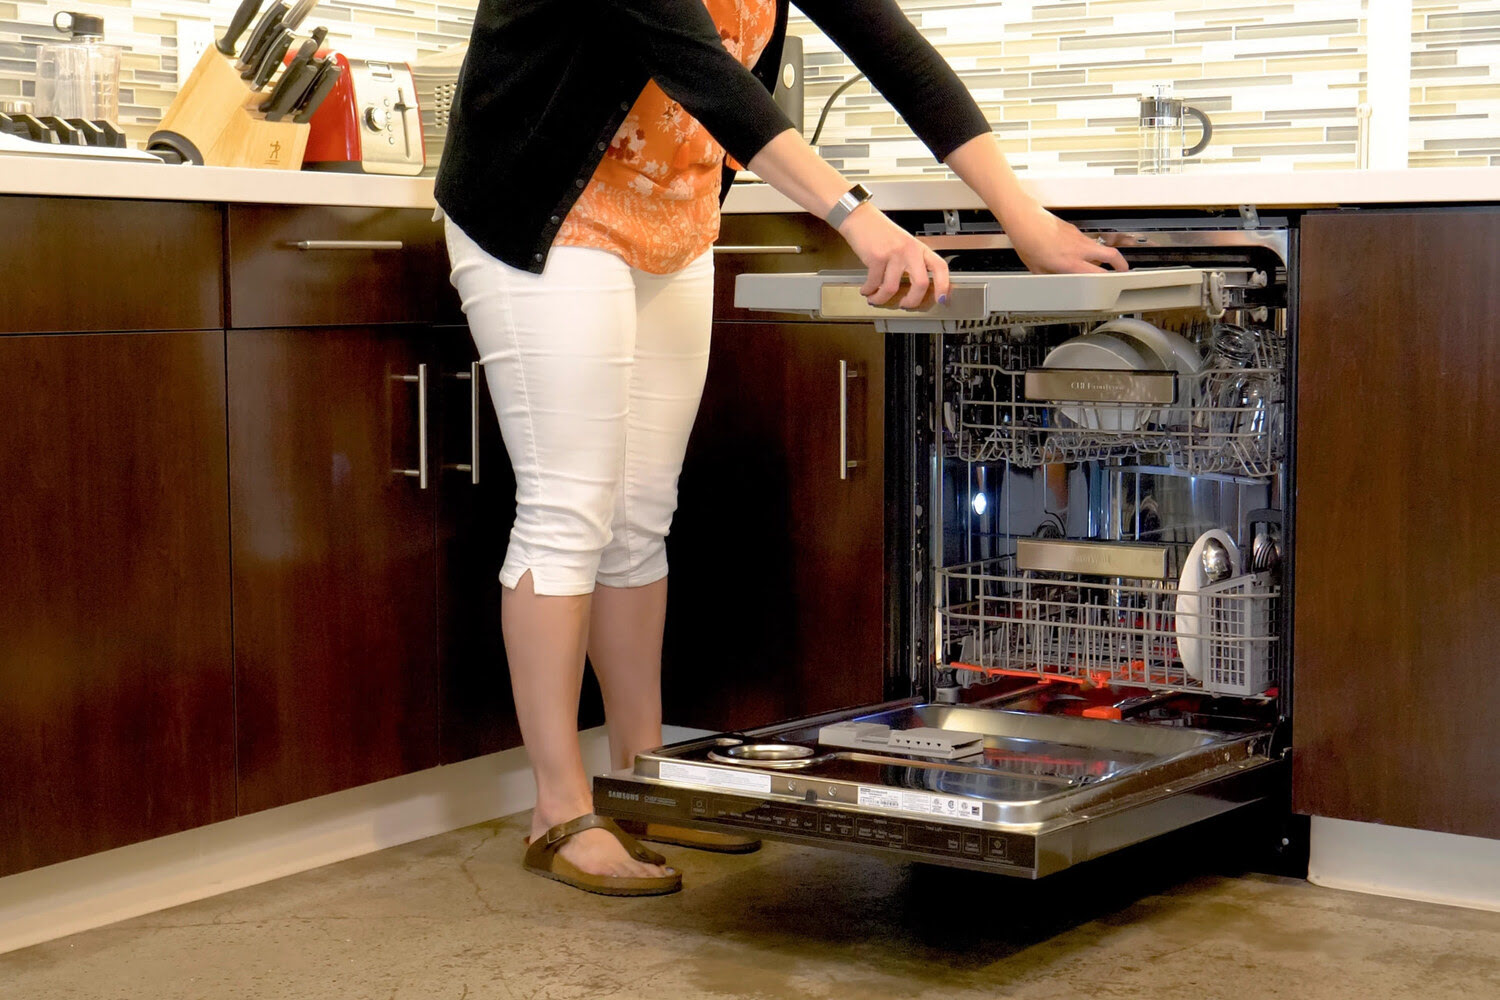
Installing a dishwasher can be a convenient addition to any kitchen. Not only does it save you time and effort from hand-washing dishes, but it also ensures a more efficient and thorough clean. Whether you’re replacing an old dishwasher or installing a new one, this step-by-step guide will walk you through the process of hooking up a dishwasher. With a few tools and some basic plumbing and electrical knowledge, you’ll have your dishwasher up and running in no time.
Key Takeaways:
- Proper preparation is key to a successful dishwasher installation. From gathering tools to checking electrical outlets, taking the time to prepare the space ensures a smooth and hassle-free process.
- Testing and running a trial cycle after installation is crucial. It allows you to identify and address any issues before regular use, ensuring your dishwasher operates efficiently and effectively.
Read more: How To Hide Washer Hookups
Step 1: Gather the Necessary Tools and Materials
Before you start the installation process, it’s essential to gather all the tools and materials you’ll need. Here’s a list of what you should have on hand:
- Adjustable wrench
- Phillips head screwdriver
- Pipe wrench
- Teflon tape
- Level
- Measuring tape
- Hacksaw
- Wire cutters
- Electrical tester
- Dishwasher installation kit (usually includes a water supply line, a drain hose, and necessary fittings)
Make sure you have these tools readily available before starting the installation process. This will save you time and prevent any obstacles or delays during the installation.
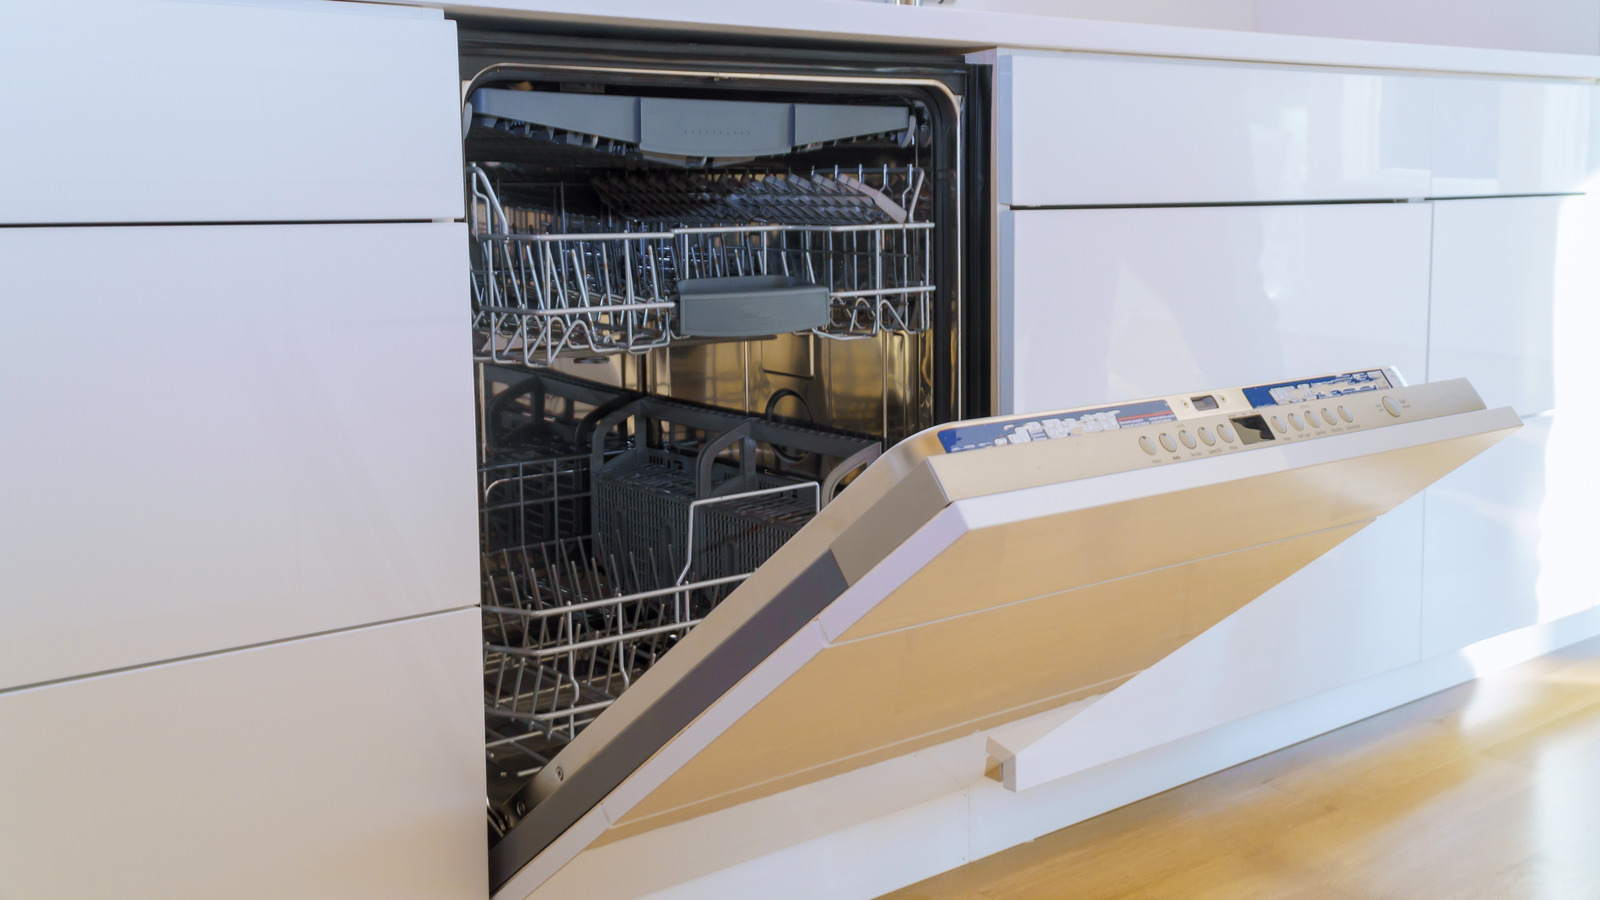
Step 2: Prepare the Space for the Dishwasher
Once you have gathered all the necessary tools and materials, it’s time to prepare the space where the dishwasher will be installed. Here’s what you need to do:
- Empty the cabinet: If there was an existing dishwasher in place, remove it and empty the cabinet of any items to create space for the new dishwasher.
- Measure the space: Measure the height, width, and depth of the opening where the dishwasher will be installed. This will help you ensure that the new dishwasher will fit properly.
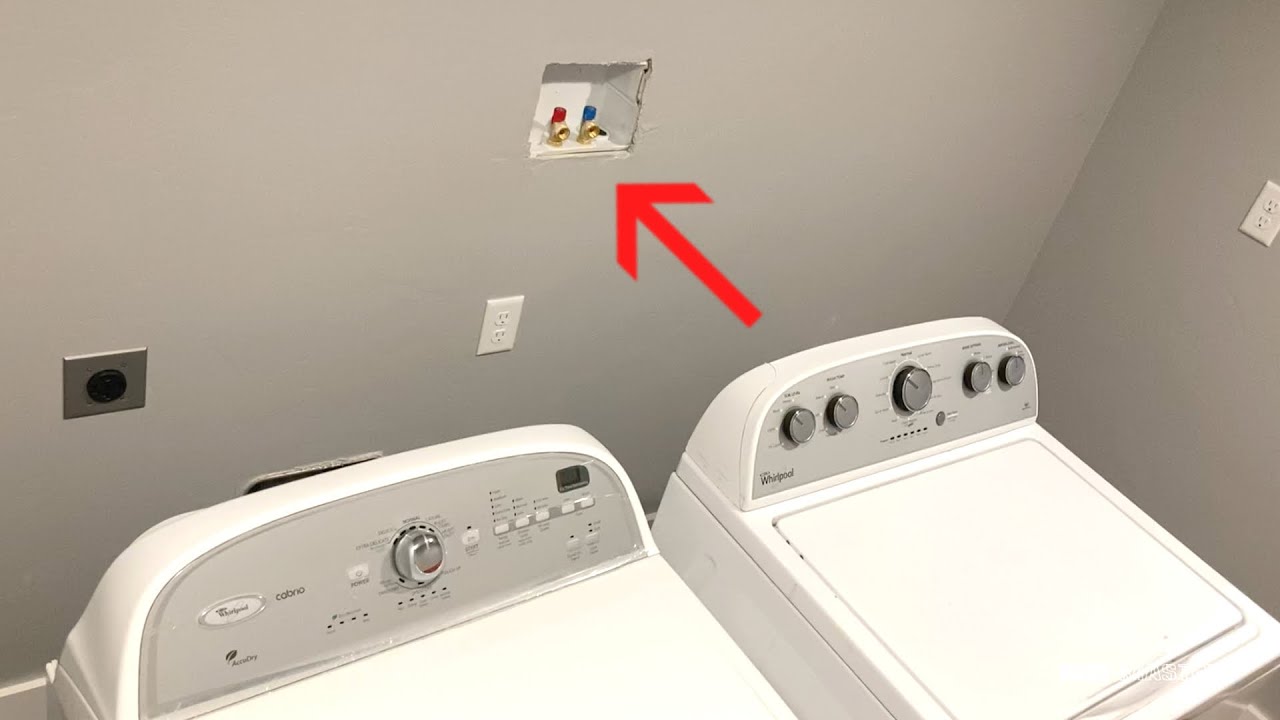
- Check the water supply and drain lines: Locate the water supply line and the drain line. Ensure that they are easily accessible and in good condition. If the water supply line or drain line needs replacement, now is the time to do it.
- Inspect the electrical outlet: Check if there is an electrical outlet near the dishwasher location. Ensure that it is properly grounded and can handle the electrical load of the dishwasher.
- Clear any obstacles: Remove any obstacles or debris from the space to ensure a smooth and hassle-free installation process.
Taking the time to properly prepare the space will make the installation process much easier. It will also help prevent any future complications or issues with the dishwasher’s functionality.
Step 3: Install the Water Supply Line
After preparing the space for the dishwasher, the next step is to install the water supply line. Follow these steps to ensure a proper installation:
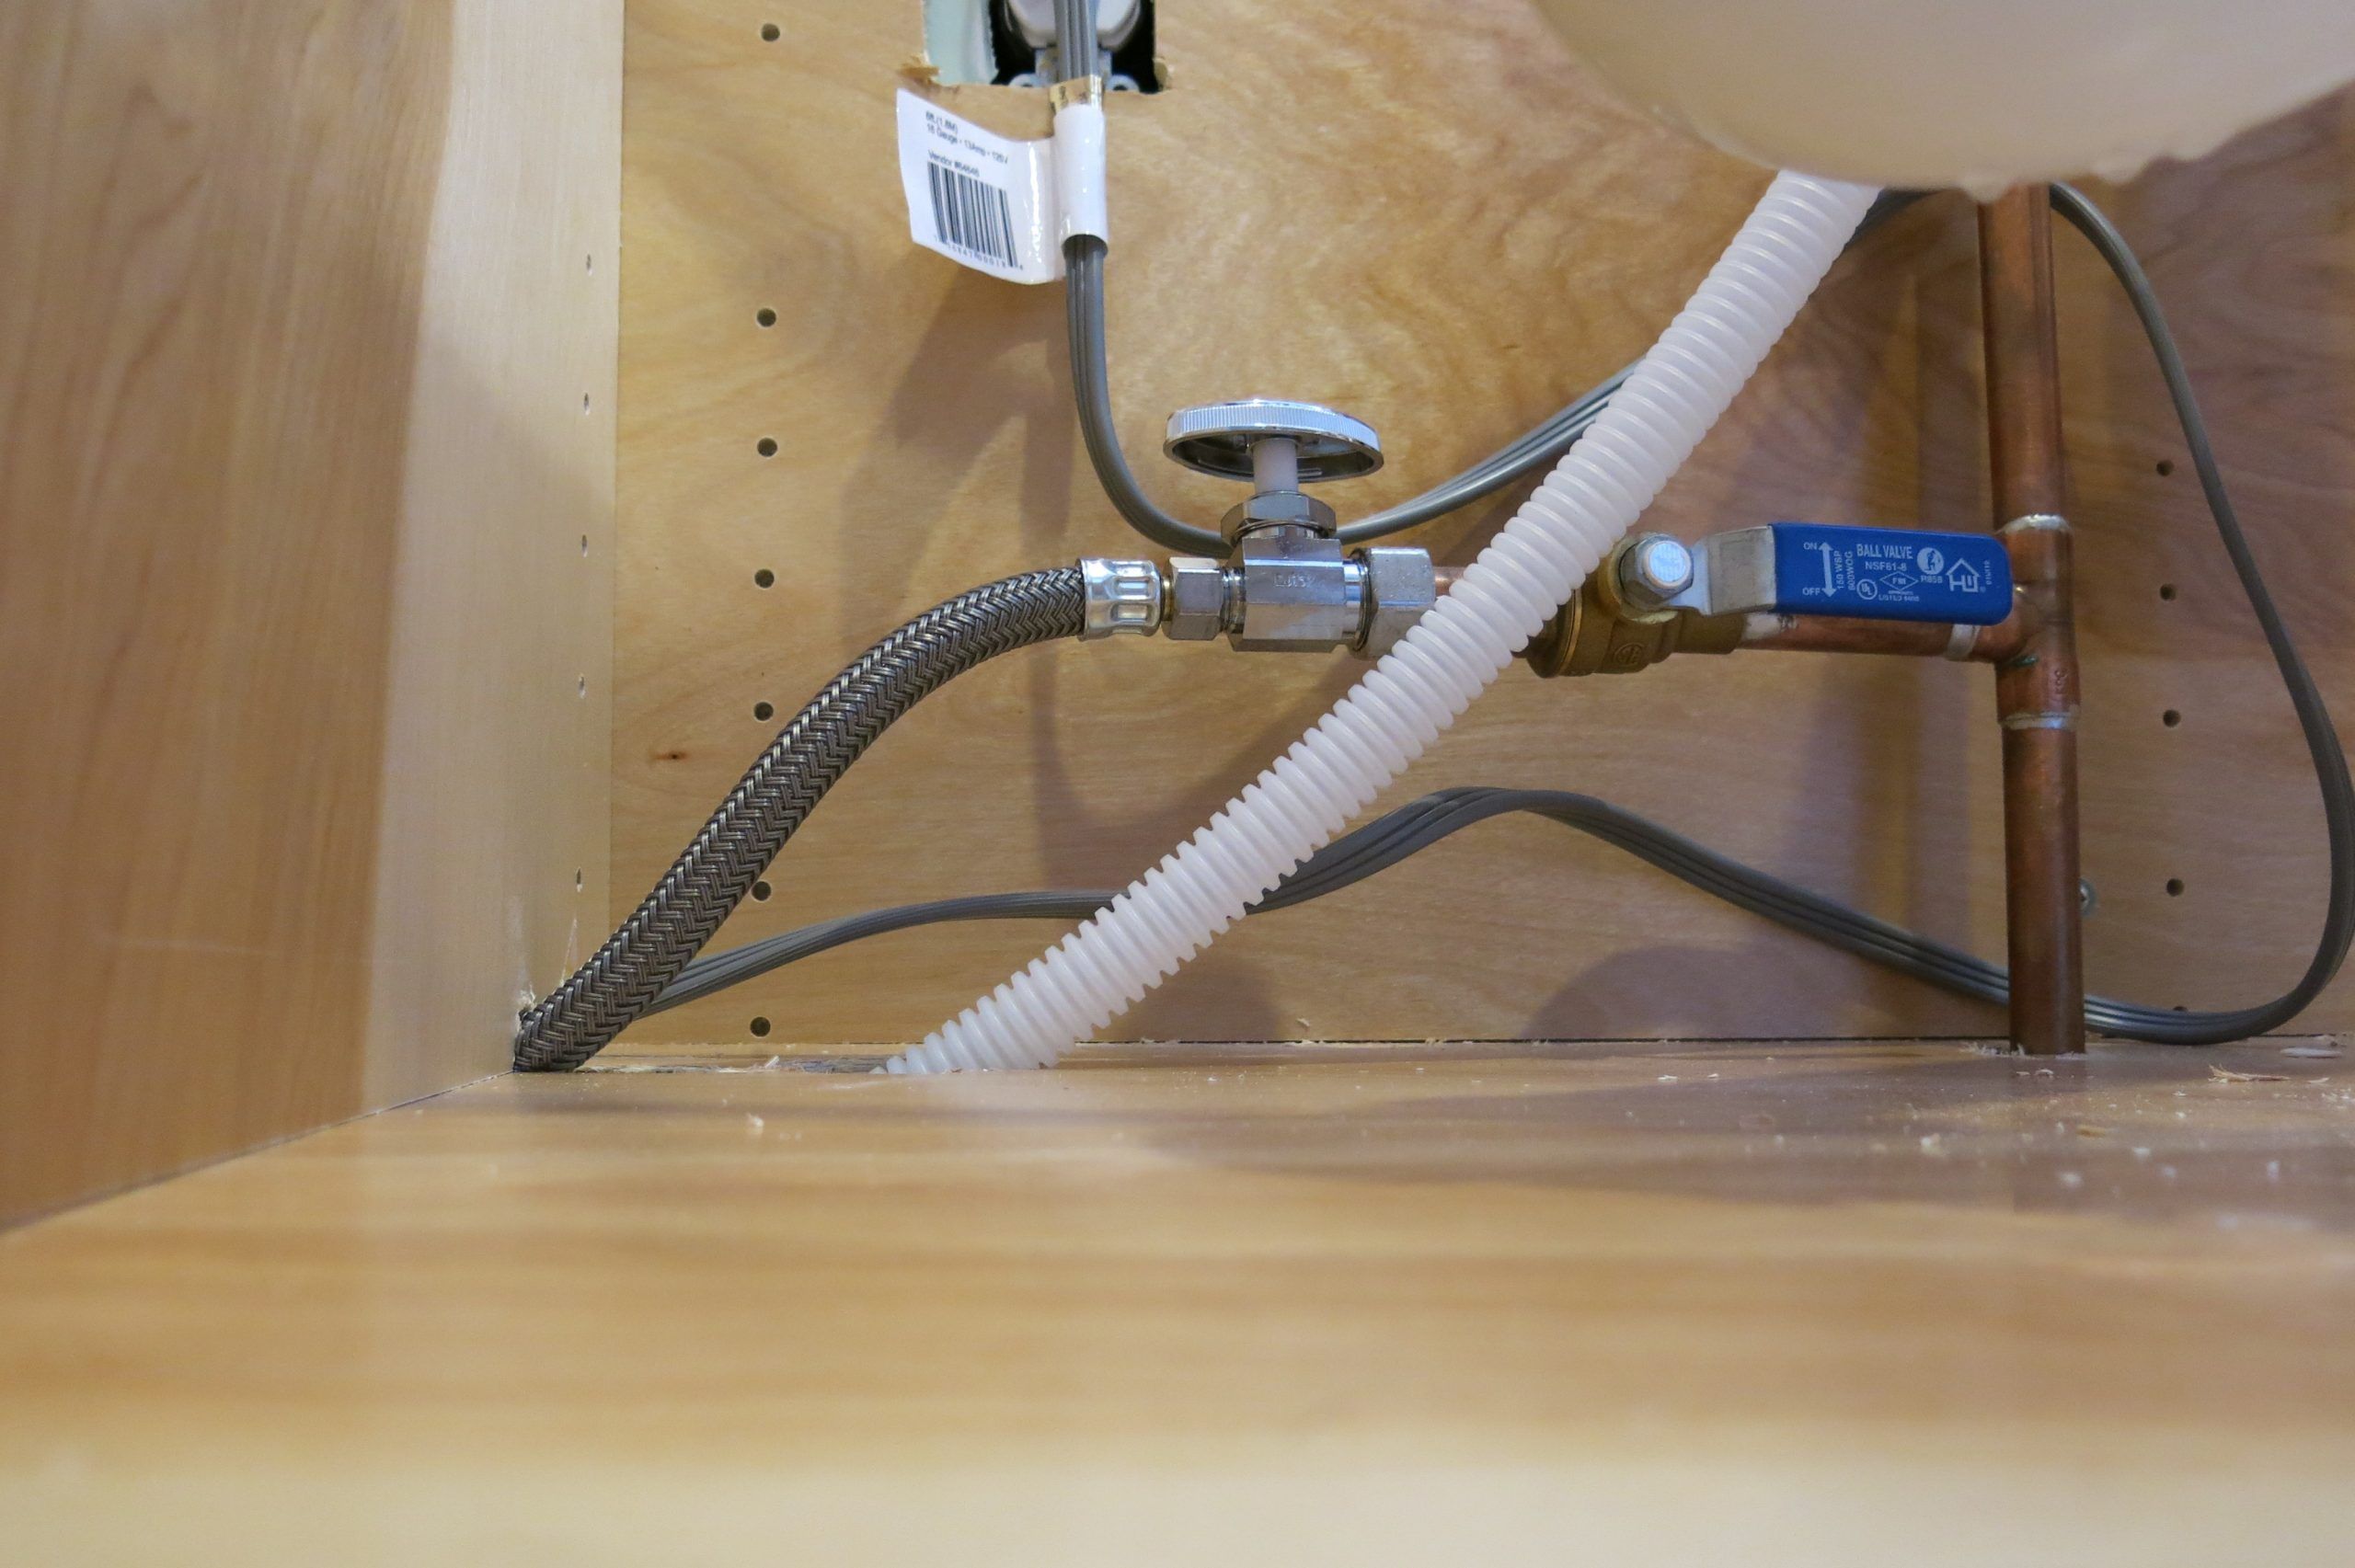
- Locate the water supply valve: Find the water supply valve under your sink or in the basement. This valve controls the water flow to the dishwasher.
- Turn off the water supply: Rotate the supply valve clockwise to shut off the water flow.
- Attach the supply line: Take the dishwasher installation kit and attach the water supply line to the hot water supply valve. Use an adjustable wrench to tighten the connection securely.
- Connect the other end: Attach the other end of the supply line to the inlet valve on the back of the dishwasher. Again, use an adjustable wrench to tighten the connection.
- Check for leaks: Once the supply line is securely connected, turn on the water supply valve and check for any leaks. If you notice any leaks, tighten the connections or use Teflon tape to ensure a tight seal.
Installing the water supply line correctly is crucial for the proper functioning of your dishwasher. Make sure to follow these steps carefully and check for any leaks to avoid any water damage in the future.
Step 4: Connect the Drain Line
Once you have installed the water supply line, it’s time to connect the drain line. Follow these steps for a proper installation:
- Locate the drain hose: Find the drain hose included in your dishwasher installation kit. It is usually located at the back of the dishwasher.
- Position the drain hose: Ensure that the drain hose is positioned securely. It should be higher than the level of the sink drain to prevent water from flowing back into the dishwasher.
- Secure the drain hose: Use a hose clamp or zip tie to securely attach the drain hose to the sink drain or garbage disposal unit. Make sure it is tightened properly to prevent any leaks.
- Create a high loop: To further prevent water from flowing back into the dishwasher, create a high loop in the drain hose. This can be done by attaching the drain hose to the underside of the countertop or cabinet. This loop should be higher than the sink drain opening.
- Check for leaks: Once the drain line is connected, turn on the dishwasher and run a test cycle. Check for any leaks or drainage issues. If there are any leaks, tighten the connections or adjust the position of the drain hose.
Properly connecting the drain line is essential to ensure that wastewater flows out of the dishwasher efficiently. Take the time to position and secure the drain hose correctly to avoid any future drainage problems.
Make sure to install a high loop in the drain hose to prevent backflow of water into the dishwasher. This will help to avoid any potential contamination of your dishes.
Read more: How Much To Install Washer And Dryer Hookups
Step 5: Attach the Power Supply
Now that you have installed the water supply line and connected the drain line, it’s time to attach the power supply. Follow these steps to ensure a safe and proper installation:
- Turn off the power: Locate the circuit breaker or fuse box and turn off the power supply to the area where the dishwasher will be installed. This step is crucial to prevent any electrical accidents.
- Check the electrical requirements: Refer to the dishwasher’s user manual to determine the electrical requirements. Ensure that the circuit can handle the dishwasher’s power needs.
- Prepare the electrical connection: If there is an existing electrical outlet near the dishwasher, make sure it is properly grounded. If not, contact a qualified electrician to install a new outlet.
- Attach the power cord: Connect the power cord to the dishwasher. Follow the manufacturer’s instructions for properly attaching the wires.
- Secure the power cord: Use cable ties or clips to secure the power cord to the back of the dishwasher or the cabinet. This will prevent the cord from becoming loose or damaged during use.
- Turn on the power: Once the power cord is securely attached, turn on the power supply by flipping the appropriate circuit breaker or replacing the fuse.
- Test the dishwasher: Run a test cycle to ensure that the dishwasher’s electrical connection is functioning correctly. If any issues arise, turn off the power supply immediately and consult a qualified electrician.
Attaching the power supply correctly is vital to ensure the safe and efficient operation of your dishwasher. Take the necessary precautions and follow the manufacturer’s instructions to avoid any electrical hazards.
Step 6: Secure the Dishwasher in Place
Now that you have installed the water supply line, connected the drain line, and attached the power supply, the next step is to secure the dishwasher in place. Follow these steps for a stable and secure installation:
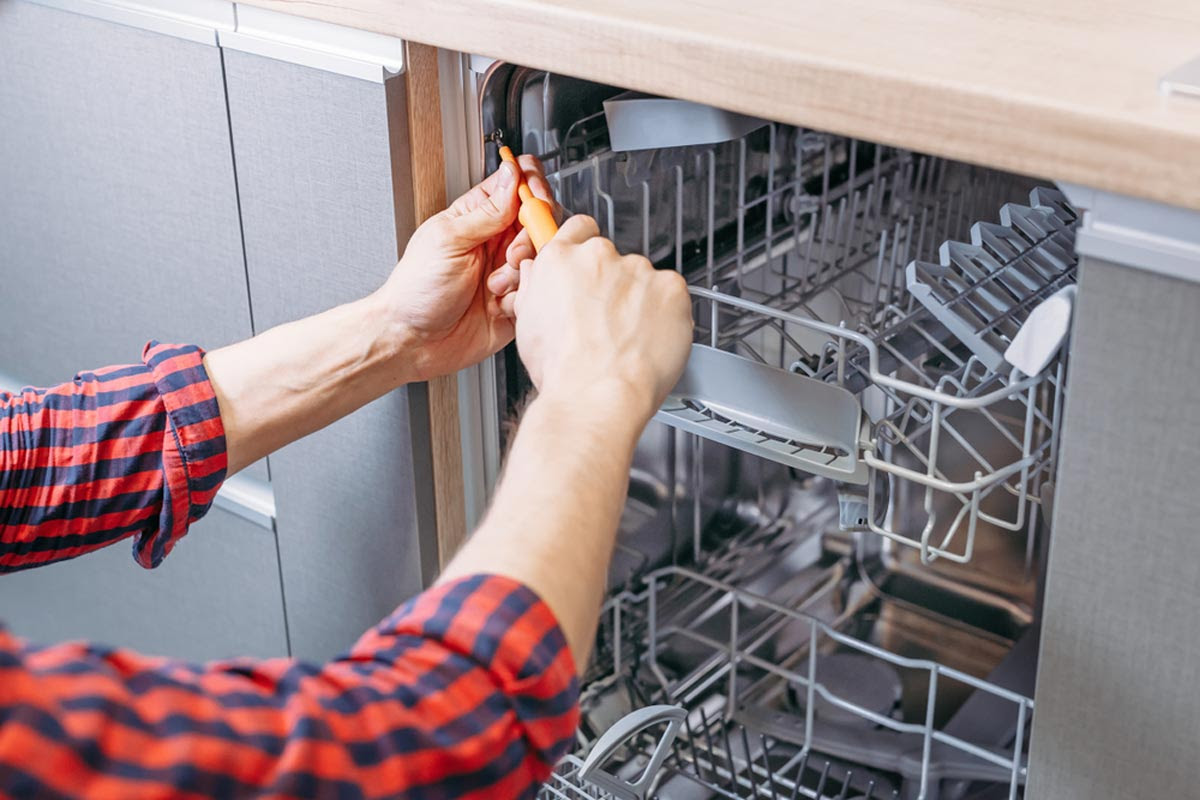
- Align the dishwasher: Ensure that the dishwasher is aligned properly with the countertop and the adjacent cabinets. Use a level to check that it is straight and even.
- Adjust the leveling feet: Most dishwashers have adjustable feet at the front and back. Use a wrench to adjust the feet until the dishwasher is level and stable.
- Secure the dishwasher to the countertop: Use mounting brackets or screws to secure the dishwasher to the underside of the countertop. This will prevent the dishwasher from tipping forward when the door is opened.
- Attach the side brackets: If your dishwasher has side brackets, attach them to the adjacent cabinets. This will provide additional support and stability.
- Check for any movement: Once the dishwasher is secured, give it a gentle push to check for any movement or instability. It should be firmly in place without any wobbling or shifting.
Securing the dishwasher in place is crucial to prevent accidents and ensure its reliable operation. Take the time to properly align and stabilize the dishwasher for a hassle-free and safe experience.
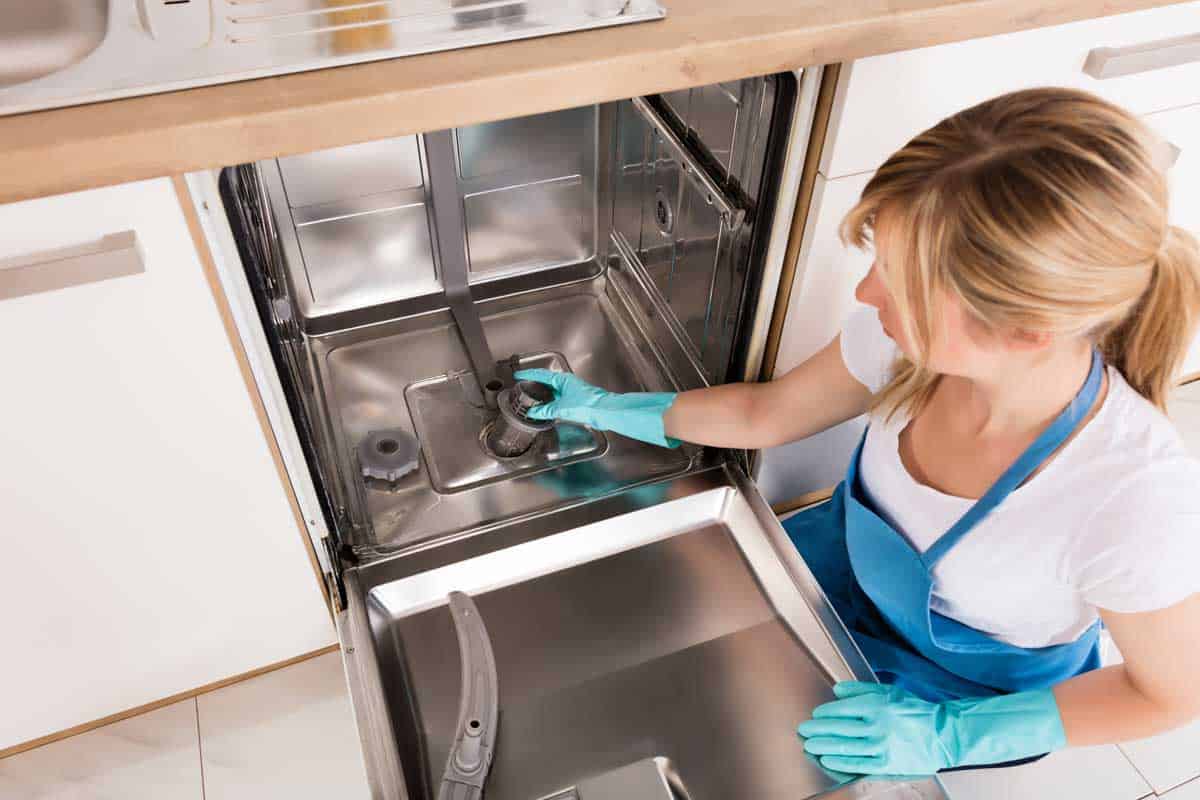
Step 7: Test the Dishwasher Connections
With the dishwasher secured in place, it’s time to test the connections to ensure everything is working correctly. Follow these steps to perform a thorough test:
- Turn on the water supply: Open the water supply valve to allow water to flow into the dishwasher.
- Check for leaks: Inspect all the water connections, including the water supply line and the drain line. Look for any signs of water leakage. If you notice any leaks, tighten the connections or replace any faulty components.
- Run a test cycle: Close the dishwasher door and select a test cycle. Let the dishwasher run through a full cycle to check its performance.
- Monitor water drainage: Watch as the dishwasher drains the water. Ensure that the water flows smoothly through the drain hose and into the sink or garbage disposal without any backups or blockages.
- Listen for any unusual noises: Pay attention to the dishwasher’s operation. It should run quietly without any loud or unusual noises. If you notice any strange sounds, investigate further or seek professional assistance.
- Inspect for proper cleaning: After the test cycle finishes, open the dishwasher and inspect the dishes. They should be clean and free from any residue or debris. If the dishes are not properly cleaned, double-check the detergent usage and water temperature settings.
Testing the dishwasher connections is essential to ensure its proper functionality and address any potential issues. By following these steps, you can identify and resolve any problems before regular use.
Step 8: Set Up and Run a Test Cycle
After testing the connections, it’s time to set up your dishwasher and run a test cycle. This final step will ensure that all components are working correctly and that the dishwasher is ready for everyday use. Follow these steps for a successful test cycle:
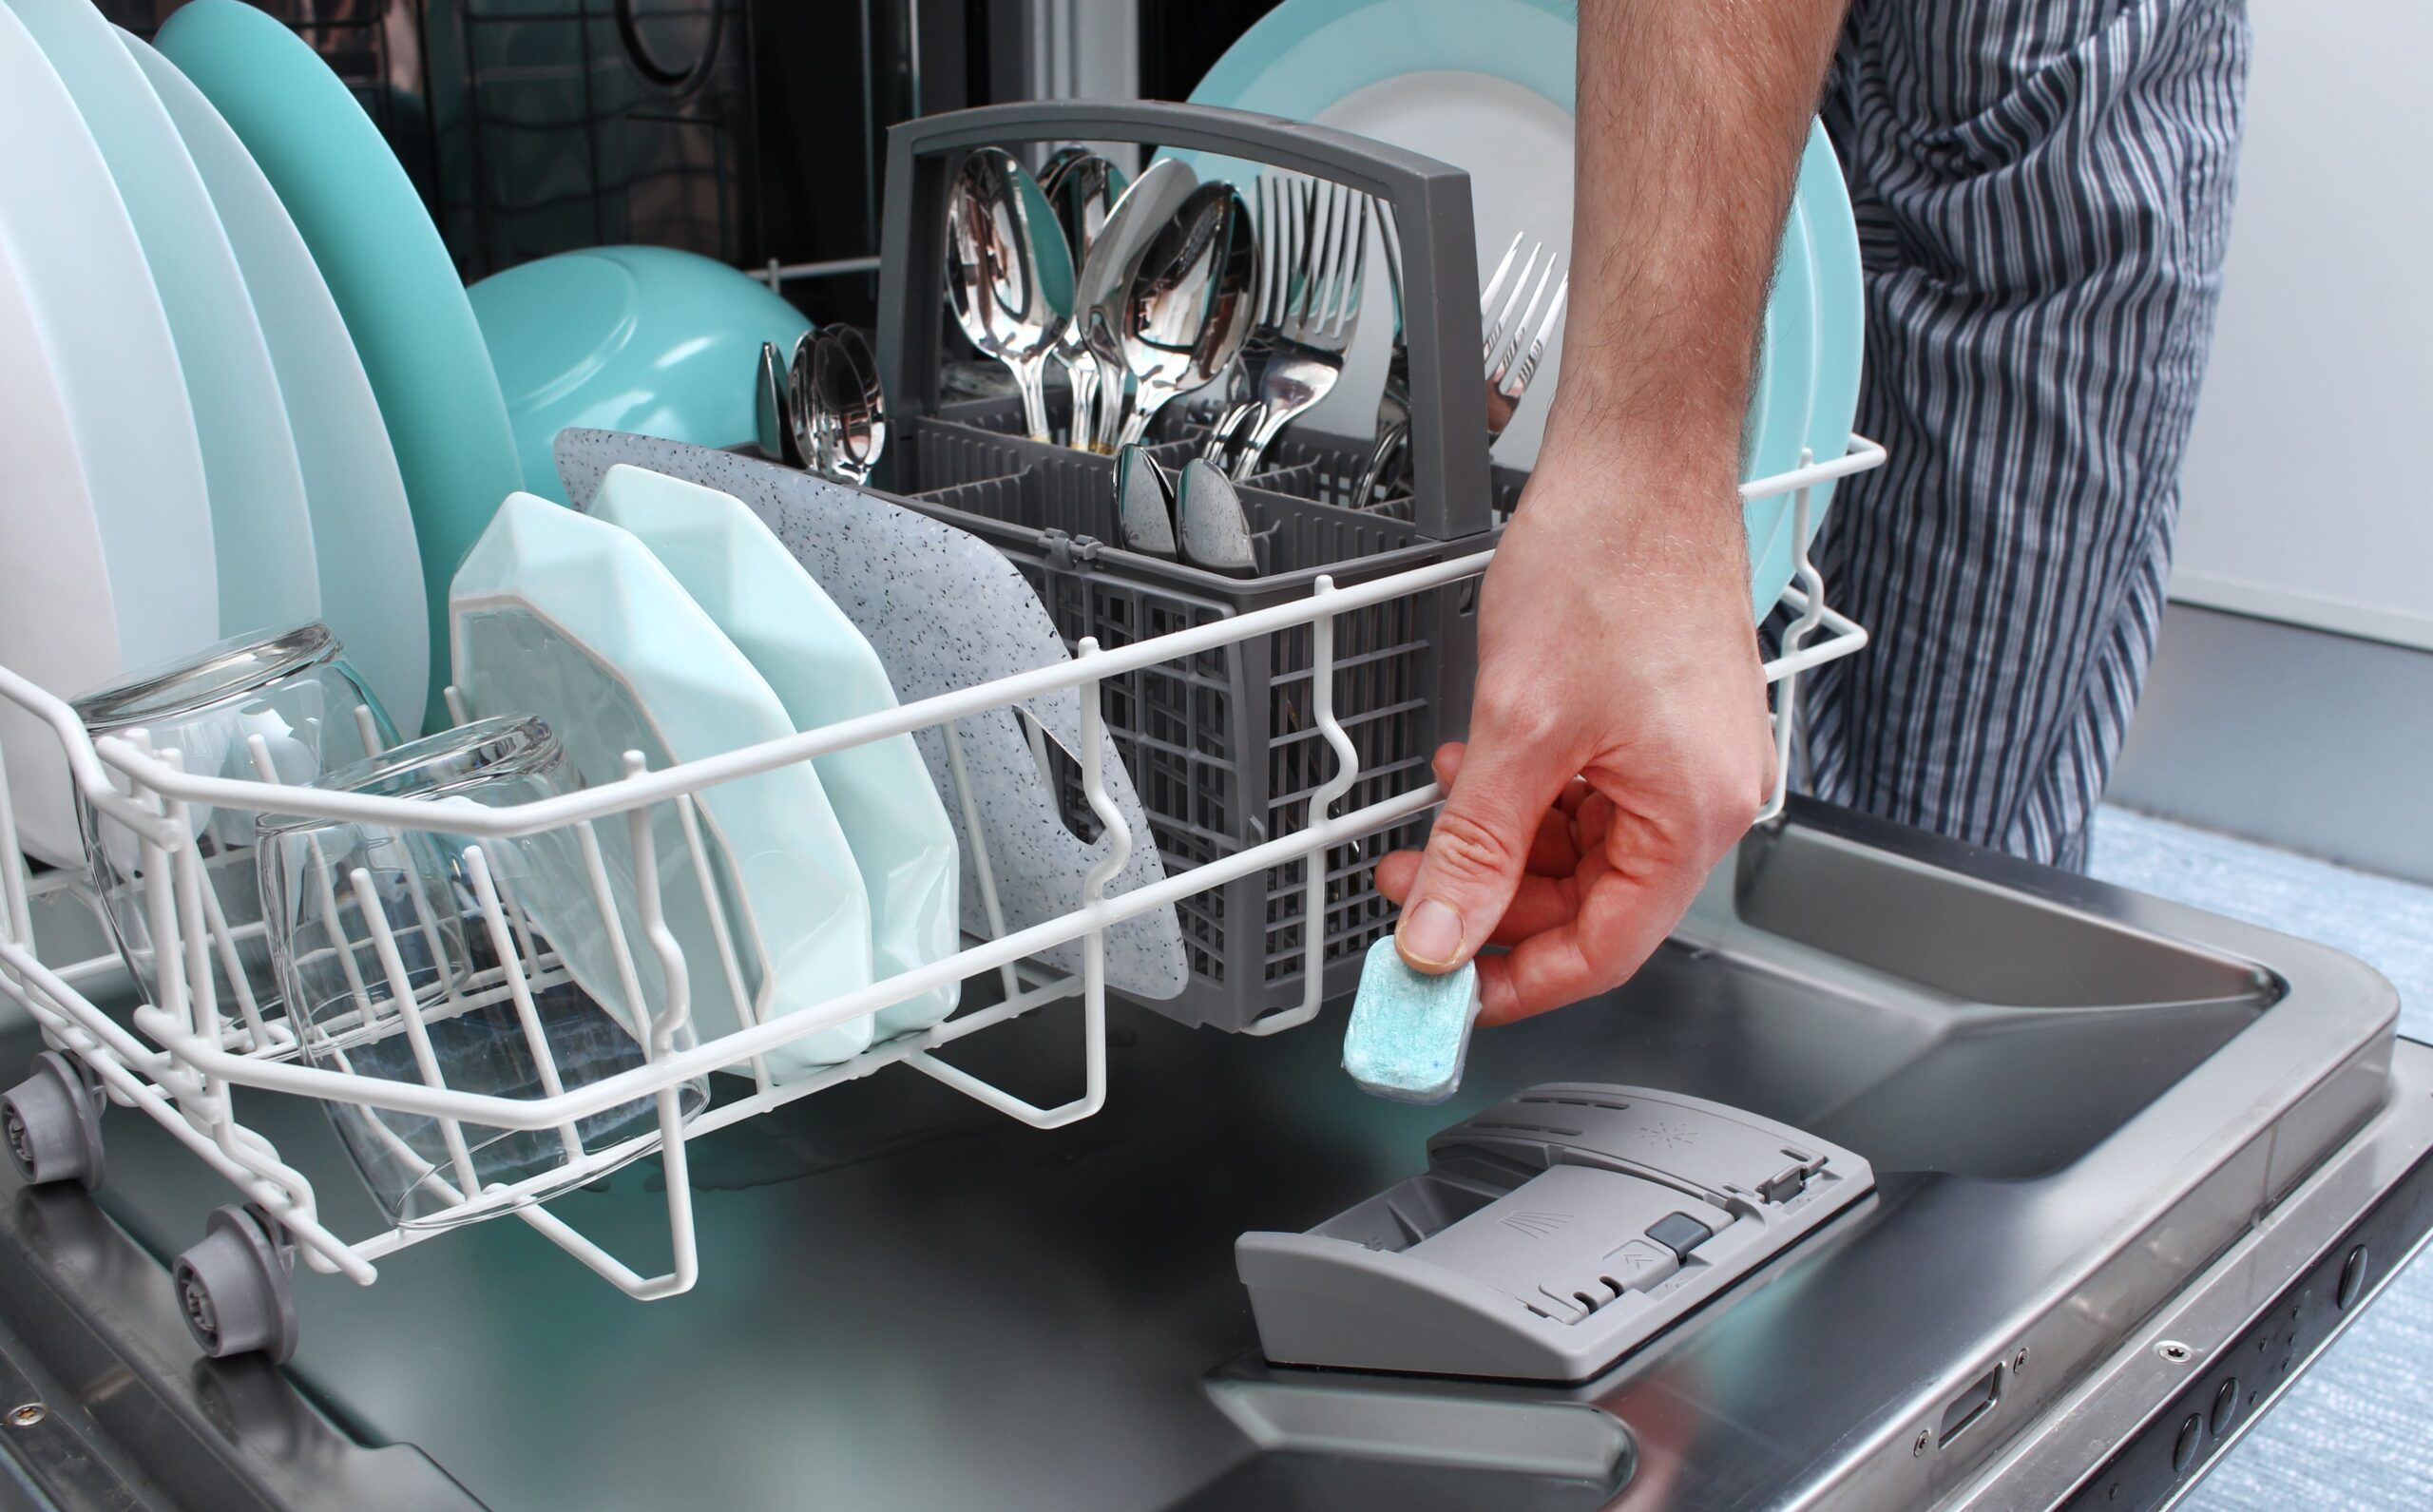
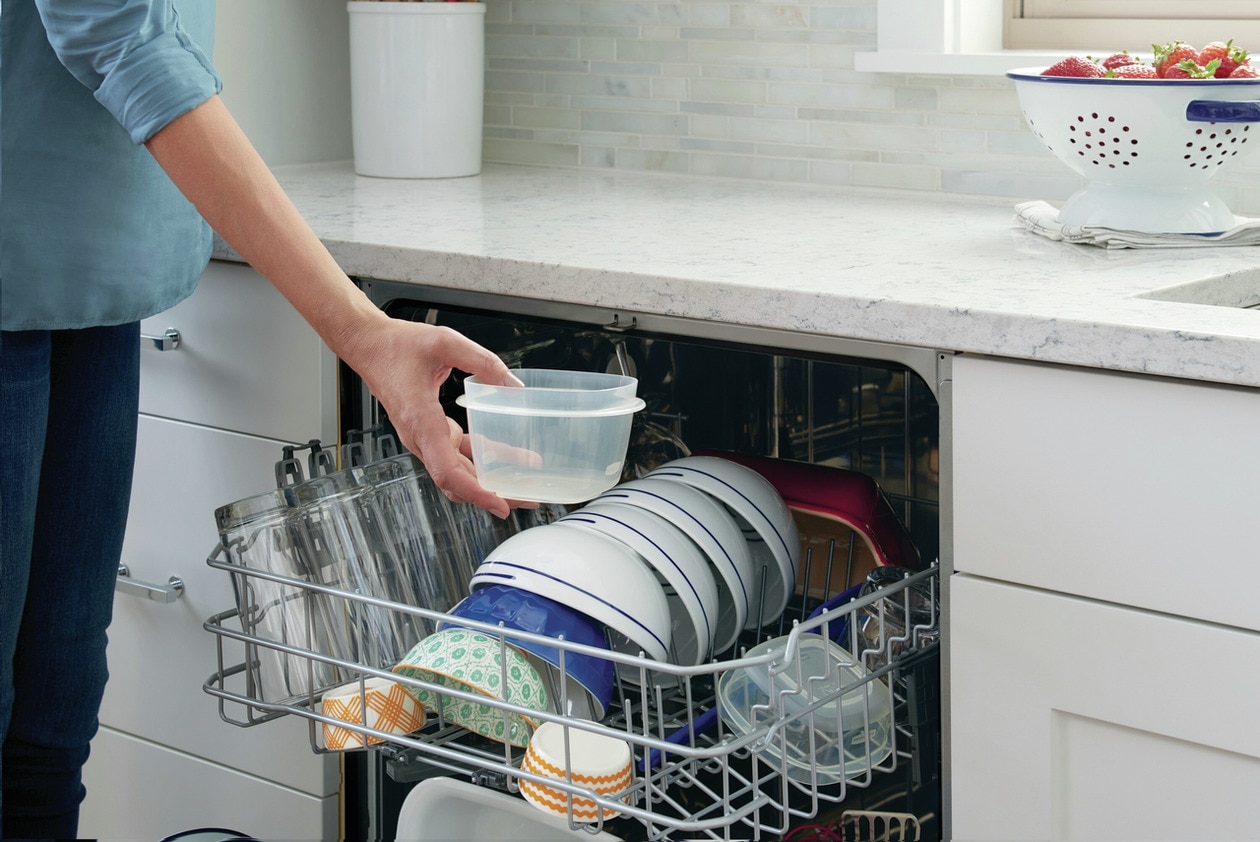
- Load the dishwasher: Place a few dirty dishes and utensils into the dishwasher. Make sure not to overload the dishwasher, as it may affect its performance.
- Add detergent: Follow the manufacturer’s instructions and add the appropriate amount of dishwasher detergent into the designated compartment.
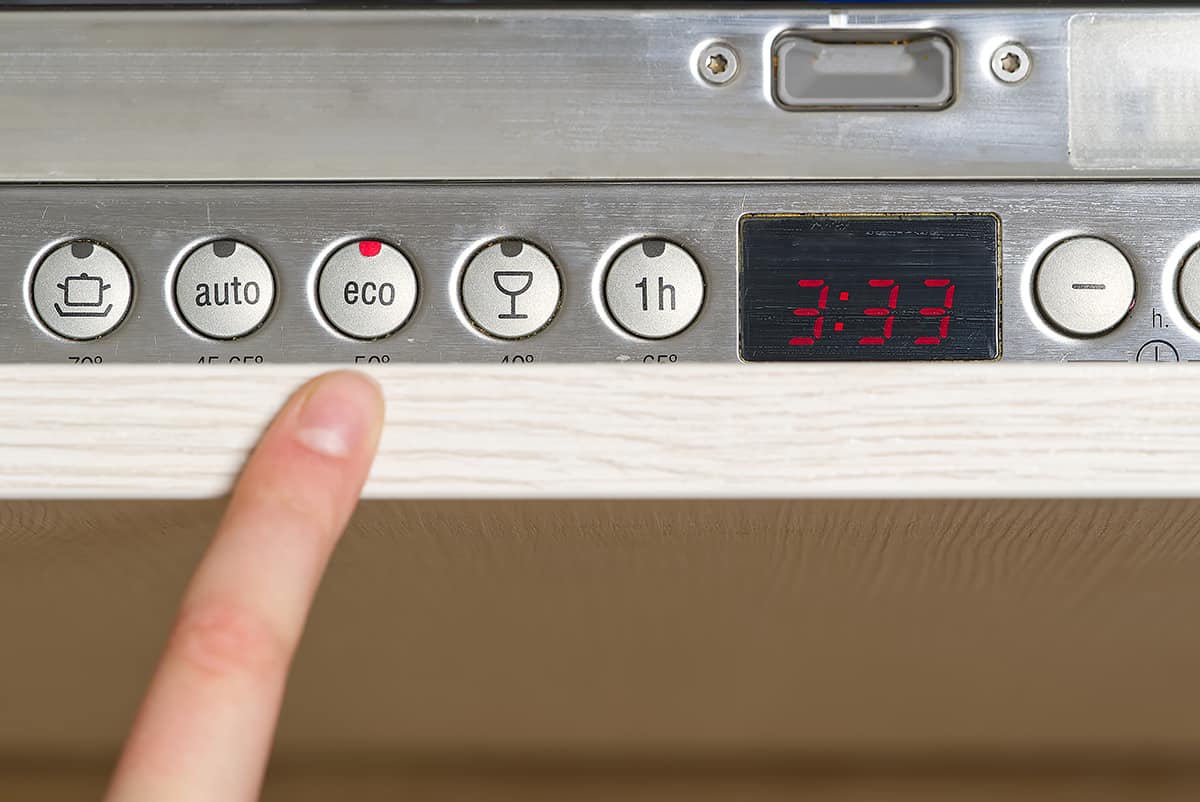
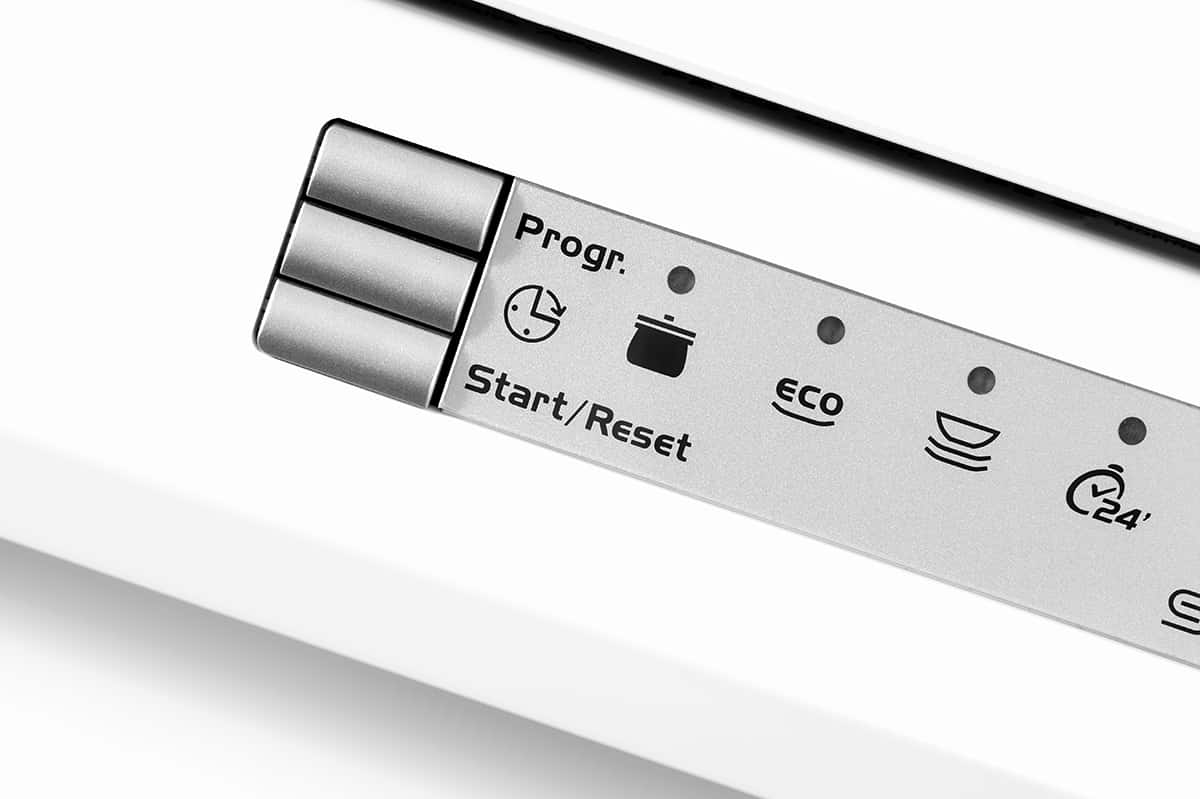
- Select a suitable cycle: Depending on the level of dirtiness and the type of dishes, select an appropriate cycle on the dishwasher control panel. Common cycle options include “Normal,” “Heavy,” “Quick,” and “Rinse Only.”
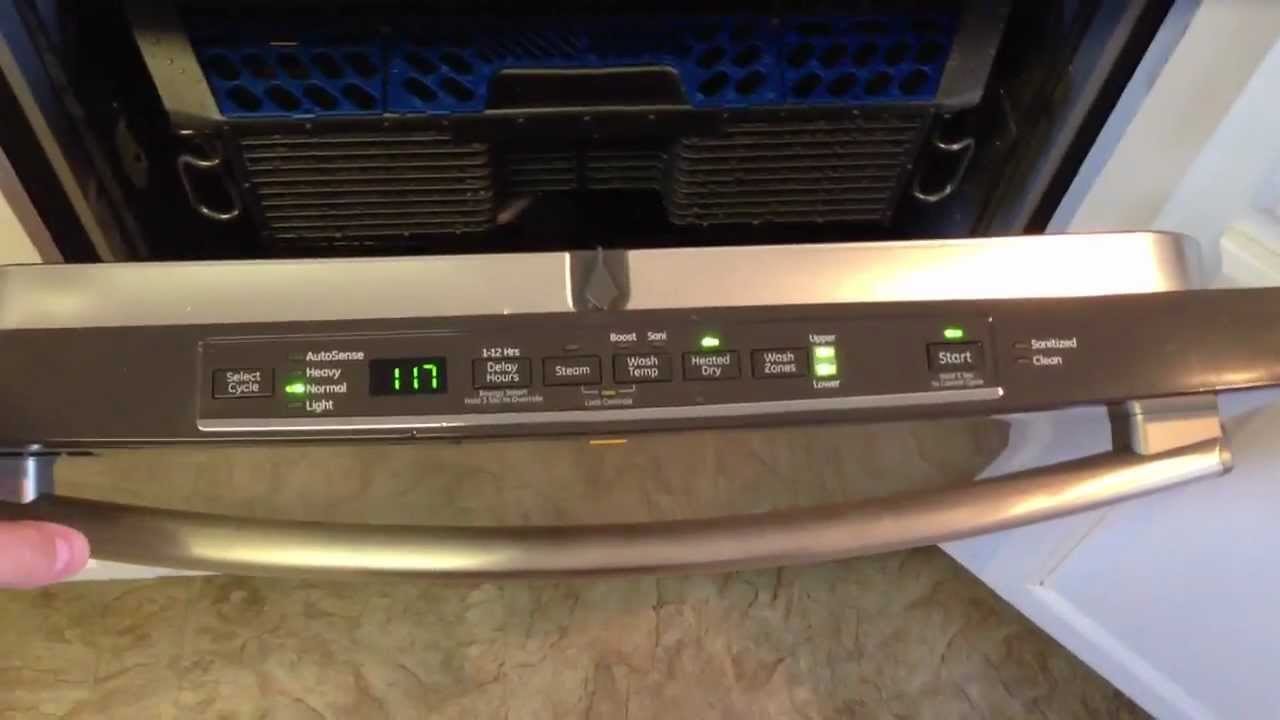
- Adjust additional settings: If your dishwasher offers additional settings, such as temperature selection or extra rinse, customize them to your preference.
- Start the cycle: Close the dishwasher door and press the “Start” button to begin the test cycle. The dishwasher will fill with water, heat the water, wash the dishes, drain the water, and, depending on the selected cycle, dry the dishes.
- Monitor the cycle: Keep an eye on the dishwasher during the test cycle. Make sure that it is operating smoothly without any unusual noises or leaks.
- Check the results: Once the test cycle completes, open the dishwasher to inspect the cleaned dishes. They should come out sparkling clean with no residue or leftover food particles.
Running a test cycle allows you to ensure that your dishwasher is functioning properly before regular use. If any issues arise during the test cycle, refer to the manufacturer’s troubleshooting guide or contact customer support for assistance.
Conclusion
Congratulations! You have successfully hooked up your dishwasher and completed the installation process. By following the step-by-step guide, you have learned how to gather the necessary tools, prepare the space, install the water supply line, connect the drain line, attach the power supply, secure the dishwasher in place, test the connections, and run a test cycle.
Having a dishwasher in your kitchen offers convenience and saves you valuable time and effort. With a properly installed and functioning dishwasher, you can enjoy clean and sparkling dishes with ease.
Remember, safety is crucial when dealing with plumbing and electrical connections. Always turn off the power and water supply before starting any installations or repairs. If you encounter any difficulties or are unsure about any steps in the process, do not hesitate to consult a professional for assistance.
Now that you have successfully set up your dishwasher, go ahead and enjoy the benefits it brings. Spend less time on dishwashing and more time on the things you love. Sit back, relax, and let your dishwasher take care of the dirty work.
Thank you for following along with this guide. We hope it has been informative and helpful in your dishwasher installation journey. Happy dishwashing!
Now that you've mastered setting up your dishwasher, why stop there? Dive into our guide on how to install an air gap for a dishwasher to ensure your kitchen meets all plumbing standards. If you're keen on tackling more hands-on tasks, our article on advantages of DIY projects offers insights that might inspire your next big home improvement venture. For those expanding their workspace, learning how to run electrical wiring to your garage is invaluable. Keep building your skills and enhancing your home with these engaging reads.
Frequently Asked Questions about How To Hookup A Dishwasher
Was this page helpful?
At Storables.com, we guarantee accurate and reliable information. Our content, validated by Expert Board Contributors, is crafted following stringent Editorial Policies. We're committed to providing you with well-researched, expert-backed insights for all your informational needs.
0 thoughts on “How To Hookup A Dishwasher”