
Articles
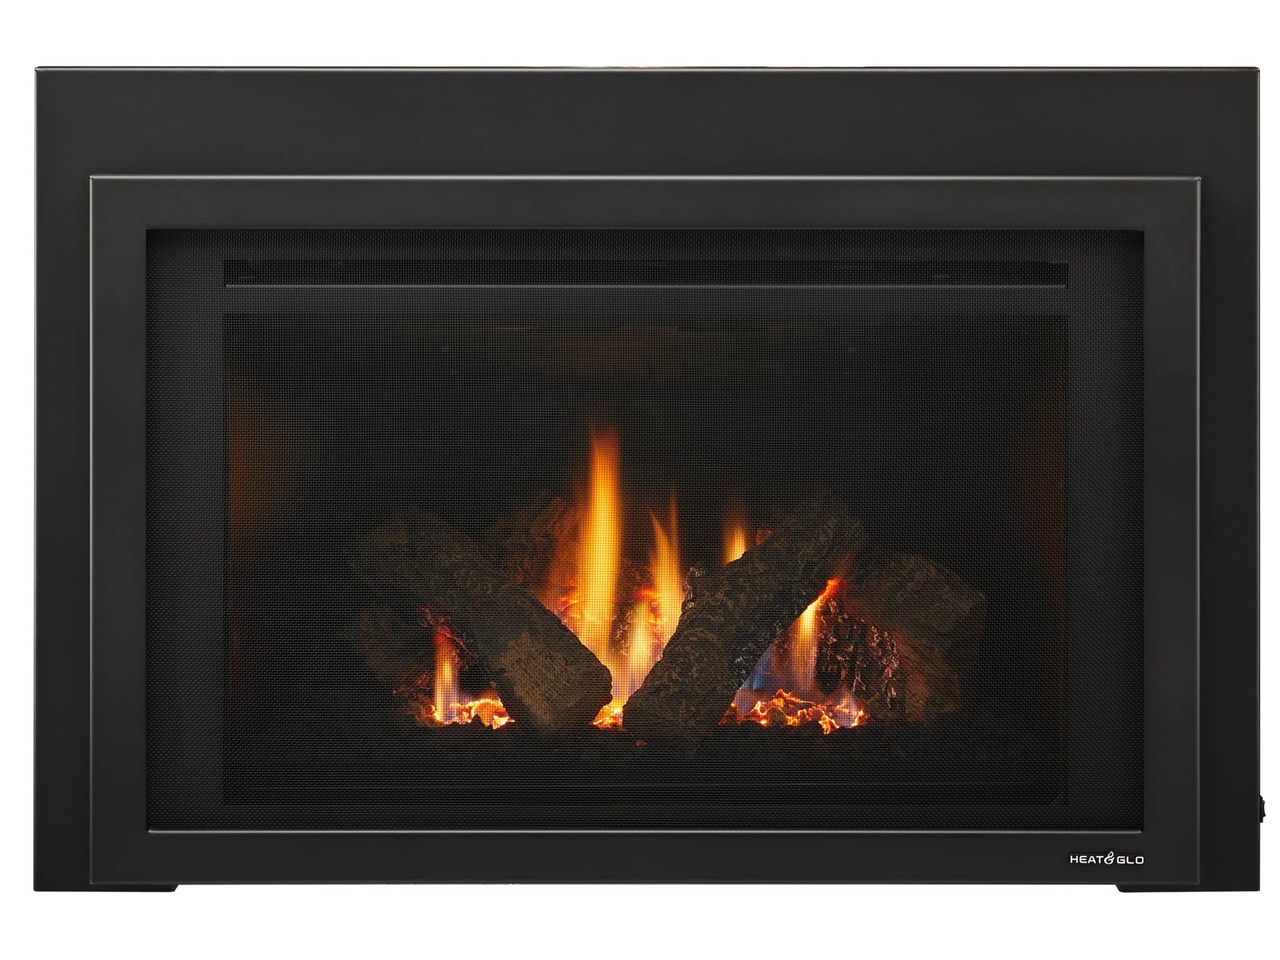
How To Install Gas Fireplace Insert
Modified: February 24, 2024
Learn step-by-step articles on how to install a gas fireplace insert in your home. Create a cozy and efficient heating solution with our expert guides.
(Many of the links in this article redirect to a specific reviewed product. Your purchase of these products through affiliate links helps to generate commission for Storables.com, at no extra cost. Learn more)
Introduction
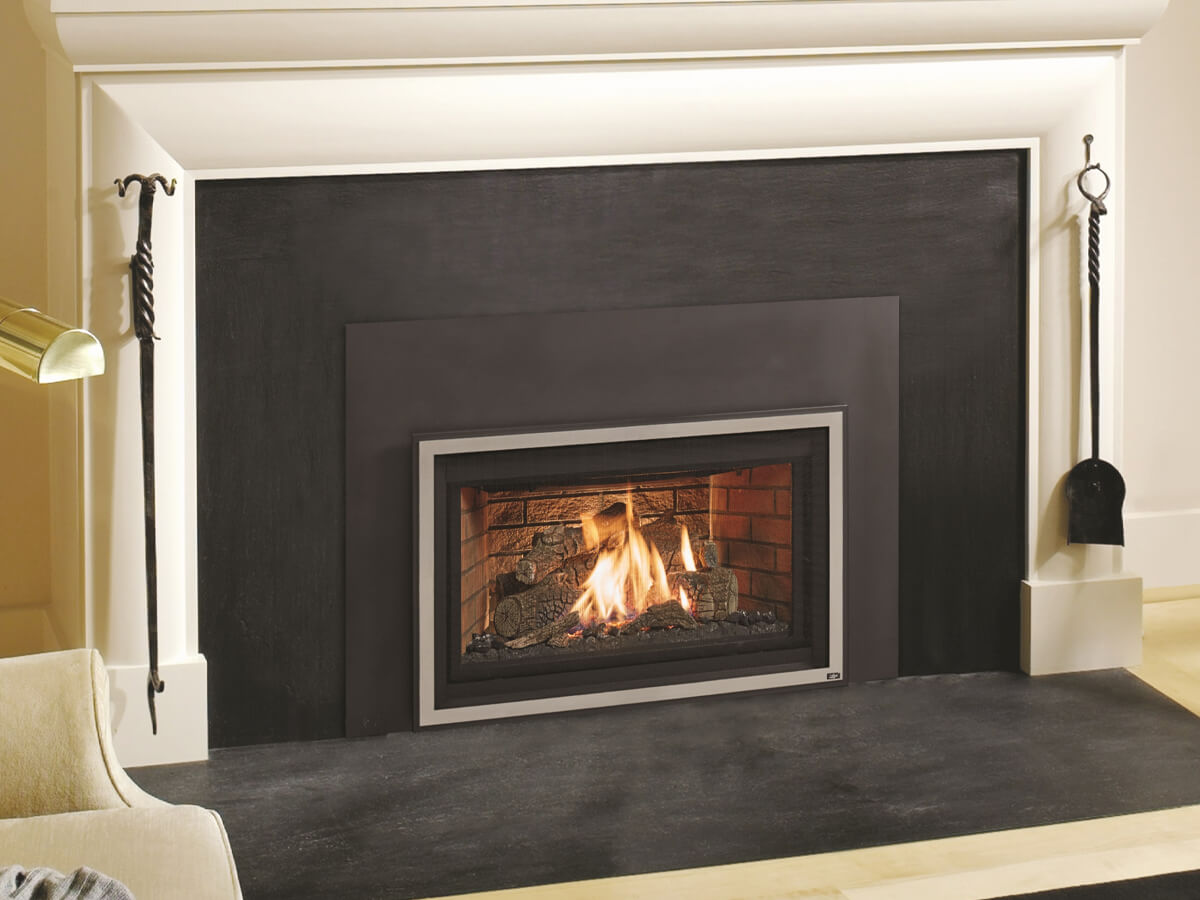
Installing a gas fireplace insert is a great way to add warmth, ambiance, and energy efficiency to your home. Whether you’re looking to upgrade an existing fireplace or install a new one, a gas fireplace insert is a convenient and cost-effective option. Not only does it provide a realistic flame and heat, but it also eliminates the need for wood, making it cleaner and more environmentally friendly.
In this article, we will guide you through the step-by-step process of installing a gas fireplace insert in your home. From assessing the space and gathering materials to connecting the insert to the gas line, we will cover everything you need to know to ensure a successful installation. So let’s dive in and get started!
Key Takeaways:
- Installing a gas fireplace insert involves assessing the space, preparing the area, connecting the gas line, positioning the insert, testing its functionality, and finalizing the installation. Following these steps ensures a safe and cozy addition to your home.
- Prioritize safety and follow manufacturer’s instructions when installing a gas fireplace insert. Seek professional assistance for gas line installation if needed. Once installed, enjoy the warmth and ambiance it brings to your home.
Read more: What Is A Gas Fireplace Insert
Step 1: Assessing the Space and Gathering Materials
The first step in installing a gas fireplace insert is to assess the space where you will be installing it and gather all the necessary materials. This will ensure that you have everything you need before you begin the installation process.
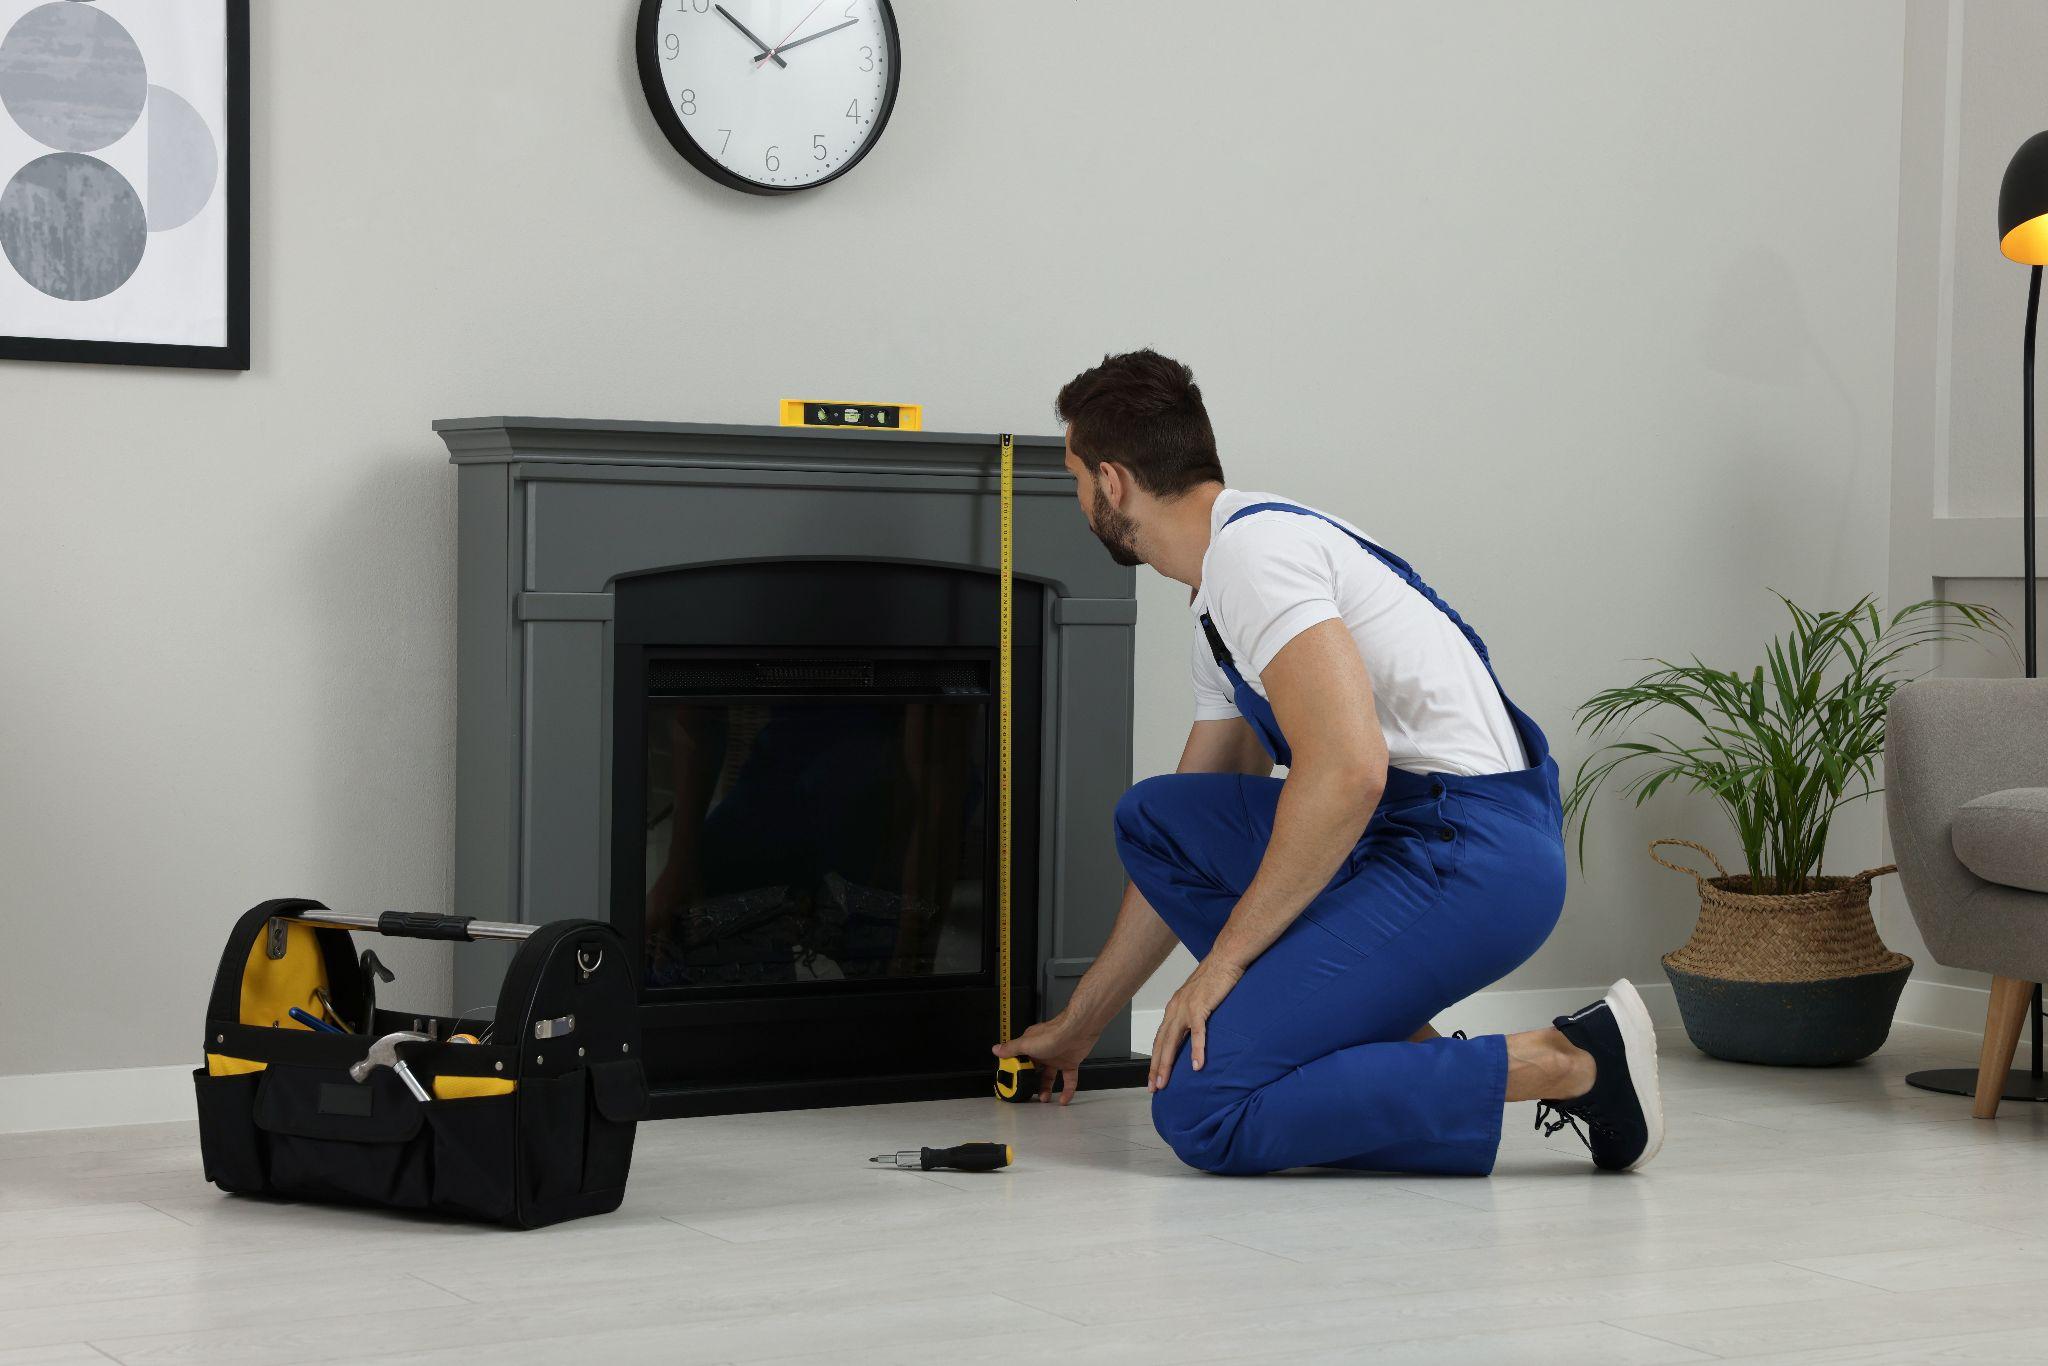
Start by measuring the dimensions of your existing fireplace or the space where you plan to install the insert. Make sure to measure the width, height, and depth accurately. This will help you determine the size of the gas fireplace insert you need to purchase.
Next, consider the location of the gas line. If you already have a gas line near your fireplace, installation will be relatively straightforward. However, if there is no existing gas line, you will need to consult a professional plumber to install one for you.
Once you have assessed the space and determined the appropriate size of the gas fireplace insert, it’s time to gather the materials you will need for the installation. Here is a list of commonly required materials:
- Gas fireplace insert
- Pipe cutter
- Flexible gas line
- Fireplace surround or mantel
- Fireplace insulation
- Silicone sealant
- Screws and screwdriver
- Level
- Fireplace door
- Hearth pad (if required by local building codes)
Make sure to gather all these materials before starting the installation to avoid any unnecessary delays or trips to the store.
With the space assessed and the materials gathered, you are now ready to move on to the next step: preparing the fireplace and the surrounding area.
Step 2: Preparing the Fireplace and Surrounding Area
Before installing the gas fireplace insert, it’s essential to prepare the fireplace and the surrounding area. This step will help ensure a smooth and secure installation process while minimizing any potential damage to the existing structure.
Start by thoroughly cleaning the fireplace. Remove any debris, ashes, or soot that may be present. This will create a clean and safe environment for the installation of the gas fireplace insert.
Next, inspect the chimney flue. Ensure that it is clear of any obstructions and in good condition. If necessary, have a professional chimney sweep clean and inspect the flue to ensure proper ventilation.
Once the fireplace is clean, you may need to make some modifications to the existing structure. This could include removing the existing damper or flue, as they are not needed when using a gas fireplace insert. Additionally, you may need to install insulation on the sides and back of the fireplace to prevent heat loss.
It’s also crucial to consider the surrounding area of the fireplace. Remove any flammable materials, such as furniture, curtains, or decorations, that are within the recommended clearance distance set by the manufacturer. This ensures that the gas fireplace insert operates safely and reduces the risk of fire hazards.
If necessary, you may choose to enhance the aesthetics of the fireplace by installing a surround or mantel. This will provide a finished look and can be customized to match your home’s decor. Follow the manufacturer’s instructions for installing the surround or mantel securely.
With the fireplace and the surrounding area prepared, the next step is to install the gas line. This will bring us one step closer to enjoying the warmth and comfort of a gas fireplace insert in our home.
Step 3: Installing the Gas Line
Installing the gas line is a crucial step in the process of installing a gas fireplace insert. It’s essential to ensure that the gas line is installed correctly and safely to prevent any leaks or hazards.
Before beginning the installation, make sure to turn off the gas supply to the area where the gas fireplace insert will be installed. This can typically be done at the main gas valve for your home. Safety should always be the number one priority when working with gas lines.
If you are not experienced in working with gas lines, it’s highly recommended to hire a professional plumber for this step. They will have the necessary skills and expertise to ensure a proper installation and compliance with local building codes.
The first step in installing the gas line is to determine the location of the gas source. This is typically a nearby gas line or a dedicated gas shut-off valve specifically for the fireplace. If there is no existing gas line, a plumber will need to install one for you.
Next, measure and cut the flexible gas line to the appropriate length to reach from the gas source to the gas fireplace insert. Use a pipe cutter or a tubing cutter specifically designed for gas lines to ensure clean and precise cuts.
Once the gas line is cut, connect it to the gas source using the appropriate fittings and connectors. Make sure to securely tighten all connections using a wrench or pliers. It’s essential to follow the manufacturer’s instructions and any local regulations regarding gas line installation.
As an added safety measure, apply an approved gas leak detection solution or use a gas leak detector to check for any leaks. This will help identify any potential issues before proceeding with the installation.
Once the gas line is securely connected and verified to be leak-free, it’s time to move on to the next step: positioning and securing the gas fireplace insert.
Step 4: Positioning and Securing the Insert
Now that the gas line is installed, it’s time to position and secure the gas fireplace insert in the designated space. Proper positioning is crucial to ensure optimal performance and safety.
Begin by carefully placing the gas fireplace insert into the fireplace opening. Take into consideration any clearances required by the manufacturer, as well as spacing requirements for ventilation and proper operation.
Use a level to ensure that the gas fireplace insert is positioned correctly and sits level on the hearth. Adjust as necessary to achieve a balanced and visually appealing installation.
Next, secure the gas fireplace insert in place using the provided brackets or anchors. Depending on the model, these may need to be attached to the back or sides of the insert, or secured to the fireplace surround or hearth. Follow the manufacturer’s instructions for proper installation and attachment.
It’s important to ensure that the gas fireplace insert is securely fastened to prevent any movement or instability. This will minimize the risk of accidents and ensure that the insert functions properly.
Take the time to double-check the positioning and alignment of the insert. Make any necessary adjustments and ensure that it is centered and aligned within the fireplace opening.
Once you are satisfied with the positioning and secure attachment of the gas fireplace insert, it’s time to move on to the next step: connecting the insert to the gas line.
Before proceeding with the gas connection, make sure to double-check that the gas line shut-off valve is still in the closed position. This is an important safety precaution to prevent any accidental gas leaks during the connection process.
With the gas fireplace insert in place and secured, we can now focus on connecting it to the gas line. This will bring us closer to enjoying the warmth and ambiance of our newly installed gas fireplace insert.
Before installing a gas fireplace insert, make sure to carefully read the manufacturer’s instructions and local building codes. It’s also important to have a professional inspect and install the gas line to ensure safety.
Read more: Where To Buy A Gas Fireplace Insert
Step 5: Connecting the Insert to the Gas Line
Connecting the gas fireplace insert to the gas line is a critical step in the installation process. It’s important to ensure a proper and secure connection to prevent any gas leaks or hazards.
Start by reviewing the manufacturer’s instructions for your specific gas fireplace insert model. These instructions will provide detailed guidance on the specific requirements and steps for connecting the insert to the gas line.
Typically, the gas line connection will involve using a flexible gas line hose. Begin by attaching one end of the flexible hose to the gas inlet on the fireplace insert. Ensure that the connection is tight and secure, using a wrench to tighten if necessary. Follow any provided guidelines regarding the use of sealant or Teflon tape.
Next, connect the other end of the flexible gas hose to the gas line. Again, ensure a tight and secure connection, using a wrench to tighten if needed. Verify that the connection is leak-free by applying a gas leak detection solution or using a gas leak detector.
Once the connection is made, it’s important to double-check that all connections are secure and the gas line shut-off valve is in the open position. This will ensure that gas flows freely to the gas fireplace insert.
Take the time to carefully inspect the gas line and connection for any signs of leakage, such as hissing sounds, odor of gas, or bubbles forming when applying a gas leak detection solution. If any signs of leakage are detected, turn off the gas supply immediately and seek professional assistance before proceeding.
Once the connection is secure and leak-free, it’s time to move on to the next step: testing the gas fireplace insert.
Testing the gas fireplace insert is a vital step to ensure that it is functioning correctly and providing the desired heat and flame effect. We’ll cover this step in detail in the next section.
Step 6: Testing the Gas Fireplace Insert
After connecting the gas fireplace insert to the gas line, it’s crucial to test the unit to ensure that it is functioning properly and safely. This step allows you to verify if the installation was successful and make any necessary adjustments before finalizing the process.
Before testing the gas fireplace insert, ensure that the surrounding area is clear of flammable materials and that there is proper ventilation. This will help maintain a safe environment during the testing process.
Start by turning on the gas supply at the shut-off valve. Take note of any hissing sounds or gas odor, as this could indicate a potential gas leak. If you detect any signs of a leak, immediately turn off the gas supply and consult a professional before proceeding.
Next, follow the manufacturer’s instructions to ignite the flame in the gas fireplace insert. This may involve using a control panel, remote control, or a manual ignition switch. Allow the flame to burn for a few minutes while observing its appearance and checking for any abnormal sounds or odors.
Pay attention to the color and height of the flame. Ensure that it is a stable blue flame, indicating proper combustion. If the flame is yellow or uneven, this could be a sign of an issue with the gas flow or ventilation. In such cases, it is advisable to contact a professional for further inspection and adjustment.
During the testing phase, also assess the heat output of the gas fireplace insert. Make sure that it is generating the desired amount of warmth for your space. If the heat output is insufficient or excessive, refer to the manufacturer’s instructions for adjusting the settings or consult a professional for assistance.
Additionally, test any accompanying features of the gas fireplace insert, such as blower fans, thermostats, or remote control functions. Ensure that they are working correctly and effectively enhancing the operation and convenience of the unit.
If the gas fireplace insert passes all the tests and operates as expected, you can proceed to the final step: finalizing the installation.
However, if any issues or concerns arise during the testing phase, it’s crucial to address them promptly and seek professional assistance if needed. It’s always better to ensure the safety and proper functionality of the gas fireplace insert before completing the installation.
Step 7: Finalizing the Installation
Congratulations! You’ve reached the final step of installing a gas fireplace insert. Now it’s time to complete the remaining tasks to ensure a finished and polished installation.
First, double-check all connections, including the gas line and electrical connections if applicable, to ensure they are secure and functioning properly. Take the time to inspect the surrounding area for any signs of damage or loose materials that may have occurred during the installation process.
Next, if required by local building codes, install a hearth pad to protect the floor in front of the fireplace. Follow the manufacturer’s guidelines to properly position and secure the hearth pad.
If you have chosen to install a fireplace door, now is the time to do so. This will not only enhance the appearance of the gas fireplace insert but also provide an added layer of safety by preventing direct access to the flames and hot surfaces. Follow the manufacturer’s instructions for proper installation of the fireplace door.
Additionally, apply a silicone sealant around the edges of the gas fireplace insert and the surrounding fireplace opening. This will help seal any gaps and improve energy efficiency by preventing drafts and heat loss.
Finally, clean up the installation area, removing any debris, tools, or materials that were used during the installation process. Wipe down the gas fireplace insert and surrounding surfaces to ensure they are free of any dust or fingerprints.
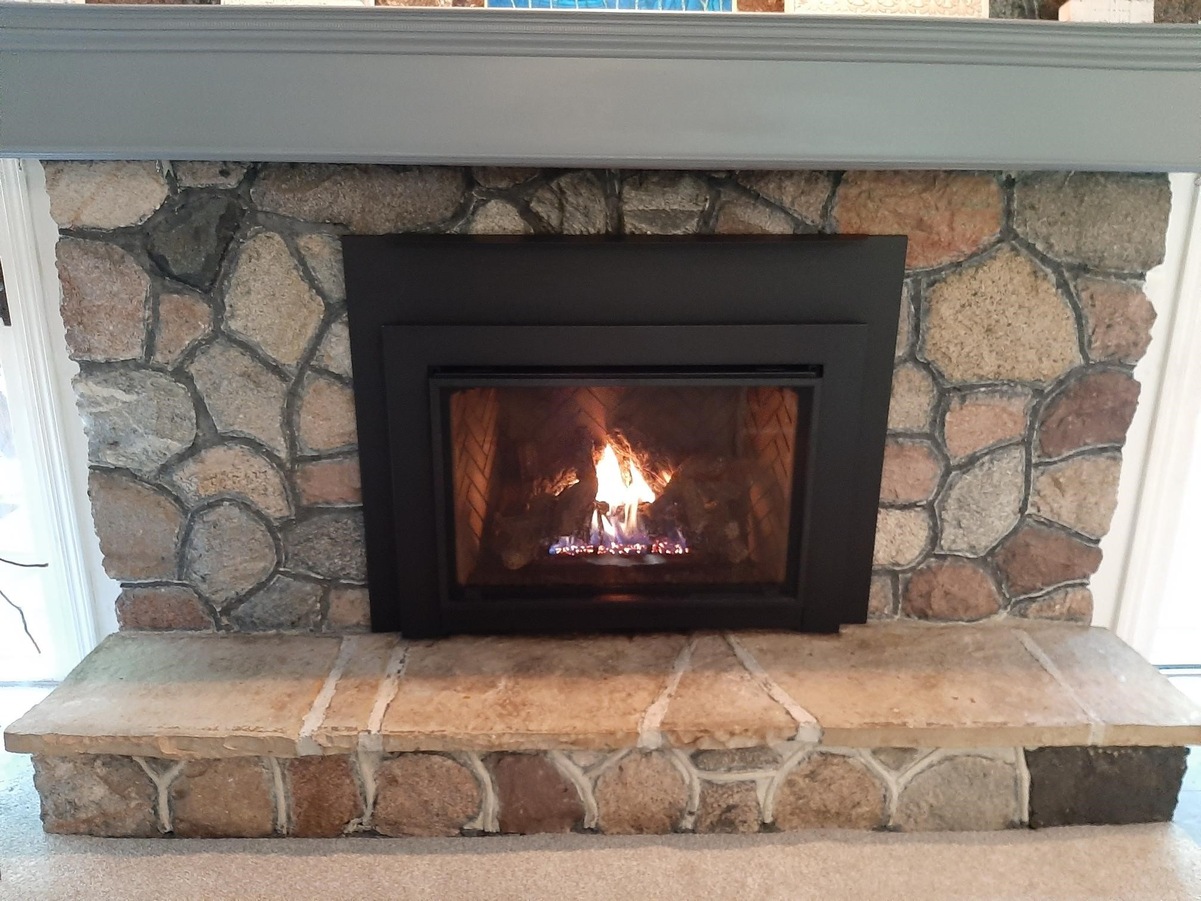
Once the installation area is clean and everything is in place, take a moment to admire your newly installed gas fireplace insert. Bask in the warmth and ambiance it provides, knowing that you have successfully completed the installation.
Remember to keep the user manual and any warranty information in a safe and easily accessible place. Refer to the manual for maintenance and cleaning instructions to ensure the continued performance and longevity of your gas fireplace insert.
By following these steps and taking the necessary precautions, you can enjoy the comfort, convenience, and beauty of a gas fireplace insert in your home. With proper maintenance and care, it will provide you with years of cozy evenings and fond memories.
Thank you for choosing a gas fireplace insert and for taking the time to learn how to install it. Enjoy the warmth and ambiance it brings to your home!
Conclusion
Installing a gas fireplace insert is a rewarding project that can transform the ambiance and functionality of your home. By following the step-by-step process outlined in this guide, you can successfully install a gas fireplace insert and enjoy the cozy warmth it provides.
From assessing the space and gathering materials to connecting the gas line and testing the unit, each step is essential to ensuring a safe and efficient installation. Taking the time to properly prepare the fireplace and surrounding area, as well as carefully positioning and securing the insert, will contribute to a successful outcome.
Throughout the installation process, it’s important to follow the manufacturer’s instructions, adhere to local building codes, and prioritize safety. If you are not comfortable or experienced with working with gas lines or making structural modifications, it is recommended to seek the assistance of a professional to ensure a proper and reliable installation.
Once the gas fireplace insert is installed, take pleasure in its beauty and functionality. Adjust the flame to your desired level, take advantage of any additional features, such as blowers or remote controls, and experience the comforting warmth it generates.
Remember to conduct regular maintenance as recommended by the manufacturer to keep the gas fireplace insert in optimal condition. Cleaning the glass and clearing any debris or dust will help maintain its efficiency and extend its lifespan.
We hope this guide has provided you with valuable insights and guidance on how to install a gas fireplace insert. Now, it’s time to sit back, relax, and enjoy the cozy ambiance and warmth that your new gas fireplace insert brings to your home.
Stay warm and cozy!
Frequently Asked Questions about How To Install Gas Fireplace Insert
Was this page helpful?
At Storables.com, we guarantee accurate and reliable information. Our content, validated by Expert Board Contributors, is crafted following stringent Editorial Policies. We're committed to providing you with well-researched, expert-backed insights for all your informational needs.







0 thoughts on “How To Install Gas Fireplace Insert”