
Articles
How To Install Direct Vent Gas Fireplace
Modified: January 8, 2024
Looking for articles on how to install a direct vent gas fireplace? Find step-by-step guides and tips from experts in our comprehensive collection.
(Many of the links in this article redirect to a specific reviewed product. Your purchase of these products through affiliate links helps to generate commission for Storables.com, at no extra cost. Learn more)
Introduction
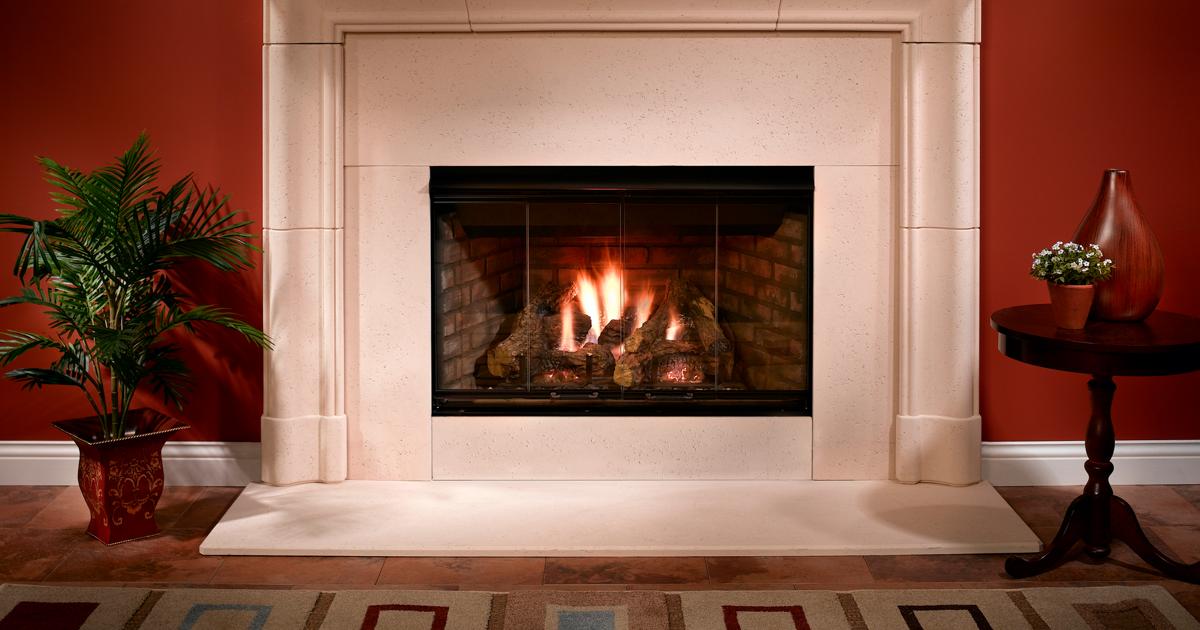
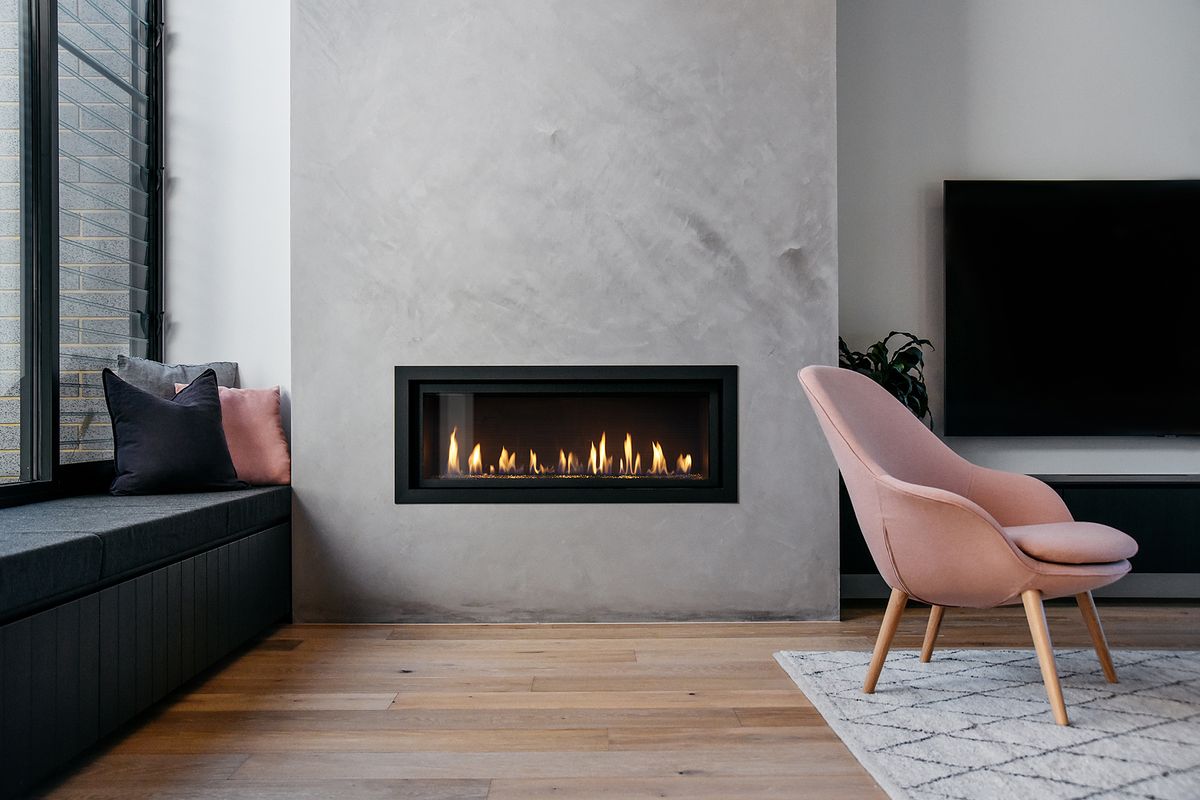
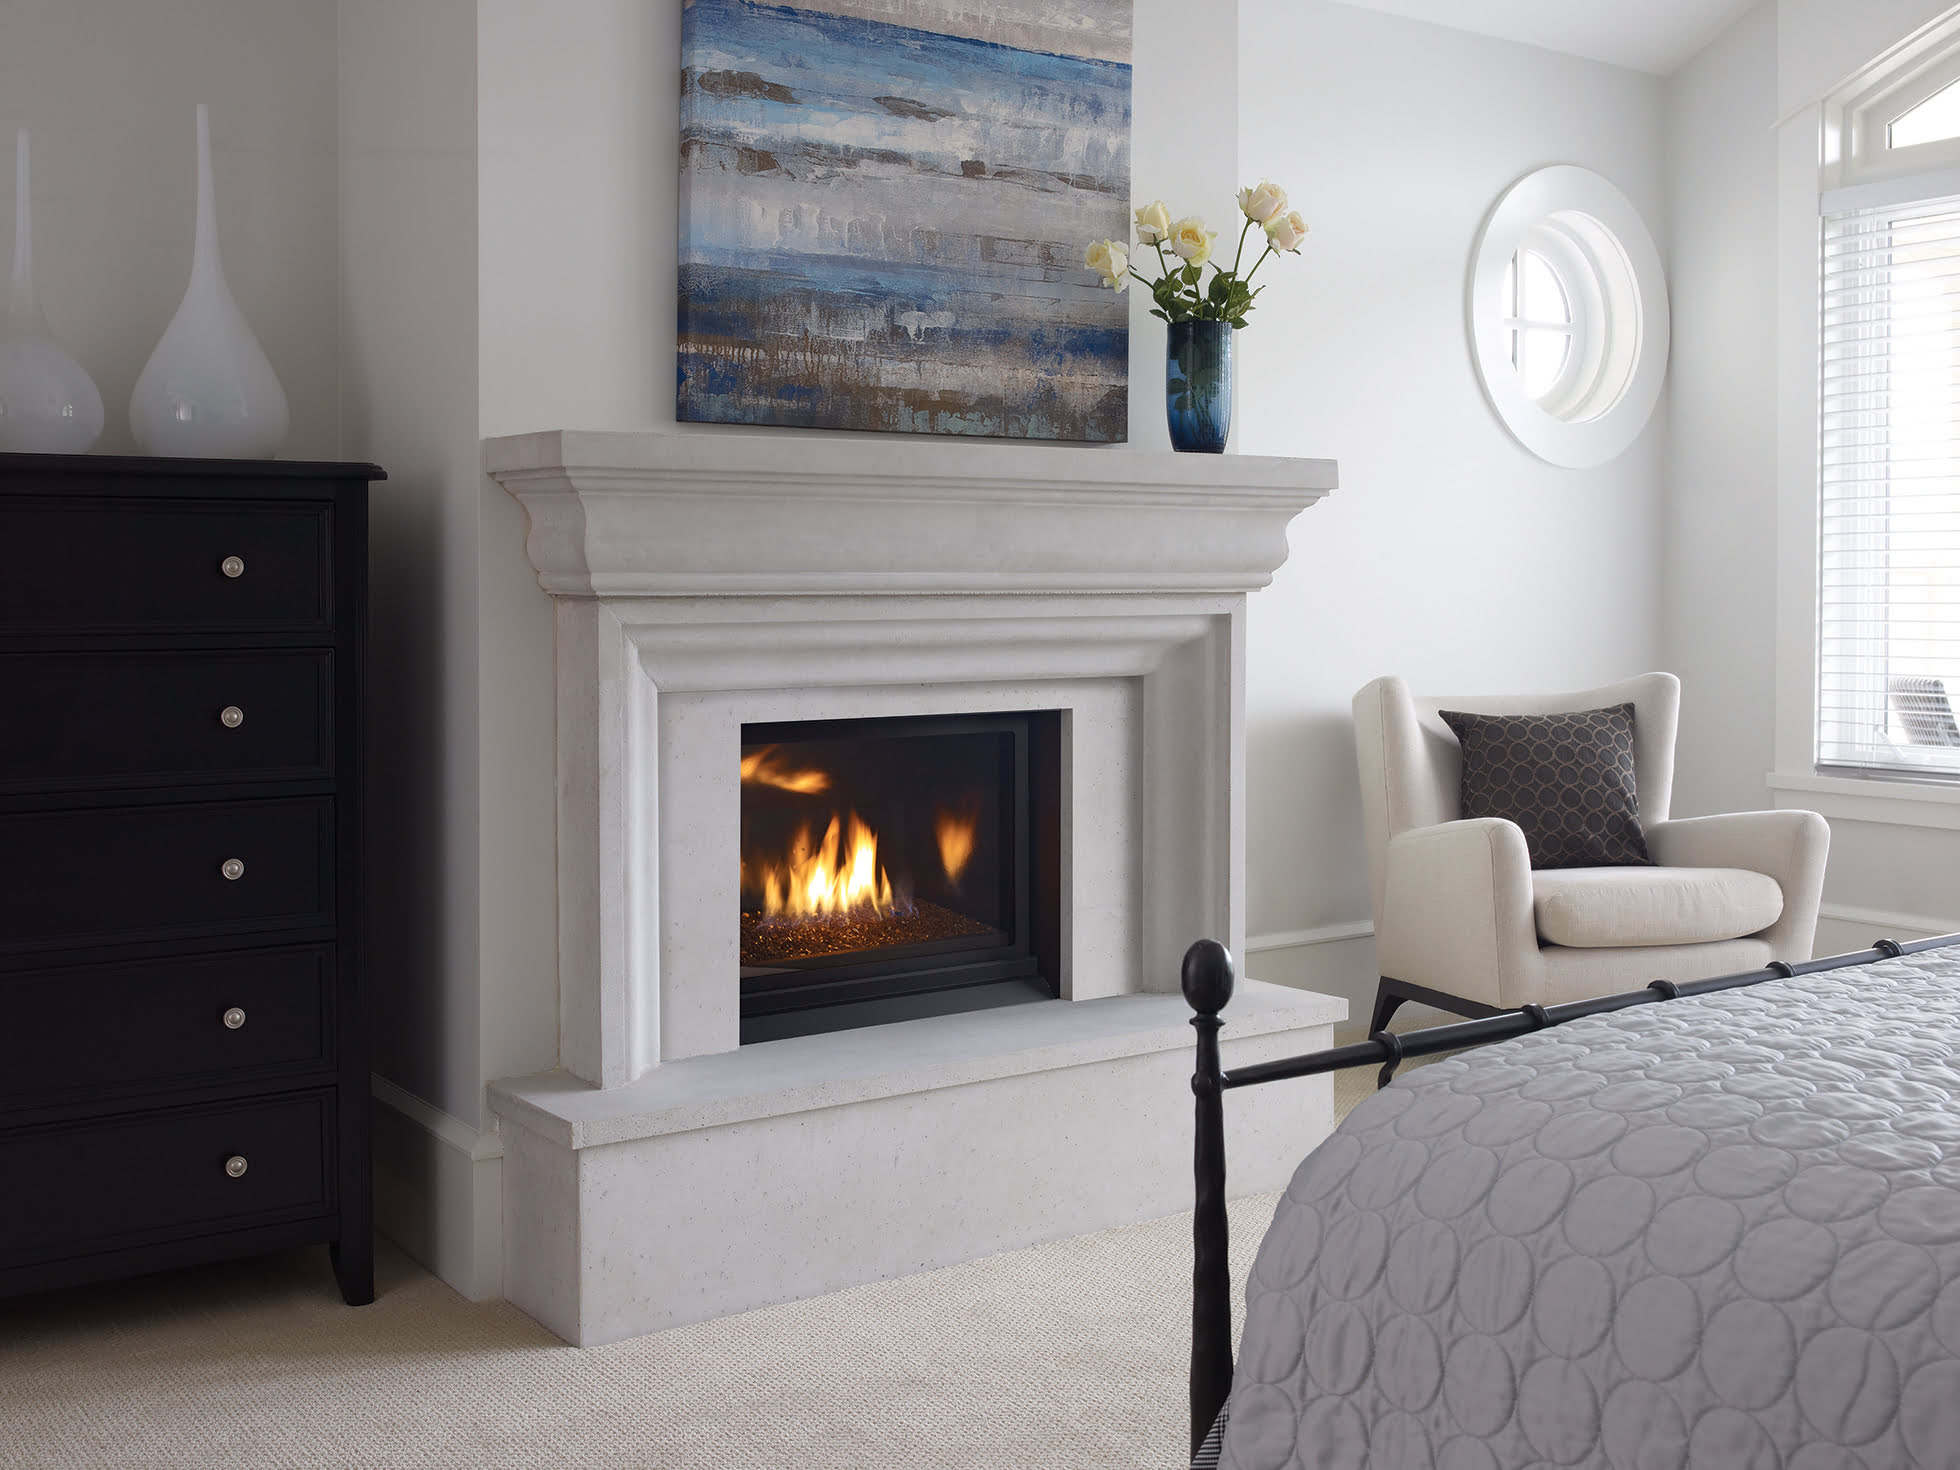
Welcome to this comprehensive guide on how to install a direct vent gas fireplace. Adding a fireplace to your home can create a warm and cozy atmosphere while also adding value to your property. Direct vent gas fireplaces are a popular choice due to their convenience and efficiency. Unlike traditional fireplaces, they do not require a chimney and can be installed in various locations within your home.
In this article, we will walk you through the steps to install a direct vent gas fireplace, from gathering the necessary tools and materials to finishing the installation with trim and accessories. Whether you are a DIY enthusiast or hiring a professional, this guide will provide you with the knowledge you need to successfully complete the installation.
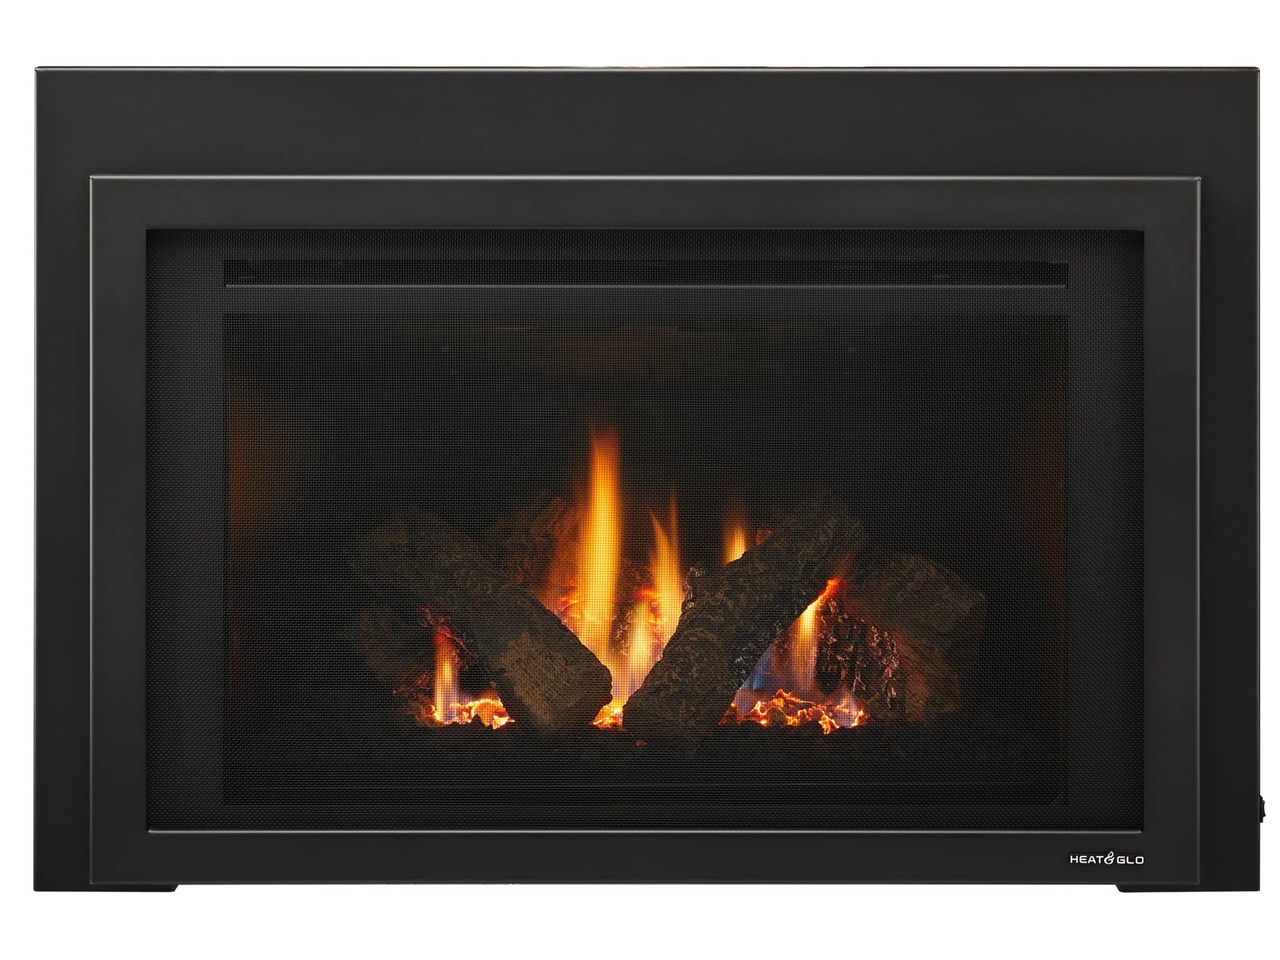
Before we dive into the installation process, it’s important to understand what a direct vent gas fireplace is. These fireplaces are designed to draw combustion air from the outside and expel the combustion byproducts through a sealed pipe system. This not only eliminates the need for a traditional chimney but also ensures greater efficiency and indoor air quality.
Now let’s get started with step one, where we will gather the necessary tools and materials for the installation.
Key Takeaways:
- Installing a direct vent gas fireplace involves gathering tools, choosing a suitable location, preparing the installation area, and connecting the gas supply line. Safety, proper ventilation, and testing are crucial throughout the process.
- The installation process also includes securing the fireplace in place, testing its functionality, and adding finishing touches with trim and accessories. Following manufacturer’s instructions and seeking professional assistance when needed ensures a successful and cozy fireplace installation.
Read more: What Is A Direct Vent Fireplace
Step 1: Gather the necessary tools and materials
Before you begin installing your direct vent gas fireplace, it’s important to gather all the required tools and materials. Having everything on hand will save you time and ensure a smooth installation process. Here is a list of items you will need:
1. Direct vent gas fireplace: Choose a model that fits your desired size and style. Make sure it comes with the necessary venting components.
2. Vent pipe kit: This includes the pipes, terminations, and other fittings required for venting the fireplace. Check that the kit is compatible with your fireplace model.
3. Gas supply line: You will need a flexible gas line to connect the fireplace to your home’s gas supply. Ensure that it is the correct size and length for your setup.
4. Vent pipe sealant: This is a high-temperature sealant used to create a secure and airtight connection between the vent pipes.
5. Wall pass-through: If you are venting the fireplace through an exterior wall, you will need a wall pass-through kit to create a weatherproof seal.
6. Level, tape measure, and stud finder: These tools will help you ensure that the fireplace is installed level and securely attached to the wall.
7. Power drill and appropriate drill bits: You will need a drill to create holes for the vent pipe and any necessary attachment points.
8. Screwdriver and wrench set: These tools will be needed to tighten screws, bolts, and fittings during the installation process.
9. Safety equipment: It’s important to prioritize safety during the installation. Wear gloves, safety goggles, and a dust mask to protect yourself from any potential hazards.
Once you have gathered all the necessary tools and materials, you will be ready to move on to the next step: choosing the location for your gas fireplace. This step is crucial as it determines where the fireplace will be positioned and how it will be vented. Stay tuned for step two!
Step 2: Choose the location for the fireplace
Choosing the right location for your direct vent gas fireplace is an important decision. It will not only affect the aesthetics of your space but also impact the functionality and safety of the installation. Here are some factors to consider when selecting the ideal location:
1. Clearances: Direct vent gas fireplaces require specific clearances to combustible materials. Check the manufacturer’s guidelines to ensure that you have enough space around the fireplace to meet these requirements. This includes clearances to walls, furniture, curtains, and other flammable objects.
2. Venting options: Determine the most suitable venting option for your setup. Direct vent fireplaces can be vented vertically or horizontally, through a wall or a roof. Consider the structural limitations and aesthetical preferences of your space to choose the best option.
3. Gas supply: Ensure that a gas line is easily accessible from the chosen location. Consult a professional plumber if you need to extend or install a new gas line. Safety should be a top priority when working with gas.
4. Structural support: Check that the chosen wall or floor can support the weight of the fireplace. If you’re installing the fireplace on an upper level or against a stud wall, ensure that the structure can handle the added weight and vibration.
5. Interior design: Consider how the fireplace will fit into the overall interior design of your space. Choose a location that allows for proper ventilation and enhances the ambiance and focal point of the room.
6. Accessibility: Keep in mind the accessibility of the fireplace for maintenance and future servicing. Make sure there is adequate space to clean the glass, access the controls, and perform routine maintenance tasks.
After considering these factors, select a location that meets all the requirements. Mark the chosen spot on the wall or floor using a pencil or painter’s tape. This will serve as a reference point for the rest of the installation process.
With the location chosen, you are now ready to move on to step three: preparing the installation area. This step involves ensuring that the area is suitable for the fireplace installation and making any necessary preparations. Stay tuned for the next step!
Step 3: Prepare the installation area
Before installing your direct vent gas fireplace, it is essential to properly prepare the installation area. This step ensures that the area is suitable for the fireplace and helps create a secure and clean installation. Here’s what you need to do:
1. Clear the area: Remove any furniture, decorations, or other objects from the installation area. This will provide you with clear access and prevent any damage to your belongings during the installation process.
2. Protect the flooring: Place a protective covering, such as a drop cloth or cardboard, over the floor in the intended location of the fireplace. This will prevent any damage to your flooring from debris or accidental spills during the installation.
3. Check for electrical wiring and plumbing: Before drilling any holes, make sure there are no electrical wires or plumbing pipes behind the wall or floor where you plan to install the fireplace. Use a stud finder or consult a professional if needed.
4. Cut an access hole: If your fireplace requires a wall pass-through, such as for horizontal venting, measure and mark the location of the hole. Use a saw or jigsaw to carefully cut the hole according to the manufacturer’s specifications.
5. Insulate the wall pass-through: If you are installing the fireplace through an exterior wall, insulate the wall pass-through. This will help prevent any drafts and ensure proper insulation.
6. Secure the mounting bracket: If your fireplace comes with a mounting bracket, secure it to the wall or floor according to the manufacturer’s instructions. Use a level to ensure it is perfectly straight and securely attached.
7. Install the firestop or ceiling support: Depending on your venting setup, you may need to install a firestop or ceiling support. Follow the manufacturer’s guidelines for proper installation.
8. Prepare the gas line: If necessary, extend or install a gas line to the location of the fireplace. Consult a professional plumber to ensure that it is done safely and according to building codes.
Once the installation area is prepared, you are now ready to move on to step four: installing the fireplace vent pipe. This step involves connecting the venting components to properly route the combustion byproducts outside your home. Stay tuned for the next step!
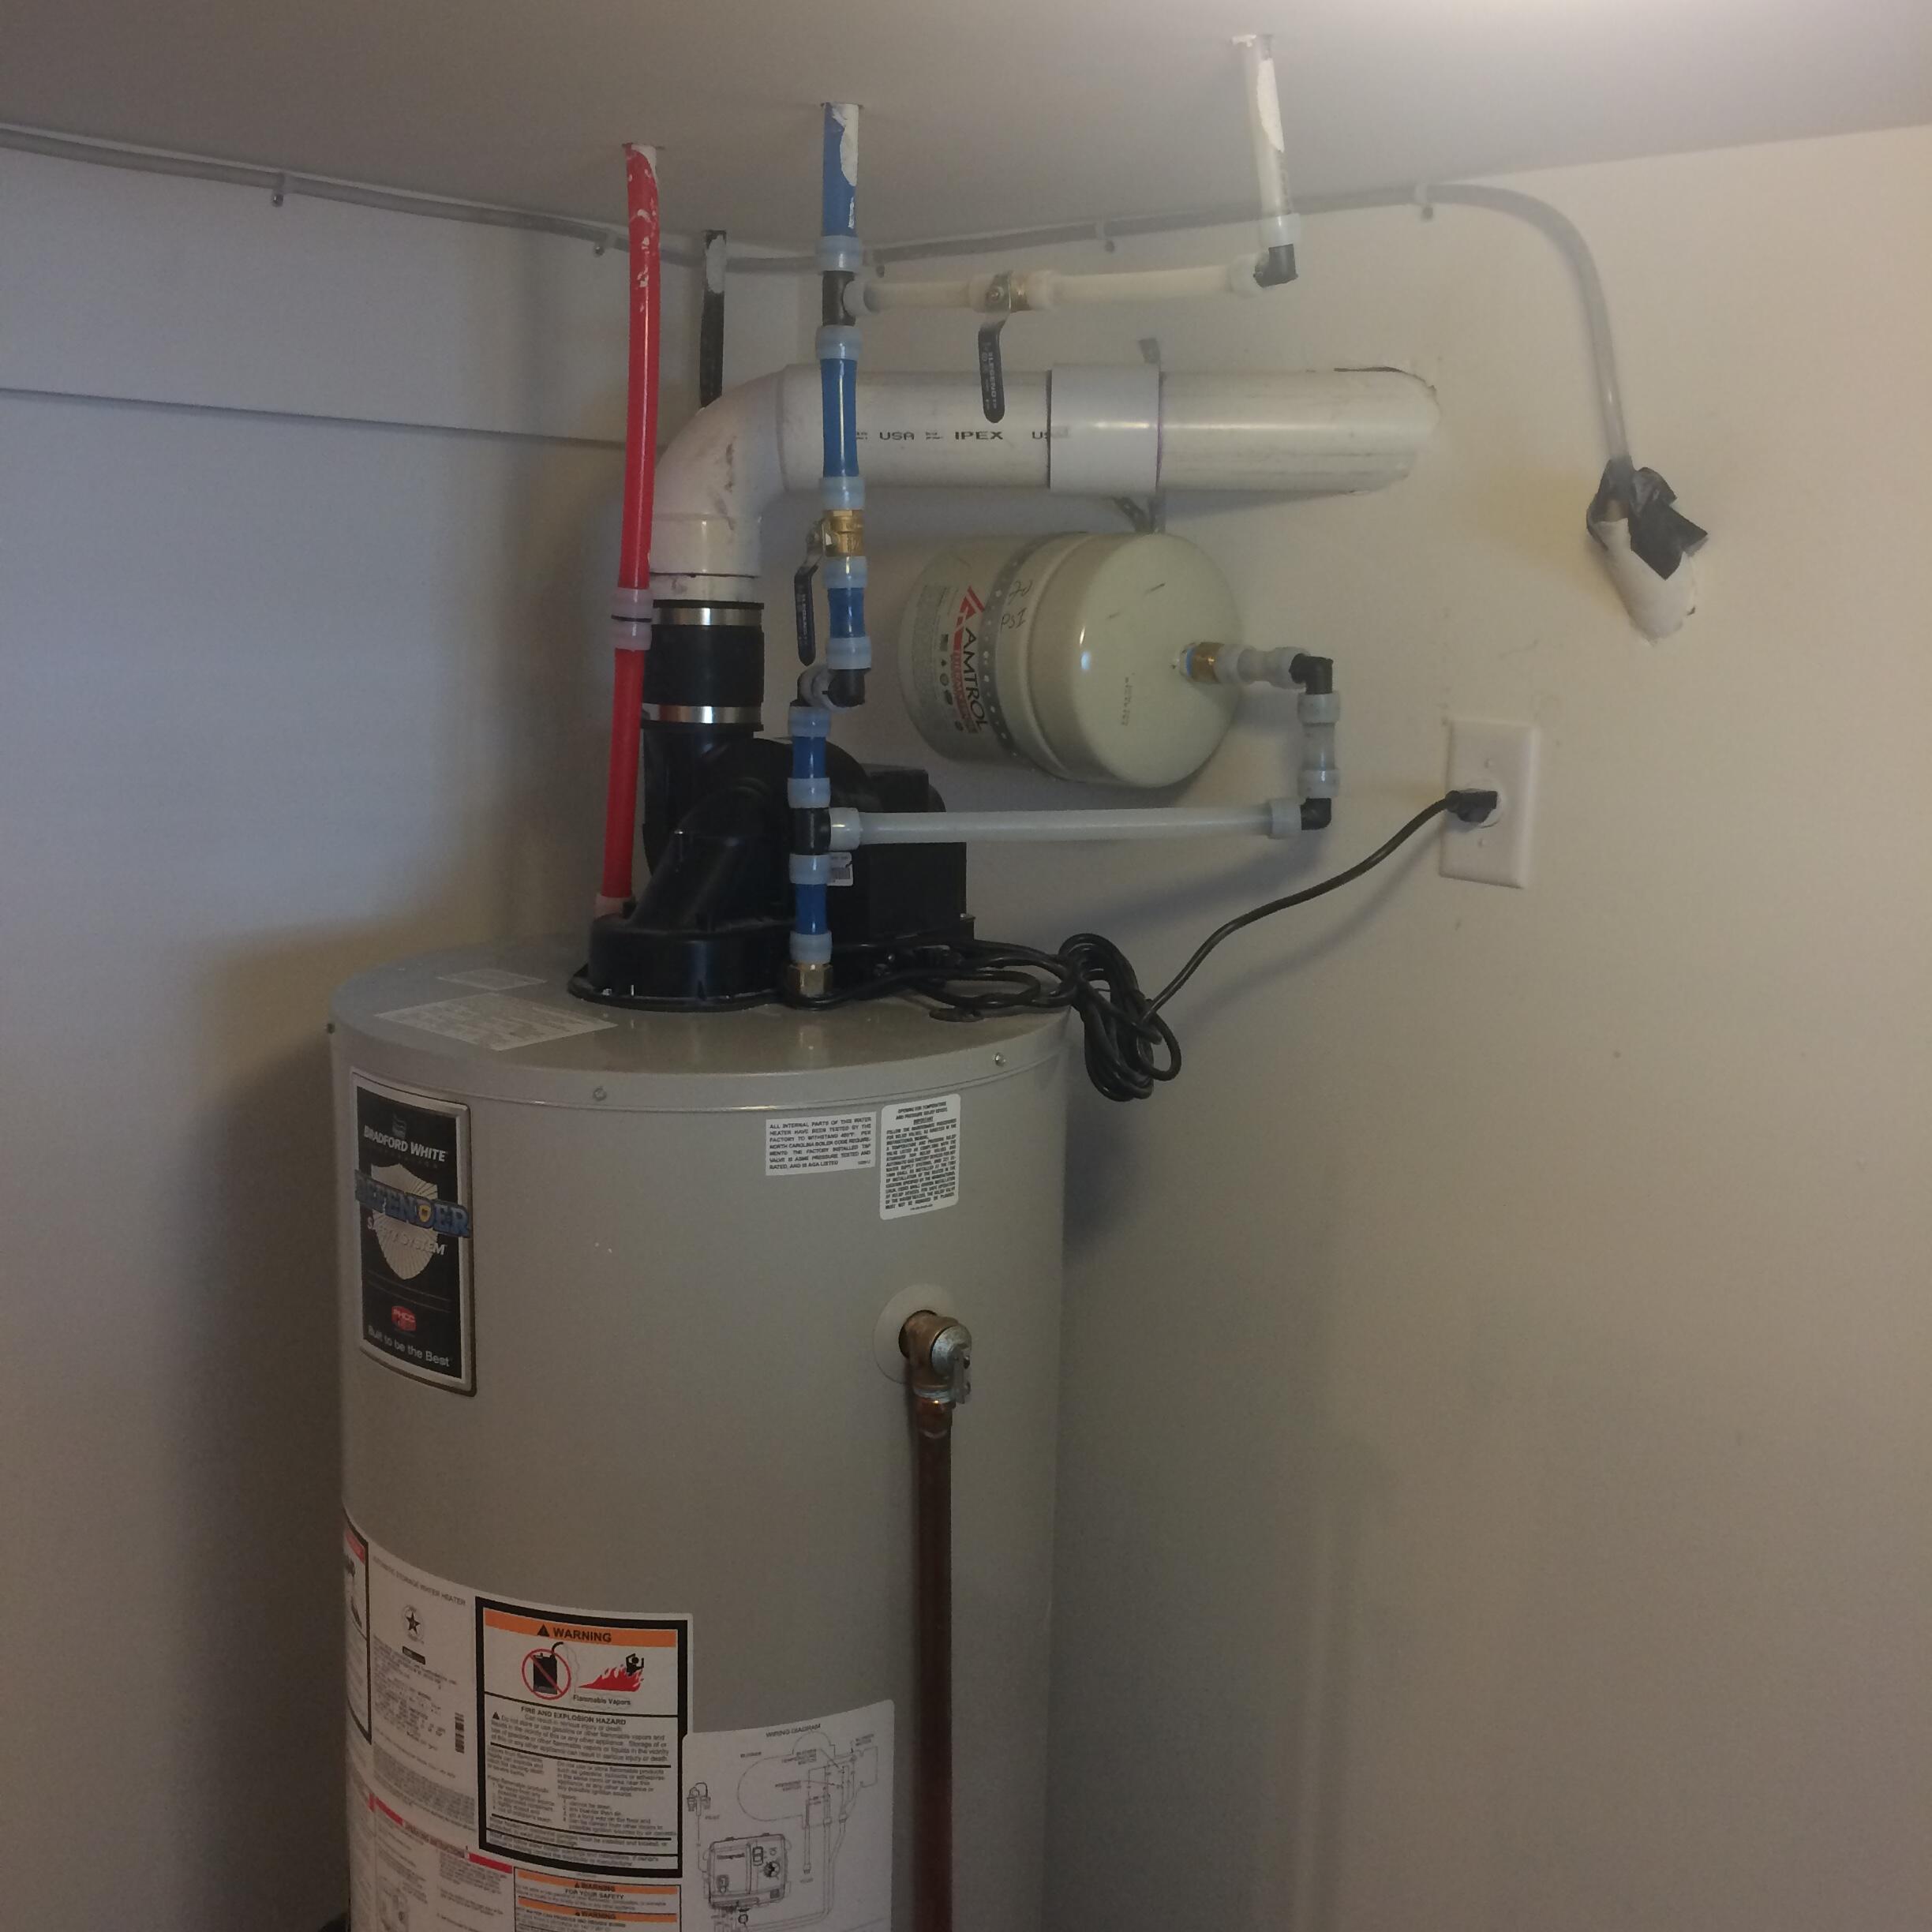
Step 4: Install the fireplace vent pipe
Installing the vent pipe for your direct vent gas fireplace is a crucial step in the installation process. The vent pipe system ensures the safe and efficient expulsion of combustion byproducts from your home. Follow these steps to properly install the vent pipe:
1. Determine the venting route: Determine the path the vent pipe will take to exit your home. This will depend on the location of the fireplace and the venting options available. Refer to the manufacturer’s instructions for guidance.
2. Measure and cut the vent pipe: Measure the required length for each vent pipe section and cut them accordingly. Use a pipe cutter or a hacksaw to make clean, square cuts.
3. Attach the vent pipe sections: Connect the vent pipe sections using the provided fittings. Apply a small amount of vent pipe sealant to the male end of each pipe before joining them together. Ensure a secure and airtight connection.
4. Secure the vent pipe to the fireplace: Attach the vent pipe to the fireplace using the designated attachment points. This will vary depending on the fireplace model. Follow the manufacturer’s instructions for proper installation.
5. Route the vent pipe: Carefully route the vent pipe from the fireplace to the designated exterior location. Ensure that it is properly supported and does not interfere with any structural elements or utilities within the walls or ceiling.
6. Install wall or roof terminations: Install the appropriate termination kit on the exterior wall or roof. This will provide a weatherproof seal and prevent any water or debris from entering the vent pipe system.
7. Seal the connections: Apply vent pipe sealant to each joint and connection point to create an airtight seal. This will help prevent any gas or combustion byproducts from leaking into your home.
8. Inspect the vent pipe system: Once the installation is complete, inspect the vent pipe system for any signs of damage or leaks. Ensure that all connections are secure and properly sealed.
It is recommended to have a professional HVAC technician or fireplace installer inspect and approve the vent pipe installation before proceeding to the next steps. Safety should always be a top priority. With the vent pipe properly installed, you are now ready to move on to step five: connecting the gas supply line. Stay tuned for the next step!
Make sure to carefully read the manufacturer’s instructions before starting the installation process. It’s important to follow the guidelines provided to ensure a safe and efficient installation of your direct vent gas fireplace.
Read more: How To Vent A Gas Fireplace
Step 5: Connect the gas supply line
Connecting the gas supply line is a crucial step in the installation of your direct vent gas fireplace. This step ensures a safe and reliable gas flow to operate the fireplace. Follow these steps to connect the gas supply line:
1. Shut off the gas supply: First and foremost, locate the main gas shut-off valve for your home. Turn the valve to the “Off” position to stop the gas flow. Ensure that everyone in the household is aware that the gas supply is turned off.
2. Locate the gas stub-out: Locate the gas stub-out in the vicinity of the fireplace installation. This is typically a pipe protruding from the wall or floor, capped or with a shut-off valve attached.
3. Prepare the gas line: If the gas line isn’t already connected, you will need to extend or install a gas line to reach the fireplace location. It is recommended to hire a licensed professional plumber for this task to ensure compliance with local codes and standards.
4. Install a gas shut-off valve: Install a gas shut-off valve as close as possible to the fireplace location. This valve will allow you to control the gas supply to the fireplace independently from the rest of the house. Ensure that the valve is easily accessible and clearly labeled.
5. Connect the gas line: Use a flexible gas line to connect the gas stub-out to the fireplace’s gas inlet. Secure the connections using pipe wrenches, ensuring they are tight and leak-free. Follow the manufacturer’s instructions for specific guidance on connecting the gas line.
6. Perform a leak test: Once the gas line is connected, it is crucial to perform a leak test to ensure there are no gas leaks. Apply a solution of soapy water to all the connections and joints along the gas line. If there are any gas leaks, bubbles will form. If you detect a leak, turn off the gas supply and tighten the connection. If the leak persists, consult a professional plumber.
7. Turn on the gas supply: Once you are confident there are no gas leaks, slowly and carefully turn on the main gas supply using the main gas shut-off valve for your home. Verify that the gas is flowing properly to the fireplace.
8. Test the fireplace: Follow the manufacturer’s instructions to ignite and test the fireplace. Ensure that it is functioning correctly, and the flame is blue and steady. If there are any issues, consult a professional technician for assistance.
With the gas supply line properly connected, you are one step closer to enjoying your direct vent gas fireplace. In the next step, we will discuss how to secure the fireplace in place. Stay tuned!
Step 6: Secure the fireplace in place
Securing the fireplace in place is an essential step to ensure stability, safety, and proper functioning of your direct vent gas fireplace. Follow these steps to securely mount the fireplace:
1. Position the fireplace: Carefully position the fireplace in its designated location, aligning it with the previously marked spot on the wall or floor. Make sure it is centered and level using a level tool.
2. Attach the mounting bracket: Many direct vent gas fireplaces come with a mounting bracket or plate. Attach the bracket to the wall or floor using screws or fasteners, ensuring it is securely anchored.
3. Secure the fireplace to the mounting bracket: Place the fireplace onto the mounting bracket, ensuring it is properly aligned. Follow the manufacturer’s instructions to secure the fireplace to the bracket using the provided fasteners or screws.
4. Check for stability: Once the fireplace is secured to the mounting bracket, test its stability by gently applying pressure in different directions. It should be securely attached and not wiggle or move excessively.
5. Attach trim or finishing materials: If your fireplace requires trim or finishing materials, follow the manufacturer’s instructions to attach them. This step will give your fireplace a polished and finished appearance.
6. Double-check clearances: Ensure that the required clearances are maintained between the fireplace and any combustible materials as specified by the manufacturer. This includes the back, sides, and top of the fireplace.
7. Inspect for safety: Before moving on to the next step, visually inspect the fireplace and surrounding area for any potential safety hazards. Check for loose components, exposed wiring, or any other issues that may compromise safety.
Securing the fireplace in place not only ensures its stability but also plays a vital role in maintaining the correct venting alignment. It is recommended to refer to the manufacturer’s instructions for specific guidance on securing your particular model of direct vent gas fireplace.
After completing this step, you are almost finished with the installation process. In the next step, we will discuss how to test the gas fireplace installation to ensure everything is working correctly. Stay tuned!
Step 7: Test the gas fireplace installation
After completing the installation of your direct vent gas fireplace, it is crucial to perform thorough testing to ensure that everything is working correctly and safely. Follow these steps to test the gas fireplace installation:
1. Check for proper ventilation: Before starting the fireplace, ensure that the vent pipe system is clear and unobstructed. Check both the interior and exterior terminations for any debris or obstructions that may hinder airflow.
2. Turn on the gas supply: Confirm that the gas supply to the fireplace is turned on. Double-check the gas shut-off valve and any other valves along the gas line to ensure they are fully open.
3. Ignite the pilot light: Follow the manufacturer’s instructions to ignite the pilot light. This process typically involves pressing and holding a specific button or switch while simultaneously activating the ignition system.
4. Verify the flame: Once the pilot light is lit, observe the flame. A properly functioning gas fireplace should produce a steady blue flame. If the flame is yellow or flickering, it may indicate an issue with the gas flow or combustion. In such cases, consult a professional technician for assistance.
5. Test the operation modes: Your gas fireplace may have multiple operation modes, such as low, medium, and high heat settings, as well as flame-only mode. Activate each mode and ensure they are functioning correctly.
6. Check for proper functionality: Test all the features and controls of the fireplace, such as adjusting the flame height and fan speed if applicable. Ensure that the controls are responding properly and that the settings are accurately reflected.
7. Monitor for abnormal odors or sounds: While the fireplace is operating, pay attention to any unusual odors or sounds. Any strong gas odors, persistent hissing, or popping sounds should be addressed immediately by a professional technician to ensure safety.
8. Carbon monoxide detection: Install carbon monoxide detectors in the vicinity of the fireplace and throughout your home. This is an important safety measure to detect any potential carbon monoxide leaks. Ensure that the detectors are working correctly.
If at any point during the testing process you notice any issues or abnormalities, it is crucial to stop using the fireplace immediately and seek professional assistance. Safety should always be the top priority when operating a gas appliance.
Once you have completed the testing and are confident that the gas fireplace is functioning properly, you can move on to the final step: finishing the installation with trim and accessories. Stay tuned!
Step 8: Finish the installation with trim and accessories
Completing the installation of your direct vent gas fireplace involves adding the finishing touches, such as trim and accessories, to enhance the appearance and functionality of the fireplace. Follow these steps to finish the installation:
1. Measure and cut trim materials: Measure the dimensions of the fireplace opening and surrounding walls. Use these measurements to cut the trim materials, such as molding or casing, to fit perfectly around the fireplace.
2. Attach the trim: Install the trim around the fireplace opening using appropriate fasteners, such as nails or screws. Ensure that the trim is securely attached and aligns correctly with the fireplace and the surrounding walls.
3. Seal any gaps: Apply caulk or trim sealant to any gaps between the trim and the fireplace or wall. This will create a seamless and professional-looking finish while preventing any drafts or moisture from entering the gaps.
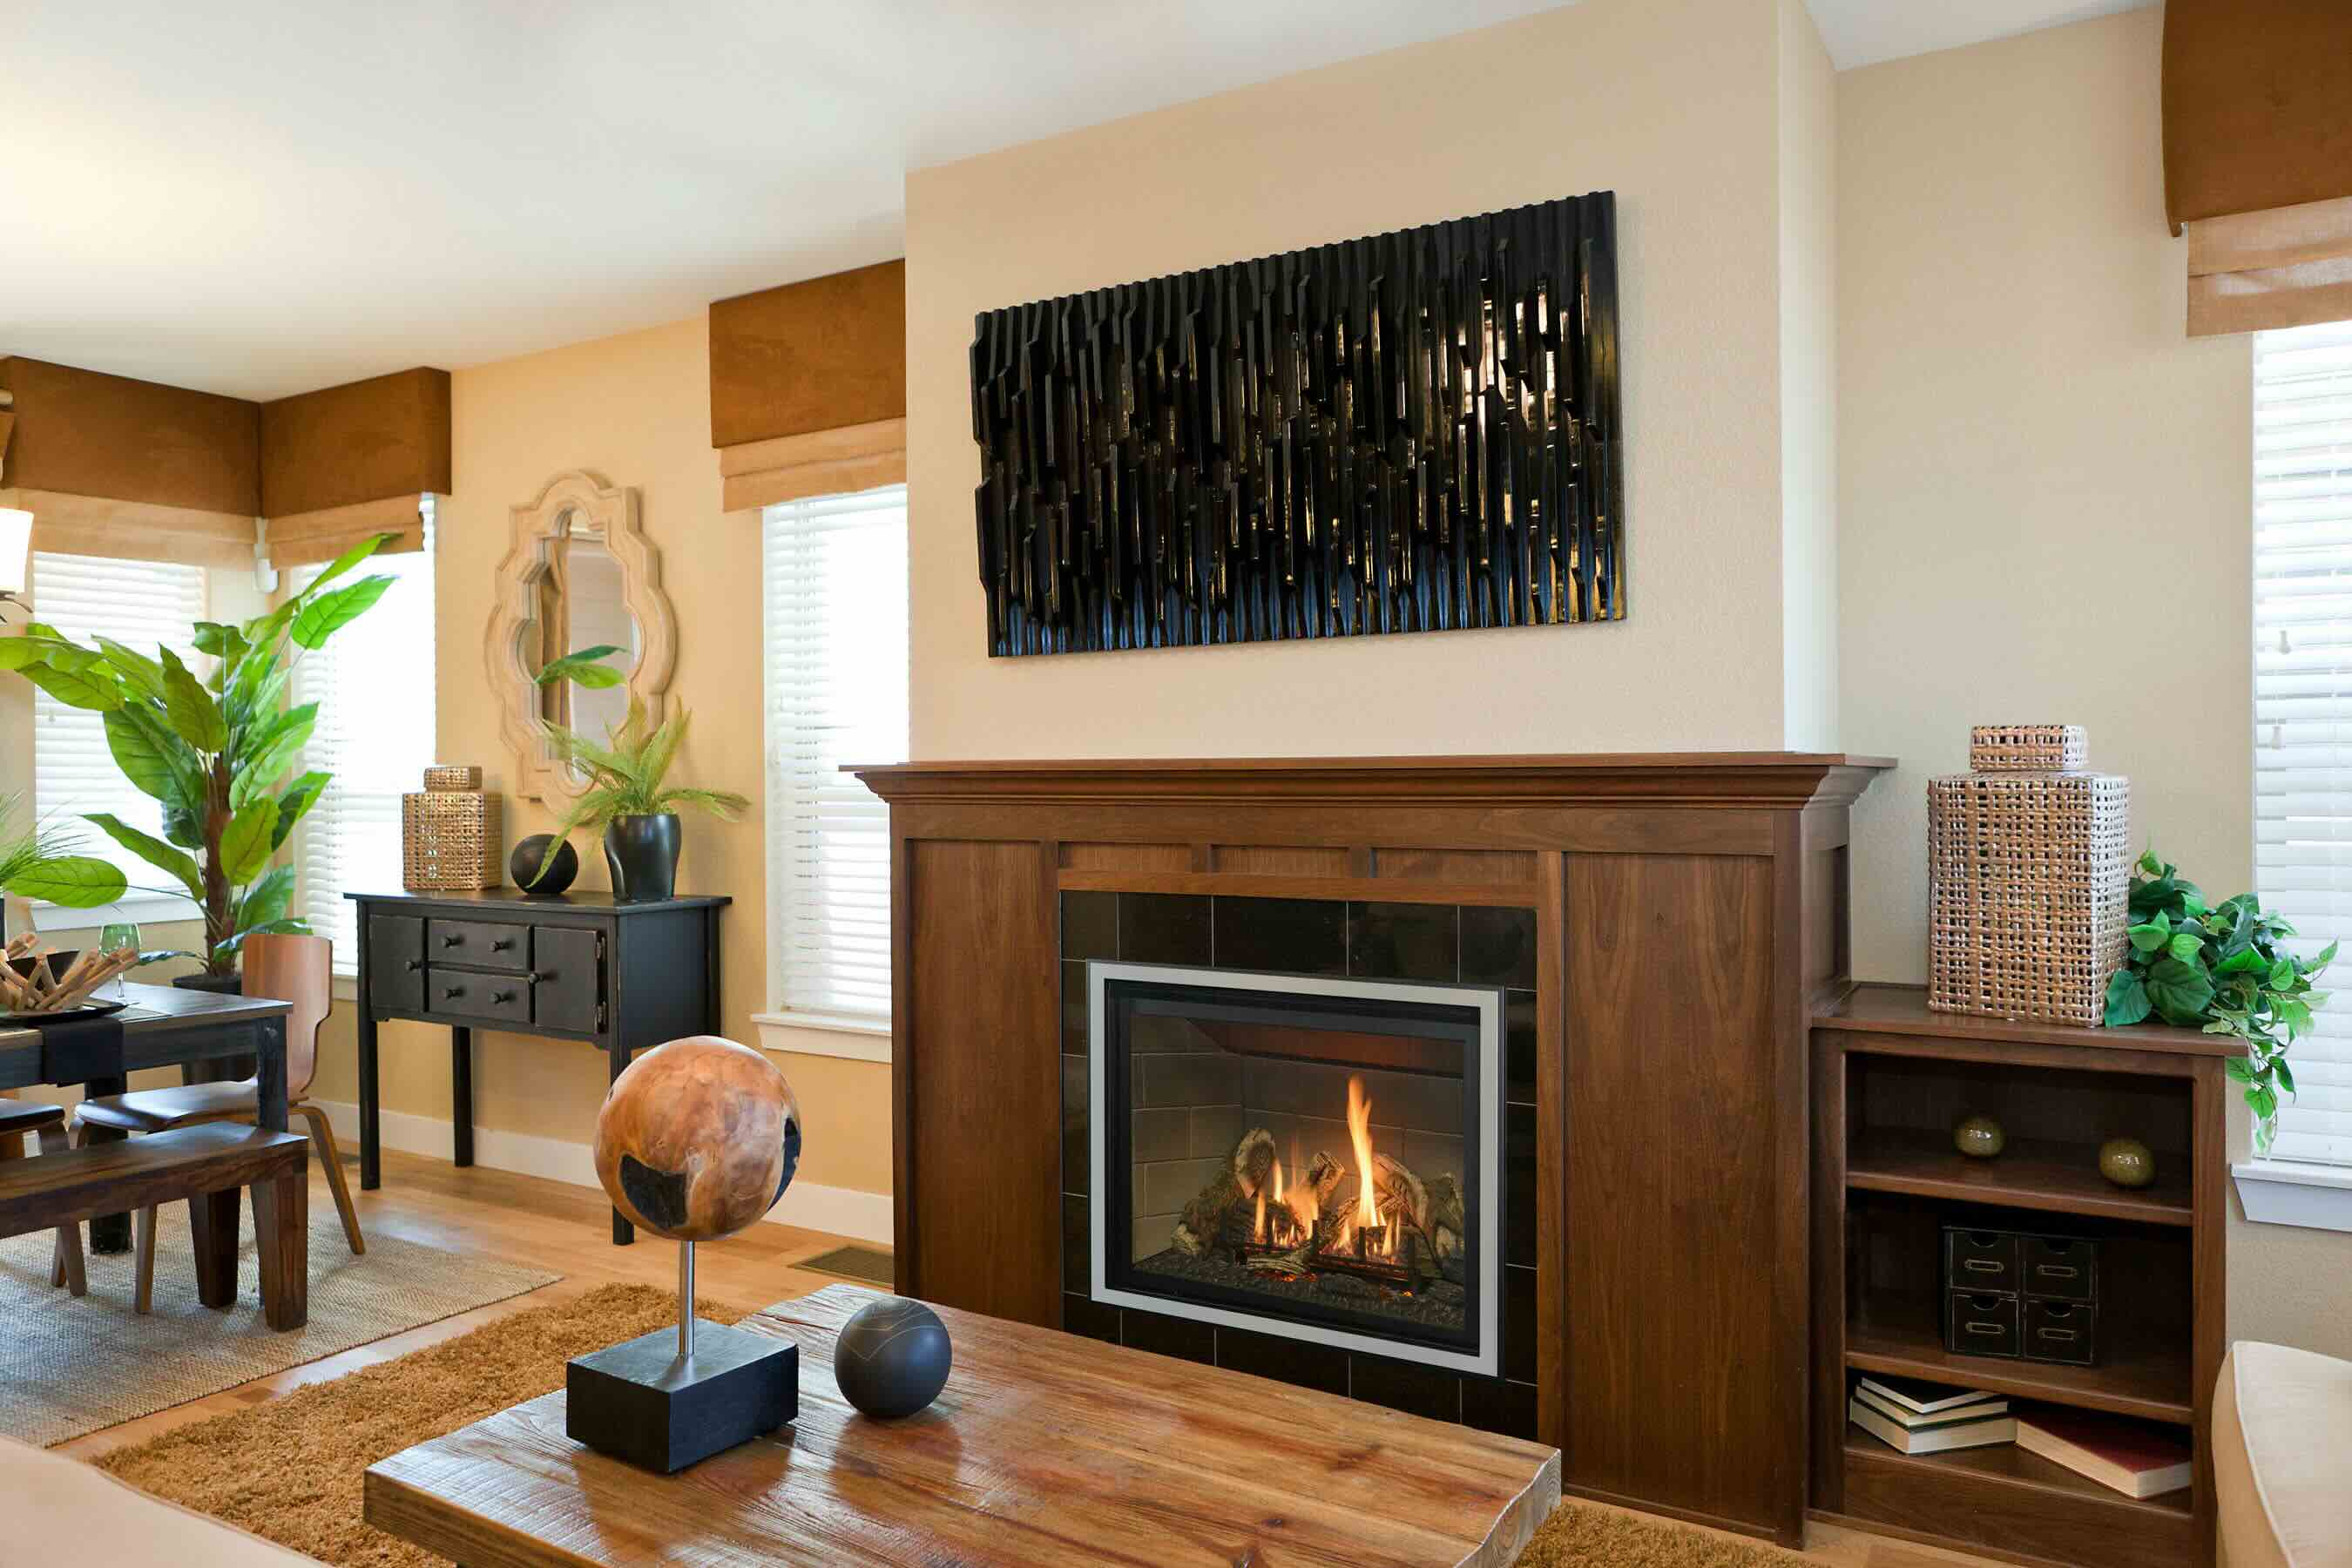
4. Install a fireplace surround: Consider adding a fireplace surround to further enhance the aesthetics of your fireplace. This could be a mantel, stone or tile surround, or a custom-built shelf. Follow the manufacturer’s instructions for proper installation.
5. Add decorative elements: Personalize your gas fireplace installation by adding decorative elements, such as a fireplace screen, decorative logs, or a grate. These accessories can enhance the visual appeal of the fireplace and create a cozy atmosphere.
6. Arrange furniture and decor: Consider the layout of furniture and decor around the fireplace to complement its presence. Arrange seating and other furniture to create a comfortable and inviting space centered around the fireplace.
7. Test the accessories: If you have installed any accessories or additional features, such as a remote control or fan kit, test them to ensure they are functioning correctly. Follow the manufacturer’s instructions for proper usage and maintenance.
8. Clean up the installation area: Once the installation is complete, remove any protective coverings and clean up any debris or dust that may have accumulated during the installation process. This will leave you with a clean and tidy fireplace installation.
With the trim and accessories added, your direct vent gas fireplace is now fully installed and ready to be enjoyed. Regularly maintain and clean your fireplace according to the manufacturer’s instructions to ensure its longevity and optimum performance.
Thank you for following this comprehensive guide on how to install a direct vent gas fireplace. We hope this step-by-step process has helped you successfully complete the installation and create a warm and inviting atmosphere in your home.
Remember, if at any point during the installation process you feel unsure or encounter difficulties, it is always recommended to consult a professional technician or fireplace installer for assistance.
Read more: How To Install A Gas Fireplace
Conclusion
Congratulations on successfully completing the installation of your direct vent gas fireplace! You have now transformed your living space into a cozy and inviting haven that will provide warmth and ambiance for years to come.
Throughout this comprehensive guide, we have covered the step-by-step process of installing a direct vent gas fireplace. From gathering the necessary tools and materials to finishing the installation with trim and accessories, you have learned how to tackle each stage of the installation process.
Remember, safety should always be a top priority when working with gas appliances. If you ever feel unsure or encounter difficulties, it is highly recommended to consult a professional technician or fireplace installer for guidance and support.
With your gas fireplace properly installed and tested, it’s important to follow the manufacturer’s instructions for regular maintenance and cleaning to ensure its longevity and optimum performance. Regularly inspect the fireplace and venting system for any signs of wear or damage, and address them promptly.
We hope that this guide has been helpful in equipping you with the knowledge and confidence to install your direct vent gas fireplace. Enjoy the warmth and comfort it brings to your home, and create lasting memories gathered around its cozy glow.
Thank you for choosing a direct vent gas fireplace and for taking the time to learn how to install it. We wish you many delightful moments by the fire!
Frequently Asked Questions about How To Install Direct Vent Gas Fireplace
Was this page helpful?
At Storables.com, we guarantee accurate and reliable information. Our content, validated by Expert Board Contributors, is crafted following stringent Editorial Policies. We're committed to providing you with well-researched, expert-backed insights for all your informational needs.


0 thoughts on “How To Install Direct Vent Gas Fireplace”