Articles
12 Best Carpet Stair Treads for 2024
Modified: December 7, 2023
Discover the top 12 carpet stair treads for 2023 that combine stylish design with durable construction for enhanced safety. Transform your stairs with ease.
(Many of the links in this article redirect to a specific reviewed product. Your purchase of these products through affiliate links helps to generate commission for Storables.com, at no extra cost. Learn more)
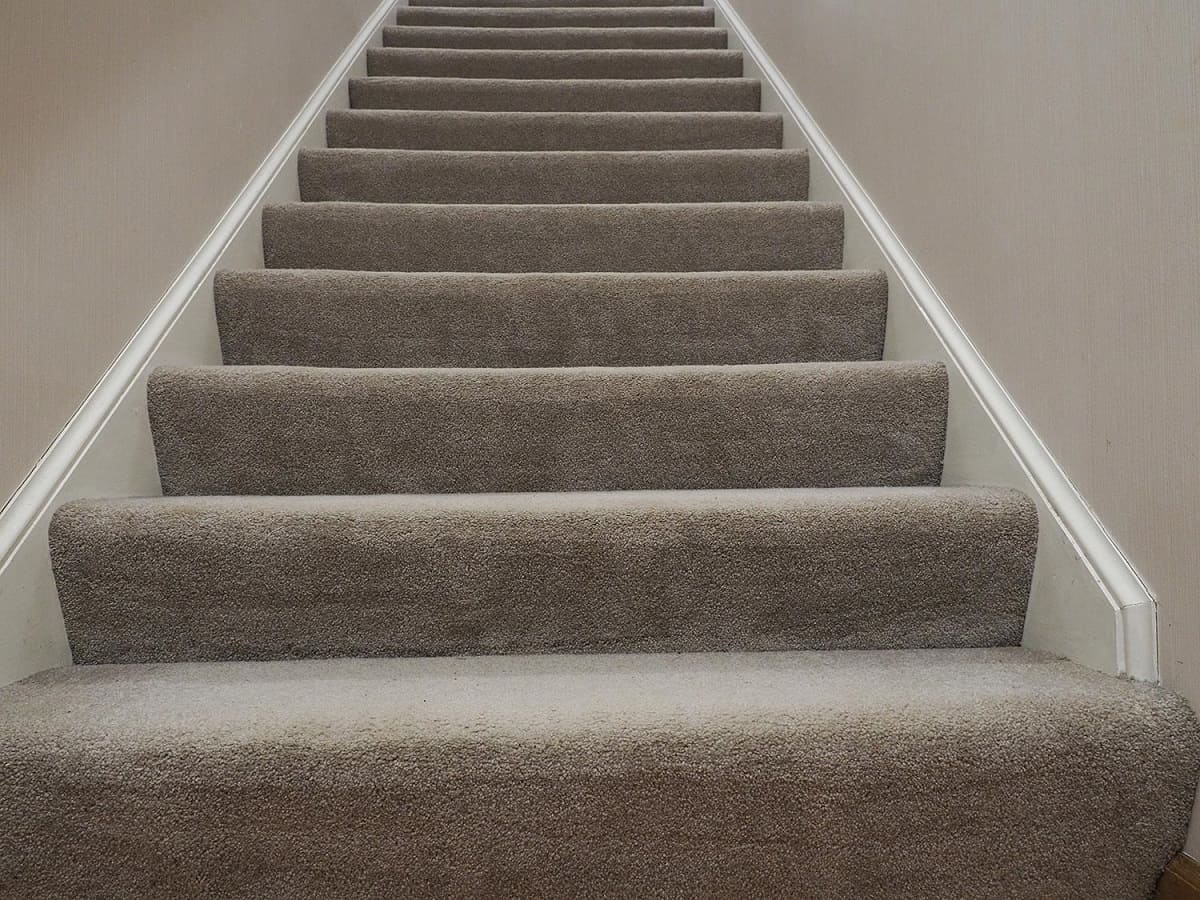
Are you looking to enhance the safety and style of your staircase in 2023? Look no further! In this comprehensive guide, we have curated a list of the 12 best carpet stair treads for 2023. With a keen focus on durability, functionality, and aesthetic appeal, these top-notch options are guaranteed to provide you with peace of mind and elevate the visual appeal of your home. Whether you have a modern or traditional interior, there is a perfect carpet stair tread on this list to suit your unique preferences. Get ready to transform your staircase into a safer and more beautiful space with these exceptional choices.

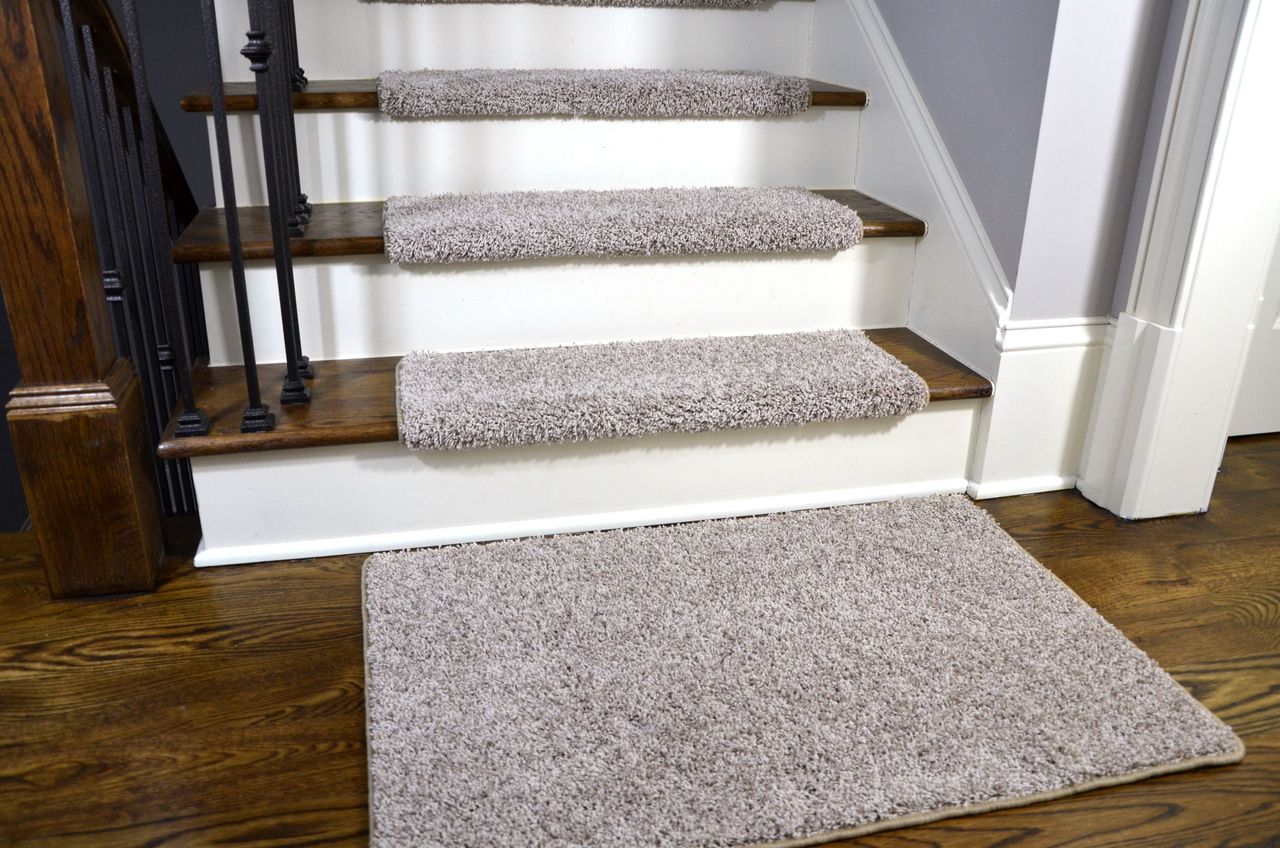
Overall Score: 9/10
MBIGM 8" X 30" Non-Slip Carpet Stair Treads are the perfect solution to make your stairs safe for everyone. With their anti-skid bottom and three-layer design, these treads provide a secure grip and stability while adding a touch of style to your home. The pre-cut size and pack of 7 treads ensure a perfect fit for most indoor stairs, and they can easily be trimmed with scissors if needed. Installation is a breeze, and the treads are stain-resistant and easy to clean. Say goodbye to slipping accidents and enjoy peace of mind with MBIGM Non-Slip Carpet Stair Treads.
Key Features
- Secure your loved ones with strong grip and anti-skid bottom
- Premium three-layer design for softness, quietness, and stability
- Suitable pre-cut size and pack of 7 treads for most stairs
- Easy installation and stain-resistant, easy to clean
- Non-destructive anti moving bottom, no residue
Specifications
- Color: Light Gray
- Size: 7 Pack
Pros
- Strong grip and anti-skid bottom for safety
- Soft, quiet, and stable surface
- Fits most indoor stairs, can be easily trimmed
- Stain-resistant and easy to clean
- Non-destructive and residue-free
Cons
- Corners may not stay down
MBIGM 8″ X 30″ Non-Slip Carpet Stair Treads provide a stylish and effective solution for making your stairs safe. With their strong grip, soft surface, and easy installation, they offer security and comfort for all family members, including pets. The treads are stain-resistant, easy to clean, and leave no residue when removed. While they have received positive reviews overall, some users have mentioned that the corners may not stay down. Despite this minor drawback, MBIGM Non-Slip Carpet Stair Treads are highly recommended for anyone looking to enhance the safety and beauty of their stairs.

Overall Score: 8.5/10
Yecaye 15Pcs Stair Treads for Wooden Steps is a high-quality non-slip carpet runner designed to enhance safety and comfort on stairs. It features an embossed pattern and pressed edges for added grip and security. The premium 3-layer materials provide a soft and fluffy feel underfoot while preventing slipping. Installation is quick and easy without the need for glue or carpet tracks. The stair treads come in a perfect size and are suitable for various types of indoor stairs. With Yecaye stair carpet treads, you can make your home safer and quieter for kids, elders, and pets. Stay confident and enjoy peace of mind with these durable and reusable stair runners.
Key Features
- Embossed Pattern & Pressed Edges for enhanced grip
- Double Anti-slip Secure with TPU bottom
- Premium 3-Layer Materials for softness and safety
- Easy to Install and Clean with no residue
- Perfect Size & Widely Used for various indoor stairs
Specifications
- Color: Grey
- Dimension: 30.00Lx8.00Wx0.20H
- Size: 30in x 8in, 15pack
Pros
- Enhances safety and comfort on stairs
- Easy installation without damaging stairs
- Durable and reusable
- Suitable for various types of indoor stairs
- Soft and fluffy underfoot
Cons
- Not suitable for stapling on wood steps
- Not made of traditional rug material
Yecaye 15Pcs Stair Treads for Wooden Steps is a highly recommended non-slip solution to improve the safety of your home’s stairs. With its embossed pattern, pressed edges, and double anti-slip secure design, these stair treads offer excellent grip and stability. The premium 3-layer materials provide a soft and comfortable feel while preventing slipping. Easy to install and clean, these stair treads are suitable for various indoor stairs and are super durable and reusable. Although not suitable for stapling on wood steps and not made of traditional rug material, the Yecaye stair treads are a great investment for families with kids, elders, or pets, providing peace of mind and a stylish, safe staircase.

Overall Score: 8/10
The Sunexinlo Stair Treads for Wooden Steps are a set of 15 stair carpet treads designed in a beautiful gray stripe pattern. Made of 100% polyester, these treads provide a soft touch to your feet while ensuring safety. They offer dual protection by preventing injuries and making the stairs safer without damaging the hardwood steps. Installation is easy with a slip-resistant backing that doesn't require glue or tape. These non-slip stair treads are versatile and can be used in various areas of the house. They are also easy to maintain with a vacuum cleaner or washing machine. With premium quality and excellent customer service, Sunexinlo prioritizes customer satisfaction.
Key Features
- -15-Piece stair treads for Wooden steps
- -Dual protection
- -Easy to install
- -Multi-Purpose step mat
- -Customer first
Specifications
- Color: Gray-stripe
- Size: 8in x 30in
Pros
- Soft and comfortable
- Adds a stylish touch to the stairs
- Easy to install
- Provides safety for pets and elderly
- Versatile for different surfaces
Cons
- May not adhere well in the long term
- Synthetic fiber material can be slippery
- Requires careful cleaning before installation
The Sunexinlo Stair Treads for Wooden Steps are an excellent choice for enhancing both safety and aesthetics. With their soft and stylish design, these treads provide comfort and a non-slip surface for anyone ascending or descending the stairs. The easy installation process and versatility make them suitable for various areas of the house. However, it’s essential to note that long-term adherence may vary, and the material may be slippery when wearing certain types of footwear. Overall, these stair treads offer great value for their price and can be a practical and stylish addition to any home.

Overall Score: 8.3/10
The GOYLSER Carpet Stair Treads are designed to provide safety and comfort for your family, kids, and pets. With their non-slip rubber backed design, these stair treads effectively prevent accidents and won't damage your stairs when removed. The ultra-thin and machine washable materials make these stair treads suitable for summer use and easy to clean. Each set includes 15 stair treads that can be cut to fit your specific needs. Available in a stylish brown marble color, these stair treads are a practical and attractive addition to your home.
Key Features
- No Adhesive: Secure and safe without damaging stairs
- Ultra Thin For Summer Using: Low profile & quick dry
- Machine Washable: Easy to clean and maintain
- Rubber Backed: Firmly attached to the ground
- Fully Refund: Satisfaction guaranteed with no hassle refund
Specifications
- Color: New Brown Marble
- Dimension: 30.00Lx8.00Wx0.01H
- Size: Set of 15
Pros
- Provides safety for pets and children
- Easy to clean and maintain
- Stylish brown marble design
- Non-slip rubber backed
- Can be cut to fit any size
Cons
- Tends to attract animal hair
- May shift slightly over time
The GOYLSER Carpet Stair Treads offer a practical and stylish solution to improve safety on your stairs. With their non-slip design and easy maintenance, these stair treads are a great choice for homes with pets and children. The ability to cut the treads to fit any size and their durable construction make them a versatile and long-lasting option. While they may attract animal hair and shift slightly over time, the overall benefits outweigh these minor drawbacks. Enhance the look and safety of your stairs with the GOYLSER Carpet Stair Treads.

Overall Score: 9.5/10
The KOOTETA Stair Treads are a high-quality solution for making wooden steps safer and more comfortable. With a polyester surface and TPR self-adhesive backing, these treads provide durability, softness, and excellent anti-slip properties. The non-slip mats reduce noise and create a quiet environment while ensuring your family's safety. These treads are easy to install without the need for additional tape or glue, and they can be easily cut to fit corners or special step sizes. They are also easy to remove, wash, and reuse. Available in neutral colors, the stair treads are a stylish addition to any home decor. With their fast response and excellent service, KOOTETA provides a perfect combination of elegance and function.
Key Features
- Made of soft and wear-resistant polyester material
- TPR self-adhesive technology for excellent anti-skid effect
- Easy to remove, wash, and reuse
- Easy installation without additional tape or glue
- Available in neutral colors to match home decor
Specifications
- Color: Dark Grey
- Size: 8*30inch
Pros
- Durable and comfortable surface
- Excellent anti-skid properties
- Reduces noise and creates a relaxing environment
- Easy to remove and clean
- Easy installation without additional materials
Cons
- May not fit non-standard step sizes
The KOOTETA Stair Treads offer superior quality and functionality. With their durable construction, excellent anti-slip properties, and easy installation, these treads provide a safe and comfortable solution for wooden steps. The ability to remove, wash, and reuse them adds to their practicality and value. The neutral colors ensure they seamlessly blend with any home decor. While they may not fit non-standard step sizes, their overall performance and customer satisfaction make them an excellent choice for improving safety and adding elegance to your staircase.

Overall Score: 8/10
The OJIA Non-Slip Carpet Stair Treads are a set of 15 anti-slip rubber mats that can securely attach to wooden steps, providing a slip-free surface and ensuring the safety of family members and pets. These stair treads are easy to install and remove, as they don't require any adhesive that could damage the stairs. With a size of 8×30 inches, they are suitable for most indoor stairs, and they can be easily cut to fit special step sizes. These treads protect staircases from daily foot and paw traffic, minimizing maintenance costs. Additionally, they are easy to clean through vacuuming, sweeping, mopping, or machine washing. The OJIA Non-Slip Carpet Stair Treads are not intended as actual carpets, but they offer a practical and stylish solution to enhance the safety of your stairs.
Key Features
- Non-Slip Stair Mat
- No Installation, No Adhesive
- Perfect Size
- Protect Staircase
- Easy to Clean
Specifications
- Color: Oriental
- Size: 15PCS
Pros
- Provides slip-free surface on staircase
- No glue or permanent adhesive
- Fits most indoor stairs
- Suitable for stairs of all materials
- Easy to clean
Cons
- Cannot be used as actual carpeting
- May move slightly with heavy use
- May have chemical odor initially
The OJIA Non-Slip Carpet Stair Treads are an excellent choice for anyone looking to improve the safety of their wooden stairs. Not only do they provide a slip-free surface, but they are also easy to install and remove without causing any damage. The treads are versatile and can fit most indoor stairs, and the option to cut them to size is an added bonus. While they may move slightly with heavy use, they still offer great traction and protection. The only downside is the initial chemical odor, but it diminishes over time. Overall, these stair treads are an effective and attractive solution to make your staircase safer for everyone.

Overall Score: 8/10
The PADOOR Non Slip Stair-Treads are a practical and stylish solution for adding grip and protection to your staircase. With a sturdy rubber backing, these stair treads stay in place on wooden, tile, and marble surfaces. The rubber backing is residue-free, making it easy to remove without causing damage. These stair treads are also durable and washable, maintaining their quality even after multiple machine washes. They offer great protection for your stairs, prolonging their lifespan and preventing slipping accidents. These stair treads are made of high-quality linen and have a polished look with perfectly cropped edges. They are suitable for all clean smooth flat stairs, including marble and hardwood surfaces.
Key Features
- Rubber Backing Stair Treads
- Residue Free
- Duable Washable
- Great Protection
- Perfect Design
Specifications
- Color: Beige
- Size: 15PCS
Pros
- Sturdy non-adhesive anti-slip rubber backing
- Residue-free removal without surface damage
- Durable and washable with a dense weave
- Provides great protection and reduces noise
- Made of high-quality linen with polished edges
Cons
- Leaves a portion of the step exposed
- Thick and uncomfortable edge
- Some treads may move slightly
- May reveal when cleaning
- Shipped folded with potential creases
The PADOOR Non Slip Stair-Treads are a reliable and stylish choice for enhancing the safety and appearance of your staircase. With their sturdy rubber backing, these stair treads stay securely in place and offer great protection against slipping accidents. They are easy to clean and maintain with machine washable features. The high-quality linen construction and polished edges give them a sophisticated look. While there are some minor drawbacks like exposed steps and potential creases from shipping, overall, these stair treads provide excellent value for their functionality, durability, and aesthetic appeal.

Overall Score: 8/10
The Natural Linen Soft & Comfortable Stair Treads are perfect for providing safety and style to indoor wooden steps. With a dense weave and nonslip bottom, these stair treads prevent slipping accidents and protect your family. Made of natural cotton and linen, they are sturdy, water- and oil-absorbent, making them ideal for wooden steps. The treads are easy to clean, just toss them in the washing machine. They come in a set of 15, allowing you to customize the fit for your staircase or use them in other areas as floor protectors. The unique rubber non-slip backing makes installation a breeze and leaves no sticky residue. However, adhesive may not securely hold the treads in place and the rubber backing and sticky corners may not work effectively.
Key Features
- -✅Protect Your Family From Slipping Accidents
- -✅Sturdy Anti Slip Rug Resists The Test Of Time
- -✅Clean Your Stair Runner With Zero Fuss
- -✅Multipurpose Floor Protectors For Hardwood Floors
- -✅Install Your Staircase Step Treads Instantly
Specifications
- Size: Linen
Pros
- Provides optimal grip to prevent slipping accidents
- Made of natural cotton and linen for durability
- Thick and won't lose its shape after washing
- Can be used as floor protectors for various areas
- Easy to set up and remove without leaving residue
Cons
- Adhesive may not securely hold the treads in place
- Not enough corner adhesives included in the set
- Treads may slide on wooden surfaces
- Rubber backing and sticky corners may not work effectively
Overall, the Natural Linen Soft & Comfortable Stair Treads offer a practical solution to prevent slipping accidents on wooden steps. Despite some adhesive and slipping issues, they provide optimal grip and are easy to clean. The natural cotton and linen material ensures durability, while the set of 15 treads allows for customization. They not only enhance safety but also add a touch of style to your staircase. Whether you’re looking to protect your family or add a decorative element to your home, these stair treads are a worthy investment.

Overall Score: 7/10
The Wood Stair Treads Carpet Peel and Stick bring both safety and style to your staircase. Made of premium soft felt material, these stair treads provide great friction to prevent slipping accidents. Their self-adhesive backing ensures easy installation and removal without leaving any residue. These carpet protectors are machine washable, making it convenient to keep them clean. They are suitable for all smooth surfaces, including wood, tile, stone, metal, and glass stairs. With a grey leaf color and a dimension of 8"x30", this set of 15 stair runner strip pads adds a touch of elegance to your home. Please note that the texture may be rougher than expected, and the adhesive backing may not be as strong as desired.
Key Features
- Self Adhesive
- Machine Washable/Reusable
- Widely Using
- Easy Install and Removal
- Fully Refund
Specifications
- Color: Grey Leaf
- Dimension: 30.00Lx8.00Wx0.30H
- Size: Set of 15
Pros
- Durable anti slip stair treads
- Machine washable
- Strong adhesive paste
- Suitable for all needs arbitrarily
- Easy to install and remove
Cons
- Texture is rough and "grabby"
- Not as carpet-like as expected
- Adhesive backing leaves residue
- Not as durable as expected
- Edges tend to come up
Overall, the Wood Stair Treads Carpet Peel and Stick provide a practical solution for ensuring the safety of your staircase while adding a touch of style. The durable anti-slip design and machine washable feature make them suitable for daily use. However, the rough texture and less adhesive backing may be a concern for some users. If you’re looking for a cost-effective option to keep your stairs slip-free, these stair runner strip pads are worth considering.

Overall Score: 8.5/10
The Carpet Stair Treads Non Slip with Self Adhesive are the perfect solution to make your indoor stairs safe and slip-resistant. Made from premium soft felt material with a thickness of 6mm, these stair treads provide increased friction to prevent slipping. They have a strong adhesive tape on the bottom, ensuring that they stay securely in place. These treads are machine washable, making it easy to keep them clean and fresh. With easy installation and removal, you can relocate or remove them without leaving any residue behind. The non-slip tape adheres strongly to smooth surfaces, making it suitable for use on wood, tile, stone, metal, and glass stairs. These stair treads offer all-around protection and ultimate comfort in your home.
Key Features
- Self Adhesive Tape for strong grip
- Machine Washable and Reusable
- Easy Installation and Removal
- Suitable for all smooth surfaces
- Dedicated customer support for refund or replacement
Specifications
- Color: Light Grey
- Dimension: 30.00Lx8.00Wx0.03H
- Size: Set of 7
Pros
- Durable and slip-resistant
- Can be washed by hand or machine
- Easy to install and remove
- Adheres strongly to various surfaces
- Comfortable and non-slip for pets and children
Cons
- Some treads may not be as sticky as others
- Thin plastic backing may be difficult to remove
- Adhesion could be stronger for some users
- Limited size options available
The Carpet Stair Treads Non Slip with Self Adhesive are a great addition to any home with indoor stairs. They provide a secure grip and prevent slipping, while also adding comfort and style. The treads are easy to install and can be removed without leaving any residue. They are also machine washable, making them convenient to clean. With their strong adhesive and suitability for various surfaces, these stair treads offer all-around protection and safety. The only drawbacks are the inconsistent stickiness of some treads and the limited size options available. Overall, these stair treads are a reliable choice for anyone looking to enhance the safety and aesthetics of their stairs.

Overall Score: 7.5/10
Transform any slippery staircase into a slip-free surface with the OJIA Extra Non-Slip Stair Treads. These stair mats are designed with a rubber backing to firmly attach to the ground and prevent slipping. Made of 100% polyester, they are soft and comfortable to walk on. With no installation or adhesive required, they won't damage your stairs and can be easily removed without leaving any residue. These stair treads also help reduce noise and protect your staircase from daily foot and paw traffic. They are easy to clean, either by vacuuming or machine washing. Enhance the safety and style of your stairs with these non-slip stair treads.
Key Features
- Non-Slip Stair Mat
- No Installation, No Adhesive
- Safer and Quieter
- Stair Treads Mat Size: 8×30 inches
- Easy to Clean
Specifications
- Color: Floral
- Size: 15PCS
Pros
- Provides slip-free surface for pets and kids
- Does not damage stairs or leave residue
- Soft and comfortable to walk on
- Reduces noise and protects staircase
- Easy to clean
Cons
- May still slide slightly with heavy use
- Some fraying may occur over time
The OJIA Extra Non-Slip Stair Treads offer both safety and style for your stairs. They provide a slip-free surface that is perfect for households with pets or children. The treads are easy to install and remove, without causing any damage to your stairs. Made of soft and comfortable material, they also help reduce noise and protect your staircase from wear and tear. These stair treads are easy to clean and maintain, making them a practical choice for busy households. Overall, the OJIA Extra Non-Slip Stair Treads are a great addition to any home and a worthwhile investment in safety and comfort.

Overall Score: 8.2/10
The MBIGM Carpet Stair Treads are designed to provide a safe and comfortable solution for wooden steps. With their non-slip TPE backing, these stair treads offer superior grip and traction, making them perfect for those in need of anti-slip or non-slip stair treads. Installation is quick and easy, thanks to the easy-to-remove adhesive, and the treads can be adjusted without leaving any residue or damage. Made from high-quality materials, these stair treads are soft and plush underfoot, providing added comfort and reducing noise. They are also easy to clean and maintain, ideal for households with pets. With their durability and longevity, these carpet strips for stairs are built to withstand everyday wear and tear. Overall, the MBIGM Carpet Stair Treads offer a stylish and functional solution for enhancing safety on wooden steps.
Key Features
- Non-Slip tpe backing
- Easy to install and adjust
- Soft and plush
- Easy to clean and maintain
- Durable and long-Lasting
Specifications
- Color: Cornstalk
- Size: 8" X 30" (15 in Pack)
Pros
- Non-slip TPE backing for superior grip and traction
- Easy-to-remove adhesive for hassle-free installation
- Soft and plush for added comfort and reduced noise
- Effortless to clean and maintain
- Built to withstand everyday wear and tear
Cons
- Some difficulty in removing the adhesive backing
- Edges may curl up over time
- Adhesion could be improved
The MBIGM Carpet Stair Treads are a reliable and stylish choice for enhancing safety and comfort on wooden steps. With their non-slip TPE backing, soft plush feel, and easy installation, these stair treads provide a practical solution for preventing slips and falls. While there may be some challenges with removing the adhesive backing and ensuring long-lasting adhesion, the overall quality and durability of these treads make them a worthwhile investment. They are also easy to clean and maintain, making them suitable for households with pets. Whether you’re looking to make your stairs safer for kids, elders, or pets, the MBIGM Carpet Stair Treads are a great choice.
Buyer's Guide: Carpet Stair Treads
Adding style, comfort, and safety to your stairs with carpet stair treads can be a game-changer. With so many options available, it's essential to find the perfect ones that meet your needs and preferences. This buyer's guide will provide you with valuable insights and tips to make an informed decision. So let's dive right in and explore the world of carpet stair treads!
Why Choose Carpet Stair Treads?
- Enhance Safety: Carpet stair treads significantly reduce the risk of slipping and falling on stairs, providing a secure grip for you and your loved ones.
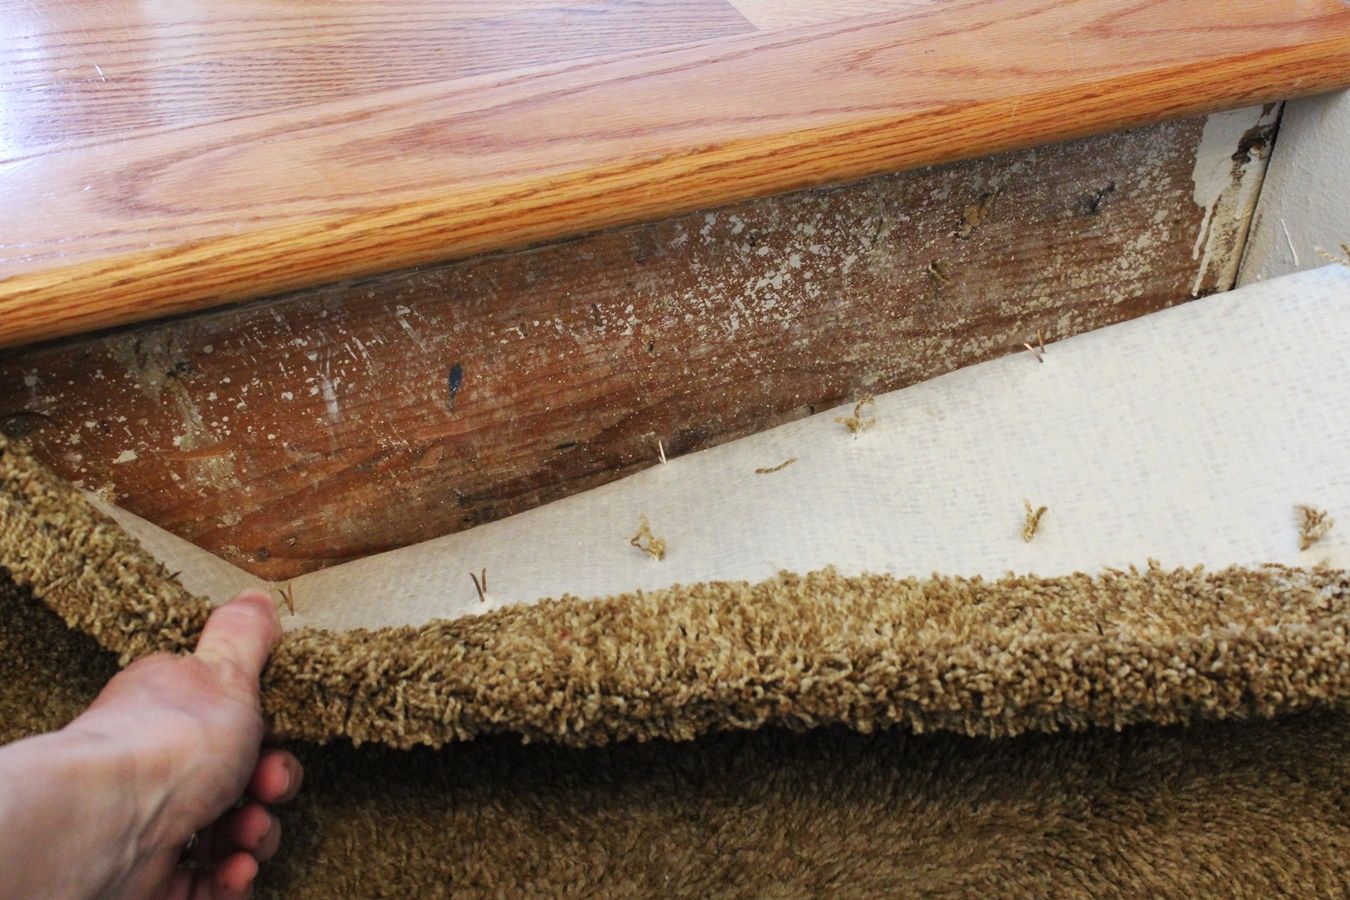
- Protect Your Stairs: By shielding your stairs from wear and tear, carpet treads can extend the longevity of your staircase and save you from expensive repairs or replacement.
- Add Style and Comfort: Whether you prefer a classic, contemporary, or vibrant design, carpet stair treads can elevate the aesthetic appeal of your staircase while offering added comfort underfoot.
- Easy Installation: Most carpet stair treads come with adhesive backing or include installation materials, making them simple to install without professional assistance.
- Versatility: With a wide range of materials, patterns, and colors available, carpet stair treads offer versatility, allowing you to match or complement your existing decor.
Things to Consider Before Buying:
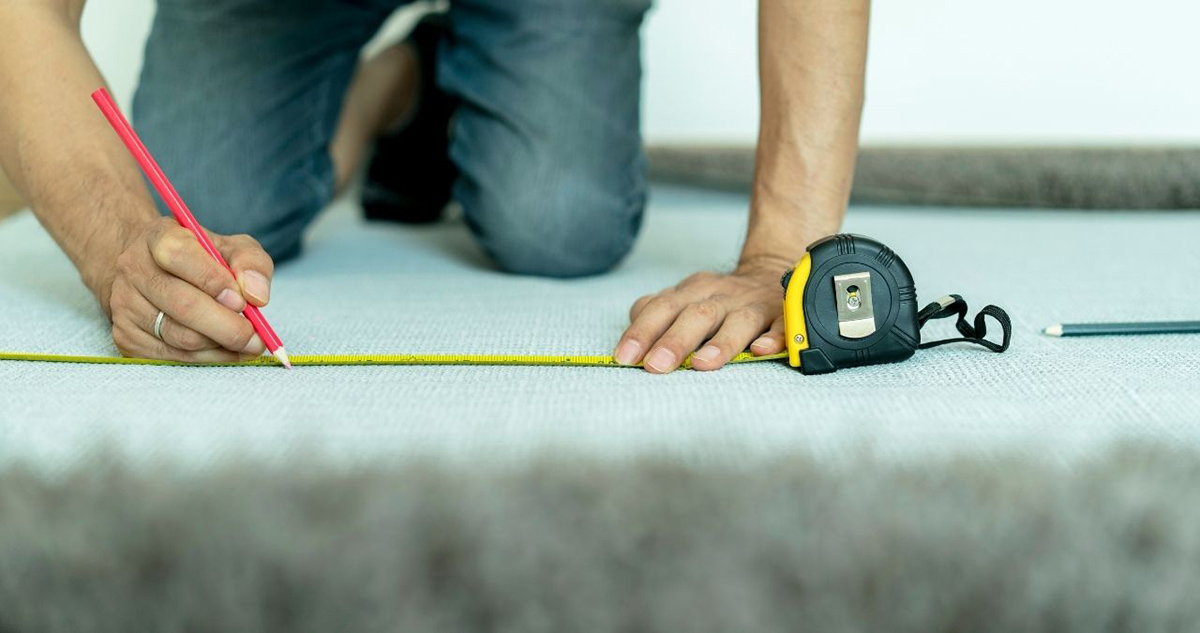
- Measurements: Accurate measurements of your stairs are crucial to ensure the perfect fit. Measure the width, depth, and height of each step and consider any variations in size.
- Material: Carpet stair treads are available in various materials such as natural fibers like wool and sisal, synthetic materials like nylon and polyester, or blends of both. Consider the durability, ease of maintenance, and comfort of each material.
- Style and Design: From solid colors to intricate patterns, consider the overall style and design of your staircase and choose carpet treads that will blend seamlessly or make a statement.
- Adhesive Backing: Check whether the treads come with adhesive backing for easy installation. Make sure the adhesive is strong enough to keep the treads securely in place.
- Grip and Slip-Resistance: Look for stair treads that provide excellent grip and slip-resistance, especially if you have children, elderly family members, or pets.
- Maintenance: Consider the cleaning requirements of the carpet stair treads. Some may need frequent vacuuming, while others may be machine washable or require professional cleaning.
- Budget: Determine your budget range beforehand to narrow down your options and find the best carpet stair treads that fit within your financial means.
Care and Maintenance Tips:
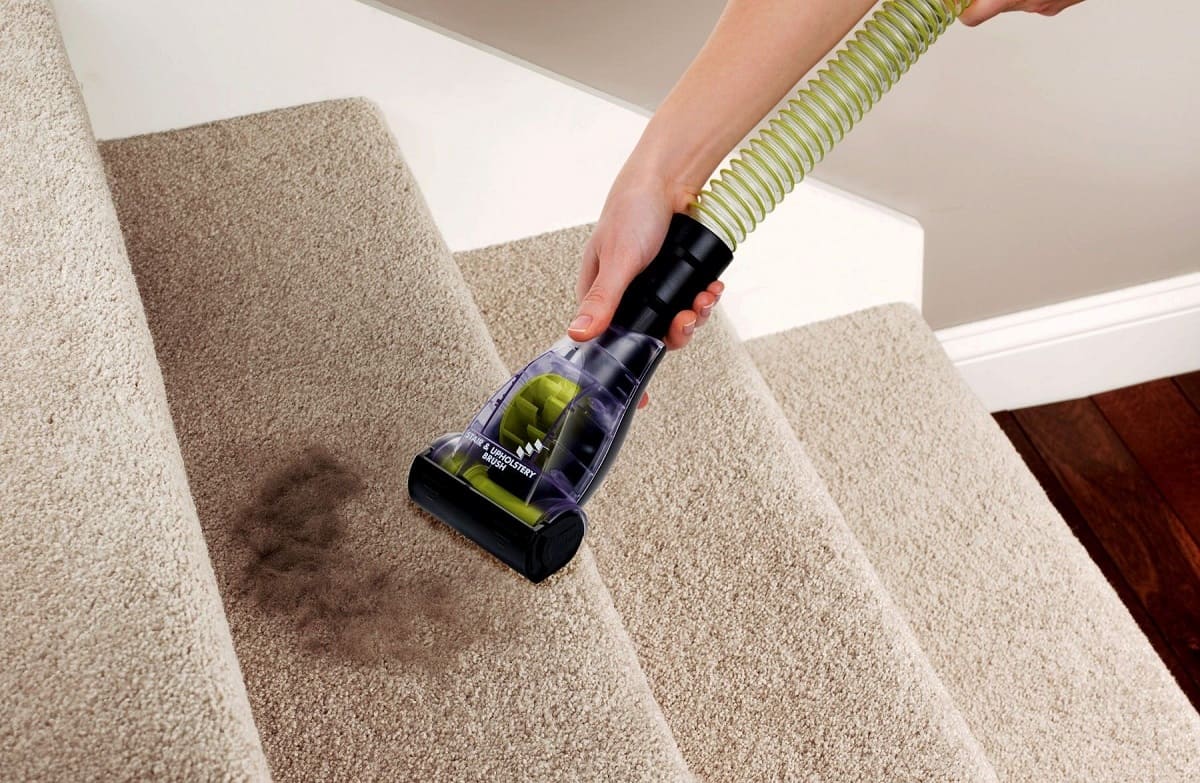
- Regularly vacuum or sweep the carpet stair treads to remove dust, dirt, and pet hair that may accumulate over time.
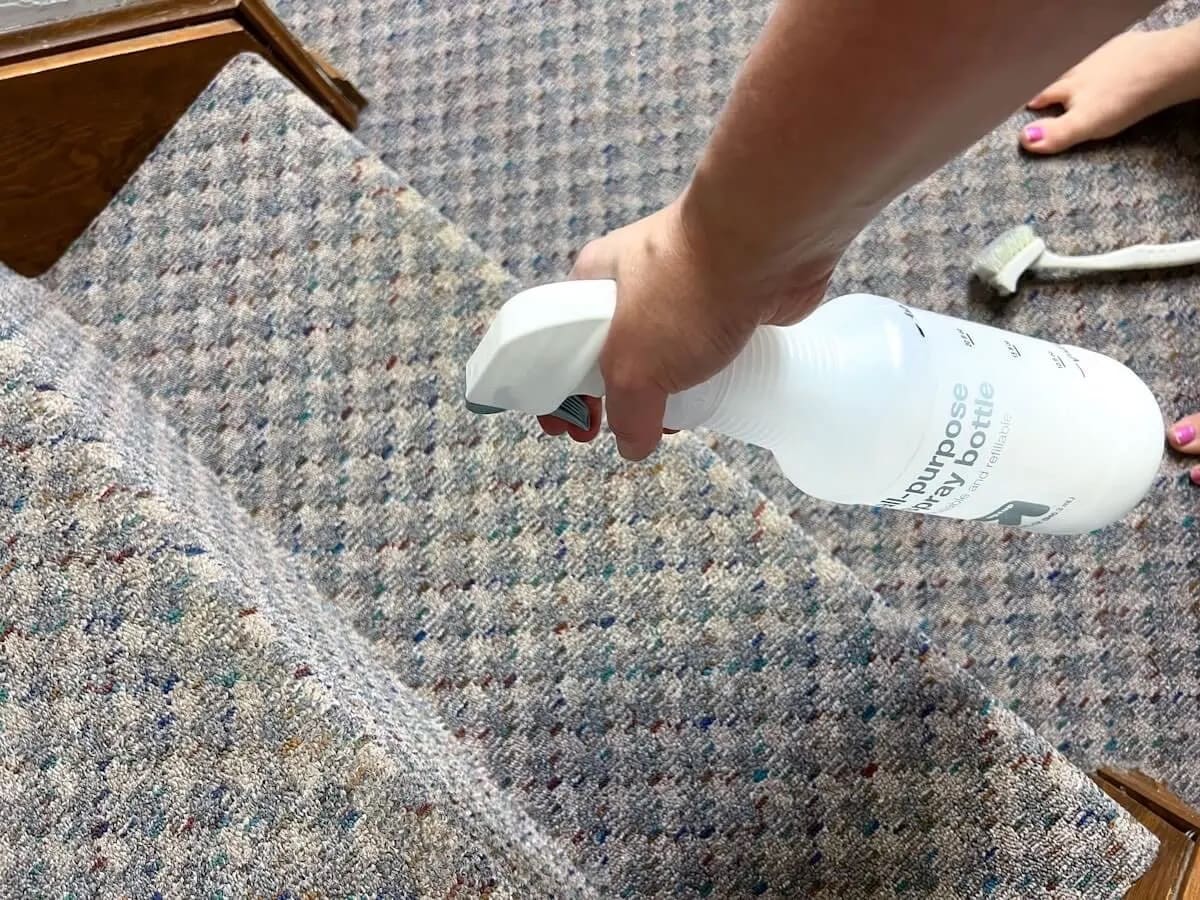
- Promptly attend to spills or stains by blotting them gently with a clean cloth or using a mild carpet cleaner, following the manufacturer's instructions.
- Consider using a protective carpet spray or stain repellent to help minimize the absorption of spills and stains.
- If machine washable, follow the care instructions provided by the manufacturer to maintain the appearance and durability of the carpet treads.
- Rotate the position of the treads occasionally to evenly distribute wear and prolong their lifespan.
- Avoid using harsh chemicals or abrasive cleaning tools that may damage the fibers or backing of the carpet stair treads.
Frequently Asked Questions about 12 Best Carpet Stair Treads For 2024
Yes! Carpet stair treads can generally be installed on most types of stairs, including wooden, concrete, or tiled stairs. However, ensure that the treads you choose are suitable for your specific type of stairs.
The adhesive backing is designed to provide a secure grip without causing damage to most surfaces. However, it’s essential to remove the treads carefully, as removing them abruptly or forcefully may cause some residue or minor damage.
Most carpet stair treads are designed for easy DIY installation, and you can typically install them without professional assistance. However, if you’re unsure or have complex staircase requirements, consulting a professional may be beneficial.
Yes, carpet stair treads can be easily removed without causing major damage to your stairs. However, if the treads have been in place for a prolonged period, some minor residue or adhesive markings may remain.
The ease of cleaning depends on the specific material and care instructions provided by the manufacturer. Some carpet treads can be vacuumed, spot cleaned, or even machine washed. However, always refer to the manufacturer’s guidelines to maintain the tread’s quality and appearance.
While there are carpet stair treads designed for outdoor use, not all types are suitable for exposure to the elements. Look for treads explicitly labeled as “outdoor” or “weather-resistant” if you intend to install them on outdoor stairs.
Absolutely! Many carpet stair treads are pet-friendly and can withstand scratching or the occasional accident. Consider choosing treads that are stain-resistant and durable to ensure they can withstand your furry friends’ playfulness.
The number of carpet stair treads required depends on the number of steps on your staircase. To cover each step, you’ll typically need one tread per step. Measure the dimensions of your stairs to determine the appropriate quantity.
While some manufacturers offer custom options, most carpet stair treads are available in standard sizes and shapes. Take accurate measurements of your stairs and choose treads that closely match your dimensions.
Yes, many carpet stair treads are designed to withstand heavy foot traffic, making them suitable for commercial spaces. Look for treads made from durable materials with slip-resistance features for optimal safety and longevity.
Was this page helpful?
Trust Storables.com for unbiased and honest product reviews. Our reviews are rigorously assessed by our Expert Board Contributors and adhere to strict Editorial Standards. We ensure that each review is transparent and trustworthy, helping you make informed purchasing decisions.


0 thoughts on “12 Best Carpet Stair Treads for 2024”