Articles
How To Remove Carpet On Stairs
Modified: October 18, 2024
Learn how to remove carpet on stairs with step-by-step articles. Transform your staircase with this easy DIY project.
(Many of the links in this article redirect to a specific reviewed product. Your purchase of these products through affiliate links helps to generate commission for Storables.com, at no extra cost. Learn more)
Introduction
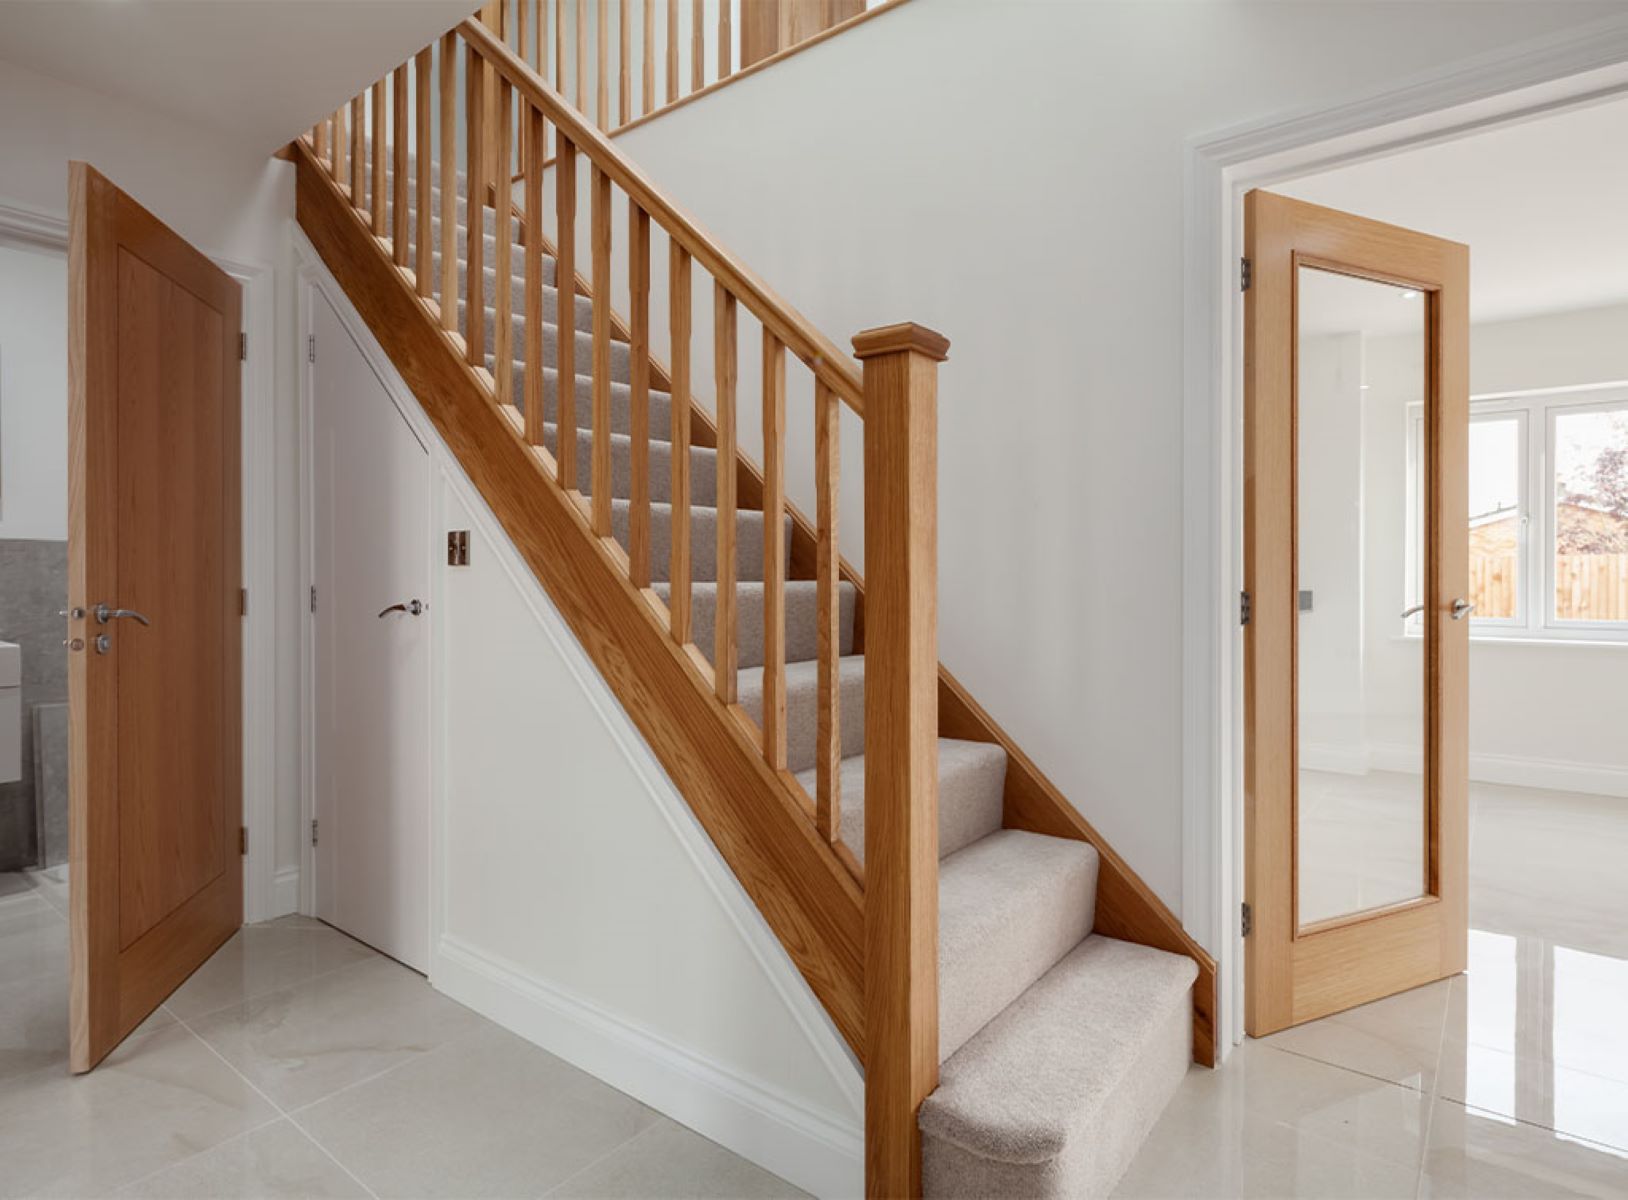
Welcome to the comprehensive guide on how to remove carpet on stairs. Whether you’re looking to upgrade your stairs with new flooring or simply want to bring out the natural beauty of the underlying staircase, removing carpet can be a rewarding project. Not only will it transform the look and feel of your home, but it can also add value to your property.
Removing carpet from stairs may seem like a daunting task, but with the right tools, materials, and knowledge, it can be a relatively straightforward process. In this article, we will walk you through the step-by-step process of removing carpet from stairs, from gathering the necessary tools to cleaning and preparing the stairs for a new finish or covering.
Before we dive into the specific steps, it’s important to note that safety should always be a priority when working on any home improvement project. Make sure to wear protective gear, such as gloves and safety goggles, and take caution to avoid injury.
Now, let’s get started on transforming your staircase and saying goodbye to that old carpet!
Key Takeaways:
- Transform your staircase by removing carpet with ease. Prioritize safety, gather tools, and follow step-by-step instructions for a rewarding home improvement project.
- Prepare, remove, and clean for a fresh new look. From gathering materials to choosing a finish, enjoy the process of revitalizing your stairs with confidence.
Read more: How To Remove Carpet From Stairs
Step 1: Gather the necessary tools and materials
Before you begin the process of removing carpet from your stairs, it’s important to gather all the necessary tools and materials. Having everything you need on hand will help make the process smoother and more efficient. Here’s a list of the essential tools and materials you’ll need:
- Utility knife: A sharp utility knife will be your best friend when it comes to cutting and removing the carpet.
- Pliers: Pliers will come in handy for gripping and pulling up any staples or tacks that may be securing the carpet.
- Flathead screwdriver: A flathead screwdriver can be used to pry up any stubborn staples or tacks.
- Hammer: A small hammer can be useful for removing any nails or staples that are difficult to remove with pliers or a screwdriver.
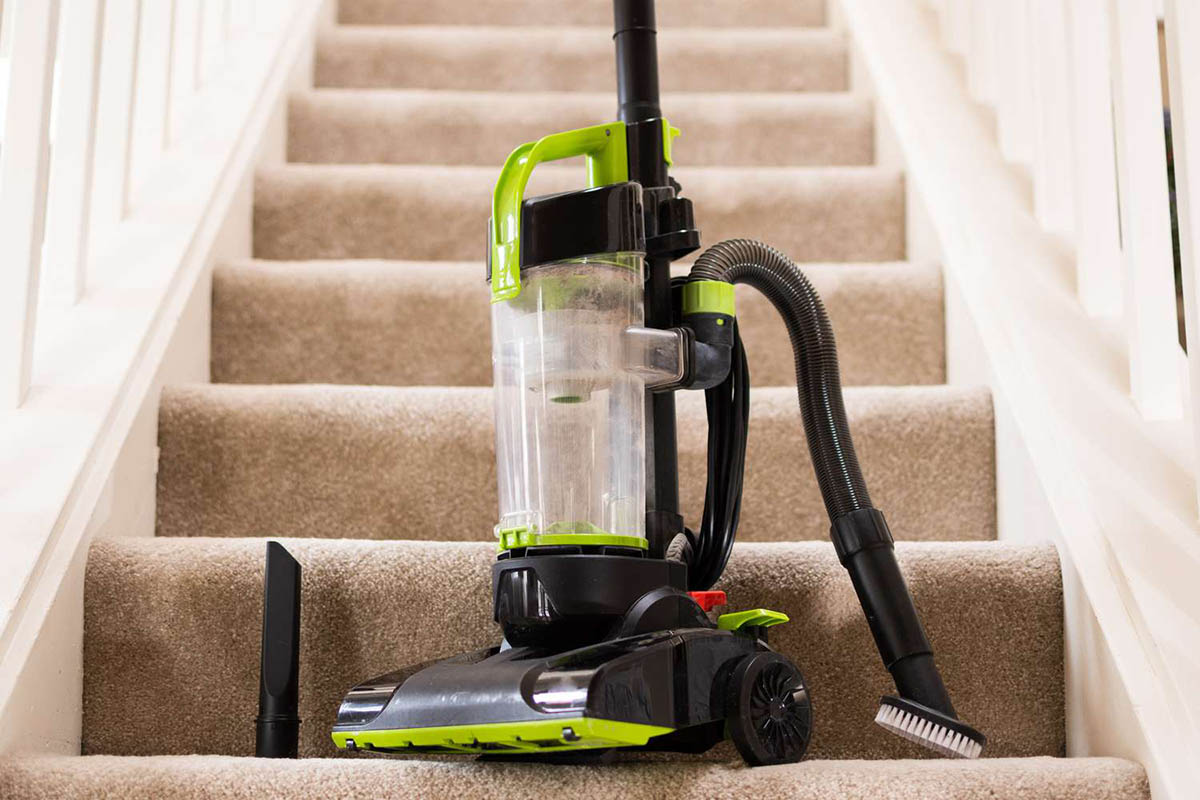
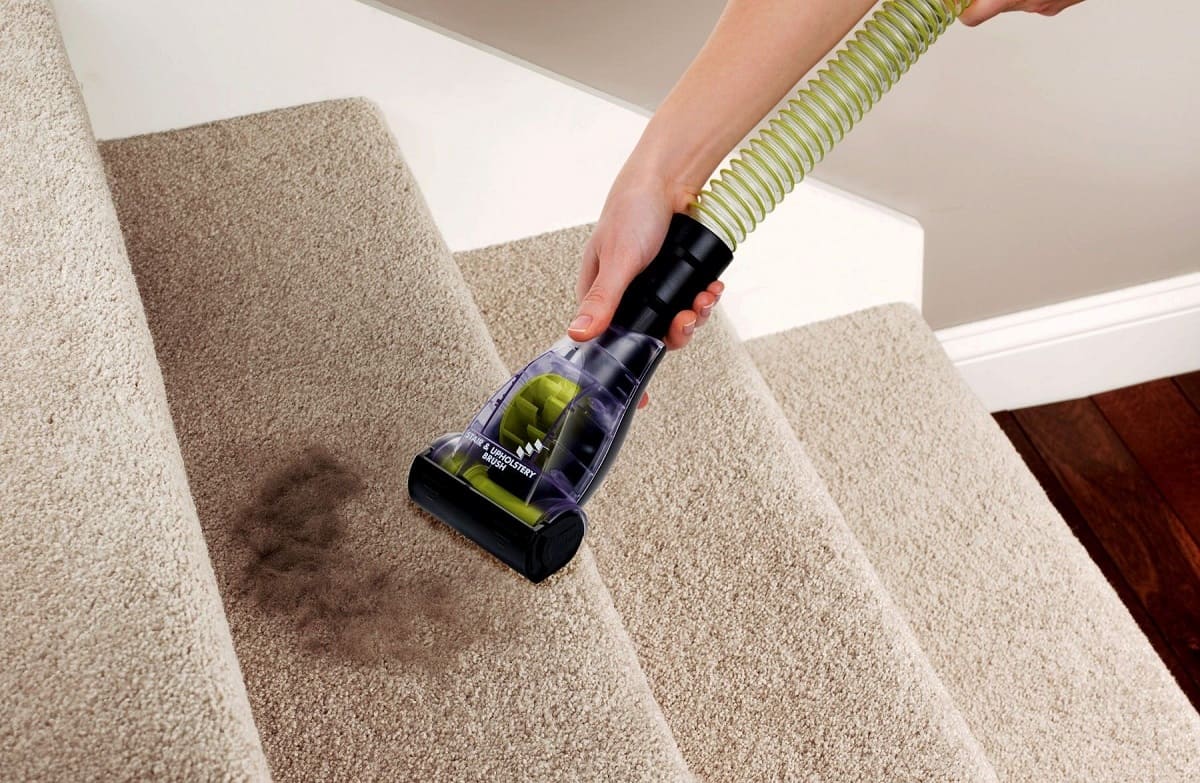
- Vacuum cleaner: A vacuum cleaner with a brush attachment will help you remove any loose dirt and debris from the carpet before you start removing it.
- Dust mask: It’s important to wear a dust mask to protect your lungs from any dust or debris that may be released during the removal process.
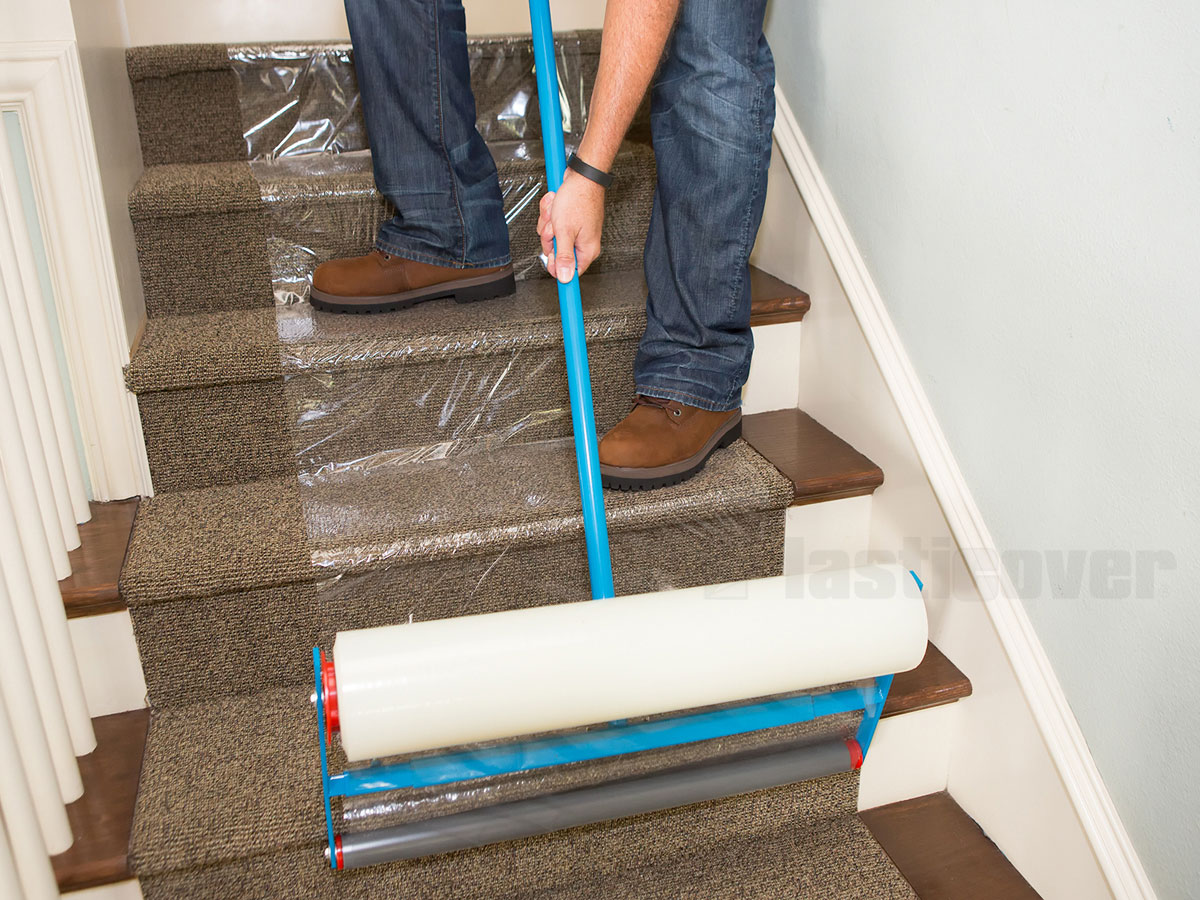
- Drop cloth or tarp: To protect your floors from any dirt or debris, place a drop cloth or tarp at the base of your stairs.
- Trash bags: Keep some trash bags handy to dispose of the old carpet, padding, and any other debris you may come across.
Once you have gathered all the necessary tools and materials, set them up near your work area for easy access. It’s also a good idea to have a container or bucket to collect any removed staples or tacks.
With your tools and materials ready, you’re one step closer to removing the carpet from your stairs. Let’s move on to the next step and prepare the stairs for the removal process.
Step 2: Prepare the stairs
Before you start removing the carpet from your stairs, it’s important to properly prepare the stairs to ensure a smooth and successful removal process. Follow these steps to prepare your stairs:
- Clear the area: Start by removing any objects, furniture, or obstructions from the stairs. This will make it easier to work and ensure that there are no potential tripping hazards.
- Protect surrounding areas: If you have walls or adjacent surfaces near the staircase, use painter’s tape to cover and protect them from any accidental damage or scratches during the removal process.
- Start at the top or bottom: Choose whether you want to start removing carpet from the top or bottom of the stairs. Both methods work, but starting from the top allows you to work your way down, while starting from the bottom allows for easier visibility and access.
- Remove any obstacles: Inspect the stairs for any nosing or trim that may be covering the edges of the carpet. Use a flathead screwdriver or pliers to carefully remove these obstacles, being cautious not to damage the stairs or surrounding areas.
- Test for adhesive: If your carpet is secured with adhesive, use a utility knife to make a small incision in an inconspicuous corner or edge of the carpet. Gently lift the carpet to check if there’s any adhesive present. If adhesive is present, you may need to take additional steps to remove it later on.
By properly preparing your stairs, you’ll create a clean and safe workspace for the carpet removal process. Take the time to clear the area, protect the surrounding surfaces, and inspect the stairs for any potential obstacles. With the stairs prepared, you’re now ready to start removing the carpet.
Step 3: Remove the carpet from the top step
Now that you have gathered your tools, materials, and prepared the stairs, it’s time to begin removing the carpet. Starting from the top step will allow you to work your way down without putting unnecessary weight on the remaining carpet. Follow these steps to remove the carpet from the top step:
- Locate the corner: Find a corner of the carpet on the top step. This corner will serve as the starting point for removal.
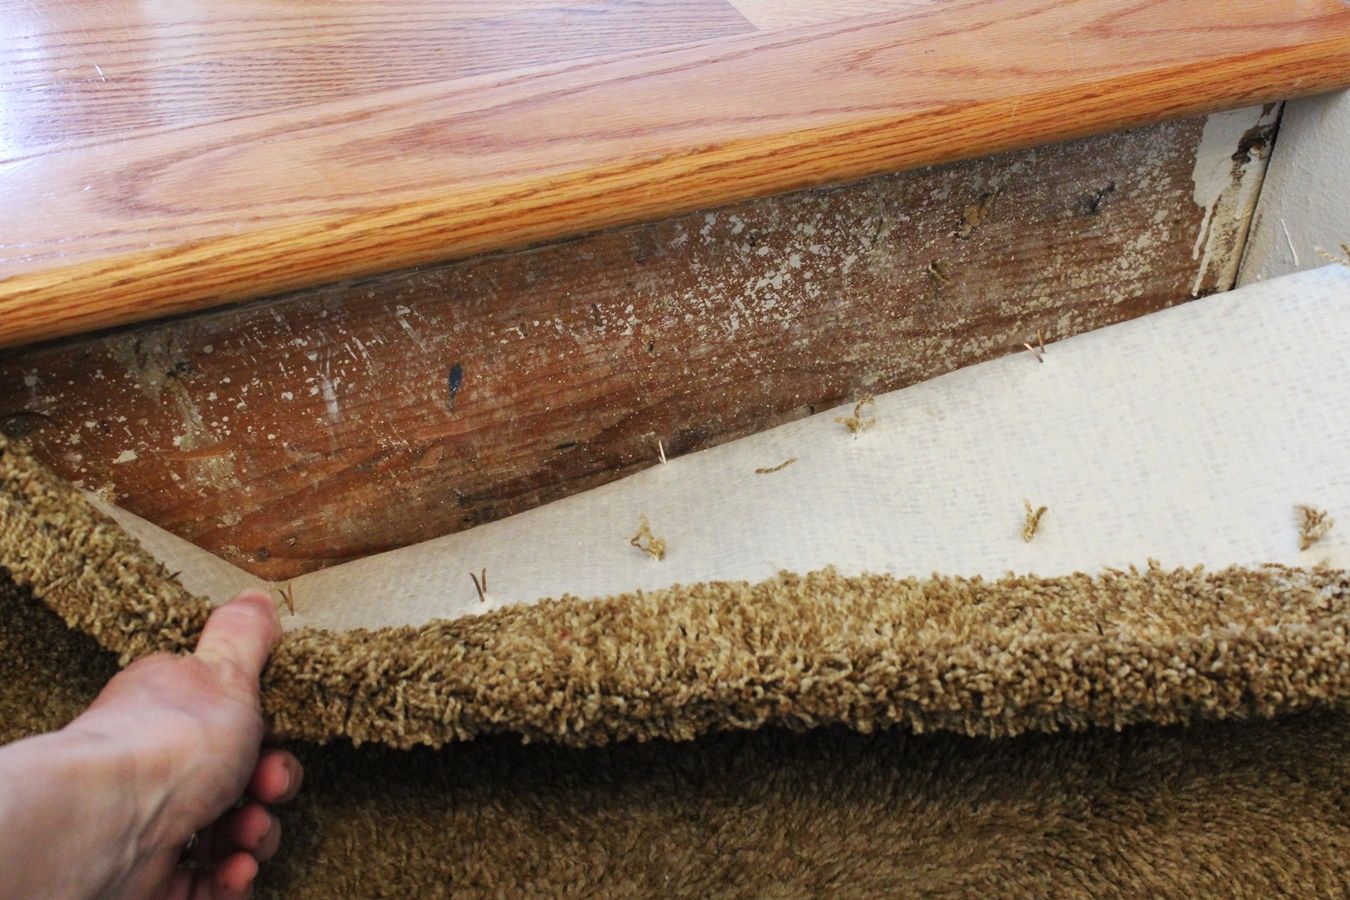
- Cut the carpet: Use a utility knife to make a straight cut along the corner of the carpet. Be careful not to cut too deep into the underlying material.
- Peel back the carpet: Hold onto the cut corner and slowly peel back the carpet from the top step. Use your hands or a pair of pliers to grip and pull the carpet as needed.
- Remove any staples or tacks: As you peel back the carpet, you may come across staples or tacks that are securing it to the stairs. Use pliers or a flathead screwdriver to remove these staples or tacks carefully.
- Roll up the carpet: Once the carpet is completely removed from the top step, roll it up tightly for easy disposal or future use if it’s in good condition.
Repeat these steps for any other remaining corners of the carpet on the top step. As you continue removing the carpet, you may need to use the utility knife to cut the carpet into manageable sections for easier handling and disposal.
Remember, safety should always come first. Wear gloves to protect your hands from any potential sharp edges or staples, and be cautious when using the utility knife.
With the carpet removed from the top step, you can now proceed to the next step and remove the carpet from the remaining steps.
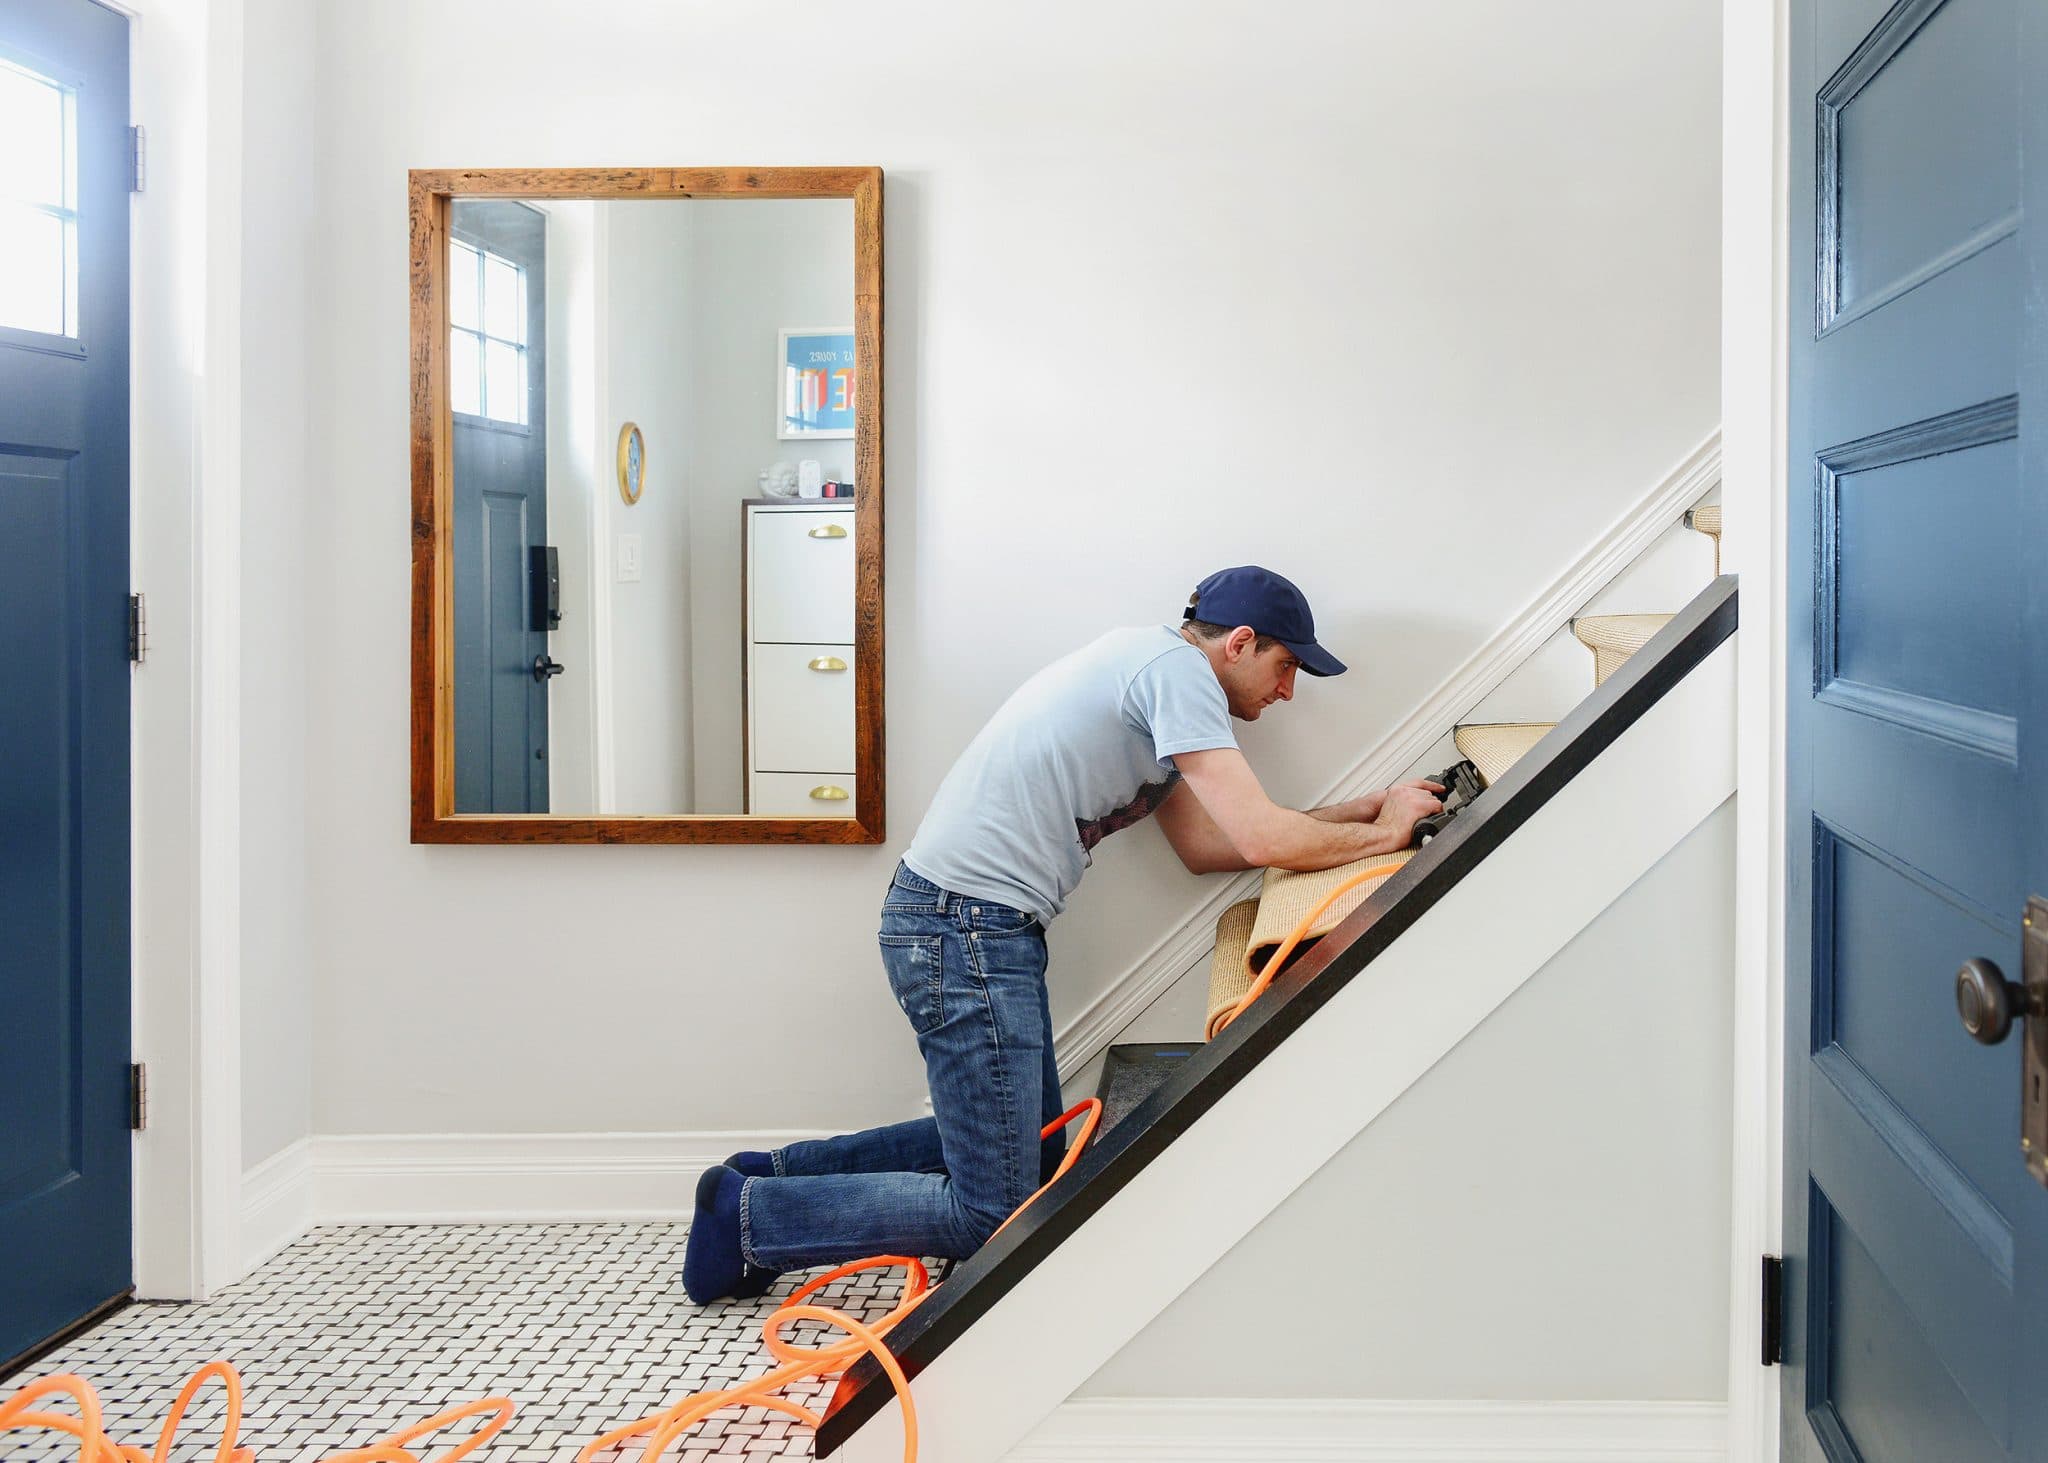
Use a utility knife to cut the carpet along the edge of the stairs. Then, use a pry bar to lift and remove the carpet and padding. Be careful of any staples or nails.
Step 4: Remove the carpet from the remaining steps
With the carpet removed from the top step, it’s time to tackle the remaining steps. Follow these steps to remove the carpet from the rest of the staircase:
- Start from the top or bottom: Decide whether you want to work your way down from the top step or up from the bottom step. Choose the method that feels most comfortable and convenient for you.
- Repeat the process: Repeat the same process you used to remove the carpet from the top step. Find a corner of the carpet on the next step, make a straight cut with a utility knife, peel back the carpet, and remove any staples or tacks along the way.
- Roll up the carpet: As you remove the carpet from each step, roll it up tightly and secure it with tape or twine for easy disposal.
- Be mindful of obstacles: Pay attention to any obstacles, such as nosing or trim, as you remove the carpet from each step. Take extra care to avoid damaging these features.
- Work systematically: Work your way down or up the stairs systematically, removing the carpet from each step as you go. This will ensure that you don’t miss any sections and maintain a logical order throughout the process.
As you remove the carpet, take breaks as needed and stretch your legs to prevent fatigue. It’s important to maintain a steady pace while ensuring that each step is thoroughly cleared of carpet and any staples or tacks.
Depending on the size and complexity of your staircase, this step may take some time to complete. Be patient and focused, and before you know it, you’ll have the entire staircase free of carpet!
Once you have removed the carpet from all the steps, you’re ready to move on to the next step and remove any carpet padding or adhesive residue.
Read more: How To Remove Carpet Glue From Wood Stairs
Step 5: Remove any carpet padding or adhesive residue
Now that you have successfully removed the carpet from the stairs, it’s time to tackle any remaining carpet padding or adhesive residue. Follow these steps to remove them:
- Inspect for padding: Take a close look at each step to check if there is any carpet padding still attached. Padding is usually secured with staples or adhesive.
- Remove padding: If you find any padding, use pliers or a flathead screwdriver to remove staples or adhesive carefully. Take your time to ensure that the padding comes off cleanly without damaging the stairs.
- Scrape adhesive residue: If there is adhesive residue left on the stairs, use a scraper or putty knife to gently scrape it off. Work in small sections and be careful not to scratch or damage the surface of the stairs.
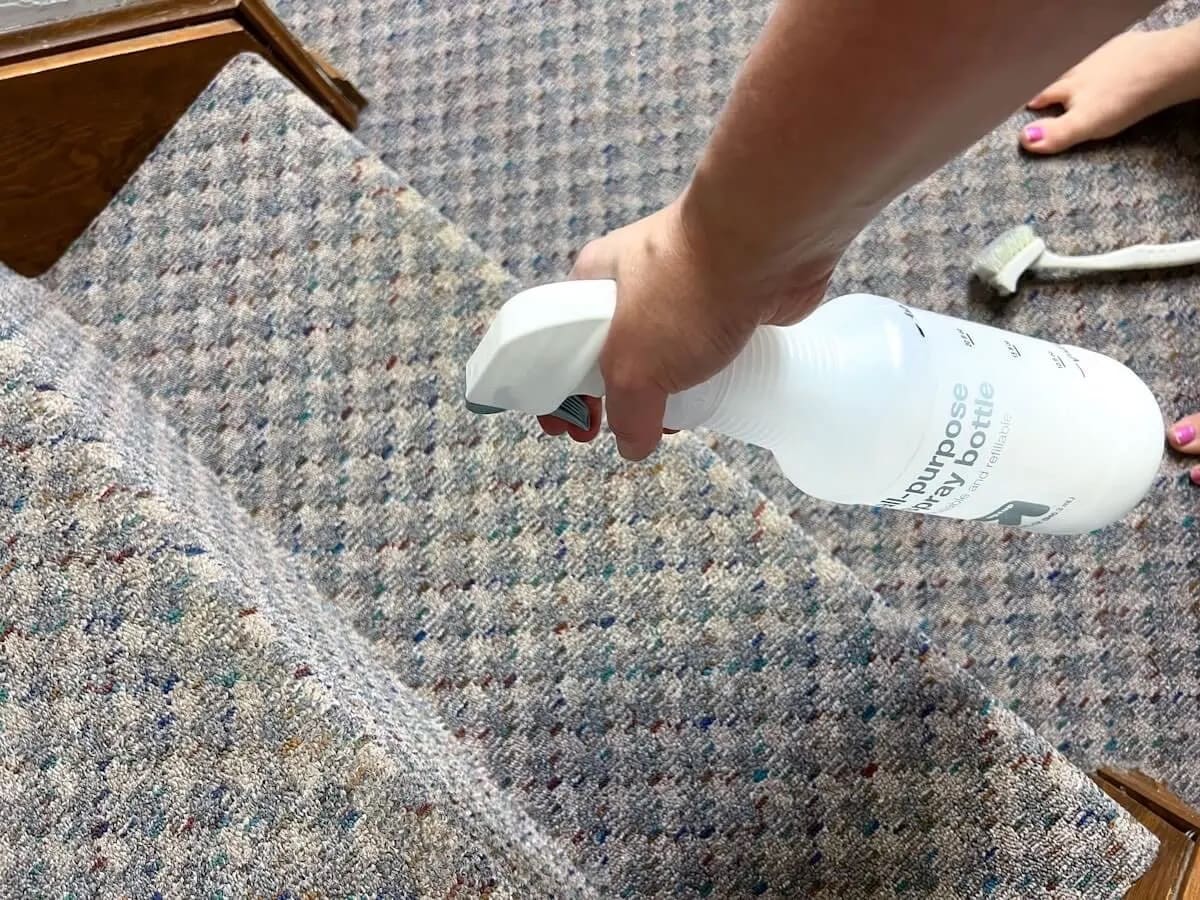
- Use adhesive remover: If scraping alone doesn’t remove all the adhesive residue, you can apply an adhesive remover. Follow the instructions on the product and use a cloth or sponge to apply and scrub away the residue. Be sure to ventilate the area and work in a well-ventilated space.
- Clean the stairs: After removing the carpet padding and adhesive residue, take the time to thoroughly clean the stairs. Use a vacuum cleaner or broom to remove any loose debris and then wipe down the stairs with a damp cloth to remove any remaining dirt or dust.
Removing carpet padding and adhesive residue can be a bit time-consuming, but it is an essential step to ensure a smooth and clean surface for your future stairs’ finish or covering. Take your time and be patient to remove all remnants of the carpet installation.
Now that the stairs are free from carpet, padding, and adhesive, you’re ready to move on to the final step: cleaning and preparing the stairs for a new finish or covering.
Step 6: Clean and prepare the stairs for a new finish or covering
With the carpet and any remnants removed, it’s time to clean and prepare the stairs for a new finish or covering. Follow these steps to ensure your stairs are ready for their next transformation:
- Vacuum or sweep: Begin by vacuuming or sweeping the stairs to remove any loose dirt, dust, or debris that may have accumulated during the carpet removal process.
- Wash the stairs: Use a mild detergent mixed with water to wash the stairs and remove any stubborn stains or dirt. Scrub gently with a soft brush or cloth, paying attention to any high traffic areas or spots that require extra cleaning.
- Rinse and dry: After washing, rinse the stairs thoroughly with clean water to remove any soap residue. Use a clean towel or allow sufficient time for the stairs to dry completely before proceeding to the next step.
- Inspect for damage: Take a close look at the stairs for any signs of damage, such as cracks or uneven surfaces. Repair any visible damage before applying a new finish or covering to ensure a smooth and even result.
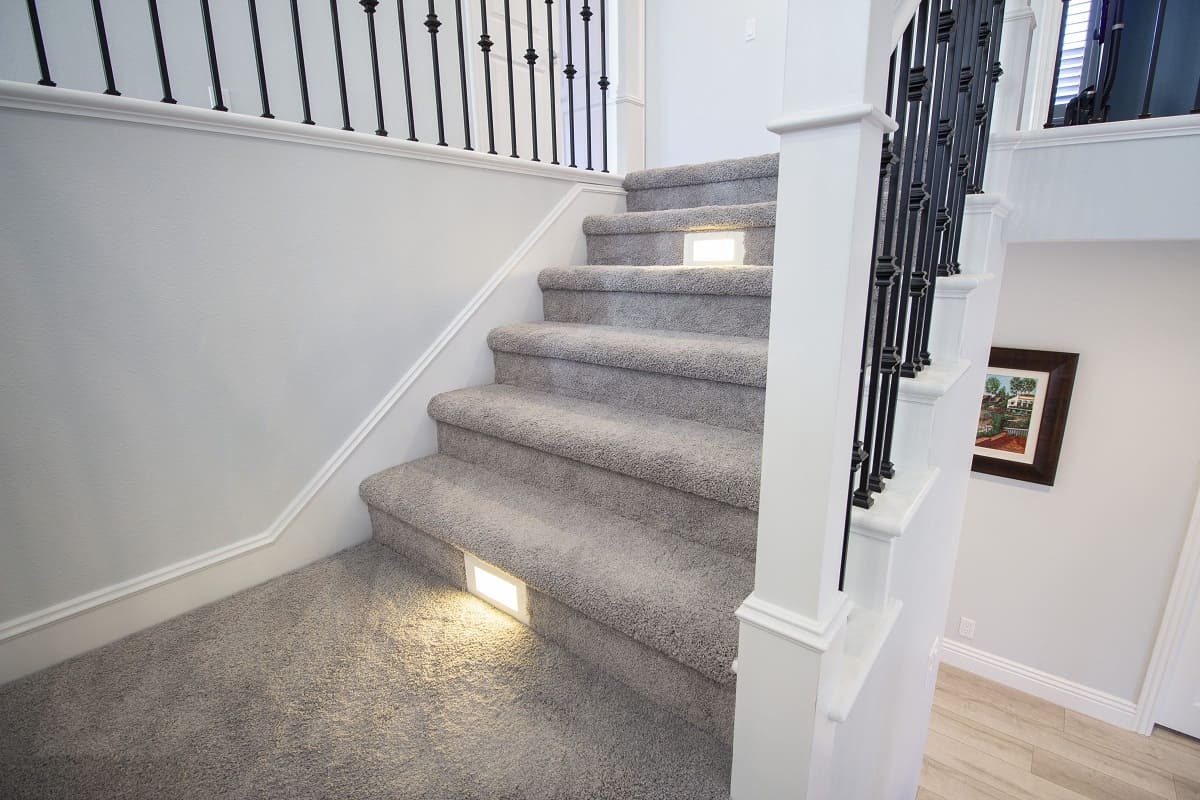
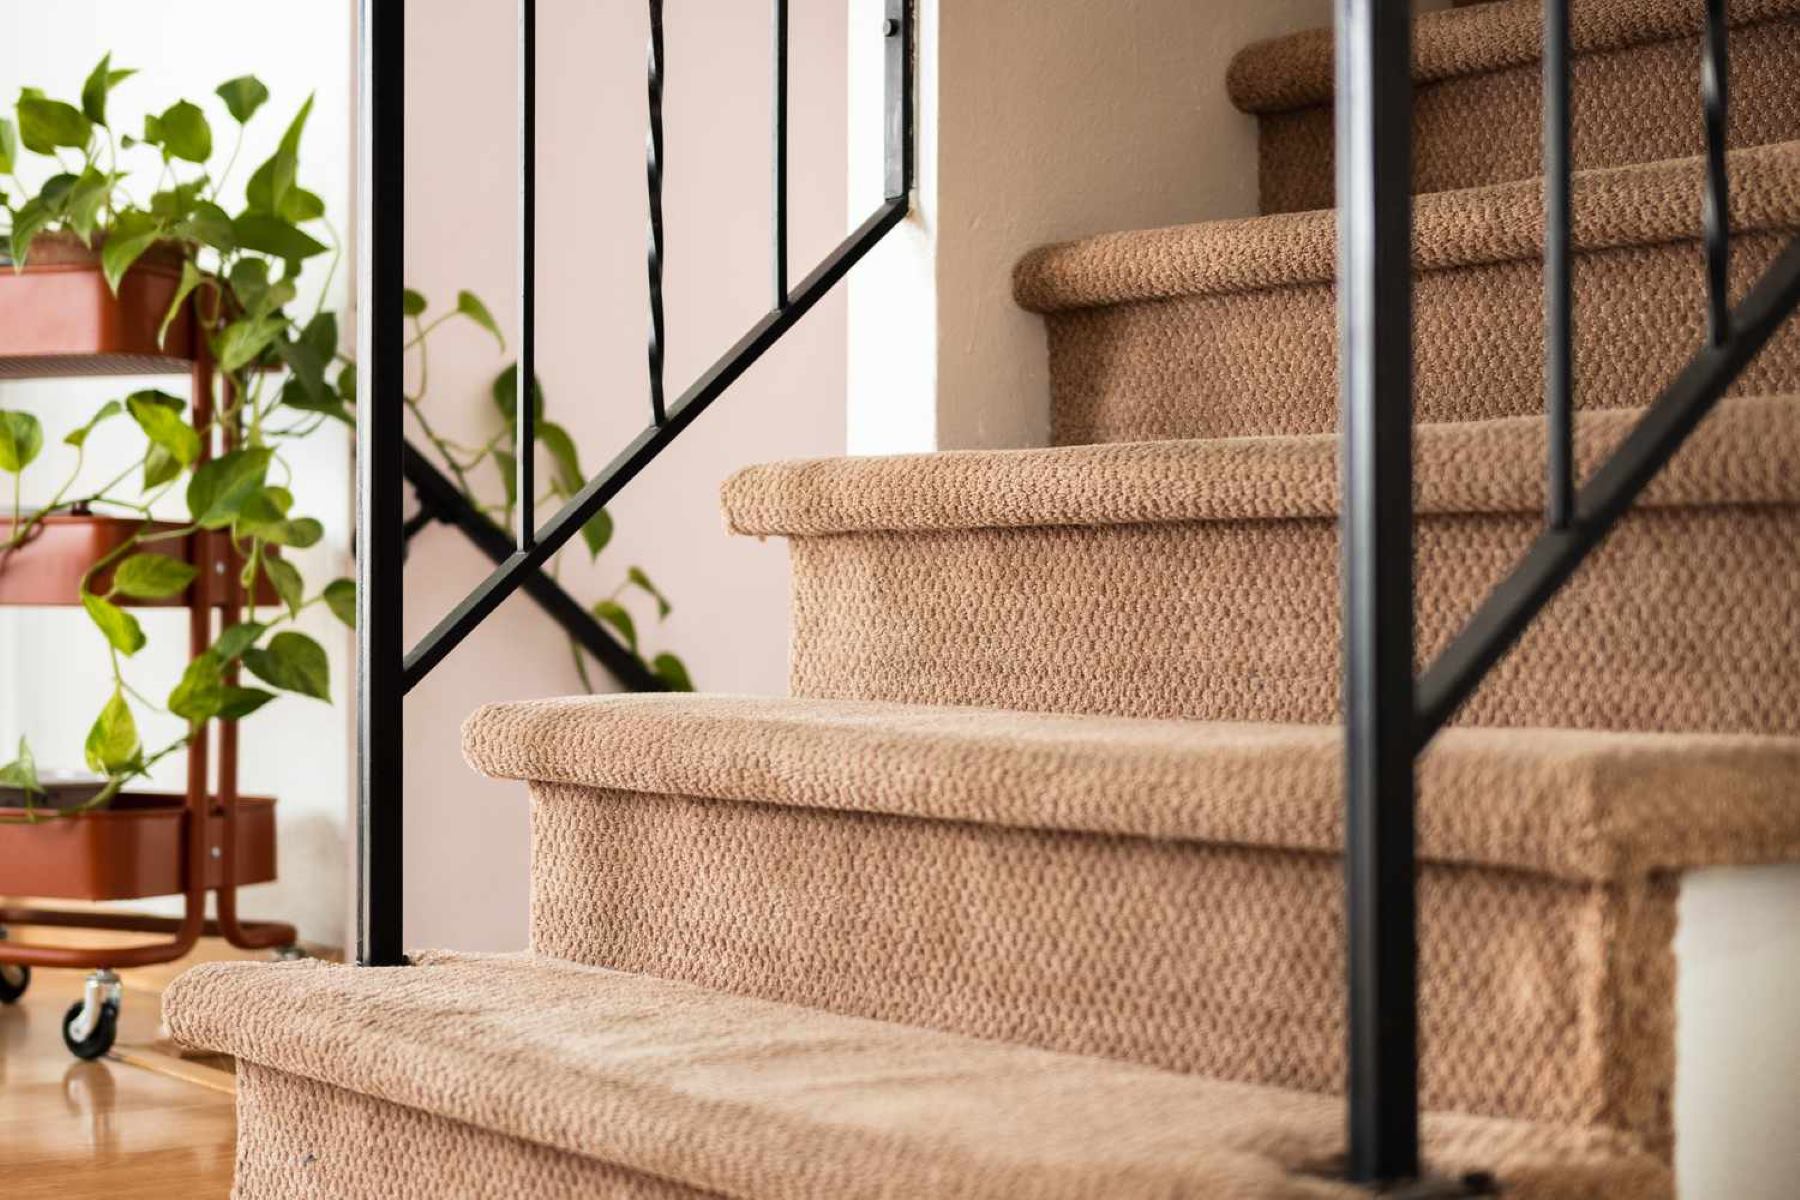
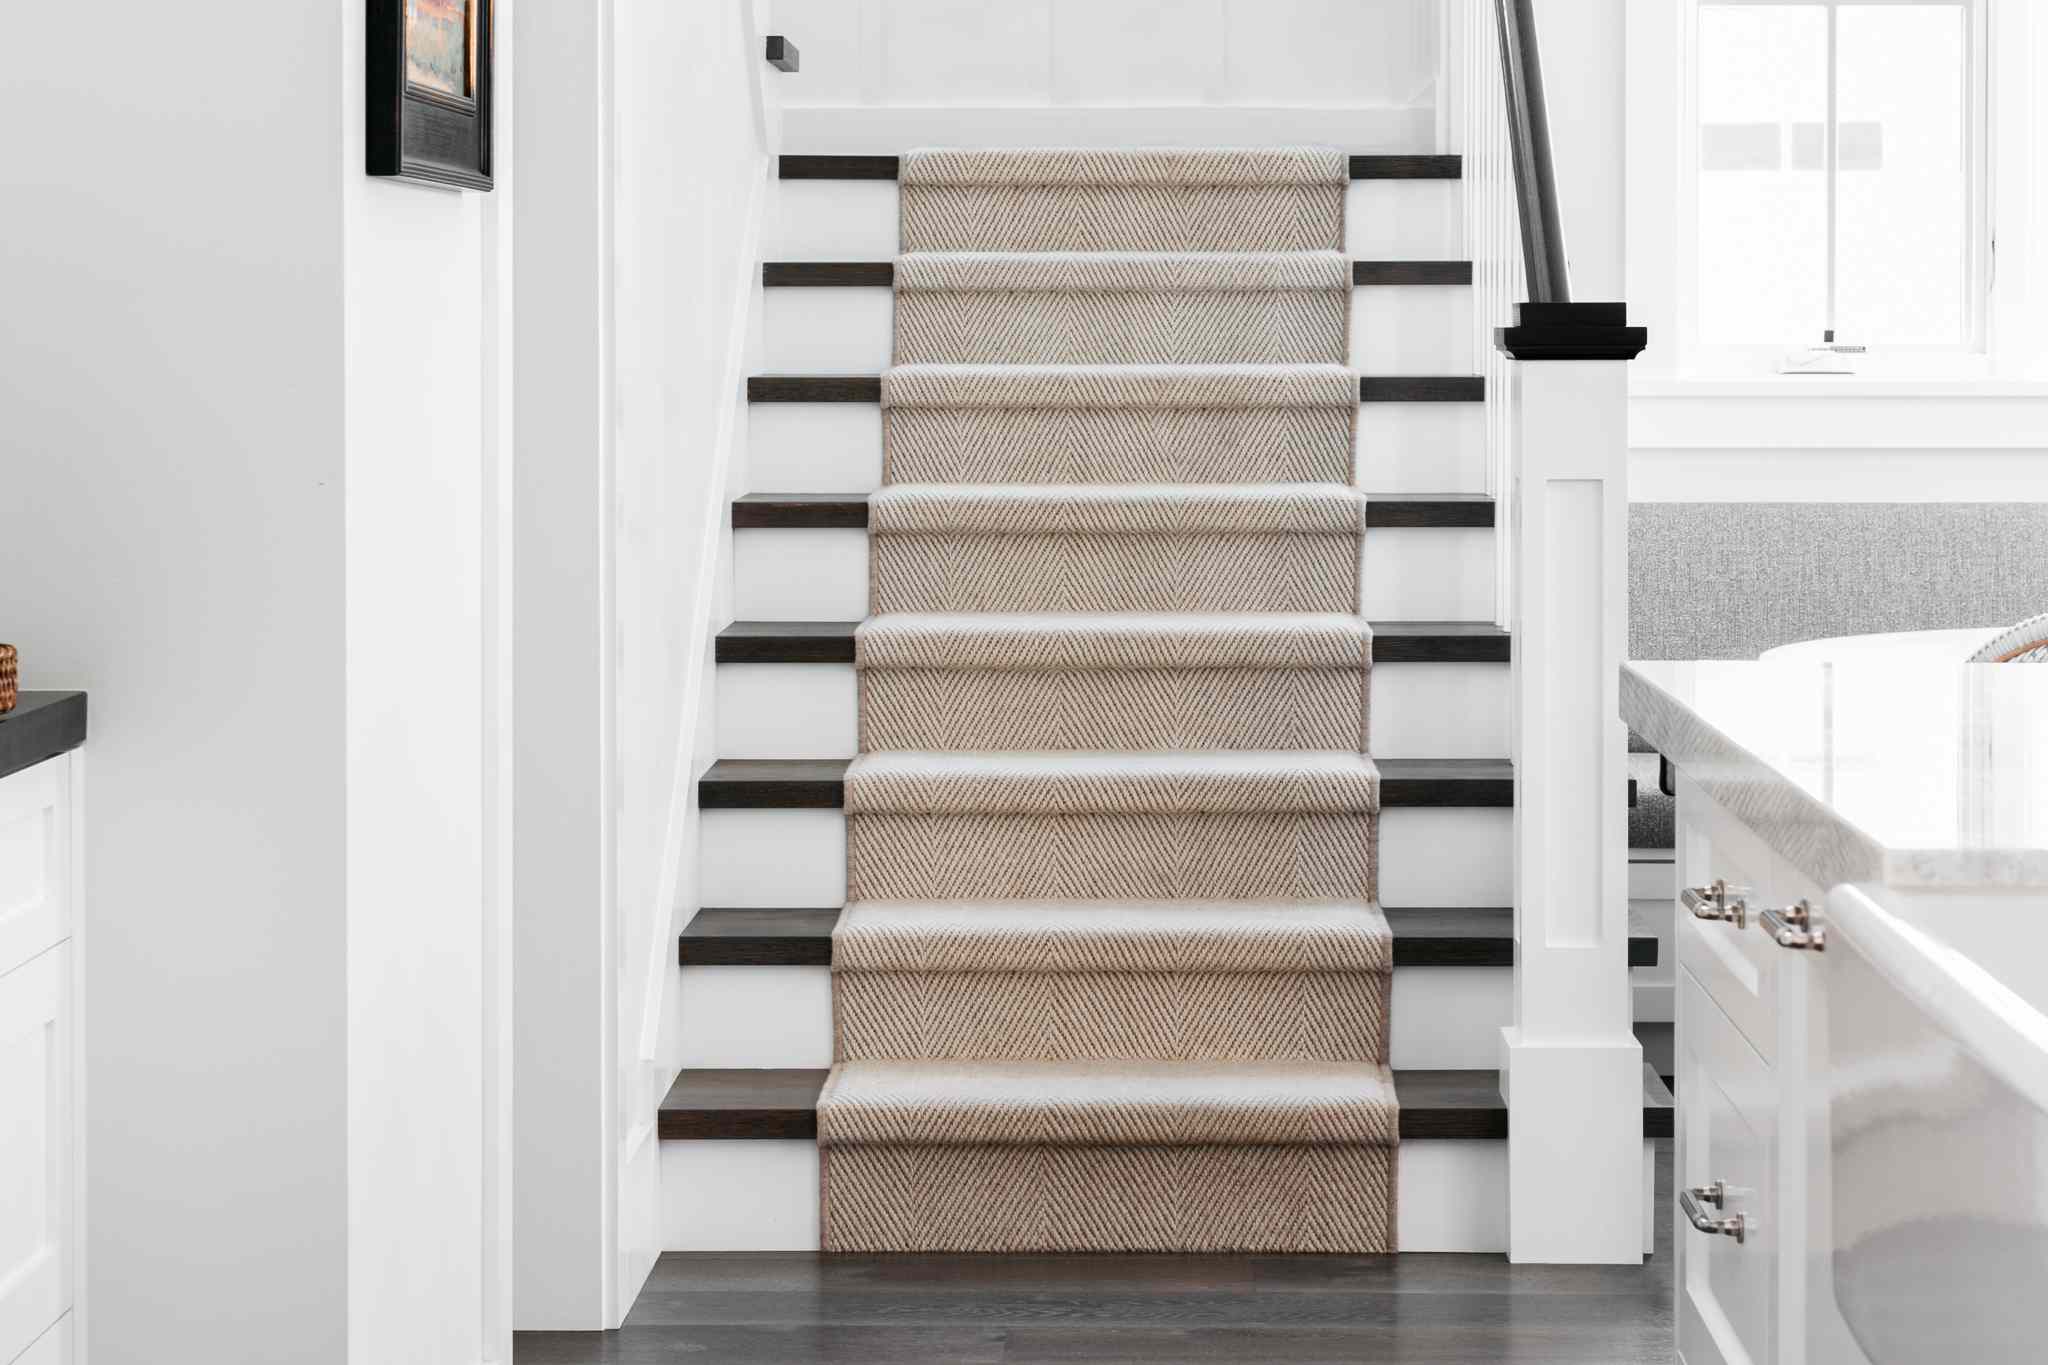
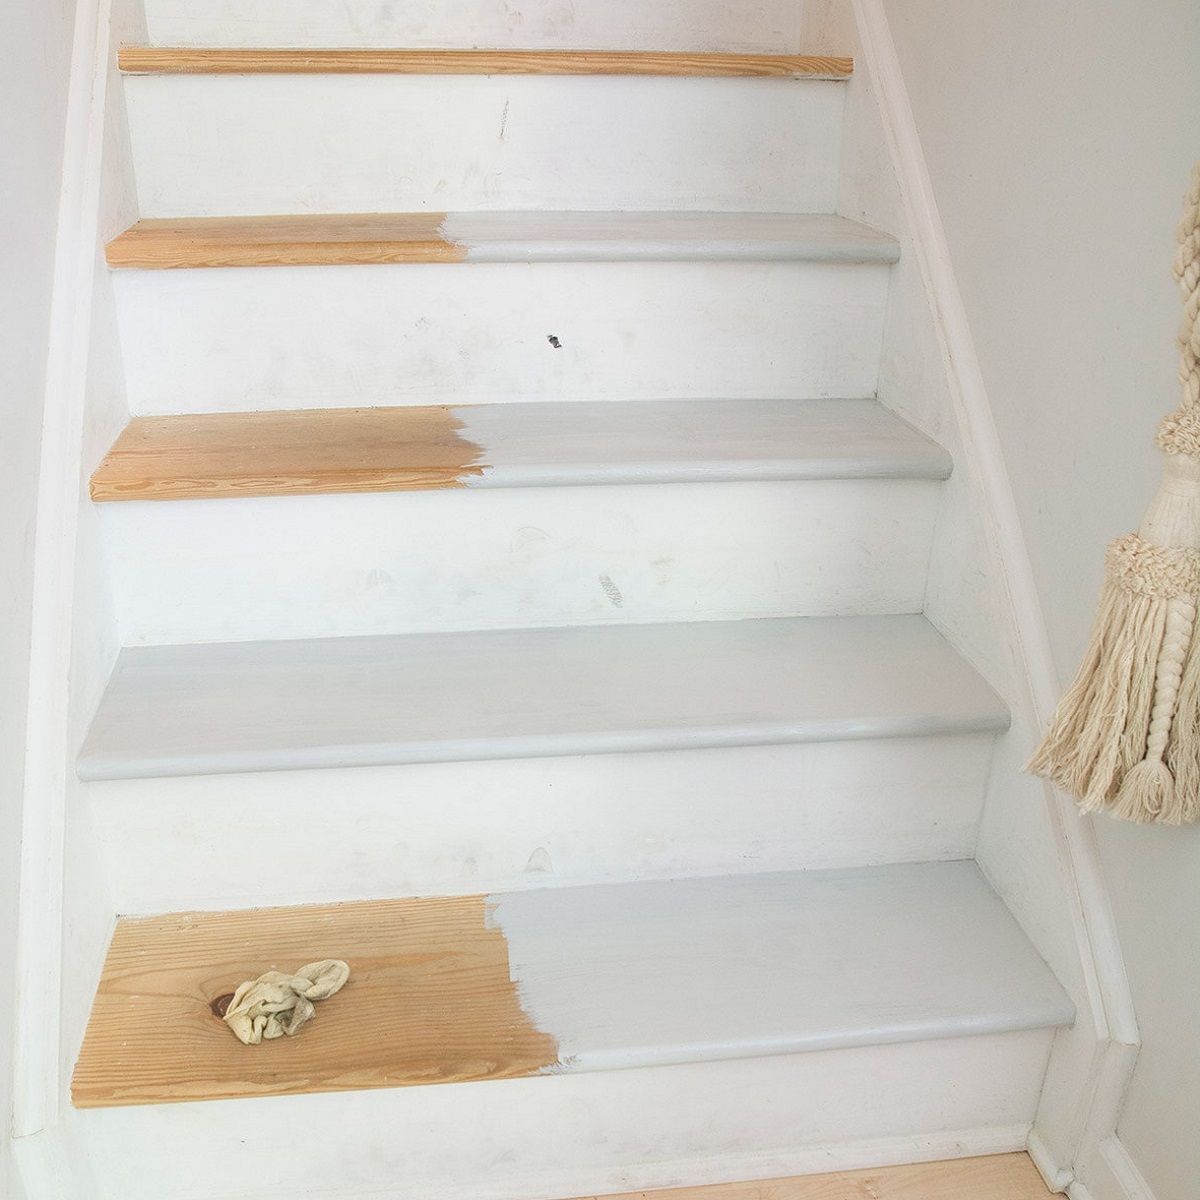
- Choose your finish or covering: Depending on your personal preference and the overall aesthetic of your space, you have several options for finishing or covering your stairs. These options include staining, painting, installing new carpet, or adding other types of flooring, such as hardwood or laminate.
- Apply the finish or covering: Once you have chosen your desired finish or covering, follow the manufacturer’s instructions to apply it to the stairs. Be sure to follow proper safety precautions and allow sufficient drying or curing time before using the stairs.
Remember to take your time during the cleaning and preparation stage to achieve the best possible results. It’s essential to have clean and properly repaired stairs before applying any new finish or covering to ensure a durable and aesthetically pleasing outcome.
By following these steps, you can successfully remove carpet from your stairs and prepare them for a fresh new look. Enjoy the process and take pride in your transformed staircase!
Conclusion
Removing carpet from stairs can be a rewarding project that can completely transform the look and feel of your home. By following the step-by-step guide outlined in this article, you can successfully remove carpet from your stairs and prepare them for a new finish or covering.
Throughout the process, it’s important to prioritize safety and use the necessary tools and protective gear. Take your time to properly prepare the stairs, remove the carpet, and clean any remaining residue. By doing so, you’ll ensure a clean and smooth surface for your new stairs’ finish or covering.
Consider the options available to you, such as staining, painting, or installing new flooring, and choose the one that suits your style and preferences. Before applying any new finish or covering, make sure to inspect and repair any existing damage on the stairs for a polished and professionally finished result.
Remember that this project requires patience, attention to detail, and perseverance. Don’t rush the process and enjoy the journey as you transform your staircase. When complete, your newly refreshed stairs will be a beautiful focal point and add value to your home.
We hope that this comprehensive guide has provided you with the necessary knowledge and confidence to remove carpet from your stairs. So, roll up your sleeves, gather your tools, and get ready to embark on this exciting home improvement project.
Frequently Asked Questions about How To Remove Carpet On Stairs
Was this page helpful?
At Storables.com, we guarantee accurate and reliable information. Our content, validated by Expert Board Contributors, is crafted following stringent Editorial Policies. We're committed to providing you with well-researched, expert-backed insights for all your informational needs.


0 thoughts on “How To Remove Carpet On Stairs”