Articles
How To Refinish Carpeted Stairs
Modified: October 22, 2024
Learn how to refinish carpeted stairs with our step-by-step articles. Transform your stairs into a stunning focal point with our expert tips and techniques.
(Many of the links in this article redirect to a specific reviewed product. Your purchase of these products through affiliate links helps to generate commission for Storables.com, at no extra cost. Learn more)
Introduction
Welcome to the world of carpeted stairs refinishing! If you have tired-looking stairs covered in old, worn-out carpeting, refinishing them can breathe new life into your home and add a touch of elegance. Not only does refinishing carpeted stairs improve their appearance, but it also extends their lifespan and makes them easier to maintain. In this step-by-step guide, we will walk you through the process of refinishing your carpeted stairs, from removing the old carpeting to applying a fresh coat of finish. So, roll up your sleeves and get ready to transform your staircase into a beautiful focal point!
Before we jump into the nitty-gritty of the refinishing process, let’s take a moment to go over the tools and materials you will need. Having everything prepared in advance will make the process smoother and more efficient. Here’s a quick overview:
Key Takeaways:
- Transform your tired-looking carpeted stairs into a beautiful focal point by following a step-by-step refinishing process. Improve appearance, extend lifespan, and add elegance to your home.
- Whether you choose to embrace the natural wood grain or add a pop of color, refinishing your carpeted stairs is a rewarding project that enhances the overall aesthetic of your home. Enjoy the process and admire the stunning results!
Read more: How To Refinish Wooden Stairs
Step 1: Gathering the Necessary Tools and Materials
To successfully refinish carpeted stairs, you will need the following tools and materials:
- Protective goggles and gloves
- Dust mask
- Utility knife or carpet cutter
- Pry bar
- Hammer
- Screwdriver
- Staple remover
- Nail set
- Sanding equipment (sandpaper or electric sander)
- Stain or paint of your choice
- Brushes and rollers
- Clear finish coat (polyurethane or varnish)
- Tack cloth
- Vacuum cleaner
- New carpeting (optional)
Make sure you have all these items ready before you proceed with the refinishing process.
Key Takeaways:
- Transform your tired-looking carpeted stairs into a beautiful focal point by following a step-by-step refinishing process. Improve appearance, extend lifespan, and add elegance to your home.
- Whether you choose to embrace the natural wood grain or add a pop of color, refinishing your carpeted stairs is a rewarding project that enhances the overall aesthetic of your home. Enjoy the process and admire the stunning results!
Read more: How To Refinish Wooden Stairs
Step 1: Gathering the Necessary Tools and Materials
Before you begin the process of refinishing your carpeted stairs, it is essential to gather all the necessary tools and materials. Having everything prepared in advance will save you time and ensure a smooth and efficient refinishing process. Here is a comprehensive list of what you will need:
1. Protective goggles and gloves: Safety should always be your top priority. Wear protective goggles to shield your eyes from dust and debris, and gloves to protect your hands.
2. Dust mask: Sanding and working with chemicals can release fine particles and fumes. A dust mask will protect you from inhaling harmful substances.
3. Utility knife or carpet cutter: You will need a utility knife or carpet cutter to remove the old carpeting. Make sure it is sharp for easier cutting.
4. Pry bar: A pry bar comes in handy for removing the tack strips that hold the carpet in place. Choose a pry bar with a flat and wide end for better leverage.
5. Hammer: Use a hammer to gently tap the pry bar and remove the tack strips. It will also be useful for any other necessary tasks during the refinishing process.
6. Screwdriver: You may need a screwdriver to remove any screws or fasteners that are holding the carpet in place.
7. Staple remover: If there are any staples left behind from the carpet installation, a staple remover will make the removal process easier and prevent damage to the stairs.
8. Nail set: A nail set is essential for countersinking any exposed nails in the stairs. This will create a smooth surface for the refinishing process.
9. Sanding equipment: Depending on your preference and the condition of the stairs, you will need either sandpaper, sanding block, or an electric sander to prepare the surface for refinishing.
10. Stain or paint of your choice: Decide whether you want to stain the stairs to enhance the wood grain or paint them to match your home’s decor. Choose a high-quality stain or paint that is suitable for the material of your stairs.
11. Brushes and rollers: You will need brushes and rollers to apply the stain or paint evenly on the stairs. Select brushes and rollers appropriate for the type of finish you choose.
12. Clear finish coat: Once the stain or paint has dried, apply a clear finish coat to protect the stairs and enhance their durability. Polyurethane or varnish are popular choices for a clear finish.
13. Tack cloth: Use a tack cloth to wipe away any dust or debris after sanding. It ensures a smooth and clean surface for the refinishing process.
14. Vacuum cleaner: Keep a vacuum cleaner handy to clean up any dust or debris that accumulates during the refinishing process.
15. New carpeting (optional): If you decide not to keep the stairs bare, you may choose to install new carpeting after refinishing. Measure your stairs beforehand to ensure you purchase the correct amount of carpeting.
Make sure you have all these items ready before you start refinishing your carpeted stairs. Having everything prepared will save you time and prevent interruptions during the process. Once you have gathered all the necessary tools and materials, you are ready to dive into the exciting task of breathing new life into your staircase!
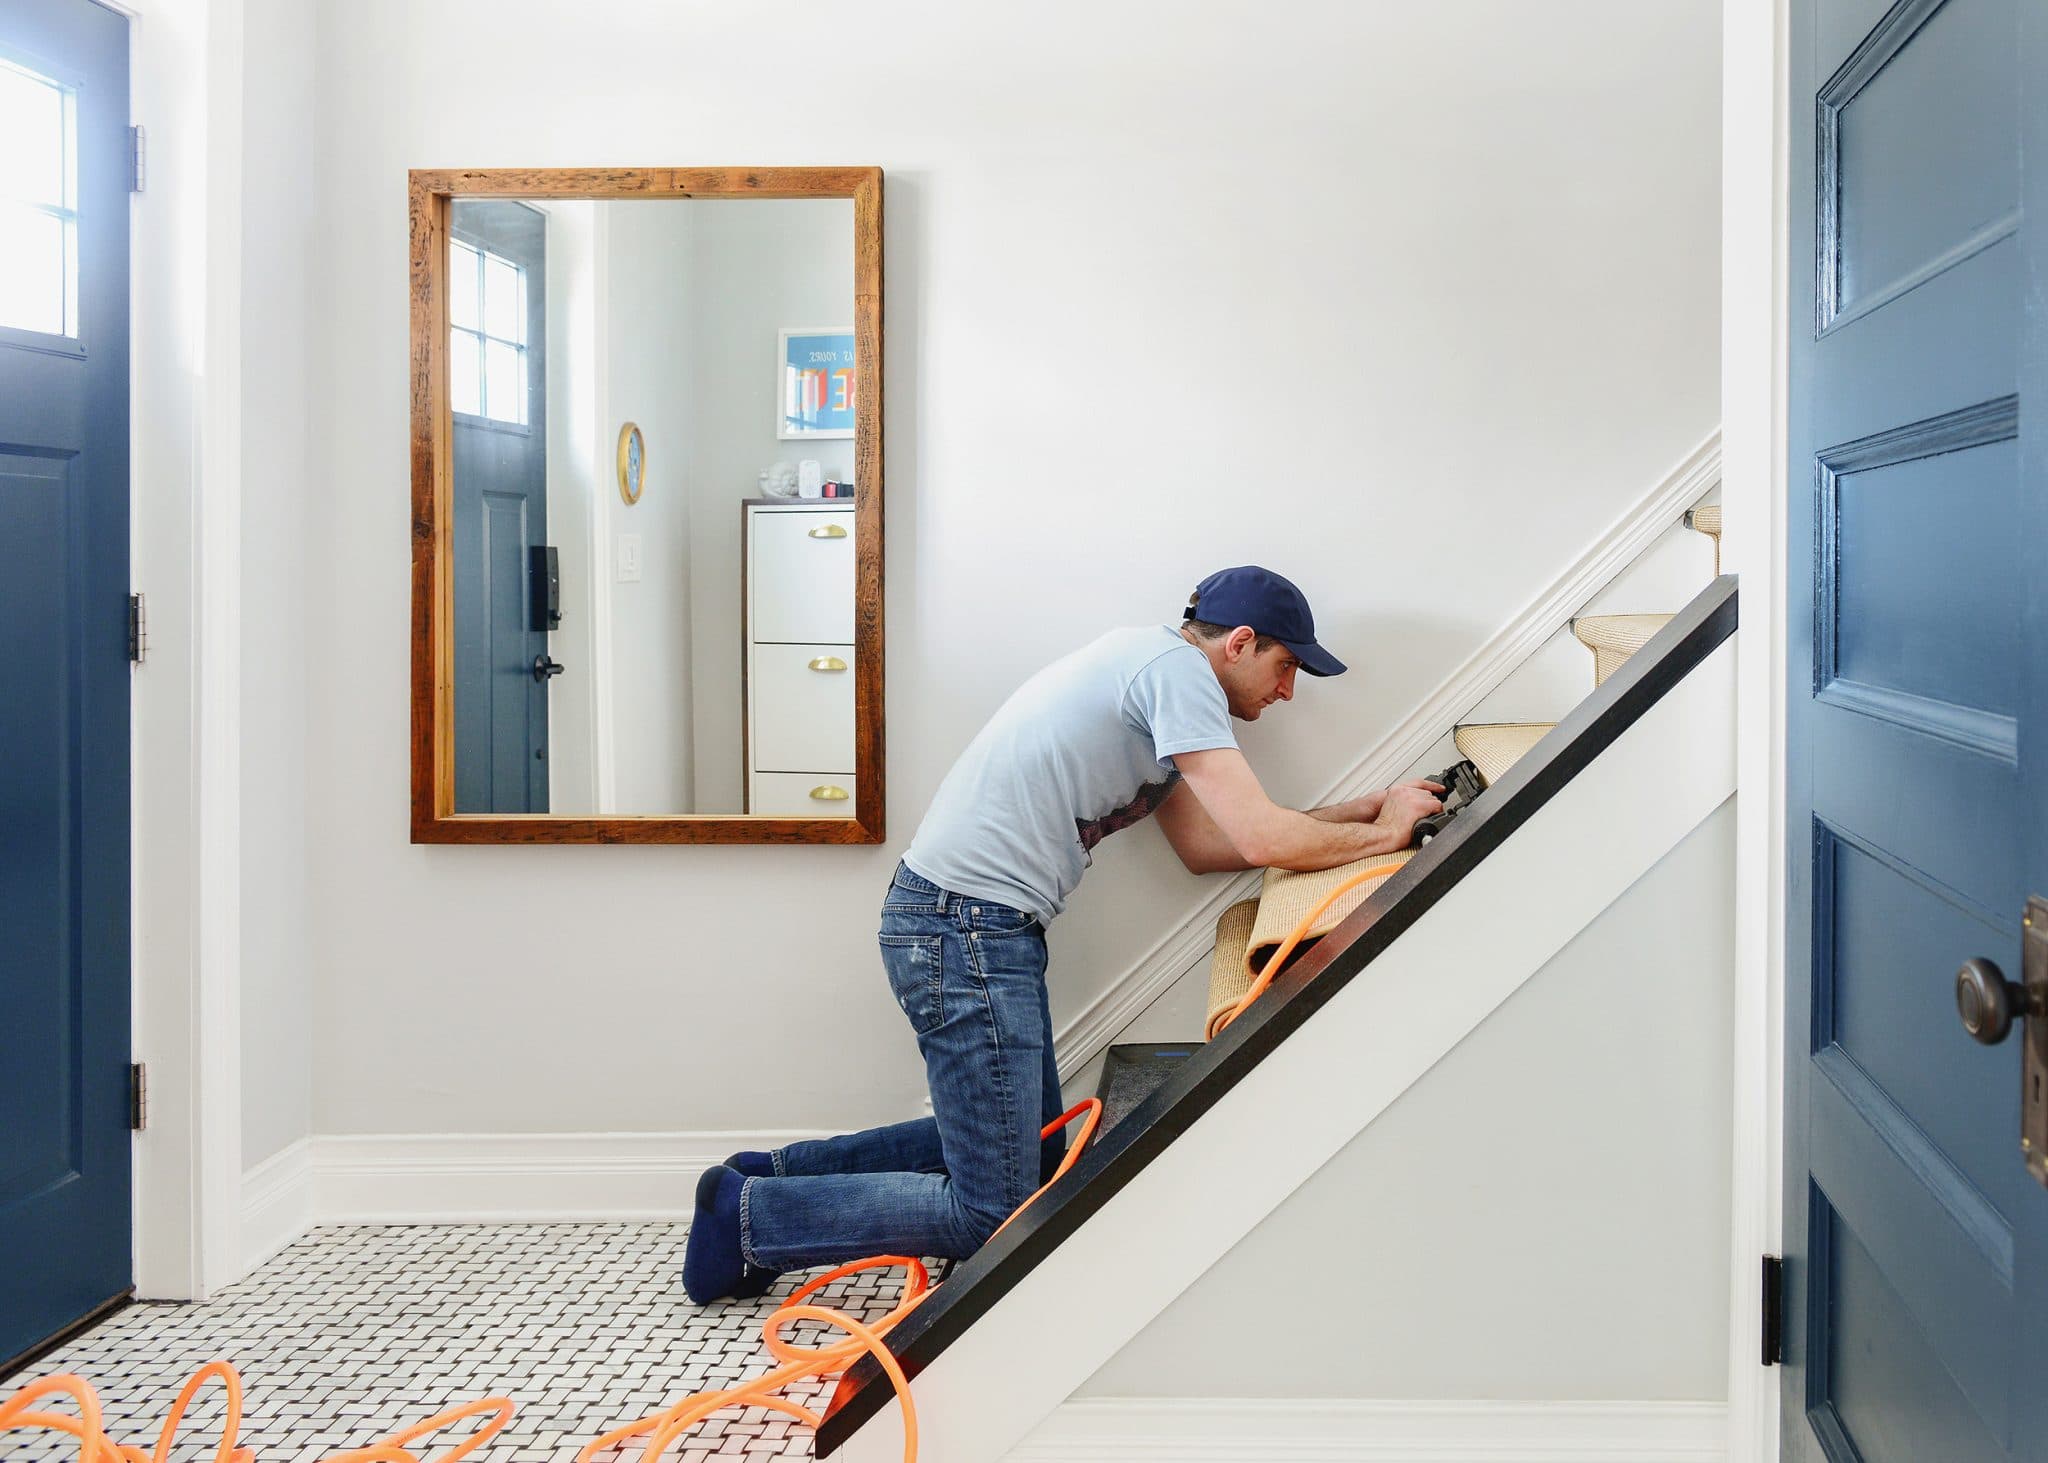
Step 2: Removing the Old Carpeting
Now that you have gathered all the necessary tools and materials, it’s time to roll up your sleeves and remove the old carpeting from your stairs. Removing the carpet will not only refresh the appearance of your stairs but also prepare the surface for refinishing. Follow these steps to effectively remove the old carpeting:
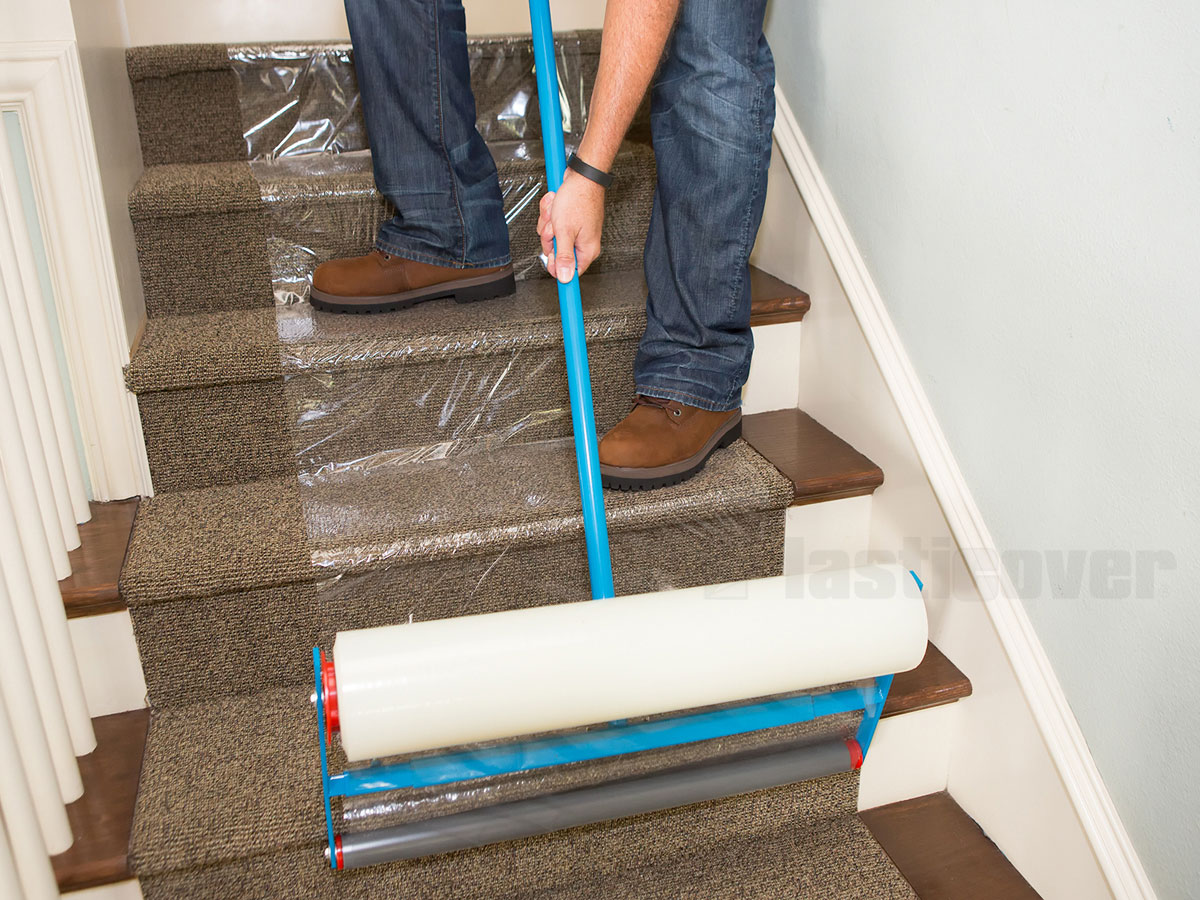
1. Prepare the area: Clear the area around the stairs and ensure there is enough space to work comfortably. Also, open windows or doors to improve ventilation, as removing the carpet can generate dust and debris.
2. Start at the top: Begin removing the carpet from the topmost step. Use a utility knife or carpet cutter to make a shallow cut along the edge of the step where it meets the riser.
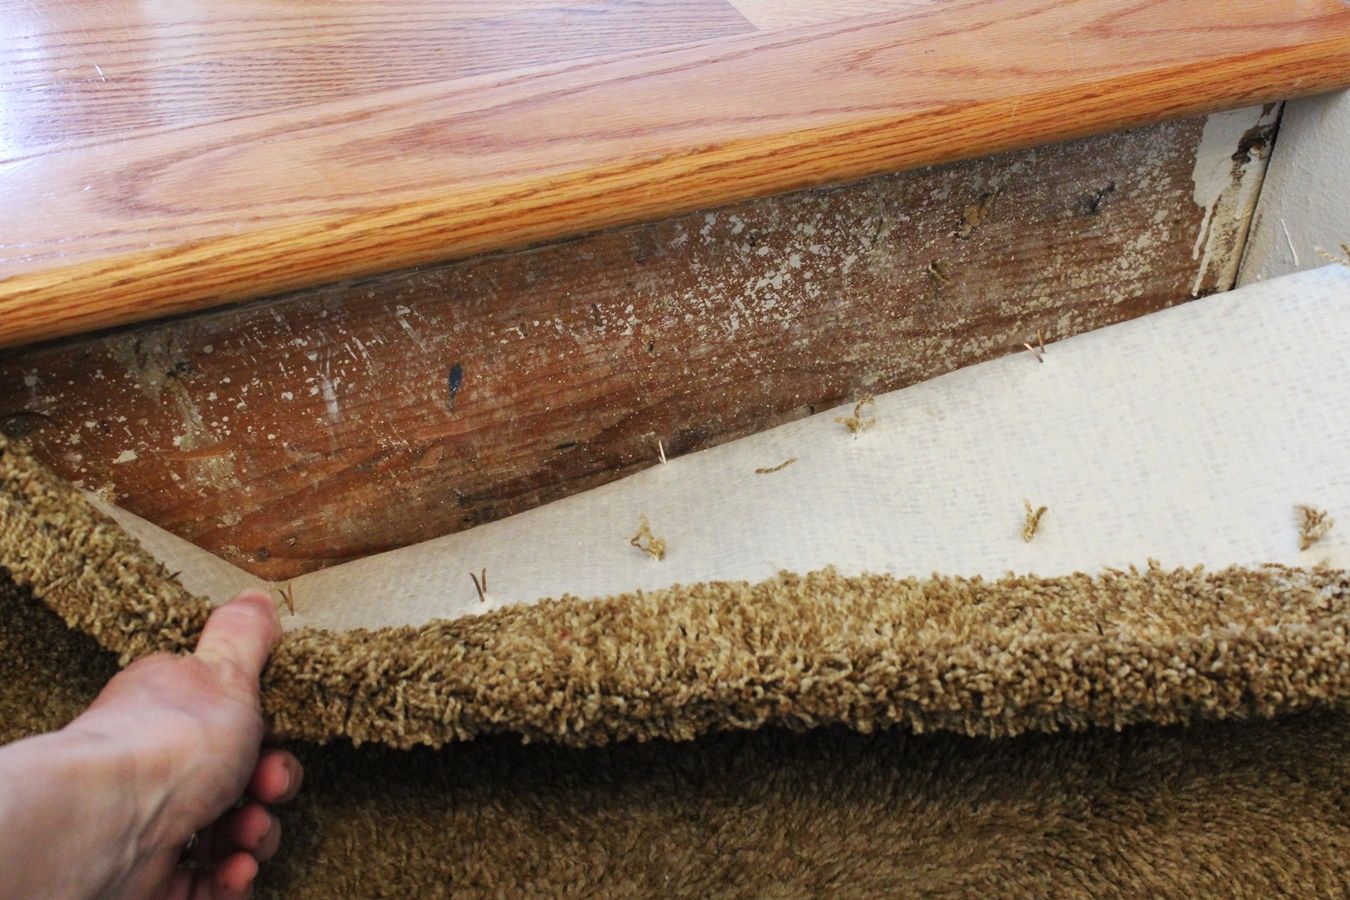
3. Peel back the carpet: Grip the cut edge of the carpet firmly and pull it away from the step. Continue pulling the carpet up, slowly and steadily, until you reach the bottom of the stairs. Roll or fold the carpet as you go to make it easier to handle and dispose of later.
4. Remove the carpet pad: Underneath the carpet, you will likely find a carpet pad. Use a pry bar or your hands to pull up the carpet pad and remove it from the stairs.
5. Remove the tack strips: Tack strips are thin strips of wood with small nails or tacks exposed. Start at the top step and use a pry bar and hammer to gently loosen and remove the tack strips. Be careful not to damage the stairs during this process.
6. Inspect the stairs: Once the carpet and padding are removed, give the stairs a thorough inspection. Look for any visible damage, repairs needed, or protruding nails. If there are any nails sticking out, use a nail set to carefully countersink them into the wood.
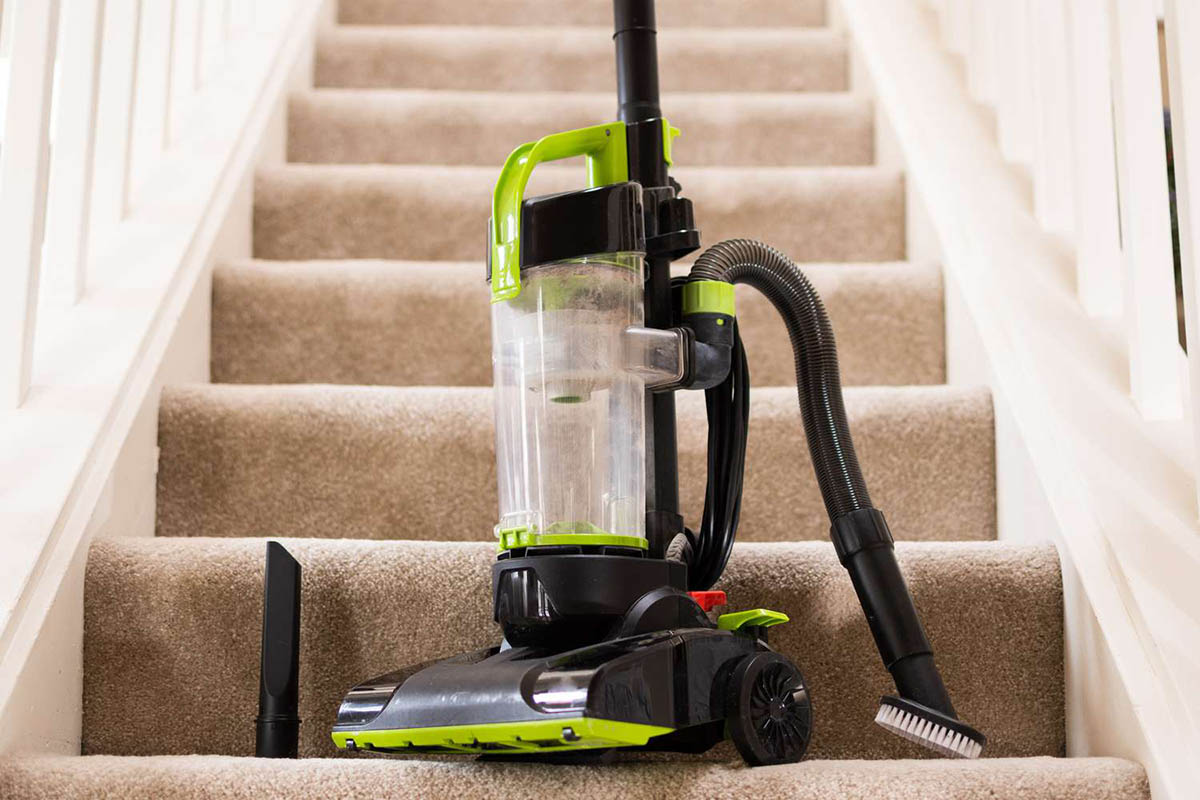
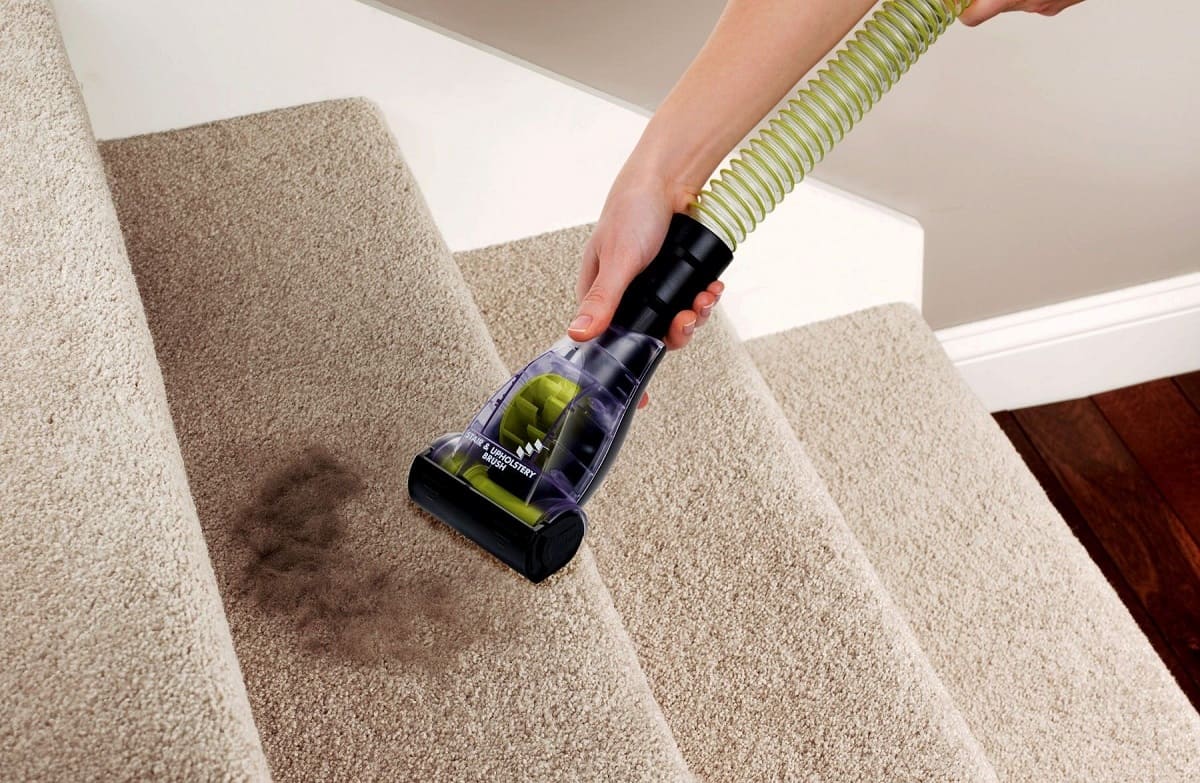
7. Clean up the debris: Use a vacuum cleaner or broom to sweep up any loose debris, dust, or staples that may be left on the stairs. Ensure the surface is clean and free from any obstructions before proceeding to the next step.
Removing the old carpeting may take some time and effort, but it is an essential step in refinishing your carpeted stairs. Once you have successfully removed the carpet and cleaned the surface, you are ready to move on to preparing the stairs for refinishing. Stay tuned for the next step, where we will guide you through preparing the staircase for the refinishing process.
Step 3: Preparing the Staircase for Refinishing
With the old carpeting removed, it’s time to prepare the staircase for refinishing. This step is crucial as it ensures a smooth and durable finish. Follow these steps to properly prepare the stairs:
1. Fill any gaps or holes: Inspect the stairs for any gaps, cracks, or holes. Use a wood filler or putty to fill in these imperfections. Smooth out the filler with a putty knife and allow it to dry completely according to the manufacturer’s instructions.
2. Sand the stairs: Sanding is an important step to create a smooth surface and remove any rough patches or imperfections. You can use sandpaper and sanding blocks for smaller areas, or an electric sander for larger sections. Start with a coarse grit sandpaper and gradually switch to finer grits for a smoother finish. Sand in the direction of the wood grain to avoid scratches.
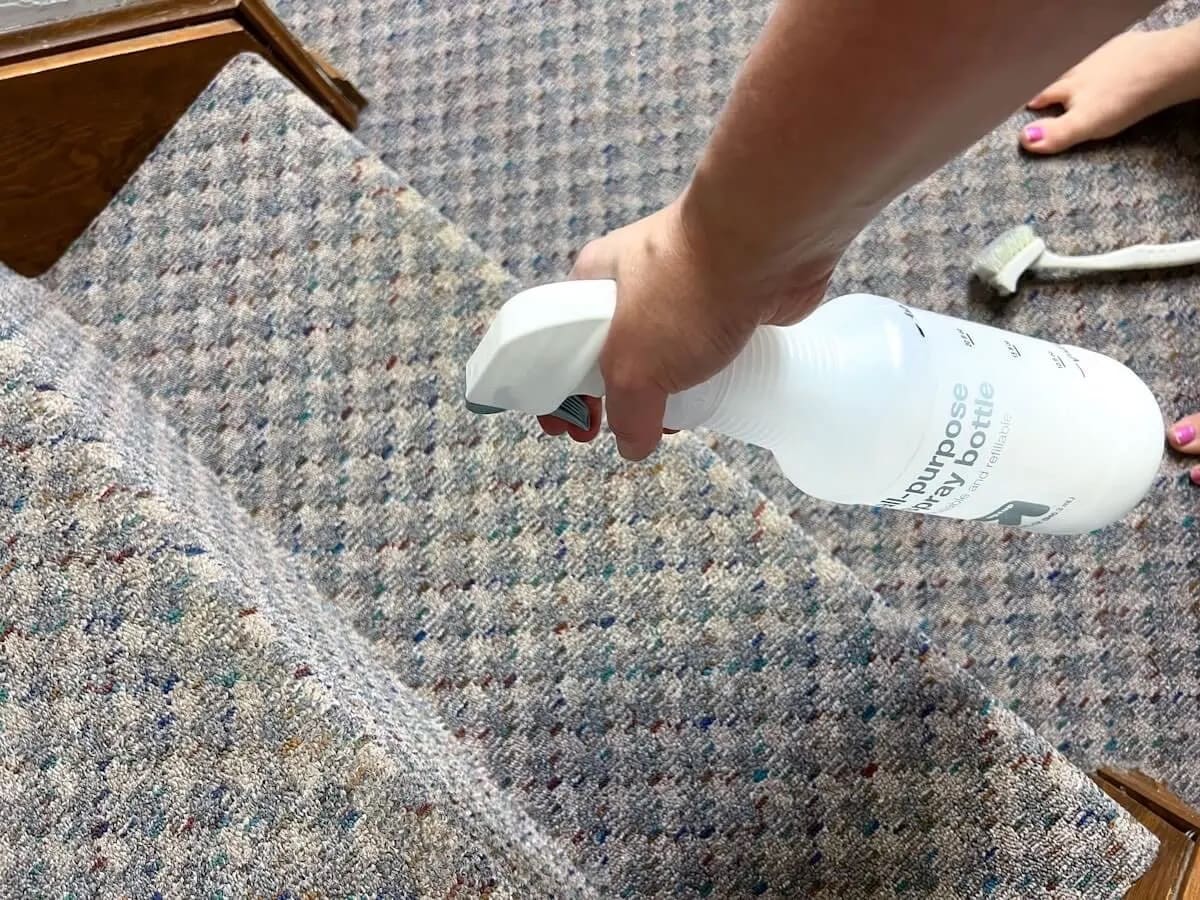
3. Clean the stairs: After sanding, use a tack cloth or a lightly dampened cloth to wipe away any dust or debris from the stairs. Ensure the surface is clean and dry before moving on to the next step.
4. Apply a pre-stain conditioner (optional): If you have chosen to stain your stairs, applying a pre-stain conditioner can help achieve a more even and consistent stain. Follow the manufacturer’s instructions to apply the conditioner, allowing it to penetrate the wood for the recommended time.
5. Test the stain or paint: Before applying the stain or paint to the entire staircase, it’s a good idea to test it on a small, inconspicuous area. This will give you an idea of the color and finish, allowing you to make any necessary adjustments before proceeding.
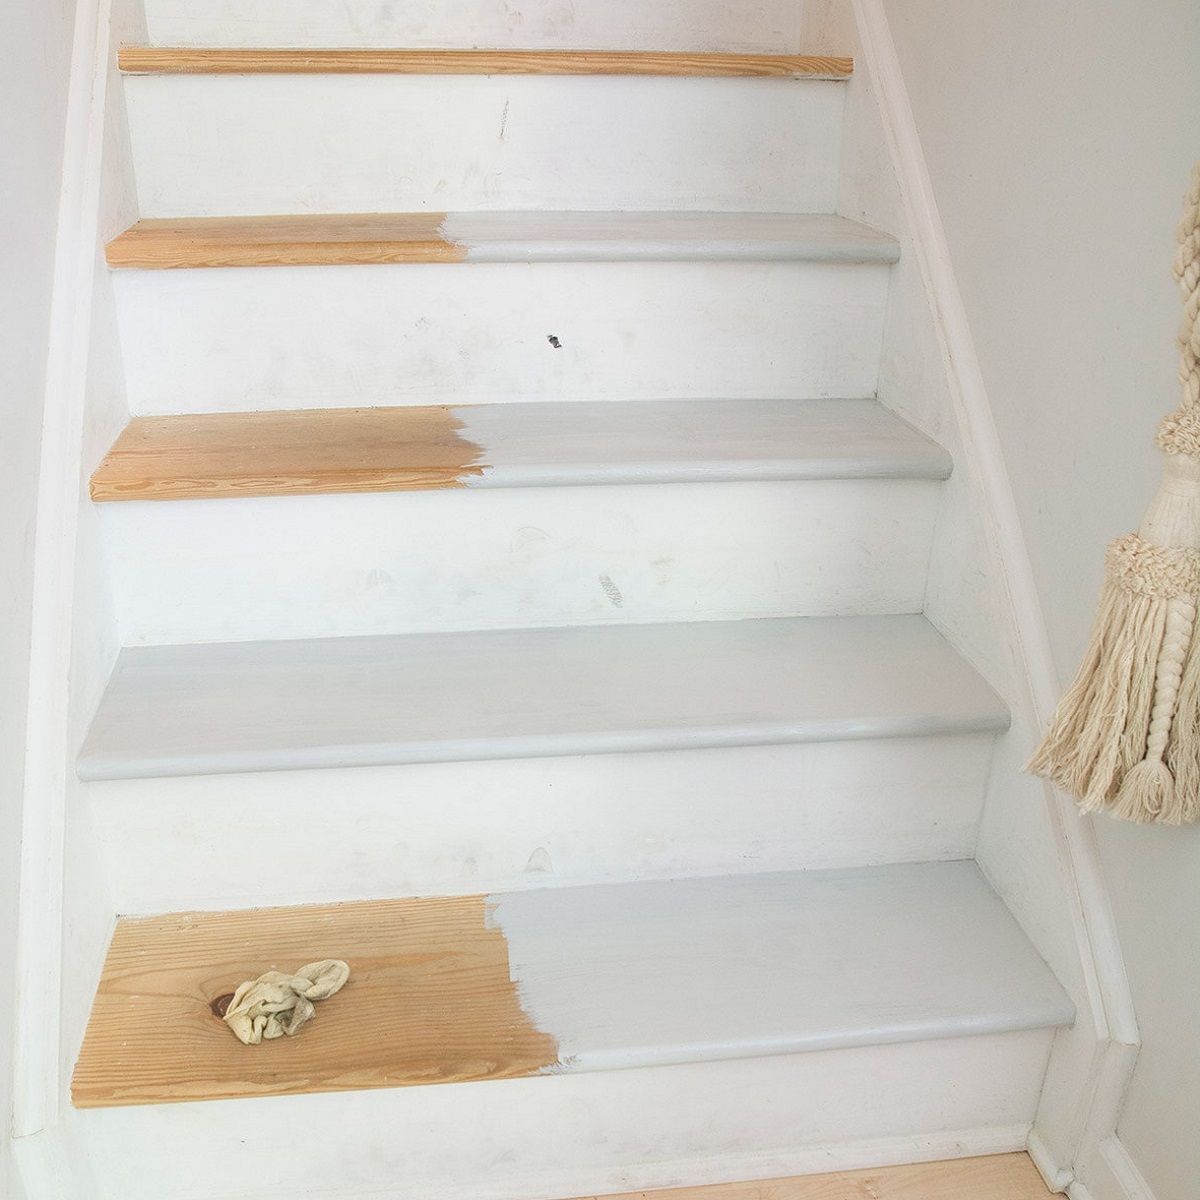
6. Apply the stain or paint: Using a brush or roller, apply the stain or paint evenly on the stairs. Work in small sections, starting from the top step and working your way down. Follow the manufacturer’s instructions for application techniques, drying times, and number of coats required. Make sure to cover all surfaces, including the risers and sides of the steps, for a uniform finish.
7. Allow for proper drying time: After applying the stain or paint, allow it to dry according to the manufacturer’s instructions. Be patient and resist the temptation to walk on the stairs until they are completely dry to avoid smudges or damage to the finish.
By properly preparing the staircase, you are ensuring an optimal surface for refinishing. With the stairs sanded, cleaned, and any imperfections filled, you are ready to move on to the exciting next step – applying the stain or paint. Stay tuned for step 4, where we will guide you through the process of sanding the stairs to perfection.
When refinishing carpeted stairs, start by removing the old carpet and padding. Then, thoroughly clean and sand the stairs before applying a new finish or paint. This will ensure a smooth and durable result.
Read more: How Much Does It Cost To Refinish Stairs
Step 4: Sanding the Stairs
Now that the staircase is prepared, it’s time to sand the stairs to perfection. Sanding helps to ensure a smooth and even surface, enabling the stain or paint to adhere properly. Follow these steps to effectively sand your stairs:
1. Choose the right sandpaper: Select the appropriate grit of sandpaper based on the condition of your stairs. For initial sanding, start with a coarse grit (around 60 or 80) to remove any existing finish or imperfections. Gradually progress to finer grits (e.g., 120 or 180) for a smoother result.
2. Sand each step: Begin sanding each step individually, focusing on one at a time. Start at the top and work your way down. Use a sanding block or an electric sander for larger areas. Sand in the direction of the wood grain, applying even pressure. This helps to prevent scratches and achieve a uniform finish.
3. Sand the edges and corners: Pay attention to the edges and corners of each step, as these areas may require more detailed sanding. Use sandpaper wrapped around a sanding block or folded into smaller sections to reach tight spaces.
4. Smooth out imperfections: As you sand, be on the lookout for any remaining imperfections, such as dents or gouges. Use finer grit sandpaper to gently sand these areas until smooth and level with the rest of the step.
5. Wipe away sanding dust: Periodically wipe away sanding dust with a tack cloth or a slightly dampened cloth. This helps you see the progress and prevent the dust from settling back onto the surface.
6. Repeat the process for the risers: Don’t forget to sand the risers as well, ensuring they are smooth and free of any rough patches. Take your time to achieve a consistent finish throughout the entire staircase.
7. Clean up the dust: Once you have finished sanding, use a vacuum cleaner or a brush to thoroughly clean up any sanding dust from the stairs. Dust particles can interfere with the finish, so it’s essential to have a clean surface before proceeding.
Sanding the stairs may require some time and elbow grease, but it’s crucial in achieving a professional-looking result. Once you have sanded each step, inspected for imperfections, and removed all the dust, you are ready to move on to the next exciting step – applying the stain or paint. Stay tuned for step 5, where we will guide you through the process of beautifying the stairs with the perfect color and finish.
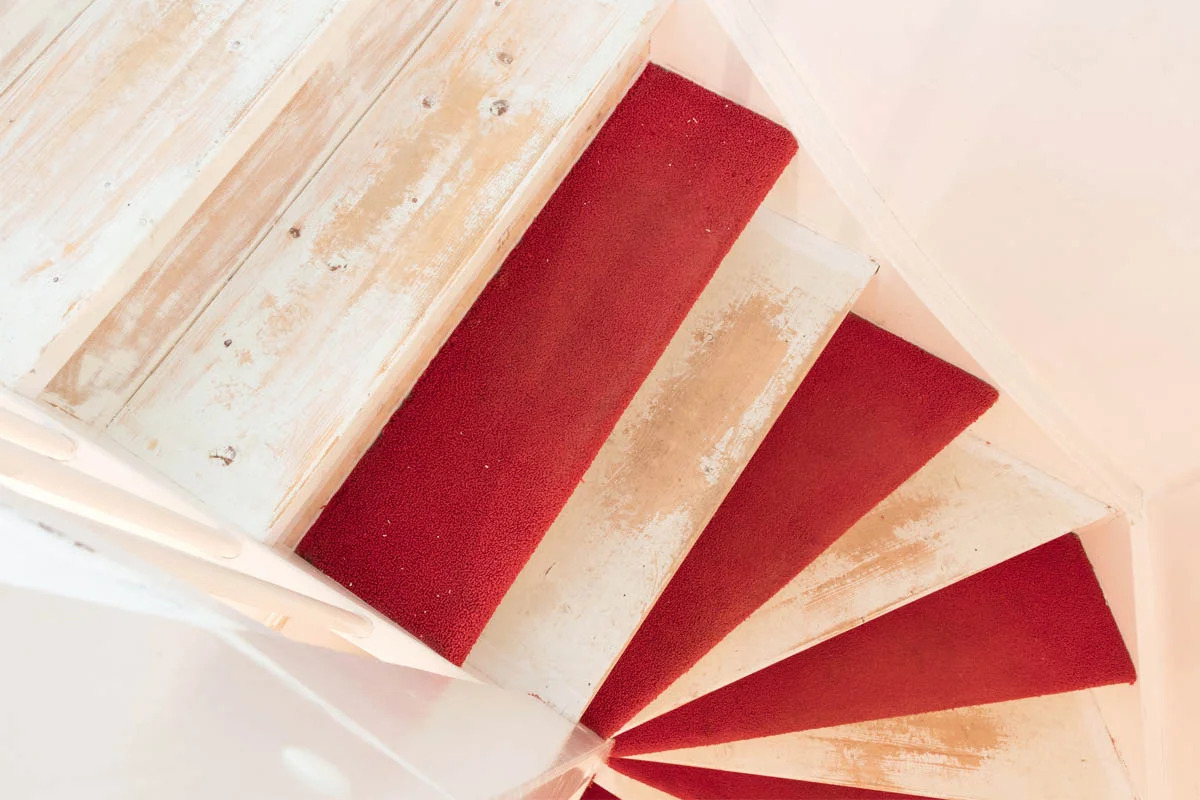
Step 5: Applying the Stain or Paint
With the stairs sanded to perfection, it’s time to add color and character to your staircase by applying the stain or paint. This step will help transform your stairs and give them a beautiful finish. Follow these steps to achieve a flawless result:
1. Prepare the stain or paint: If you are using a stain, make sure to stir it well to ensure an even consistency. If you have chosen paint, ensure it is properly mixed according to the manufacturer’s instructions. Use a small container or tray for easy application.
2. Start from the top step: Begin the application process from the top step and work your way down. This prevents accidentally stepping on wet stain or paint and allows for easy access to each step.
3. Apply the stain or paint: Use a brush, roller, or a combination of both to apply the stain or paint. Work in small sections, applying an even coat on the horizontal tread, the vertical riser, and the sides of the steps. Follow the direction of the wood grain for a more natural and consistent finish.
4. Blend the stain or paint: To achieve a seamless look, blend the stain or paint between each step. This ensures a smooth transition of color and eliminates any visible lines or streaks.
5. Wipe off excess stain: If you are using a stain, after applying it, gently wipe off any excess with a clean cloth. This step helps to achieve a more even tone and prevents the stain from drying too dark or unevenly.
6. Allow for drying time: Follow the manufacturer’s instructions regarding the recommended drying time. It is essential to allow the stain or paint to dry fully to avoid smudges or damage to the finish. Remember to keep pets and foot traffic away from the stairs during this time.
7. Assess the color: Once the first coat is dry, assess the color and decide if you want to apply a second coat. If the desired shade has been achieved, proceed to the next step. Otherwise, apply another coat following the same technique.
8. Finish with a clear coat (optional): To enhance the durability and longevity of your staircase, consider applying a clear finish coat, such as polyurethane or varnish. This protective layer will help seal in the stain or paint and provide extra resistance to wear and tear.
Congratulations! You’ve added a beautiful color or finish to your staircase. After allowing the stain or paint to dry completely, it’s time to move on to the final step – applying a finish coat to protect and seal the stairs. Stay tuned for step 6, where we will guide you through this important process.
Step 6: Applying a Finish Coat
Now that you have applied the stain or paint and allowed it to dry, it’s time to protect and seal your newly finished staircase by applying a clear finish coat. This step will enhance the appearance, durability, and longevity of your stairs. Follow these steps to achieve a professional-grade finish:
1. Select the appropriate finish: Choose a clear finish coat that suits the material of your stairs and the desired level of sheen. Polyurethane and varnish are popular options for sealing and protecting wooden stairs. Consider the level of foot traffic and the desired level of shine before making your selection.
2. Prepare the stairs: Ensure that the stairs are clean, dry, and free of any dust or debris. If necessary, lightly sand the surface with a fine-grit sandpaper to create a smooth base for the finish coat. Clean the stairs again using a tack cloth to remove any sanding residue.
3. Apply the finish coat: Stir the clear finish thoroughly to ensure an even consistency. Using a high-quality brush or applicator pad, apply a thin and even coat of the clear finish to the stairs. Start from the top step and work your way down, making sure to cover all surfaces, including the treads, risers, and sides of the steps. Apply the finish in long, even strokes, following the direction of the wood grain.
4. Allow for drying time: Follow the manufacturer’s instructions regarding the recommended drying time for the clear finish. It is crucial to allow the finish coat to dry fully to achieve optimal results. Avoid walking on the stairs or placing any objects on them until the finish is completely dry.
5. Sand between coats (optional): Depending on the type of clear finish you are using, you may choose to sand lightly between coats. This will help create a smooth surface and promote adhesion between layers. Use a fine-grit sandpaper and lightly sand the stairs. After sanding, clean the surface using a tack cloth to remove any sanding dust before proceeding with the next coat.
6. Apply additional coats: If desired, apply additional coats of the clear finish following the same technique as before. Multiple coats will provide a thicker protective layer and a more durable finish. Refer to the manufacturer’s instructions for the recommended number of coats.
7. Final inspection: Once the final coat is dry, inspect the stairs for any imperfections or uneven areas. Sand lightly if necessary and wipe away any dust with a tack cloth. Your freshly finished staircase should now have a beautiful, protective finish!
By applying a clear finish coat, you are safeguarding your stairs from daily wear and tear and ensuring their long-lasting beauty. Now that you have successfully completed this step, the refinishing process is almost complete! In the next step, we will provide guidance for installing new carpeting on your stairs, should you choose to do so. Stay tuned for step 7!
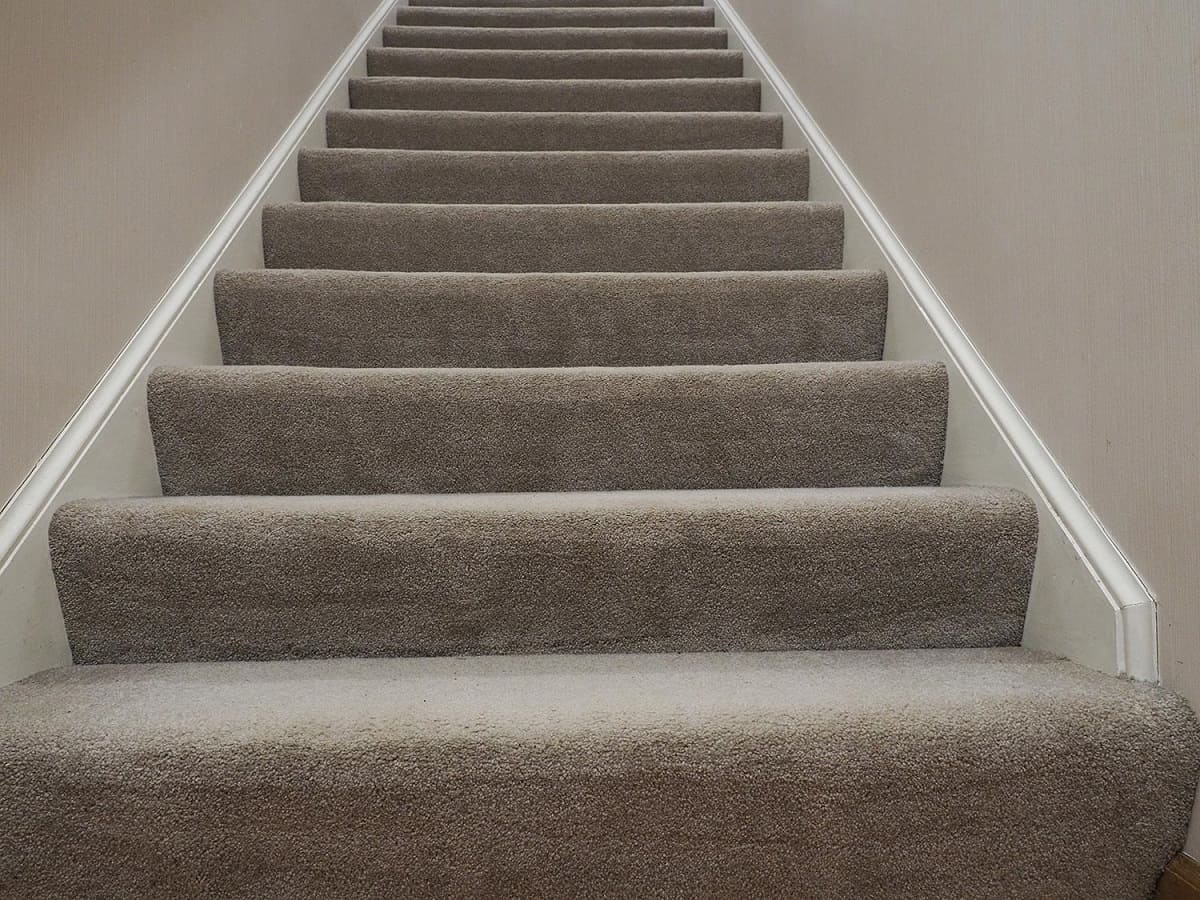
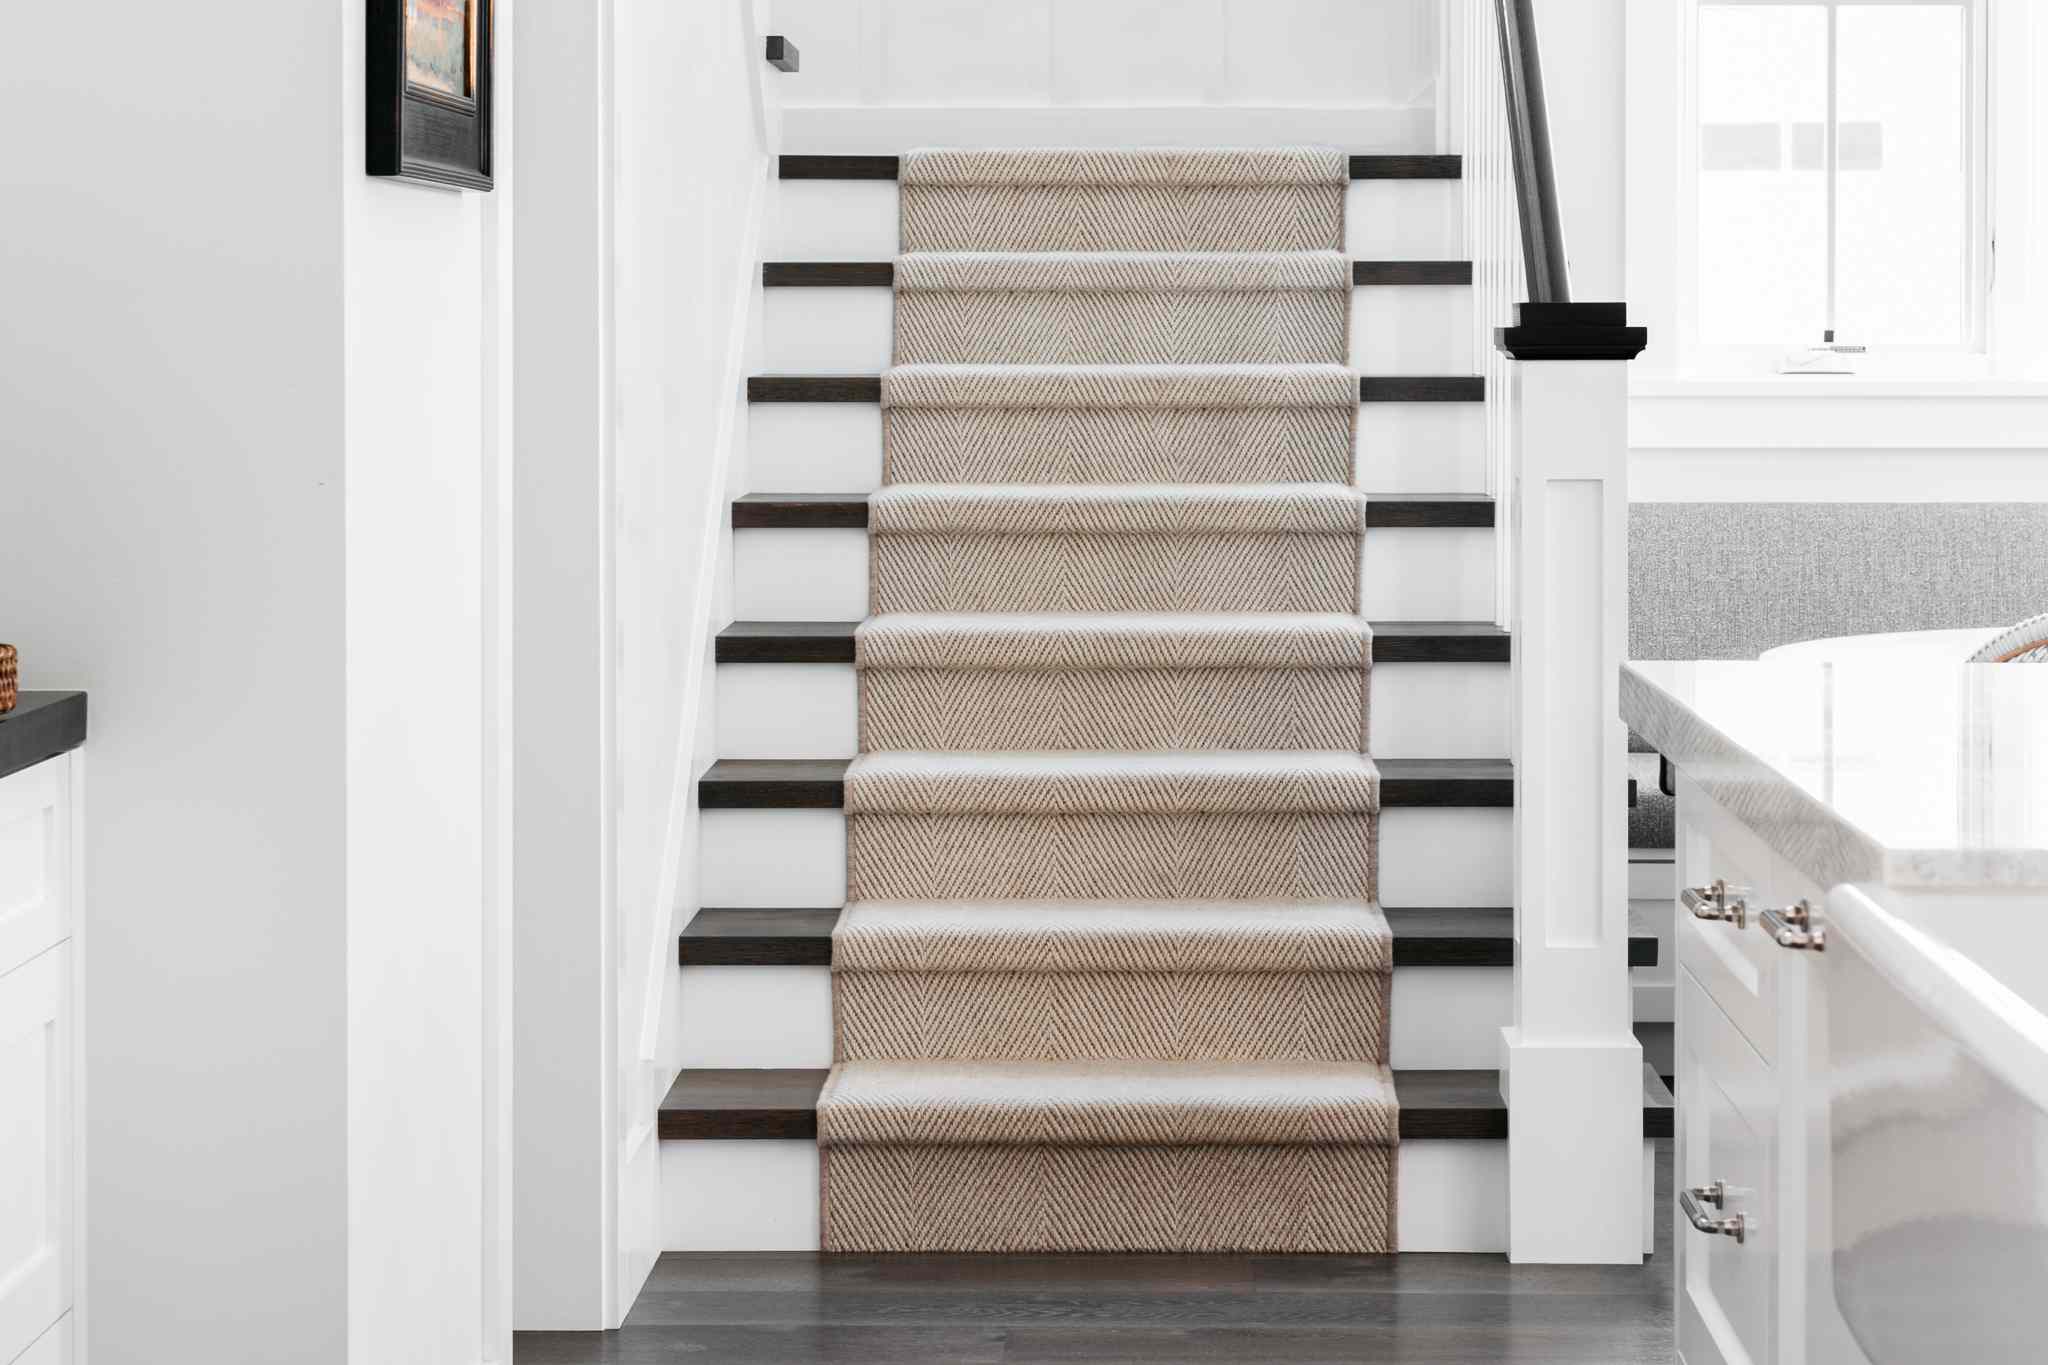
Step 7: Installing New Carpeting (Optional)
If you prefer to have carpet on your staircase rather than leaving it bare, you can choose to install new carpeting. Installing new carpeting can add warmth, comfort, and style to your stairs. Here are the steps to follow if you decide to install new carpeting:
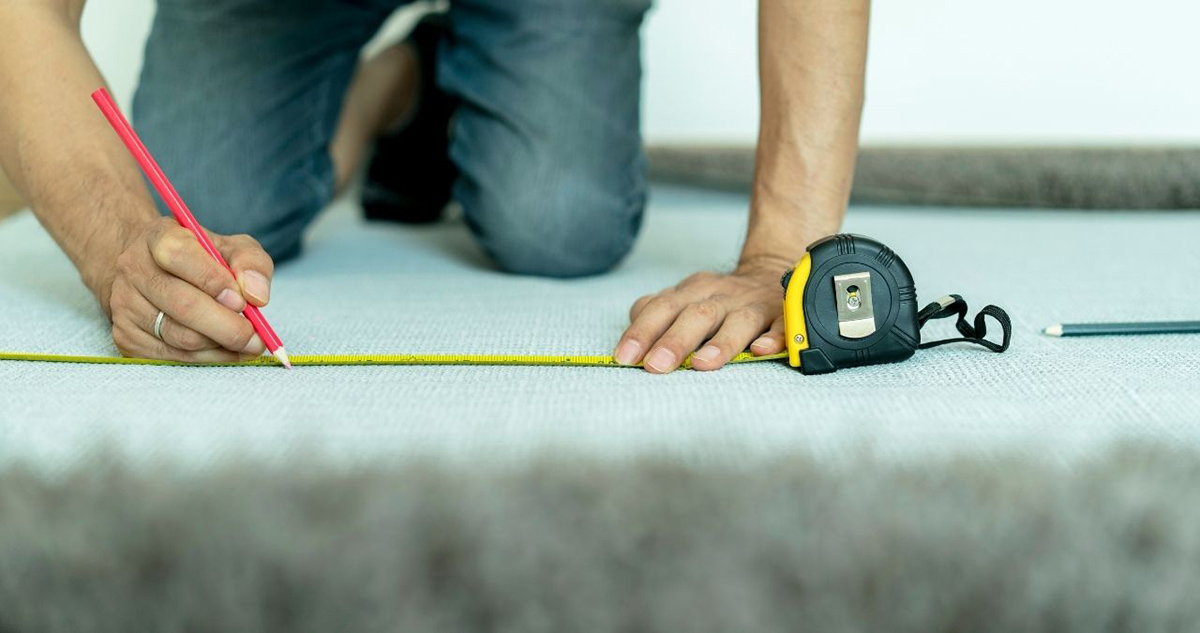
1. Measure your stairs: Accurate measurements are essential to ensure you purchase the correct amount of carpeting. Measure the width and length of each step, including the riser and the tread. Add a few inches to each measurement to allow for any adjustments or errors.
2. Choose the right carpeting: Select a carpet that suits your style, budget, and the level of foot traffic on your stairs. Opt for a durable, low-pile carpeting that can withstand the wear and tear of daily use. Consider colors and patterns that complement your home’s decor.
3. Prepare the stairs: Ensure the stairs are clean and free of any debris or dust. Remove any remaining tack strips and check for any protruding nails or staples. Make any necessary repairs to the stairs, such as filling gaps or securing loose boards.
4. Install the carpet pad: Start by installing the carpet pad, which provides cushioning and support for the carpet. Cut the padding to fit each step, ensuring it covers the tread and riser. Secure the carpet pad in place using staples or adhesive, following the manufacturer’s instructions.
5. Cut and position the carpet: Measure and cut the carpet pieces for each step, allowing for a few inches of overhang on each side. Start from the bottom step and work your way up. Position the carpet on the step, making sure it is centered and aligned correctly. Smooth out any wrinkles or creases in the carpet.
6. Secure the carpet: Use a knee kicker or a carpet stretcher to stretch and secure the carpet along the length of each step. Start from the center and work your way towards the edges, smoothing out the carpet as you go. Trim any excess carpet with a utility knife, leaving a clean and neat edge.
7. Attach carpet to the risers: Use a carpet tucker or a stair tool to tuck the carpet into the gap between the tread and the riser. Press it firmly into place for a secure fit. Repeat this process for each step, ensuring the carpet is securely attached and free from any wrinkles or bulges.
8. Trim and finish: Trim any excess carpet along the edges and corners using a sharp utility knife. Use a stair tool or a butter knife to press the carpet into the corner where the tread meets the riser for a clean and polished look.
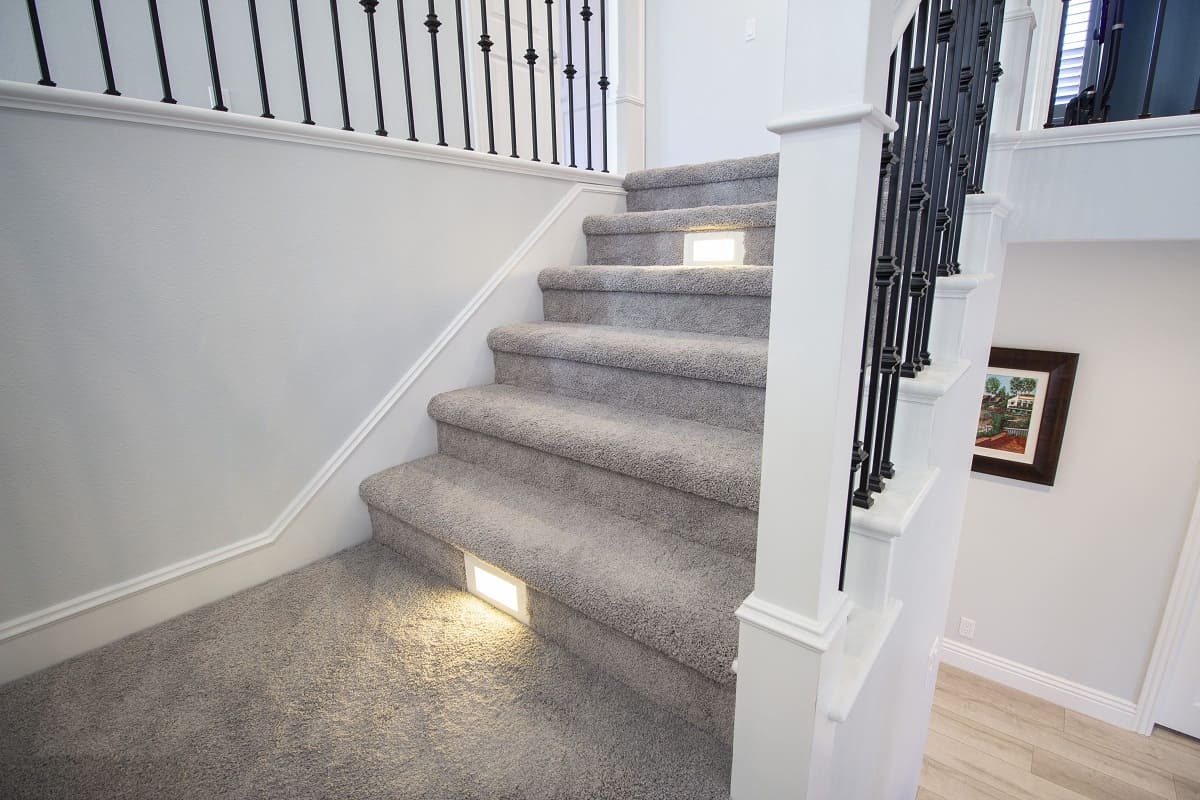
With the installation of new carpeting, your staircase will not only look stylish but also provide added comfort and noise reduction. Congratulations on completing the refinishing process! Step back and admire your beautifully transformed carpeted stairs.
To wrap up, refinishing carpeted stairs can be an exciting and rewarding project. By following these steps, you can revitalize your stairs and add a touch of elegance and sophistication to your home. Remember to take the necessary safety precautions, follow manufacturer’s instructions, and work at your own pace to achieve the best results. Enjoy your newly refinished and carpeted staircase!
Read more: How To Fix Carpet On Stairs
Conclusion
Congratulations on successfully refinishing your carpeted stairs! By following the step-by-step guide provided, you have transformed your old, worn-out stairs into a beautiful and inviting focal point in your home. The refinishing process, from removing the old carpeting to applying a fresh finish or installing new carpeting, may have required some time and effort, but the results were well worth it.
Refinishing your carpeted stairs not only improves their appearance but also extends their lifespan and makes them easier to maintain. Whether you chose to embrace the natural beauty of the wood grain with a stain or add a pop of color with paint, the final result showcases your personal style and enhances the overall aesthetic of your home.
Throughout the refinishing process, you discovered the importance of gathering the necessary tools and materials, preparing the staircase for refinishing, sanding the stairs to create a smooth surface, applying the stain or paint to add color and character, and sealing and protecting the stairs with a clear finish coat. If you decided to install new carpeting instead, the steps provided a seamless guide for achieving a professional installation.
Remember, safety should always be a priority. Use protective equipment such as goggles, gloves, and dust masks when working with tools and chemicals. Take your time, follow manufacturer’s instructions, and be mindful of proper ventilation when working on your stairs.
Now that you have completed the refinishing process, take a step back and admire your newly transformed stairs. They are a testament to your hard work, patience, and attention to detail. Whether you walk up and down the stairs multiple times a day or simply glance at them, your refinished carpeted stairs will bring a smile to your face and leave a lasting impression on guests.
Thank you for taking this refinishing journey with us. We hope that you found this guide helpful and that you feel confident in your ability to refinish future projects. Remember, refinishing carpeted stairs is a great skill to have, and it can significantly enhance the value and beauty of your home. Enjoy your stunning staircase for years to come!
Frequently Asked Questions about How To Refinish Carpeted Stairs
Was this page helpful?
At Storables.com, we guarantee accurate and reliable information. Our content, validated by Expert Board Contributors, is crafted following stringent Editorial Policies. We're committed to providing you with well-researched, expert-backed insights for all your informational needs.

0 thoughts on “How To Refinish Carpeted Stairs”