Articles
How To Put Carpet On Stairs
Modified: October 28, 2024
Learn how to install carpet on stairs with these helpful articles. Find step-by-step guides and tips for a professional finish.
(Many of the links in this article redirect to a specific reviewed product. Your purchase of these products through affiliate links helps to generate commission for Storables.com, at no extra cost. Learn more)
Introduction
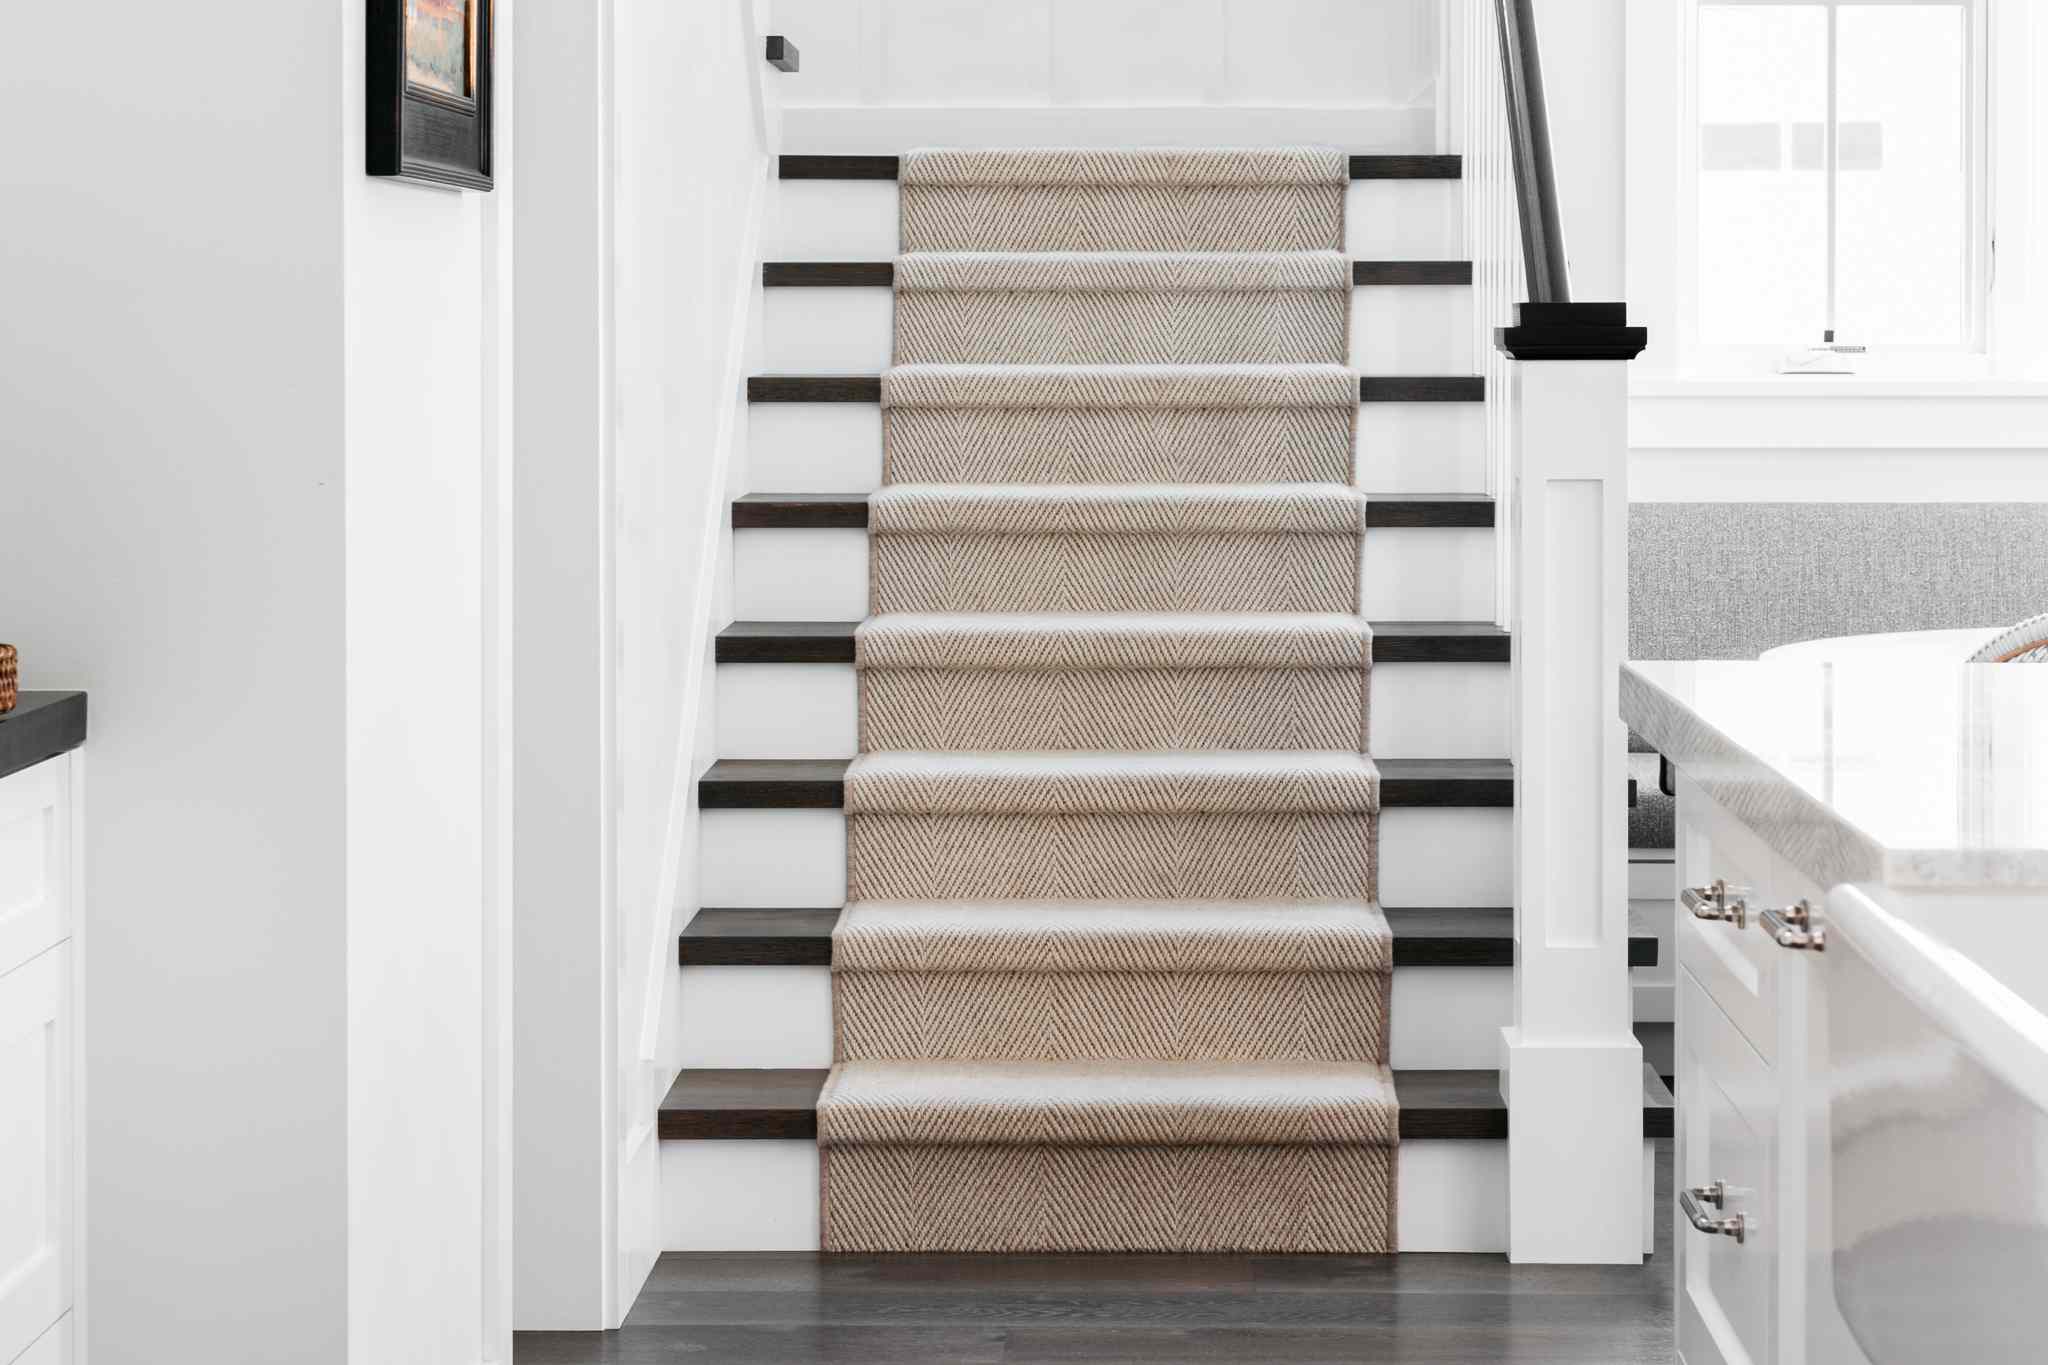
Adding carpeting to stairs can greatly enhance the appearance and functionality of your living space. Whether you have a straight or curved staircase, installing carpet can provide a soft and comfortable surface for your feet, reduce noise, and add a touch of elegance to your home. In this article, we will guide you through the step-by-step process of how to put carpet on stairs.
Before we begin, it is important to gather all the necessary materials to ensure a smooth installation. You will need:
- Carpets
- Carpet padding
- Measuring tape
- Utility knife
- Carpet adhesive
- Staple gun
- Staples
- Hammer
- Nails
- Screwdriver
Once you have gathered these materials, you can proceed to the first step of the installation process.
Key Takeaways:
- Transform your staircase with comfort and elegance by following our step-by-step guide to installing carpet on stairs. Gather materials, prepare the stairs, measure and cut the carpet, and secure the edges for a professional finish.
- Elevate your home’s aesthetic and functionality with a cozy and stylish staircase. From carpet selection to final touches, our comprehensive guide ensures a smooth and professional installation process.
Read more: What To Put On Stairs Instead Of Carpet
Step 1: Gather Materials
The first step in putting carpet on stairs is to gather all the necessary materials. As mentioned earlier, you will need carpets, carpet padding, a measuring tape, a utility knife, carpet adhesive, a staple gun, staples, a hammer, nails, and a screwdriver.
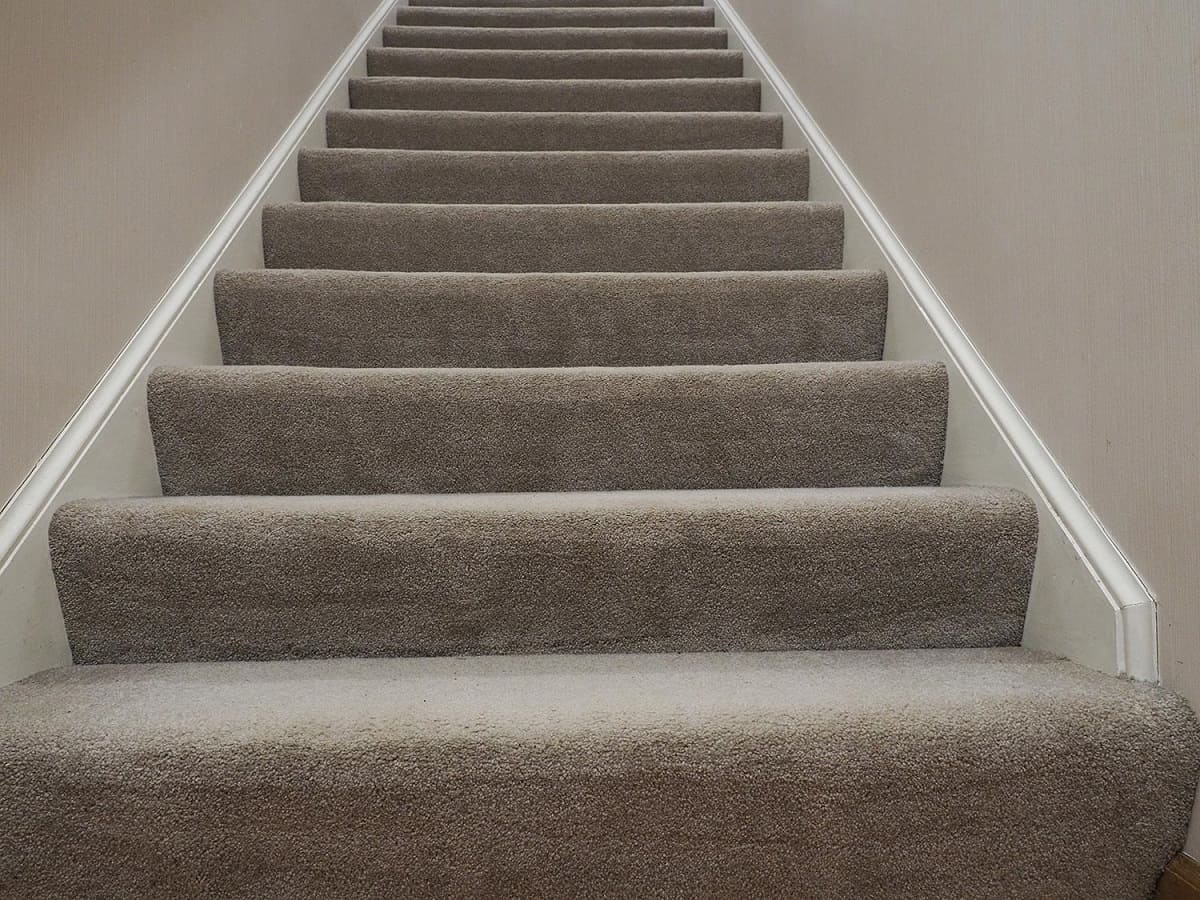
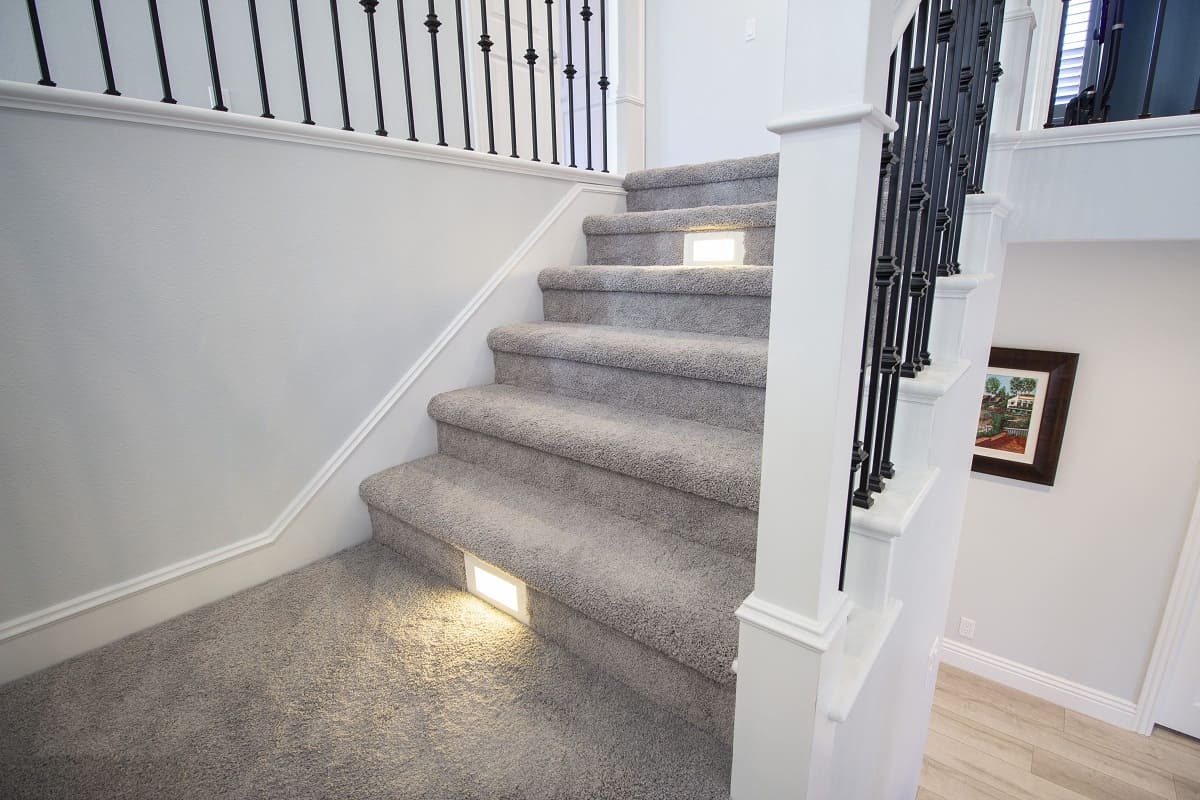
When choosing the carpet, it’s important to consider durability and style. Look for a carpet that is specifically suited for stairs and can withstand heavy foot traffic. Consider the color and design of the carpet to fit with your overall interior decor.
Carpet padding is essential as it provides cushioning and helps to extend the life of the carpet. Make sure it is of good quality and suitable thickness for stairs.
The measuring tape will be used to measure the length and width of each stair. It’s crucial to measure accurately to ensure a proper fit. The utility knife will be used to cut the carpet and carpet padding to the correct size.
Carpet adhesive is necessary to secure the carpet to the stairs. Choose an adhesive that is specifically designed for carpet installation on stairs. It should provide a strong and long-lasting bond.
The staple gun and staples will be used to secure the carpet padding to the stairs. The hammer and nails will be used to secure any loose or squeaky steps.
Lastly, a screwdriver may be needed to remove any existing carpet or to make adjustments to the staircase if necessary.
Once you have gathered all the materials, you are ready to move on to the next step, which involves preparing the stairs for carpet installation.
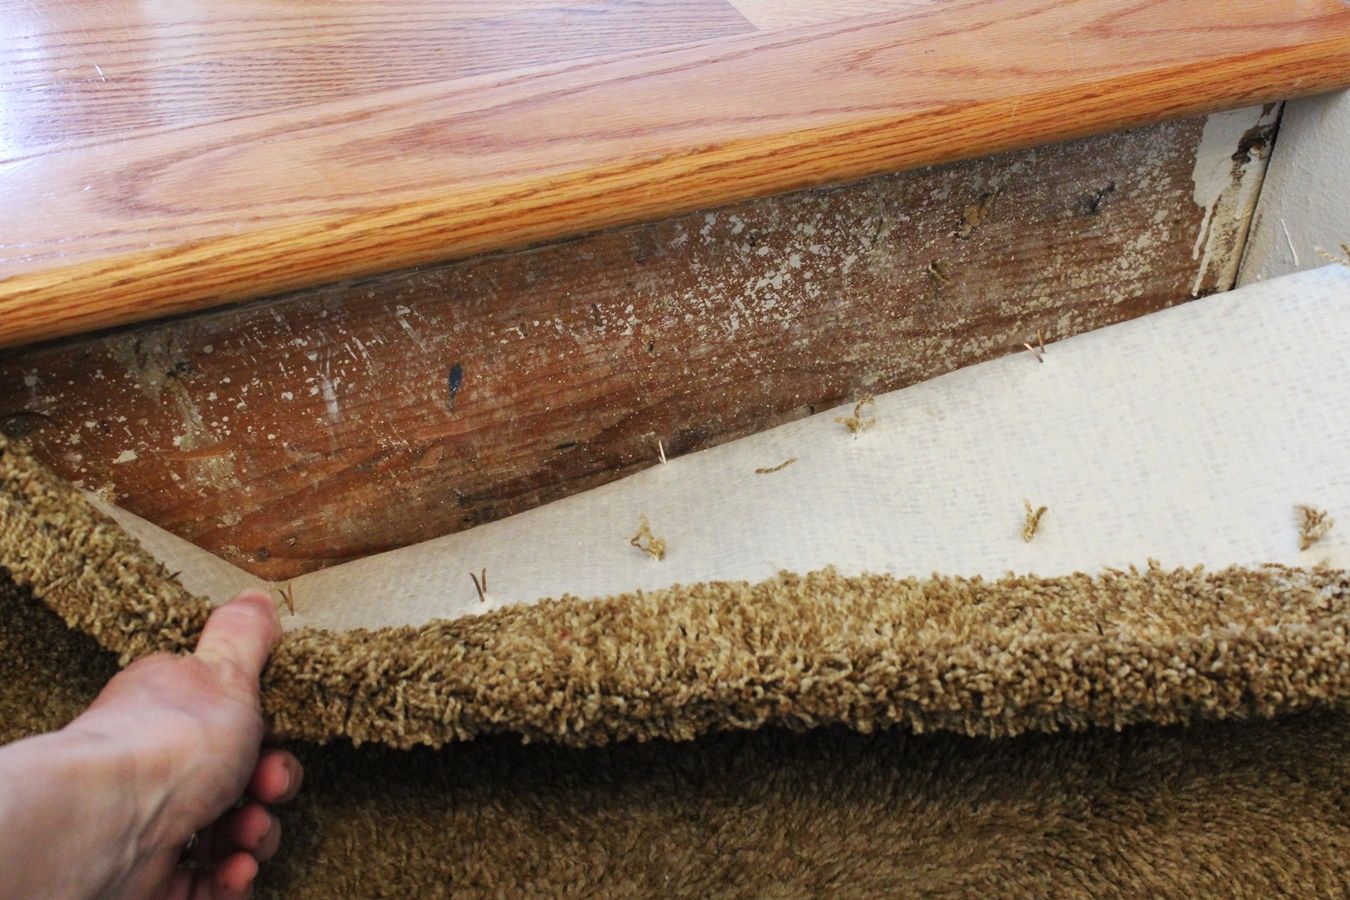
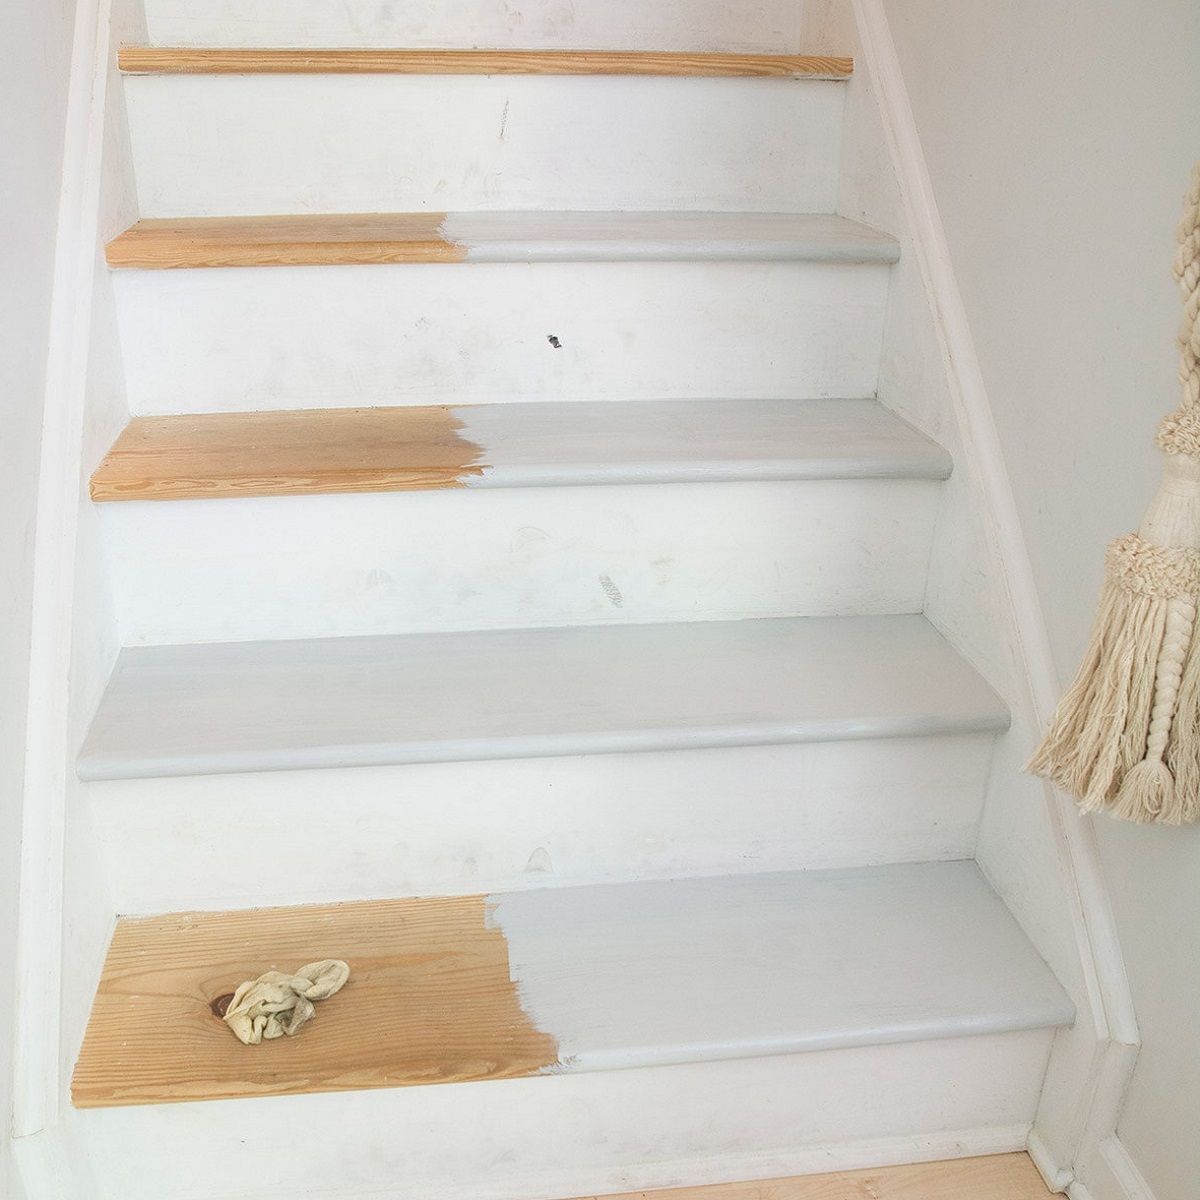
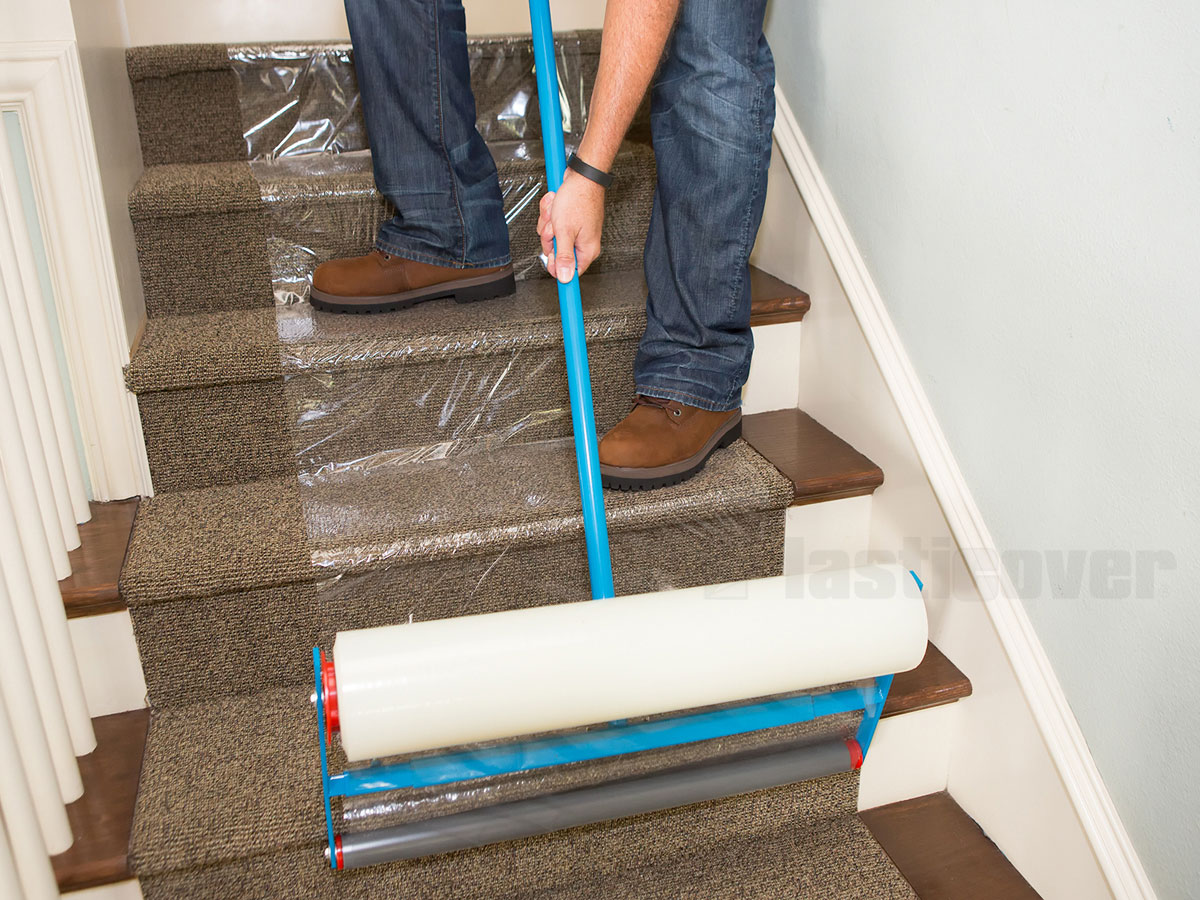
Step 2: Prepare the Stairs
Before you can begin the installation of carpet on your stairs, it’s crucial to properly prepare the stairs. This step involves removing any existing carpet, tack strips, and nails that may be present. Follow these steps to prepare the stairs:
- Start by removing the old carpet, if applicable. Use a utility knife to cut the carpet into manageable sections and then pull it up from the stairs.
- Next, remove any tack strips that are attached to the edges of the stairs. Use a pry bar and hammer to gently lift and remove the tack strips.
- Inspect the stairs for any protruding nails or staples. Use a pair of pliers to carefully remove any nails or staples that may be sticking out.
- If there are any loose or squeaky steps, take this opportunity to fix them. Use a hammer and nails to secure the steps and eliminate any movement or noise.
- Once the stairs are free from old carpet, tack strips, and any protruding nails, thoroughly clean them. Remove any dust, dirt, or debris using a broom or vacuum cleaner.
By properly preparing the stairs, you create a clean and stable surface for the carpet installation. This will ensure a smooth and professional-looking result. With the stairs prepared, you are now ready to move on to the next step, which involves measuring and cutting the carpet.
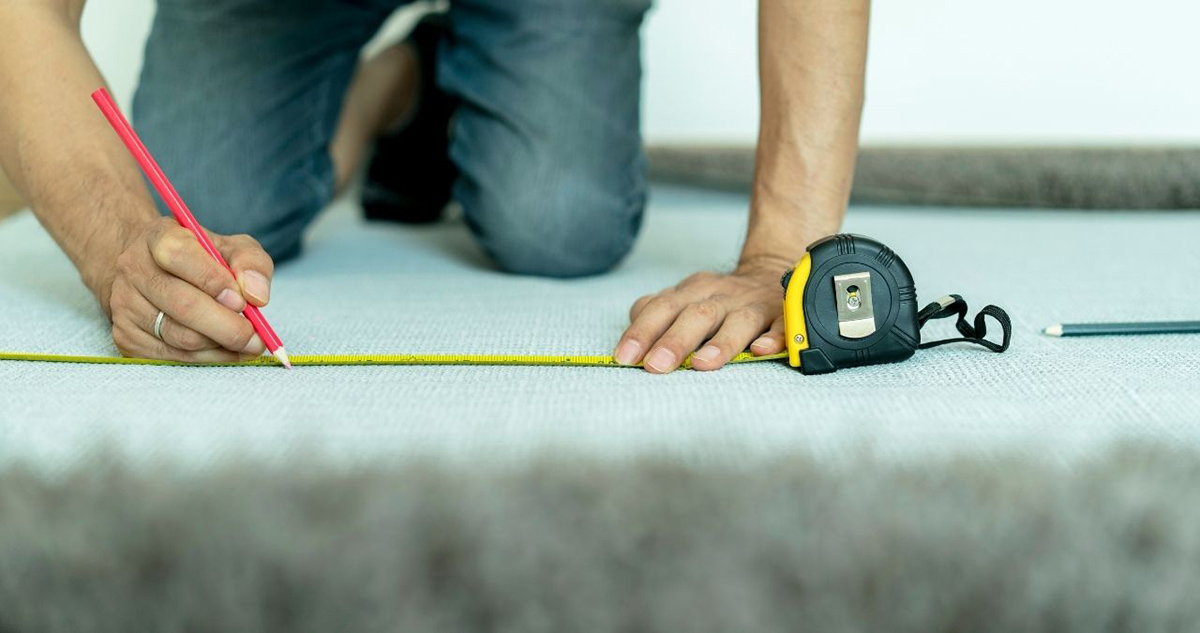
Step 3: Measure and Cut the Carpet
Accurate measurements are crucial to ensure that the carpet fits properly on your stairs. Additionally, properly cutting the carpet will allow for a neat and seamless installation. Here’s how to measure and cut the carpet:
- Start by measuring the width and length of each step. Use a measuring tape to measure from edge to edge, ensuring you include any overhang or bullnose if present.
- Once you have the measurements, add a few inches to both the width and length to allow for trimming and fitting. This extra carpet will be folded over the edges and secured later on.
- Mark the measurements on the back of the carpet using a pencil or chalk. Make sure to mark each step individually to avoid confusion.
- Using a straightedge and a utility knife, carefully cut along the marked lines. Take your time and use steady, even pressure to ensure clean and accurate cuts.
- When cutting around posts or curves, make small incisions and then trim away excess carpet as needed. Take your time and be precise to achieve a professional look.
Remember to always wear safety gloves while using a utility knife to protect your hands. Double-check your measurements before cutting to avoid any mistakes. If you’re uncertain, it’s always better to leave a little extra carpet and trim it later rather than cutting it too short.
Now that you have measured and cut the carpet, it’s time to move on to the next step: installing the carpet padding.
Step 4: Install Carpet Padding
Installing carpet padding is an essential step to ensure a comfortable and long-lasting carpeted staircase. The padding provides additional cushioning, absorbs impact, and helps to prevent premature wear and tear on your carpet. Here’s how to install carpet padding:
- Start by laying the carpet padding on each step, ensuring it covers the entire surface. Trim any excess padding using a utility knife or scissors.
- Secure the padding in place using a staple gun and staples. Begin by stapling along the back edge of the step, about an inch away from the edge. Continue stapling along the sides and front of the step, placing staples approximately every 6 to 8 inches.
- Make sure the padding is smooth and taut while stapling, avoiding any wrinkles or bulges.
- Repeat this process for each step, ensuring that the padding is securely attached.
Installing carpet padding is crucial as it provides a comfortable and cushioned feel underfoot while prolonging the lifespan of your carpet. Once the padding is securely installed, you are ready to move on to the next step: applying carpet adhesive.
When installing carpet on stairs, start from the bottom and work your way up. Use a knee kicker to stretch the carpet tightly and secure it with tack strips and a carpet stretcher. Trim excess carpet and tuck it neatly into the corners for a professional finish.
Step 5: Apply Carpet Adhesive
Applying carpet adhesive is an important step in securely attaching the carpet to the stairs. The adhesive creates a strong bond between the carpet and the padding, ensuring that it stays in place and withstands daily use. Follow these steps to apply carpet adhesive:
- Start by applying a thin and even layer of carpet adhesive to the top of each step. Use a notched trowel to spread the adhesive, ensuring that it covers the entire surface.
- Avoid applying too much adhesive, as it may seep through the carpet and create visible stains. A thin layer is sufficient to hold the carpet securely in place.
- Allow the adhesive to dry according to the manufacturer’s instructions. This usually takes about 15-30 minutes, but it may vary depending on the type of adhesive used.
It’s important to follow the manufacturer’s instructions for drying time to ensure proper adhesion. Applying the carpet while the adhesive is still wet can lead to an unstable installation.
Once the adhesive has dried, you are ready to move on to the next step: installing the carpet on the stairs.
Step 6: Install the Carpet
Now that you have prepared the stairs, measured and cut the carpet, installed the padding, and applied the carpet adhesive, it’s time to install the carpet itself. Follow these steps to properly install the carpet on your stairs:
- Start at the bottom of the stairs and work your way up. Place the carpet on the first step, making sure it is centered and positioned correctly.
- Gently press the carpet into the adhesive, starting from the center and working towards the edges. Smooth out any wrinkles or bubbles using your hands or a carpet roller.
- Continue this process for each step, ensuring that the carpet is securely adhered to the adhesive and properly aligned.
- If your stairs have a bullnose or curved edges, carefully stretch and mold the carpet to fit the shape. Use your hands to smooth it out and ensure a snug fit.
- If needed, trim any excess carpet along the edges using a utility knife or a carpet knife. Take your time and make precise cuts to achieve a clean and professional look.
As you move up the stairs, be mindful of maintaining a consistent pattern and alignment for a visually appealing result. Take your time during the installation process to ensure that each step is properly covered with the carpet.
Once the carpet is installed on all the stairs, allow it to settle and adhere to the adhesive fully. This usually takes a few hours or as instructed by the adhesive manufacturer.
With the carpet securely in place, it’s time to move on to the next step: securing the edges.
Step 7: Secure the Edges
Securing the edges of the carpet is an important step to ensure that it stays in place and maintains a neat appearance. Here’s how you can secure the edges of the carpet on your stairs:
- Start by folding the excess carpet over the edges of each step. This will create a finished and polished look.
- Use a staple gun and staples to secure the folded edges. Place the staples along the edge of the carpet, ensuring they penetrate both the carpet and the stair riser.
- Space the staples about 4-6 inches apart to provide adequate support for the carpet.
- If your stairs have exposed wooden edges, you can also use small finishing nails to secure the carpet in place.
Make sure to work carefully and avoid pulling the carpet too tightly, as it may cause it to buckle or distort. Maintain a consistent tension while stapling or nailing the edges.
Verify that all edges and corners of the carpet are secure and neatly folded, providing a clean and professional appearance.
By securing the edges of the carpet, you ensure that it remains in place even with regular use and foot traffic. With the edges secured, you are ready to move on to the final step: cleaning up and adding finishing touches.
Step 8: Clean Up and Finishing Touches
After successfully installing the carpet on your stairs, it’s time to clean up and add the finishing touches to complete the project. Follow these steps to wrap up the installation:
- Remove any excess carpet scraps or debris from the stairs. Dispose of them appropriately.
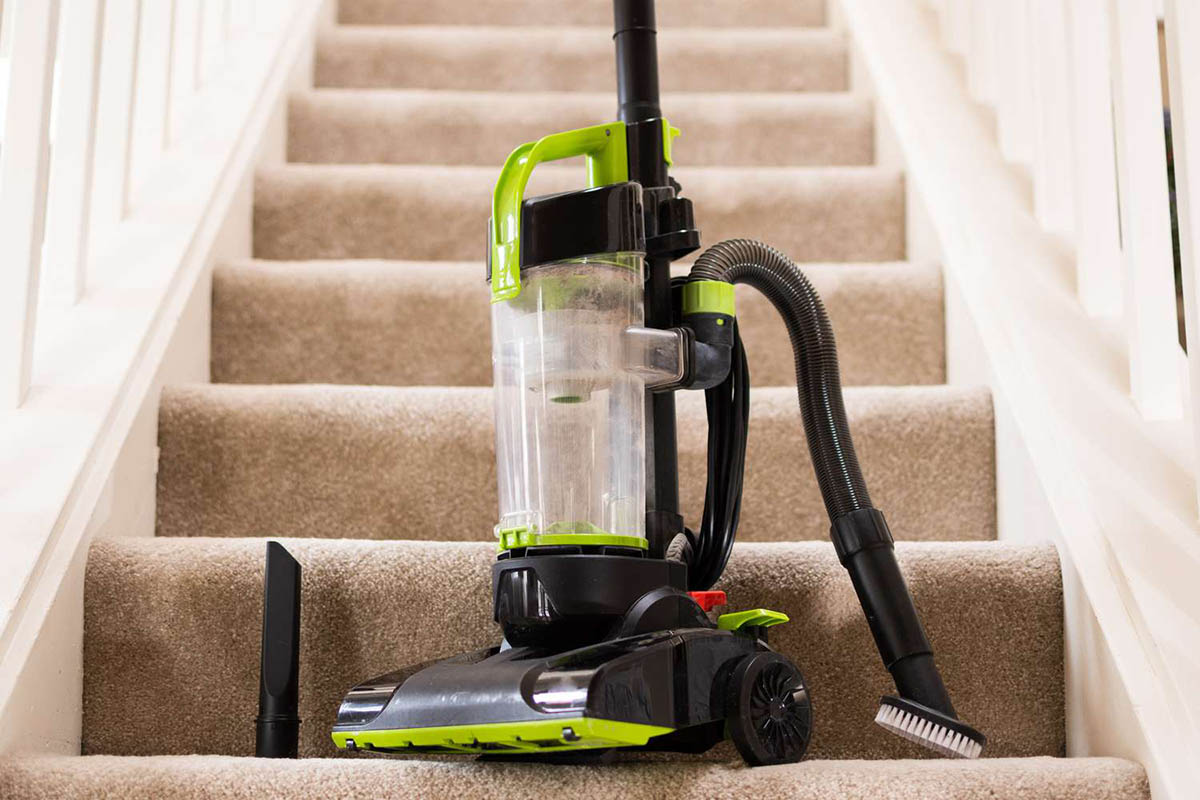
- Vacuum the newly carpeted stairs to remove any dirt or loose fibers. This will help to maintain the carpet’s appearance and cleanliness.
- Inspect the carpet for any wrinkles or bubbles. Use a carpet roller or your hands to smooth out any imperfections and ensure a flat and even surface.
- If your stairs have exposed edges or corners, consider adding trim or molding to give them a finished look. Choose a trim that matches your interior decor and attach it securely to the edges.
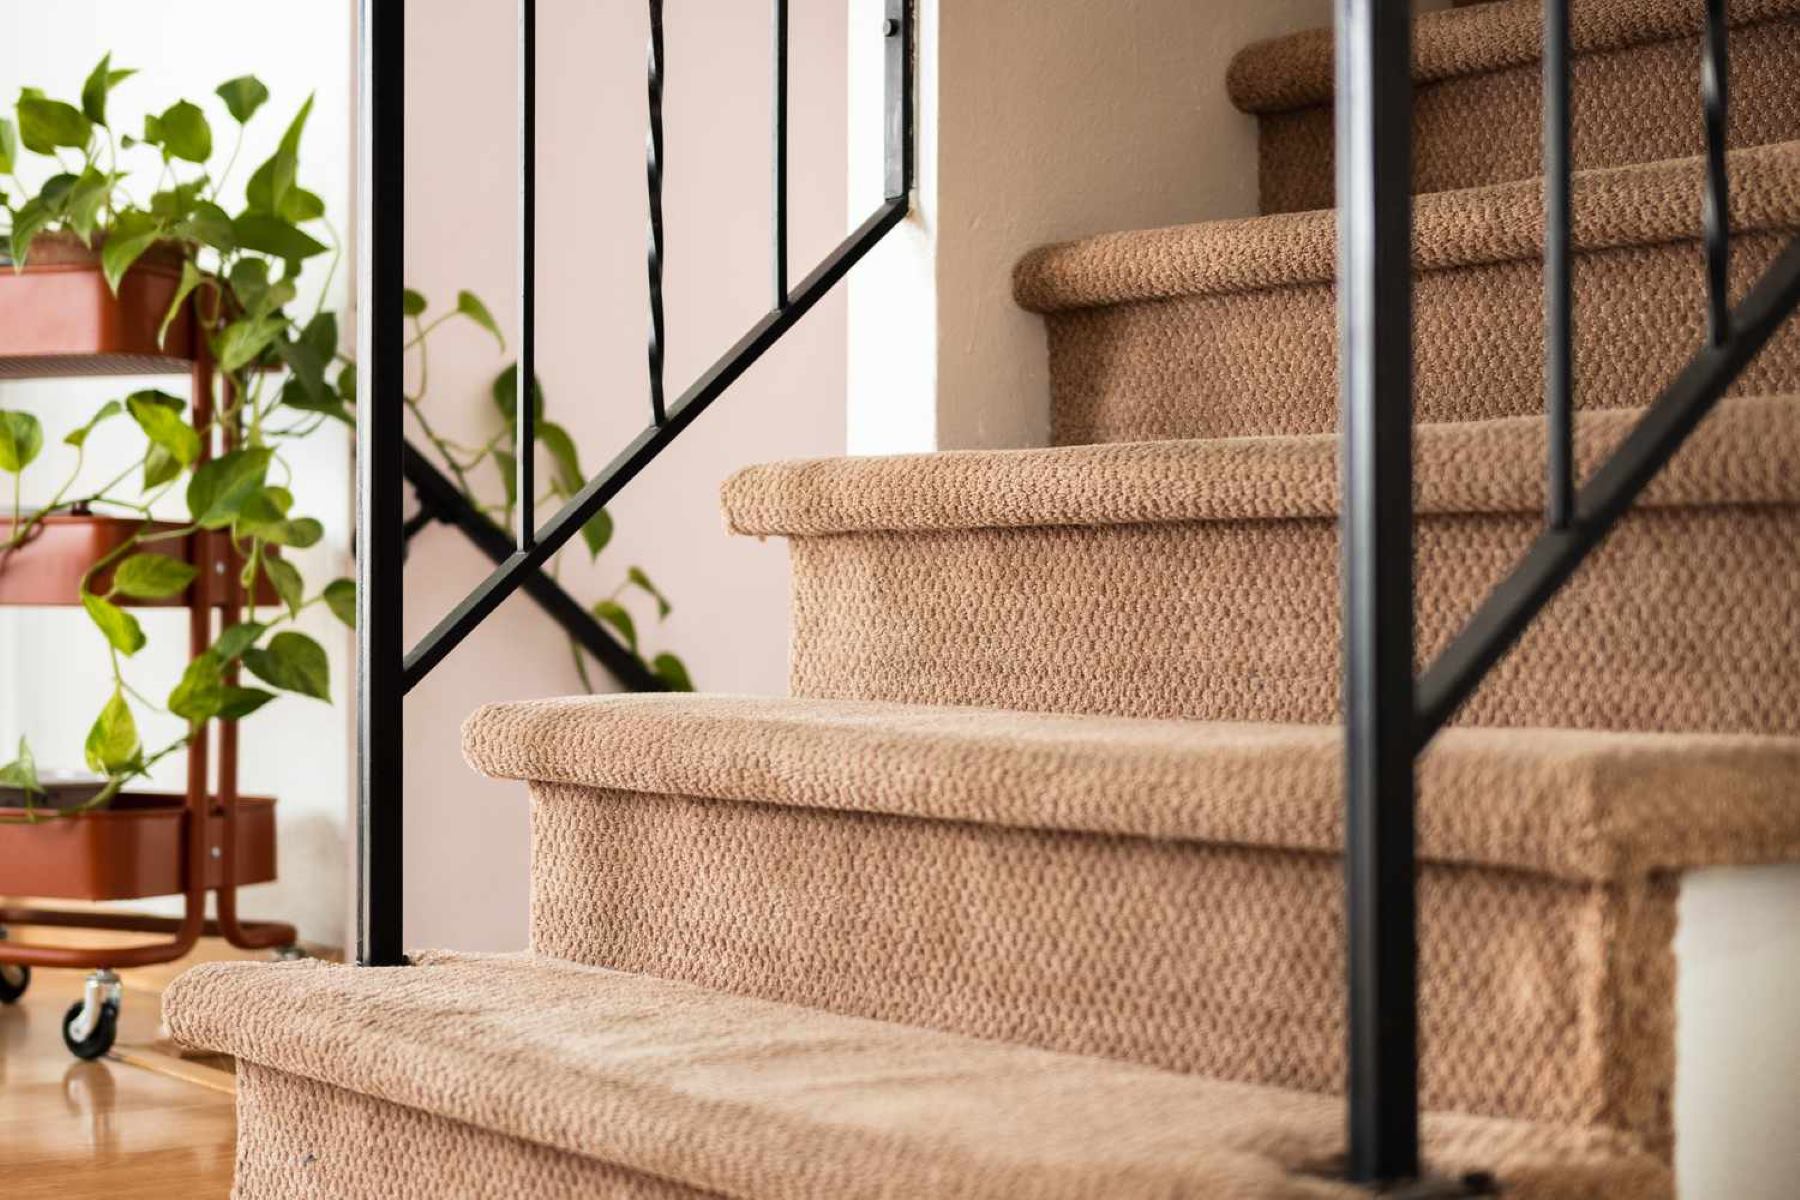
- Take a moment to enjoy and admire your newly carpeted stairs. The addition of carpet not only enhances the aesthetic appeal of your home but also provides a comfortable and functional space.
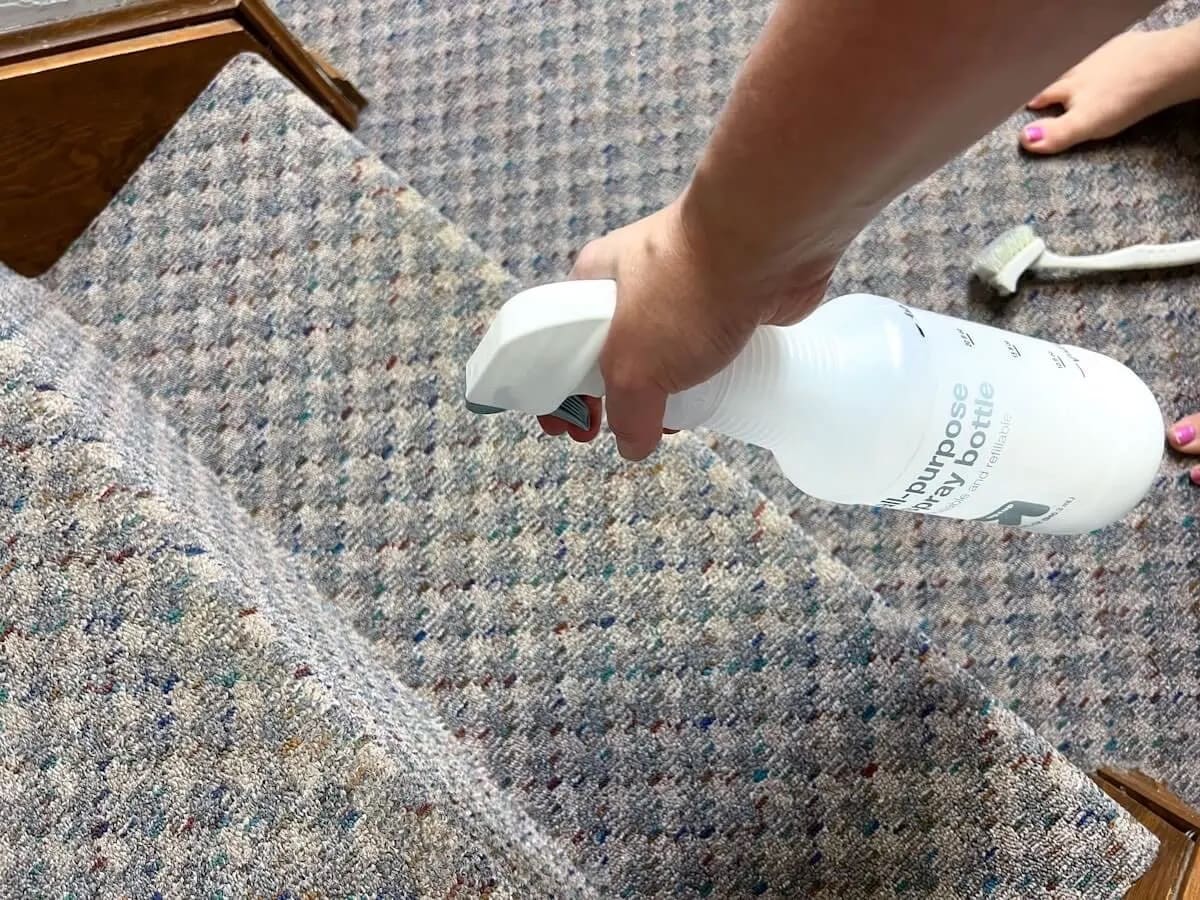
Remember to regularly clean and maintain your carpeted stairs to keep them looking fresh and in good condition. Vacuum the carpet regularly and address any spills or stains promptly using appropriate cleaning methods.
With the final step completed, you have successfully put carpet on your stairs. Sit back, relax, and enjoy the cozy and stylish transformation of your staircase.
Congratulations on completing this project!
Read more: How To Put Tile On Stairs
Conclusion
Putting carpet on stairs can significantly enhance the overall look and feel of your home. By following the step-by-step process outlined in this article, you can achieve a professional and polished installation.
We began by gathering all the necessary materials, including carpets, carpet padding, measuring tape, utility knife, carpet adhesive, and staple gun. These materials are essential for a successful carpet installation.
We then moved on to preparing the stairs by removing any existing carpet, tack strips, and nails. This step ensured a clean and stable surface for the new carpet.
Next, we measured and cut the carpet to fit each step accurately. Precision is crucial during this step to ensure a proper fit and a visually appealing result.
Installing carpet padding was the subsequent step. The padding provides added cushioning and helps to extend the life of the carpet, making it a critical component of the installation process.
We then moved on to applying carpet adhesive, which securely bonds the carpet to the stairs. Proper adhesion is essential to ensure that the carpet remains in place for years to come.
With the adhesive in place, we proceeded to install the carpet, starting from the bottom step and working our way up. Careful alignment and smoothing out any wrinkles or bubbles are important for a professional finish.
Securing the edges of the carpet was the next step, which involved folding the excess carpet and using a staple gun or nails to secure it to the stair risers. This step adds stability and a polished look to the installation.
Finally, we cleaned up any debris, vacuumed the newly carpeted stairs, and added finishing touches such as trim or molding to give the stairs a completed look.
By following these steps and paying attention to detail, you can successfully put carpet on your stairs and enjoy the benefits of a comfortable, stylish, and functional staircase. Remember to maintain and clean your carpeted stairs regularly to keep them looking their best.
Thank you for joining us on this carpet installation journey. We hope it has been informative and helpful. Happy carpeting!
Frequently Asked Questions about How To Put Carpet On Stairs
Was this page helpful?
At Storables.com, we guarantee accurate and reliable information. Our content, validated by Expert Board Contributors, is crafted following stringent Editorial Policies. We're committed to providing you with well-researched, expert-backed insights for all your informational needs.