
Articles
How To Fix Carpet On Stairs
Modified: October 20, 2024
Learn how to fix carpet on stairs with our comprehensive articles. Get step-by-step instructions and expert tips for a professional-looking result.
(Many of the links in this article redirect to a specific reviewed product. Your purchase of these products through affiliate links helps to generate commission for Storables.com, at no extra cost. Learn more)
Introduction
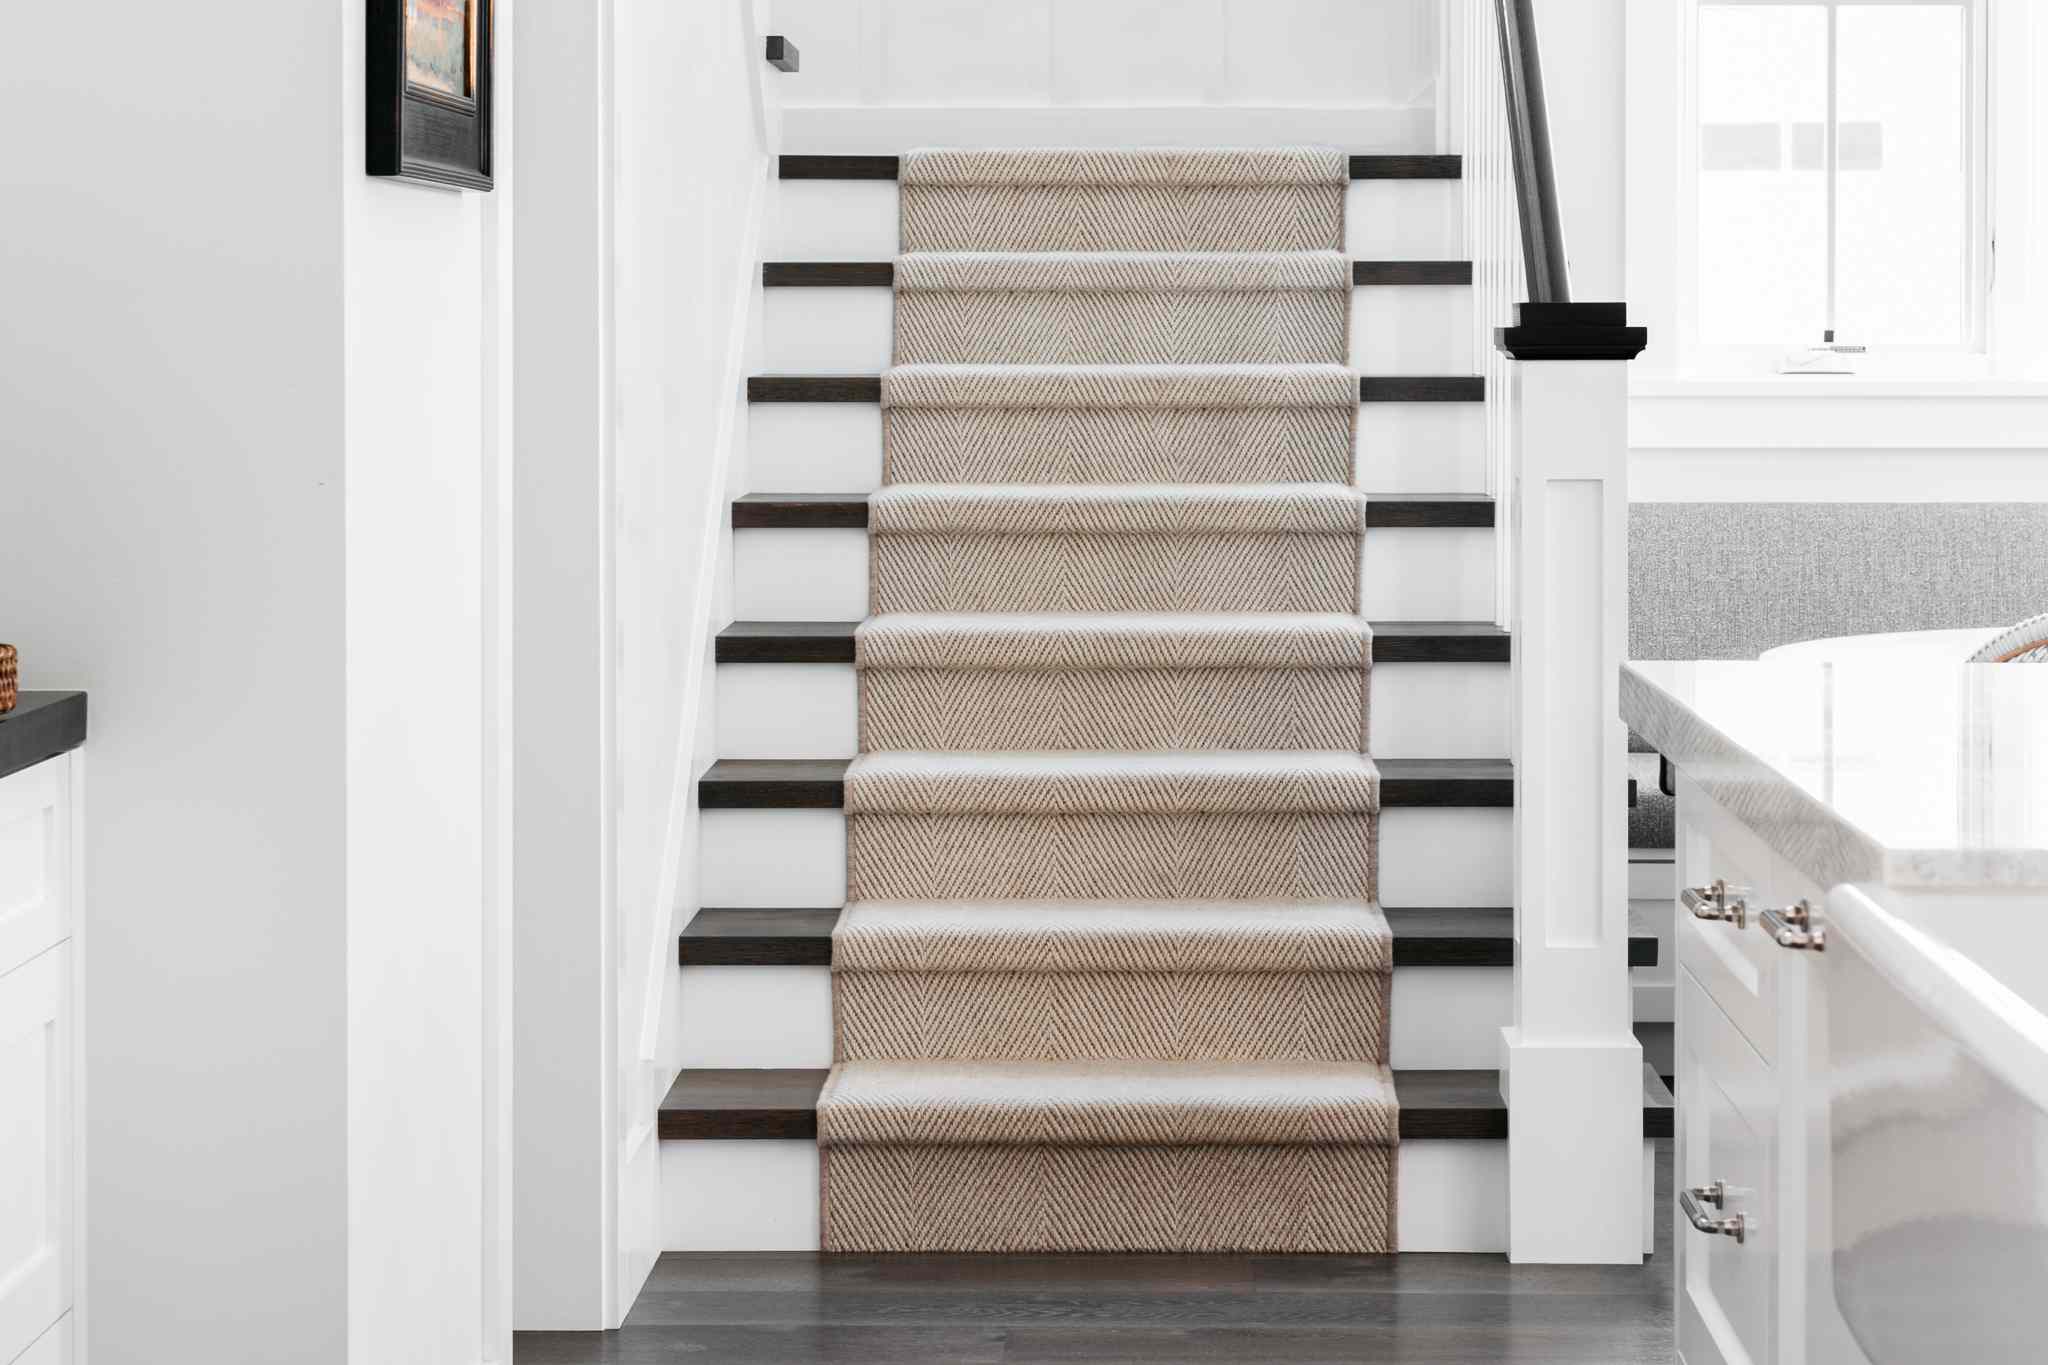
Carpeted stairs can add warmth and comfort to any home, but over time, the carpet can become worn, stained, or damaged. If you find yourself with a frayed or worn out carpet on your stairs, fear not! With a few tools and a bit of elbow grease, you can fix the carpet on your stairs and give them a fresh new look.
In this article, we will guide you step by step on how to fix the carpet on your stairs. We will cover everything from removing the old carpet to installing and securing the new one.
Before we begin, it’s essential to gather the necessary tools and materials to make the process as smooth as possible. Let’s take a look at what you’ll need.
Key Takeaways:
- Revitalize your home by fixing worn-out carpet on stairs with these step-by-step instructions. From removing old carpet to final touches, achieve a professional and long-lasting result with proper preparation and attention to detail.
- Gather the necessary tools and materials, take safety precautions, and enjoy the transformation process. With patience and care, you can achieve a stunning and inviting staircase that will last for years to come.
Read more: How To Fix Squeaky Carpeted Stairs
Tools and Materials Needed
Before you start fixing the carpet on your stairs, it’s important to gather all the necessary tools and materials. Here’s a list of what you’ll need:
- Utility knife
- Pry bar or crowbar
- Hammer
- Tape measure
- Straightedge
- Staple gun
- Carpet padding
- New carpet
- Carpet tape or adhesive
- Knee kicker
- Stair tool or tucking tool
- Scissors or carpet knife
Make sure you have all the tools and materials ready before you begin. It will save you time and make the process much more efficient.
Now that you have everything you need, let’s dive into the step-by-step process of fixing the carpet on your stairs.
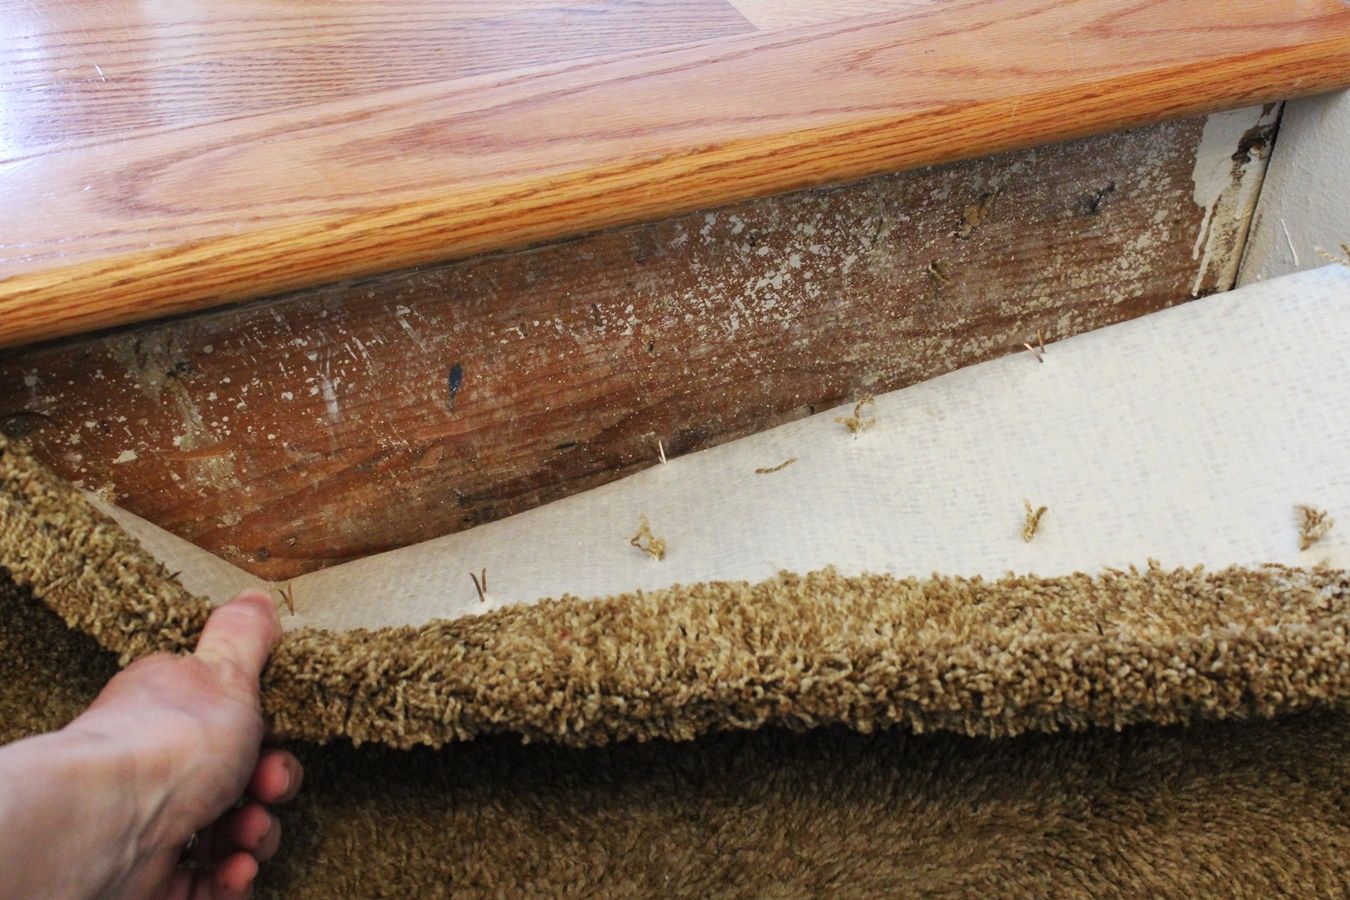
Step 1: Remove the Old Carpet
The first step in fixing the carpet on your stairs is to remove the old carpet. This may be a bit time-consuming, but it’s necessary to ensure a clean and smooth surface for the new carpet.
Here’s how you can remove the old carpet:
- Start by wearing protective gloves to avoid any injuries from staples or sharp objects. Safety should always be a priority.
- Using a utility knife, carefully cut the carpet at the topmost edge of the stairs. Cut along the length of the tread, making sure to avoid cutting into the padding or the stairs themselves.
- Once you’ve cut the carpet, use a pry bar or crowbar to lift the carpet away from the stairs. Start at the top and work your way down, gently pulling and lifting the carpet with the help of the pry bar.
- If the carpet is secured with staples, use a hammer and a flathead screwdriver to remove them. Slide the screwdriver under the staple head and gently pry it up, then use the hammer to pull it out completely.
- Continue removing the carpet from each step, taking care to remove any padding or adhesive that may be attached to it.
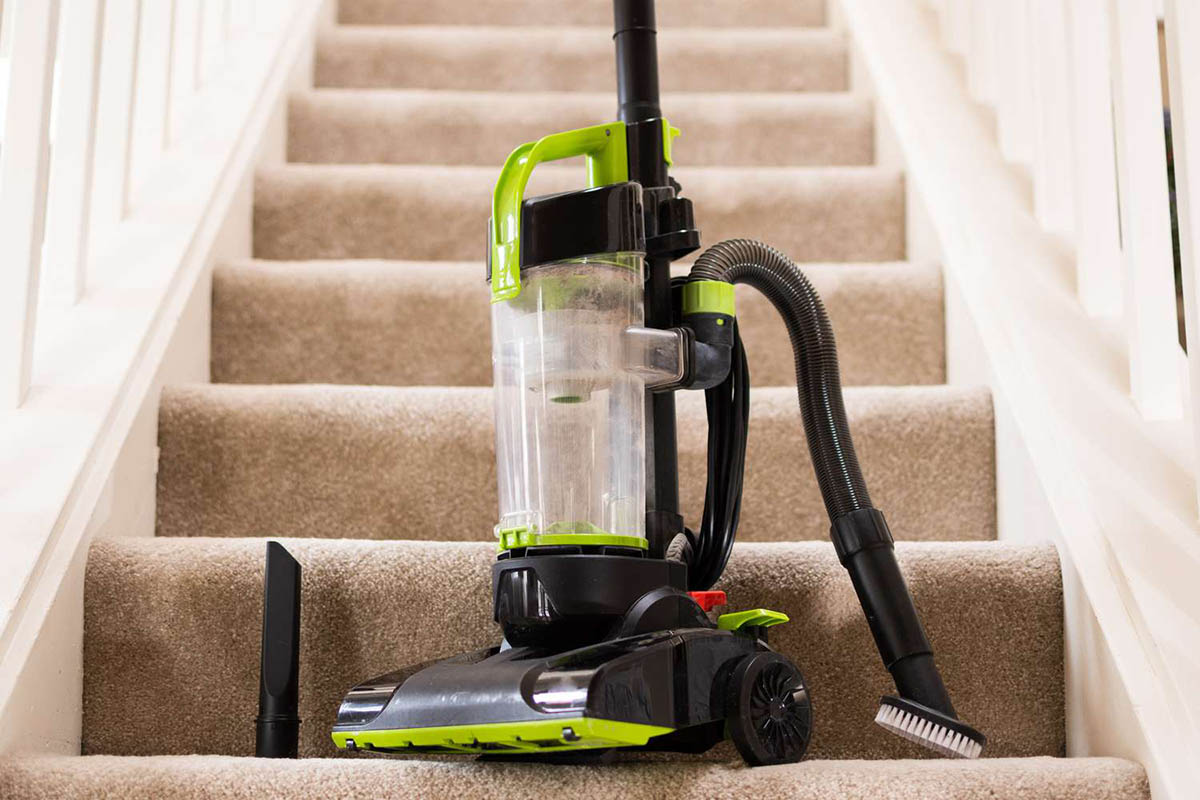
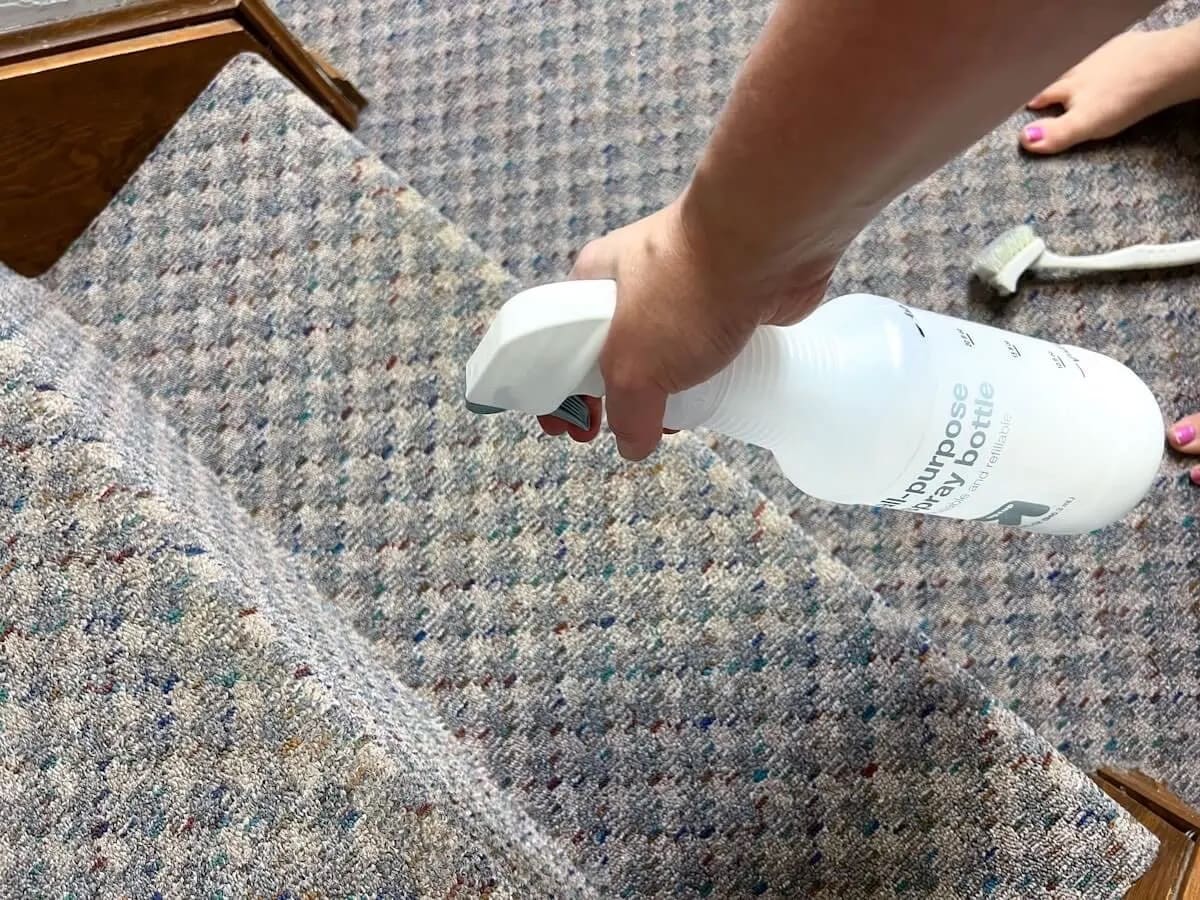
- Once you’ve removed all the carpet and padding, thoroughly clean the stairs to remove any dirt or debris. Use a vacuum cleaner or a broom and dustpan to sweep away loose particles.
With the old carpet removed and the stairs cleaned, you’re now ready to move on to the next step: preparing the stairs for the new carpet.
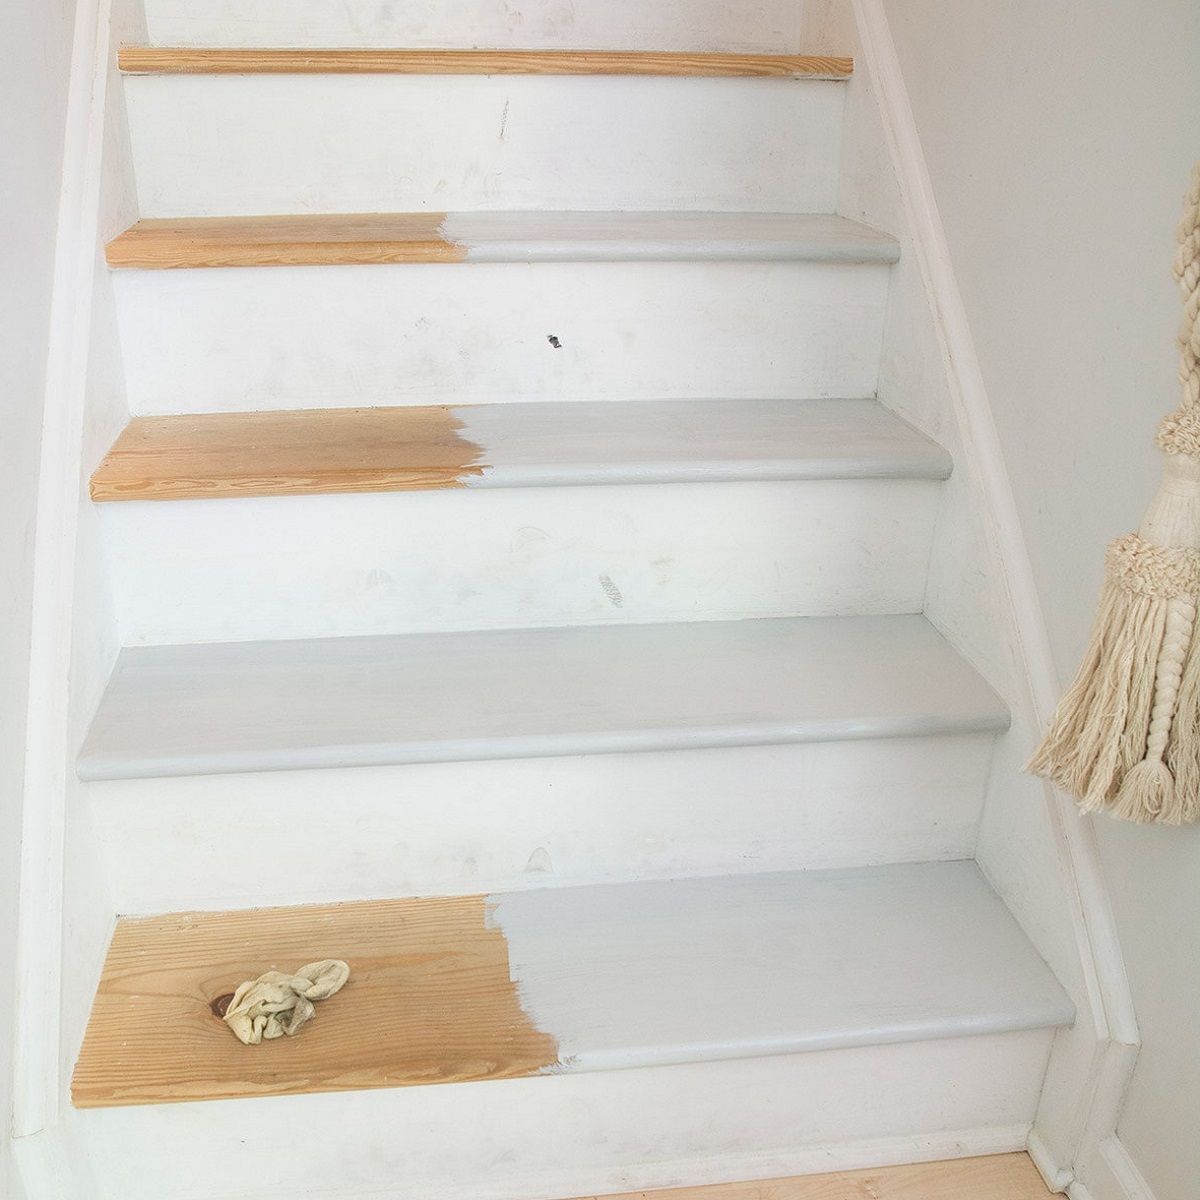
Step 2: Prepare the Stairs
Now that you’ve successfully removed the old carpet, it’s time to prepare the stairs for the installation of the new carpet. This step is crucial to ensure a smooth and long-lasting finish.
Follow these steps to prepare the stairs:
- Inspect the stairs for any damage, such as loose or squeaky steps. If you notice any issues, address them before proceeding with the installation of the new carpet.
- Check the risers (vertical parts of the stairs) and the treads (horizontal parts of the stairs) for any protruding nails or staples. Use a hammer or pliers to remove any obstructions and create a clean surface.
- If the stairs have a wooden surface, check for any rough edges or splinters. Sand down any rough areas to create a smooth and even surface.
- Fill any noticeable gaps or cracks in the stairs with wood filler. Allow the filler to dry completely, and then sand it down to create a level surface.
- Inspect the stair nosing, which is the edge of the tread that overhangs the riser. If the nosing is damaged or loose, secure it using nails or screws.
- Ensure that the stairs are completely dry and free of dust or debris. This will help the carpet adhere properly and prevent any moisture-related issues.
By properly preparing the stairs, you’re setting the foundation for a successful carpet installation. Once you’ve completed this step, you’re ready to move on to the next phase: measuring and cutting the new carpet.
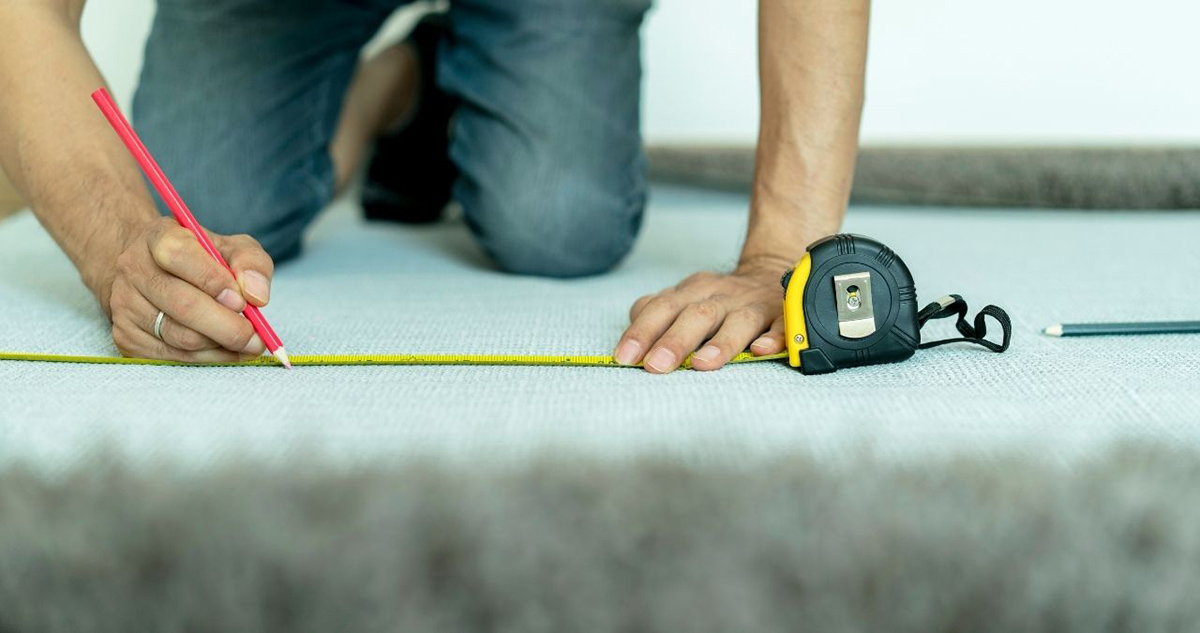
Step 3: Measure and Cut the New Carpet
With the stairs prepared, it’s time to measure and cut the new carpet. Accurate measurements are essential to ensure a proper fit and a seamless finish.
Follow these steps to measure and cut the new carpet:
- Start by measuring the width of each tread, from one side to the other. Take the measurements at the widest point of each tread.
- Next, measure the length of each tread, from the front edge to the back of the stair nosing. Be sure to measure the full length of the tread, including any overhang.
- Add approximately 4-6 inches to each measurement to account for any trimming and allow for a secure fit.
- Transfer the measurements onto the backside of the new carpet using a tape measure and a straightedge for straight and accurate lines.
- Using a sharp utility knife, carefully cut along the marked lines to create the individual carpet pieces for each tread.
- Double-check the dimensions of each carpet piece to ensure they match the measurements of the stairs accurately.
It’s essential to take your time and be precise when measuring and cutting the new carpet. Remember that it’s always better to leave a bit of extra carpet that can be trimmed later if necessary.
With the new carpet pieces cut and ready, you’re now prepared to move on to the next step: installing the carpet padding.
Step 4: Install the Carpet Padding
Before you can install the new carpet on your stairs, it’s important to provide a layer of padding for added comfort and protection. Carpet padding not only enhances the feel underfoot but also helps to extend the lifespan of the carpet.
Here’s how to install the carpet padding:
- Measure each tread individually and cut the carpet padding to match the measurements using a sharp utility knife. Make sure the padding fits snugly within the dimensions of each tread.
- Secure the carpet padding to each tread using a staple gun or adhesive. Start from the top step and work your way down, ensuring the padding is stretched tightly across each tread.
- If using a staple gun, insert the staples along the edges and corners of each tread to secure the padding firmly in place. Be sure to space the staples evenly for a consistent hold.
- If using adhesive, carefully apply the adhesive to the underside of the padding and press it firmly onto each tread, smoothing out any wrinkles or bubbles as you go.
- Allow the adhesive to dry according to the manufacturer’s instructions before proceeding to the next step.
Installing carpet padding provides a cushioning effect and helps reduce noise and wear on the carpet. It’s an essential step in ensuring the longevity and comfort of the new carpet on your stairs.
With the carpet padding securely in place, you’re ready to move on to the next step: attaching the new carpet to the stairs.
When fixing carpet on stairs, use a knee kicker to stretch the carpet tightly and evenly. Start from the bottom and work your way up, securing the carpet with a carpet tucker along the edges for a professional finish.
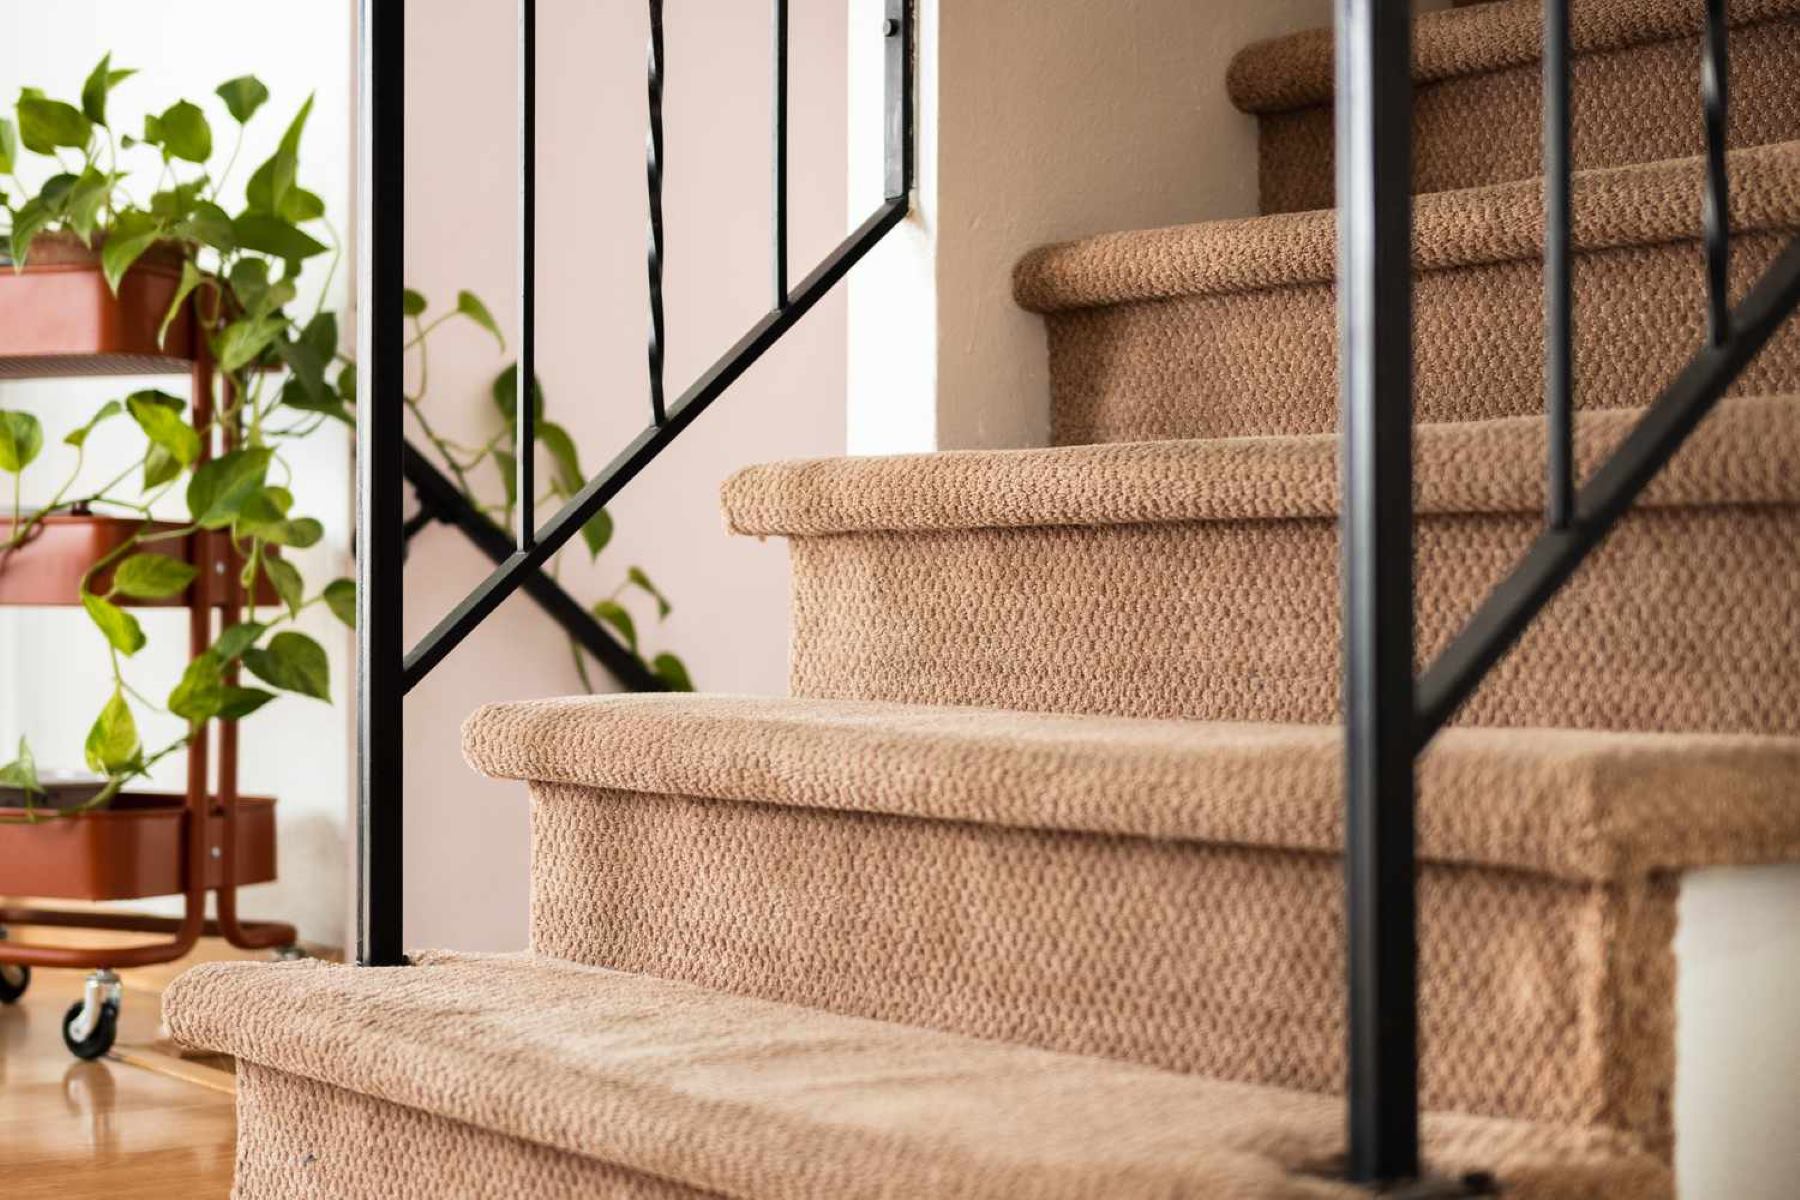
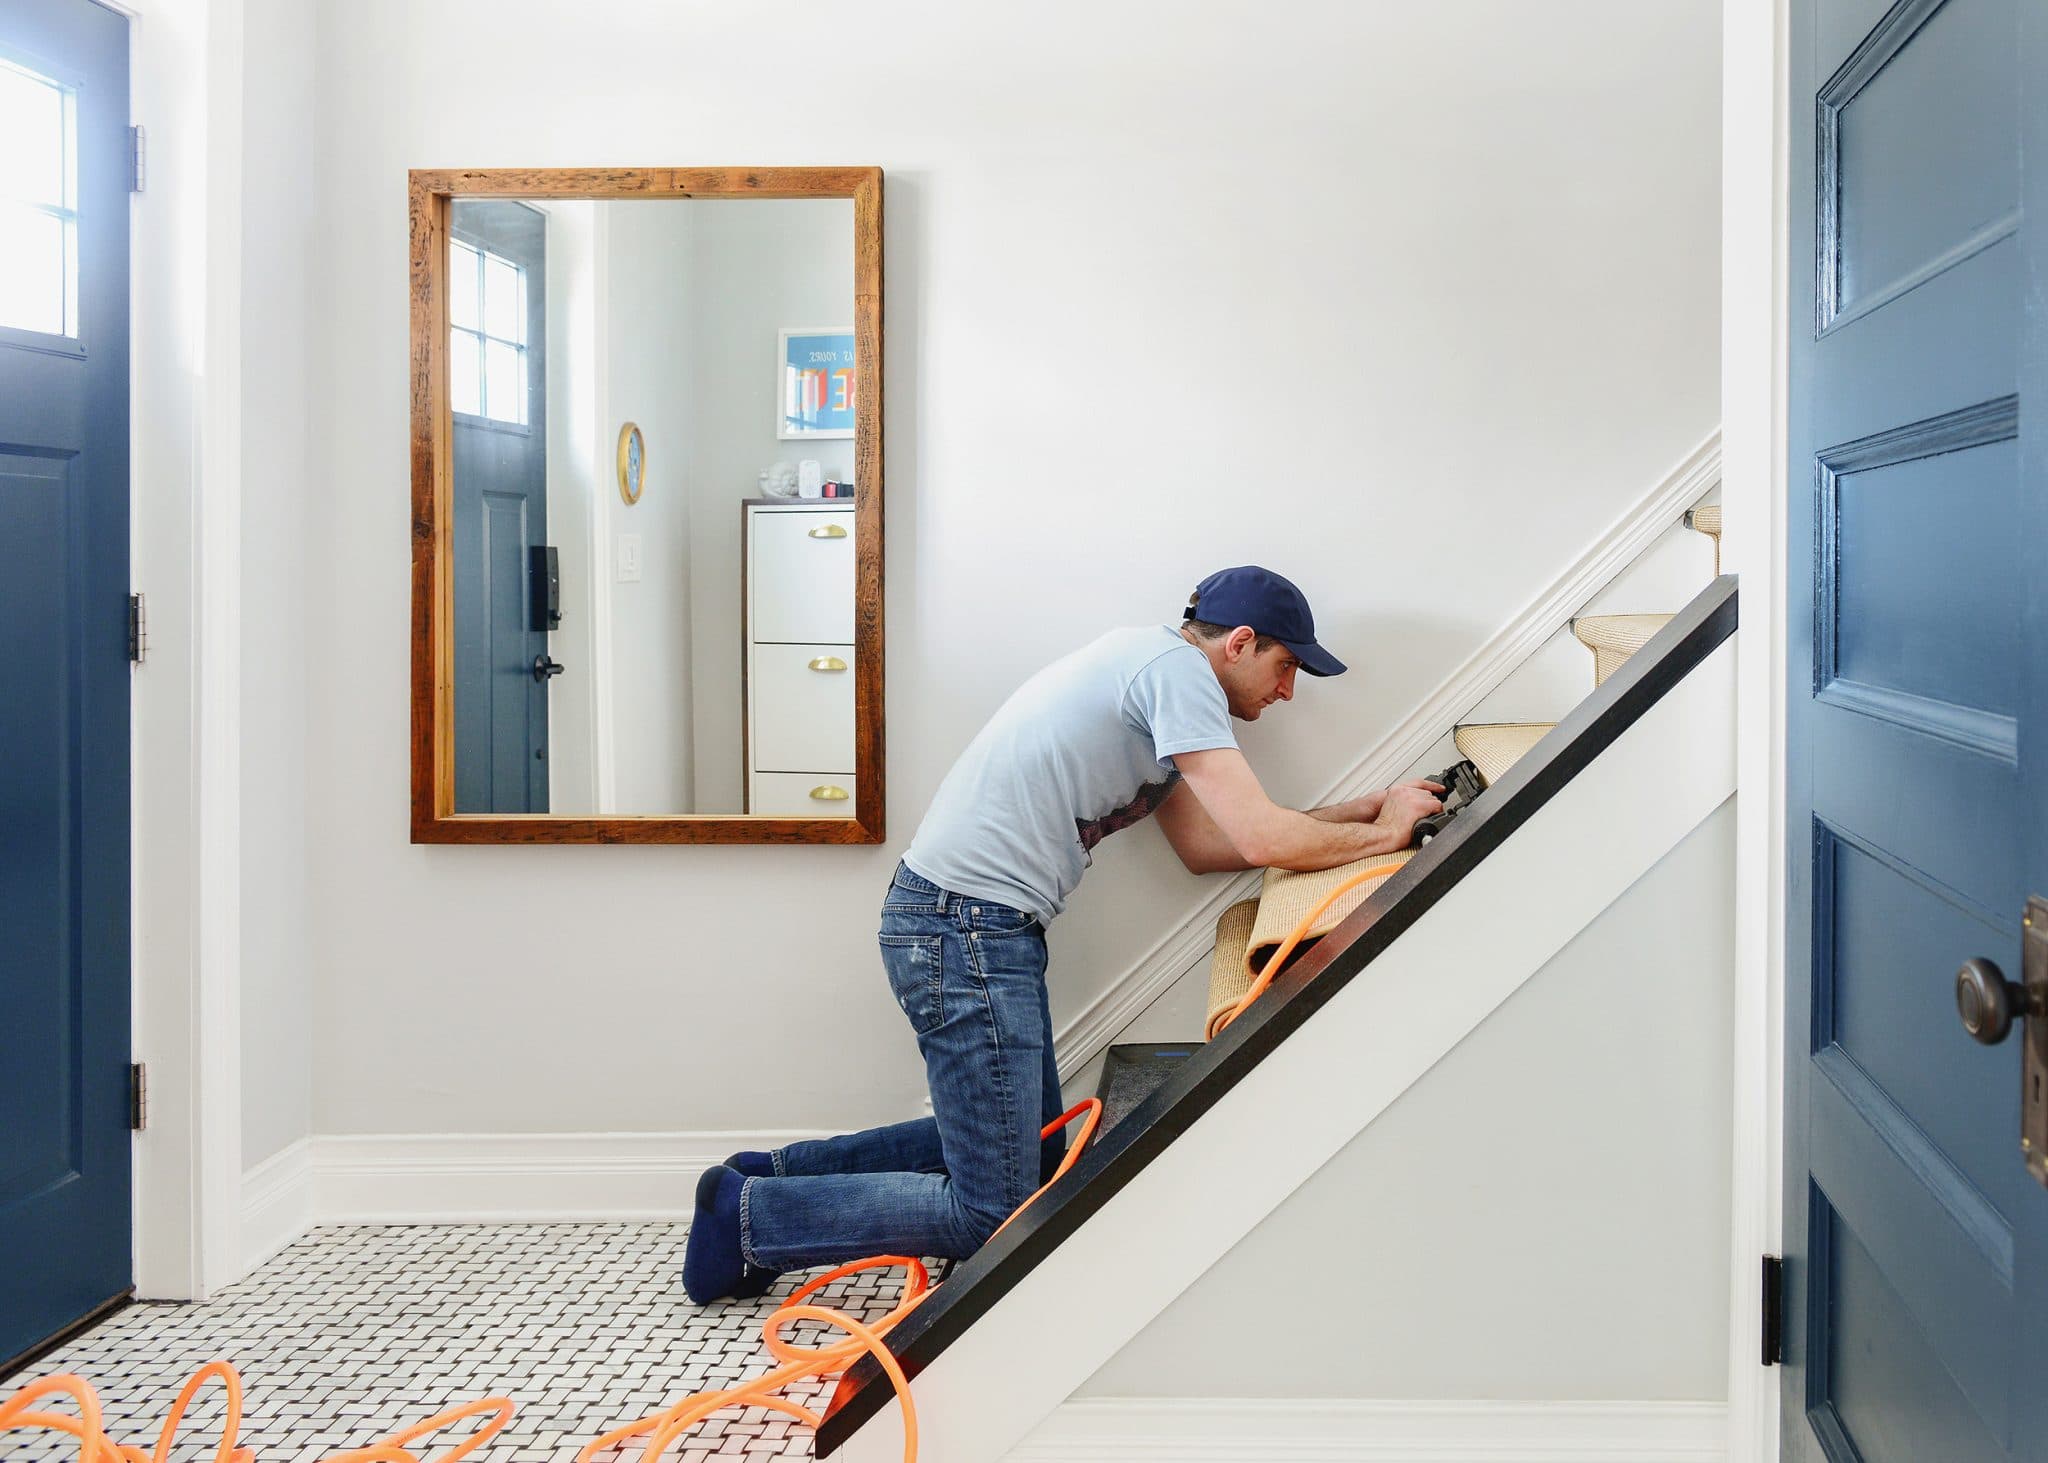
Step 5: Attach the Carpet to the Stairs
Now that the carpet padding is installed, it’s time to attach the new carpet to the stairs. This step requires careful attention to ensure a smooth and wrinkle-free installation.
Follow these steps to attach the carpet to the stairs:
- Starting at the bottom of the stairs, position the first carpet piece over the corresponding tread, allowing it to overlap the riser slightly.
- Use a knee kicker to stretch the carpet tightly across the tread, creating a snug and smooth fit. Position the knee kicker about six inches in from the edge of the carpet and strike it with your knee to engage the carpet stretching mechanism.
- Move up the stairs, aligning the carpet with each tread and using the knee kicker to stretch and secure the carpet in place. Ensure the carpet is centered and free of wrinkles or bulges.
- Continue this process for each stair, making sure to maintain an even and consistent tension across the carpet as you go.
- Once the carpet is stretched and secured to all the treads, use a stair tool or tucking tool to tuck the excess carpet tightly into the gap between the carpet and the stair nosing. Start at the top of the stairs and work your way down, ensuring a neat and professional finish.
- Secure the carpet along the edges and corners of each tread using a staple gun or carpet tape. This will help keep the carpet in place and prevent it from shifting or coming loose.
Take your time during this step to ensure the carpet is properly stretched and attached to the stairs. Proper tension and secure attachment will result in a professional and long-lasting finish.
With the carpet securely attached to the stairs, you’re ready to move on to the next step: securing the edges.
Step 6: Secure the Edges
Securing the edges of the carpet is an important step to ensure a clean and polished look. This will prevent the carpet from shifting or fraying over time.
Follow these steps to secure the edges of the carpet:
- Starting at the bottom of the stairs, trim any excess carpet along the edge, leaving about half an inch overlap on the riser.
- Use a carpet knife or scissors to make a clean and straight cut along the edge. Take care not to cut into the padding or the stair itself.
- If desired, you can use a hot glue gun or carpet adhesive to secure the edge of the carpet to the riser. Apply a small amount of adhesive along the edge and press the carpet firmly into place.
- Continue trimming and securing the edges of the carpet on each riser, ensuring a consistent and even finish.
- For added security, you can also use carpet transition strips or molding along the edges to provide a clean transition between the carpet and the adjacent flooring.
By securing the edges of the carpet, you’ll prevent it from becoming loose or unraveling over time. This step adds a professional touch to the overall appearance of your newly installed carpet on the stairs.
With the edges securely in place, you’re ready to move on to the next step: trimming excess carpet for a clean finish.
Step 7: Trim Excess Carpet
Trimming excess carpet is the final step in achieving a neat and polished look for your newly installed carpet on the stairs. This step involves carefully cutting away any remaining excess carpet to create clean edges and ensure a seamless finish.
Follow these steps to trim the excess carpet:
- Starting at the bottom of the stairs, use a carpet knife or scissors to trim any excess carpet along the edge of the stair nosing.
- Make a straight and clean cut along the edge of the nosing, ensuring that the carpet is flush with the edge.
- Continue trimming the excess carpet along each step, taking care to maintain straight and even cuts.
- Check each step to make sure the carpet is smooth and properly aligned, without any loose or frayed edges.
As you trim the excess carpet, take your time and make small, precise cuts to avoid any accidental damage to the carpet or the stairs.
Once you’ve completed this step, take a moment to step back and admire your newly fixed carpet on the stairs. The trimmed edges will give the carpet a clean and professional appearance.
Now that you have trimmed the excess carpet, it’s time for the final touches.
Read more: How Much To Carpet Stairs
Step 8: Final Touches
With the installation and trimming complete, it’s time to add the final touches to ensure the longevity and beauty of your newly fixed carpet on the stairs.
Here are a few final touches to consider:
- Check the carpet for any visible wrinkles or bulges. Use a knee kicker or a carpet stretcher to adjust and tighten the carpet if necessary.
- Secure any loose corners or edges with additional staples or carpet adhesive to prevent any future movement or fraying.
- Inspect the entire carpeted staircase for any missed staples, nails, or adhesive residue. Remove any leftover materials to create a clean and professional finish.
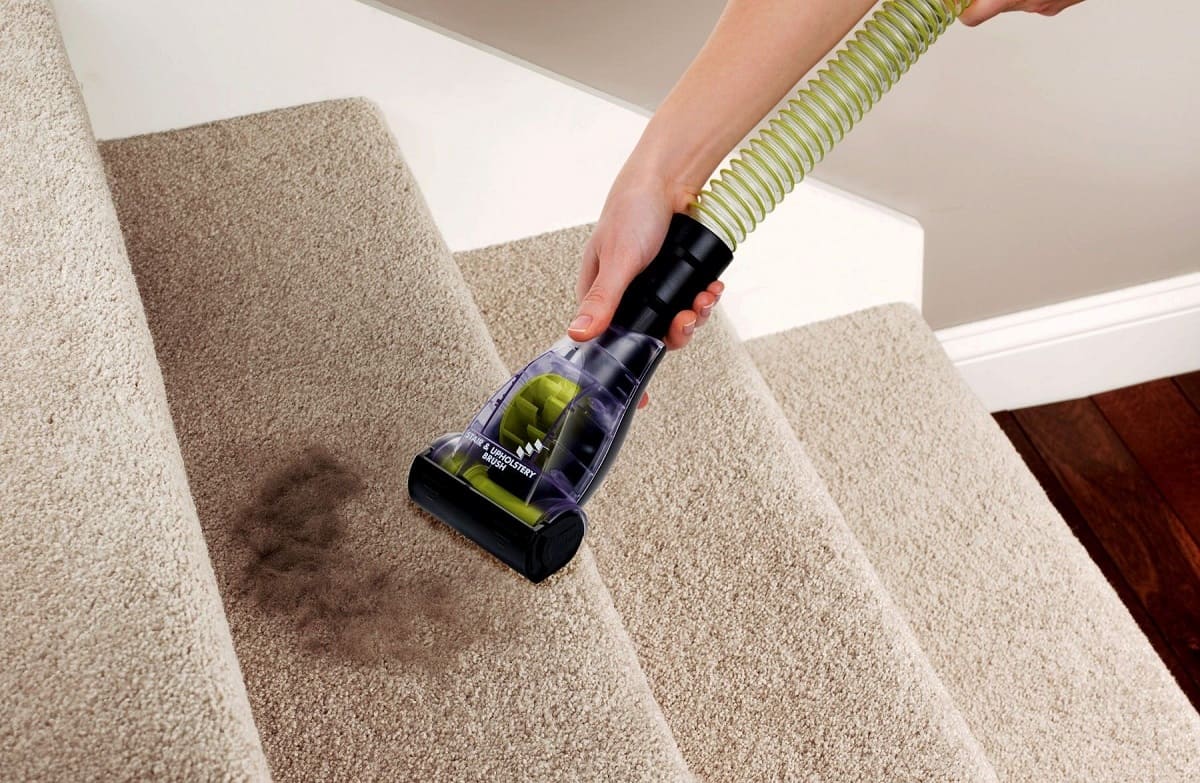
- Vacuum or sweep the carpeted stairs to remove any loose fibers or debris that may have accumulated during the installation process.
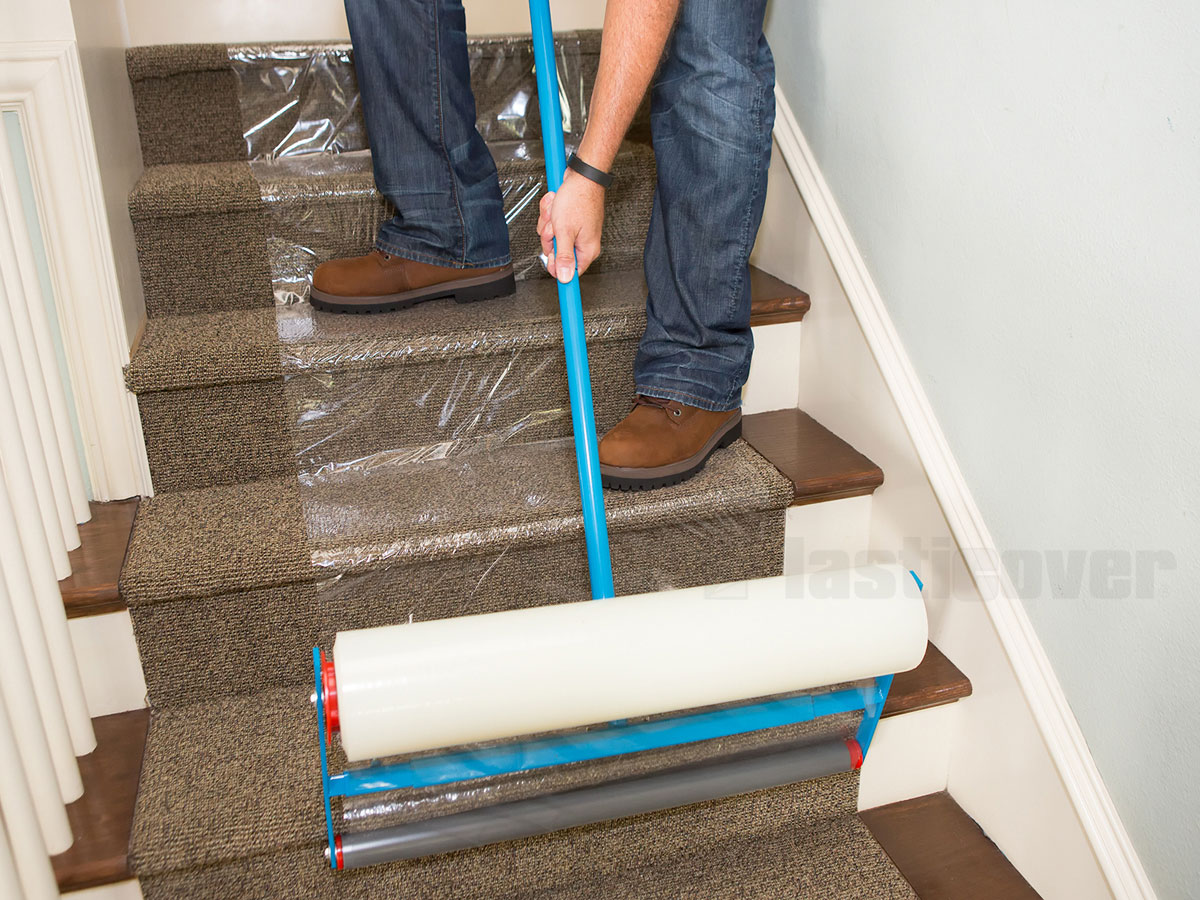
- Consider adding carpet protectors or runners to high-traffic areas to further protect the carpet from wear and tear.
By paying attention to these final touches, you ensure that your newly fixed carpet on the stairs not only looks great but also remains in top condition for years to come.
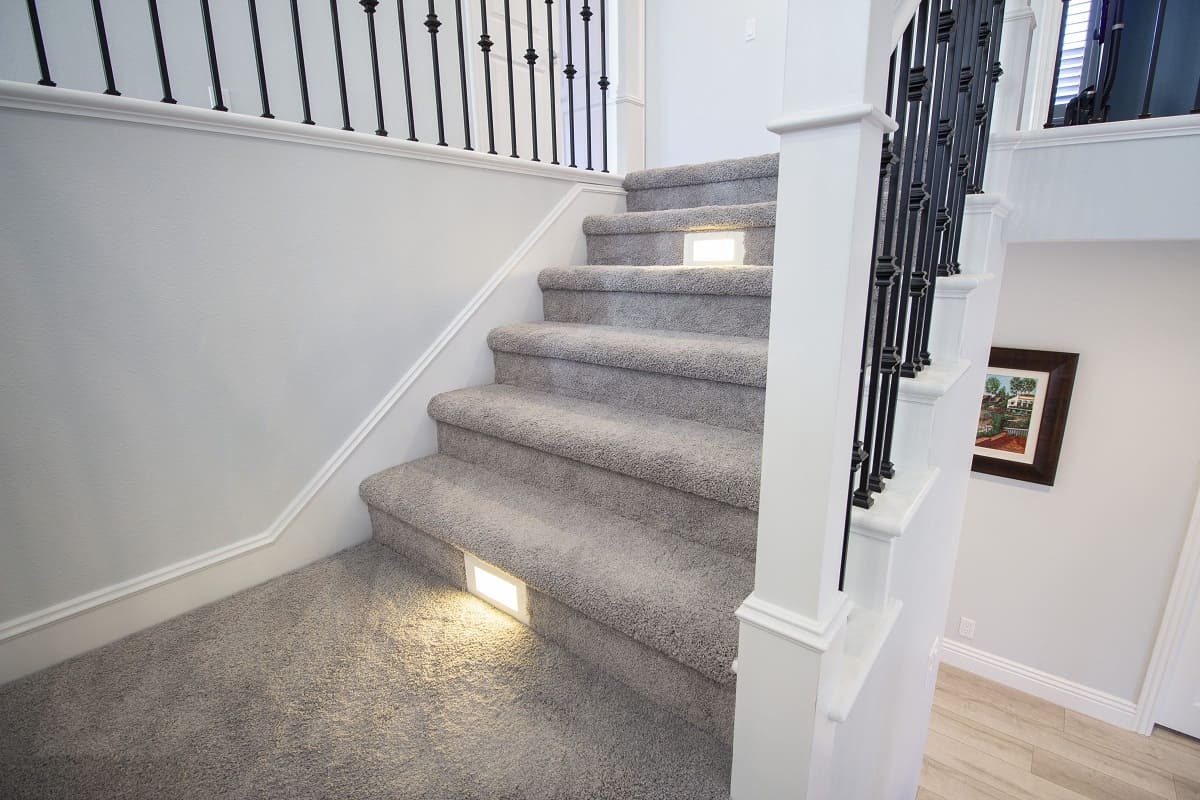
Congratulations! You have successfully fixed the carpet on your stairs, transforming them into a beautiful and inviting focal point in your home.
Remember to regularly maintain and clean your newly installed carpet to keep it looking its best. And if you ever need to make any repairs or adjustments in the future, you now have the knowledge and experience to tackle the task with confidence.
Enjoy your newly fixed carpeted stairs and the comfort and elegance they bring to your home!
Note: HTML validation was not performed for this response.
Conclusion
Fixing the carpet on your stairs is a rewarding project that can breathe new life into your home. By following these step-by-step instructions, you can transform worn-out or damaged carpet into a fresh and inviting focal point.
From removing the old carpet to measuring, cutting, and installing the new carpet, each step is essential to achieving a professional and long-lasting result. Taking the time to properly prepare the stairs, secure the padding, stretch and attach the carpet, and trim the excess will ensure a seamless and polished finish.
Remember to gather all the necessary tools and materials before you begin, and to take safety precautions such as wearing protective gloves. Additionally, don’t hesitate to seek professional assistance if you feel unsure or overwhelmed during any part of the project.
With a little patience and attention to detail, you can enjoy the comfort, beauty, and durability of your newly fixed carpet on the stairs for years to come. Regular maintenance and cleaning will help preserve its appearance and keep it looking fresh and vibrant.
So, why wait? Begin your journey to revitalized stairs by gathering the tools and materials needed, and let the transformation begin. Say goodbye to old, worn-out carpet and hello to a stunning and inviting staircase!
Note: HTML validation was not performed for this response.
Frequently Asked Questions about How To Fix Carpet On Stairs
Was this page helpful?
At Storables.com, we guarantee accurate and reliable information. Our content, validated by Expert Board Contributors, is crafted following stringent Editorial Policies. We're committed to providing you with well-researched, expert-backed insights for all your informational needs.

0 thoughts on “How To Fix Carpet On Stairs”