Articles
How To Cover A Carpet On Stairs
Modified: October 20, 2024
Learn how to cover your stairs with a carpet using our informative articles. Discover step-by-step guides and expert tips for a flawless installation.
(Many of the links in this article redirect to a specific reviewed product. Your purchase of these products through affiliate links helps to generate commission for Storables.com, at no extra cost. Learn more)
Introduction
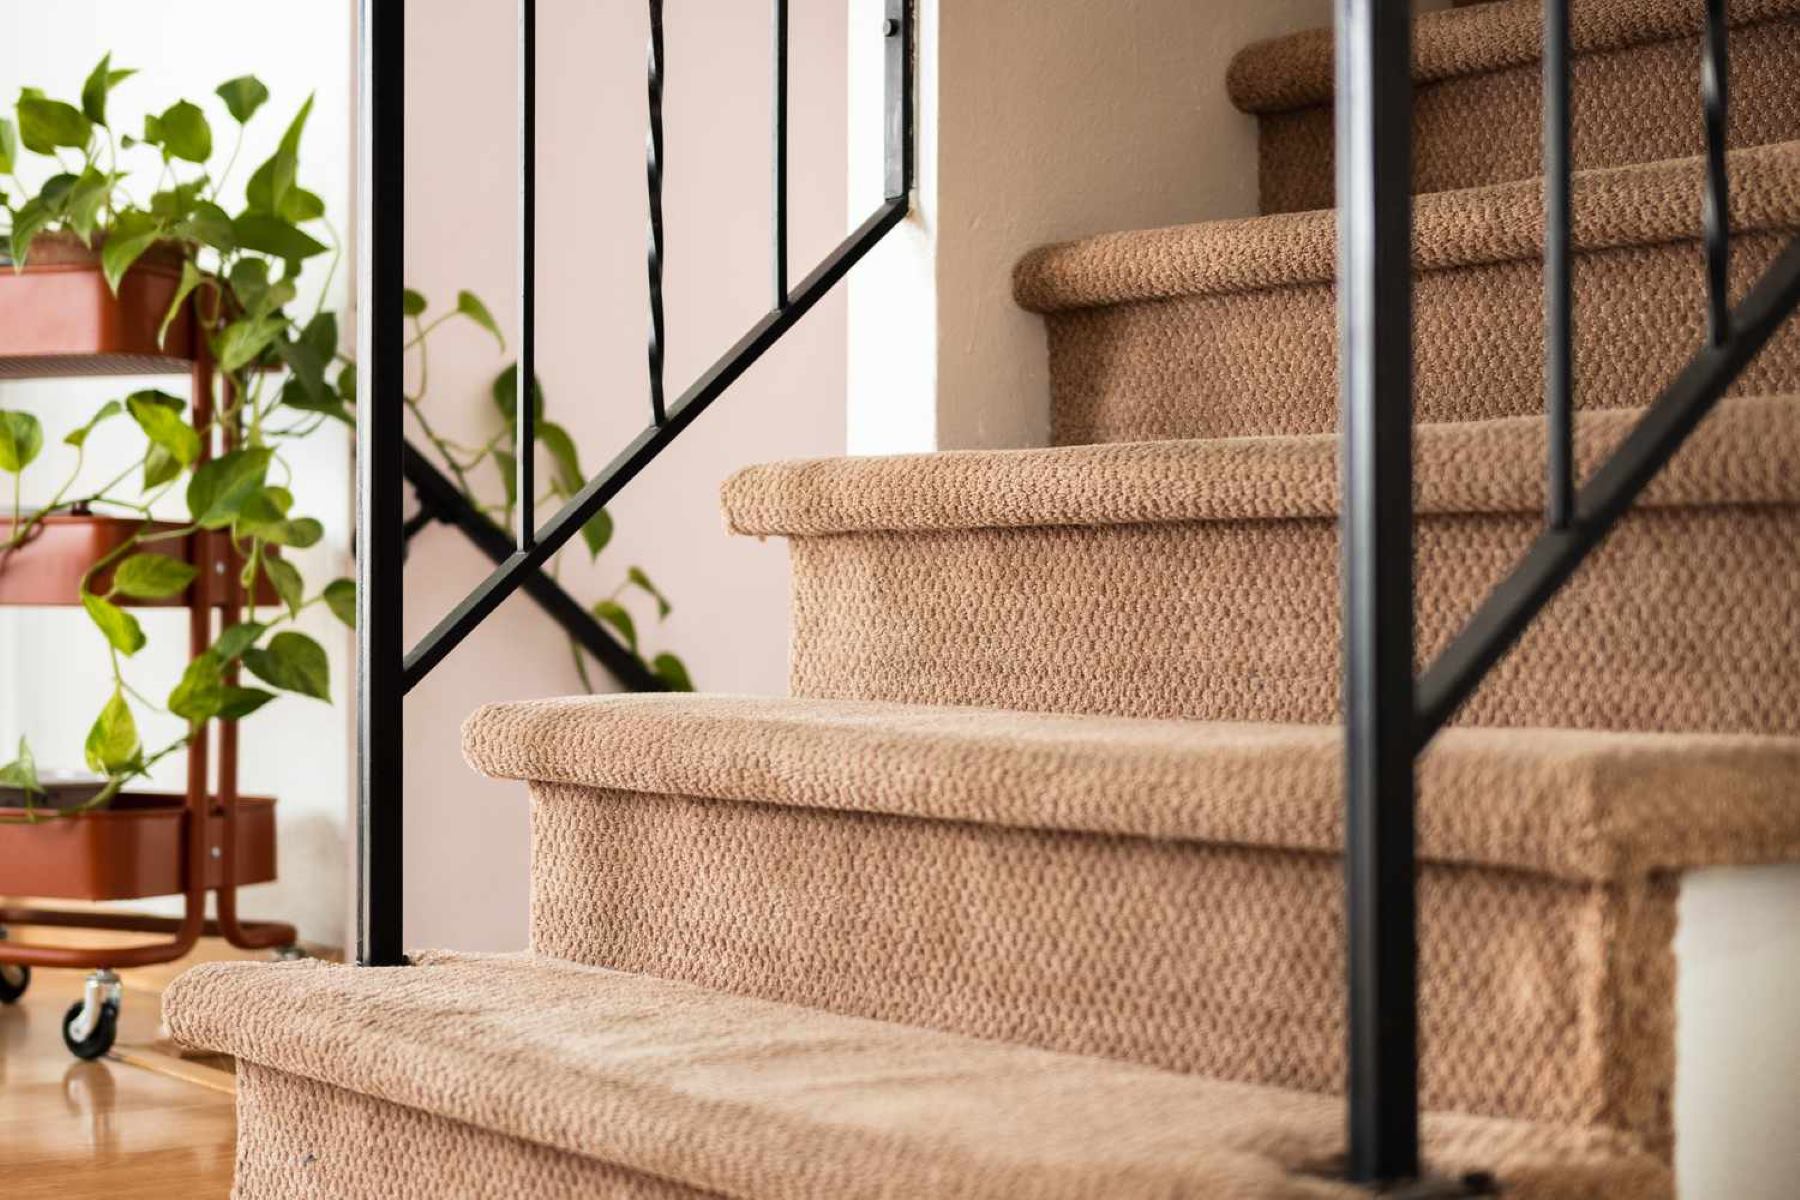
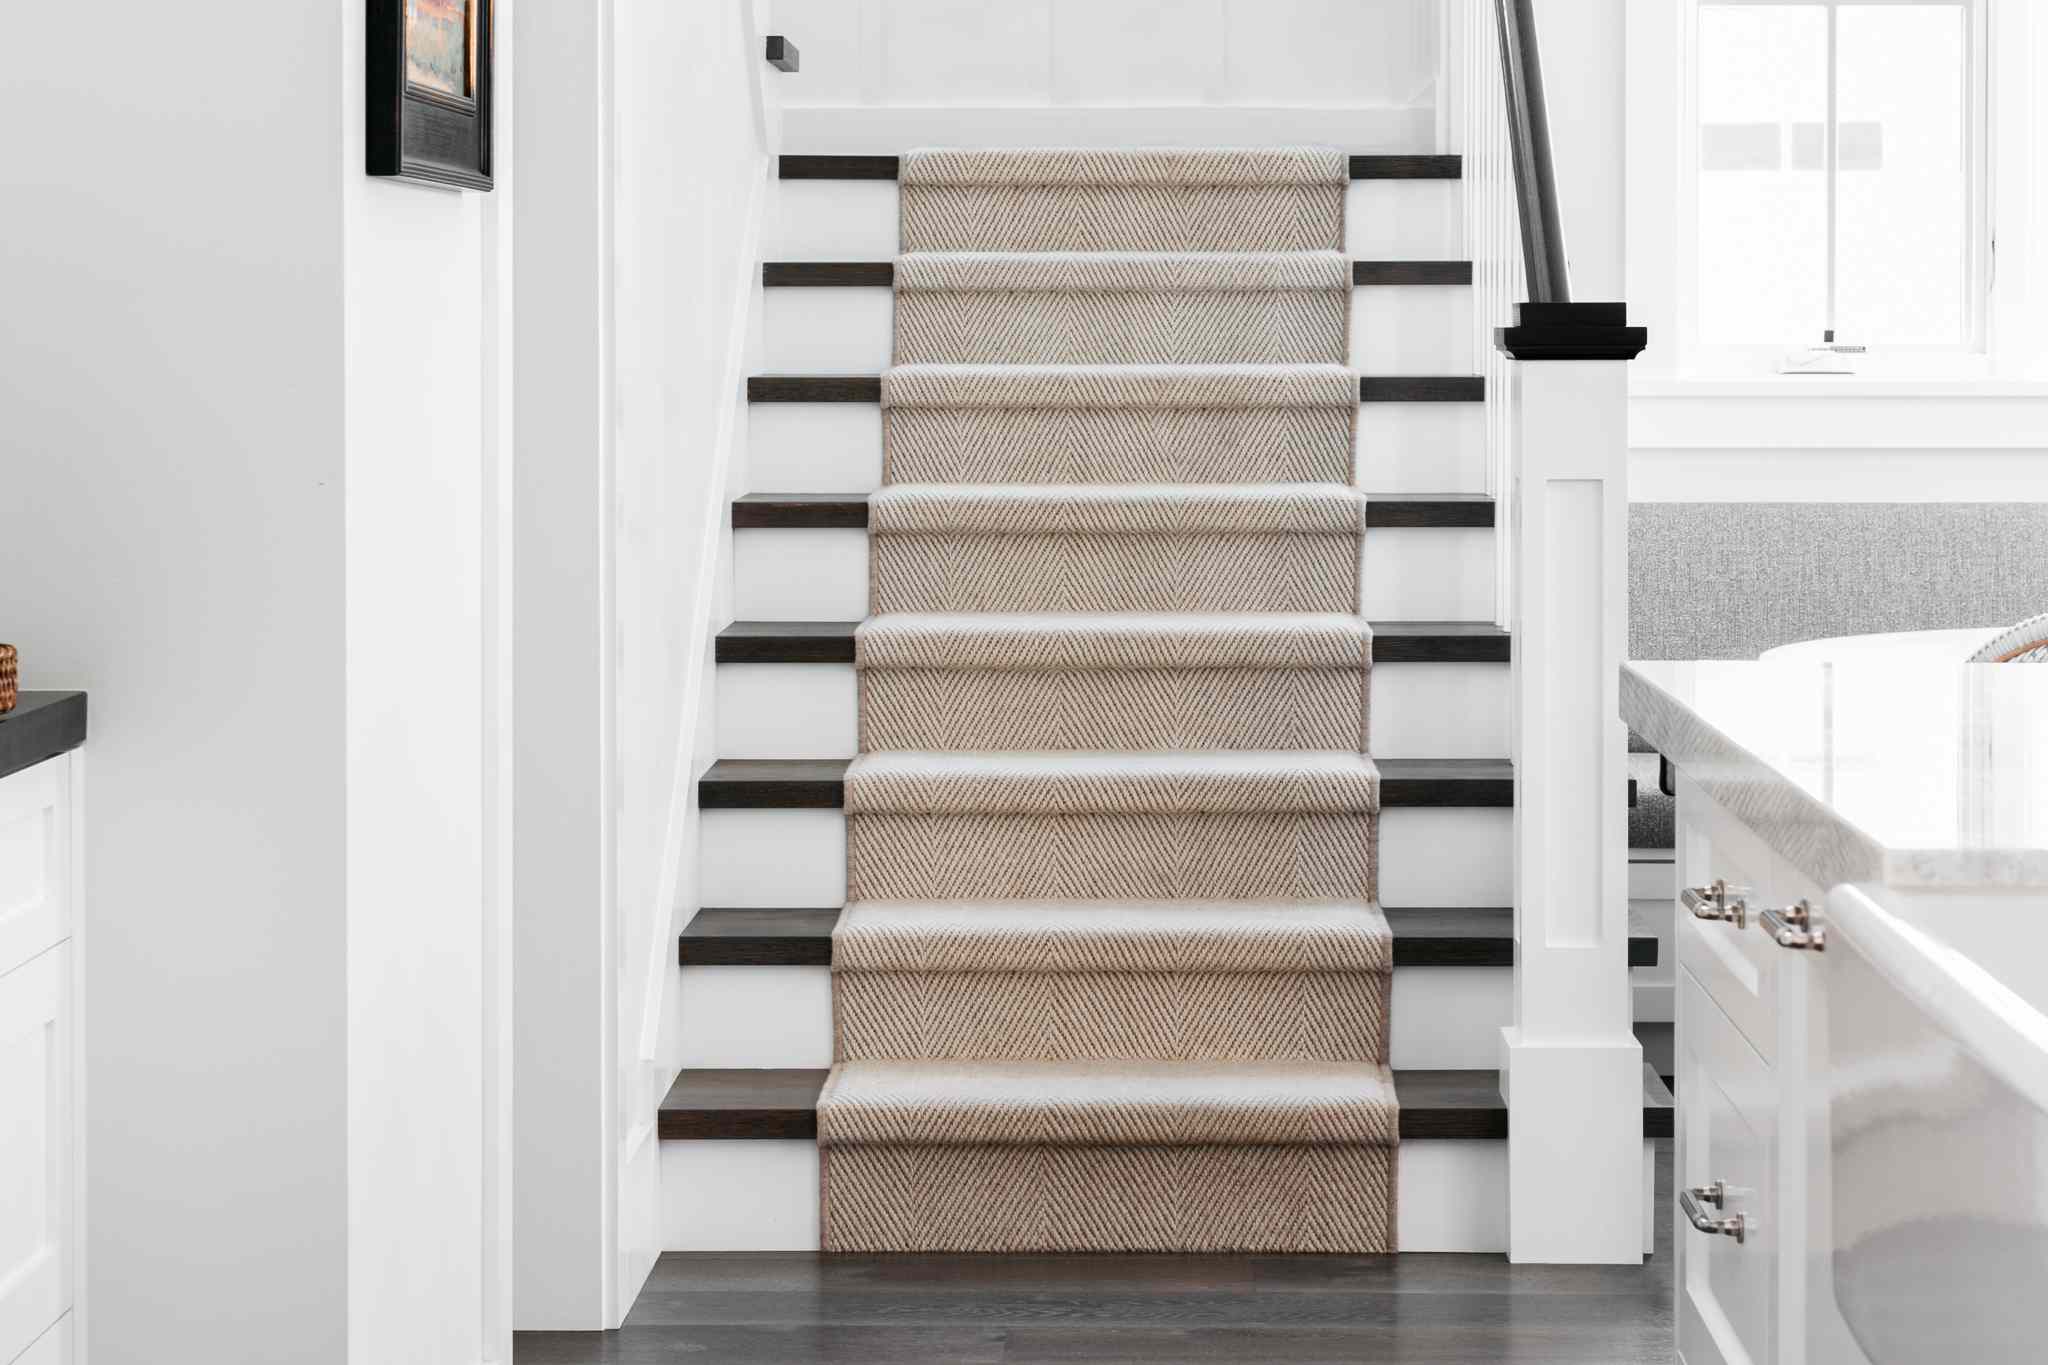
When it comes to home improvement, covering the carpet on your stairs can make a big difference in both aesthetics and functionality. Whether you’re looking to update the look of your staircase or simply want to protect your carpet from wear and tear, learning how to cover a carpet on stairs is a valuable skill.
Not only can covering your stairs with carpet enhance the overall look and feel of your home, but it can also improve safety by adding traction and reducing the risk of slips and falls. Additionally, carpeting on stairs can help dampen noise, making it a popular choice for families with children or those living in multi-story homes.
In this step-by-step guide, we will walk you through the process of covering a carpet on stairs. From gathering the necessary materials to adding the finishing touches, you’ll be equipped with all the information you need to successfully complete this project.
Before we dive into the details, it’s important to note that covering a carpet on stairs requires some basic DIY skills and tools. If you’re uncomfortable with tackling this project on your own, it may be best to consult a professional carpet installer who can ensure the job is done accurately and efficiently.
Now, let’s get started on transforming your stairs with a fresh new carpet covering!
Key Takeaways:
- Transform your staircase with a fresh carpet covering to enhance aesthetics, safety, and noise reduction. Follow the step-by-step guide for a professional and polished finish.
- Elevate the look and functionality of your home by covering your carpet on stairs. Enjoy the satisfaction of a job well done and the benefits of a stylish and safe staircase.
Read more: How To Cover Wooden Stairs
Step 1: Gather the necessary materials
Before you begin covering your carpet on stairs, it’s essential to gather all the materials you’ll need. Having everything on hand will help streamline the process and prevent unnecessary delays. Here is a list of the materials you’ll need:
- Carpet: Choose a carpet that suits your style and preferences. Make sure to measure the length and width of each stair to ensure you purchase enough carpet to cover the entire staircase.
- Carpet padding: This is an important layer that goes beneath the carpet, providing extra cushioning and support. Make sure to choose a padding that is specifically designed for stairs.
- Knee kicker: This tool is used to stretch the carpet tight across the stairs and secure it in place.
- Carpet knife: You’ll need a sharp carpet knife to cut the carpet to the correct size and shape.
- Straightedge: This will help you make accurate measurements and ensure straight lines when cutting the carpet.
- Tack strips: These strips, also known as tackless strips, are used to secure the carpet in place along the edges of the stairs.
- Staple gun: A staple gun will be needed to attach the carpet padding to the stairs.
- Hammer: This is required for nailing down the tack strips.
- Measuring tape: A measuring tape will help you accurately measure the dimensions of each stair.
- Safety goggles and gloves: It’s important to protect your eyes and hands when working with tools and sharp objects.
Once you have gathered all the necessary materials, double-check to ensure you have everything needed to complete the project. This will save you time and frustration later on. Now that you are fully prepared, you can move on to the next step: measuring and cutting the carpet.
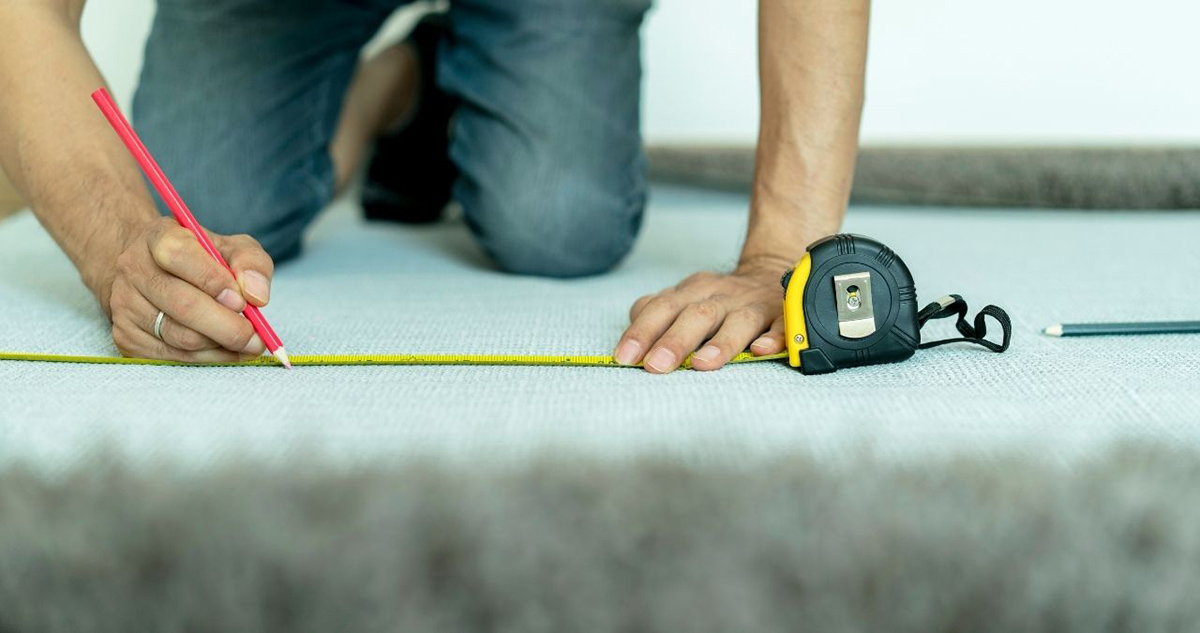
Step 2: Measure and cut the carpet
Now that you have all the materials ready, it’s time to measure and cut the carpet to fit your stairs. Proper measurements are crucial for a seamless and professional-looking installation. Here’s how you can do it:
- Start by measuring the width of each stair. Measure from the outside edge of one stringer to the outside edge of the other stringer. Be sure to account for any overhang or bullnose on the stair and add a couple of extra inches to ensure proper coverage.
- Next, measure the depth of each stair, from the back of the tread to the front of the riser. Again, add a few extra inches to account for any overhang.
- Using a straightedge and a carpet knife, carefully cut the carpet according to the measurements you took. Take your time and make precise cuts to ensure a perfect fit.
- If your stairs have a curved or rounded shape, you may need to create a template using a large piece of paper or cardboard. Trace the shape of the stair onto the template and transfer it onto the carpet, then cut along the traced lines.
When cutting the carpet, make sure to cut it slightly wider and longer than your measurements. It’s always better to have a little extra carpet that can be trimmed down later, rather than having it turn out too short.
Once you have cut the carpet to the appropriate size and shape, lay it out on the stairs to check the fit. Make any necessary adjustments before moving on to the next step.
With the carpet properly measured and cut, you’re ready to move on to preparing the stairs for installation. This is an important step that will ensure a smooth and secure carpet covering. We’ll cover it in the next step.
Step 3: Prepare the stairs
Before you can proceed with installing the carpet on your stairs, it’s essential to properly prepare them. This step will ensure that the carpet adheres well and provides a smooth and long-lasting finish. Here’s what you need to do:
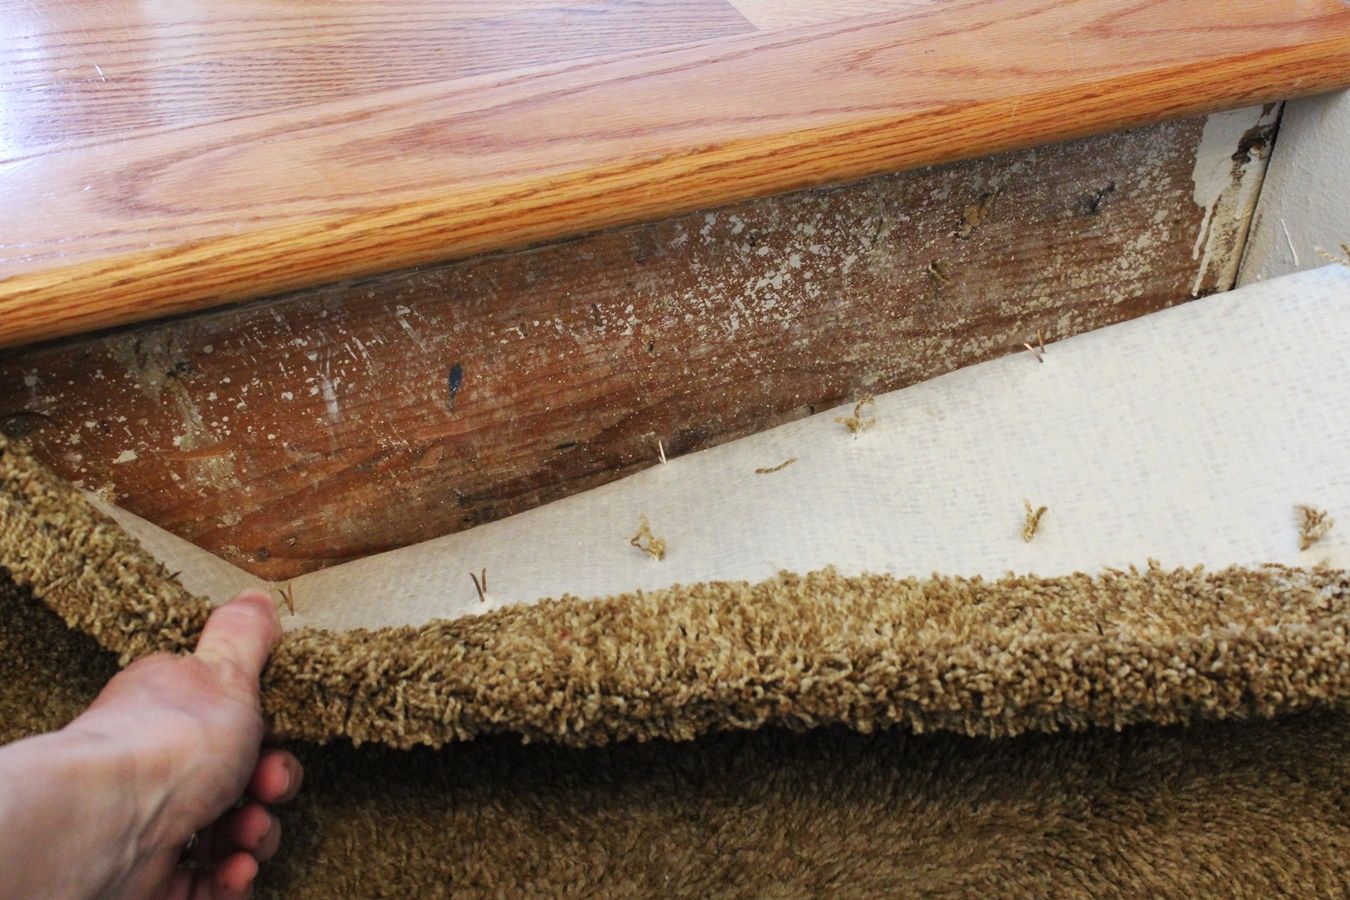
- Remove any existing carpet or flooring from the stairs. Use a pry bar or pliers to pull up any staples or tacks that may be holding the old carpet in place.
- Inspect the stairs for any loose boards or structural issues. Tighten any loose screws and repair any damaged or squeaky steps. It’s important to have a solid and stable base for the new carpet.
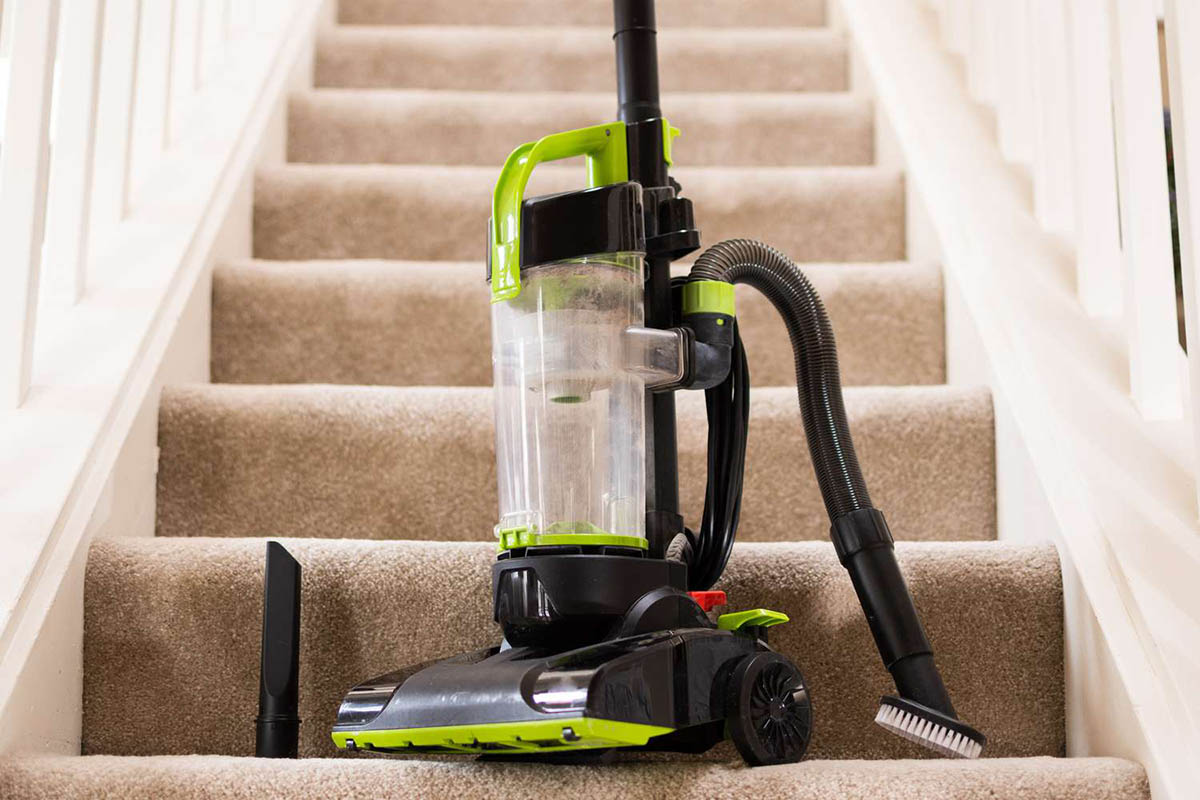
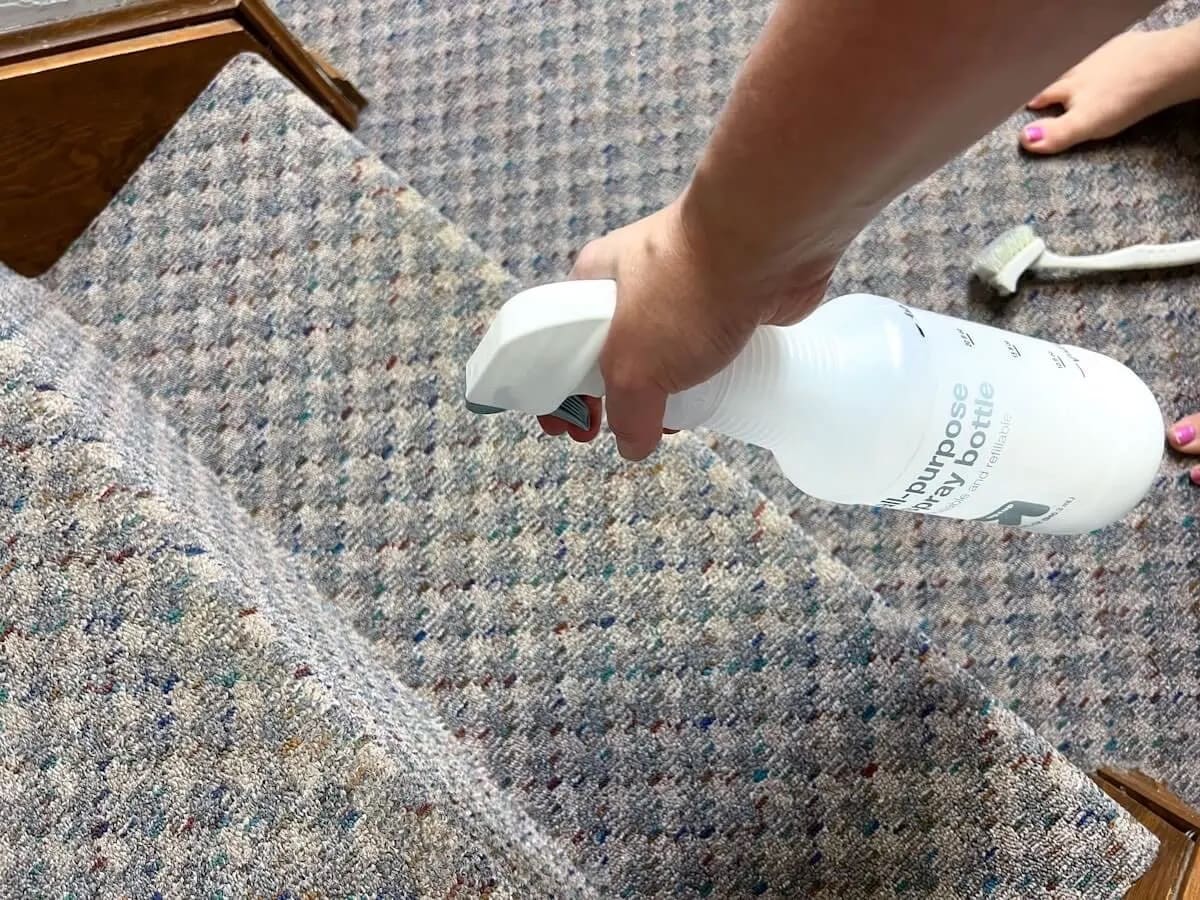
- Clean the stairs thoroughly. Remove any dust, dirt, or debris using a vacuum cleaner or a broom. This will ensure that the carpet adheres well and doesn’t get damaged or stained.
- If necessary, sand down any rough or uneven areas on the stairs. This will help create a smooth surface for the carpet to lay on.
- Apply a primer or sealer to the stairs, especially if they are made of wood. This will provide a protective layer and prevent any moisture from seeping into the carpet and causing damage.
By taking the time to properly prepare your stairs, you’ll ensure that the installation process goes smoothly and the carpet lasts for years to come. Once you’ve completed the necessary preparations, you can move on to the next step: installing the carpet padding.
Step 4: Install the carpet padding
Installing carpet padding is an important step in the process of covering your stairs. The padding provides cushioning, improves comfort, and helps prolong the lifespan of your carpet. Here’s how you can install the carpet padding:
- Start by cutting the padding into strips that are slightly narrower than the width of each stair. This will allow the carpet to wrap around the edges and secure the padding in place.
- Place the first strip of padding at the bottom of the first stair. Align it with the back edge of the tread, leaving a small gap between the padding and the riser.
- Using a staple gun, secure the padding to the stair tread. Place staples along the edges of the padding, making sure they go into the wood beneath.
- Repeat this process for each stair, cutting and installing the padding strips accordingly.
- For curved or rounded stairs, you may need to cut the padding into small sections and secure them individually. Make sure to overlap the edges slightly to provide a seamless transition.
- Once all the padding is in place, go back and check for any loose areas. Secure any loose sections with additional staples as needed.
Installing carpet padding is an important step to ensure the comfort and durability of your carpeted stairs. It provides a cushioning layer beneath the carpet, reducing noise and adding extra support. With the padding securely in place, you’re now ready to move on to installing the carpet on the stairs.
When covering a carpet on stairs, start by measuring and cutting the carpet to fit each step. Use a strong adhesive to secure the carpet in place, ensuring it is smooth and free from wrinkles to prevent tripping hazards.
Read more: How To Fix Carpet On Stairs
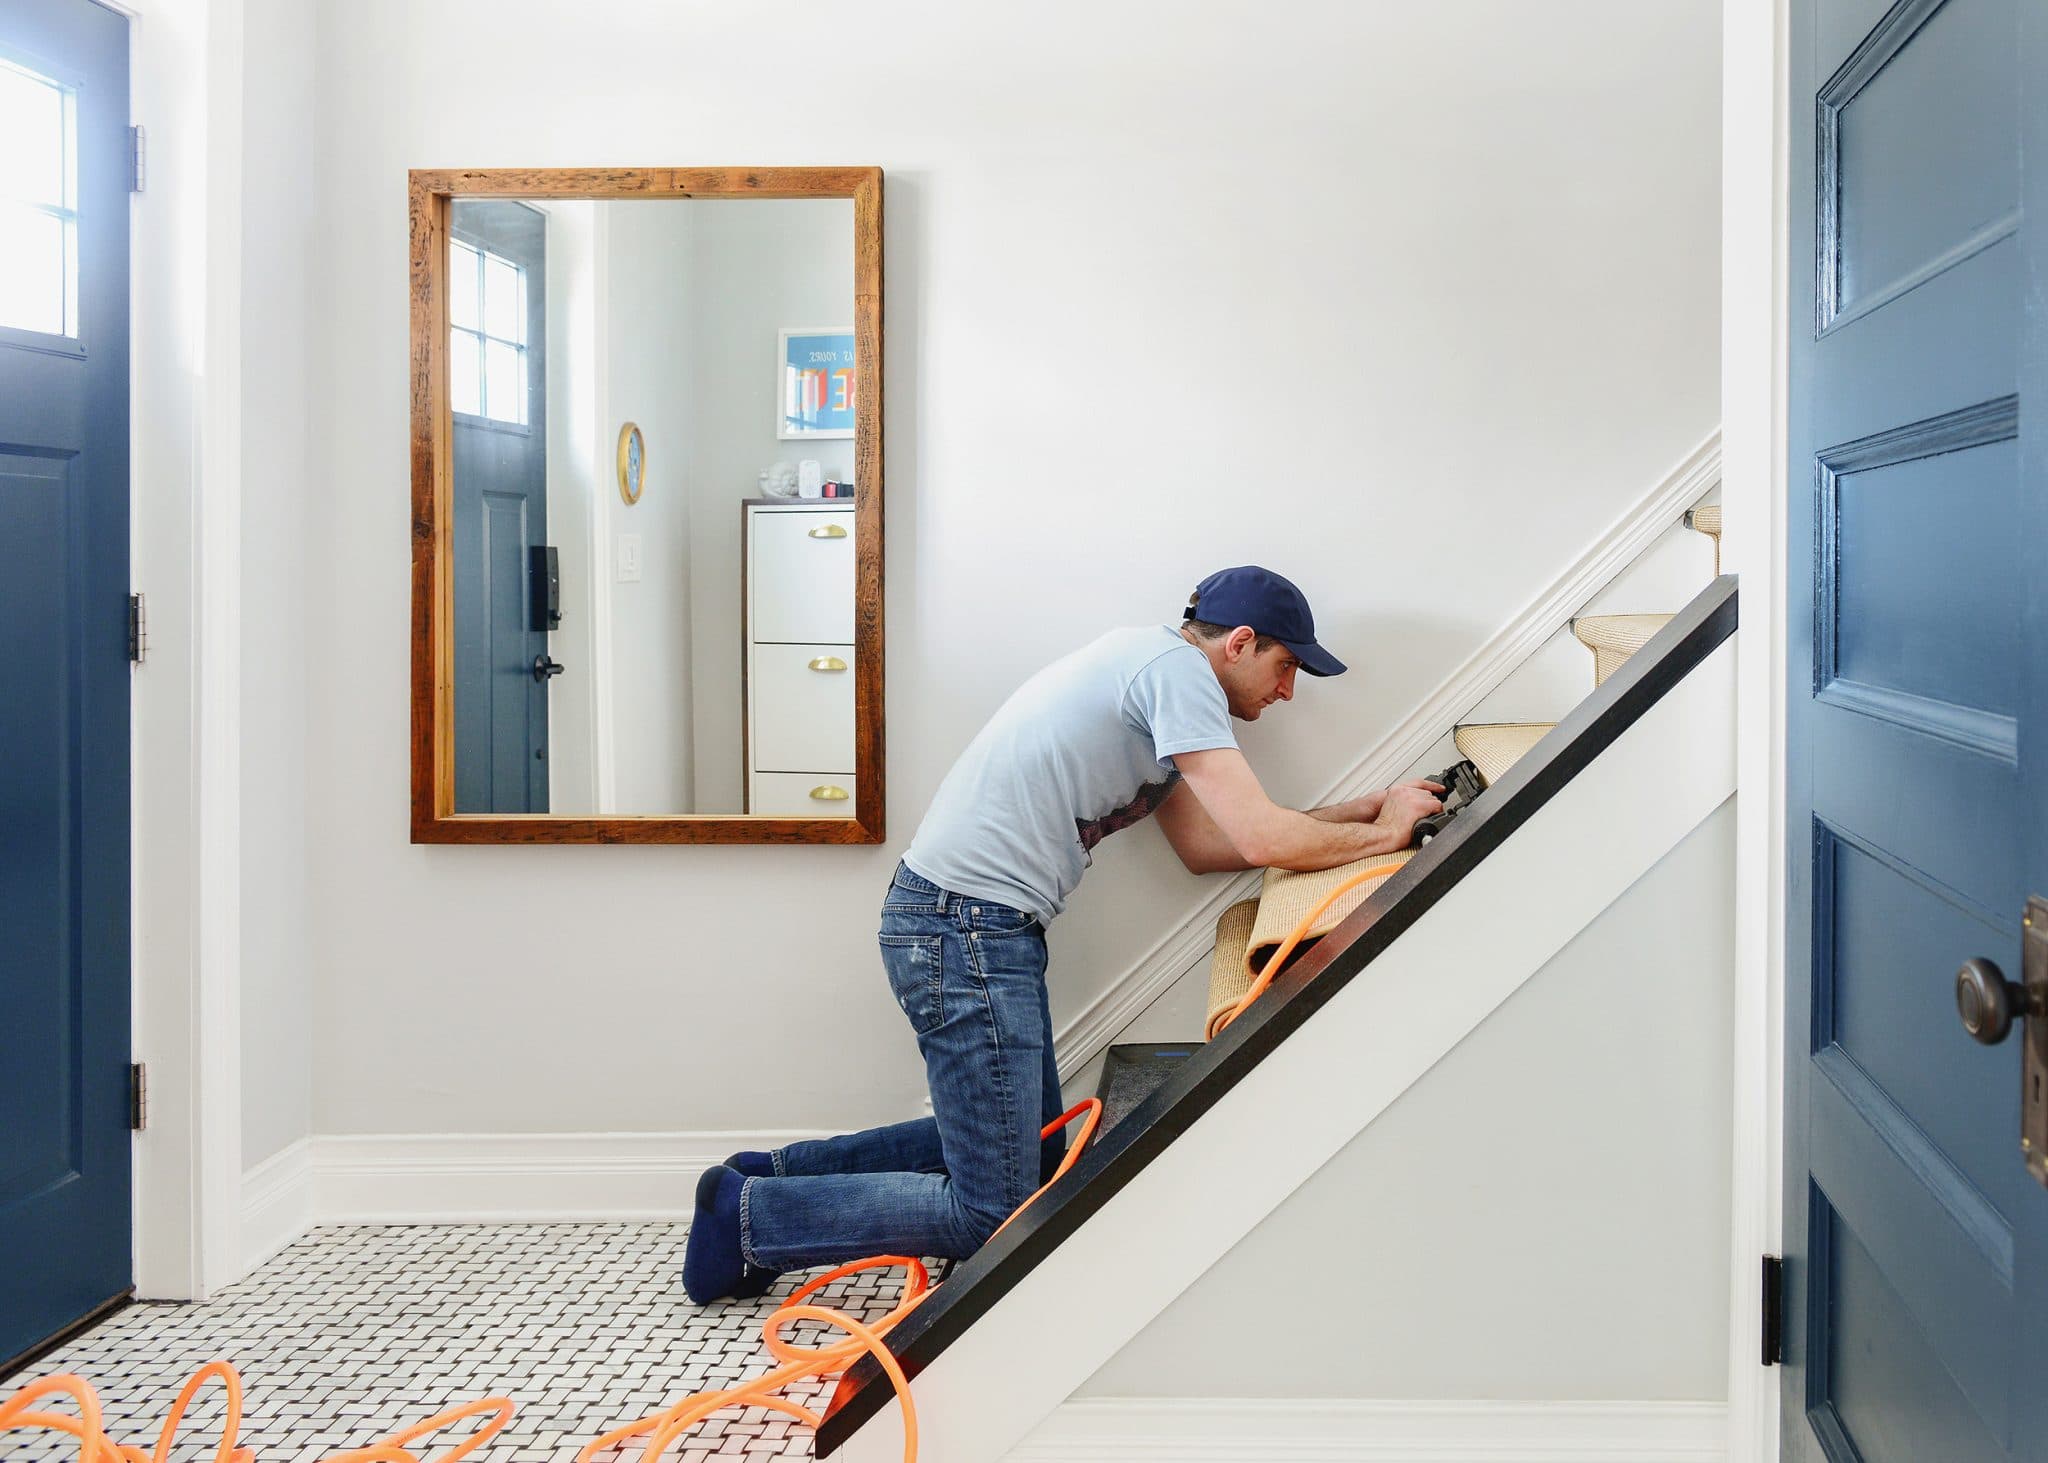
Step 5: Install the carpet on the stairs
Now that the padding is installed, it’s time to move on to installing the carpet on your stairs. This step requires careful attention to detail to ensure a smooth and professional finish. Here’s how you can install the carpet:
- Start at the bottom of the stairs and work your way up. This will allow you to securely fasten the carpet and prevent it from shifting as you install each step.
- Place the carpet on the first step, making sure it aligns with the edge of the tread and extends slightly over the edge.
- Use a knee kicker to stretch the carpet tightly across the step. Place the knee kicker against the carpet’s edge and firmly strike it with your knee. This will stretch the carpet and create tension.
- Press down firmly on the carpet along the edges to secure it to the tack strips or staples on the sides.
- Repeat this process for each step, ensuring that the carpet is stretched tightly and securely fastened in place.
- If your stairs have a landing or a curved section, carefully cut the carpet to fit the shape. Take your time and make precise cuts to ensure a seamless transition.
As you install the carpet, pay attention to any patterns or designs on the carpet to maintain consistency and alignment. It’s important to take your time and work methodically to achieve a professional-looking result.
Once all the steps are covered with the carpet, take a step back and assess if everything looks even and secure. Make any necessary adjustments before moving on to the next step: securing the carpet in place.
Step 6: Secure the carpet in place
After the carpet is installed on the stairs, it’s important to secure it in place to ensure it stays in position and withstands regular use. Here’s how you can properly secure the carpet:
- Use a carpet tucker tool or a putty knife to push the edges of the carpet firmly into the gap between the tread and the riser. This will create a clean and seamless look.
- Inspect the edges of the carpet and check for any loose areas. If you notice any, use a staple gun to secure the edges of the carpet to the stair risers. Make sure the staples go into the wood beneath and are not visible from the front.
- For added security, you can also use a hot glue gun to apply a small amount of adhesive along the edges of the carpet. This will provide extra hold and prevent the carpet from shifting over time.
- If you used tack strips to secure the carpet along the edges, make sure they are firmly nailed into place. Use a hammer to ensure they are secure and don’t pose any risks of coming loose.
Take your time during this step to carefully inspect and secure the carpet. Press down on the carpet to ensure it is firmly secured and doesn’t have any visible wrinkles or looseness.
Once the carpet is secured in place, you can move on to the next step: trimming any excess carpet.
Step 7: Trim any excess carpet
Now that the carpet is securely in place, it’s time to trim any excess carpet to create a clean and finished look. Trimming the excess carpet will give your stairs a polished appearance. Here’s how you can do it:
- Take a carpet knife or a sharp utility knife and carefully trim the excess carpet along the edges of the stairs.
- Hold the knife at a slight angle and make clean, straight cuts. Take your time to ensure accuracy and avoid cutting into the padding or the stairs themselves.
- Trim the excess carpet along the edges of each stair, paying close attention to the corners and ensuring a neat finish.
- If you notice any loose or frayed carpet fibers, use a pair of scissors to trim them off for a smooth and clean appearance.
As you trim the excess carpet, periodically step back to assess the overall look and make any necessary adjustments. It’s important to take your time and be precise to achieve a professional finish.
Once you have trimmed the excess carpet, take a moment to check for any visible seams or uneven edges. Smooth out any imperfections and ensure that the carpet is evenly trimmed on each step.
With the excess carpet trimmed, you’re almost done. Next, we’ll move on to the final step: adding the finishing touches.
Step 8: Finishing touches
As you near the end of covering your carpet on stairs, it’s time to add the finishing touches to complete the project. These final steps will ensure that your newly covered stairs look polished and well-crafted. Here’s what you need to do:
- Inspect the stairs and carpet for any visible staples or tack strips. If you notice any, use a staple puller or pliers to remove them.
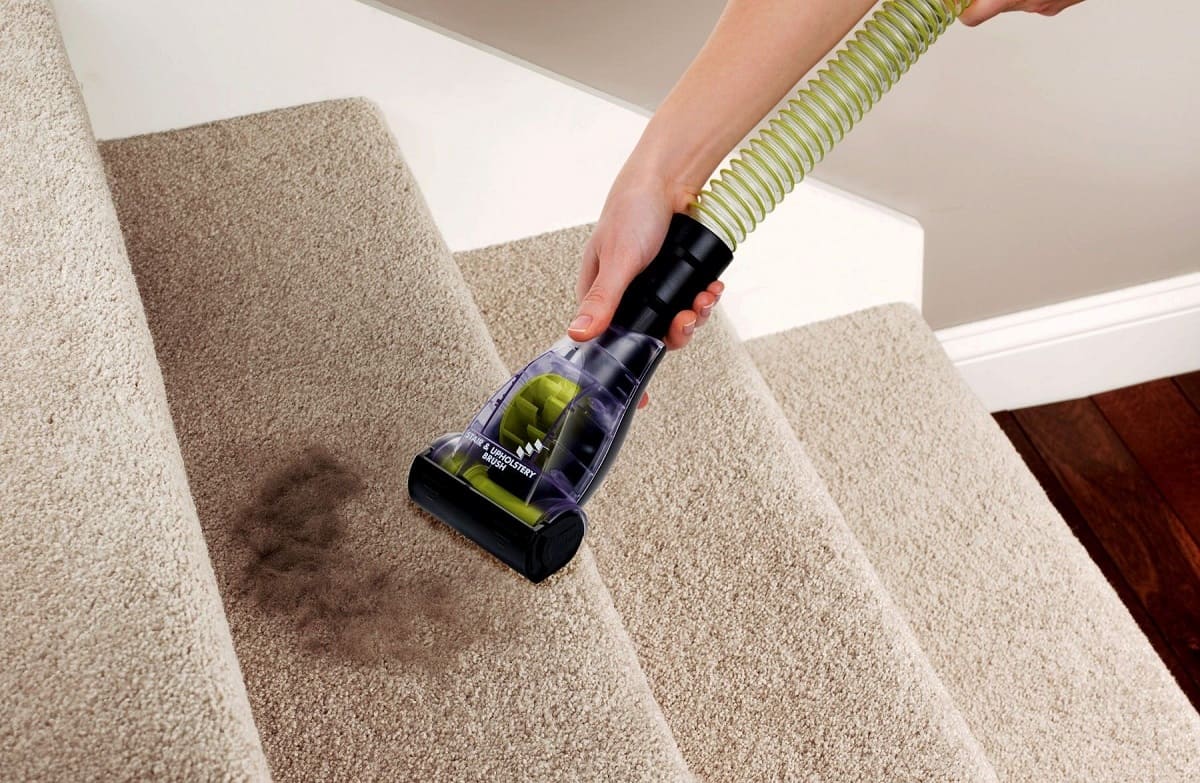
- Vacuum or brush the carpet to remove any loose fibers or dirt that may have accumulated during the installation process. This will leave your newly covered stairs looking clean and fresh.
- Consider adding decorative stair rods or stair nosing to enhance the look of your carpeted stairs. Stair rods can add an elegant touch, while stair nosing can provide extra durability and protection to the edges of the carpet.
- Place non-slip stair treads or adhesive strips on the edges of the stairs for added safety. These will provide extra grip and help prevent slips and falls.
- Take a moment to admire your work and ensure that everything looks seamless and professionally installed. Make any final adjustments or touches to perfect the appearance.
By paying attention to these finishing touches, you’ll be able to elevate the overall look and functionality of your newly covered carpeted stairs. Enjoy the satisfaction of a job well done and take pride in your transformed staircase.
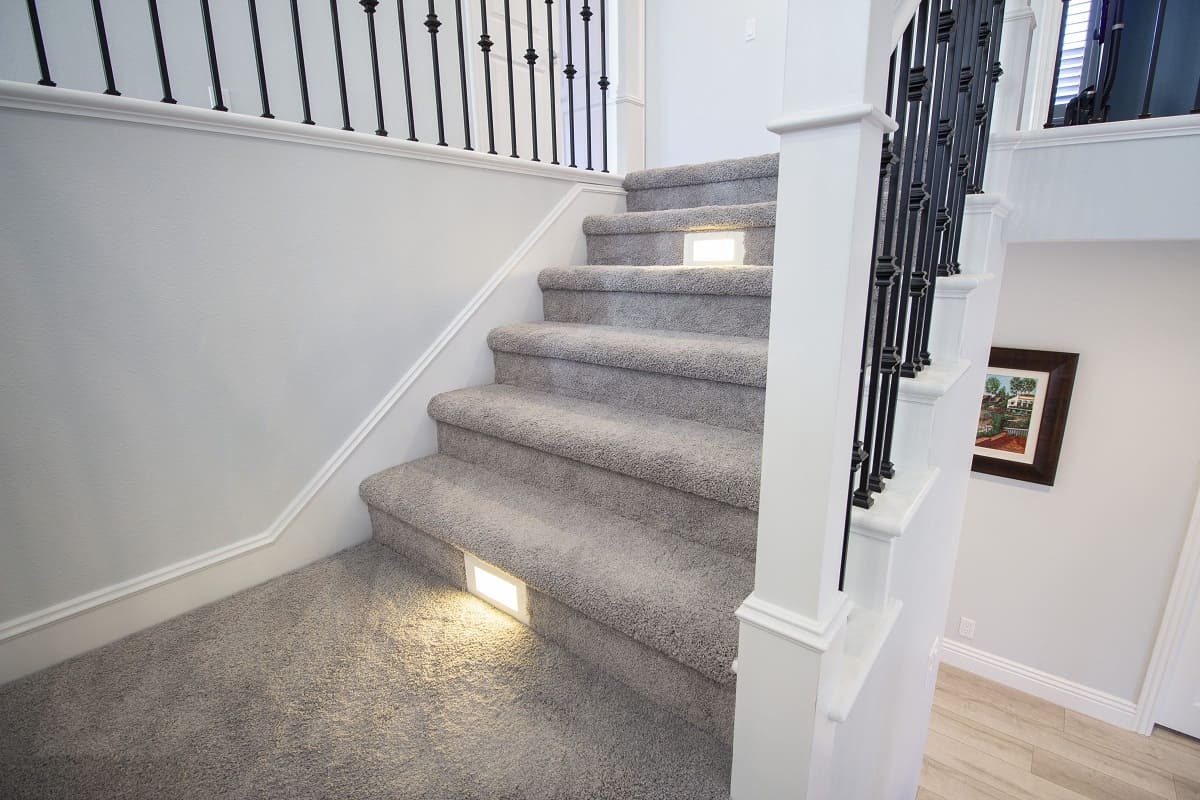
Congratulations! You have successfully covered your carpet on stairs and achieved a refreshed and stylish look. Whether it’s for aesthetic purposes or to prolong the life of your carpet, this project will greatly enhance the overall appeal of your home. Now, sit back, relax, and enjoy your beautifully covered stairs!
Read more: How Much To Carpet Stairs
Conclusion
Covering the carpet on stairs is a rewarding home improvement project that can greatly enhance the aesthetics and functionality of your staircase. Whether you’re looking to update the look of your stairs or protect your carpet from wear and tear, following the steps outlined in this guide will help you achieve a professional and polished finish.
From gathering the necessary materials to adding the finishing touches, each step in the process is crucial to ensure a successful carpet covering. By measuring and cutting the carpet accurately, preparing the stairs properly, installing the carpet padding securely, and trimming the excess carpet neatly, you can create a beautiful and long-lasting result.
Throughout the process, it’s important to pay attention to detail, take your time, and make precise cuts and installations. Double-check your work at each stage to ensure that the carpet is tightly secured, the edges are clean and smooth, and the overall appearance is seamless.
Not only does covering your carpet on stairs improve the overall look of your home, but it also provides practical benefits. Carpeted stairs add traction, reduce noise, and provide a safer and more comfortable surface to walk on. This is especially beneficial for families with children or older adults who may be more susceptible to slips and falls.
Remember, if you’re not comfortable tackling this project on your own, don’t hesitate to seek the help of a professional carpet installer. They have the expertise and experience to ensure a flawless installation that meets your specific needs and preferences.
Now that you’re equipped with the knowledge and steps to cover your carpet on stairs, it’s time to put your skills into action. Transform your staircase into a focal point of your home and enjoy the beauty and functionality of your newly covered stairs.
Happy carpet covering!
Frequently Asked Questions about How To Cover A Carpet On Stairs
Was this page helpful?
At Storables.com, we guarantee accurate and reliable information. Our content, validated by Expert Board Contributors, is crafted following stringent Editorial Policies. We're committed to providing you with well-researched, expert-backed insights for all your informational needs.