Home>Articles>How To Install Stair Treads And Risers Over Existing Stairs
Articles
How To Install Stair Treads And Risers Over Existing Stairs
Modified: August 21, 2024
Learn how to easily install stair treads and risers over your existing stairs with our informative articles. Enhance your home's appearance and safety today!
(Many of the links in this article redirect to a specific reviewed product. Your purchase of these products through affiliate links helps to generate commission for Storables.com, at no extra cost. Learn more)
Introduction
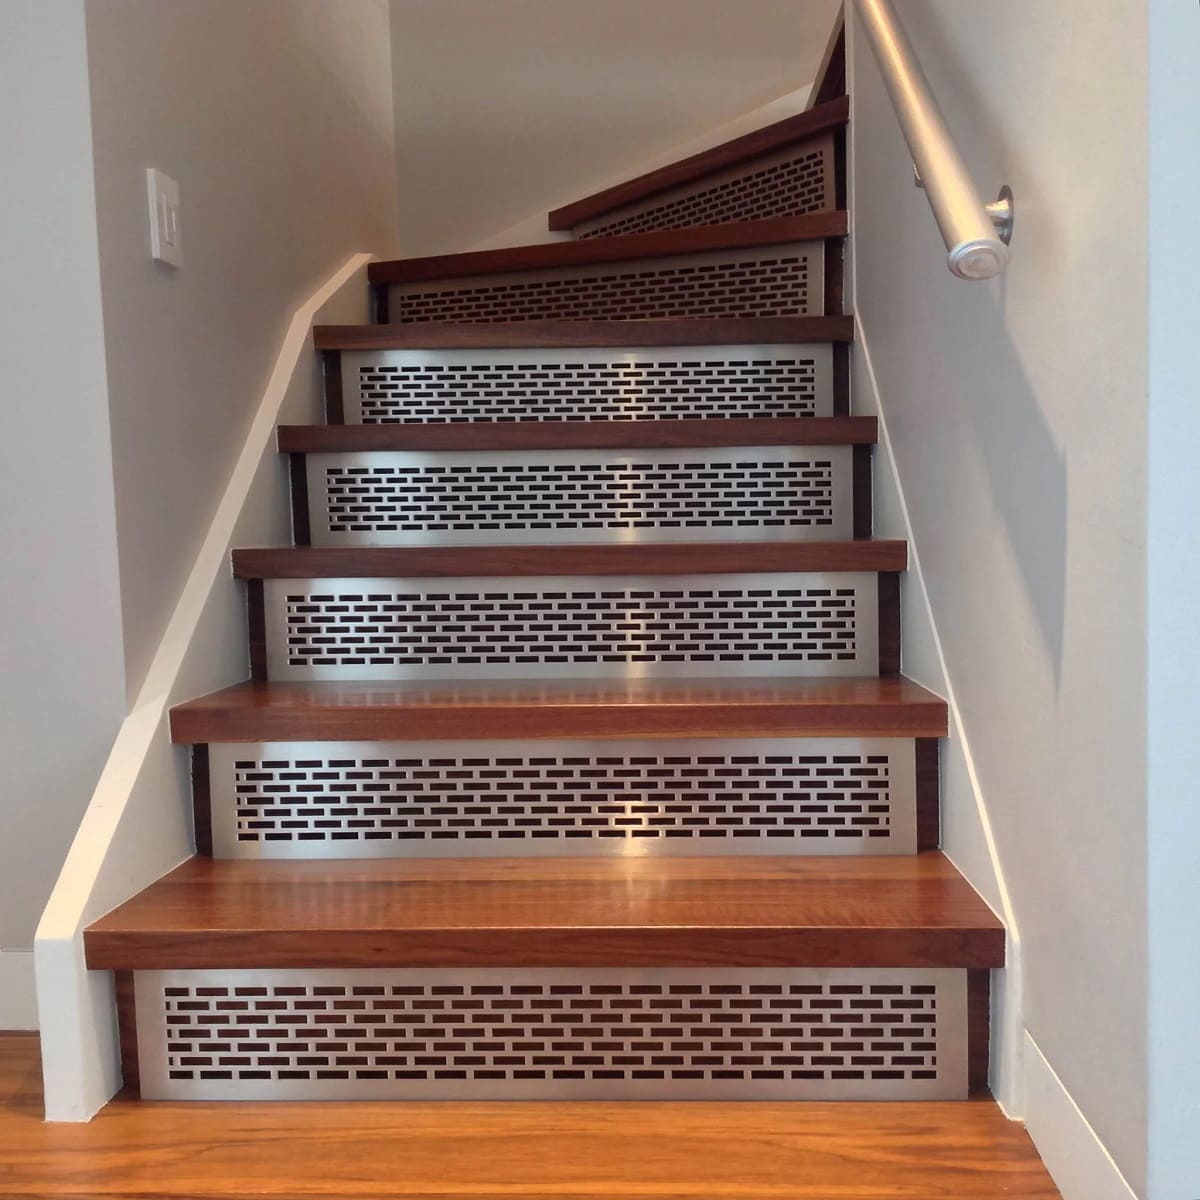
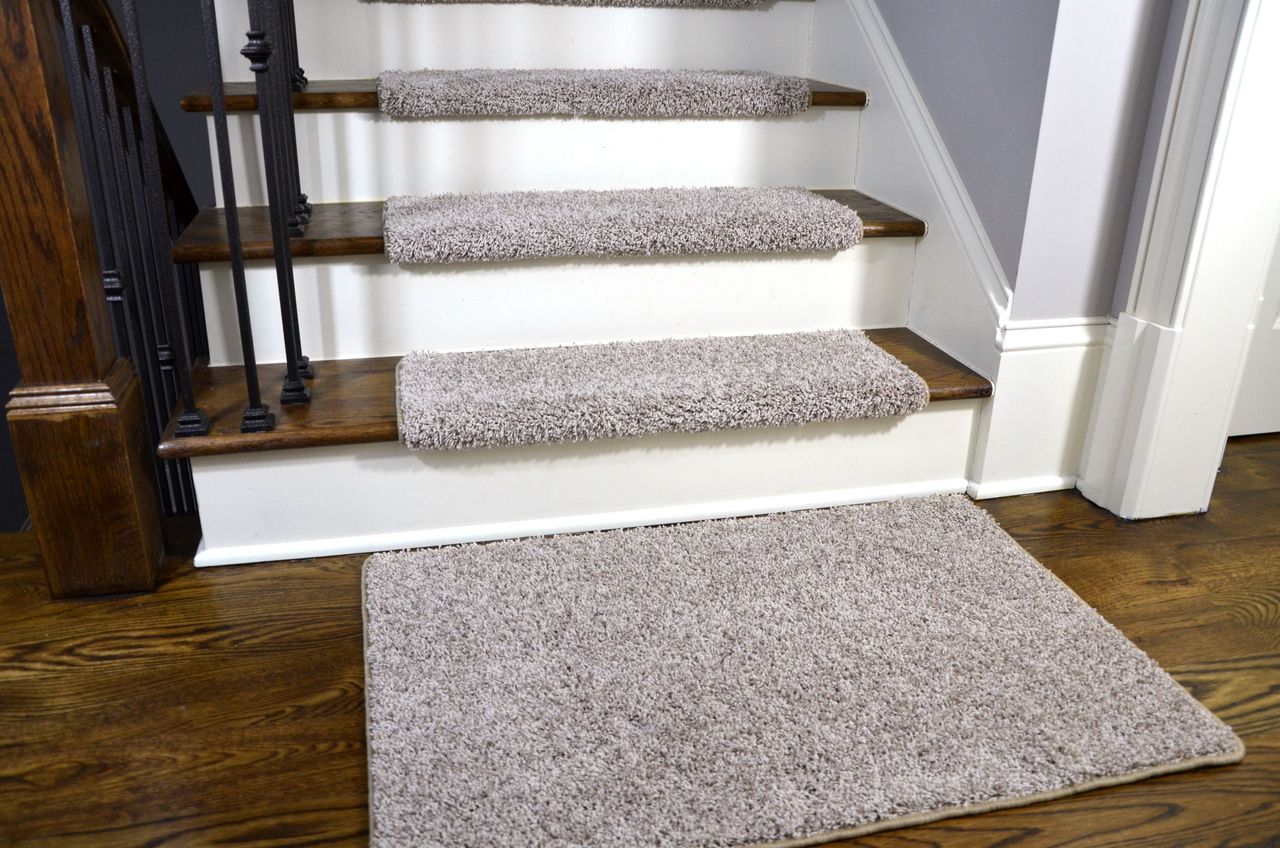
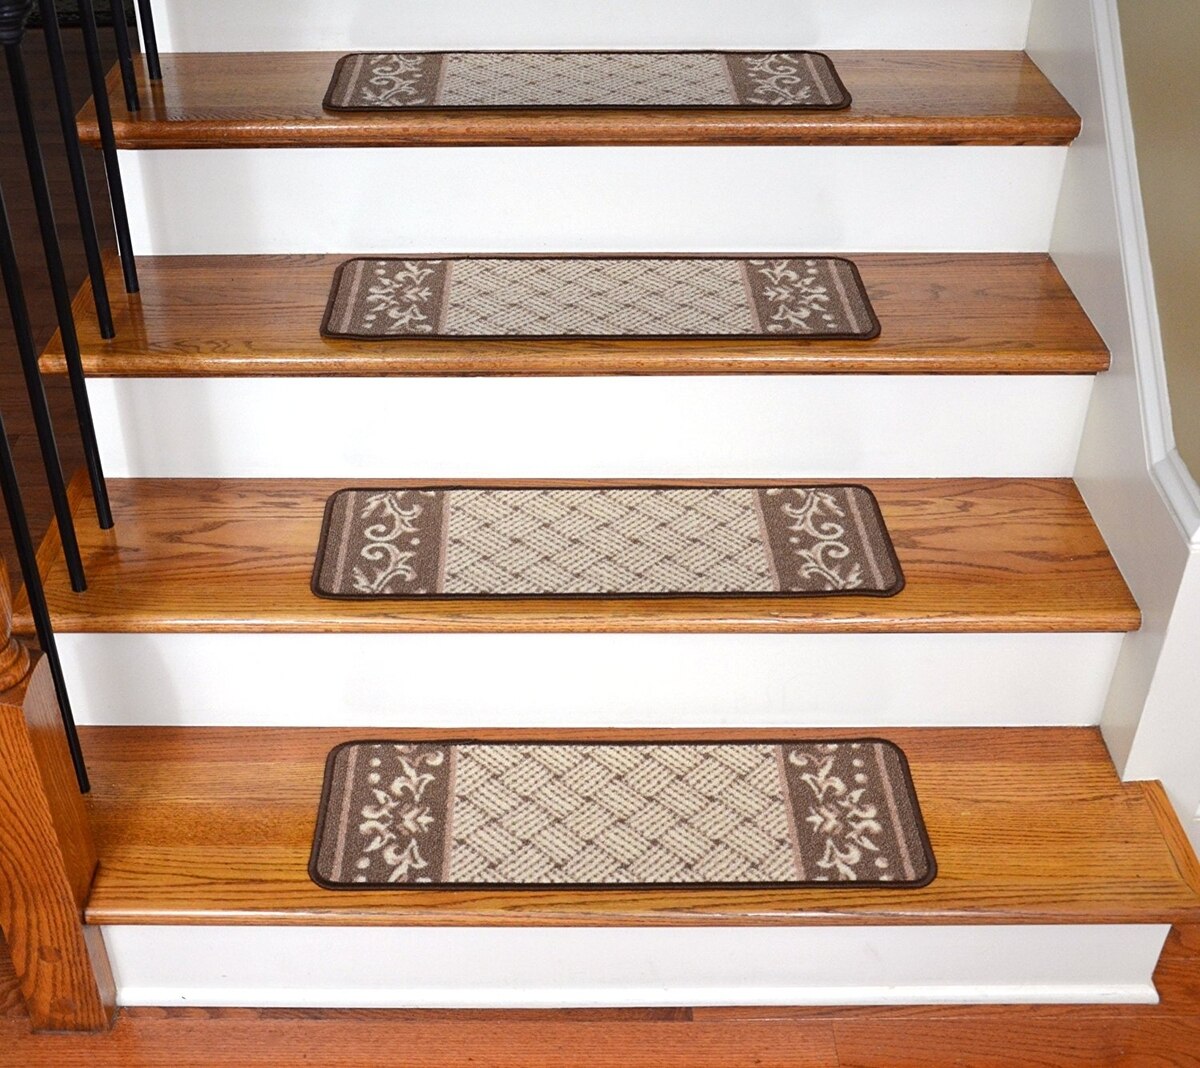
Installing stair treads and risers over existing stairs is a fantastic way to give your staircase a fresh, updated look. Whether you want to enhance the aesthetic appeal of your home or simply replace worn-out stairs, this step-by-step guide will help you accomplish the task with ease.
Before we dive into the installation process, it’s essential to understand what stair treads and risers are. Stair treads refer to the horizontal components that you step on, while risers are the vertical parts that connect the treads. These elements play a crucial role in providing stability and safety when using the stairs.
By installing new treads and risers, you can transform your staircase into a stylish focal point that complements your interior decor. Plus, it’s a cost-effective alternative to completely replacing the entire staircase, saving you time and money.
In this article, we will guide you through the step-by-step process of installing new stair treads and risers over existing stairs. From measuring and preparing to finishing and sealing, we will cover all the necessary steps to ensure a successful installation.
But first, let’s gather the materials you will need:
- Stair treads and risers
- Measuring tape
- Pencil
- Saw
- Drill
- Screws
- Sanding materials
- Wood filler
- Paint or stain
- Sealer
- Safety goggles
- Gloves
Key Takeaways:
- Transform your staircase into a stylish focal point by installing new stair treads and risers over existing stairs. Save time and money while achieving a fresh, updated look that complements your interior decor.
- Prioritize safety and attention to detail throughout the installation process to ensure a seamless and professional-looking result. Enjoy the long-lasting durability and aesthetic appeal of your newly transformed staircase.
Read more: What Is Tread On Stairs
Step 1: Measure and Prepare
Before you begin the installation process, it’s crucial to accurately measure your existing stairs and gather all the necessary tools and materials. This will ensure a smooth and successful installation. Here’s what you need to do:
- Measure the Length and Width of the Stairs: Use a measuring tape to determine the length and width of each individual stair. Measure from the back of the bottom riser to the front edge of the top tread for the length, and the width from one side of the stair to the other.
- Count the Number of Stairs: Count how many stairs you have in total. This will help you determine how many treads and risers you will need to complete the installation.
- Inspect the Existing Stairs: Carefully examine the condition of your existing stairs. Look for any signs of damage, wear, or unevenness. If there are any issues, address them before moving forward with the installation.
- Clean the Stairs: Thoroughly clean the stairs to remove any dirt, dust, or debris. A clean surface will ensure proper adhesion and a smooth installation process.
- Prepare the Work Area: Clear the area around the stairs and create a workspace where you can comfortably move around and access your tools and materials. Remove any obstacles or furniture that may hinder the installation process.
Once you have completed these preparation steps, you are ready to move on to the next phase of the installation process. By taking the time to measure and prepare properly, you will set yourself up for a successful stair tread and riser installation.
Step 2: Remove Old Treads and Risers
Now that you have measured and prepared the stairs, it’s time to remove the old treads and risers. This step is crucial to create a blank canvas for the installation of the new ones. Follow these steps to remove the old treads and risers:
- Start from the Top: Begin by removing the top tread or riser. Use a pry bar to gently pry it away from the staircase. Be cautious not to damage the underlying structure.
- Work Your Way Down: After removing the top tread or riser, continue working your way down the staircase, removing each tread and riser in sequence. Use the pry bar, being careful not to use excessive force that may cause damage.
- Inspect and Repair: As you remove the old treads and risers, inspect the underlying structure for any signs of damage or wear. If you notice any issues, such as loose or rotten wood, address them before proceeding with the installation.
- Remove Nails or Staples: After removing the treads and risers, be sure to remove any remaining nails or staples from the surface of the stairs. This will ensure a smooth and even installation of the new treads and risers.
Removing the old treads and risers may require some physical effort and patience. Take your time to ensure you remove them carefully without causing any damage to the staircase structure.
Once you have successfully removed the old treads and risers and cleaned the surface of any debris, you are ready to move on to the next step of the installation process.
Step 3: Clean and Sand the Stairs
After removing the old treads and risers, it’s essential to clean and sand the stairs to create a smooth and even surface. This step is crucial for ensuring proper adhesion of the new treads and risers. Follow these steps to clean and sand the stairs:
- Remove Dust and Debris: Use a broom and dustpan to remove any loose dust and debris from the stairs. Pay close attention to the corners and edges.
- Vacuum the Stairs: Follow up with a vacuum cleaner to remove any remaining dirt or dust particles. This step will ensure a clean surface for optimal adhesion.
- Fill in Gaps and Cracks: Inspect the stairs for any gaps or cracks. Fill them in with wood filler and smooth it down using a putty knife. Allow the wood filler to dry completely according to the manufacturer’s instructions.
- Sand the Stairs: Use a sanding block or electric sander to gently sand the surface of the stairs. Start with a coarse grit sandpaper to remove any roughness or imperfections and gradually move to a finer grit sandpaper for a smoother finish. Be sure to sand in the direction of the wood grain to avoid causing any damage.
- Remove Sanding Residue: After sanding, wipe down the stairs with a damp cloth to remove any sanding residue. This will ensure a clean surface for the next steps of the installation.
Cleaning and sanding the stairs is a crucial step in the installation process, as it helps create a smooth and even surface for the new treads and risers. Be thorough in your cleaning and take care when sanding to achieve the best results.
Once the stairs are clean and sanded, you are ready to move on to the next step: measuring and cutting the new treads and risers.
Step 4: Measure and Cut New Treads and Risers
With the stairs cleaned and sanded, it’s time to measure and cut the new treads and risers to fit your staircase. Accuracy is key in this step to ensure a seamless and precise installation. Follow these steps to measure and cut the new treads and risers:
- Measure the Treads: Using a measuring tape, measure the dimensions of each tread individually. Measure the width, length, and depth of each tread. Take note of these measurements and double-check to ensure their accuracy.
- Measure the Risers: Measure the height and width of each riser. It’s important to measure the height from the top of one tread to the top of the next, as this will determine the correct height for the risers.
- Transfer Measurements to the New Material: Using a pencil, transfer the measurements from the existing treads and risers to the new material. Be precise in marking the dimensions to ensure the new treads and risers fit perfectly on your staircase.
- Cut the Treads and Risers: Using a saw, carefully cut along the marked lines to create the new treads and risers. Follow proper safety precautions and ensure the materials are secure while cutting. Take your time to achieve accurate and clean cuts.
- Double-Check the Fit: Once all the treads and risers are cut, place them on the staircase to double-check the fit. Make any necessary adjustments or trimmings to ensure a precise fit on each stair.
Remember to take accurate measurements and use caution when cutting the new treads and risers. It’s crucial to achieve a proper fit to ensure a successful installation. Once you are satisfied with the measurements and cuts, you’re ready to move on to the next step: attaching the new treads and risers to the stairs.
When installing stair treads and risers over existing stairs, make sure to measure and cut each piece accurately to ensure a snug and secure fit. Use construction adhesive and nails to firmly attach the treads and risers to the existing stairs for added stability.
Step 5: Attach New Treads and Risers
Now that you have measured and cut the new treads and risers, it’s time to attach them to the stairs. This step will bring your staircase transformation to life. Follow these steps to properly attach the new treads and risers:
- Place the Treads: Start from the bottom of the staircase and place the new treads onto the existing stairs. Ensure they are aligned properly and secure.
- Secure the Treads: Use a drill and screws to secure the treads to the underlying stairs. Place screws evenly along the length and width of each tread, ensuring a secure and stable attachment. Be careful not to overtighten the screws, as this may cause damage.
- Install the Risers: Once all the treads are securely attached, proceed to install the risers. Align each riser with the corresponding tread and secure them using screws or a nail gun. Ensure the risers are plumb and level as you install them.
- Check for Stability: After attaching all the treads and risers, carefully walk up and down the staircase to test for stability. Confirm that each tread and riser feels secure and doesn’t move or squeak excessively. Make any necessary adjustments or reinforcements if needed.
Attaching the new treads and risers is a crucial step in the installation process. Take your time to ensure they are securely fastened and aligned properly. This will provide stability and durability to your staircase for years to come.
Once the new treads and risers are securely attached, you’re ready for the next step: filling and sanding any gaps or imperfections.
Step 6: Fill and Sand any Gaps or Imperfections
After attaching the new treads and risers, it’s common to have some small gaps or imperfections between the materials and the existing stairs. Step 6 focuses on filling and sanding these gaps to achieve a seamless and polished look. Follow these steps to fill and sand any gaps or imperfections:
- Check for Gaps: Inspect each tread and riser for any noticeable gaps between them and the existing stairs. Pay close attention to the edges and corners.
- Apply Wood Filler: Use an appropriate wood filler to fill in the gaps. Select a wood filler that closely matches the color of the treads and risers for a more seamless finish. Apply the filler according to the manufacturer’s instructions using a putty knife or a similar tool.
- Smooth the Filler: Once the wood filler is applied, use the putty knife to smooth it out and remove any excess. Ensure the filler is level with the surface of the treads and risers. Allow the filler to dry completely as per the manufacturer’s instructions.
- Sand the Filled Areas: Once the filler is dry, use sandpaper or a sanding block to gently sand the filled areas. Start with a coarse grit sandpaper and gradually transition to a finer grit for a smooth and even finish. Be sure to sand lightly and in the direction of the wood grain to avoid damaging the surrounding area.
- Remove Sanding Residue: After sanding, wipe away any sanding residue with a clean cloth or a vacuum cleaner. This will help create a clean and smooth surface for the next steps of the installation.
Filling and sanding the gaps will enhance the overall appearance of your staircase, creating a cohesive and polished look. Take your time during this step to ensure a seamless finish between the new treads and risers and the existing stairs.
Once you have filled and sanded any gaps or imperfections, you’re ready to move on to the next step: painting or staining the stairs.
Step 7: Paint or Stain the Stairs
Step 7 of the stair tread and riser installation process involves adding the final touch to your stairs by painting or staining them. This step allows you to customize the appearance of your staircase to match your desired aesthetic and interior decor. Follow these steps to paint or stain the stairs:
- Choose Your Finish: Decide whether you want to paint or stain the stairs. Consider the style of your home and personal preference when making this decision.
- Prepare the Surface: Before applying paint or stain, ensure the surface of the treads and risers is clean and free from dust or debris. Use a damp cloth to wipe down the stairs and let them dry completely.
- Apply Primer (if painting): If you choose to paint the stairs, consider applying a primer coat before applying the paint. The primer helps the paint adhere better to the surface and provides a more uniform finish.
- Apply Paint or Stain: Using a brush or roller, apply the paint or stain of your choice to the treads and risers. Work in even strokes and follow the manufacturer’s instructions regarding the number of coats and drying times. Be sure to cover the entire surface evenly for a professional-looking finish.
- Let it Dry: Allow the paint or stain to dry completely between coats and before any foot traffic. Follow the manufacturer’s instructions for drying times, as they may vary depending on the product you are using.
- Apply a Protective Topcoat: To ensure durability and protection against wear and tear, consider applying a protective topcoat. This will help prolong the lifespan of the painted or stained surfaces.
By painting or staining the stairs, you can add a personal touch and enhance the overall look of your staircase. Take your time during this step to achieve a flawless and professional finish.
Once the paint or stain is dry and any topcoat has been applied, you’re ready for the final step: finishing and sealing the stairs.
Step 8: Finish and Seal the Stairs
Congratulations! You’re almost finished with the stair tread and riser installation process. Step 8 involves applying a finish and sealant to protect and enhance the appearance of your newly installed stairs. Follow these steps to finish and seal the stairs:
- Choose a Finish: Select a finish that suits your desired look and provides the level of protection you desire. Options include polyurethane, varnish, or a water-based sealant.
- Prepare the Surface: Ensure the treads and risers are clean and free from any dust or debris from the previous steps. Wipe down the surfaces with a damp cloth and let them dry completely.
- Apply the Finish: Using a brush or roller, apply the chosen finish to the treads and risers. Follow the manufacturer’s instructions regarding application techniques and drying times. Apply a thin and even coat, working in long strokes in the direction of the wood grain. Let the finish dry completely before applying additional coats, if necessary.
- Lightly Sand (if needed): In between coats, if desired, lightly sand the surface using fine-grit sandpaper to achieve a smooth finish. Wipe away any sanding residue before proceeding with the next coat.
- Apply Multiple Coats: Apply additional coats as needed, allowing each coat to dry completely before applying the next one. This will provide maximum protection and durability to the stairs.
- Allow for Proper Drying Time: Follow the manufacturer’s instructions regarding drying times. It’s important to allow each coat to dry fully before subjecting the stairs to normal foot traffic.
- Inspect and Touch Up: After the final coat has dried, inspect the stairs for any missed areas or imperfections. Use a small brush to touch up any spots that require extra attention.
- Clean Up: Properly clean your brushes and any other tools used for applying the finish. Follow the manufacturer’s instructions for cleaning the brushes based on the type of finish used.
Finishing and sealing the stairs not only enhances their appearance but also provides protection against everyday use and foot traffic. It helps prolong the lifespan of the treads and risers, ensuring their longevity.
Once the finish and sealant have dried completely and touch-ups have been made, you can enjoy your newly installed and beautifully finished stairs!
Read more: What Is A Riser On Stairs
Conclusion
Congratulations! You have successfully learned how to install stair treads and risers over existing stairs. By following the step-by-step guide provided in this article, you have transformed your staircase into a beautiful focal point that complements your home’s interior.
Throughout the installation process, you have learned how to measure and prepare, remove old treads and risers, clean and sand the stairs, measure and cut new treads and risers, attach them securely, fill and sand any gaps or imperfections, paint or stain the stairs, and finally, finish and seal them for long-lasting durability.
Remember, attention to detail and accuracy during each step is key to achieving a seamless and professional-looking result. From measuring accurately to applying the finishing touches, every action contributes to the overall success of your staircase transformation.
Installing new stair treads and risers over existing stairs not only enhances the aesthetic appeal of your home but also improves safety and functionality. Your new stairs will provide stability and durability for years to come.
We hope this comprehensive guide has been informative and helpful in your stair renovation journey. Remember to always prioritize safety and take the necessary precautions when working with tools and materials.
Now it’s time to sit back, relax, and enjoy your newly transformed staircase. Whether it’s the elegance of freshly painted stairs or the natural beauty of stained wood, your renovated staircase will undoubtedly leave a lasting impression on anyone who sees it.
Frequently Asked Questions about How To Install Stair Treads And Risers Over Existing Stairs
Was this page helpful?
At Storables.com, we guarantee accurate and reliable information. Our content, validated by Expert Board Contributors, is crafted following stringent Editorial Policies. We're committed to providing you with well-researched, expert-backed insights for all your informational needs.


0 thoughts on “How To Install Stair Treads And Risers Over Existing Stairs”