Articles
How To Replace Faucet Of Water Dispenser
Modified: August 20, 2024
Learn how to replace the faucet of your water dispenser with our informative articles, providing step-by-step guidance and expert tips.
(Many of the links in this article redirect to a specific reviewed product. Your purchase of these products through affiliate links helps to generate commission for Storables.com, at no extra cost. Learn more)
Introduction
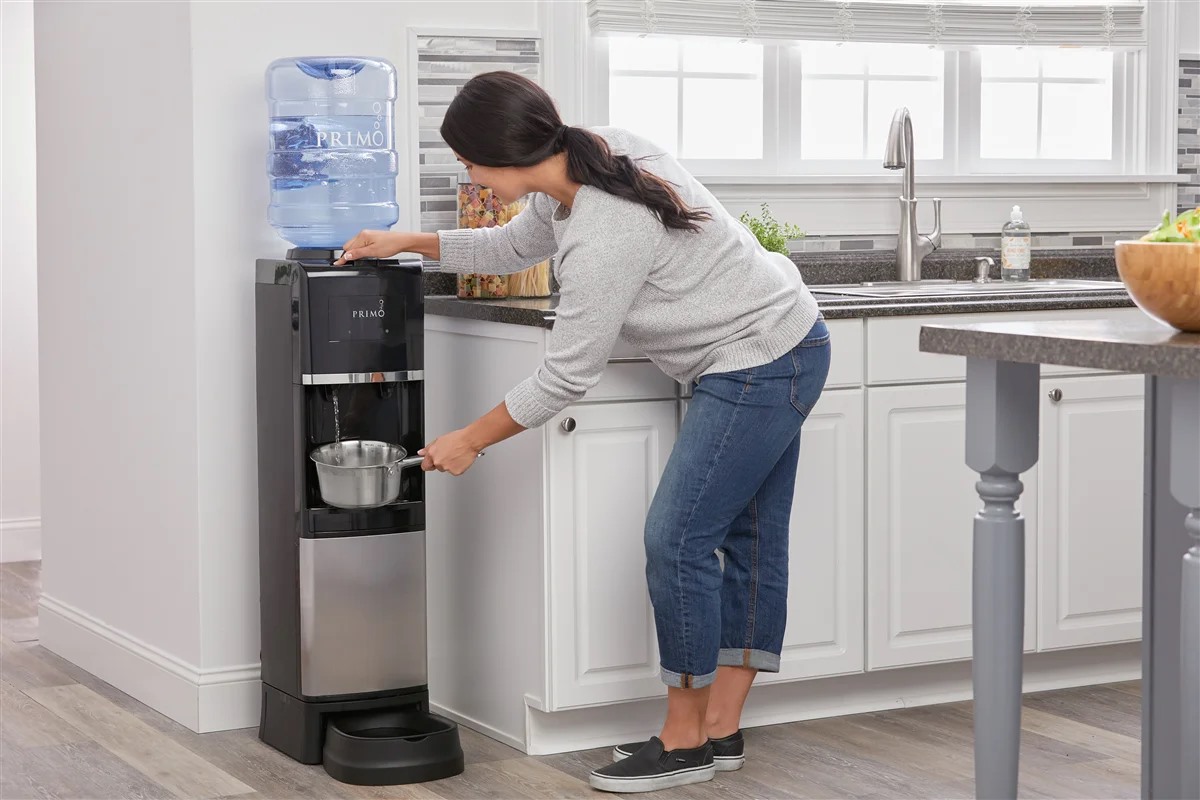
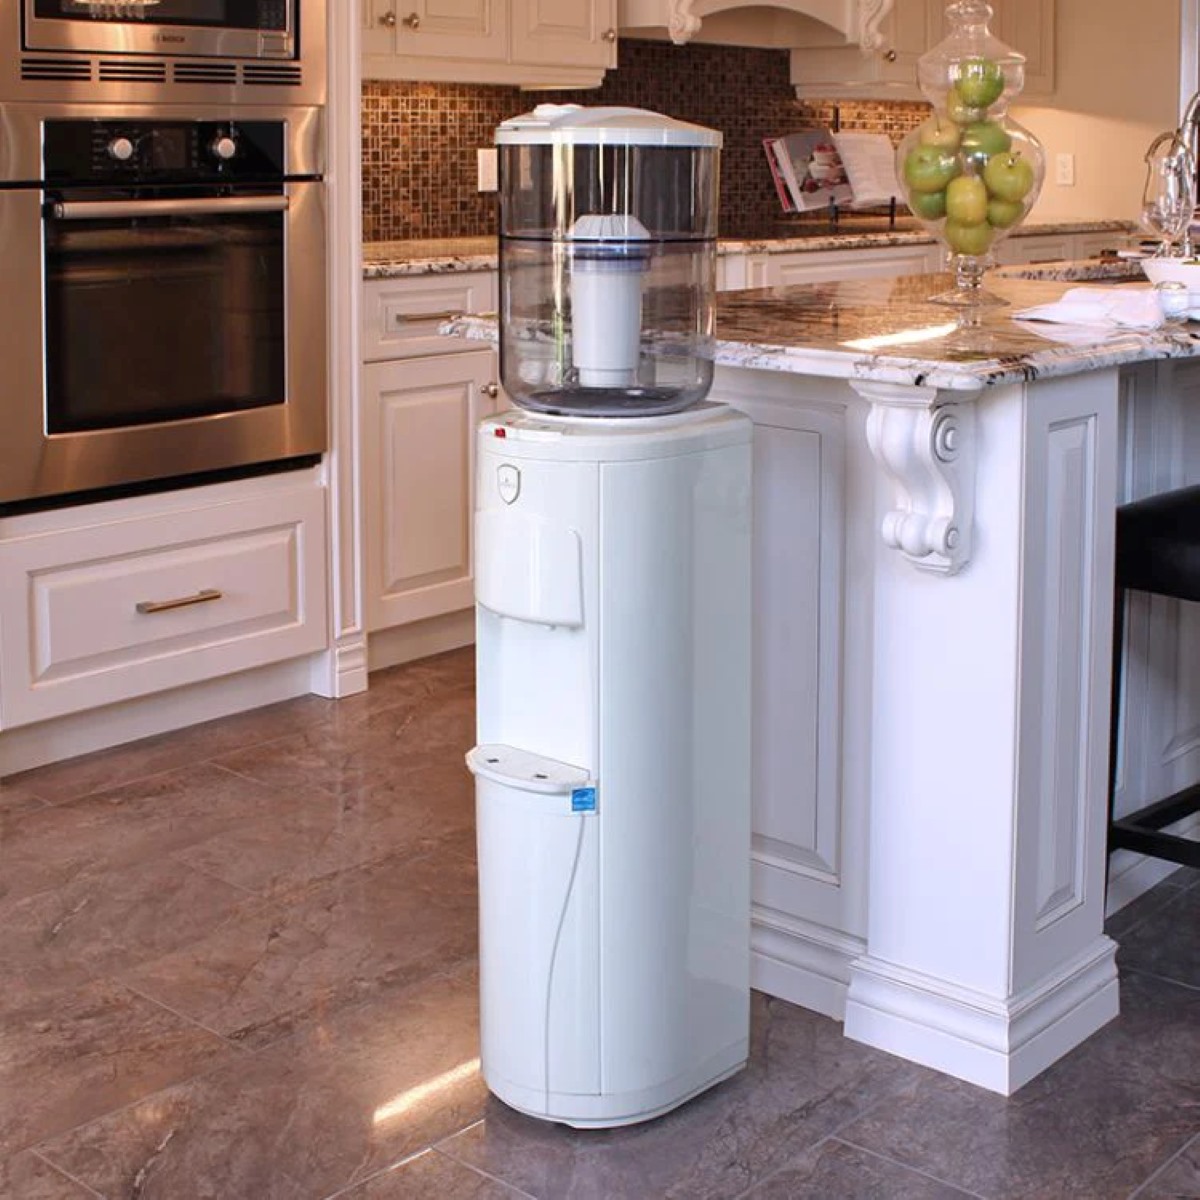
Welcome to our comprehensive guide on how to replace the faucet of a water dispenser. Over time, faucets can become worn out or develop leaks, affecting the functionality and efficiency of your water dispenser. Fortunately, replacing a faucet is a relatively straightforward task that you can complete on your own with just a few tools and materials.
In this article, we will walk you through the step-by-step process of replacing a faucet in your water dispenser. Whether you are a seasoned DIY enthusiast or a beginner, this guide will provide you with the necessary instructions and tips to successfully complete the task.
Before we begin, it is important to note that the specific steps and techniques may vary depending on the make and model of your water dispenser. It is always recommended to consult the manufacturer’s instructions or seek professional assistance if you are unsure about any aspect of the replacement process.
Now, without further ado, let’s delve into the world of faucet replacement and get your water dispenser back to optimal functioning!
Key Takeaways:
- Replacing the faucet of a water dispenser is a straightforward DIY task that can greatly improve functionality. By following the step-by-step guide and taking proper precautions, you can confidently upgrade your water dispenser and enjoy clean, refreshing water.
- Gathering the necessary tools and materials, turning off the water supply, and testing the new faucet after installation are crucial steps in achieving a successful faucet replacement. Regular maintenance and inspections will help prolong the lifespan of your water dispenser and ensure its continued performance.
Tools and Materials Needed
Before you start replacing the faucet of your water dispenser, gather the necessary tools and materials to ensure a smooth and efficient process. Here is a list of what you will need:
- Adjustable wrench
- Phillips and flathead screwdrivers
- Bucket or container
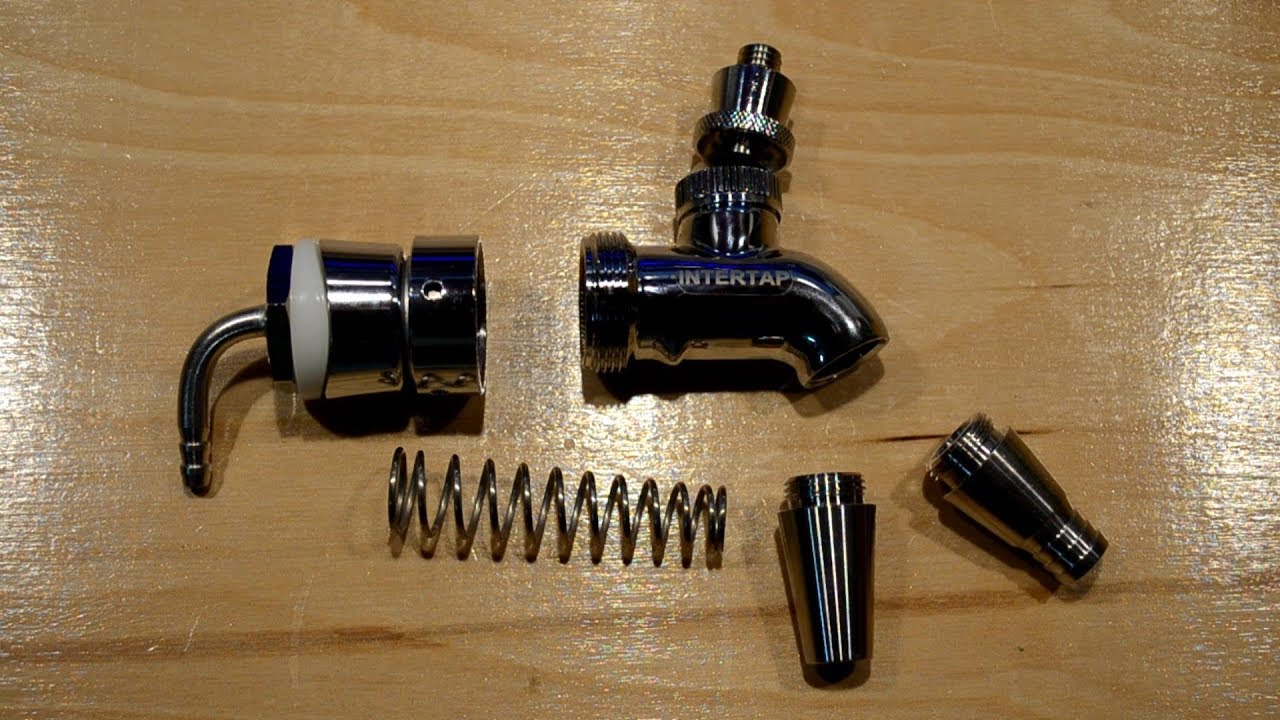
- New faucet replacement kit
- Teflon tape
- Clean cloth or rag
- Plumber’s tape
The adjustable wrench will be used to disconnect the water lines, while the screwdrivers will come in handy when removing the old faucet and installing the new one. The bucket or container will be used to catch any water that may spill during the process, preventing any potential mess.
A new faucet replacement kit can be purchased at most home improvement or plumbing stores. Make sure the kit is compatible with your specific water dispenser model to ensure a proper fit. Teflon tape will be needed to create a watertight seal, while a clean cloth or rag is useful for wiping down the area before and after the installation.
Lastly, plumber’s tape, also known as thread seal tape, is essential for preventing leaks. It is a thin, white tape that is wrapped around the threads of the water line connections to ensure a secure and leak-free installation.
By gathering these tools and materials beforehand, you will minimize any disruptions or delays during the replacement process. With everything in place, you are now ready to begin the journey of replacing the faucet of your water dispenser!
Step 1: Turn off the Water Supply
The first step in replacing the faucet of your water dispenser is to turn off the water supply. This is crucial to prevent any water from flowing while you are working on the faucet.
Locate the shut-off valve that controls the water supply to your water dispenser. This valve is typically located underneath the sink or on the wall behind the dispenser. Rotate the valve clockwise to shut off the water flow. Once the valve is fully closed, turn on the faucet to release any remaining water pressure.
It is important to ensure that the water supply is completely turned off before proceeding to the next step. Verify that no water is coming out of the faucet, indicating a successful shut-off. This step is essential to prevent any unwanted water spills or leaks during the replacement process.
If you are unsure about the location of the shut-off valve or are unable to find it, refer to the manufacturer’s instructions or consult a professional plumber for assistance. It is always better to seek expert guidance rather than risking damage to your water dispenser or plumbing system.
Once you have confirmed that the water supply has been shut off, you can proceed to the next step with confidence, knowing that you have taken the necessary precautions to ensure a safe and successful faucet replacement.
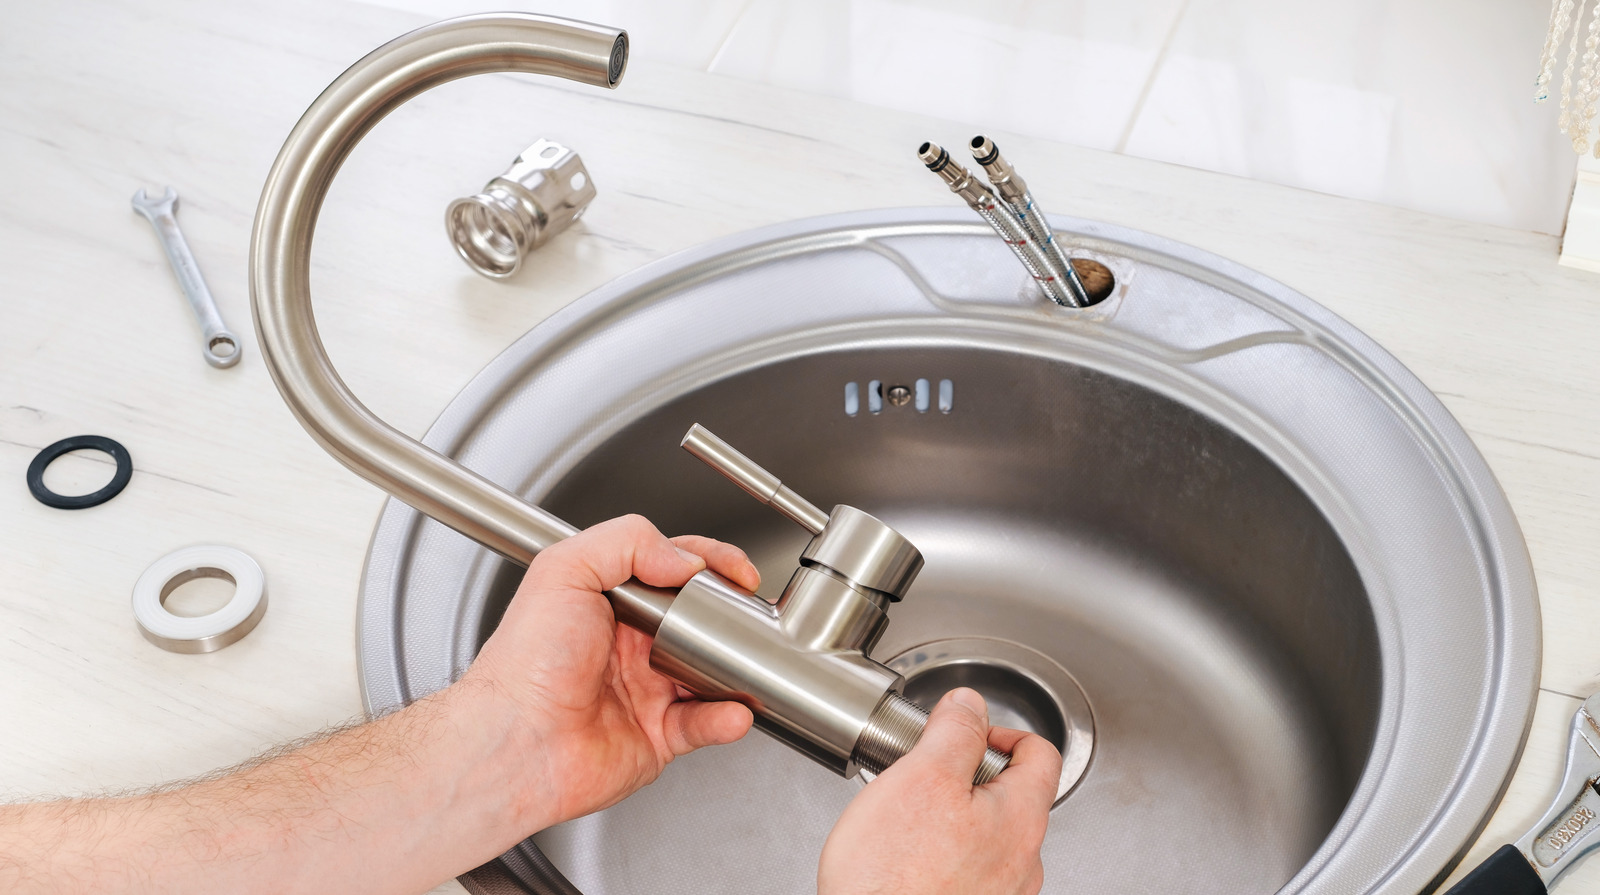
Step 2: Disconnect the Water Lines
Now that you have turned off the water supply, it’s time to disconnect the water lines from the old faucet. This step involves removing the connections that supply water to the dispenser.
Start by using an adjustable wrench to loosen and disconnect the nuts that secure the water lines to the faucet. Turn the nuts counterclockwise to loosen them, and then carefully remove the lines from the faucet. You may encounter some water drainage, so be prepared with a bucket or container to catch any excess water.
Once the water lines are disconnected, inspect them for any signs of damage or wear. If you notice any issues, such as cracks or leaks, it is advisable to replace the water lines along with the faucet for a complete and thorough upgrade.
Take this opportunity to clean the connections and remove any debris or buildup that may have accumulated over time. Use a clean cloth or rag to wipe away any residue and ensure a clean surface for the installation of the new faucet.
It is crucial to handle the water lines with care to prevent any damage or bending. Avoid excessive force when disconnecting them, as this can cause leaks or breakages. If you encounter any difficulties or resistance, double-check that the water supply is completely turned off before proceeding.
With the water lines successfully disconnected, you are ready to move on to the next step of removing the old faucet from your water dispenser. Stay tuned for step 3!
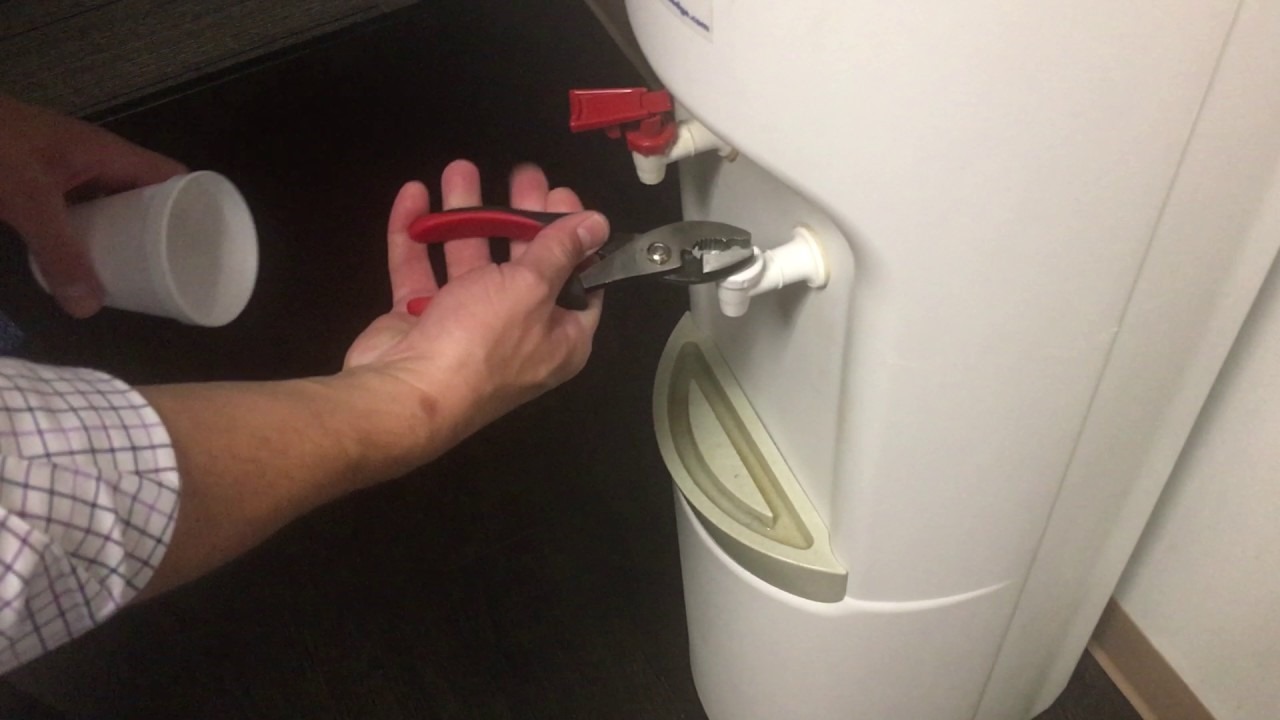
Step 3: Remove the Old Faucet
Now that the water lines are disconnected, it’s time to remove the old faucet from your water dispenser. This step requires a bit of careful maneuvering to ensure a smooth removal process.
Start by inspecting the old faucet for any screws or mounting brackets that secure it in place. Use a Phillips or flathead screwdriver, as needed, to remove these fasteners. Make sure to keep track of the removed screws and brackets for later use with the new faucet.
Once all the fasteners are removed, carefully lift the old faucet out of its mounting position. Depending on the design of your water dispenser, the faucet may be attached firmly or simply resting in a holder. Gently pull or wiggle the faucet to detach it from the dispenser.
While removing the old faucet, it’s important to be cautious and gentle to avoid causing any damage to the dispenser or surrounding components. Take your time and ensure all connections are fully detached before proceeding.
With the old faucet removed, take a moment to inspect the mounting area for any debris or buildup. Use a clean cloth or rag to wipe away any grime and ensure a clean surface for the installation of the new faucet.
Before proceeding to the next step, compare the old faucet with the new one to ensure they are compatible in terms of size and design. If there are any noticeable differences, consult the instructions provided with the new faucet or reach out to the manufacturer for guidance.
Now that the old faucet has been successfully removed, we can move on to the exciting step of installing the new faucet in your water dispenser. Stay tuned for step 4!
When replacing the faucet of a water dispenser, make sure to turn off the water supply and drain any remaining water from the system before beginning the replacement. This will prevent any leaks or water damage during the process.
Read more: What Is A Water Dispenser
Step 4: Install the New Faucet
With the old faucet out of the way, it’s time to install the new faucet in your water dispenser. This step will bring you one step closer to enjoying a fully functioning and upgraded water dispenser.
Start by carefully positioning the new faucet in its designated mounting area. Ensure that the faucet aligns properly with the mounting holes or bracket. If necessary, refer to the manufacturer’s instructions for specific guidance on the installation process.
Once the faucet is properly positioned, use the screws or mounting brackets from the previous step to secure it in place. Tighten the screws or fasteners to ensure a firm and stable installation. Be careful not to overtighten, as this can cause damage to the faucet or the dispenser.
Next, check the alignment of the faucet. Ensure that it is properly positioned and level. Adjust as needed before proceeding.
Now it’s time to make sure the faucet is properly sealed to prevent any leaks. Wrap plumber’s tape, also known as thread seal tape, around the threads of the water line connections on the faucet. This will create a tight and secure seal when connecting the water lines.
Once the threads are wrapped with plumber’s tape, it’s time to reconnect the water lines. Carefully insert each water line into its corresponding connection on the faucet, and use your adjustable wrench to tighten the nuts clockwise. Be cautious not to overtighten, as this can damage the connections.
With the water lines securely attached, double-check all the connections for any signs of leaks or loose fittings. If everything looks good, proceed to the next step!
Step 4 is complete, and your new faucet is now installed in your water dispenser. Now, let’s move on to step 5 and reconnect the water lines.
Step 5: Reconnect the Water Lines
Now that the new faucet is securely installed, it’s time to reconnect the water lines to your water dispenser. This step will ensure a proper flow of water and a leak-free connection.
Begin by inspecting the ends of the water lines and the corresponding connections on the new faucet. Ensure that they are clean and free from any debris or buildup. Use a clean cloth or rag to wipe away any dirt or grime if needed.
Apply Teflon tape to the threads of each water line connection on the faucet. This will help create a watertight seal and prevent any potential leaks. Wrap the tape around the threads in a clockwise direction, overlapping the tape slightly as you go.
Once the tape is applied, carefully insert each water line into its respective connection on the faucet. Use your adjustable wrench to tighten the nuts clockwise, ensuring a snug and secure fit. Avoid overtightening, as this can damage the connections and potentially cause leaks.
After connecting all the water lines, take a moment to check each connection for any signs of leaks. Turn on the water supply briefly and observe if there are any drips or leaks. If you notice any issues, tighten the connections as needed or consult a professional for assistance.
With the water lines successfully reconnected and leak-free, wipe away any excess water or moisture around the connections. This will help maintain a clean and dry surface for the final steps.
Step 5 is complete, and your water lines are now securely reconnected to the new faucet. Now, it’s time to move on to the exciting step of turning on the water supply!
Step 6: Turn on the Water Supply
Now that the water lines are reconnected and the faucet is securely installed, it’s time to turn on the water supply and let the H2O flow once again through your water dispenser.
Carefully locate the shut-off valve that controls the water supply to your dispenser. This valve is usually located under the sink or on the wall behind the dispenser. Rotate the valve counterclockwise to gradually open it and allow water to flow into the system.
As you turn on the water supply, be prepared for some initial sputtering or air bubbles as the water lines fill up. This is normal and should subside as the system becomes fully pressurized. Hold a container or bucket under the faucet to catch any excess water during this process.
Allow the water to run for a few minutes to flush out any air or debris that may have accumulated during the installation process. This will ensure a clean and steady flow of water through the dispenser.
While the water is running, carefully inspect the connections and the faucet for any signs of leaks. Look for dripping or pooling water and ensure that all connections are tight and secure. If you notice any leaks, turn off the water supply immediately and double-check the connections for any issues.
Once you are satisfied with the absence of leaks and a steady water flow, it’s time to move on to the final step!
Congratulations! You have successfully turned on the water supply and restored the flow of water in your newly replaced faucet. It’s time to put it to the test and ensure everything is functioning as intended. Let’s move on to step 7!
Step 7: Test the New Faucet
After completing all the previous steps, it’s time to put your newly installed faucet to the test and ensure everything is working perfectly. This final step will allow you to verify the functionality and performance of the new faucet in your water dispenser.
Start by turning on the faucet and allowing water to flow through it. Observe the water pressure and check if it meets your expectations. If you notice any issues, such as low water pressure or irregular flow, double-check the connections and make sure they are properly tightened.
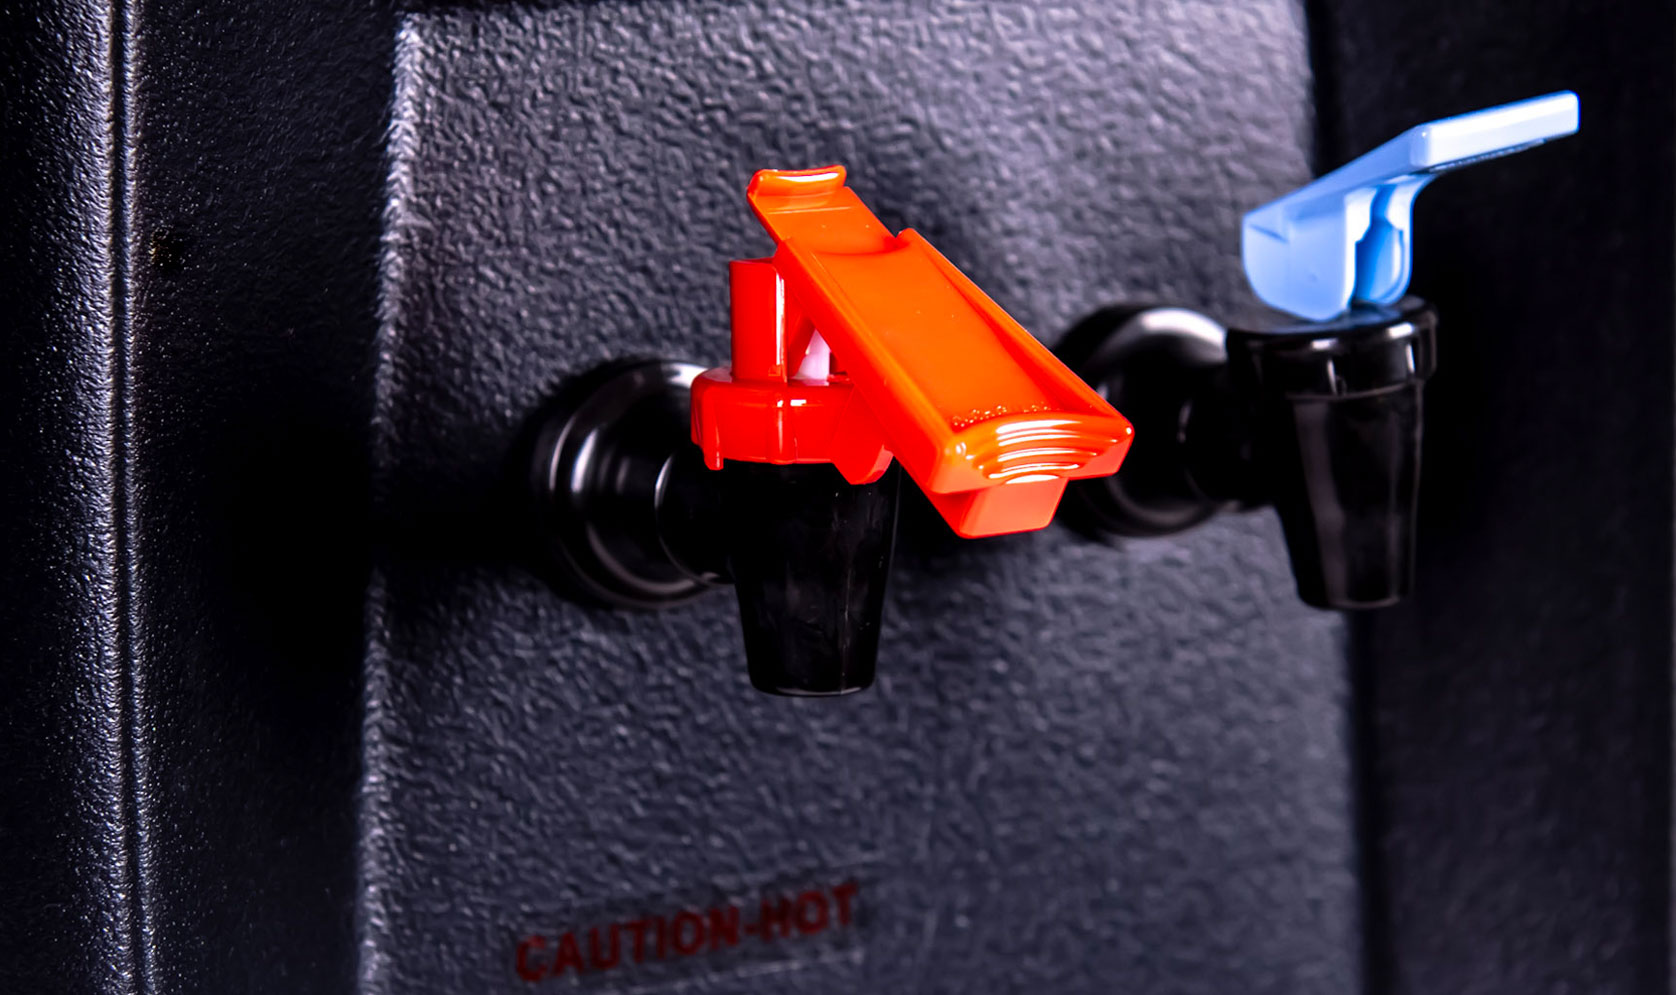
Test both the hot and cold water functions, if applicable to your water dispenser. Make sure that the water temperature is consistent and that there are no drastic temperature fluctuations. Adjust the temperature control, if necessary, to achieve your desired settings.
While the faucet is running, check for any signs of leaks or drips around the connections or the base of the faucet. Take a close look at all the areas where the water lines and the faucet meet. If you notice any leaks, tighten the connections further or replace any faulty components as needed.
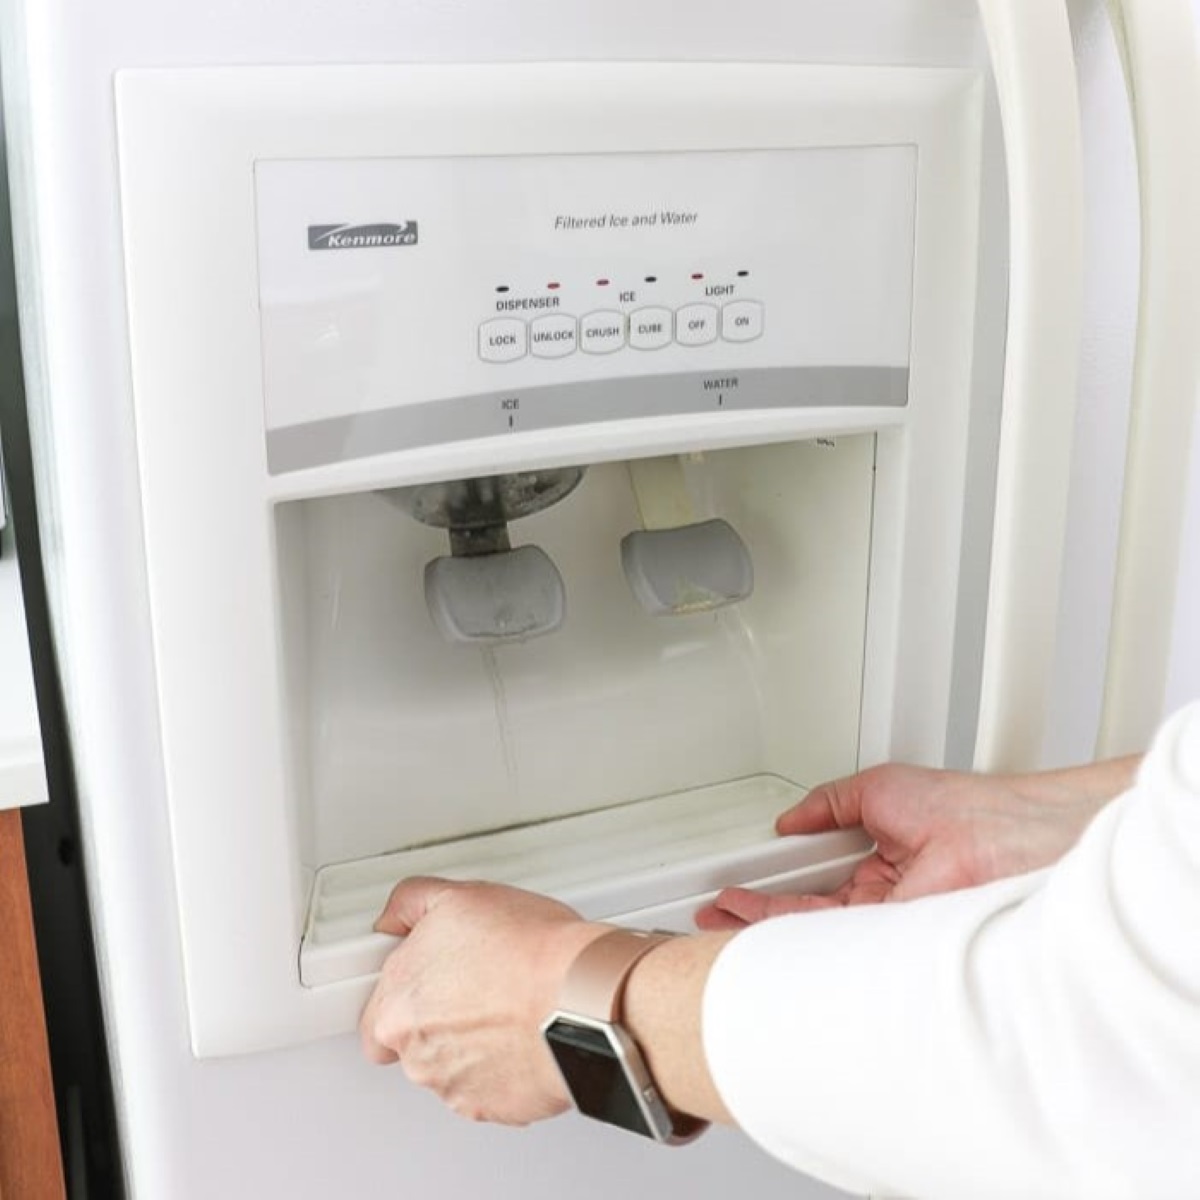
Additionally, test the water dispenser’s other features, such as any filters, buttons, or dispensing options. Ensure that all components are functioning properly and that the water dispenser is providing clean, filtered water as expected.
If everything appears to be in order and the new faucet is working seamlessly, congratulations! You have successfully replaced the faucet in your water dispenser. Enjoy the improved functionality and efficiency of your refreshed water dispenser.
However, if you encounter any issues, such as persistent leaks or malfunctions, it may be necessary to consult a professional plumber or the manufacturer for further assistance. They can provide guidance and ensure that any problems are resolved correctly.
By thoroughly testing the new faucet, you can gain peace of mind knowing that your water dispenser is in optimal working condition and ready to provide you with clean and refreshing water whenever you need it.
With step 7 complete, you have successfully completed the process of replacing the faucet in your water dispenser. Congratulations on a job well done!
Read more: How To Replace Sink Faucet
Conclusion
Replacing the faucet of a water dispenser is a task that can greatly improve the functionality and efficiency of your dispenser. By following the step-by-step guide outlined in this article, you can successfully upgrade your water dispenser and enjoy a refreshed and reliable faucet.
Throughout the process, we covered important steps such as turning off the water supply, disconnecting the water lines, removing the old faucet, installing the new faucet, reconnecting the water lines, turning on the water supply, and testing the new faucet. Each step plays a critical role in achieving a successful faucet replacement.
It’s important to note that while the process may vary depending on the make and model of your water dispenser, the basic principles remain the same. Consulting the manufacturer’s instructions and seeking professional assistance if needed can help ensure a smooth and efficient replacement process.
By gathering the necessary tools and materials, taking proper precautions, and following the steps outlined in this guide, you can confidently replace the faucet of your water dispenser. The end result will be a fully functional and upgraded water dispenser, providing you with clean and refreshing water whenever you need it.
Remember to test the new faucet after installation and keep an eye out for any signs of leaks or malfunctions. Regular maintenance and inspections will help prolong the lifespan of your water dispenser and ensure its continued performance.
So, why wait? Take the plunge and embark on the journey of replacing the faucet in your water dispenser. With a little effort and the guidance provided in this article, you can achieve a successful faucet replacement and enjoy the benefits of a functional and efficient water dispenser for years to come.
Happy faucet replacing!
Frequently Asked Questions about How To Replace Faucet Of Water Dispenser
Was this page helpful?
At Storables.com, we guarantee accurate and reliable information. Our content, validated by Expert Board Contributors, is crafted following stringent Editorial Policies. We're committed to providing you with well-researched, expert-backed insights for all your informational needs.

0 thoughts on “How To Replace Faucet Of Water Dispenser”