Articles
How To Install A Water Heater
Modified: February 22, 2024
Learn how to install a water heater with our informative articles. Whether you're a DIY enthusiast or a professional plumber, our step-by-step guides will help you complete the installation quickly and efficiently.
(Many of the links in this article redirect to a specific reviewed product. Your purchase of these products through affiliate links helps to generate commission for Storables.com, at no extra cost. Learn more)
Introduction
Installing a water heater may seem like an intimidating task, but with the right tools and a step-by-step approach, it can be a manageable project. Whether you are replacing an old water heater or installing a new one, this guide will take you through the process to ensure a successful installation.
Before diving into the installation process, it’s important to note that working with water heaters involves dealing with electricity and potentially gas connections. If you’re not comfortable working with these utilities, it’s always best to hire a professional plumber or electrician to handle the installation for you.
In this guide, we’ll outline the steps to install a conventional tank-style water heater. Keep in mind that the specific instructions may vary depending on the type and brand of your water heater, so always refer to the manufacturer’s instructions for guidance.
Now, let’s get started and learn how to install a water heater!
Key Takeaways:
- Prioritize safety and thorough preparation when installing a water heater. Gather necessary tools, shut off power and water supply, and follow step-by-step instructions to ensure a successful and efficient installation process.
- Regular maintenance, final safety checks, and awareness of potential issues are crucial for the long-term functionality and safety of your new water heater. Enjoy the benefits of reliable hot water while staying proactive in monitoring its performance.
Read more: How To Install Rheem Water Heater
Step 1: Gather Necessary Tools and Materials
Before you begin the installation process, it’s essential to gather all the necessary tools and materials. Having everything prepared beforehand will save you time and frustration during the installation process. Here are the items you’ll need:
- Water heater – Make sure you have the correct size and type of water heater for your needs.
- Adjustable wrench
- Screwdrivers
- Pipe wrench
- Tubing cutter or hacksaw – Depending on the type of pipes you have.
- Plumber’s tape or thread sealant
- Pipe fittings – Ensure you have the necessary fittings to connect the water heater to the plumbing.
- Flexible water supply lines – These will connect the water heater to the water supply.
- Gas connector (if applicable) – If you have a gas water heater, you’ll need a gas connector to connect it to the gas supply.
- Drip pan (optional) – A drip pan can help protect your floor in case of leaks.
- Tarp or drop cloth – To protect your work area from any potential damage.
Once you have gathered all the necessary tools and materials, double-check that you have everything you need. It’s always better to be over-prepared than to be missing a crucial item in the middle of the installation.
Remember, safety should be a top priority. Before you start working, make sure to turn off the power to the water heater and shut off the water supply. This will help prevent any accidents or damage while you complete the installation.
Now that you have your tools and materials ready, you’re all set to move on to the next step: shutting off the power and water supply.
Step 2: Shut Off the Power and Water Supply
Before you begin any work on the water heater, it’s crucial to shut off the power and water supply to ensure your safety. Here’s how to do it:
- Locate the circuit breaker or fuse panel that controls the power to the water heater. Switch off the breaker or remove the fuse that corresponds to the water heater.
- If your water heater is gas-powered, locate the gas supply valve near the water heater. Rotate the valve to the “Off” position to shut off the gas supply.
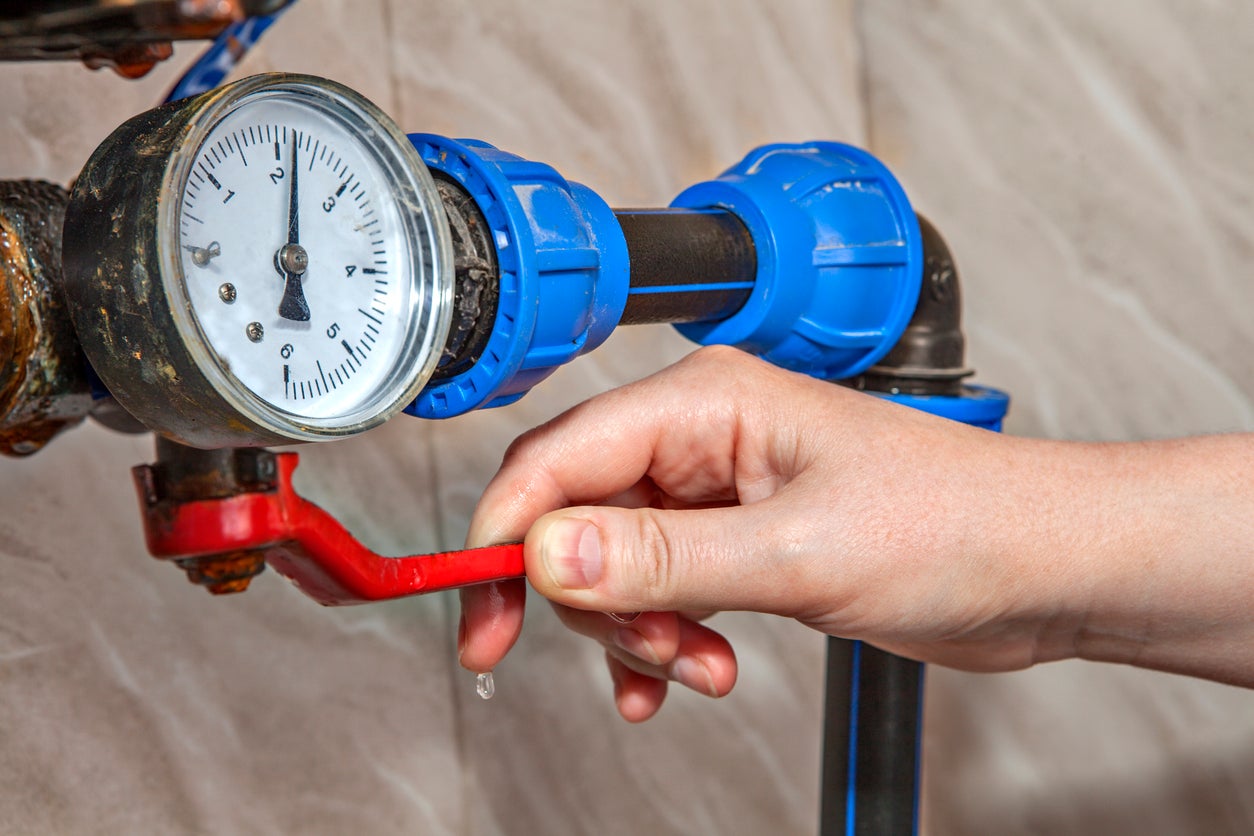
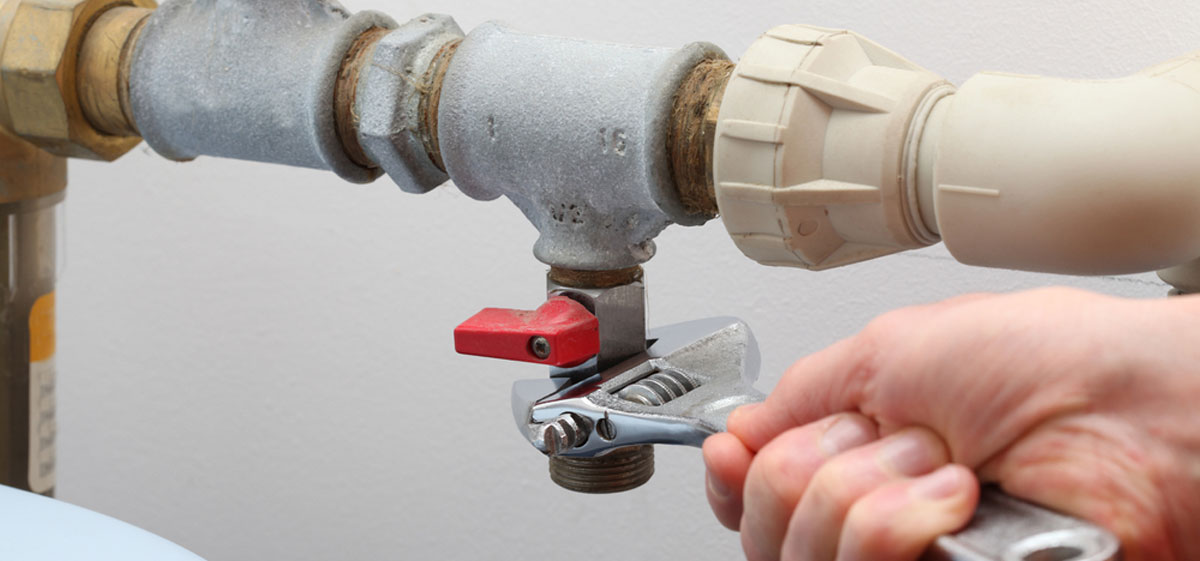
- Next, locate the cold water supply pipe that connects to the water heater. There should be a valve on this pipe. Turn the valve clockwise to shut off the water supply to the water heater.
Once the power and water supply have been shut off, it’s a good idea to verify that they are indeed off before proceeding with the installation. You can do this by checking that the power is disconnected using a voltage tester or by checking that no water is running from the hot water faucets in your home.
Remember, safety should always be the priority when working with utilities. Shutting off the power and water supply reduces the risk of electrical shock or injury during the installation process.
With the power and water supply safely turned off, you’re now ready to move on to the next step: draining the old water heater.
Step 3: Drain the Old Water Heater
Draining the old water heater is a necessary step to ensure a smooth and clean installation process. Here’s how you can drain the old water heater:
- Locate the drain valve at the bottom of the water heater. This valve is typically a brass or plastic spigot.
- Place a bucket or a large container below the drain valve to catch the water. Make sure it’s positioned securely to avoid any spills or leaks.
- Open the drain valve by turning it counterclockwise. The water inside the tank will start to flow out through the valve and into the bucket.
- You may need to open the pressure relief valve or lift the lever on the temperature and pressure relief valve to help the water drain out more smoothly. Be cautious as the water may be hot.
- Once the water has drained out completely, close the drain valve by turning it clockwise.
It’s important to note that the water drained from the old water heater may be hot, so exercise caution when handling it. Additionally, depending on the sediment buildup inside the tank, the drained water may be dirty or discolored. This is normal and expected.
Remember to dispose of the drained water properly. You can use it for outdoor plants or follow your local regulations for proper disposal.
Draining the old water heater is an essential step to remove any leftover water and sediment in the tank. This will help prevent any potential leaks or damage during the installation of the new water heater.
With the old water heater drained, you’re now ready to move on to the next step: disconnecting and removing the old water heater.
Step 4: Disconnect and Remove the Old Water Heater
Once you have drained the old water heater, it’s time to disconnect and remove it from its current location. Follow these steps to safely disconnect and remove the old water heater:
- First, disconnect the water supply lines connected to the water heater. Use an adjustable wrench to loosen the fittings, and carefully remove the supply lines from the connections.
- If your water heater is gas-powered, you’ll also need to disconnect the gas line. Use a wrench to loosen the gas connection, and carefully disconnect the gas line from the water heater.
- Next, disconnect the electrical connections if your water heater is electric. Turn off the circuit breaker that supplies power to the water heater. Then, use a screwdriver to remove the cover plate and disconnect the wiring.
- If your water heater is situated on a platform or stand, remove any screws or brackets securing it in place. Carefully lift the water heater off the platform, ensuring that you have assistance if needed, as water heaters can be heavy.
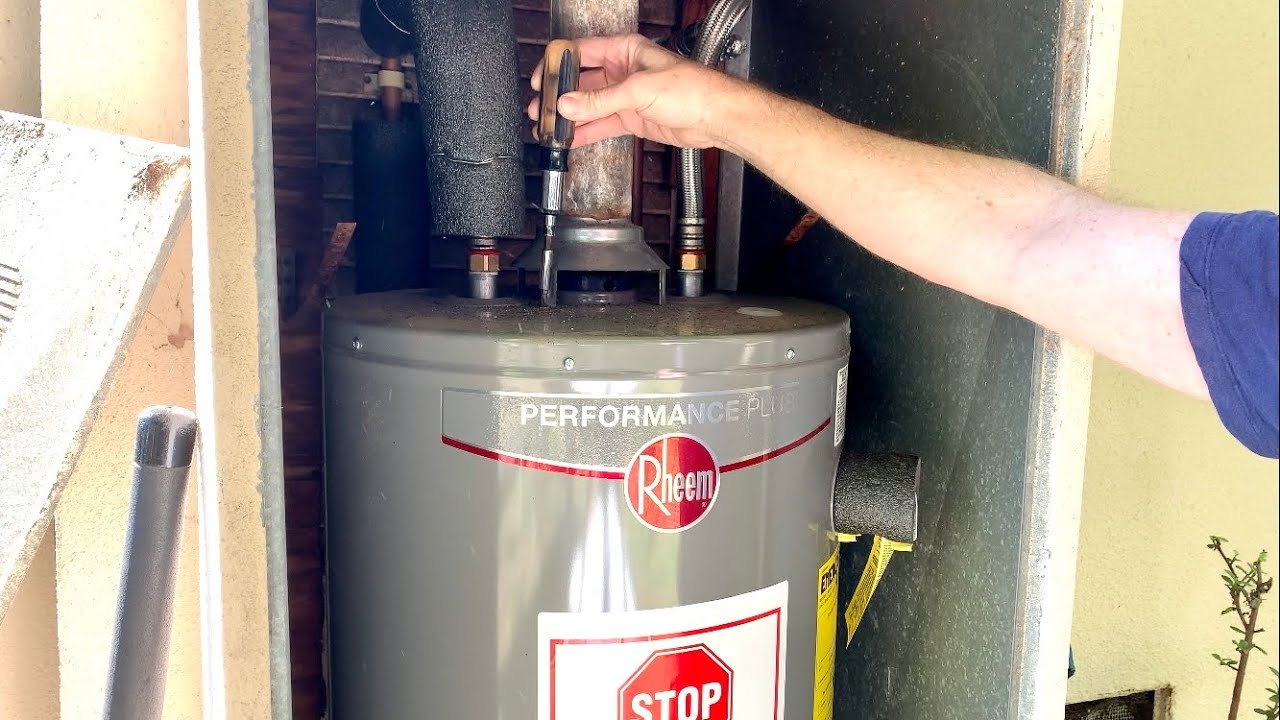
- When removing a gas water heater, be cautious of the gas vent pipe that runs through the roof. Disconnect the vent pipe carefully, ensuring no damage occurs to it or the surrounding structure.
- Once the water heater is disconnected and removed from its location, place it aside in a safe and secure area.
During the removal process, it’s crucial to exercise caution and take necessary safety measures. If you’re unsure or uncomfortable with any step, it’s best to seek professional assistance to avoid any accidents or damage.
With the old water heater disconnected and safely removed, you’re ready to move on to the next step: preparing the installation area for the new water heater.
Read more: Who Can Install A Water Heater
Step 5: Prepare the Installation Area
Now that the old water heater has been disconnected and removed, it’s time to prepare the installation area for the new water heater. Follow these steps to ensure a clean and organized installation:
- Clean the installation area thoroughly. Remove any debris or dirt that might have accumulated during the removal of the old water heater.
- Inspect the surrounding area for any signs of water damage or leaks. Address any existing issues before installing the new water heater.
- If necessary, install a drip pan under the new water heater. A drip pan can help catch any potential leaks, protecting the floor and surrounding area.
- If the water heater is placed on a platform or stand, ensure that it is sturdy and level. Adjust or reinforce the platform as needed to prevent any future stability issues.
- Check the clearance requirements for your specific water heater. Ensure that there is sufficient space around the new water heater for proper operation and servicing.
- If applicable, install a new T&P (Temperature and Pressure) relief valve. This valve is crucial for safety, as it helps prevent excessive pressure or temperature buildup inside the water heater.
- Inspect the fittings and connections on the new water heater. Ensure that they are secure and in good condition before proceeding with the installation.
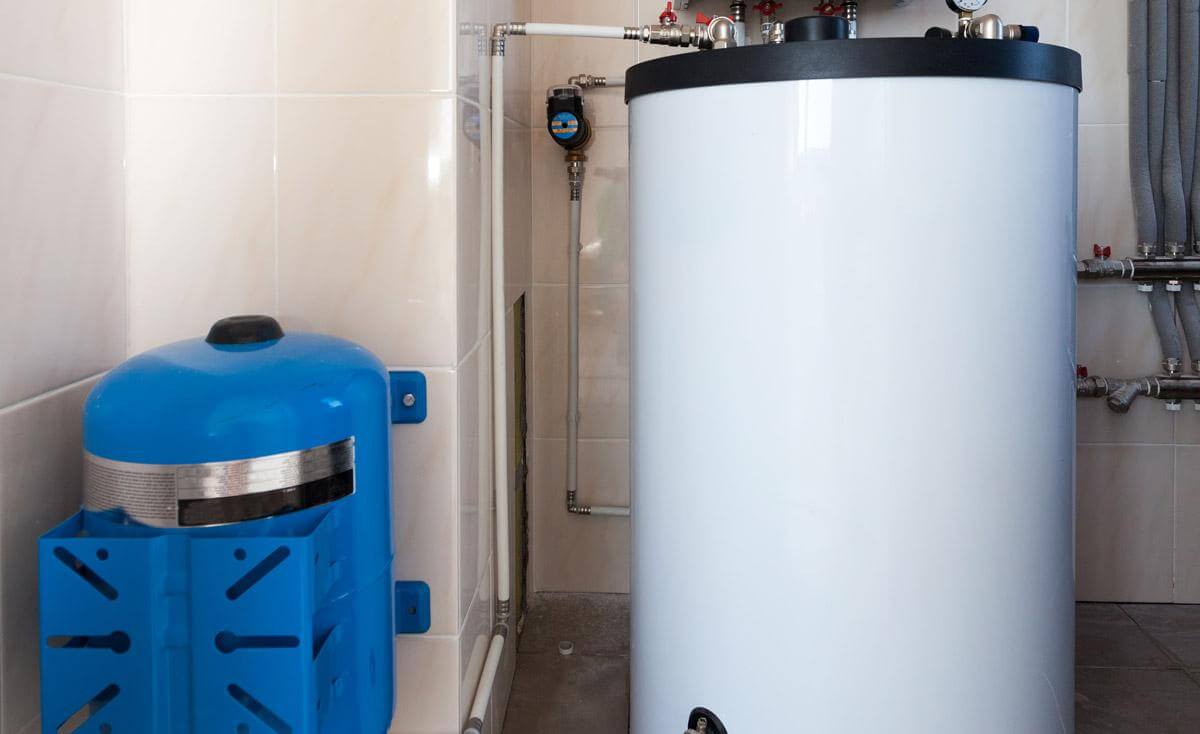
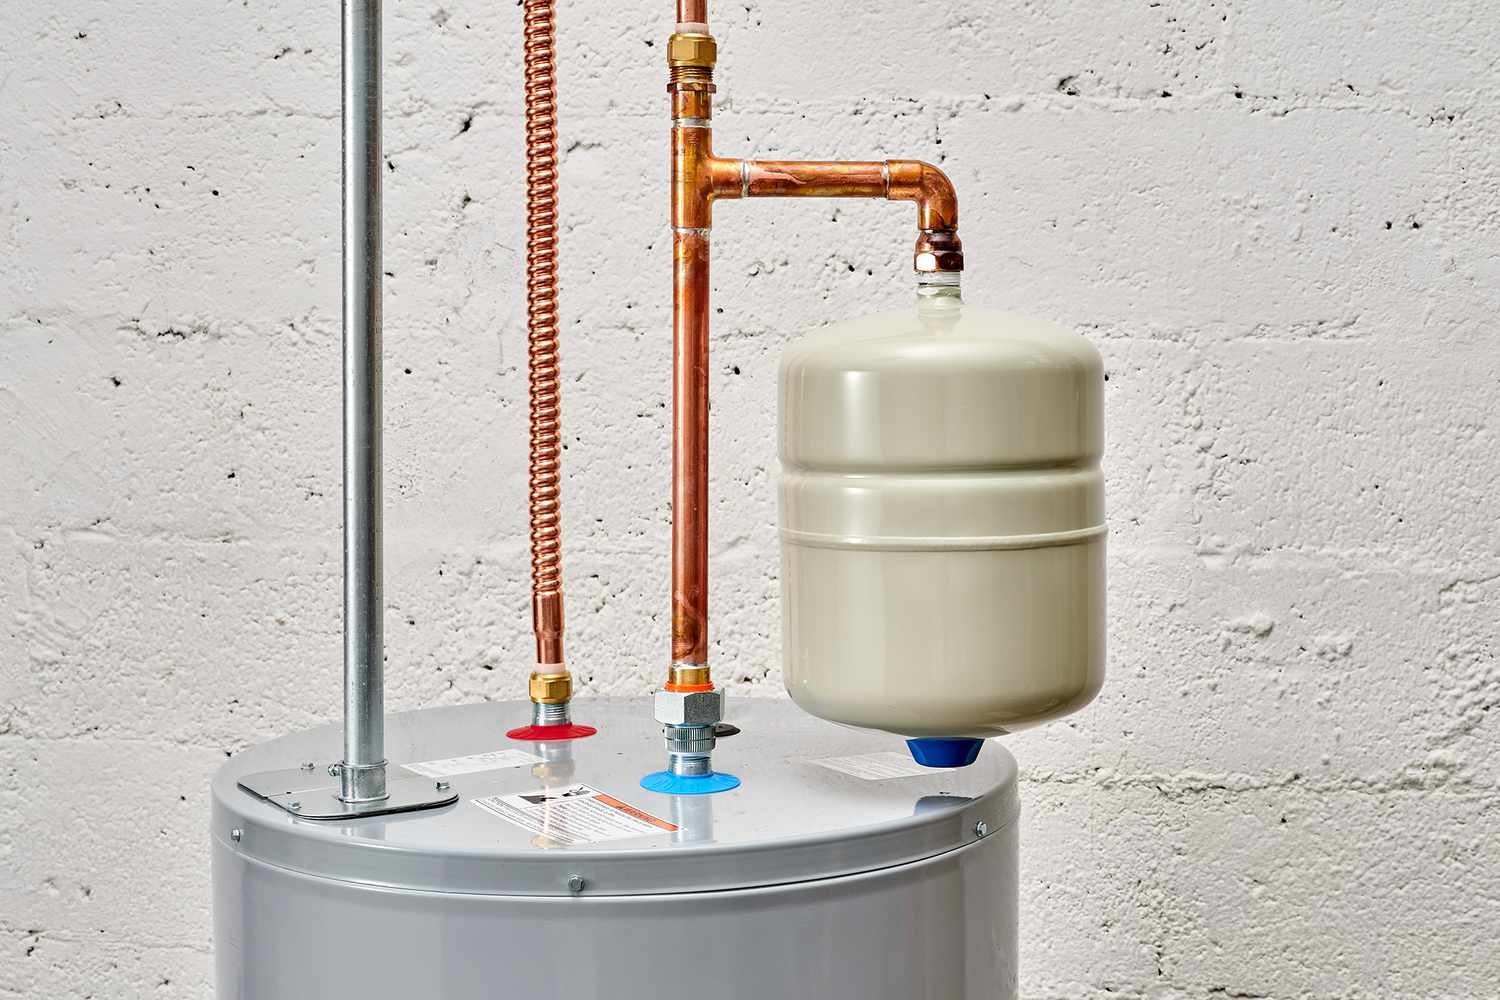
- If your new water heater requires any additional components or accessories, such as expansion tanks or pressure regulators, make sure they are installed properly according to the manufacturer’s instructions.
By preparing the installation area properly, you can ensure a smooth and trouble-free installation process for your new water heater. Take the time to double-check everything before moving on to the next step.
With the installation area prepared, you’re now ready to move on to the exciting part: installing the new water heater!
When installing a water heater, make sure to properly size the unit for your household’s hot water needs. A unit that is too small will not provide enough hot water, while a unit that is too large will waste energy.
Step 6: Install the New Water Heater
With the installation area prepped and ready, it’s time to install the new water heater. Follow these steps to ensure a proper and secure installation:
- Position the new water heater in the designated area, ensuring that it is level and stable. If necessary, use shims or wedges to adjust the height or level of the water heater.
- Connect the water supply lines to the new water heater. Use plumber’s tape or thread sealant on the threaded fittings for a secure and leak-free connection.
- If your new water heater is gas-powered, connect the gas line to the gas valve on the water heater. Use a wrench to tighten the connection, ensuring it is secure but not overly tight.
- If your new water heater is electric, connect the electrical wires according to the manufacturer’s instructions. Ensure that the wiring is done properly and safely, following any local electrical codes or regulations.
- Position and secure the T&P (Temperature and Pressure) relief valve on the new water heater. This valve is an essential safety feature and must be installed correctly.
- Double-check all connections to ensure they are tight and secure. Inspect for any signs of leaks or loose fittings. If any issues are found, address them immediately before proceeding.
- If your water heater requires additional insulation, such as an insulation blanket, follow the manufacturer’s instructions to properly install it.
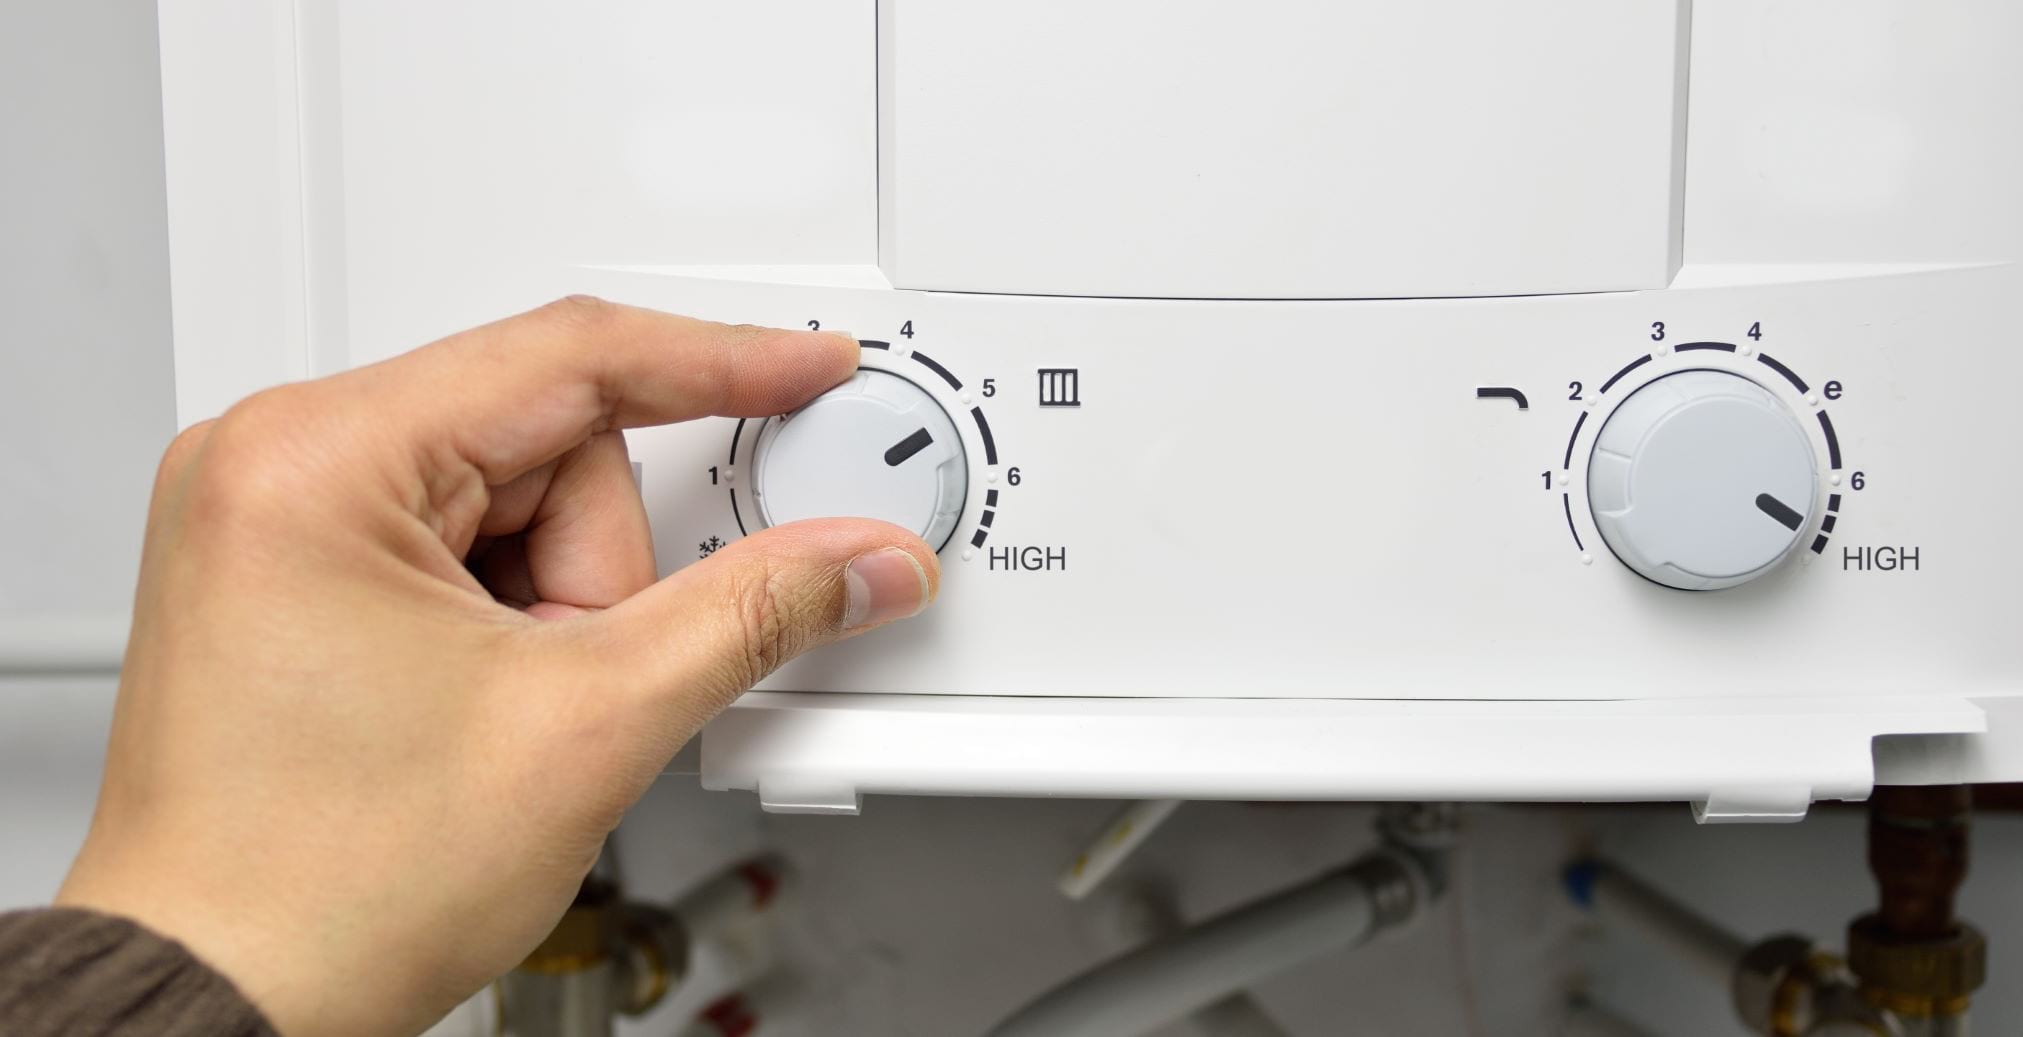
- Once everything is properly connected and secured, make sure the water heater is set to the desired temperature setting, taking into consideration any local energy efficiency guidelines.
- Ensure that any labels, warning signs, or operating instructions provided by the manufacturer are clearly visible and easily accessible for future reference.
It’s crucial to take your time during the installation process and ensure that all connections are done properly. Proper installation is essential for the safe and efficient operation of your new water heater.
Now that the new water heater is securely installed, you’re ready to move on to the next step: connecting the plumbing and electrical connections.
Step 7: Connect the Plumbing and Electrical Connections
Now that the new water heater is in place, it’s time to connect the plumbing and electrical connections. Follow these steps to ensure proper and secure connections:
- Connect the cold water supply line to the appropriate inlet on the water heater. Use an adjustable wrench to tighten the fitting, ensuring a secure connection. If necessary, use plumber’s tape or thread sealant on the threaded fittings.
- Connect the hot water outlet line to the appropriate outlet on the water heater. Again, use an adjustable wrench to tighten the fitting securely.
- If your water heater is gas-powered, connect the gas line to the gas valve on the water heater. Use a wrench to tighten the connection, ensuring it is secure but not overly tight.
- For an electric water heater, connect the electrical wiring according to the manufacturer’s instructions. Follow any local electrical codes or regulations to ensure safe and proper wiring.
- Inspect all connections for leaks or loose fittings. If any issues are found, correct them immediately before proceeding.
- If needed, install a new pressure relief valve discharge pipe in accordance with local plumbing codes. Ensure that the discharge pipe is properly sized, directed downwards, and terminates in a safe location, such as a floor drain or outside.
- Double-check that all plumbing connections are tight, secure, and leak-free.
- For electric water heaters, turn on the circuit breaker that supplies power to the water heater. Ensure that power is flowing to the unit.
- For gas water heaters, follow the manufacturer’s instructions to relight the pilot light. Take necessary safety precautions and follow all guidelines provided.
During the plumbing and electrical connection process, it’s crucial to follow proper procedures and adhere to any local codes or regulations. Double-check that all connections are secure and functioning correctly to avoid any leaks or electrical hazards.
With the plumbing and electrical connections successfully made, you’re ready to move on to the next step: filling and testing the new water heater.
Step 8: Fill and Test the New Water Heater
Now that the new water heater is properly connected, it’s time to fill it with water and test its functionality. Follow these steps to ensure a successful filling and testing process:
- Open a hot water faucet in one of your sinks or tubs to allow air to escape from the water lines.
- Slowly open the cold water supply valve to fill the water heater. Keep an eye on the open faucet until a steady flow of water is observed. This indicates that the air has been purged and the water heater is filling up.
- Once the water heater is filled, close the hot water faucet.
- Check for any leaks around the plumbing connections and the pressure relief valve. If any leaks are found, tighten the connections or replace any faulty components.
- Wait for the water heater to reach the desired temperature. This may take some time depending on the size of the water heater and the initial water temperature.
- To ensure proper functioning, turn on a hot water faucet in your home and check if hot water is flowing consistently. If the water heater is providing hot water without any issues, it is functioning properly.
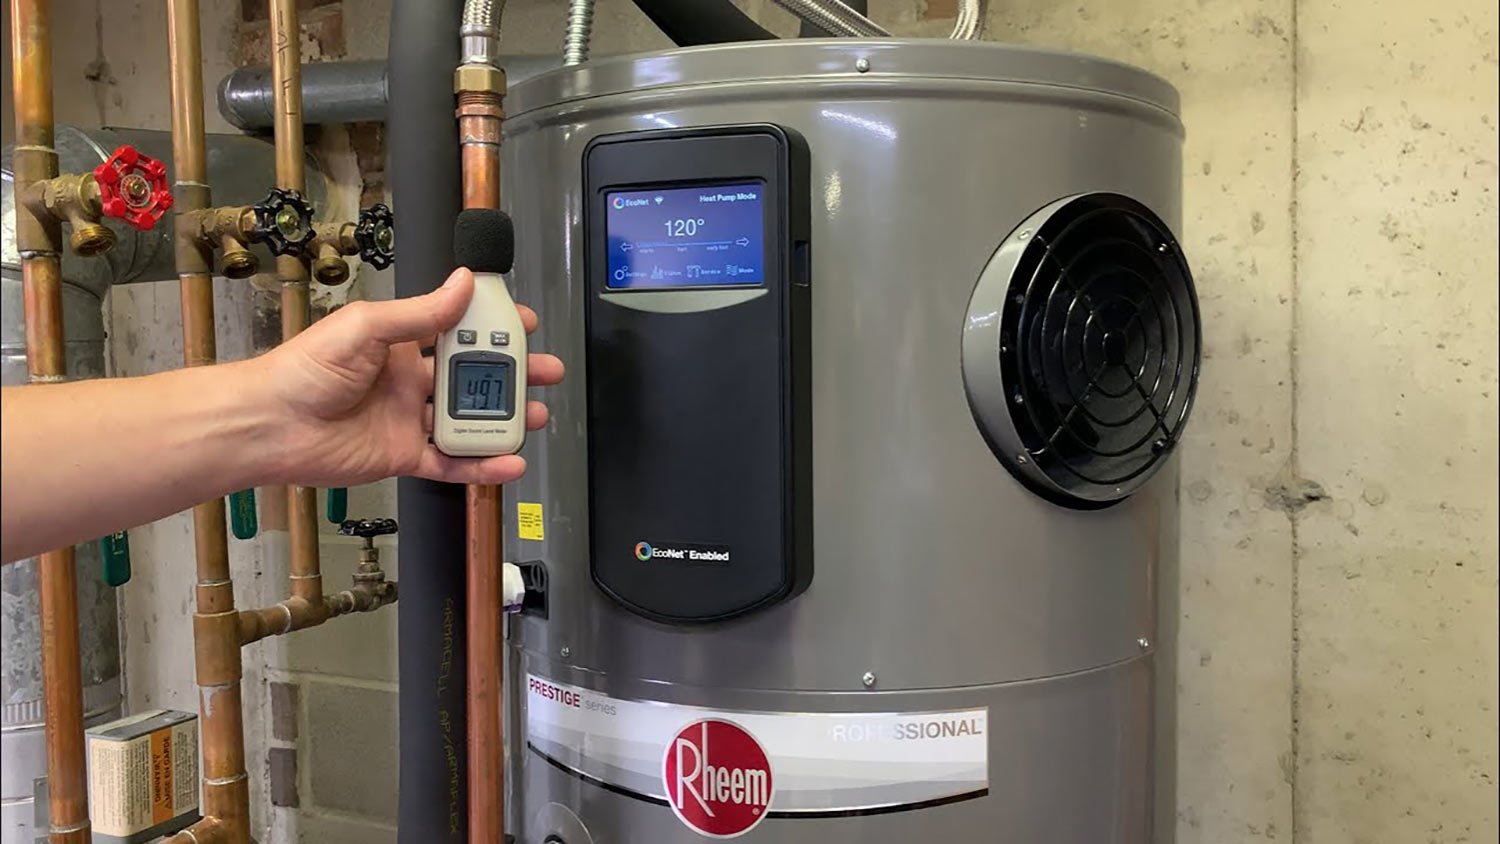
- Check the temperature and pressure settings on the water heater. Make sure they are set to the recommended and safe levels as specified by the manufacturer.
- Take note of the water heater’s maintenance schedule. Regular maintenance, such as flushing the tank and inspecting the pressure relief valve, is essential for optimal performance and longevity.
During the filling and testing process, it’s important to be patient and thorough. Keep a close eye on the water heater for any signs of leaks or malfunctions. Address any issues promptly to prevent further damage or safety hazards.
With the new water heater successfully filled and tested, you’re ready to move on to the final steps: reconnecting the power and water supply.
Step 9: Reconnect the Power and Water Supply
With the new water heater filled and tested, it’s time to reconnect the power and water supply to ensure its proper functioning. Follow these steps to reconnect the power and water supply:
- For electric water heaters, ensure that the circuit breaker supplying power to the water heater is in the “On” position. This will restore the power to the unit.
- For gas water heaters, ensure that the gas supply valve is in the “On” position. This will allow the gas to flow to the water heater.
- Once the power and gas supply are restored, check for any leaks around the plumbing connections and the pressure relief valve. If any leaks are found, address them immediately.
- Verify that the water supply valve to the water heater is fully open. This will allow the water to flow into the unit.
- Wait for the water heater to reach the desired temperature, which may take some time depending on the initial water temperature and the size of the water heater.
- Check for any signs of hot water flow in various faucets and fixtures throughout your home. If hot water is consistently available, it indicates that the power and water supply reconnection was successful.
- Monitor the water heater for the next few hours to ensure there are no unusual noises, leaks, or malfunctions.
- Refer to the manufacturer’s guidelines for any specific requirements or recommendations regarding the reconnection of power and water supply to the water heater.
During the process of reconnecting the power and water supply, it’s important to be cautious and attentive. Double-check all connections to ensure they are secure and functioning properly. Any leaks or abnormalities should be addressed immediately to prevent further damage or safety hazards.
With the power and water supply reconnected successfully, you have completed the essential steps of installing a water heater. However, there are a few more checks and safety precautions before considering the installation complete.
Read on to learn about the final checks and safety precautions in Step 10.
Step 10: Final Checks and Safety Precautions
Before considering the installation of your new water heater complete, it’s important to perform some final checks and adhere to safety precautions. Follow these steps to ensure everything is in order:
- Inspect all connections, including the plumbing and electrical connections, for any signs of leaks or loose fittings. Address any issues promptly.
- Check the temperature and pressure relief valve to ensure it is functioning correctly. Lift the lever or follow the manufacturer’s instructions to test the valve’s operation.
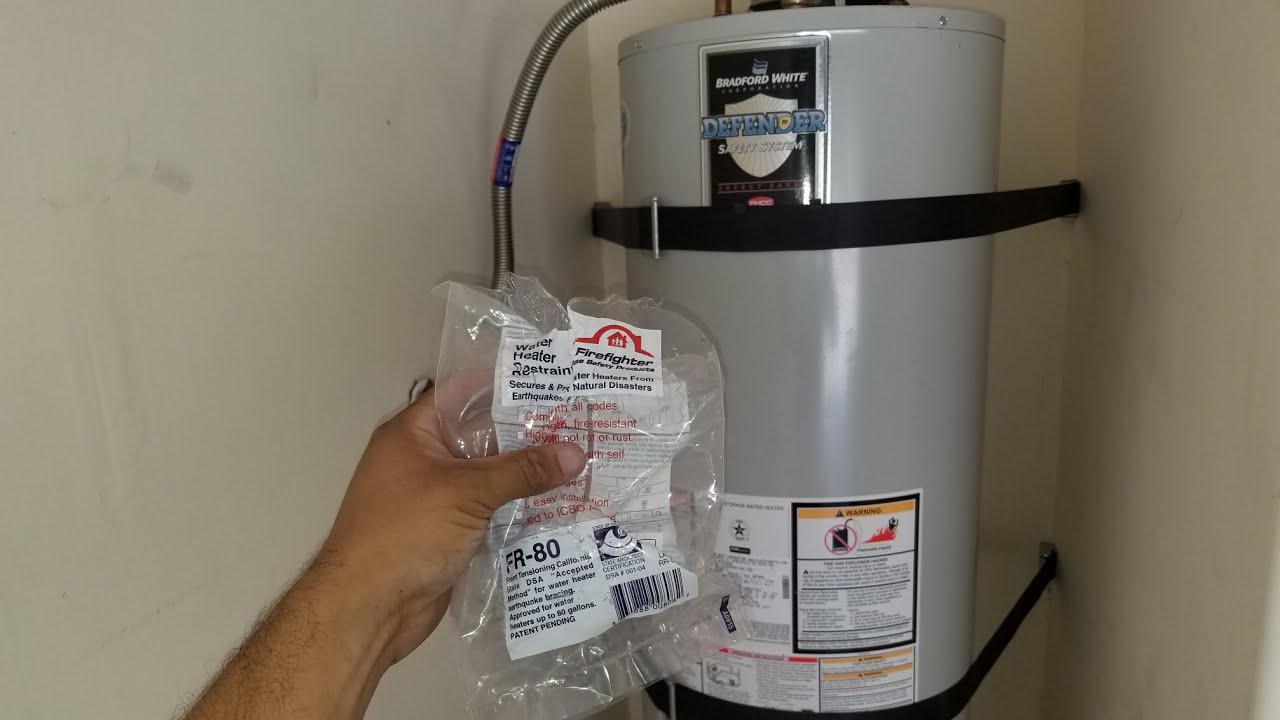
- Double-check that the water heater is securely fastened and stable in its designated location. Verify that there is no movement or instability.
- Ensure there is proper ventilation around the water heater. Clear any obstructions or debris that may hinder the airflow.
- Review the manufacturer’s maintenance recommendations and schedule regular maintenance for your water heater. This typically includes draining and flushing the tank periodically to remove sediment buildup.
- Consider installing a carbon monoxide detector near your water heater if it is gas-powered. This will provide an extra level of safety against potential gas leaks.
- Review the warranty information for your water heater. Familiarize yourself with the warranty terms and conditions to ensure your system is protected.
- Take note of the signs of potential water heater issues, such as inconsistent hot water supply, unusual noises, or leaks. If any problems arise, consult a qualified professional for assistance.
- Educate yourself and your household members about the proper operation and safety precautions related to your specific water heater model.
- Regularly monitor your water heater’s performance and be proactive in addressing any maintenance or repair needs that may arise.
By performing these final checks and safety precautions, you can ensure the long-term functionality and safety of your new water heater. Regular maintenance and vigilance are key to avoiding potential problems and maximizing the lifespan of your water heater.
Congratulations! You have successfully completed the installation of your new water heater. Enjoy the benefits of a reliable and efficient source of hot water in your home.
Remember, if you ever feel uncertain about any aspect of your water heater installation or encounter any issues, it’s always best to consult with a licensed professional to ensure the job is done correctly and safely.
Conclusion
Installing a water heater may seem like a daunting task, but with the right tools, knowledge, and careful attention to detail, you can successfully complete the installation process. By following the step-by-step guide outlined in this article, you have learned how to gather the necessary tools and materials, shut off the power and water supply, drain the old water heater, disconnect and remove it, prepare the installation area, install the new water heater, connect the plumbing and electrical connections, fill and test the new water heater, and finally, reconnect the power and water supply.
Throughout the installation process, it’s important to prioritize safety and adhere to proper procedures. Take your time to ensure all connections are secure and leak-free, and pay attention to any specific instructions provided by the manufacturer. Regular maintenance and periodic checks are essential for the long-term performance of your water heater.
If at any point during the installation process you feel uncertain or uncomfortable, don’t hesitate to seek the assistance of a professional plumber or electrician. They have the expertise to handle the installation with precision and ensure the safety and functionality of your water heater.
Now that you have successfully installed your new water heater, you can enjoy the benefits of reliable hot water in your home. Remember to monitor its performance, be proactive in maintenance, and stay knowledgeable about its operation and safety precautions.
Thank you for following this guide on how to install a water heater. We hope it has provided you with the necessary information and confidence to complete the installation successfully. Enjoy the comfort and convenience of a steady supply of hot water!
Frequently Asked Questions about How To Install A Water Heater
Was this page helpful?
At Storables.com, we guarantee accurate and reliable information. Our content, validated by Expert Board Contributors, is crafted following stringent Editorial Policies. We're committed to providing you with well-researched, expert-backed insights for all your informational needs.


0 thoughts on “How To Install A Water Heater”