Articles
How To Install Furnace Humidifier
Modified: August 27, 2024
Learn how to install a furnace humidifier in your home with step-by-step instructions and expert tips. Explore our latest articles on this topic.
(Many of the links in this article redirect to a specific reviewed product. Your purchase of these products through affiliate links helps to generate commission for Storables.com, at no extra cost. Learn more)
Introduction
Having a furnace humidifier in your home can greatly improve indoor air quality and create a more comfortable living environment, especially during the dry winter months. It helps to add moisture to the air, preventing issues such as dry skin, irritated respiratory passages, and static electricity. Installing a furnace humidifier may sound like a daunting task, but with the right tools and step-by-step instructions, you can do it yourself and enjoy the benefits it brings.
In this article, we will guide you through the process of installing a furnace humidifier. From gathering the necessary tools and materials to testing and adjusting the humidifier, you’ll learn everything you need to know to successfully complete the installation. So let’s get started!
Key Takeaways:
- Installing a furnace humidifier can greatly improve indoor air quality and comfort. From choosing the right location to regular maintenance, following the step-by-step process ensures optimal performance and a healthier living environment.
- By installing and maintaining a furnace humidifier, you can prevent issues like dry skin, irritated respiratory passages, and static electricity. Enjoy the benefits of improved air quality and a more comfortable home throughout the year.
Read also: 9 Best Furnace Humidifier for 2025
Step 1: Gather Your Tools and Materials
Before you begin the installation process, it’s important to gather all the necessary tools and materials to ensure a smooth and efficient installation. Here are the items you will need:
- Furnace humidifier unit
- Humidistat or thermostat with humidity control
- Water supply line
- Drain line (optional, depending on the humidifier model)
- Tape measure
- Pencil
- Screwdriver
- Adjustable wrench
- Drill and drill bits
- Saddle valve or tee fitting
- Pipe cutter or hacksaw
- Teflon tape or pipe thread sealant
- Wire strippers
- Electrical tape
- Wire nuts
Make sure you have all the necessary tools and materials on hand before starting the installation. This will save you time and prevent any unnecessary delays.
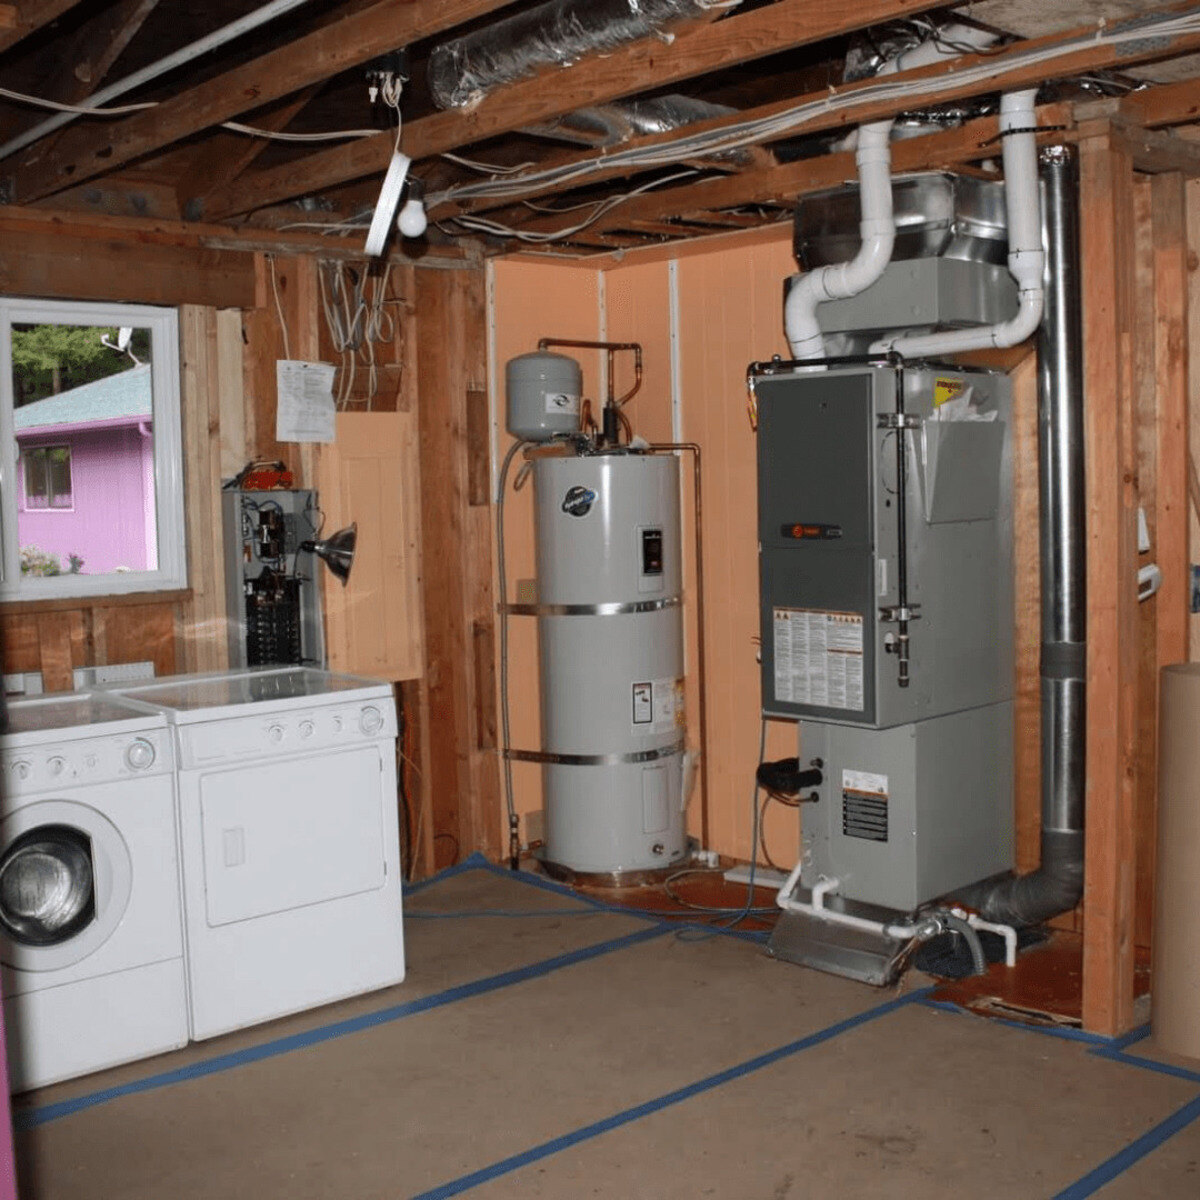
Step 2: Choose the Right Location for the Humidifier
Choosing the right location for your furnace humidifier is crucial for its effectiveness and efficient operation. Here are some factors to consider when determining the ideal spot:
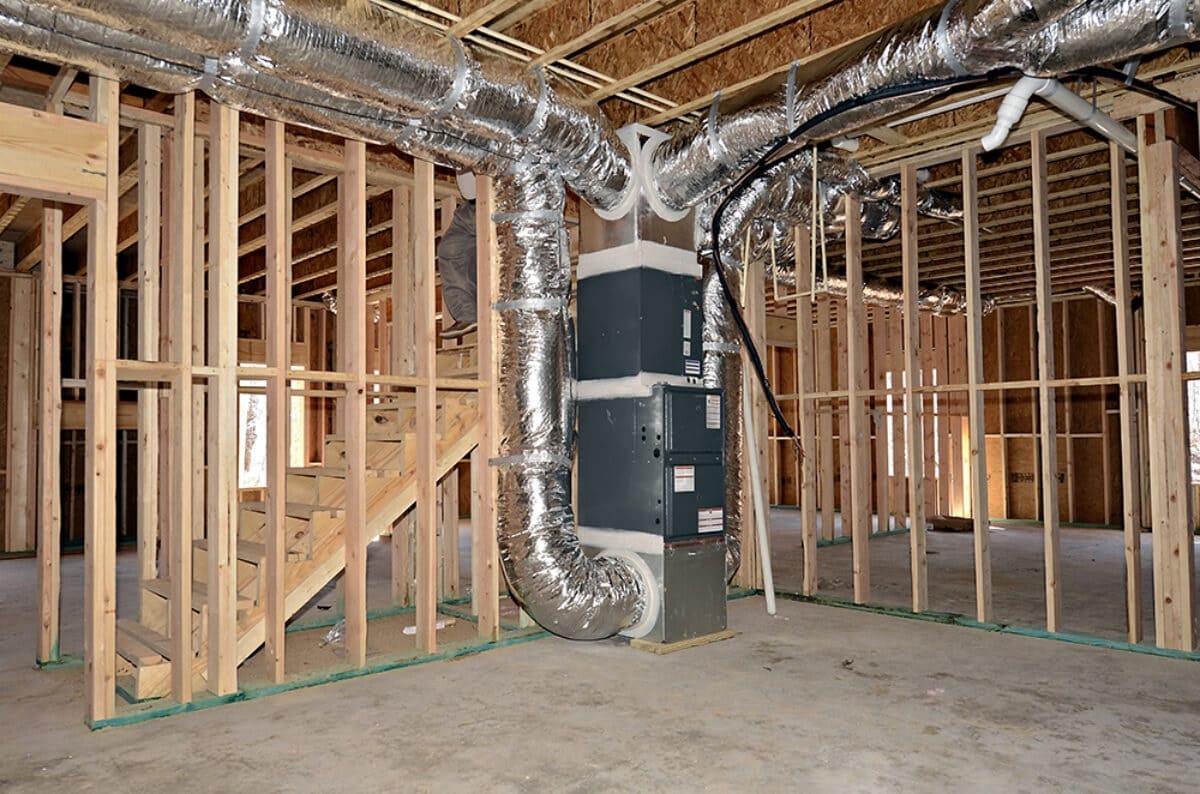
- Proximity to the furnace: The humidifier should be installed close to the furnace to allow for easy connection to the heating system. This will ensure that the humidifier can distribute moisture effectively throughout the house.
- Accessibility: Choose a location that provides easy access for maintenance and filter replacement. This will make it convenient to clean the humidifier and replace any worn-out components.
- Avoiding obstructions: Select a spot where the humidifier will not be obstructed by other objects, such as ductwork, pipes, or electrical wiring. This will allow for better airflow and prevent any potential interference with the functioning of the humidifier.
- Water source availability: Consider the proximity of a water source, such as a water supply line, to the installation location. Ensure that it’s feasible to connect the humidifier to the water supply without any major complications.
- Noise considerations: Take into account the noise level generated by the humidifier. While most modern units operate quietly, it’s still a good idea to choose a location that minimizes any potential disruptions.
Once you have considered these factors, you can determine the best location for your furnace humidifier. It’s recommended to consult the user manual provided by the manufacturer, as it may contain specific guidelines or recommendations for installation.
Step 3: Prepare the Furnace for Installation
Before installing the furnace humidifier, it’s essential to prepare the furnace to ensure a seamless integration. Follow these steps to get the furnace ready:
- Turn off the power: Start by turning off the power to the furnace at the circuit breaker or main electrical panel. This will ensure your safety during the installation process.
- Locate the cold air return: Identify the cold air return duct on your furnace. This is typically a large metal duct connected to the furnace that carries the cool air back to be heated.
- Choose the installation side: Determine which side of the furnace you want to install the humidifier on. This can depend on the available space and the manufacturer’s instructions.
- Measure and mark the spot: Use a tape measure and pencil to measure and mark the precise spot where the humidifier will be installed on the cold air return duct. Make sure it’s at a suitable height and easily accessible.
- Prepare the duct surface: Clean the marked area on the cold air return duct using a damp cloth or sponge. This will remove any dust or debris that could interfere with the installation process or impact the humidifier’s performance.
- Mounting bracket installation: If your furnace humidifier comes with a mounting bracket, follow the manufacturer’s instructions to install it securely on the marked spot. This will provide a stable base for attaching the humidifier unit.
By properly preparing the furnace, you’ll create a solid foundation for the humidifier installation and ensure that it functions optimally. Once you’ve completed these steps, you’re ready to move on to the next phase of the installation process.
Step 4: Install the Water Supply Line
Installing the water supply line is an important step in the furnace humidifier installation process. It allows the humidifier to receive a constant supply of water for proper operation. Here’s how to install the water supply line:
- Locate the main water supply: Identify the main water supply line in your home. This is usually located near your water meter or where the water enters your house.
- Turn off the water: Before making any connections, turn off the main water supply to prevent any leaks. This can usually be done by turning the valve clockwise until it is fully closed.
- Prepare the water supply line: If your humidifier kit includes a water supply line, cut it to the appropriate length using a pipe cutter or hacksaw. Ensure that the cut is clean and free from burrs.
- Attach the saddle valve: A saddle valve is typically included in the humidifier kit and is used to tap into the water supply line. Position the saddle valve over the main water supply line and tighten it securely using an adjustable wrench.
- Connect the water supply line: Attach one end of the water supply line to the saddle valve and tighten it with an adjustable wrench. Connect the other end of the water supply line to the inlet valve on the humidifier, ensuring it is tightly secured.
- Turn on the water: Gradually turn on the main water supply valve to allow water flow to the humidifier. Check for any leaks and make sure all connections are tight and secure.
Once the water supply line is properly installed, the humidifier will be able to draw water for humidification. It’s important to regularly check for any leaks or dripping, and address them promptly to prevent any water damage.
In the next step, we will cover how to connect the humidifier to the furnace to complete the installation process.
Make sure to turn off the power to your furnace before installing the humidifier to avoid any electrical accidents. Always follow the manufacturer’s instructions for proper installation.
Read more: How To Install A Whole House Humidifier
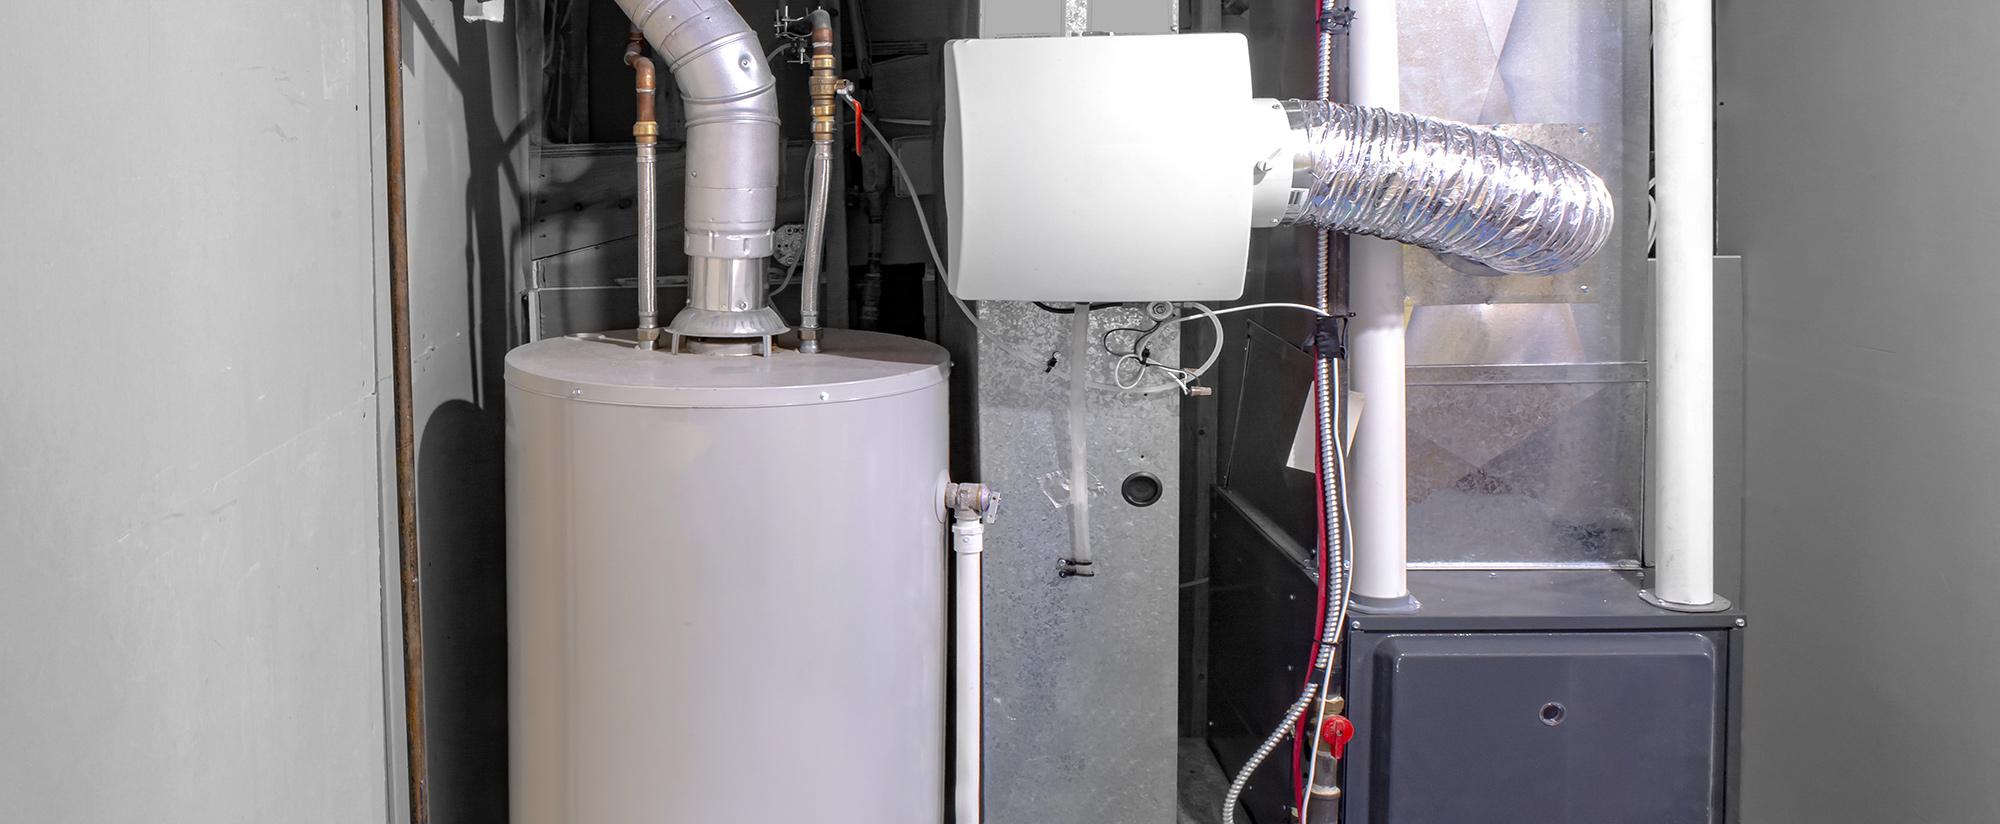
Step 5: Connect the Humidifier to the Furnace
Connecting the furnace humidifier to the heating system is a crucial step in the installation process. This allows the humidifier to work in sync with the furnace and distribute moisture effectively throughout your home. Follow these steps to connect the humidifier:
- Locate the hot air supply: Identify the hot air supply duct on your furnace. This duct carries the heated air from the furnace to the different rooms in your home.
- Select the appropriate location: Choose a spot on the hot air supply duct where you will install the humidifier. It’s usually best to install it on the side opposite the cold air return.
- Measure and mark the spot: Use a tape measure and pencil to measure and mark the precise spot where the humidifier will be installed on the hot air supply duct. Take into account any clearance requirements mentioned in the manufacturer’s instructions.
- Prepare the duct surface: Clean the marked area on the hot air supply duct using a damp cloth or sponge. This will remove any dust or debris that could interfere with the installation process or impact the humidifier’s performance.
- Mounting bracket installation: If your humidifier comes with a mounting bracket, follow the manufacturer’s instructions to install it securely on the marked spot on the hot air supply duct.
- Connect the duct collar: Attach the duct collar provided with the humidifier to the mounting bracket. Make sure it is installed tightly and properly sealed to prevent any air leakage.
- Attach the humidifier unit: Install the humidifier unit onto the installed mounting bracket and secure it using the provided hardware. Ensure that it is firmly attached to prevent any movement or vibration during operation.
- Connect the air supply and return: Connect the air supply and return ducts from the humidifier to the corresponding ducts on your furnace. Follow the manufacturer’s instructions for the specific connections and secure them firmly.
Once the humidifier is properly connected to the furnace, it will work in conjunction with the heating system to provide moisture to the air. This step brings you closer to enjoying the benefits of a well-humidified home.
In the next step, we will discuss how to install the humidifier control unit to effectively manage and maintain the humidity levels.
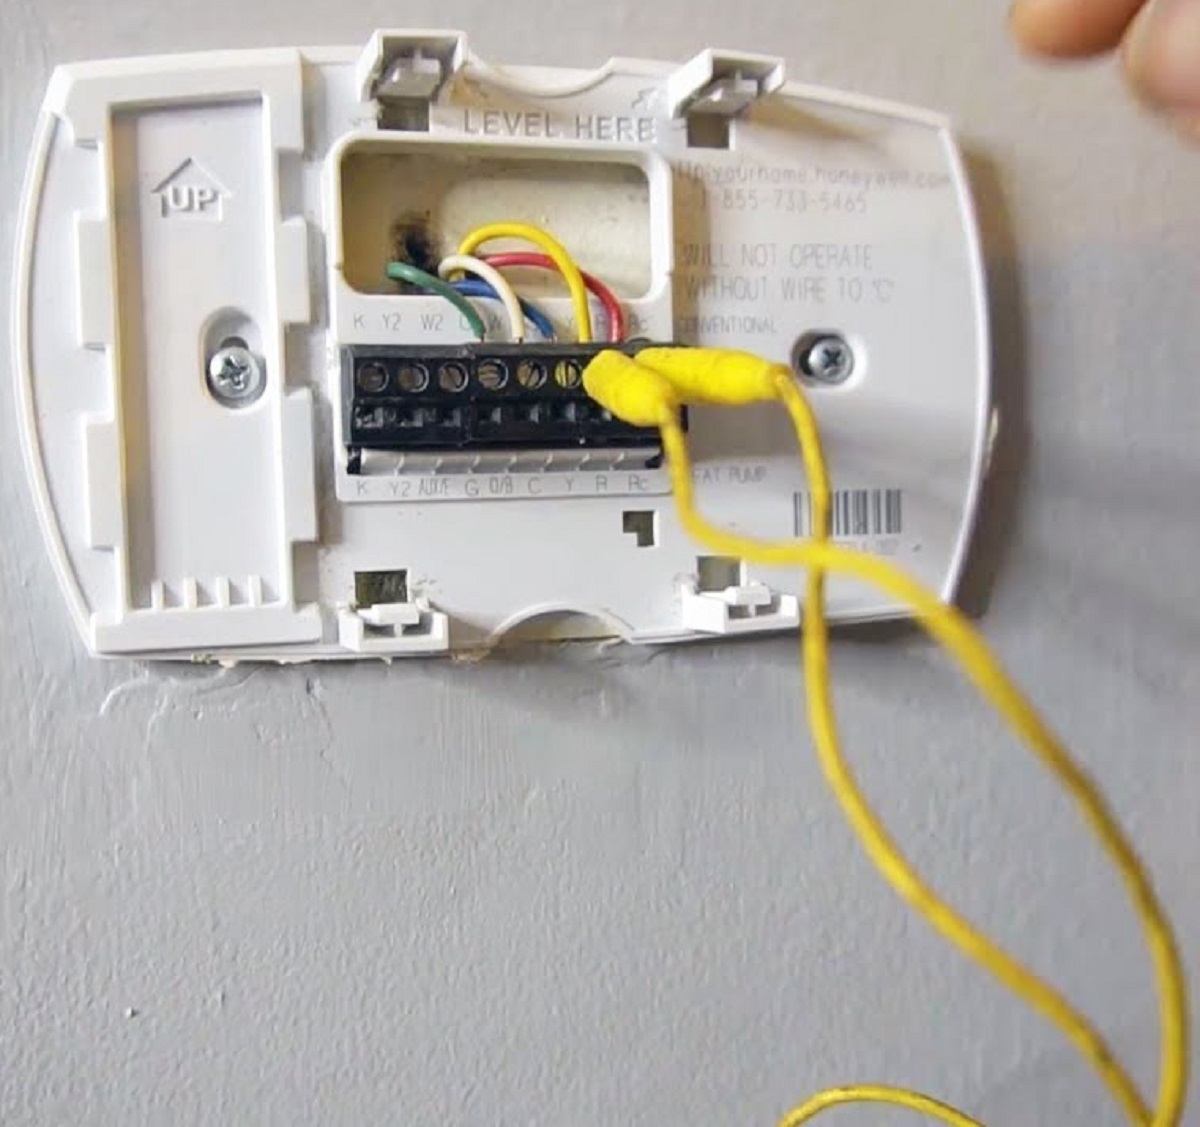
Step 6: Install the Humidifier Control Unit
Installing the humidifier control unit is essential for effectively managing and maintaining the desired humidity levels in your home. The control unit allows you to adjust settings, monitor humidity levels, and automate the operation of the humidifier. Follow these steps to install the control unit:
- Select the installation location: Choose a convenient location for the control unit, preferably in a central area of your home. This can be on a nearby wall or in a utility room close to the furnace.
- Mount the control unit: Use screws and a screwdriver to mount the control unit securely onto the wall or desired location. Make sure it is level and easily accessible for adjustments and monitoring.
- Use a voltage tester: Confirm that the power is turned off by using a voltage tester on the electrical connections before proceeding.
- Connect the electrical wiring: Refer to the manufacturer’s instructions for the specific wiring requirements of the control unit. Typically, this involves connecting the wiring from the control unit to the furnace’s control board or transformer. Use wire strippers to remove the insulation from the wire ends, twist the exposed wires together, and secure them with wire nuts. Wrap the connections with electrical tape for added security.
- Install batteries (if applicable): Some control units may require batteries for operation. Install the designated batteries according to the manufacturer’s instructions.
- Test the control unit: Turn on the power to the furnace and test the control unit to ensure it is functioning properly. Adjust settings as needed and verify that the humidifier is responding accordingly.
Once the control unit is installed and tested, you will have the ability to conveniently manage and monitor the humidity levels in your home. This ensures that you can maintain a comfortable and healthy indoor environment.
In the next step, we will cover how to test and adjust the humidifier to ensure optimal performance.
Step 7: Test and Adjust the Humidifier
After completing the installation of the furnace humidifier, it’s essential to test and adjust its settings to ensure optimal performance. Follow these steps to test and adjust the humidifier:
- Turn on the power: Ensure that the power to the furnace and humidifier is turned on at the circuit breaker or main electrical panel.
- Set the desired humidity level: Use the control unit to set the desired humidity level for your home. This will vary depending on your comfort preferences and the recommended humidity levels for your geographic region.
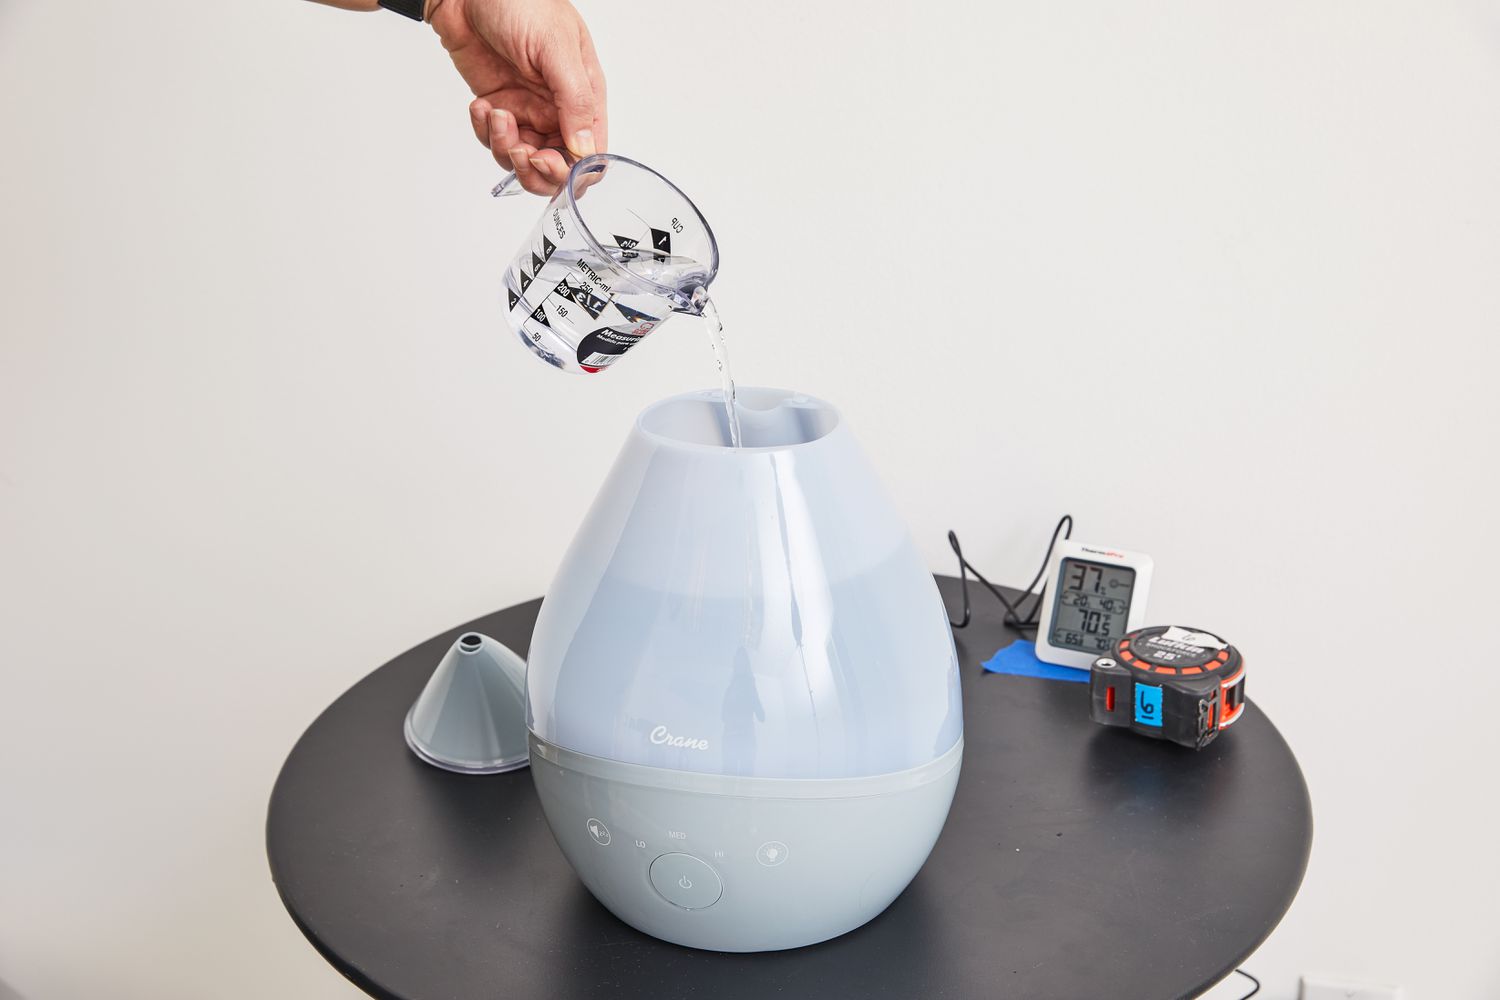
- Monitor humidity levels: Over the next few days, monitor the humidity levels in different areas of your home using a hygrometer or the built-in humidity display on the control unit. This will help you determine if the humidifier is operating effectively.
- Adjust settings as needed: Based on the humidity readings, adjust the settings on the control unit to increase or decrease the humidity output of the humidifier. This will allow you to achieve and maintain the desired humidity levels.
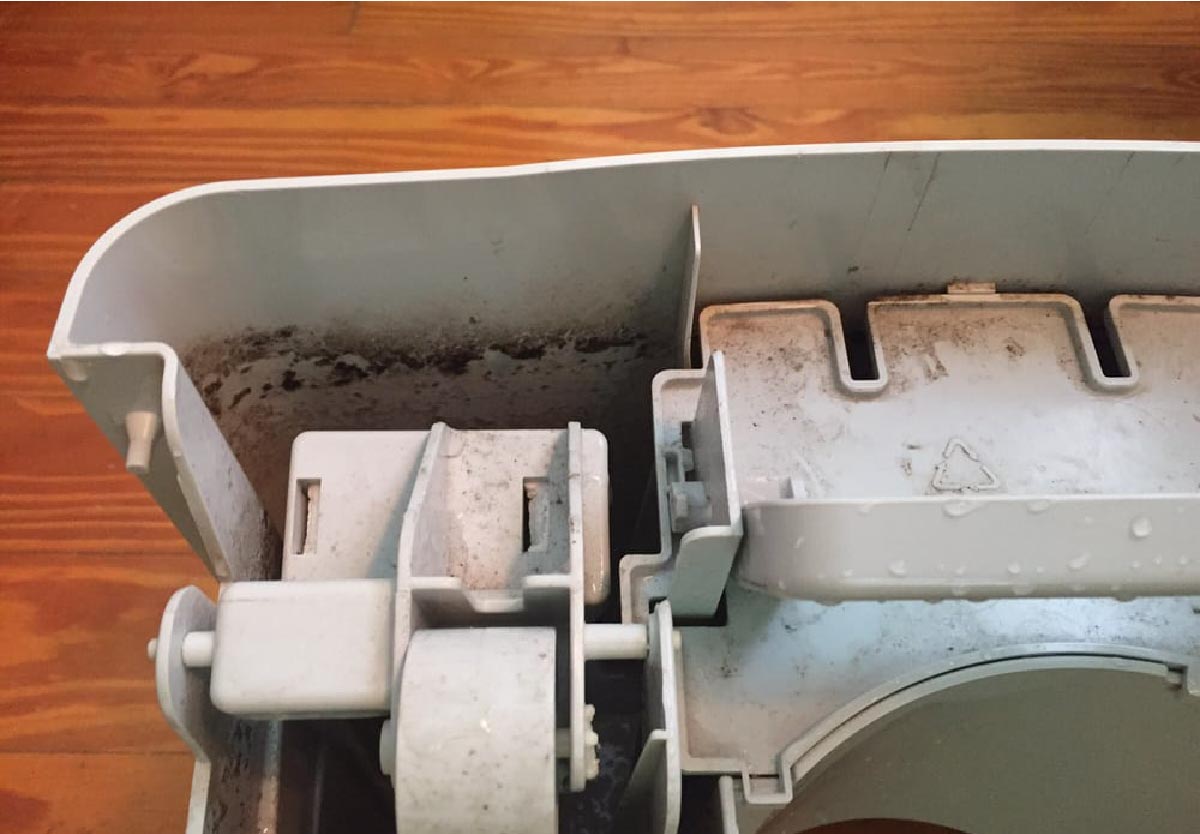
- Regularly check and replace the humidifier pad: The humidifier pad, also known as the evaporator pad or filter, plays a critical role in the functioning of the humidifier. Monitor its condition regularly and replace it as recommended by the manufacturer or as needed. A dirty or worn-out pad can affect the efficiency of the humidifier.
- Monitor for any issues: Keep an eye out for any signs of leaks, drips, or unusual noises coming from the humidifier. Any issues should be addressed promptly to prevent further damage or malfunction.
Testing and adjusting the humidifier will allow you to fine-tune its operation and ensure that it is providing the desired moisture levels in your home. Regular monitoring and maintenance will help to maximize its efficiency and longevity.
In the final step, we will discuss the importance of performing regular maintenance on your furnace humidifier.
Step 8: Perform Regular Maintenance
Maintaining your furnace humidifier regularly is crucial for its efficient operation and longevity. By performing routine maintenance tasks, you can ensure that the humidifier continues to provide optimal performance. Here are some essential maintenance steps:
- Clean or replace the humidifier pad: The humidifier pad, also known as the evaporator pad or filter, should be cleaned or replaced regularly. Follow the manufacturer’s instructions on how to clean or change the pad, as it can vary depending on the type of humidifier you have. A clogged or dirty pad can hinder the proper functioning of the humidifier.
- Check the water supply line: Inspect the water supply line periodically to ensure there are no leaks or cracks. Replace any damaged or worn-out sections of the line promptly. Make sure all connections are tight and secure.
- Clean the water reservoir: If your humidifier has a water reservoir, clean it regularly to prevent the buildup of mineral deposits or bacteria. Use a mix of water and vinegar or a mild cleaning solution recommended by the manufacturer. Rinse thoroughly after cleaning and allow it to dry before reinstalling.
- Inspect the drain line (if applicable): If your humidifier has a drain line, check it periodically to ensure it is clear of any obstructions. A clogged drain line can result in water backup and potential damage to the humidifier.
- Check the control unit batteries: If your humidifier control unit uses batteries, regularly check and replace them as needed. Dead or weak batteries can cause the control unit to malfunction or lose settings.
- Clean the humidifier housing: Over time, dust and debris can accumulate on the humidifier housing. Wipe it down regularly with a damp cloth or sponge to keep it clean and free from obstructions.
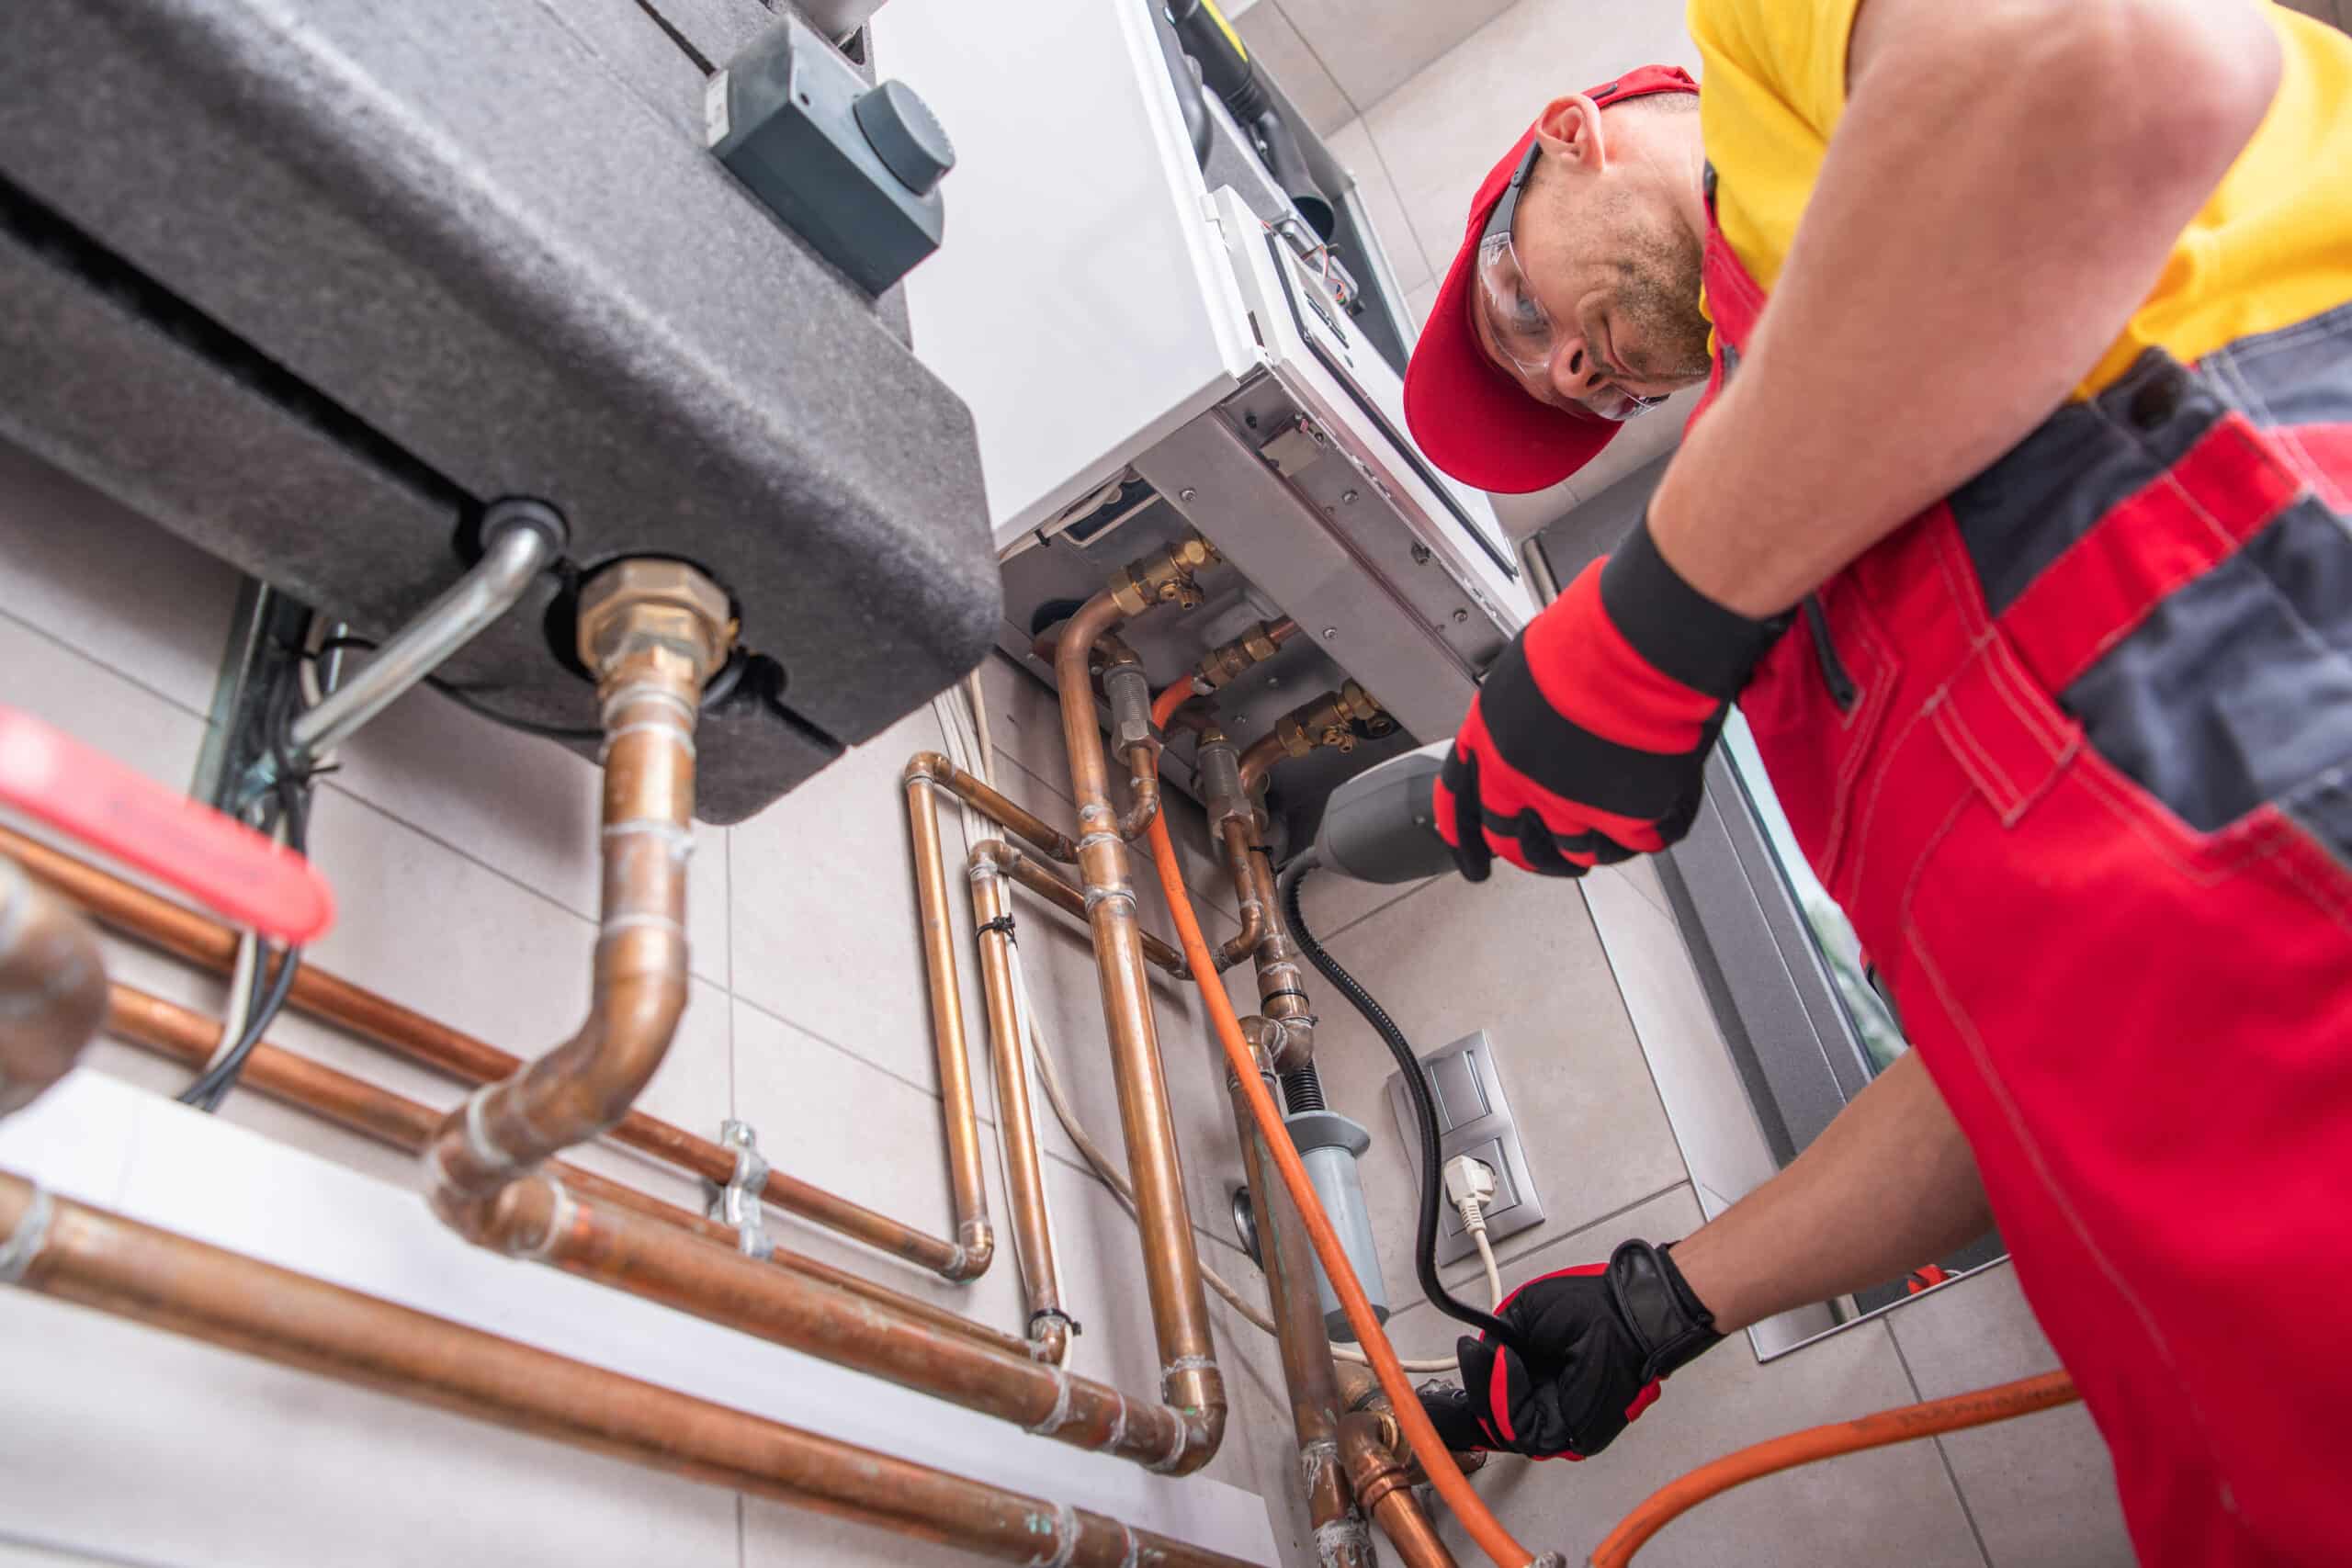
- Schedule professional maintenance: Consider scheduling annual maintenance by a qualified HVAC technician to thoroughly inspect and service your furnace humidifier. They can identify any potential issues, clean internal components, and ensure the humidifier is functioning optimally.
By performing these regular maintenance tasks, you can extend the lifespan of your furnace humidifier and maintain its efficiency. A well-maintained humidifier will continue to provide you with a healthy, comfortable home environment.
Congratulations! You have successfully completed the installation and maintenance process for your furnace humidifier. Enjoy the benefits of improved indoor air quality and a more comfortable living space throughout the year.
Read more: How To Get Furnace Into The Attic
Conclusion
Installing a furnace humidifier can greatly improve the comfort and air quality in your home, especially during the dry winter months. By following the step-by-step instructions outlined in this article, you can successfully install and maintain a furnace humidifier on your own.
From gathering the necessary tools and materials to testing and adjusting the humidifier, each step is crucial for a seamless installation process. Choosing the right location, preparing the furnace, connecting the water supply line, and integrating the humidifier with the heating system are all essential steps for optimal performance.
Once installed, it’s important to regularly test, adjust, and maintain the humidifier. Monitoring humidity levels, cleaning or replacing the humidifier pad, inspecting the water supply line, and performing regular maintenance tasks will ensure that your humidifier operates efficiently and effectively.
Remember, installing a furnace humidifier not only improves comfort but also offers health benefits by preventing dry skin, irritated respiratory passages, and static electricity. It creates a healthier and more pleasant living environment for you and your family.
If you ever have any questions or need further assistance, consult the manufacturer’s guidelines or consider seeking professional help from a qualified HVAC technician. They can provide expert advice and support for your specific humidifier model.
Now that you have the knowledge and tools, go ahead and enhance the air quality in your home by installing a furnace humidifier. Enjoy the benefits of a well-humidified space and the comfort it brings!
Frequently Asked Questions about How To Install Furnace Humidifier
Was this page helpful?
At Storables.com, we guarantee accurate and reliable information. Our content, validated by Expert Board Contributors, is crafted following stringent Editorial Policies. We're committed to providing you with well-researched, expert-backed insights for all your informational needs.

0 thoughts on “How To Install Furnace Humidifier”