Articles
How To Install Chimney Liner For Gas Furnace
Modified: January 9, 2024
Learn how to install a chimney liner for your gas furnace with our step-by-step articles. Ensure proper ventilation and safety for your home.
(Many of the links in this article redirect to a specific reviewed product. Your purchase of these products through affiliate links helps to generate commission for Storables.com, at no extra cost. Learn more)
Introduction
Installing a chimney liner for a gas furnace is a crucial step in ensuring proper ventilation and safety in your home. A chimney liner acts as a protective barrier, preventing the corrosive gases produced by the furnace from damaging the chimney walls. Additionally, it helps to improve the efficiency of your furnace by minimizing heat loss.
In this comprehensive guide, we will walk you through the step-by-step process of installing a chimney liner for a gas furnace. By following these instructions and using the right tools and materials, you can effectively and safely complete this project.
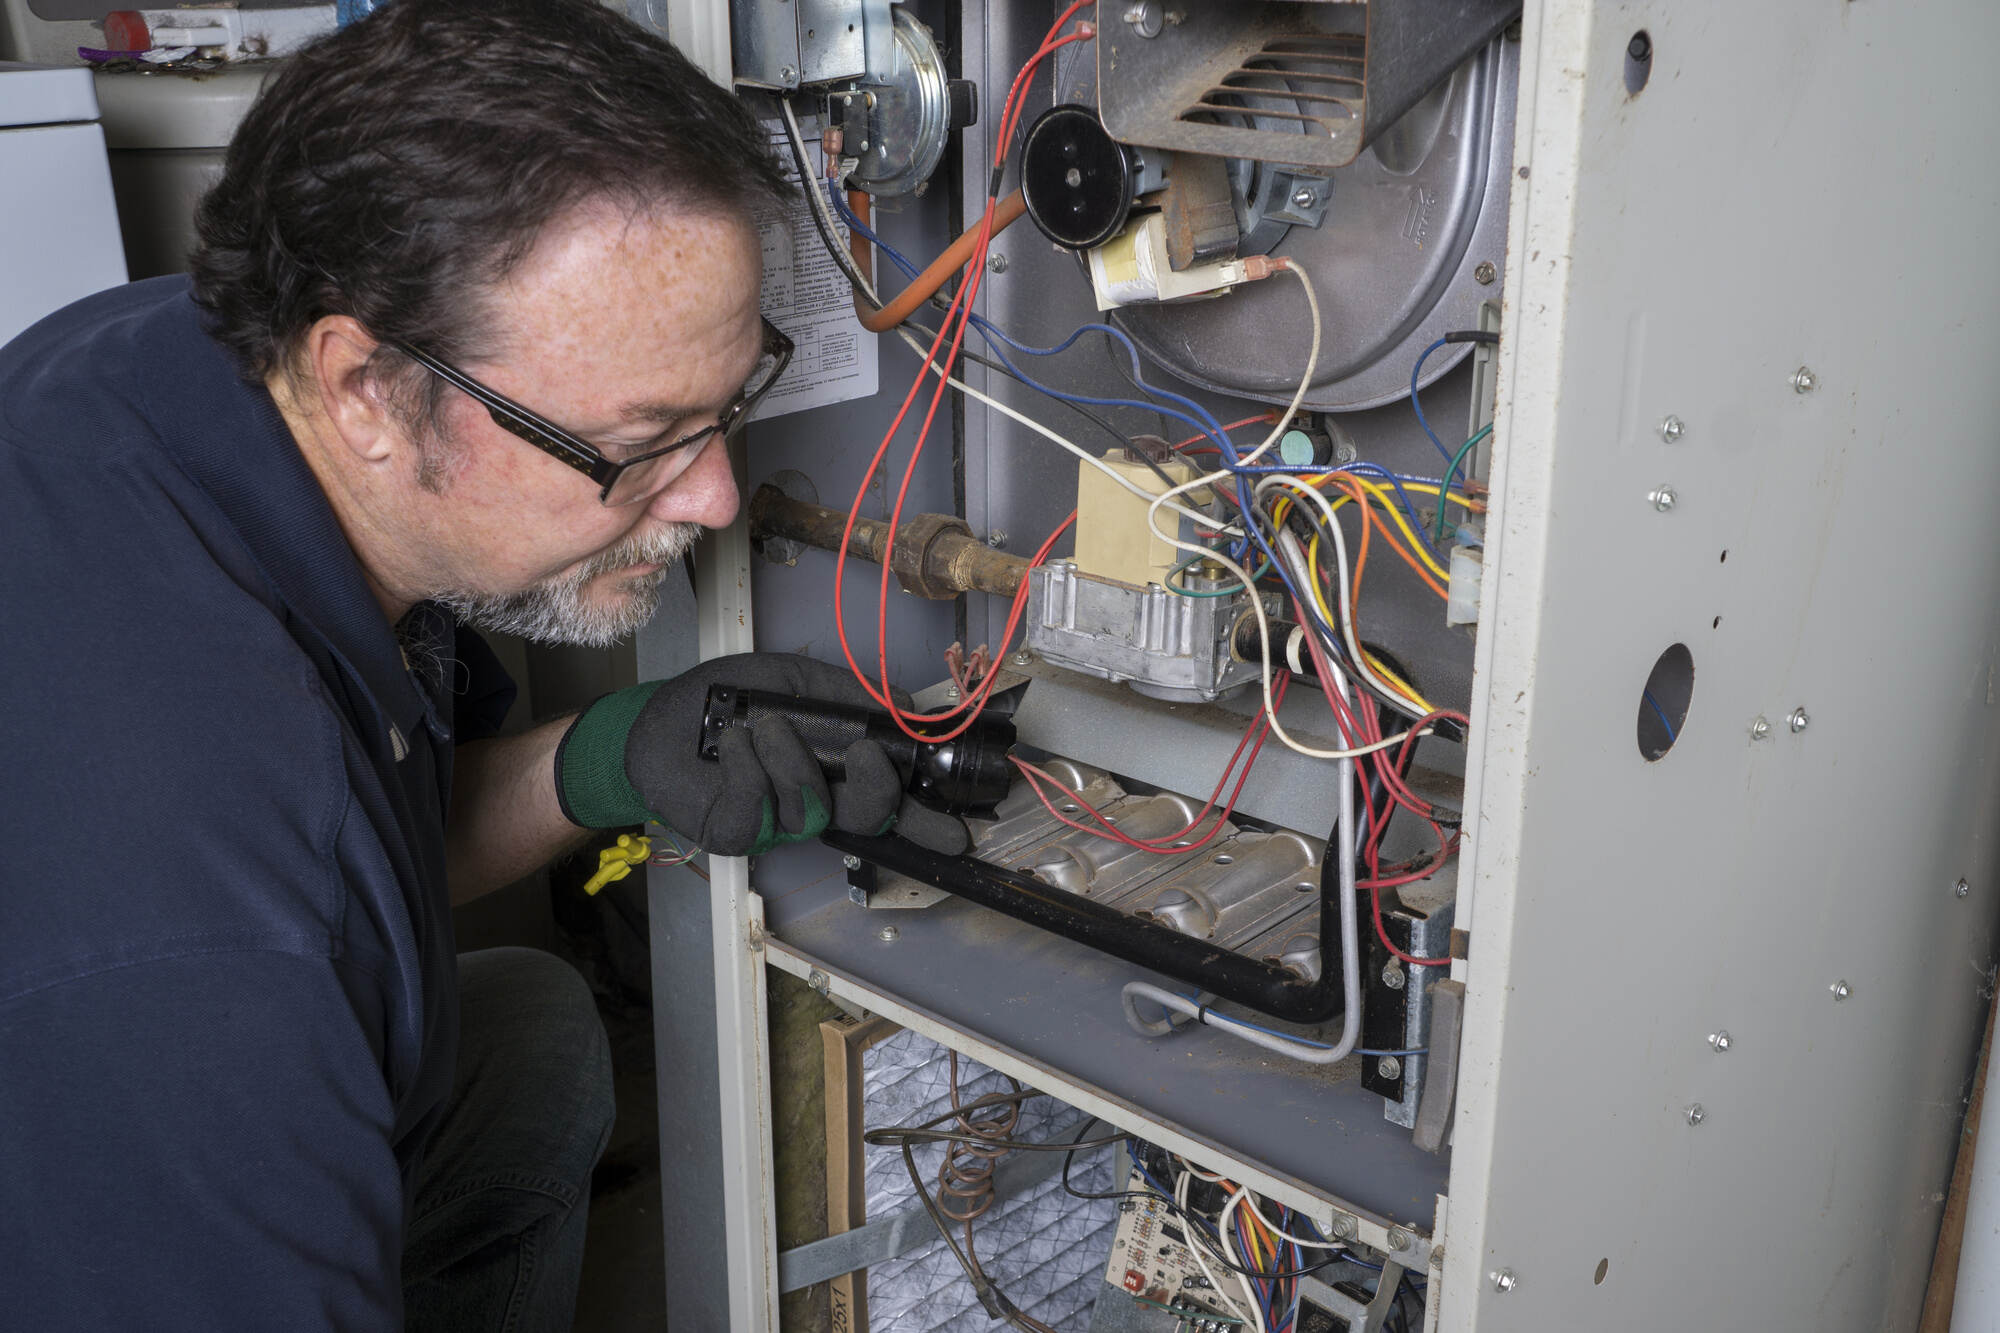
Before starting the installation process, it is important to emphasize the need for safety. Make sure to wear the appropriate protective gear, such as gloves and safety glasses, and ensure proper ventilation in the workspace. If you are not confident in your abilities, or if there are any doubts about the condition of your chimney, it is highly recommended to seek professional assistance.
Now, let’s dive into the steps involved in installing a chimney liner for a gas furnace.
Key Takeaways:
- Proper installation of a chimney liner for a gas furnace is crucial for ensuring efficient ventilation, preventing corrosion, and improving the overall performance of the furnace. Following the step-by-step process and using the right tools and materials is essential for a successful installation.
- Safety is paramount throughout the installation process, from gathering the necessary tools and materials to testing the ventilation system. If unsure, seeking professional assistance is highly recommended to ensure the efficient and safe operation of the gas furnace.
Read more: How To Install Chimney Liner
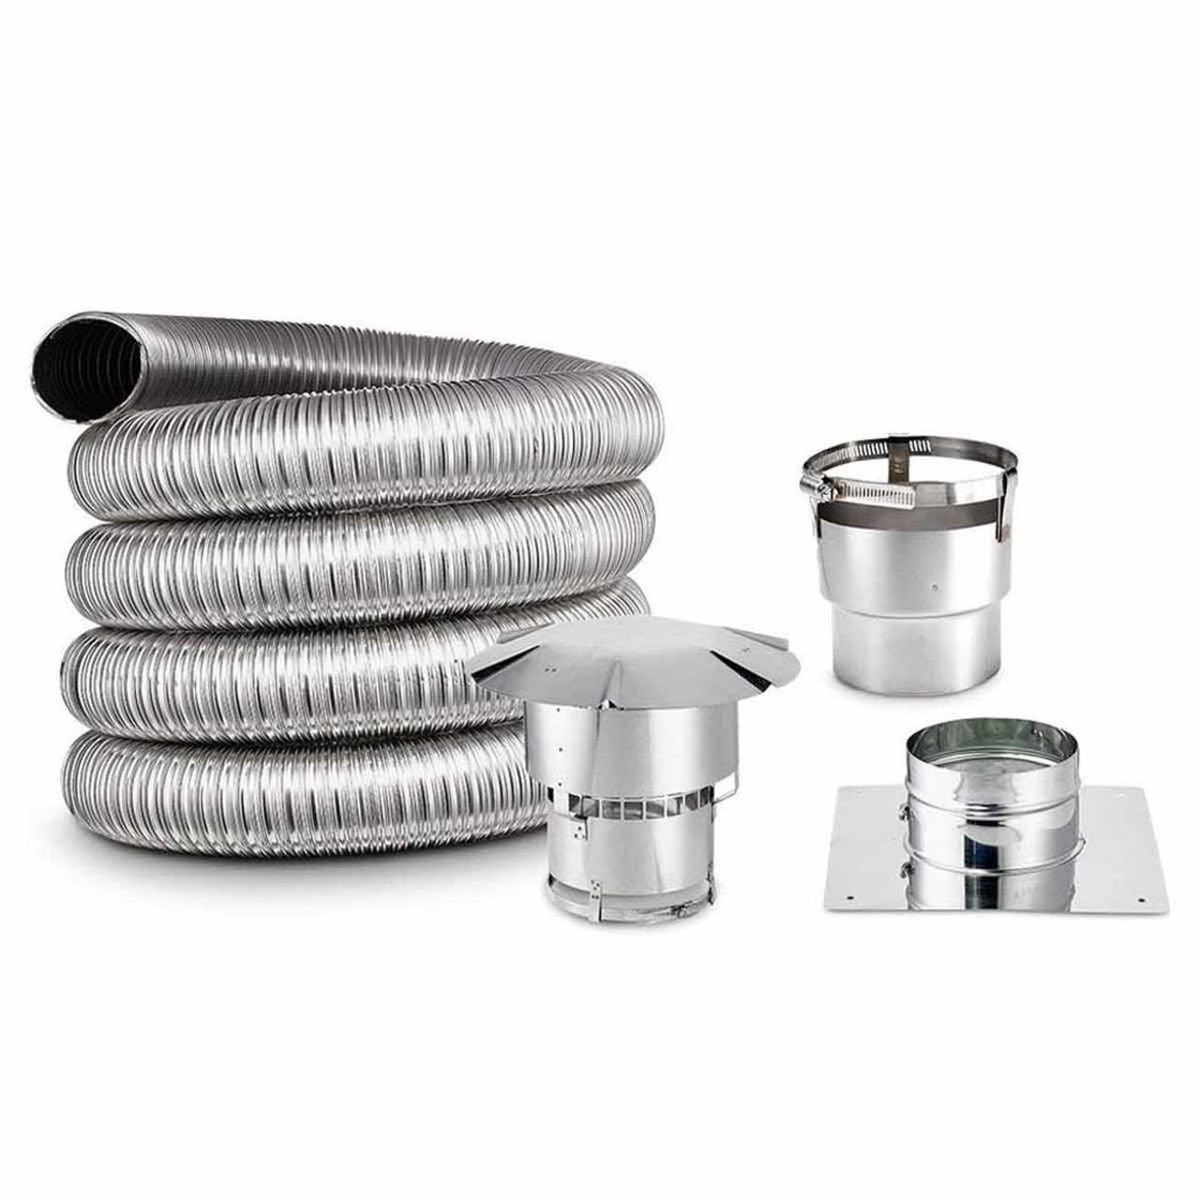
Step 1: Gather the Necessary Tools and Materials
Before you begin the installation process, it is essential to gather all the required tools and materials. This will ensure that you have everything you need on hand, eliminating the need for multiple trips to the hardware store.
Here is a list of the tools and materials you will need:
- Chimney liner kit: Make sure to choose a kit that is specifically designed for gas furnaces.
- Tape measure: This will be necessary for accurately measuring the length of the chimney liner.
- Chalk or pencil: Use this to mark the cutting points on the chimney liner.
- Tin snips or reciprocating saw: These tools will be required for cutting the chimney liner to the desired length.
- Utility knife: You will need this to make precise cuts in the insulation material.
- Wire brush: Use a wire brush to clean the inside of the chimney and remove any debris or deposits.
- Drill with masonry bit: This will be necessary for drilling pilot holes in the chimney walls.
- Screwdriver: You will need both a flathead and a Phillips screwdriver for various tasks.
- Silicone caulk: This will be used to seal any gaps or joints in the chimney liner system.
- Safety gear: Don’t forget to have safety glasses and gloves to protect yourself during the installation process.
Once you have gathered all the necessary tools and materials, you will be fully equipped to move on to the next step of preparing the workspace.
Step 2: Prepare the Workspace
Before you begin the installation process, it is important to prepare the workspace to ensure a smooth and efficient installation. Here are the steps to follow:
- Clear the area: Start by removing any obstacles or debris near the furnace and the chimney. This will provide you with ample space to work and minimize the risk of accidents.
- Protect the surrounding areas: Cover the floors and nearby furniture with drop cloths or plastic sheets to prevent any damage or stains from dust or debris.
- Turn off the furnace: Shut off the gas supply to the furnace and turn off the power to the system. This will ensure your safety and prevent any accidental ignition while working on the chimney liner installation.
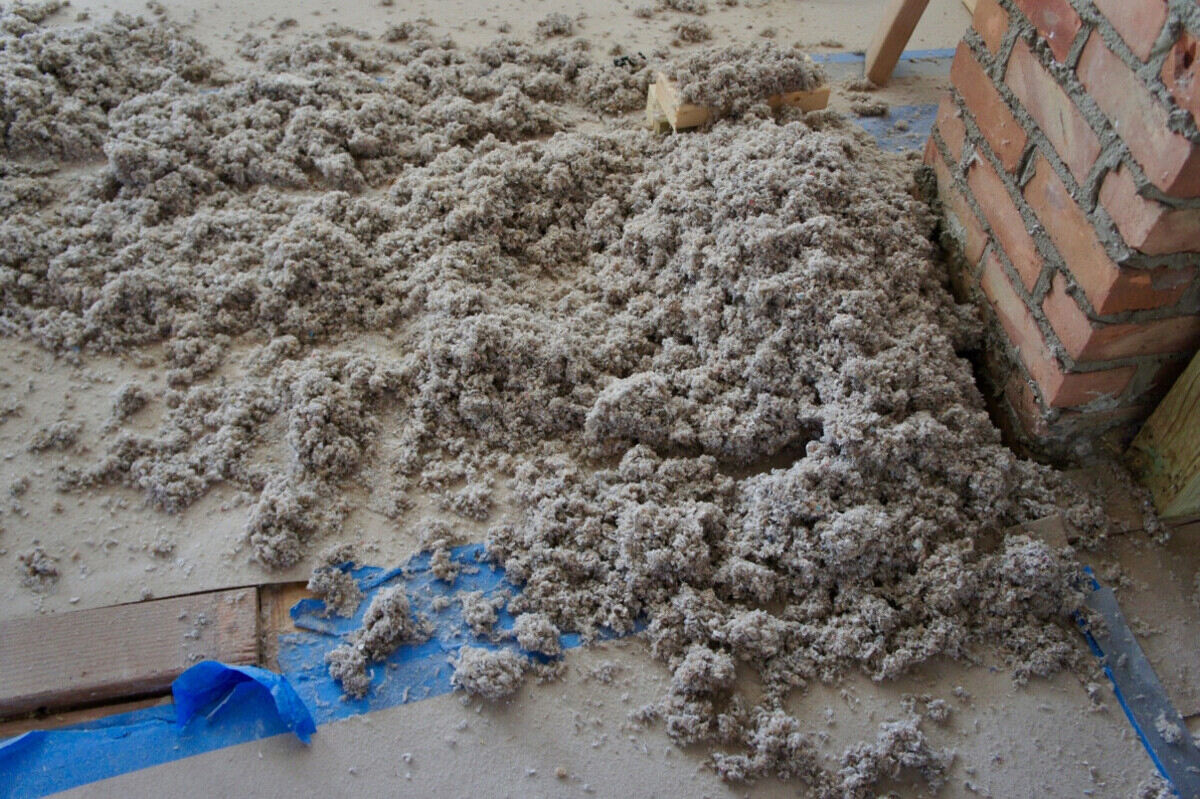
- Inspect the chimney: Carefully inspect the interior of the chimney for any signs of damage, such as cracks or loose bricks. If any issues are detected, it is recommended to address them before proceeding with the installation.
- Clean the chimney: Use a wire brush to thoroughly clean the inside of the chimney. Remove any debris, soot, or creosote buildup. This will improve the efficiency of the ventilation system and ensure proper airflow.
- Measure the chimney: Use a tape measure to determine the length of the chimney liner needed for the installation. Measure from the base of the chimney to the point where the liner will terminate outside.
By taking the time to adequately prepare the workspace, you will create a safe and organized environment for the chimney liner installation. With the workspace ready, you can now move on to the next step of measuring and cutting the chimney liner according to your measurements.
Step 3: Measure and Cut the Chimney Liner
Once you have prepared the workspace, it’s time to measure and cut the chimney liner to the appropriate length. Follow these steps:
- Measure the chimney: Using a tape measure, measure the distance from the base of the chimney to the termination point outside. Make sure to account for any bends or curves in the chimney.
- Mark the cutting points: Use a chalk or pencil to mark the cutting points on the chimney liner. Make sure to double-check the measurements to ensure accuracy.
- Cut the chimney liner: Using tin snips or a reciprocating saw, carefully cut the chimney liner according to the marked cutting points. Take your time and use steady, controlled motions while cutting.
- Trim excess length: If necessary, trim any excess length of the chimney liner to ensure a proper fit within the chimney.
- Cut insulation material: If your chimney liner kit includes insulation material, use a utility knife to cut the insulation to the appropriate size. Make sure the insulation covers the entire length of the chimney liner.
It is important to note that precise measurements and clean cuts are crucial for a successful chimney liner installation. Take your time during this step to ensure that the chimney liner fits snugly and securely within the chimney.
Once you have measured and cut the chimney liner, you are ready to move on to the next step of installing the termination cap.
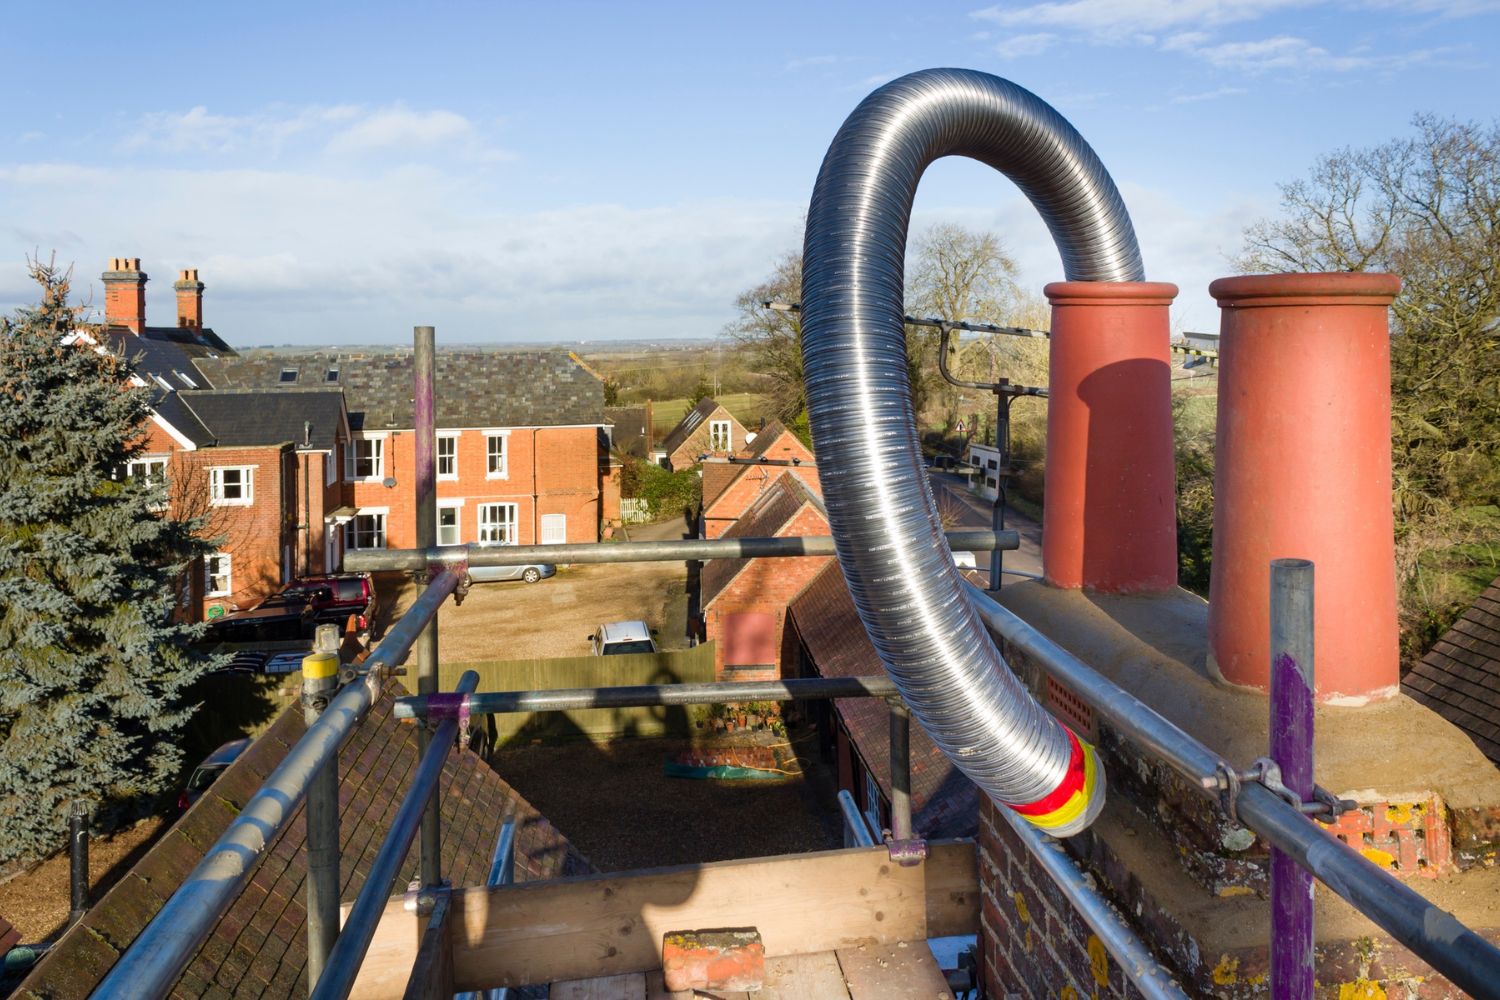
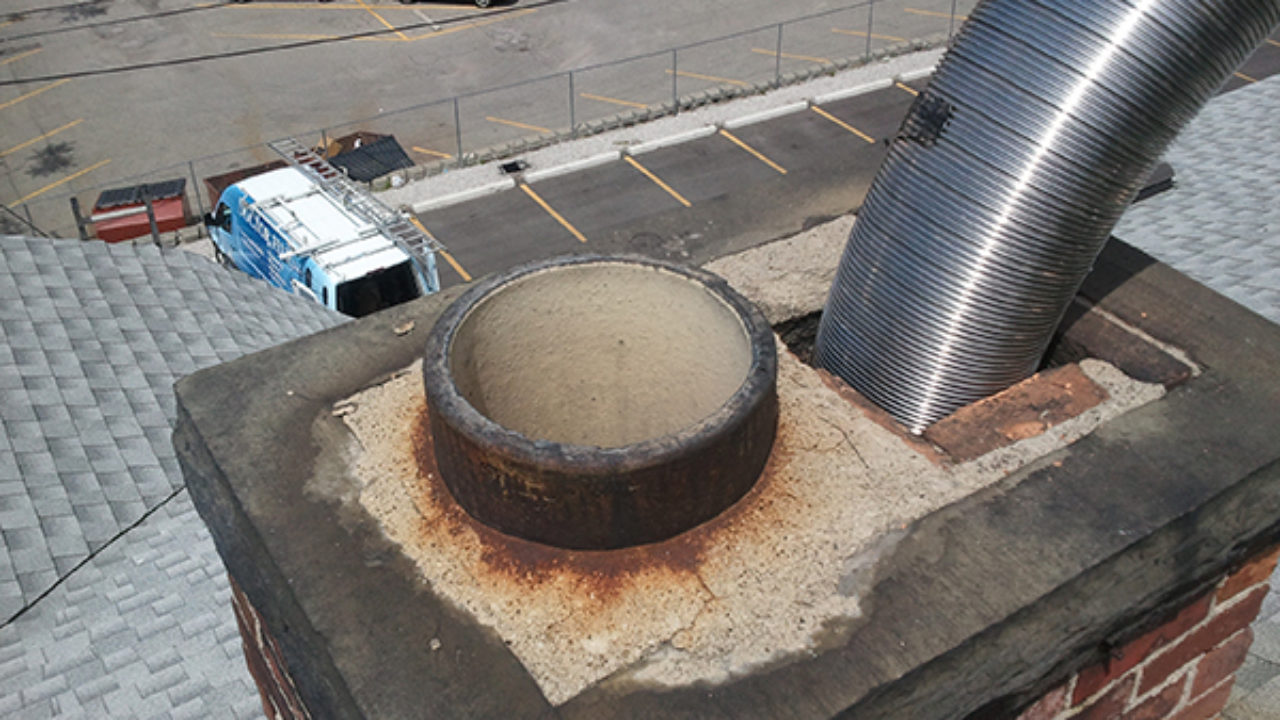
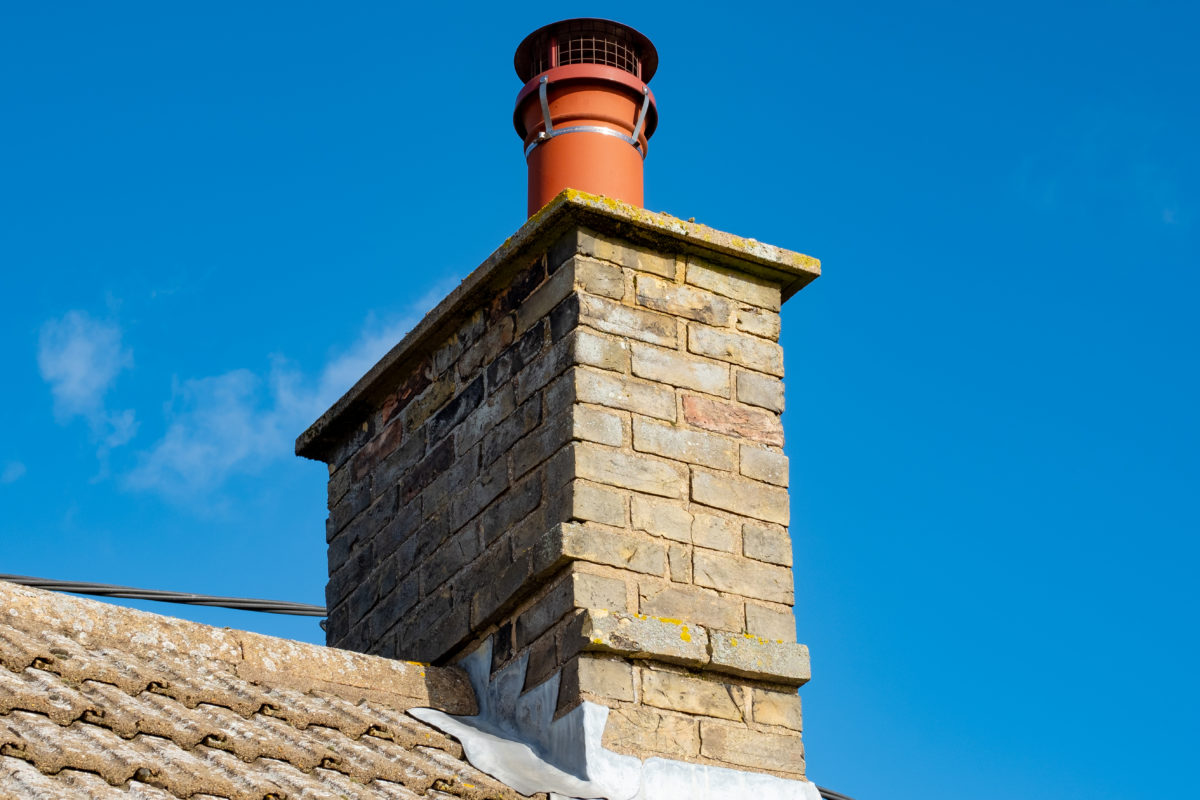
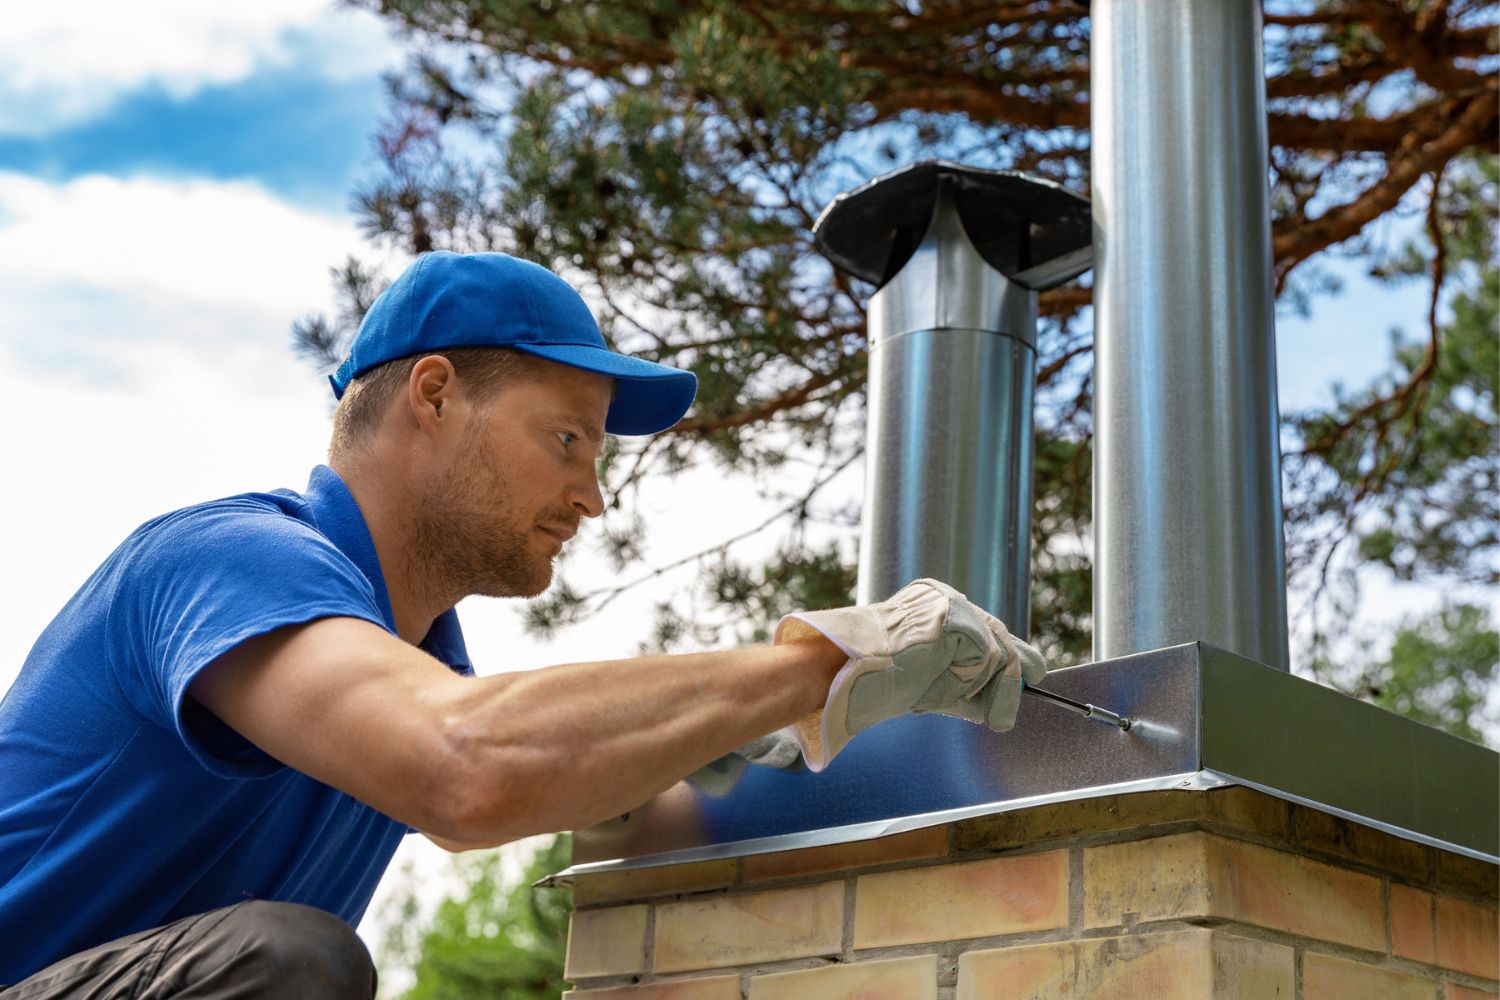
Step 4: Install the Termination Cap
Installing the termination cap is an important step in the chimney liner installation process, as it ensures proper ventilation and prevents water or debris from entering the chimney. Follow these steps to install the termination cap:
- Locate the termination point: Determine the appropriate location for the termination cap on the exterior of your home. It should be placed in a position that allows for optimal airflow and is away from any potentially flammable materials.
- Attach the termination cap: Carefully attach the termination cap to the end of the chimney liner. Follow the manufacturer’s instructions for secure installation. Use screws or clamps, depending on the type of termination cap you are using.
- Seal the connections: Apply silicone caulk to the connections between the termination cap and the chimney liner. This will create a watertight seal and prevent any leaks.
When installing the termination cap, make sure it is securely fastened and aligned properly. This will ensure proper ventilation and prevent any issues down the line.
With the termination cap installed, you are now ready to connect the chimney liner to the gas furnace, which is the next step in the installation process.
When installing a chimney liner for a gas furnace, make sure to choose the correct size and material for your specific furnace and chimney. It’s important to follow the manufacturer’s instructions and local building codes to ensure a safe and efficient installation.
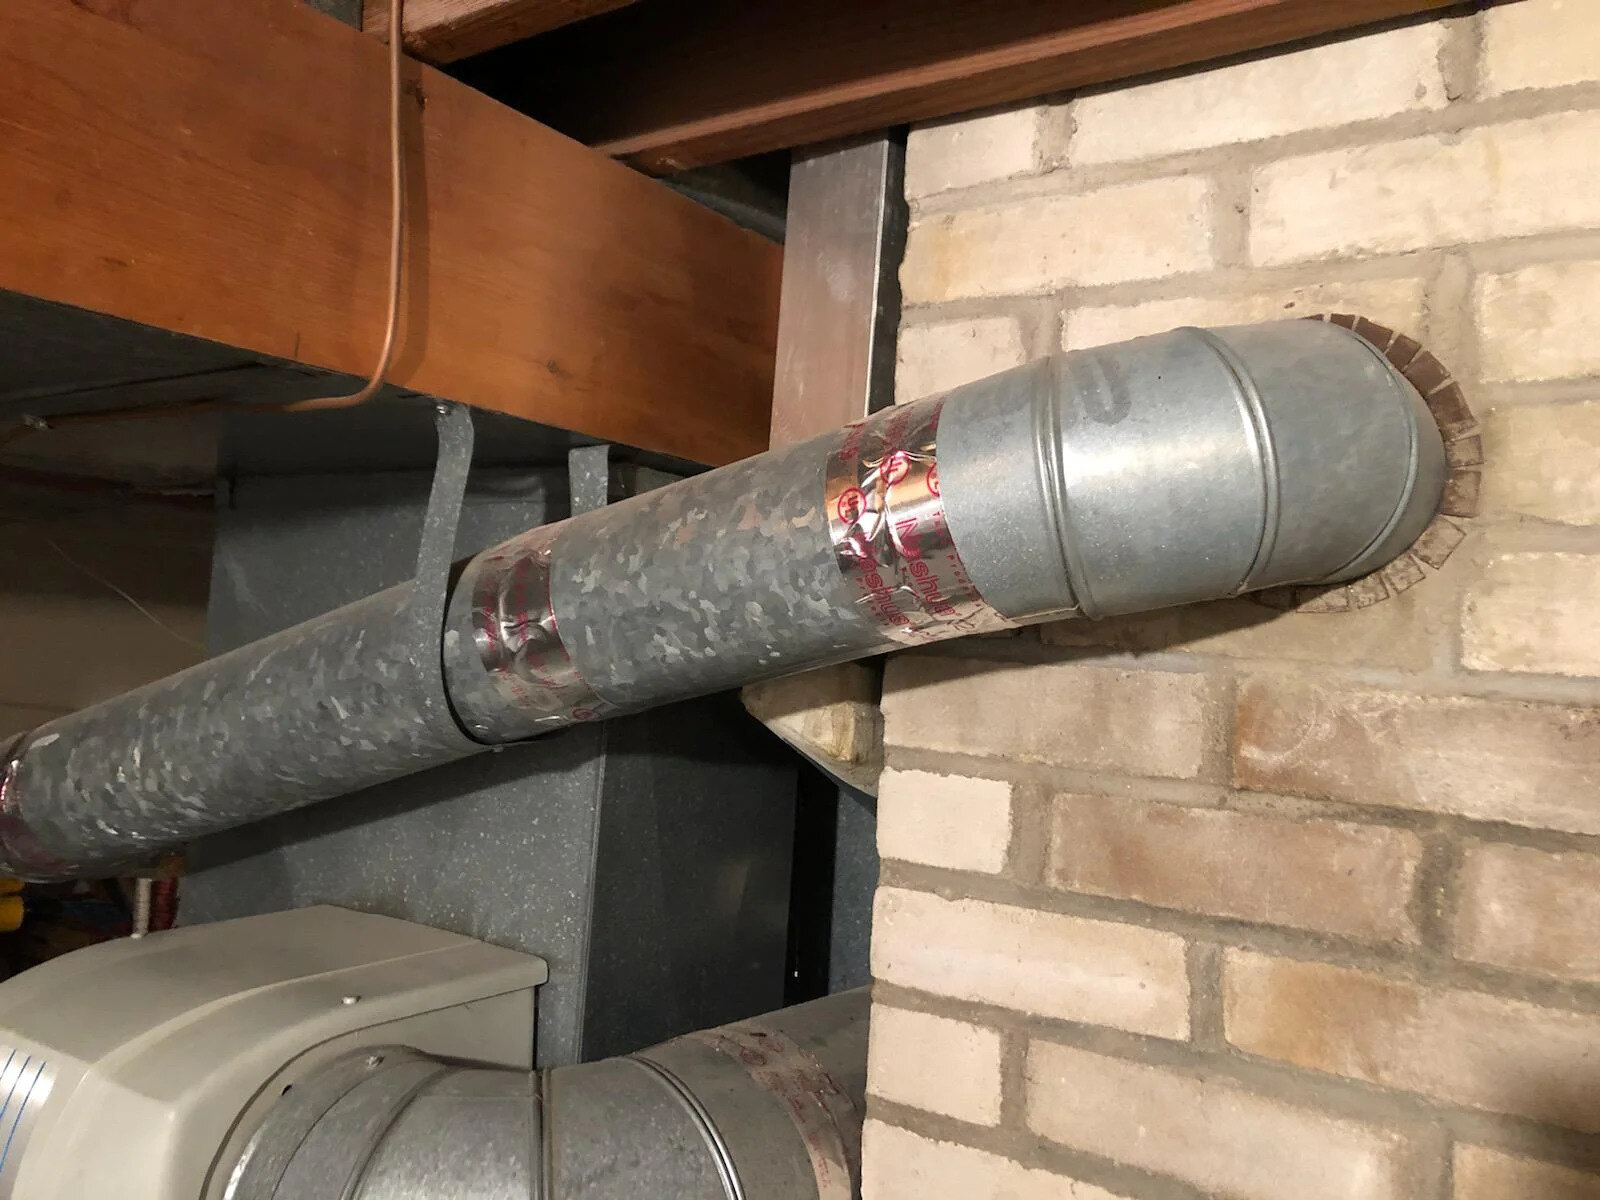
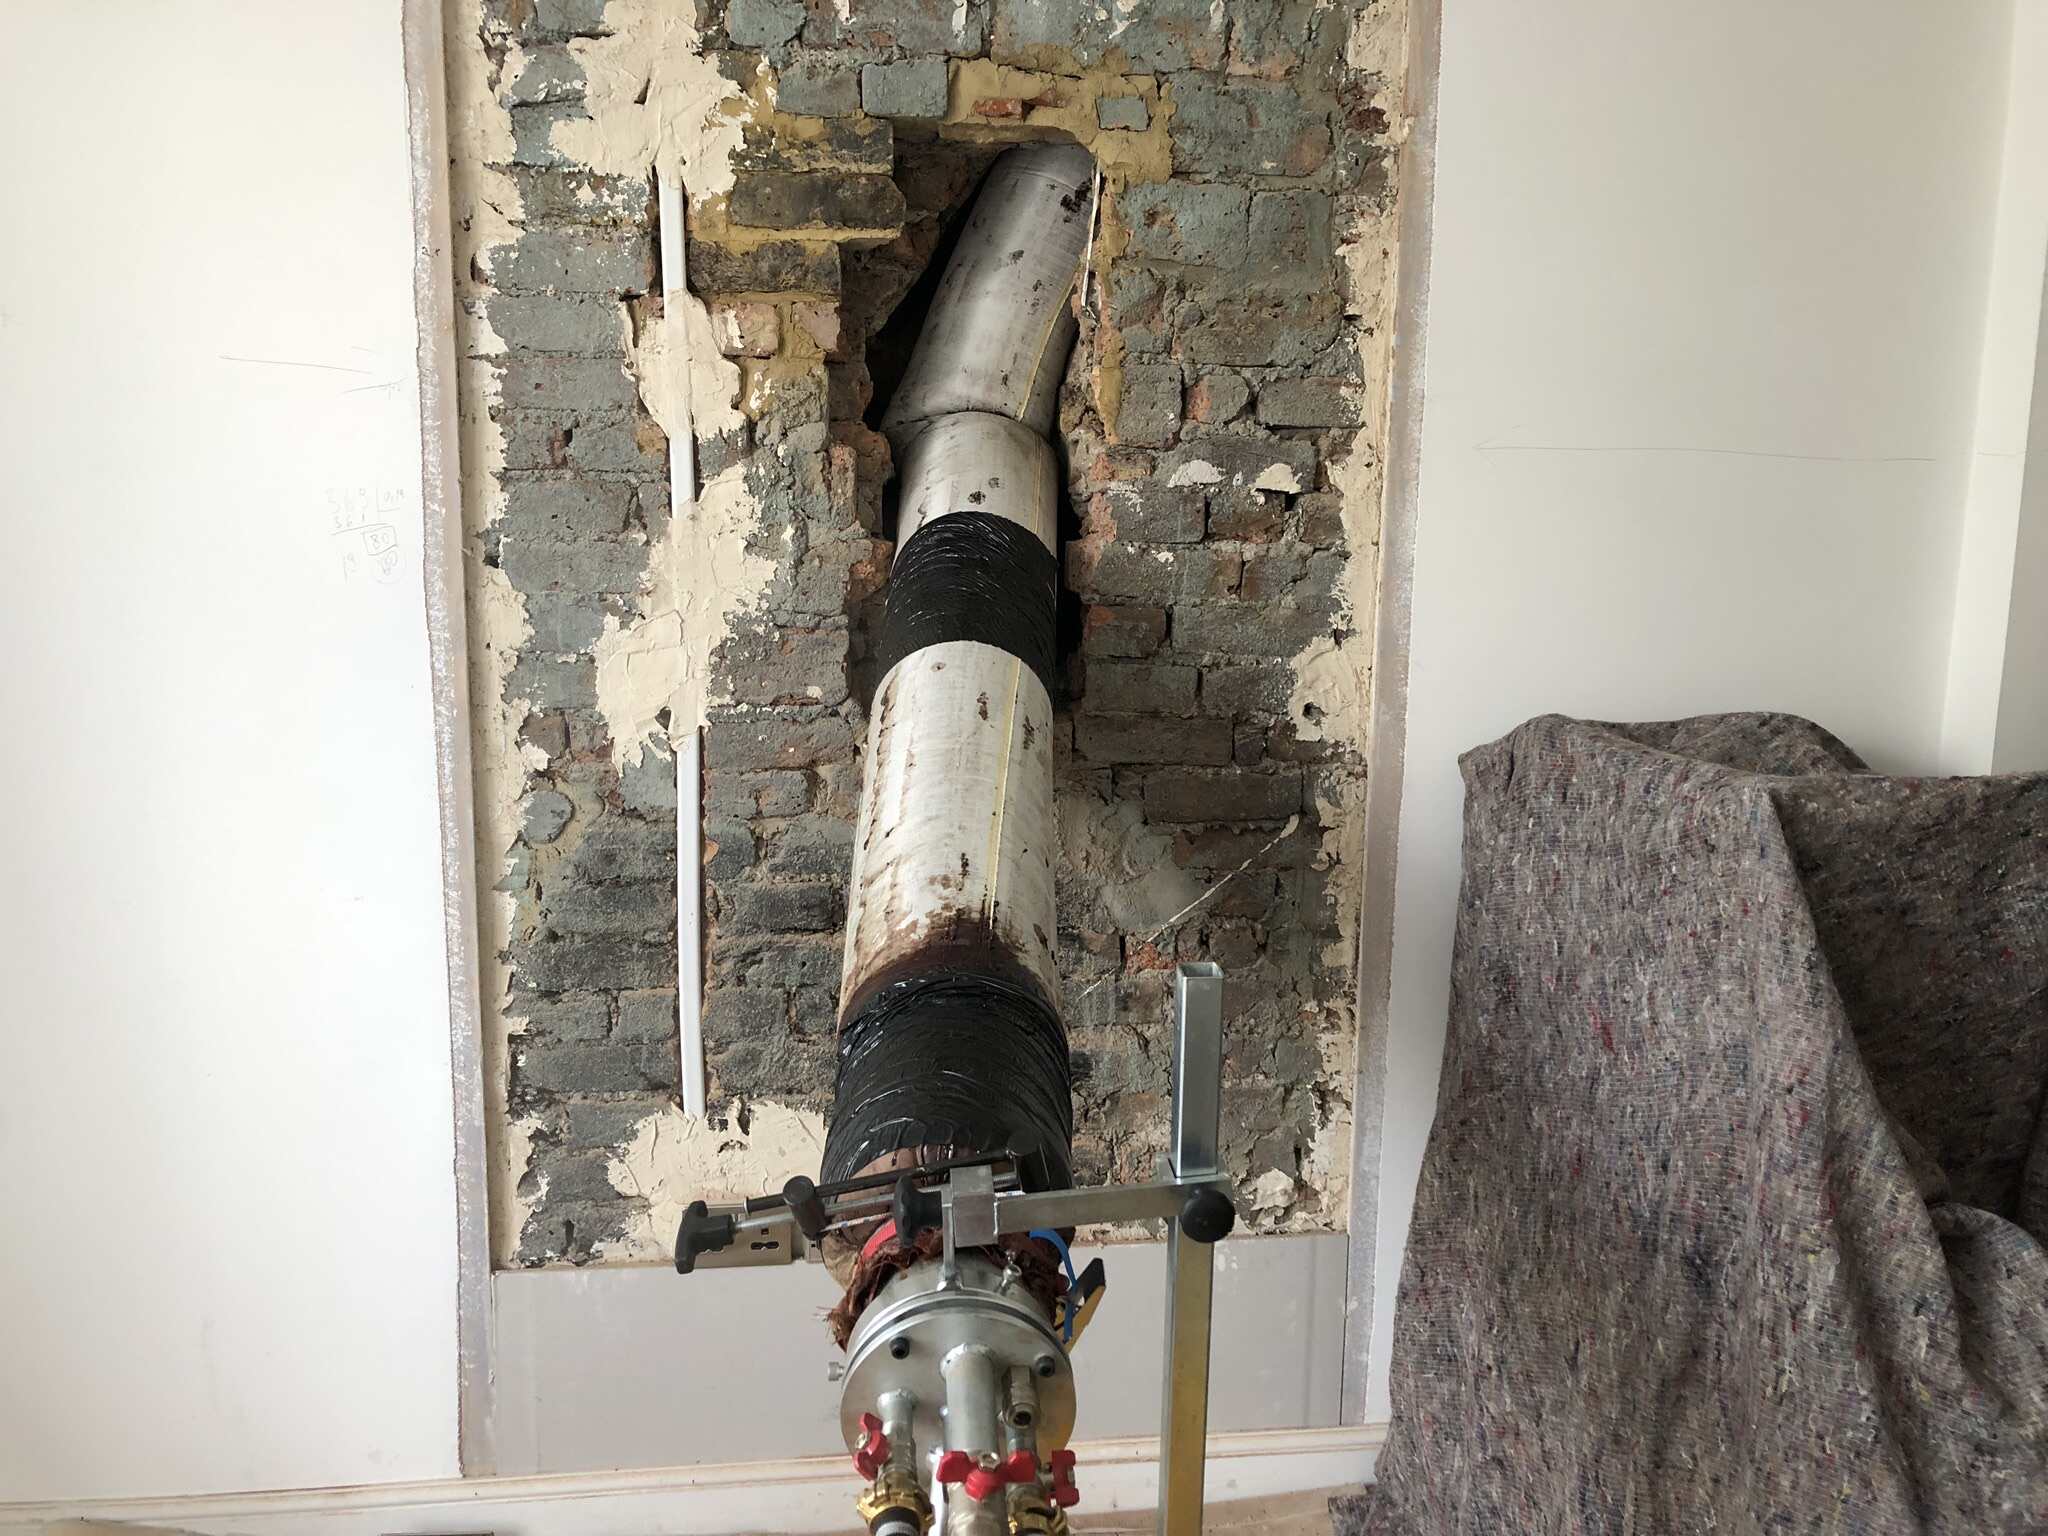
Step 5: Connect the Chimney Liner to the Furnace
Connecting the chimney liner to the gas furnace is a crucial step to ensure proper ventilation and efficient operation. Follow these steps to connect the chimney liner to the furnace:
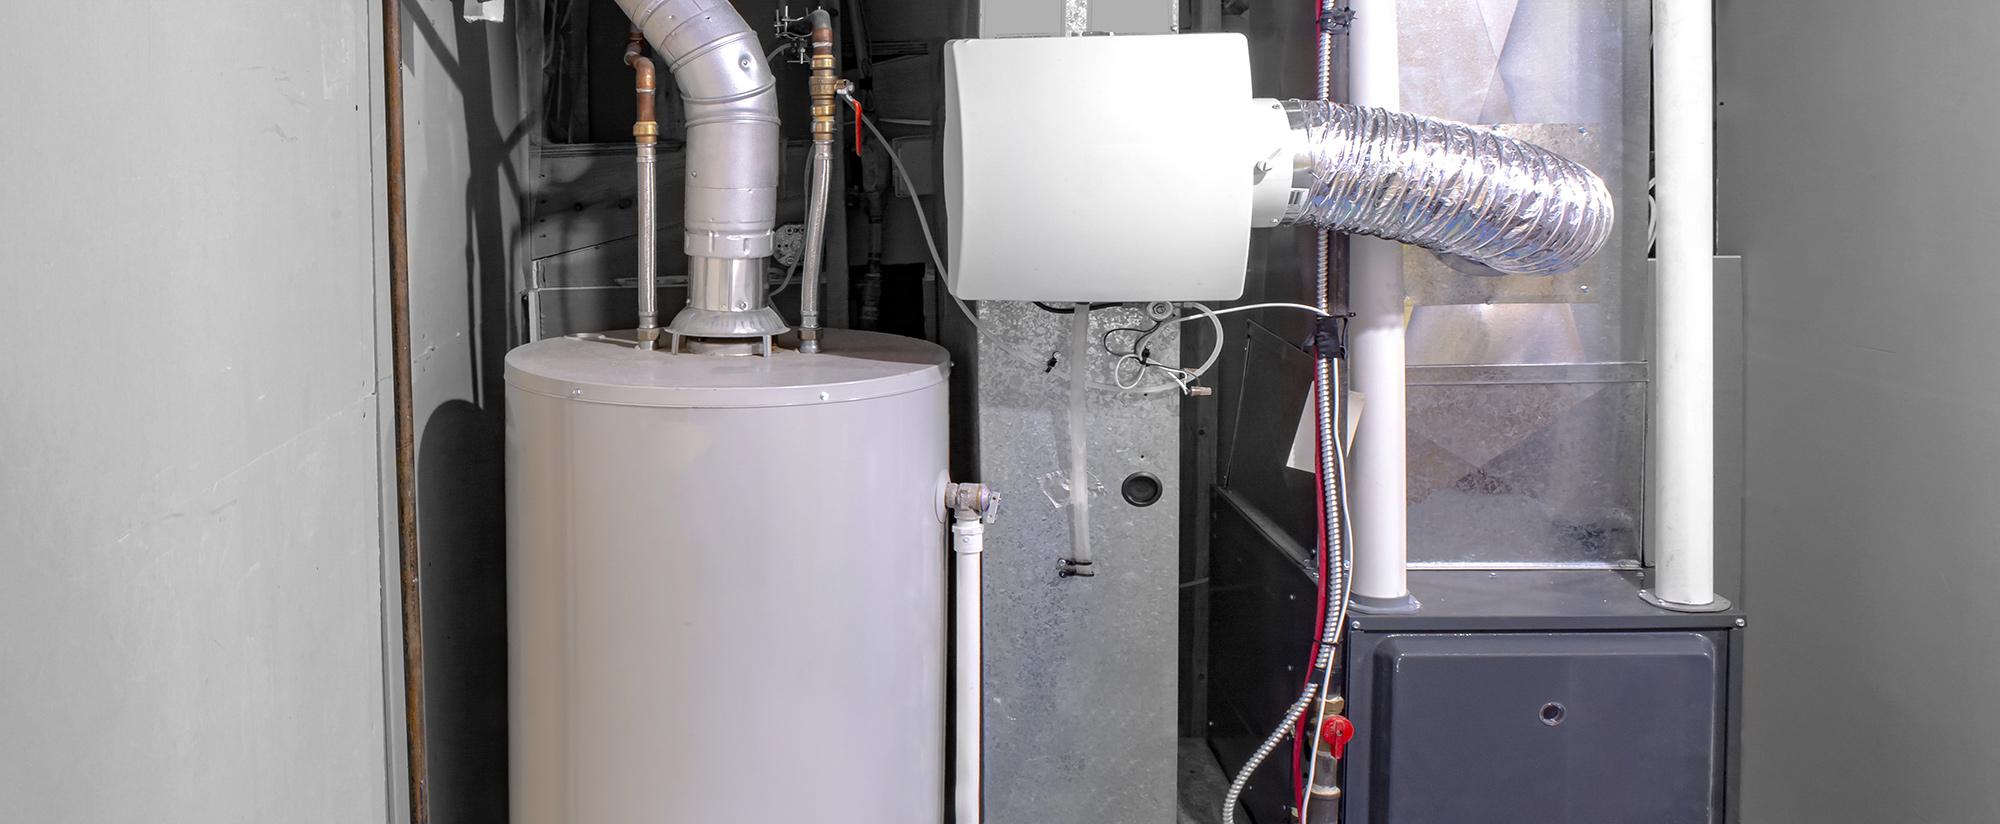
- Locate the connection point: Identify the connection point on the furnace where the chimney liner will be attached. It is usually located on the flue collar of the furnace.
- Prepare the connection: Clean the flue collar thoroughly using a wire brush to remove any debris or buildup. This will ensure a secure and reliable connection.
- Attach the chimney liner: Slide the end of the chimney liner into the flue collar of the furnace. Make sure it fits securely and snugly.
- Secure the connection: Use screws or clamps provided in the chimney liner kit to secure the chimney liner to the flue collar. Follow the manufacturer’s instructions for correct installation.
Ensuring a proper connection between the chimney liner and the furnace is essential for safe and efficient operation. Take your time during this step to ensure a secure and airtight connection.
Once the chimney liner is connected to the furnace, it is important to secure it in place to prevent any shifting or movement. This brings us to the next step of the installation process.
Step 6: Secure the Chimney Liner in Place
After connecting the chimney liner to the gas furnace, it is important to secure it in place to ensure stability and prevent any shifting. Follow these steps to secure the chimney liner:
- Inspect the connections: Double-check all the connections, including the termination cap and the furnace, to ensure they are properly installed and secure.
- Support the chimney liner: Install chimney liner support brackets along the length of the chimney liner. These brackets will provide additional support and prevent sagging.
- Attach the brackets: Use screws or clamps to attach the support brackets to the interior walls of the chimney. Follow the manufacturer’s instructions for proper placement and attachment.
- Adjust the brackets: Make sure the support brackets are evenly spaced and provide adequate support to the chimney liner. Adjust them as needed to achieve a secure fit.
- Check for obstructions: Ensure that there are no obstructions, such as loose insulation or debris, around the chimney liner or the support brackets. Clear any obstructions if necessary.
Securing the chimney liner in place is essential for its proper functioning and longevity. By following these steps, you can ensure that the chimney liner is stable and will provide effective ventilation for your gas furnace.
Once the chimney liner is securely installed, you are ready to proceed to the final step of the installation process – testing the ventilation system.
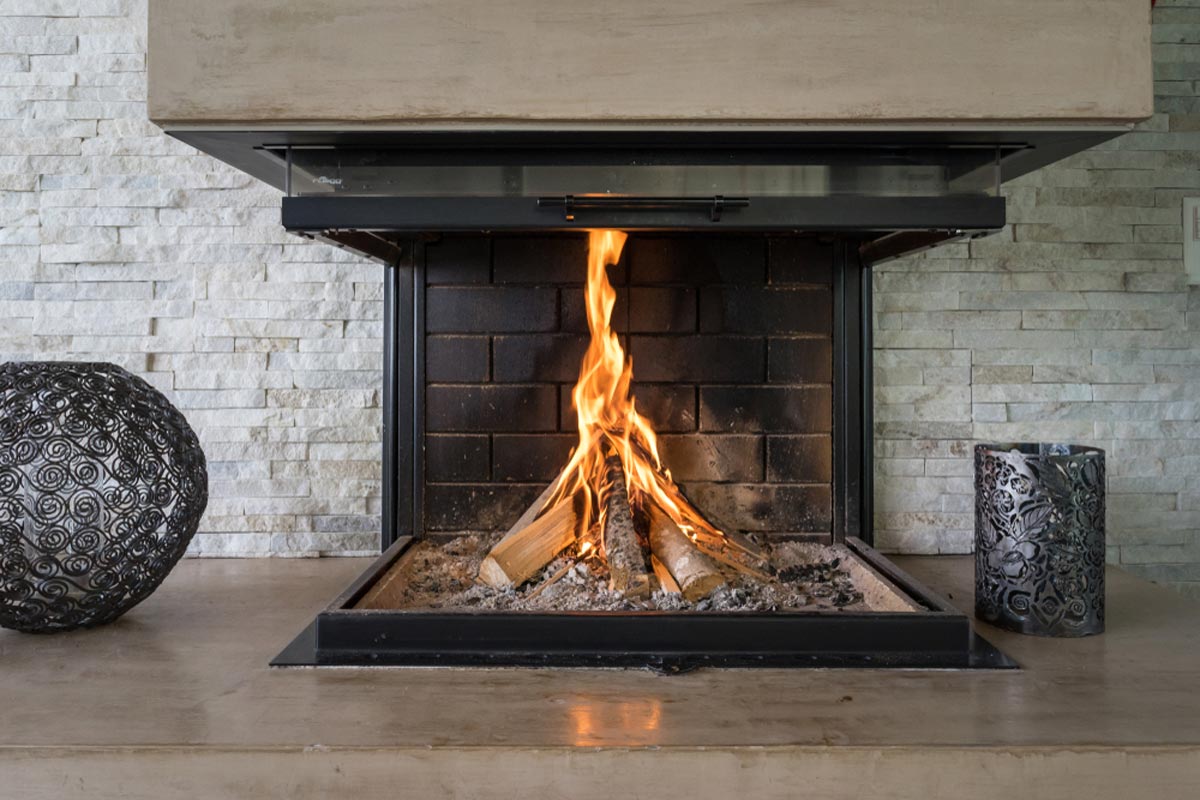
Step 7: Test the Ventilation System
Testing the ventilation system is the final step in the chimney liner installation process. This step ensures that the system is functioning properly and efficiently. Follow these steps to test the ventilation system:
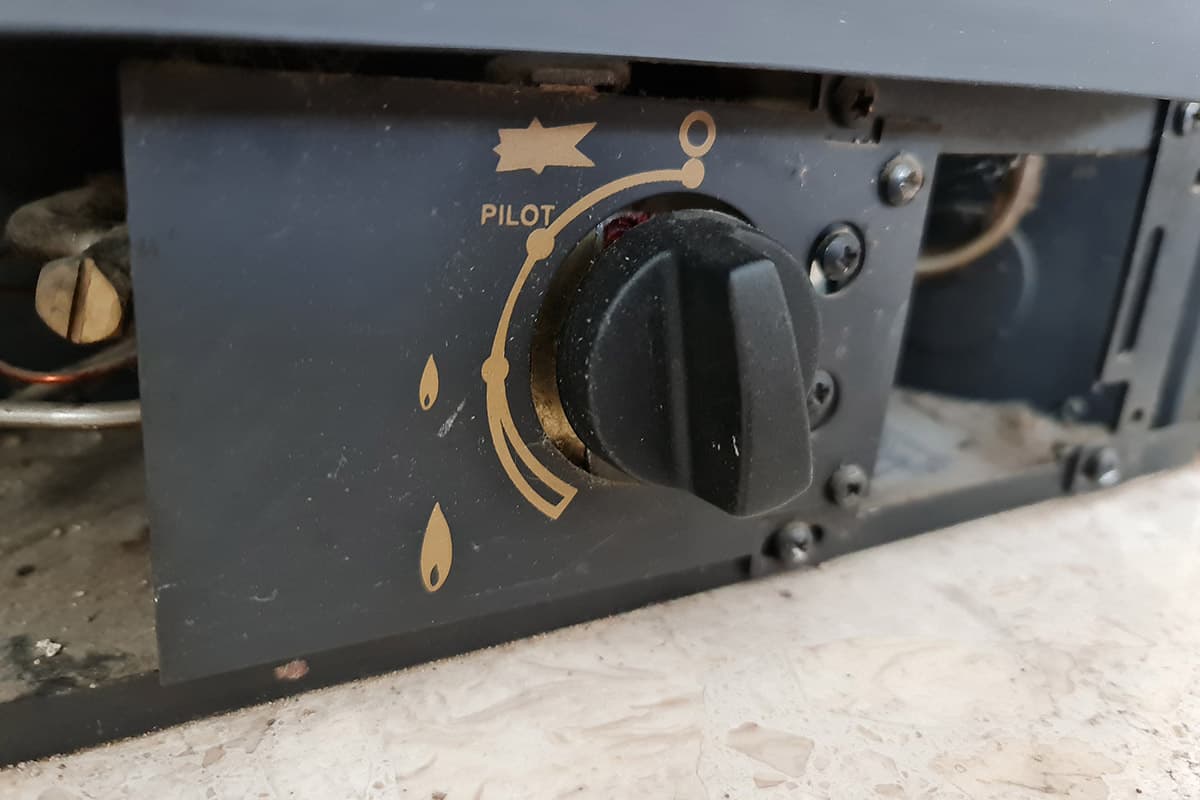
- Turn on the furnace: Turn on the gas supply and power to the furnace. Set the thermostat to a moderate temperature to activate the furnace.
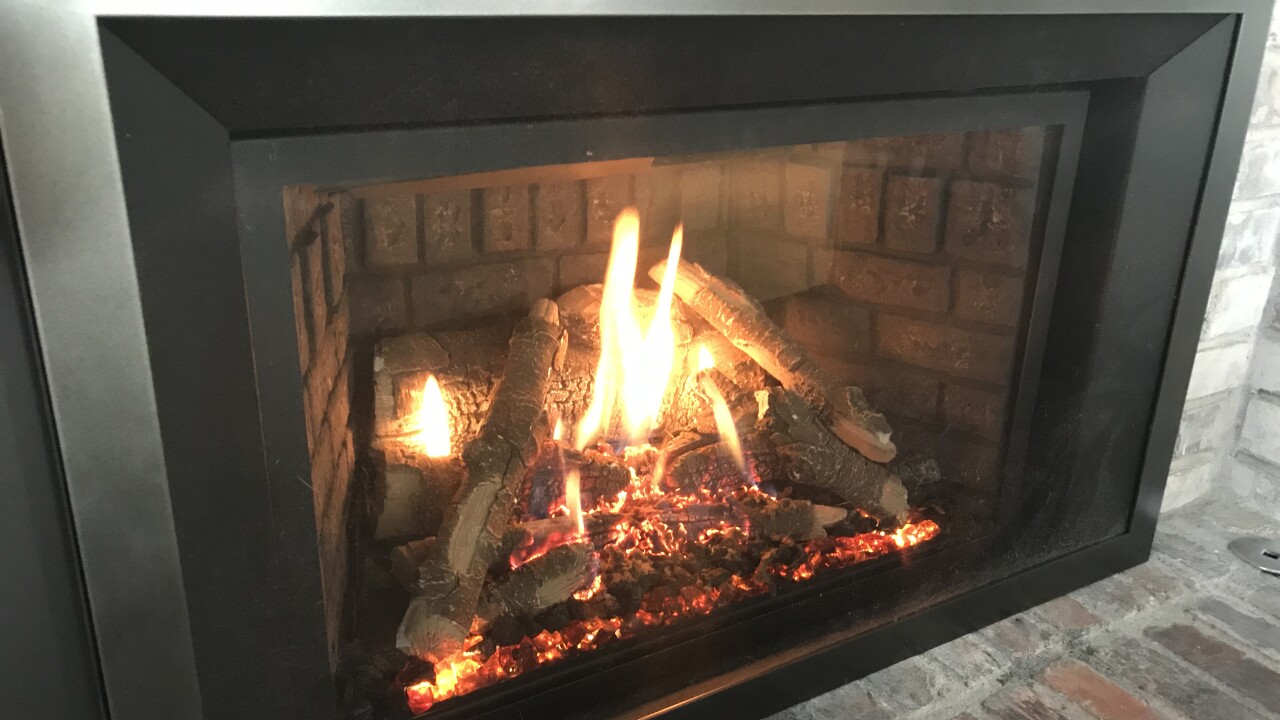
- Observe the flame: Look for a steady and blue flame in the furnace. A steady blue flame indicates that the combustion process is efficient and the chimney liner is allowing for proper ventilation.
- Check for proper airflow: Feel for a steady and strong airflow coming from the termination cap outside. This indicates that the ventilation system is functioning correctly and there are no blockages in the chimney liner.
- Monitor for any issues: Keep an eye out for any signs of trouble, such as unusual odors, smoke, or carbon monoxide alarms triggering. These issues may indicate a problem with the ventilation system and should be addressed immediately.
It is important to continuously monitor the ventilation system for any signs of malfunction or unusual behavior. Regular maintenance and inspections are also recommended to ensure the ongoing efficiency and safety of the chimney liner.
If you encounter any problems during the testing process or suspect issues with the ventilation system, it is crucial to contact a professional HVAC technician for further evaluation and repair.
With the ventilation system tested and functioning correctly, you have successfully completed the installation of the chimney liner for your gas furnace.
Conclusion
Installing a chimney liner for a gas furnace is a vital step in ensuring proper ventilation and safety in your home. By following the step-by-step process outlined in this guide and using the necessary tools and materials, you can successfully install a chimney liner that will improve the efficiency and longevity of your gas furnace.
From gathering the necessary tools and materials to preparing the workspace, measuring and cutting the chimney liner, installing the termination cap, connecting the chimney liner to the furnace, securing it in place, and testing the ventilation system, each step is crucial to the overall success of the installation.
By taking the time to complete this installation accurately and diligently, you can prevent issues such as corrosion, heat loss, and improper ventilation. This not only enhances the performance of your gas furnace but also ensures a safe and comfortable living environment for you and your family.
If you ever feel unsure about performing the installation yourself or encounter any challenges during the process, it is highly recommended to seek assistance from a professional HVAC technician. They have the expertise and knowledge to guide you through the installation and address any specific concerns unique to your home.
Remember, proper installation and regular maintenance are essential for the efficient and safe operation of your gas furnace. By investing time and effort into the installation of a chimney liner, you can enjoy the benefits of improved energy efficiency, reduced maintenance costs, and greater peace of mind.
With the guidance provided in this comprehensive guide, you are well-equipped to embark on the process of installing a chimney liner for your gas furnace. So, roll up your sleeves, gather your tools, and get ready to enhance the performance of your furnace and the safety of your home!
Frequently Asked Questions about How To Install Chimney Liner For Gas Furnace
Was this page helpful?
At Storables.com, we guarantee accurate and reliable information. Our content, validated by Expert Board Contributors, is crafted following stringent Editorial Policies. We're committed to providing you with well-researched, expert-backed insights for all your informational needs.
0 thoughts on “How To Install Chimney Liner For Gas Furnace”