Articles
How To Fill A Humidifier
Modified: August 16, 2024
Learn how to properly fill a humidifier and maintain optimum humidity levels in your home with these informative articles.
(Many of the links in this article redirect to a specific reviewed product. Your purchase of these products through affiliate links helps to generate commission for Storables.com, at no extra cost. Learn more)
Introduction
Humidifiers are devices designed to add moisture to the air in your home or office. They are especially useful during dry seasons or in regions with low humidity levels. Properly using a humidifier can help alleviate symptoms of dry skin, dry eyes, sinus congestion, allergies, and even reduce the spread of airborne viruses. If you’re new to using a humidifier, it’s important to understand how they work and how to properly fill and maintain them.
In this article, we will guide you through the process of filling a humidifier with water. Additionally, we will provide tips on adding essential oils for a pleasant aroma and discuss the cleaning and maintenance necessary to keep your humidifier running efficiently.
Before we dive into the process, let’s take a moment to understand the different types of humidifiers and their benefits.
Key Takeaways:
- Choosing the right humidifier, preparing it for use, and filling the water tank properly are essential steps to ensure optimal performance and longevity. Regular maintenance and optional use of essential oils can enhance the overall experience.
- Understanding the different types of humidifiers, troubleshooting common issues, and following manufacturer’s guidelines for cleaning and maintenance are crucial for enjoying the benefits of a well-maintained humidifier and a healthier indoor environment.
Read more: How Much Is A Humidifier
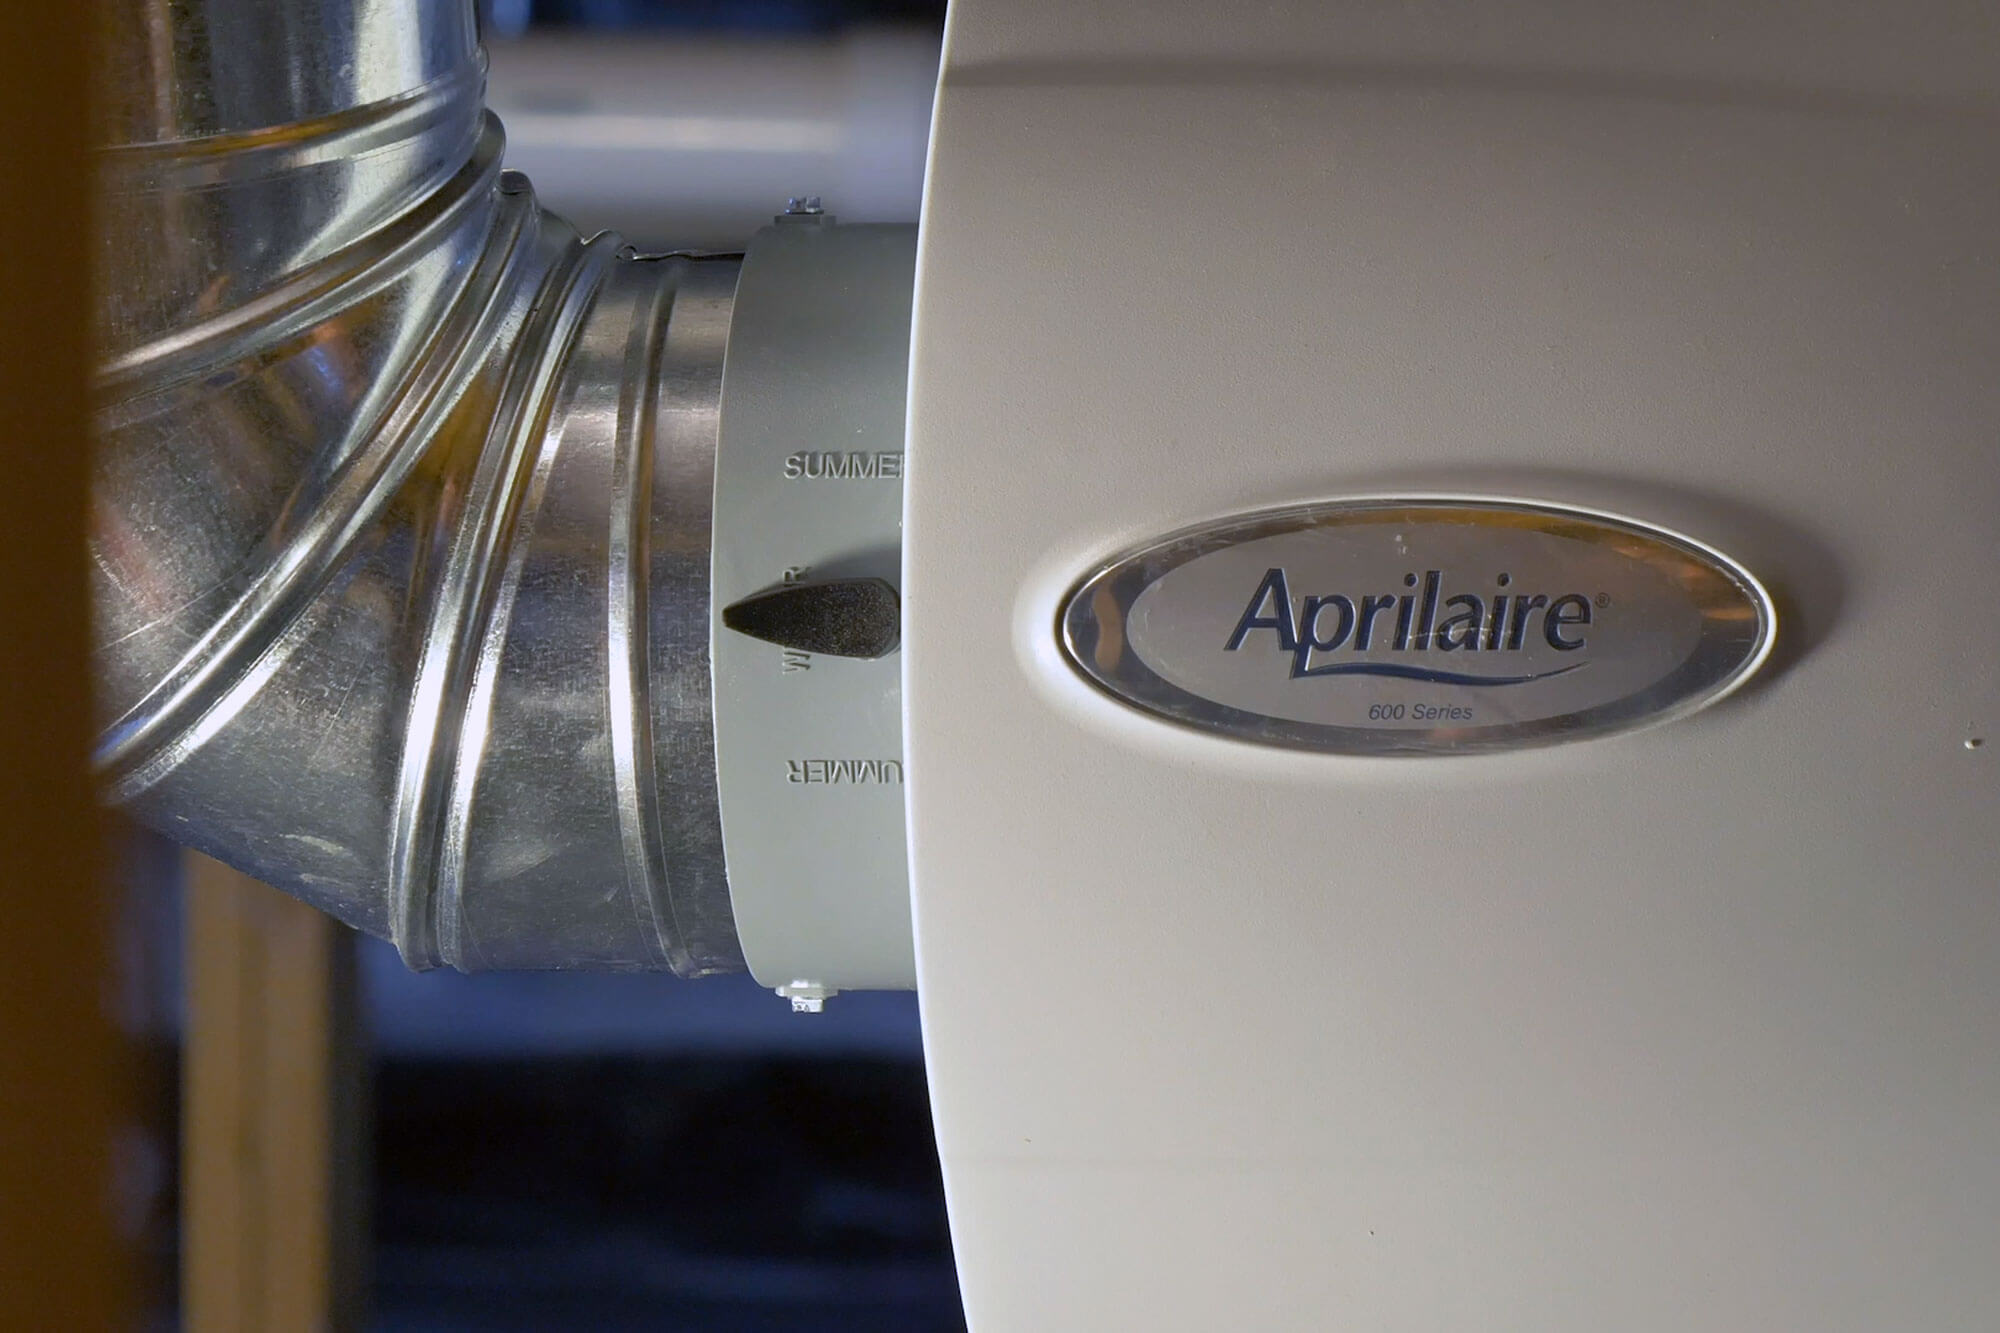
Understanding Humidifiers
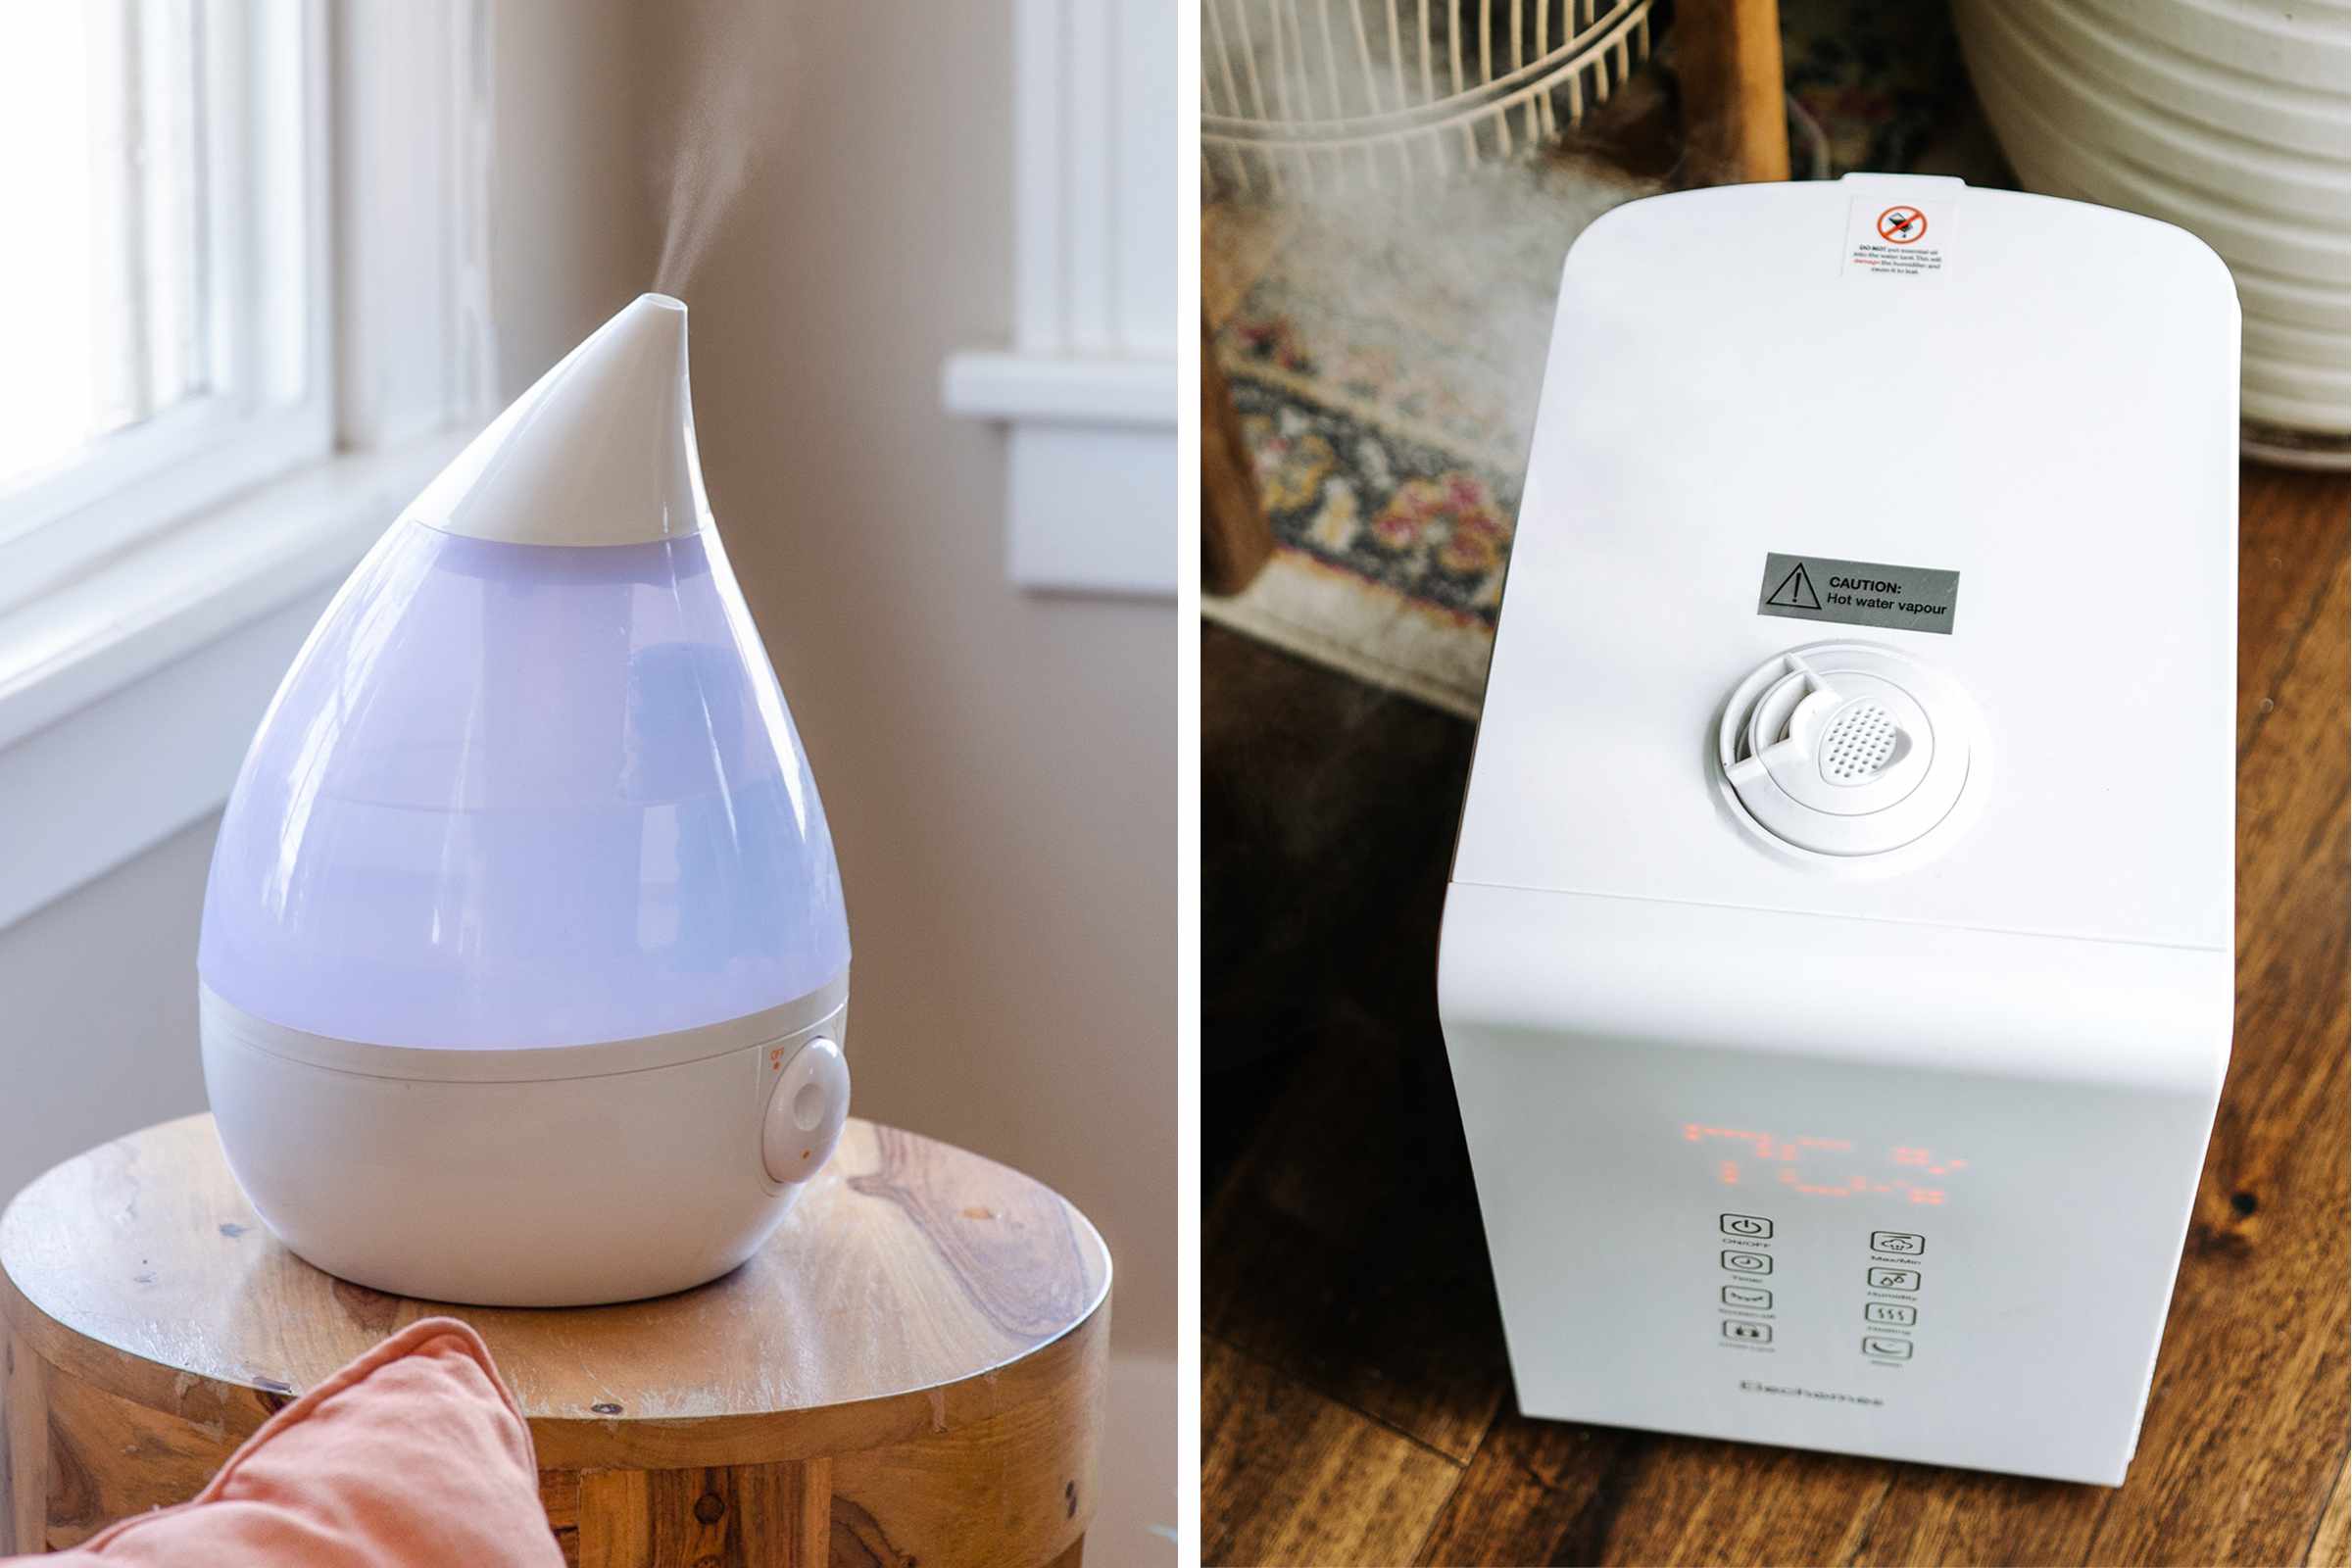
Humidifiers come in different types, each with its own unique characteristics and benefits. The two main types of humidifiers are evaporative humidifiers and ultrasonic humidifiers.
Evaporative humidifiers work by using a fan to blow air through a moistened wick or filter. The water in the wick or filter evaporates into the air, increasing humidity levels. These humidifiers are typically more affordable, easy to clean, and can cover larger areas. However, they can be a bit noisier due to the fan.
Ultrasonic humidifiers, on the other hand, use ultrasonic vibrations to break water particles into a fine mist that is then expelled into the air. They operate silently and are often equipped with features like adjustable mist settings and built-in timers. Ultrasonic humidifiers are generally more energy-efficient but may require more frequent cleaning to prevent mineral buildup.
Regardless of the type of humidifier you choose, it’s important to follow the manufacturer’s instructions for optimal performance and safety.
Before filling your humidifier, it’s crucial to ensure that you have chosen the right one for your needs. Consider the size of the room or area you want to humidify, the desired humidity level, and any specific features or functionalities you’re looking for.
Now that we have an understanding of the different types of humidifiers let’s move on to the next step, which is choosing the right humidifier for your needs.
Choosing the Right Humidifier
Choosing the right humidifier is essential to ensure optimal performance and effectiveness. Here are a few factors to consider when selecting a humidifier:
- Room Size: Determine the square footage of the room or area you want to humidify. This will help you select a humidifier with the appropriate coverage. Small, compact humidifiers are suitable for small rooms, while larger units are better for open-concept spaces or multiple rooms.
- Humidification Method: Decide whether you prefer an evaporative or ultrasonic humidifier. Consider the pros and cons mentioned earlier to make an informed decision based on your needs and preferences.
- Humidity Control: Look for a humidifier with adjustable humidity settings. This allows you to control the desired humidity level and prevent over-humidification.
- Noise Level: If noise is a concern, choose a humidifier with a quiet operation. Ultrasonic humidifiers tend to be quieter than evaporative ones.
- Maintenance and Cleaning: Check the manufacturer’s recommendations regarding the cleaning and maintenance of the humidifier. Opt for models with easy-to-clean components and consider purchasing units with built-in cleaning features.
- Additional Features: Some humidifiers come with extra features such as built-in timers, automatic shut-off when the water tank is empty, remote controls, or even the ability to diffuse essential oils.
By considering these factors, you can narrow down your options and find a humidifier that suits your specific needs and preferences.
Now that you’ve chosen the right humidifier, let’s move on to the next step: preparing the humidifier for use.
Preparing the Humidifier
Before filling your humidifier with water, it’s important to properly prepare it for use. Here are the steps to follow:
- Read the Manual: Begin by reading the manufacturer’s instructions and familiarizing yourself with the specific requirements and recommendations for your humidifier model. This will ensure that you understand how to safely and effectively use your humidifier.
- Clean the Humidifier: If this is your first time using the humidifier or if it has been stored for a long period, clean it thoroughly. Disassemble the unit and clean the water tank, base, and any other removable parts with mild soap and water. Rinse them well and allow them to air dry completely before reassembly.
- Inspect for Damage: Before proceeding, check for any damage or cracks in the humidifier. Ensure that all parts fit together securely to prevent leaks during operation.
- Place the Humidifier: Choose a suitable location for your humidifier. It should be placed on a stable surface away from direct sunlight and heat sources. Be sure to keep it out of reach of children and pets.
- Position the Humidifier Properly: Place the humidifier at least a few feet away from walls or furniture to allow proper air circulation. This ensures that the humidifier can effectively disperse moisture throughout the room.
- Connect Power: Plug the humidifier into a power outlet. Double-check that the cord is not damaged and that the outlet is functioning properly.
By following these steps, you will ensure that your humidifier is clean, in good working condition, and ready to be filled with water. In the next section, we will discuss the process of filling the water tank.
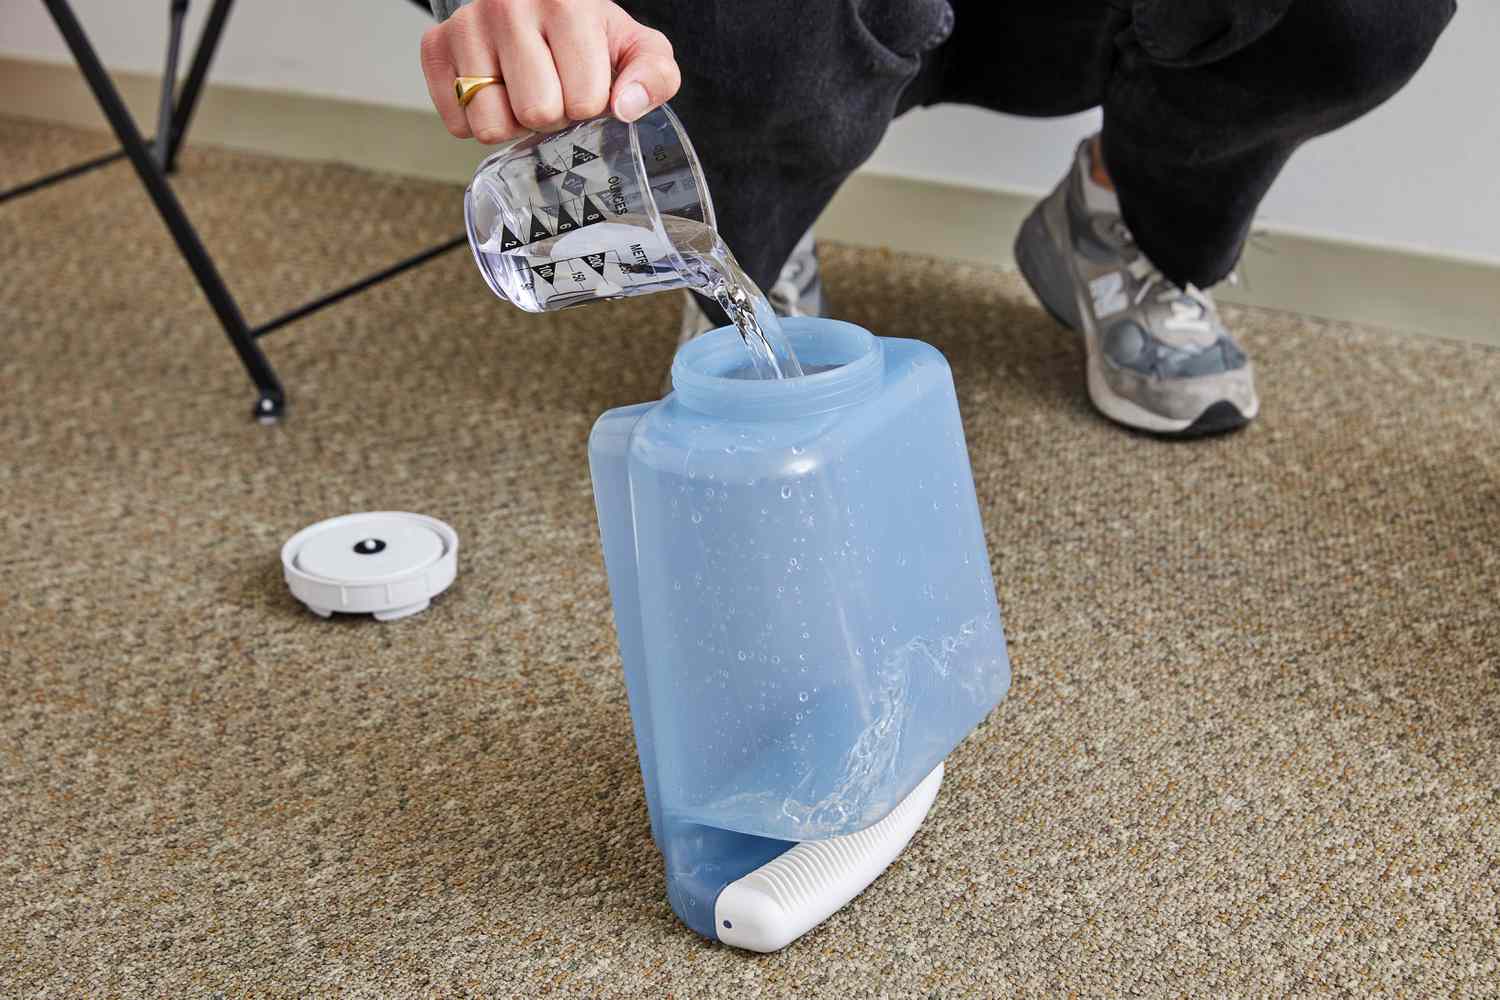
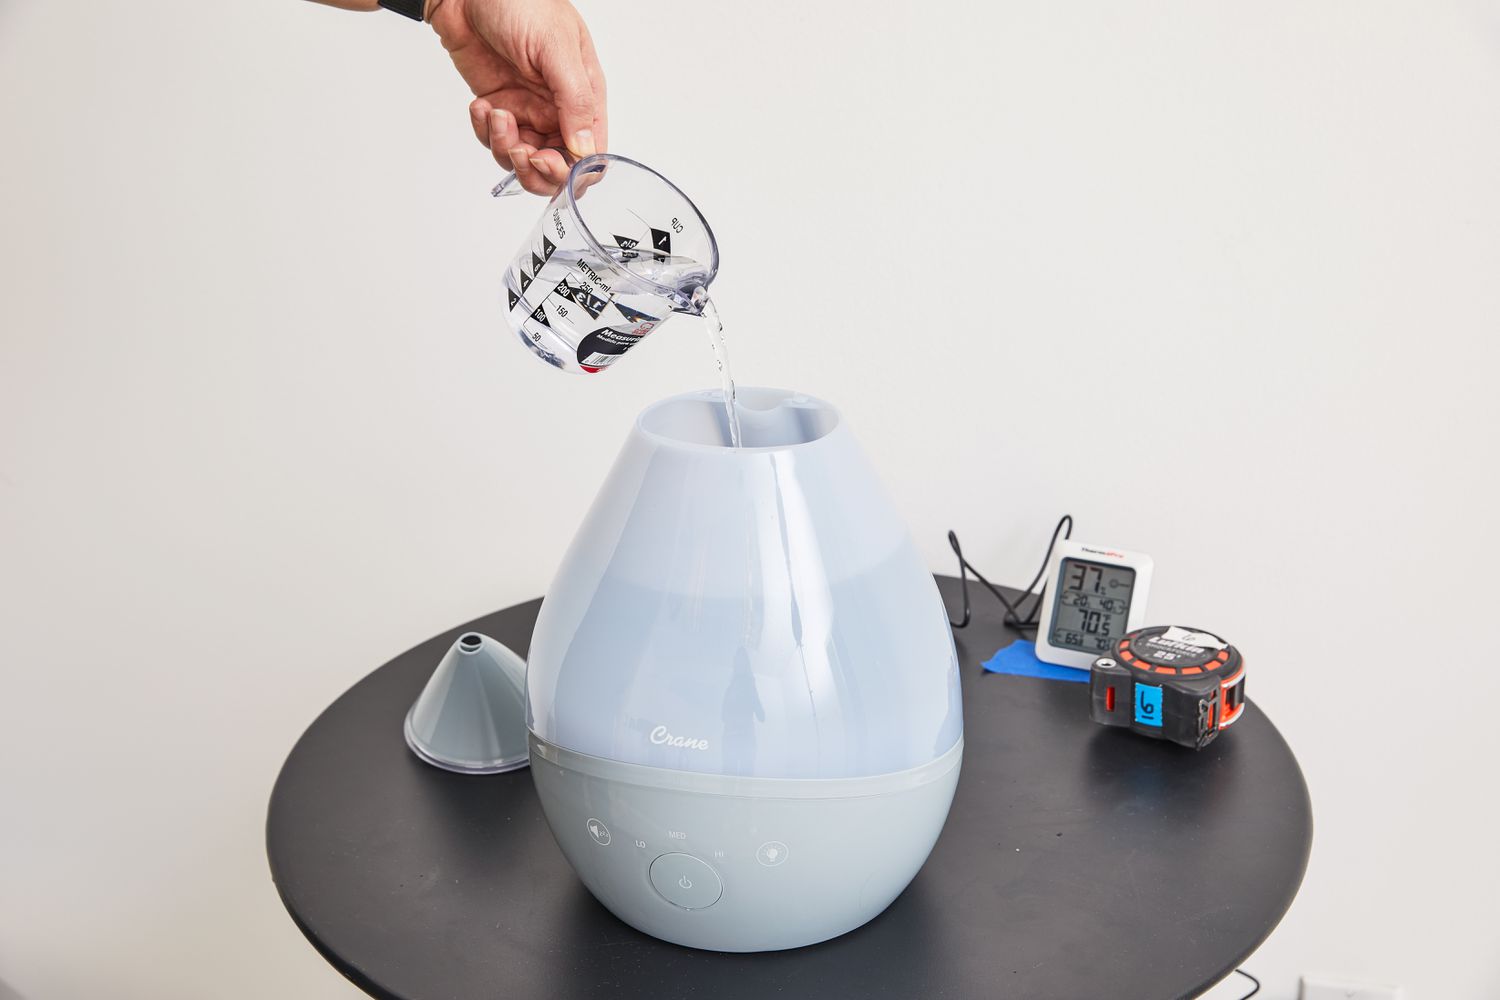
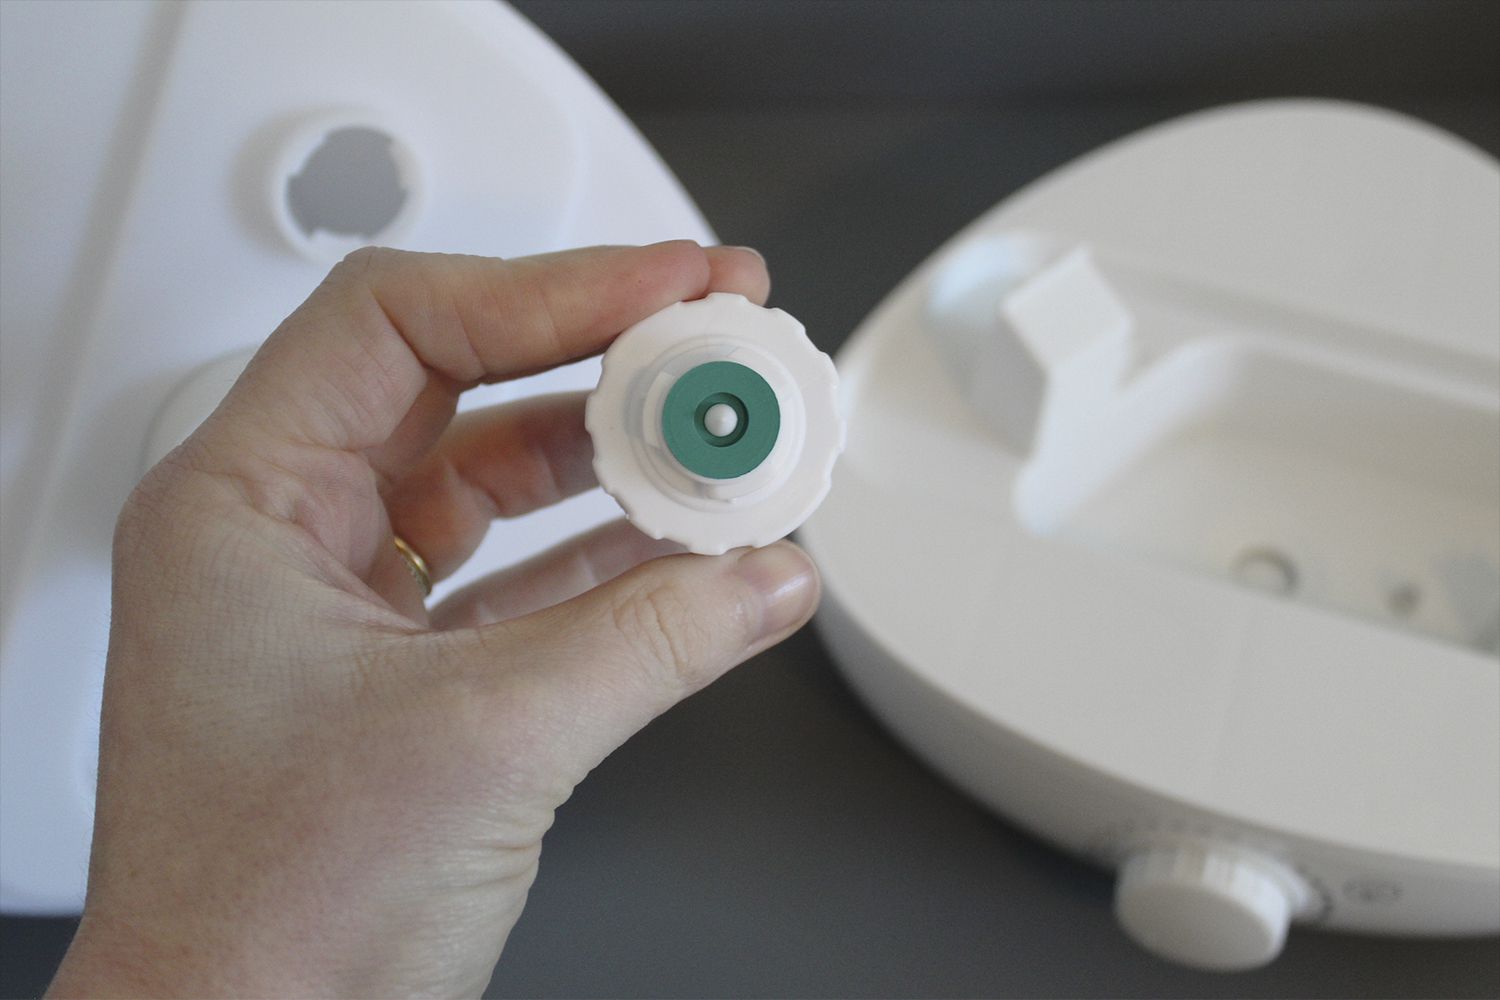
Filling the Water Tank
Now that your humidifier is properly prepared, it’s time to fill the water tank. Follow these steps for a hassle-free process:
- Turn Off and Unplug the Humidifier: Before filling the water tank, make sure that the humidifier is turned off and unplugged from the power source. This ensures safety and prevents any potential accidents.
- Remove the Water Tank: Locate the water tank of your humidifier and remove it from the base or unit. Depending on the model, you may need to press a release button or twist the tank to unlock it.
- Carry the Water Tank to a Sink: Take the water tank to a sink or any other water source that is easily accessible for filling. It’s recommended to use cool tap water for filling the tank.
- Fill the Water Tank: Slowly pour water into the tank, taking care not to overfill it. It’s best to fill the tank to the recommended water level indicated by the manufacturer. Avoid adding hot or boiling water, as it can damage the tank and affect the humidifier’s performance.
- Replace and Secure the Water Tank: With the tank filled, carefully place it back onto the base or unit. Ensure that it is properly aligned and securely attached to prevent any water leakage.
- Wipe Away Any Spills: If there were any spills during the filling process, use a clean cloth or towel to wipe them away. It’s important to keep the area clean and dry for safe operation.
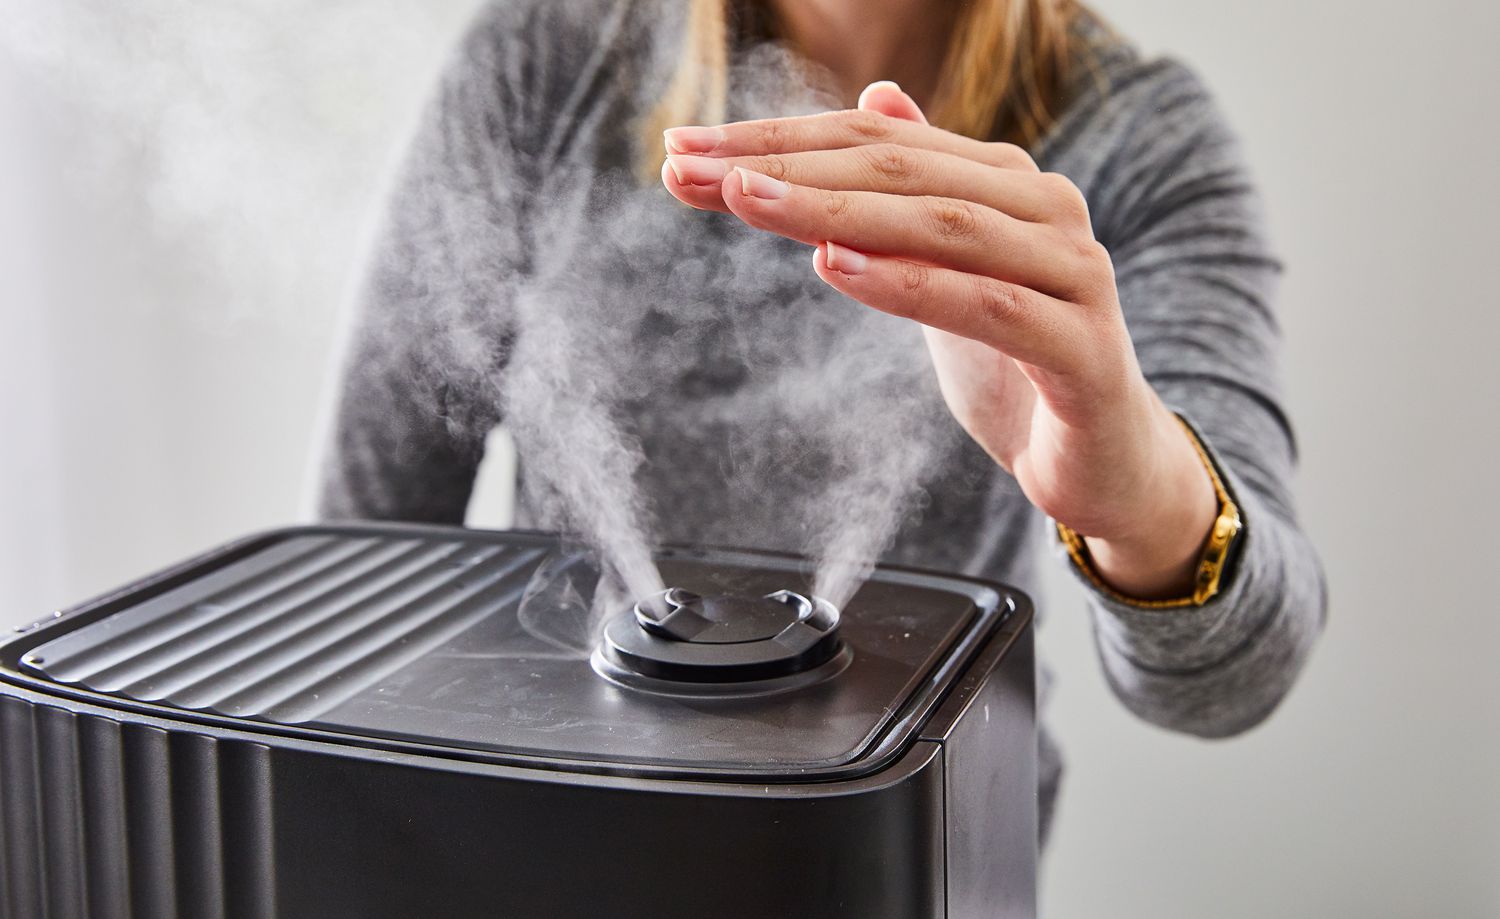
Once the water tank is filled, you can now proceed to turn on the humidifier and adjust the settings according to your preferences. Remember to regularly check the water level in the tank and refill it as needed to maintain optimal humidity levels.
If you want to enhance the ambiance and experience, you may also consider adding essential oils to your humidifier. We will discuss this optional step in the next section.
Before filling a humidifier, make sure to unplug it and allow it to cool down. Use distilled water to prevent mineral buildup and follow the manufacturer’s instructions for filling to the appropriate level.
Read more: How To Fill Hole In Driveway
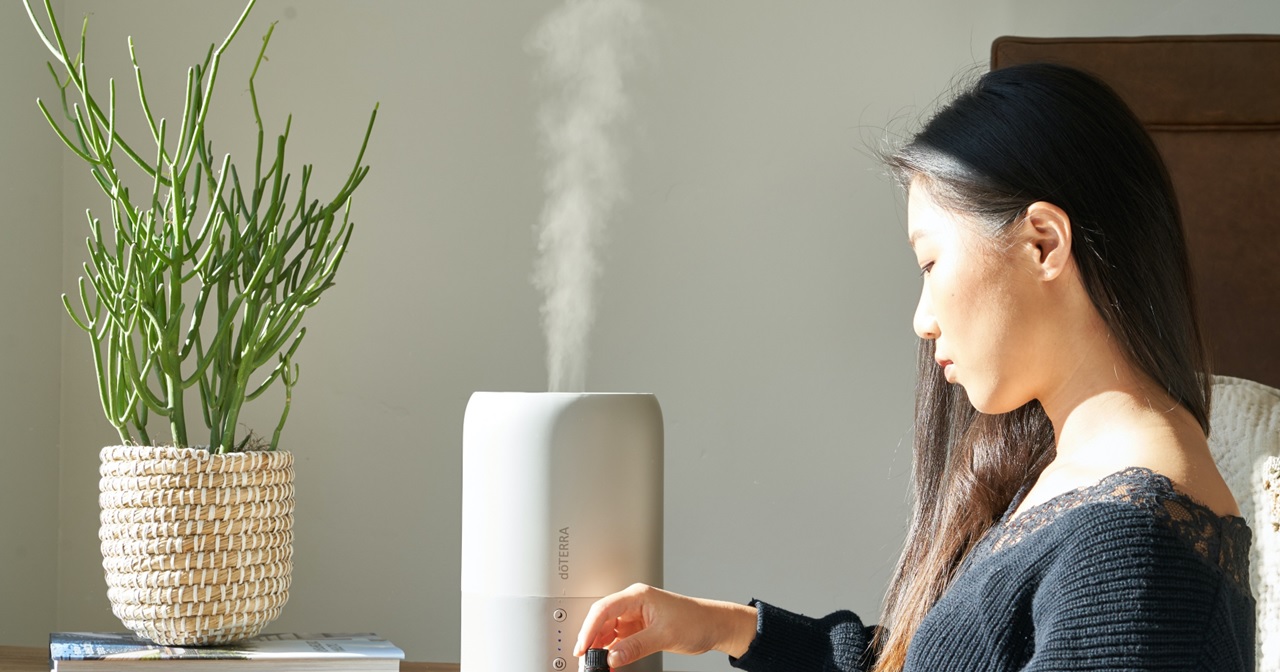
Adding Essential Oils (Optional)
If you enjoy aromatherapy or want to add a pleasant fragrance to the air while using your humidifier, you can choose to add essential oils. Here’s how to do it safely:
- Choose High-Quality Essential Oils: Select essential oils that are pure and of high quality. Avoid synthetic fragrance oils or those that contain chemicals. Look for oils specifically labeled for use in humidifiers or diffusers.
- Check the Manufacturer’s Guidelines: Refer to the manufacturer’s instructions or manual to ensure that adding essential oils is compatible with your specific humidifier model. Some humidifiers have designated areas or trays for adding oils, while others may not be suitable for use with oils at all.
- Use a Small Amount: Start by adding a few drops of your chosen essential oil to the water tank or designated area. Be cautious not to add too much, as it can overpower the scent and may cause damage to the humidifier.
- Experiment with Blends: Feel free to experiment with different essential oil combinations to create your desired aroma. Popular choices include lavender for relaxation, eucalyptus for congestion relief, or citrus oils for a refreshing scent.
- Monitor the Performance: Pay attention to the performance of your humidifier when using essential oils. Some oils may leave residue or build up in the humidifier, reducing its effectiveness. If you notice any issues, consider cleaning the unit more frequently or using a different method to diffuse the oils, such as a separate essential oil diffuser.
- Keep Safety in Mind: While essential oils can enhance the ambiance, it’s important to use them responsibly. Keep oils out of reach of children and pets, and always follow the recommended usage guidelines provided by the oil manufacturer.
Remember, adding essential oils is entirely optional. If you prefer a scent-free environment or have concerns about using oils in your humidifier, you can enjoy the benefits of a humidifier simply by using water. The choice is entirely up to you!
Now that you know how to add essential oils to your humidifier if desired, let’s move on to the important topic of cleaning and maintaining your humidifier for optimal performance and longevity.
Cleaning and Maintenance of Humidifier
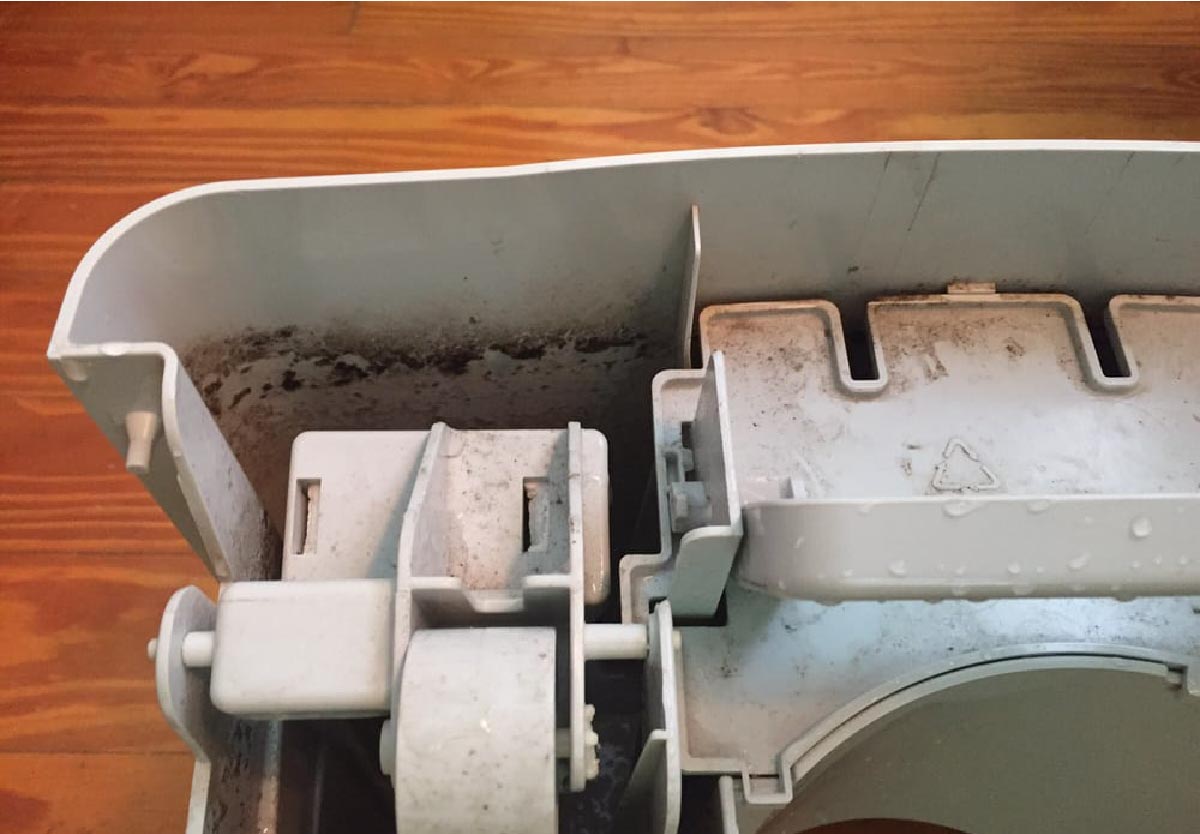
Regular cleaning and maintenance are essential for keeping your humidifier in good working condition and preventing the buildup of mold, bacteria, and mineral deposits. Follow these guidelines to ensure proper hygiene:
- Read the Manual: Familiarize yourself with the manufacturer’s cleaning instructions specific to your humidifier model. This will provide you with the recommended cleaning frequency and any additional guidelines.
- Empty and Rinse Daily: Empty the water tank, rinse it thoroughly, and allow it to air dry daily. This helps prevent the growth of bacteria and mold. If your humidifier has a removable water tray or filter, clean or replace them as instructed.
- Descale When Needed: If your water is hard or has a high mineral content, mineral deposits may accumulate inside the humidifier. Descale the unit periodically using a cleaning solution specifically formulated for humidifiers or a mixture of vinegar and water.
- Deep Clean Weekly: Once a week, perform a deep cleaning of the humidifier. Disassemble all removable parts, such as the water tank, tray, and filter, if applicable. Clean them with mild soap and water, rinse thoroughly, and allow them to air dry before reassembling.
- Remove Standing Water: If you’re not using the humidifier for an extended period, empty the water tank completely to prevent stagnant water and the growth of bacteria or mold.
- Replace Filters Regularly: If your humidifier uses filters, refer to the manufacturer’s recommendations for filter replacement. Regularly replacing filters ensures optimal performance and prevents the release of bacteria or impurities into the air.
- Inspect for Damage: Regularly check the water tank, base, and other components for any signs of damage or wear. Cracks or leaks may compromise the effectiveness of your humidifier.
By following these cleaning and maintenance practices, you’ll not only ensure the longevity and efficiency of your humidifier but also promote a healthy and clean indoor environment.
If you encounter any issues with your humidifier, troubleshooting them can help resolve common problems. Let’s explore that in the next section.
Troubleshooting Common Issues
While humidifiers are designed to work reliably, occasional issues may arise. Here are some common problems you may encounter and how to troubleshoot them:
- Lack of Mist: If your humidifier is turned on but not producing mist, first check if the water tank is properly filled and securely attached to the base. Ensure that the unit is clean and free from any blockages. If the issue persists, refer to the manufacturer’s troubleshooting guide or contact their customer support for assistance.
- Excessive Moisture: If your room becomes excessively humid or you notice condensation on the walls or windows, your humidifier may be set too high or running for an extended period. Adjust the humidity settings or decrease the operating time to maintain a comfortable humidity level.
- Unpleasant Odors: If your humidifier emits a foul smell, it’s likely due to the growth of bacteria or mold. Follow the cleaning instructions mentioned earlier to thoroughly clean and disinfect the unit. Using distilled or filtered water instead of tap water can also help reduce odors.
- Noise Issues: If your humidifier is making excessive noise, it may be due to a loose or misaligned part. Ensure that the water tank and other components are properly assembled and secured. If the noise persists, contact the manufacturer for further assistance.
- Leaking or Dripping: If your humidifier is leaking water, check if the water tank is seated correctly on the base. Clean any mineral deposits or debris that may affect the seal. If the issue continues, inspect the tank and other parts for cracks or damage that may require replacement.
If you encounter any other issues not mentioned here, consult the manufacturer’s troubleshooting guide or reach out to their customer support for guidance. Remember to follow their recommendations and guidelines to ensure your safety and the proper functioning of your humidifier.
Now that we’ve covered the common troubleshooting tips, let’s summarize what we’ve learned so far.
Conclusion
Humidifiers are valuable devices for maintaining proper humidity levels in your home or office, promoting better air quality and alleviating various respiratory and skin issues. By understanding how to fill and maintain your humidifier, you can ensure its optimal performance and prolong its lifespan.
When filling your humidifier, remember to follow the manufacturer’s instructions and choose the right type and size for your needs. Preparing the humidifier, filling the water tank, and optionally adding essential oils can enhance your experience.
Maintaining the cleanliness of your humidifier is crucial to prevent the growth of mold, bacteria, and mineral deposits. Regular cleaning, descaling, and replacing filters (if applicable) will keep your device running efficiently and provide you with clean, healthy air.
If you encounter any issues, refer to the troubleshooting tips provided or contact the manufacturer for further assistance. Taking proper care of your humidifier will ensure its reliability and help you enjoy the benefits it offers.
Remember, a well-maintained humidifier contributes to a comfortable and healthier indoor environment for you and your family. Breathe easy and enjoy the benefits of balanced humidity all year round!
Frequently Asked Questions about How To Fill A Humidifier
Was this page helpful?
At Storables.com, we guarantee accurate and reliable information. Our content, validated by Expert Board Contributors, is crafted following stringent Editorial Policies. We're committed to providing you with well-researched, expert-backed insights for all your informational needs.


0 thoughts on “How To Fill A Humidifier”