Articles
How To Make A Humidifier
Modified: November 1, 2024
Learn how to make a humidifier at home with these informative articles. Discover simple DIY techniques to improve indoor air quality and maintain optimal humidity levels.
(Many of the links in this article redirect to a specific reviewed product. Your purchase of these products through affiliate links helps to generate commission for Storables.com, at no extra cost. Learn more)
Introduction
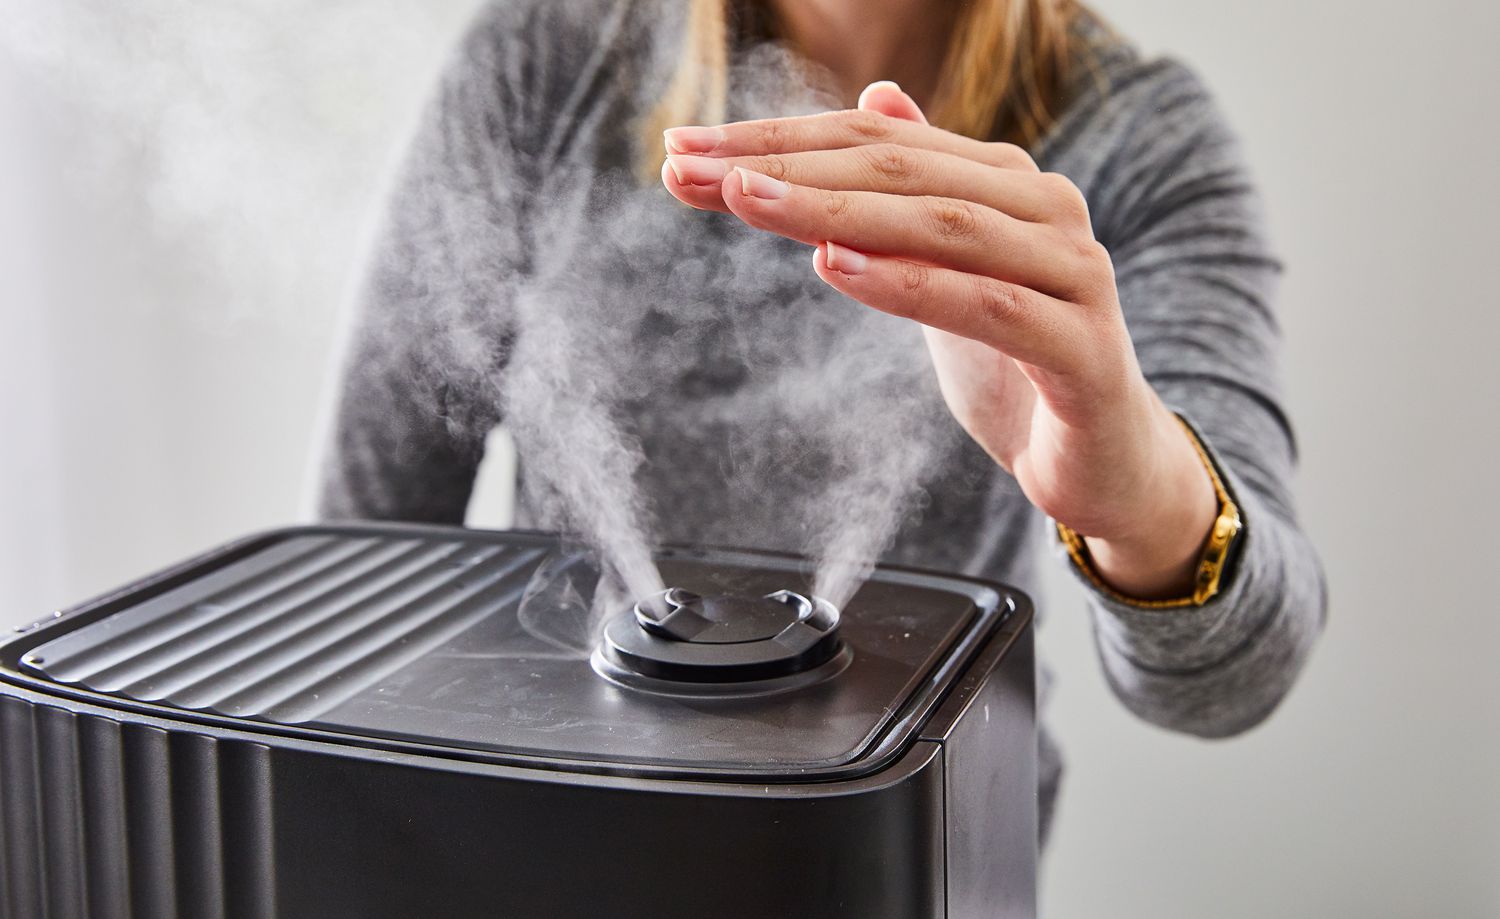
A humidifier is a device that adds moisture to the air to increase the humidity level in a room or space. It can be beneficial in many ways, such as relieving dryness in the skin and respiratory passages, reducing the likelihood of airborne viruses and bacteria, and preventing damage to wooden furniture and musical instruments. While there are various types of humidifiers available in the market, you can also create your own DIY humidifier using simple materials.
In this article, we will walk you through the step-by-step process of making a homemade humidifier. With a few basic materials and a little creativity, you can create a functional and efficient humidifier that will improve the quality of the air in your home or office.
Key Takeaways:
- Create your own homemade humidifier using simple materials like a container, wick, water, and optional essential oils. Enjoy improved air quality and customizable humidity levels in your space.
- Assemble, test, and adjust your DIY humidifier to achieve optimal humidity levels. Experiment with different wick materials and scents for a personalized and effective solution.
Read more: How Much Is A Humidifier
Materials Needed
- A container or jar with a lid
- A wick or absorbent material
- Water
- Essential oils (optional)
Key Takeaways:
- Create your own homemade humidifier using simple materials like a container, wick, water, and optional essential oils. Enjoy improved air quality and customizable humidity levels in your space.
- Assemble, test, and adjust your DIY humidifier to achieve optimal humidity levels. Experiment with different wick materials and scents for a personalized and effective solution.
Read more: How Much Is A Humidifier
Materials Needed
To make a homemade humidifier, you will need the following materials:
- A container or jar with a lid: Choose a container or jar that is large enough to hold the water and can be easily sealed with a lid. This will prevent evaporation and keep the water from spilling.
- A wick or absorbent material: The wick will act as a conduit for the water to evaporate into the air. You can use a variety of materials as a wick, such as a sponge, cotton ball, or even a strip of fabric. Ensure that the wick is long enough to reach the bottom of the container and extend above the water level.
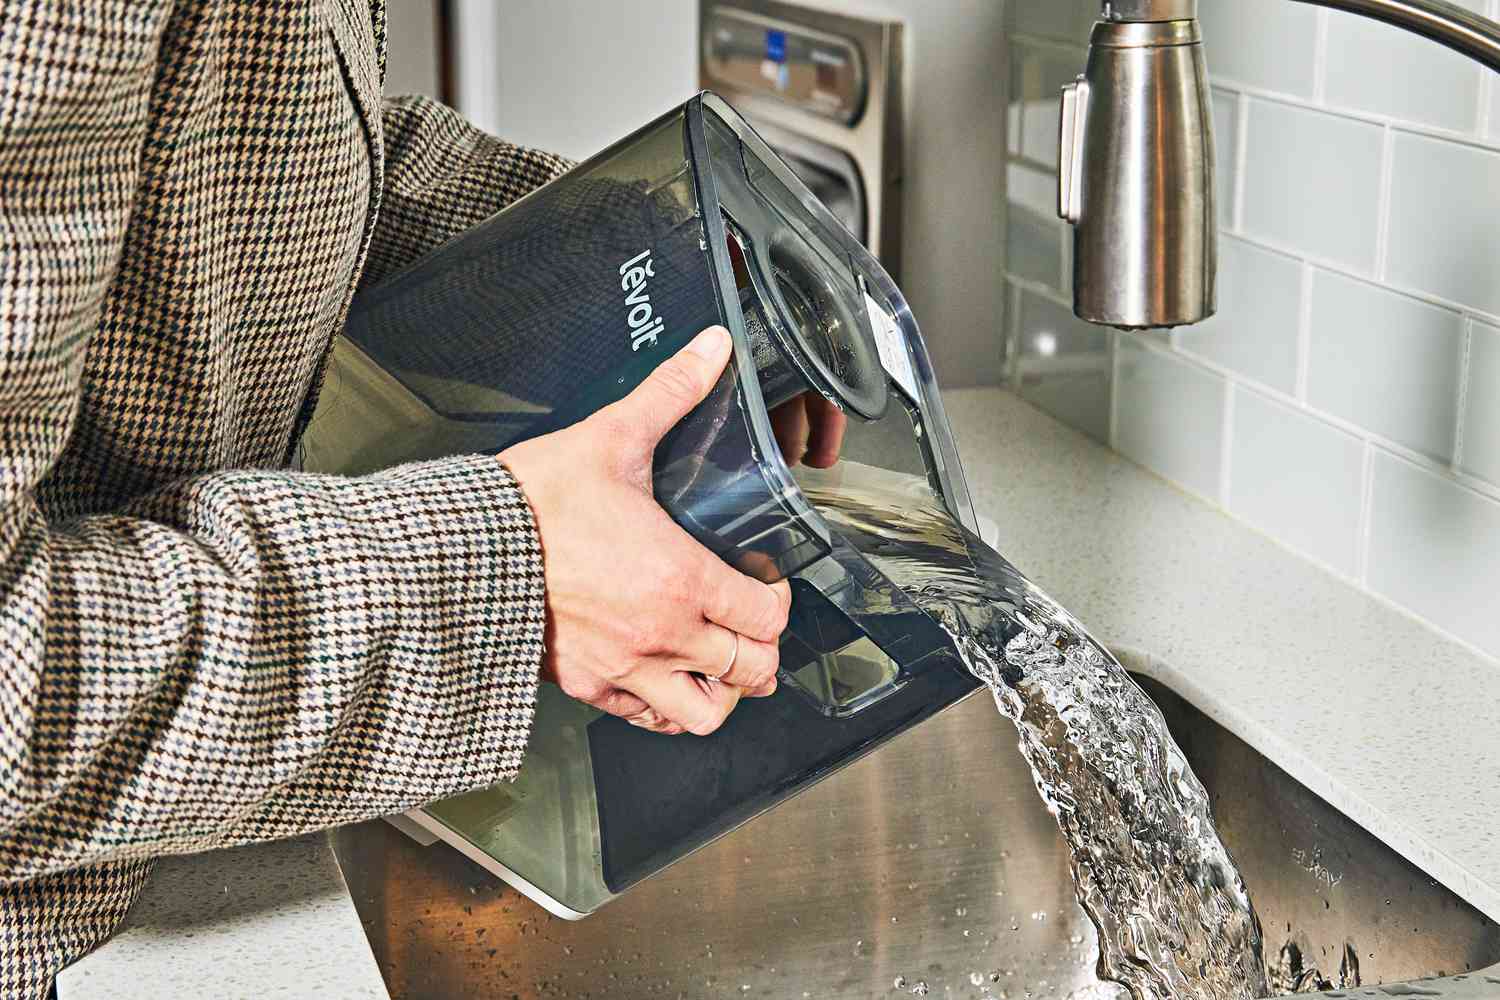
- Water: Distilled or filtered water is recommended to prevent mineral buildup. Using tap water may cause mineral deposits in the container and the humidifier.
- Essential oils (optional): If you prefer a scented humidifier, you can add a few drops of essential oils to the water. Popular options include lavender, eucalyptus, and citrus oils. However, make sure to use oils that are safe for inhalation and follow the manufacturer’s instructions for usage.
These materials are readily available and can be found in most households or easily obtained from a local store. Once you have gathered these materials, you are ready to proceed with building your homemade humidifier.
Step 1: Choose a Container
The first step in making a homemade humidifier is to choose a suitable container to hold the water. Look for a container or jar with a wide opening that can easily accommodate the desired amount of water and the wick.
Consider using a container made of glass or plastic that has a tight-fitting lid. This will help prevent water from evaporating too quickly and ensure that the humidity is maintained in the air for a longer period of time. The lid will also prevent any accidental spills or leakage.
You can repurpose containers that you may already have at home, such as a mason jar or a plastic food storage container. Just make sure to clean the container thoroughly before using it to remove any residue or impurities.
If you prefer a more aesthetically pleasing option, you can also explore using decorative jars or containers specifically designed for homemade humidifiers. These containers often come with additional features like built-in wicks or diffusers to enhance the humidifying process.
It’s important to ensure that the chosen container is sturdy and stable, so it doesn’t tip over easily. This will prevent any accidents and ensure that your homemade humidifier functions effectively.
Once you have selected the ideal container, move on to the next step of preparing the wick.
Step 2: Prepare the Wick
The wick plays a crucial role in the homemade humidifier as it allows water to be drawn up and evaporate into the surrounding air. There are various options for wicks, and you can choose the one that suits your preferences and materials on hand.
If you decide to use a sponge as a wick, start by cutting it into a strip or shape that fits your container. Ensure that the sponge can reach the bottom of the container and still have a portion extending above the water level. This way, the sponge can absorb the water while the exposed portion can facilitate evaporation.
Alternatively, you can use a cotton ball as a wick. Take a few cotton balls and gently pull them apart to create a loose wick. Ensure that it is long enough to reach the bottom of the container and extend above the water level.
If you’re using a fabric strip as a wick, cut it to a length that allows it to hang in the container, with a portion exposed above the water level. Choose a fabric that is absorbent, such as cotton or linen.
Before inserting the wick into the container, ensure that it is clean and free from any dirt or debris. If needed, rinse the wick material in clean water and gently squeeze out any excess moisture.
Once the wick is ready, place it in the container, ensuring that it is in contact with the water. If using a sponge or cotton ball, gently press it down so that it absorbs the water fully. The wick will draw up the water through capillary action, allowing it to evaporate into the air.
With the wick prepared and inserted, you are now ready to move on to the next step, which involves creating the humidifier solution.
When making a homemade humidifier, be sure to use distilled water to prevent mineral buildup in the air and on the surfaces of the humidifier.
Read more: How To Fill A Humidifier
Step 3: Make the Humidifier Solution
Creating the proper humidifier solution will ensure that the water evaporates effectively and provides the desired level of humidity in the air. While plain water can be used, adding certain ingredients can enhance the benefits and customize the experience.
If you prefer a plain humidifier solution, simply fill your container with distilled or filtered water. Avoid using tap water as it may contain minerals that can leave deposits in the container and affect the functioning of the humidifier.
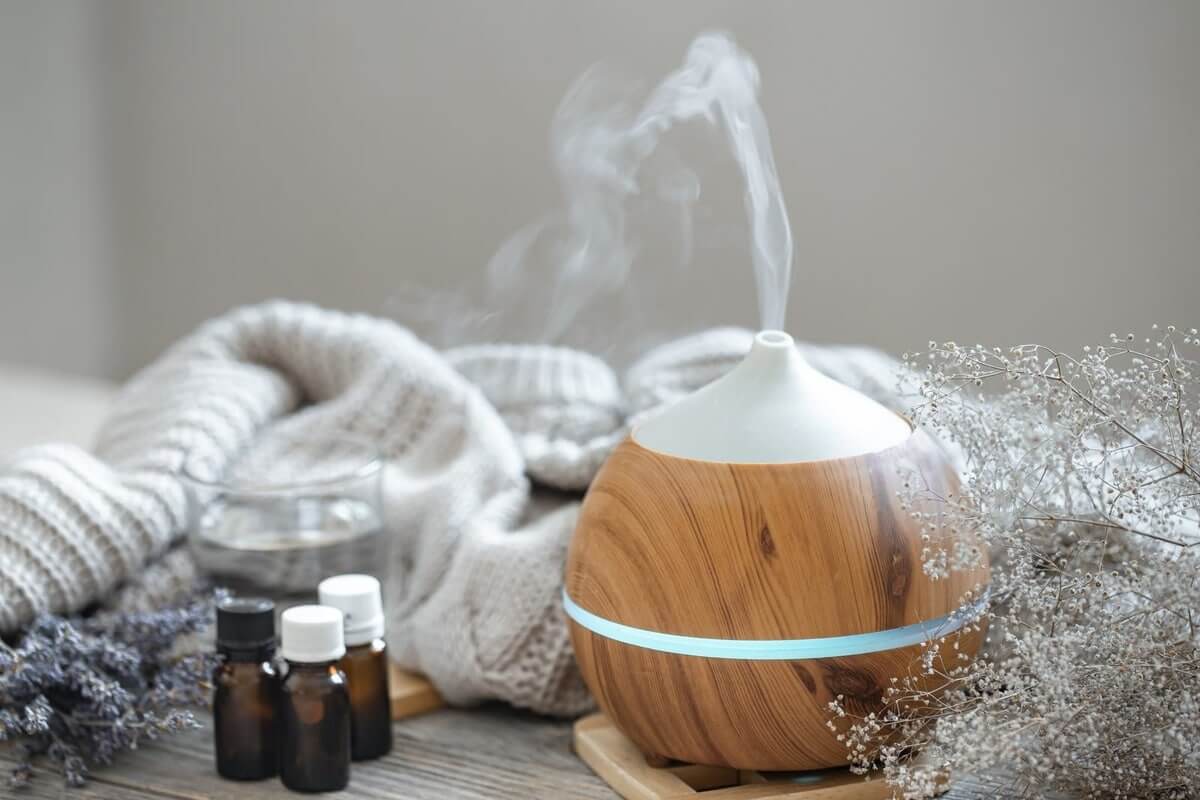
If you want to add a pleasant scent to the air, you can incorporate a few drops of essential oils into the water. Choose oils that are safe for inhalation and have beneficial properties. Lavender, eucalyptus, and citrus oils are popular options. Start with a small amount, such as 5-10 drops, and adjust according to your preference.
Another option is to use natural ingredients such as herbs or spices. For example, you can add a teaspoon of dried lavender flowers or a cinnamon stick to the water. These ingredients will release their aroma as the water evaporates, providing a soothing and fragrant atmosphere.
It’s important to note that when using essential oils or other ingredients, it’s necessary to monitor any potential allergic reactions or sensitivities. Adjust the amount or remove the ingredient entirely if you or anyone around you experiences discomfort or adverse effects.
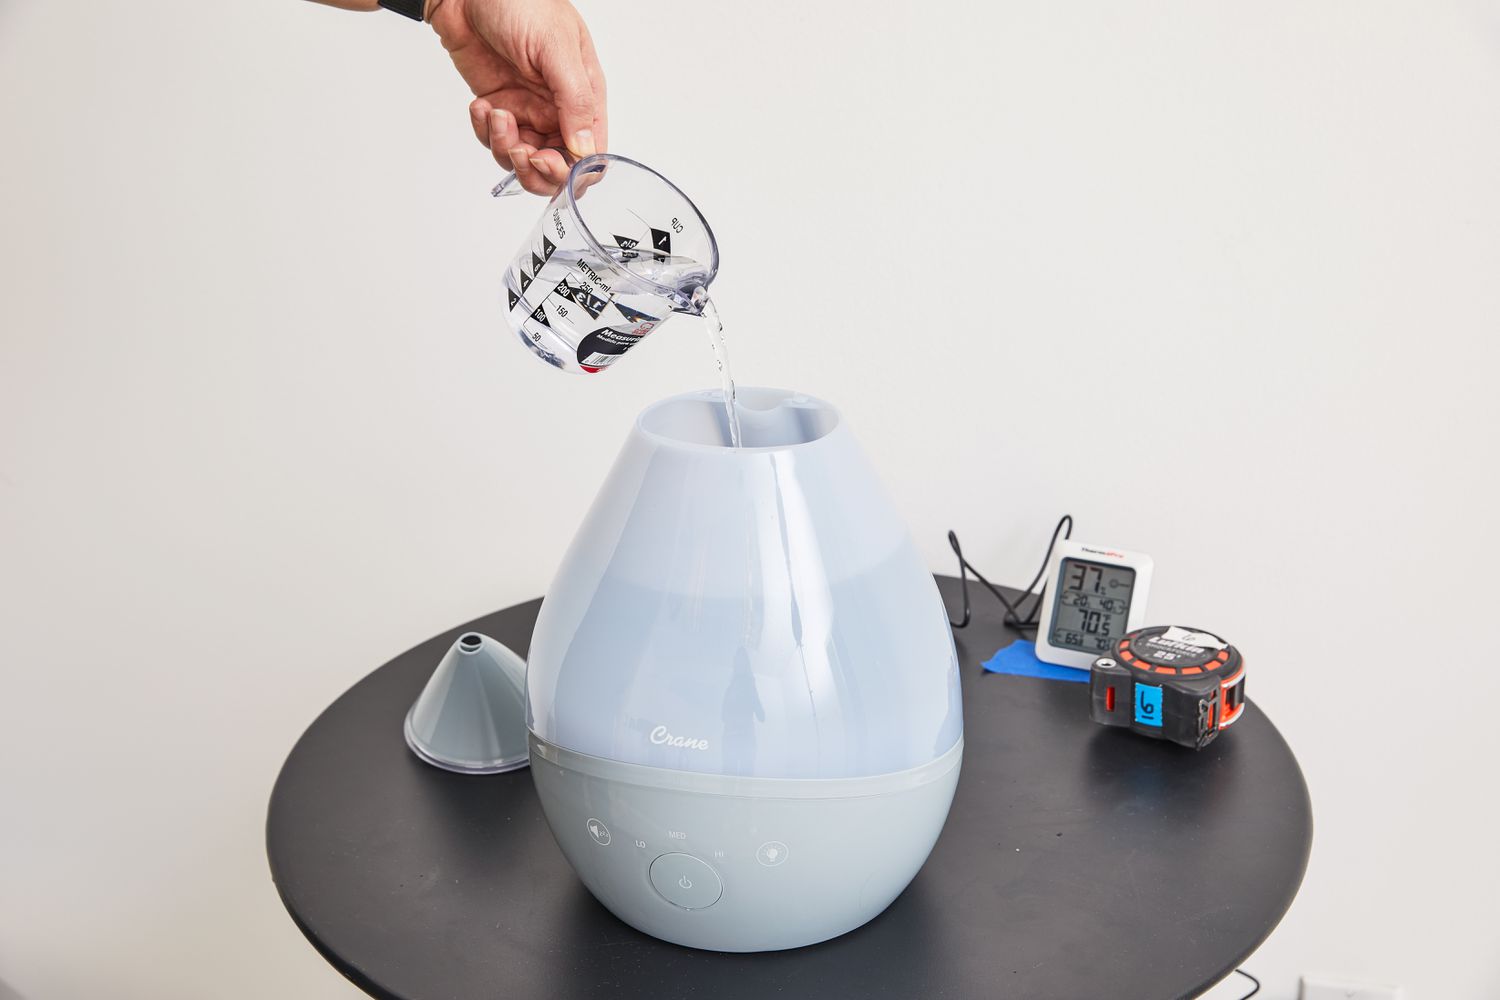
Once you have prepared the desired humidifier solution, carefully pour it into the container, ensuring that the wick is submerged in the water. Avoid overfilling the container to prevent any spills when placing the lid on.
With the humidifier solution ready, you can proceed to the next step and assemble your homemade humidifier.
Step 4: Assemble the Humidifier
Now that you have chosen a container, prepared the wick, and created the humidifier solution, it’s time to assemble your homemade humidifier.
Start by placing the lid securely on the container. Ensure that it is tightly sealed to prevent any unnecessary evaporation of the water.
Next, check that the wick is properly positioned in the container, with one end submerged in the humidifier solution and the other end extending above the water level. Adjust the wick if necessary to ensure proper contact with the water.
If your container has any additional openings or vents, make sure they are closed or covered to prevent the escape of moisture. This will help maintain the desired level of humidity in the air.
Once the lid is secured and the wick is in place, find a suitable spot to position your homemade humidifier. Choose an area where you want to increase the humidity, such as a bedroom, living room, or office space.
It’s essential to place the humidifier on a stable and level surface to avoid any accidental tipping or spilling. Keep it away from direct sunlight or heat sources to prevent the water from evaporating too quickly.
If you have multiple humidifiers, you may consider placing them strategically throughout the space to ensure an even distribution of moisture.
With the humidifier assembled and in position, you are ready to move on to the final step – testing and adjusting the humidity level.
Step 5: Test and Adjust
After assembling your homemade humidifier, it’s time to test its effectiveness and make any necessary adjustments to achieve the desired humidity level.
Turn on any available humidity measuring device, such as a hygrometer, to monitor the humidity levels in the air. This will provide you with a baseline reading before using the homemade humidifier.
Leave the humidifier running for a few hours and observe any changes in the humidity levels. If the humidity remains too low or doesn’t reach the desired level, you can make several adjustments:
- Add more water: If the water in the container evaporates quickly and doesn’t seem to humidify the air effectively, you may need to add more water to the container. Monitor the humidity levels and adjust the amount as needed.
- Adjust the wick: If the humidity levels are still not satisfactory, check the position of the wick in the container. Ensure that the wick is fully saturated with water and in proper contact with the air. You may need to soak the wick or adjust its position to facilitate better water absorption and evaporation.
- Change the location: If the desired humidity level is not achieved in the current location, consider moving the homemade humidifier to a different area. Experiment with different spots in the room to find the best position for optimal humidity distribution.
- Modify the solution: If you are using essential oils or other additives in the humidifier solution, you can adjust the amount to achieve a desired scent or increase their efficacy. However, exercise caution and follow the recommended guidelines to prevent any adverse effects.
Continue testing and making adjustments until you achieve a comfortable humidity level in the air. It may require some trial and error to find the perfect balance, but with each adjustment, you will be one step closer to creating an ideal environment.
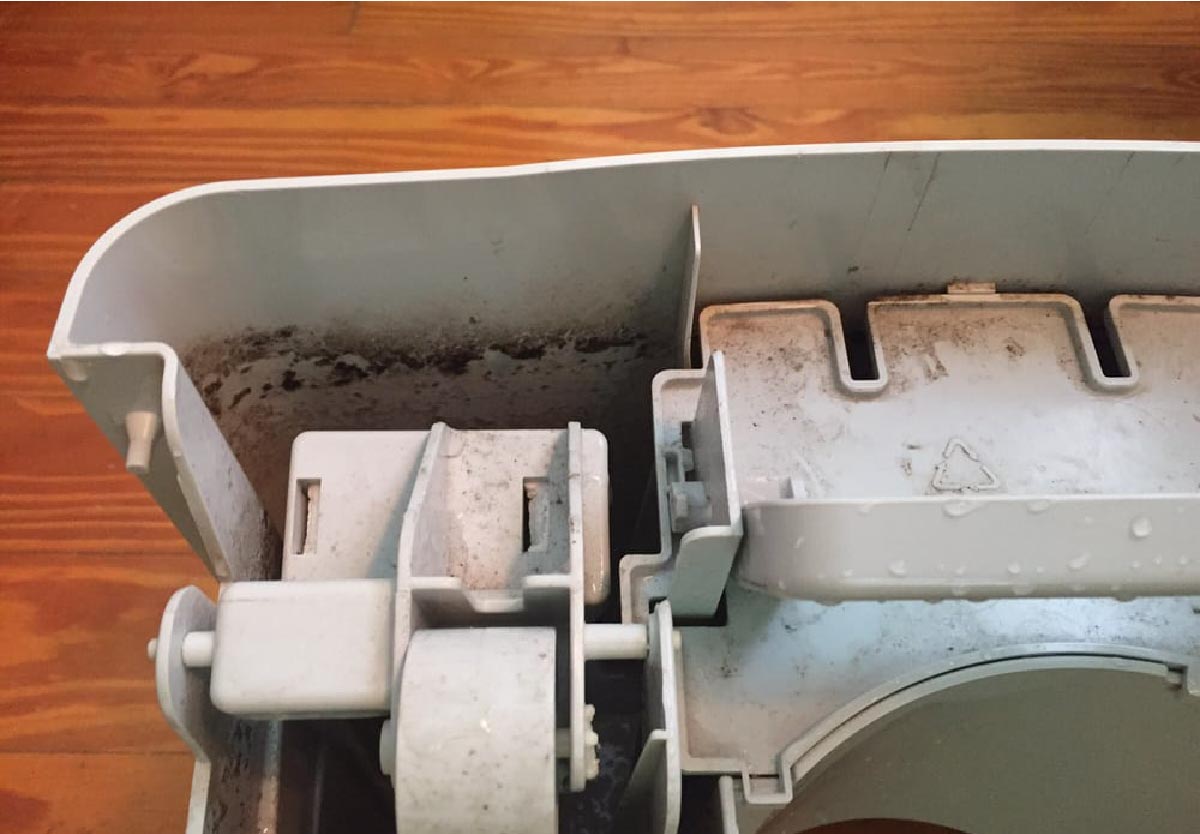
Remember to periodically check and refill the water in the container to ensure consistent humidifier performance. Clean the container and wick regularly to prevent the buildup of mold or bacteria.
By testing and adjusting your homemade humidifier, you can create a comfortable and healthier environment in your home or workspace.
Conclusion
Creating your own homemade humidifier is not only a cost-effective alternative but also a fun and rewarding DIY project. With just a few simple materials and a little creativity, you can improve the air quality in your space and enjoy the benefits of proper humidity.
In this article, we have walked you through the step-by-step process of making a homemade humidifier. From choosing a suitable container to preparing the wick, making the humidifier solution, assembling the humidifier, and testing and adjusting the humidity levels, each step is crucial in creating an effective and efficient homemade humidifier.
Remember to consider the size of your space and the desired level of humidity when making adjustments to achieve optimal results. Keep in mind that regular maintenance is essential to ensure the longevity and effectiveness of your homemade humidifier. Clean the container and wick regularly and refill the water as needed.
While a homemade humidifier can provide comfort and relief, it’s important to monitor the humidity levels and ensure they remain within a healthy range. Too much humidity can lead to mold and other issues, while too little humidity can cause dryness and discomfort.
By taking the time to create your own humidifier, you have the flexibility to customize it according to your preferences. Whether you choose to add essential oils for a pleasant scent or experiment with different wick materials, the process allows you to tailor the humidifier to your specific needs and tastes.
Now that you have all the knowledge and steps needed to create your own homemade humidifier, it’s time to put your skills to the test. Enjoy the benefits of a well-humidified environment, improved air quality, and the satisfaction of a DIY creation.
Stay comfortable, stay healthy, and breathe in the fresh air with your homemade humidifier!
Frequently Asked Questions about How To Make A Humidifier
Was this page helpful?
At Storables.com, we guarantee accurate and reliable information. Our content, validated by Expert Board Contributors, is crafted following stringent Editorial Policies. We're committed to providing you with well-researched, expert-backed insights for all your informational needs.
0 thoughts on “How To Make A Humidifier”