Articles
How To Install Over Range Microwave Oven
Modified: August 31, 2024
Learn the step-by-step process of installing an over-range microwave oven with our comprehensive articles. Get expert tips and guidance for a seamless installation.
(Many of the links in this article redirect to a specific reviewed product. Your purchase of these products through affiliate links helps to generate commission for Storables.com, at no extra cost. Learn more)
Introduction
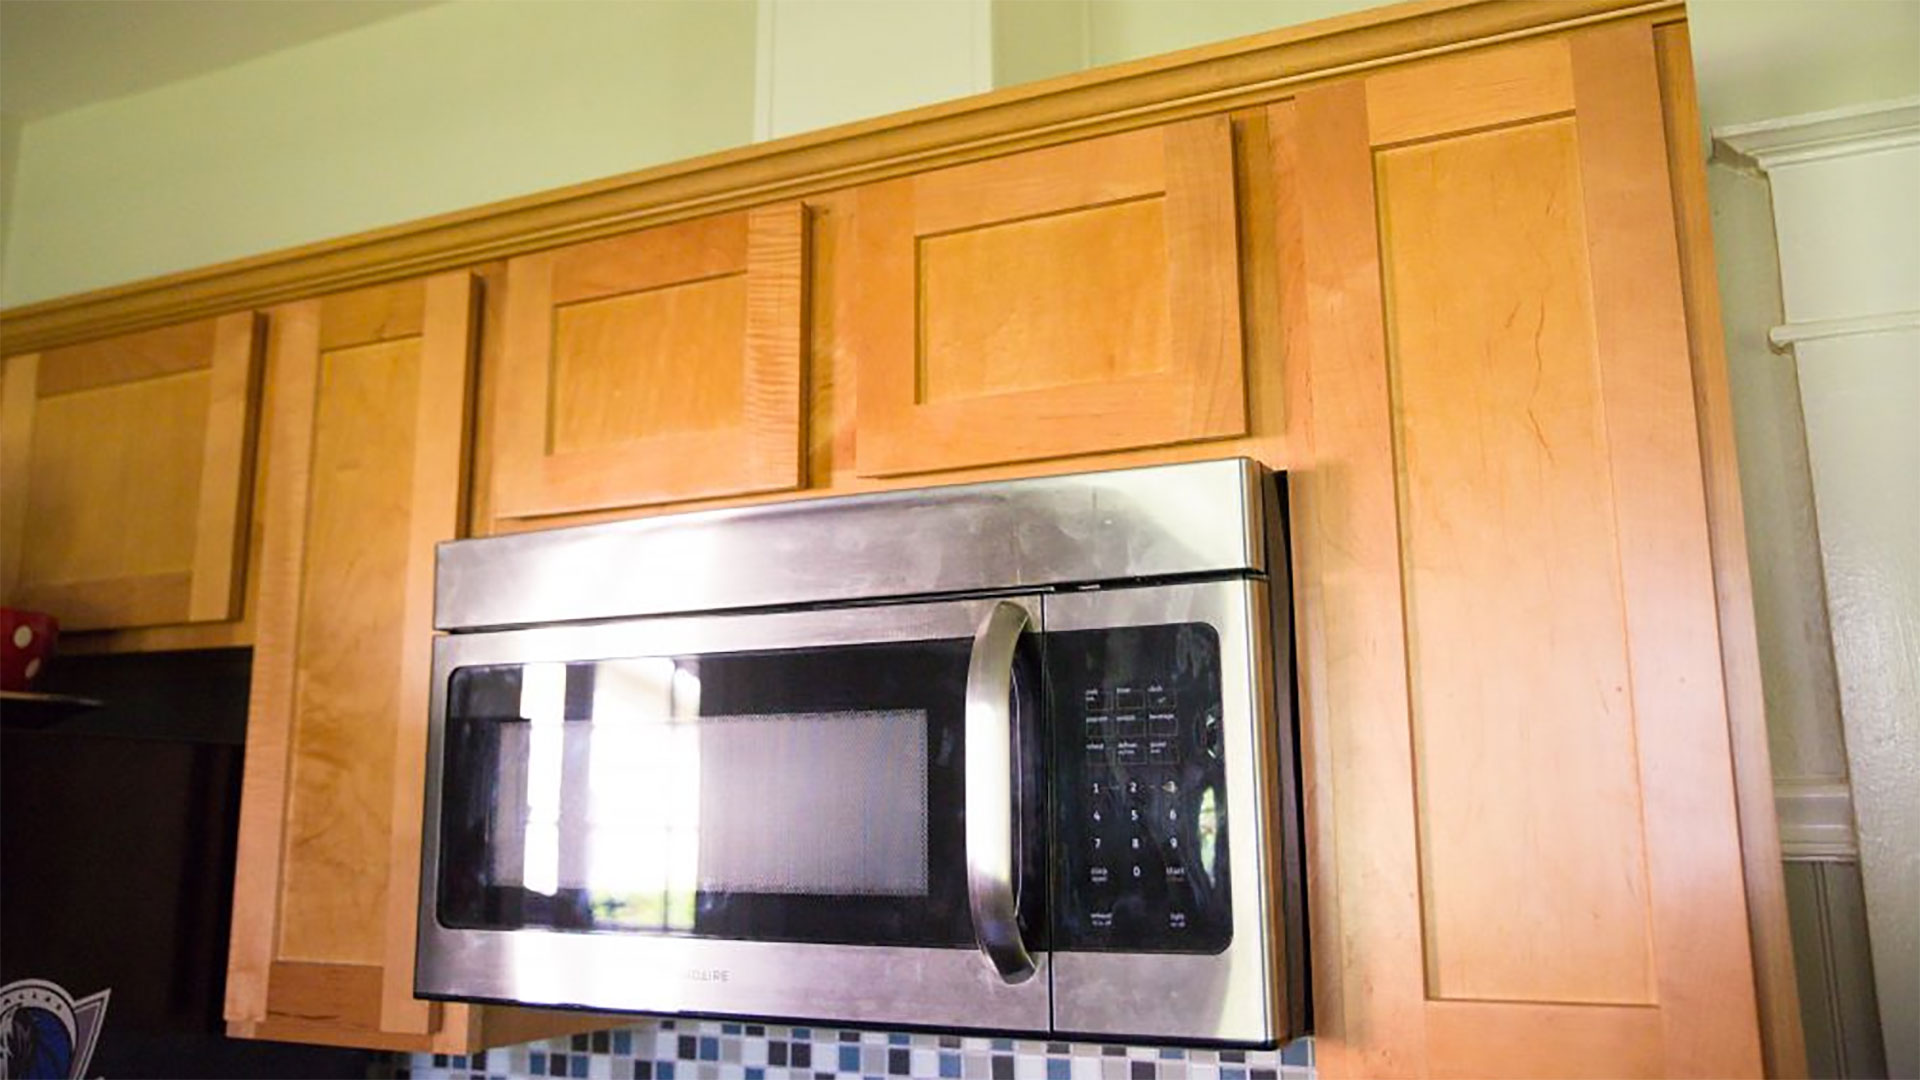
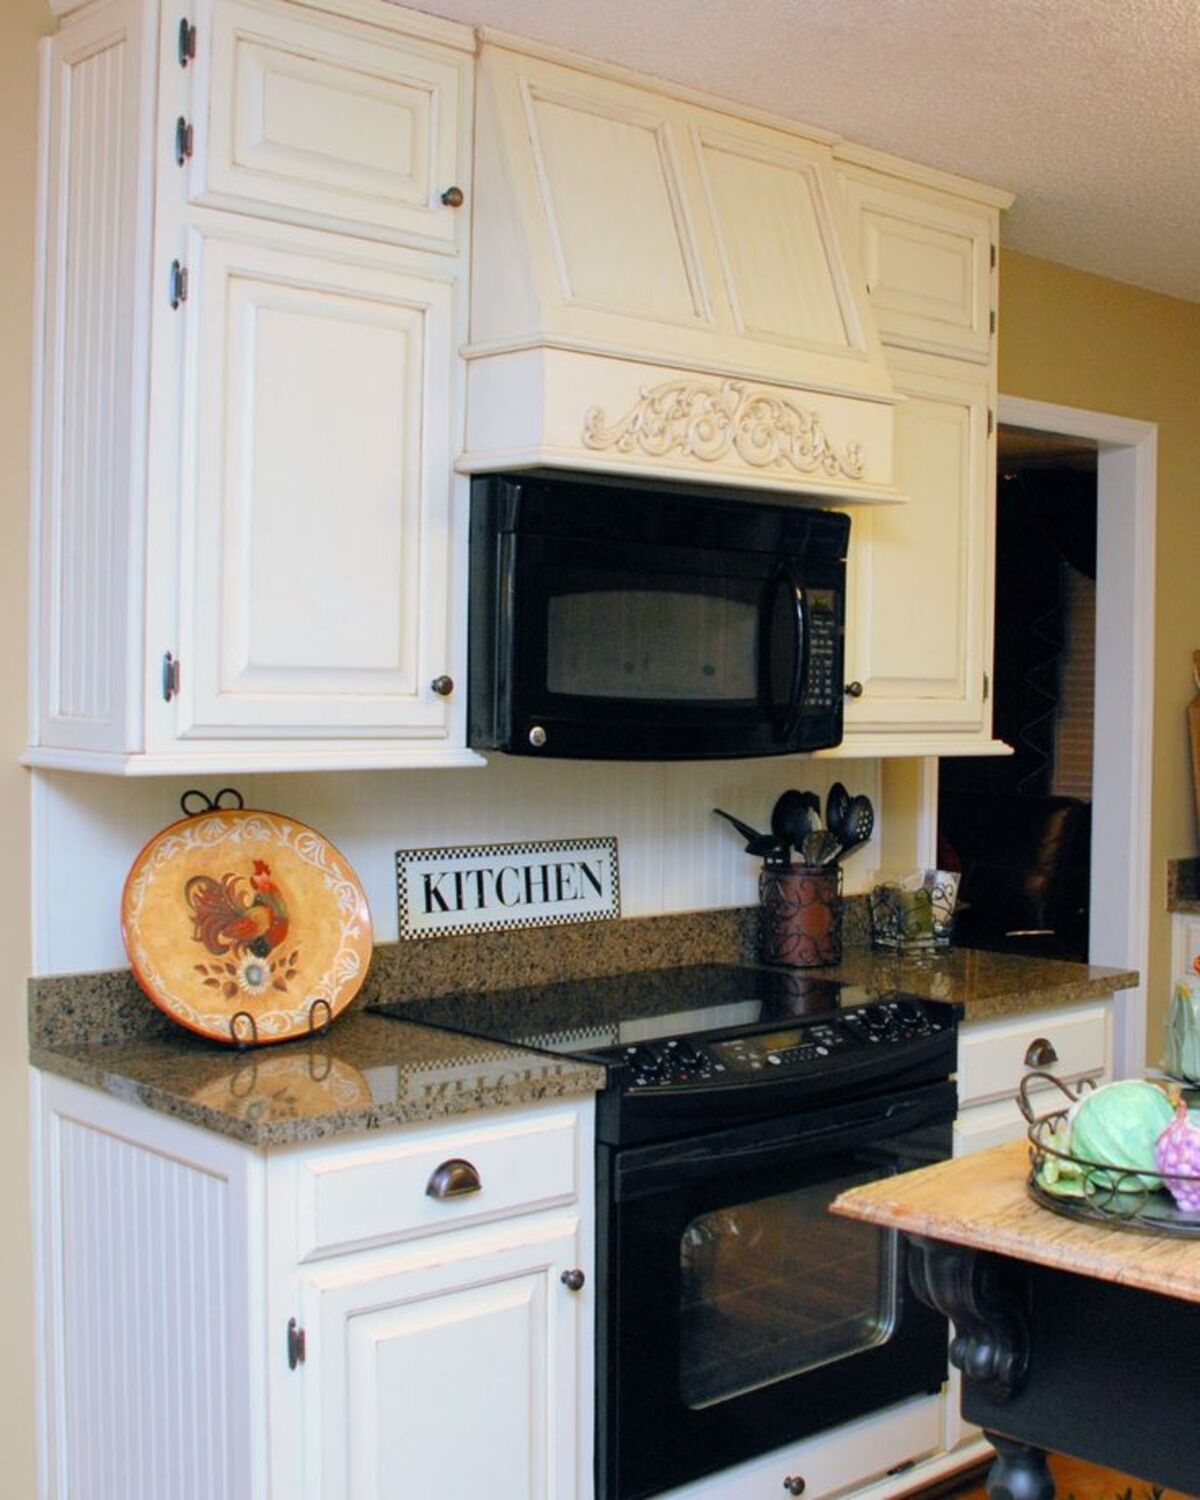
Installing an over the range microwave oven is a convenient way to free up countertop space in your kitchen while adding a stylish and functional appliance. This versatile appliance combines the functions of a microwave and a range hood, providing you with multiple cooking options in one compact unit.
However, the process of installing an over the range microwave oven can seem daunting if you have never done it before. But fear not! In this article, we will guide you through the step-by-step process of installing an over the range microwave oven, ensuring a successful and hassle-free installation.
Before you get started, it’s important to gather all the necessary tools and materials. You will need a measuring tape, a screwdriver, a drill, mounting brackets, a power cord, and any additional hardware that may come with your specific microwave model. It’s also crucial to read the instruction manual that comes with the microwave to familiarize yourself with any unique installation requirements.
Now, let’s dive into the installation process and get your over the range microwave oven up and running!
Key Takeaways:
- Installing an over the range microwave oven requires careful measurement, thorough preparation, and precise mounting to ensure a secure and functional installation. Prioritize safety and accuracy throughout the process for a successful outcome.
- Testing the microwave after installation is crucial to verify proper functioning and familiarize yourself with its features. Prioritize safety, follow the manufacturer’s guidelines, and seek professional assistance if needed for a smooth installation process.
Step 1: Measure the Space
The first step in installing an over the range microwave oven is to carefully measure the space where the appliance will be installed. This ensures that the microwave will fit properly and align with your existing cabinetry or range hood.
Start by measuring the width of the space above your range or cooktop. Be sure to account for any obstructions such as cabinets or backsplashes. Measure the height as well, considering any clearance requirements mentioned in the microwave’s instruction manual.
Next, measure the depth of the space to determine how far the microwave will extend from the wall. This is important to ensure that there is enough space to comfortably use the appliance without it obstructing any adjacent cabinets or countertops.
Once you have these measurements, compare them to the dimensions provided by the manufacturer for the microwave oven you have chosen. Make sure there is sufficient space for both the width and height, and that the depth is compatible as well.
If the measurements do not align, you may need to make adjustments to the surrounding space. This could involve removing or modifying cabinets, rearranging shelves, or even making structural changes to your kitchen. It’s important to carefully plan and consider these adjustments before proceeding with the installation.
Remember, accuracy is key when measuring the space. Any miscalculations or oversights at this stage can lead to difficulties and complications during the installation process. Take your time, double-check your measurements, and proceed to the next step only when you are confident that the space is suitable for your over the range microwave oven.
Step 2: Prepare the Area
Once you have measured the space for your over the range microwave oven, the next step is to prepare the area where the appliance will be installed. This involves clearing any obstructions, ensuring proper ventilation, and making any necessary modifications to the space.
First, remove any existing range hood or over the range microwave oven from the area. This may require disconnecting power or unscrewing mounting brackets. Follow the manufacturer’s instructions for removing the old appliance safely.
Next, inspect the area for any electrical or plumbing connections that may interfere with the installation. If there are any exposed wires, pipes, or conduits, it is important to ensure that they are safely relocated or protected before proceeding.
Check the wall and the adjacent cabinets for any signs of damage or wear. Make any necessary repairs or reinforcements to ensure a sturdy and secure installation. Remember, the microwave oven will be mounted on the wall, so it’s crucial to have a solid surface to support its weight.
Proper ventilation is essential for the safe and efficient operation of an over the range microwave oven. Ensure that the area has adequate ventilation by installing or inspecting the existing vent duct. This duct should exhaust the air to the outside of your home, preventing the buildup of cooking odors and moisture.
If there is no vent duct or if it is in need of repair, consult a professional for assistance in finding the best solution. They can help you determine if an external venting system is feasible or if an alternative method, such as a recirculating vent, can be used.
Lastly, if you have chosen a microwave oven that requires a wall-mounted bracket, ensure that it is properly installed. Follow the manufacturer’s instructions for mounting the bracket securely to the wall, ensuring that it is level and aligned with the measurements taken in Step 1.
By thoroughly preparing the area, you will create a solid and suitable foundation for the installation of your over the range microwave oven. This will help ensure a smooth and successful installation process.
Step 3: Mount the Bracket
With the area prepared, it’s time to mount the bracket for your over the range microwave oven. The mounting bracket provides the necessary support and stability for the appliance, ensuring it stays securely in place.
Start by carefully reading the instruction manual that comes with your microwave oven. It will provide specific guidelines and steps for mounting the bracket, as well as any additional hardware that may be required.
Position the bracket on the wall, aligning it with the measurements you took in Step 1. Use a level to ensure that the bracket is straight and level. Mark the locations of the mounting holes on the wall, using a pencil or a marker.
Next, use a drill to create pilot holes at the marked locations. Make sure to use the appropriate size drill bit for the mounting hardware provided with your microwave oven. Be cautious to avoid any electrical or plumbing lines in the wall. If unsure, consult a professional for assistance.
Once the pilot holes are drilled, attach the mounting bracket to the wall using the provided screws or bolts. Tighten them securely, but be careful not to overtighten and damage the wall. Use a level again to ensure that the bracket is still straight and aligned.
Once the bracket is securely mounted, double-check its stability by giving it a gentle tug or shake. It should feel solid and not wobble. If there is any movement, adjust the bracket or tighten the screws to ensure a secure fit.
It’s important to follow the specific instructions provided by the manufacturer for your microwave oven model. Some brackets may require additional steps or adjustments to accommodate the specific design of the appliance. Refer to the manual for any specific guidelines.
By properly mounting the bracket, you are creating a strong foundation for the installation of your over the range microwave oven. This will ensure its stability and safety when it is fully installed and in use.
Step 4: Install the Microwave
Now that the bracket is securely mounted, it’s time to install the over the range microwave oven. This step involves carefully mounting the appliance onto the bracket and ensuring a proper fit.
Start by preparing the microwave for installation. Remove any packaging materials, including protective film or tape, from the exterior and interior of the appliance. Ensure that the power cord is easily accessible and ready to be connected.
With the help of a friend or family member, carefully lift the microwave oven and position it in front of the mounting bracket. Align the holes on the back of the microwave with the tabs or hooks on the bracket.
Slowly slide the appliance towards the wall, making sure that it is properly secured to the bracket. The tabs or hooks should fit snugly into the holes on the back of the microwave. It may require some wiggling or adjusting to ensure a proper fit.
Once the microwave is securely attached to the mounting bracket, check for any gaps or spaces between the appliance and the wall. It should be flush and level with the surrounding area. If necessary, make adjustments to the position of the microwave to achieve a seamless fit.
Take a moment to inspect the front of the microwave and ensure that it is parallel to the range or cooktop below. This will help maintain a visually appealing and balanced appearance in your kitchen.
With the microwave properly installed, it’s important to follow the manufacturer’s instructions for securing it to the bracket. This may involve tightening screws or using additional hardware provided with the appliance. Refer to the instruction manual for specific guidelines.
Make sure to handle the microwave with care during the installation process to avoid any damage. Avoid placing excessive pressure on the control panel or door, which could lead to cracks or malfunctions.
By safely and securely installing the microwave onto the bracket, you are one step closer to enjoying the convenience and functionality of an over the range microwave oven in your kitchen.
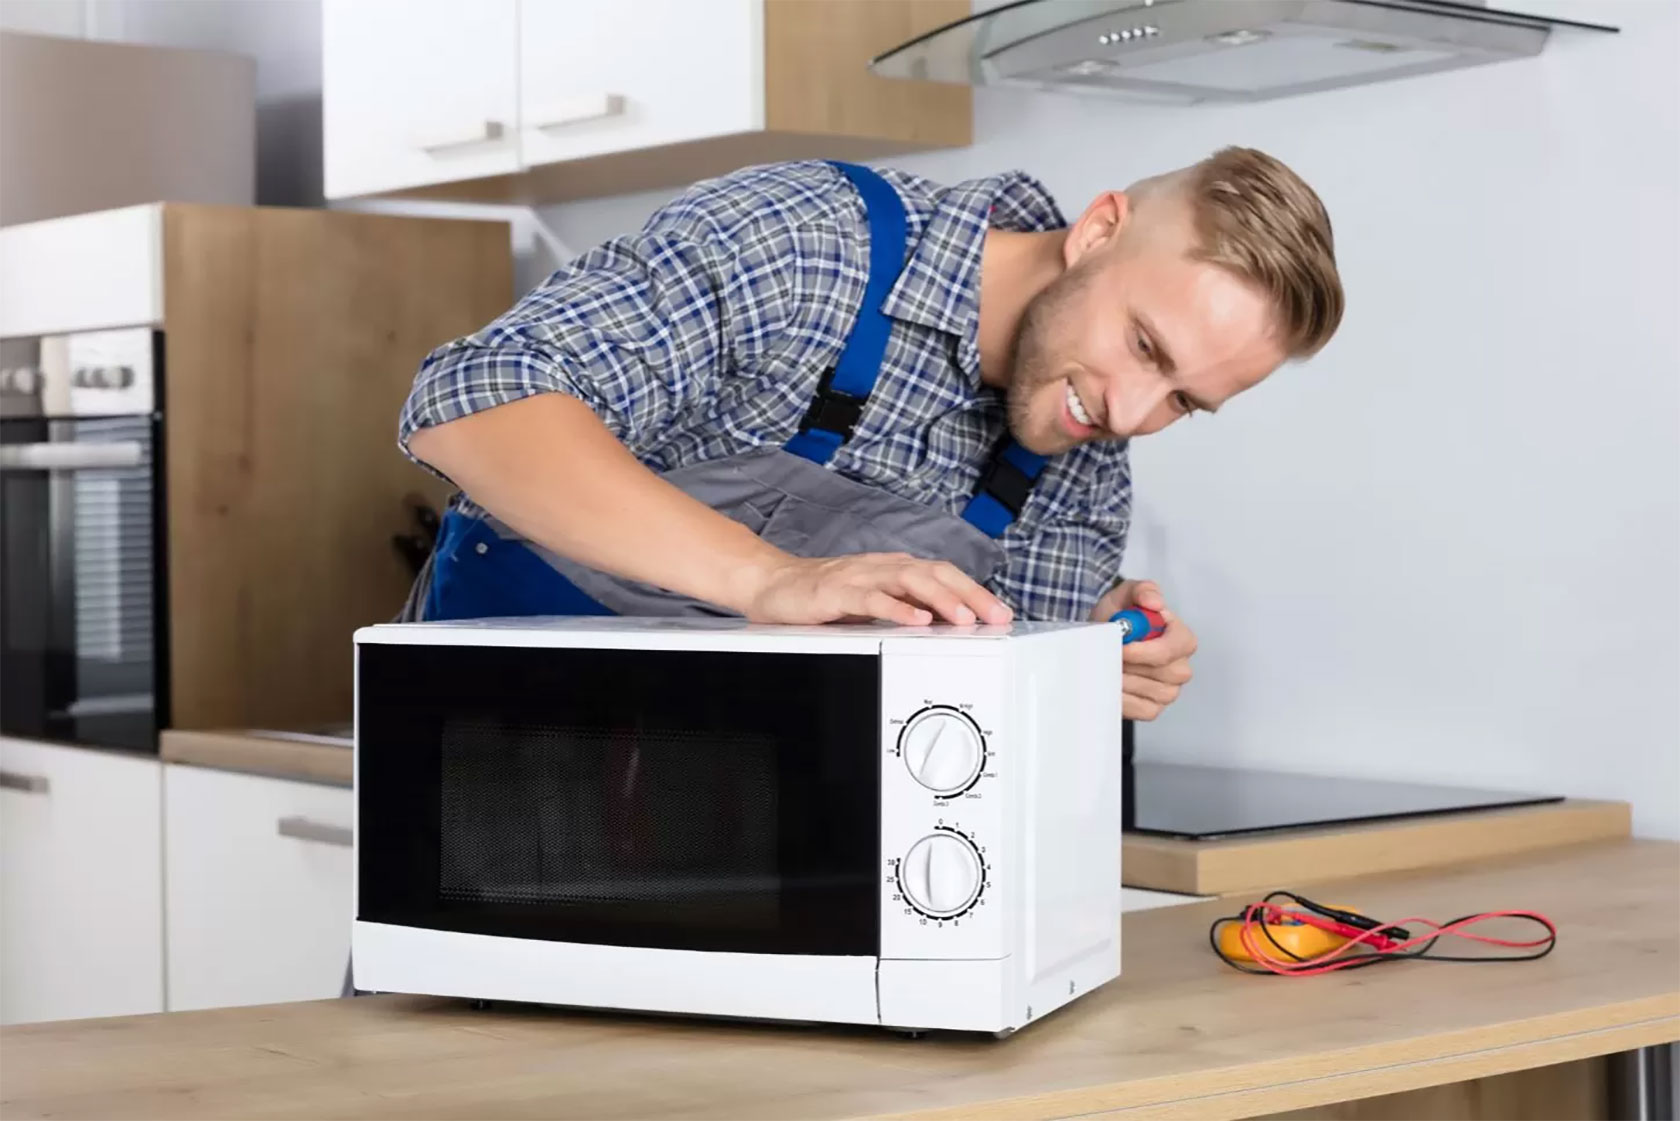
When installing an over-range microwave oven, make sure to follow the manufacturer’s instructions carefully, especially when it comes to venting and electrical requirements. It’s also important to have someone help you lift and mount the microwave to ensure it’s done safely and securely.
Step 5: Connect the Wiring
Connecting the wiring is a crucial step in installing an over the range microwave oven. This involves properly connecting the power cord and any necessary electrical wiring to ensure the safe and efficient operation of the appliance.
Start by locating the electrical outlet near the installation area. Ensure that it is a grounded outlet and can handle the power requirements of the microwave oven. If needed, consult a qualified electrician to install a dedicated circuit or upgrade the existing outlet.
Next, carefully feed the power cord through the designated opening on the back of the microwave. Align the plugs with the corresponding outlet on the appliance and firmly insert them. Make sure they are securely connected.
If your microwave requires direct wiring rather than using a power cord, consult a professional electrician for assistance. They will ensure proper installation and compliance with electrical codes and safety regulations.
With the power cord connected, carefully position the microwave oven and gently push it against the wall. Avoid pinching or damaging the power cord during this step.
Next, locate the electrical junction box on the wall near the installation area. This box should be properly grounded and equipped with the necessary wiring connections.
Consult the manufacturer’s instructions for your specific microwave model to determine the wiring requirements. It may involve connecting specific wires from the microwave to the corresponding wires in the junction box.
Follow electrical safety guidelines and use wire connectors or wire nuts to secure the connections. Ensure that the wires are properly stripped and twisted together before securing them with the connectors.
Once the wiring connections are made, carefully tuck the excess wires into the junction box and secure the cover. Double-check that all connections are secure and free from any exposed wires.
Finally, turn on the circuit breaker or plug in the power cord to supply electricity to the microwave oven. Test the appliance by turning it on and ensuring that it functions properly.
Remember, if you are not confident or experienced in working with electrical wiring, it is best to consult a professional electrician for assistance. They will ensure that the wiring connections are made safely and comply with all necessary regulations.
By properly connecting the power cord or wiring, you are ensuring the safe and efficient operation of your over the range microwave oven in your kitchen.
Step 6: Secure the Microwave
Once the over the range microwave oven is installed and the wiring is connected, the next step is to securely fasten the appliance in place. This ensures that it remains stable and doesn’t pose any safety risks during use.
Start by checking the manufacturer’s instructions for securing the microwave to the mounting bracket. This may involve using mounting screws or bolts that are included with the appliance.
With the help of a screwdriver or a wrench, tighten the screws or bolts to firmly secure the microwave to the bracket. Follow the recommended torque specifications provided by the manufacturer to avoid over- or under-tightening.
Test the microwave to make sure it doesn’t wobble or shake. Apply slight pressure to different areas of the microwave and check for any movement. If there is any instability, adjust the mounting screws or bolts until the microwave feels secure.
It’s essential to ensure that the door of the microwave operates smoothly and closes securely. Check that the door latches properly and that there are no gaps when it is closed. This is important for the safe operation of the appliance.
If your microwave oven includes a mounting template, use it to mark the locations for any additional screws or brackets required for extra support. Follow the instructions to install these components securely.
Take a moment to inspect the surrounding area for any gaps or spaces between the microwave and the cabinets or wall. If needed, use filler material or trim pieces to create a seamless and visually pleasing appearance.
Ensure that any ventilation openings on the top or sides of the microwave are not obstructed. This allows proper airflow and prevents overheating during operation. Check the manufacturer’s instructions for any specific ventilation requirements.
Lastly, double-check all connections, including the power cord and any other wiring, to ensure they are secure and free from any exposed wires or loose connections. Safety should always be a top priority.
By properly securing the over the range microwave oven, you are ensuring its stability and safety during use. This step completes the installation process and prepares the appliance for regular use in your kitchen.
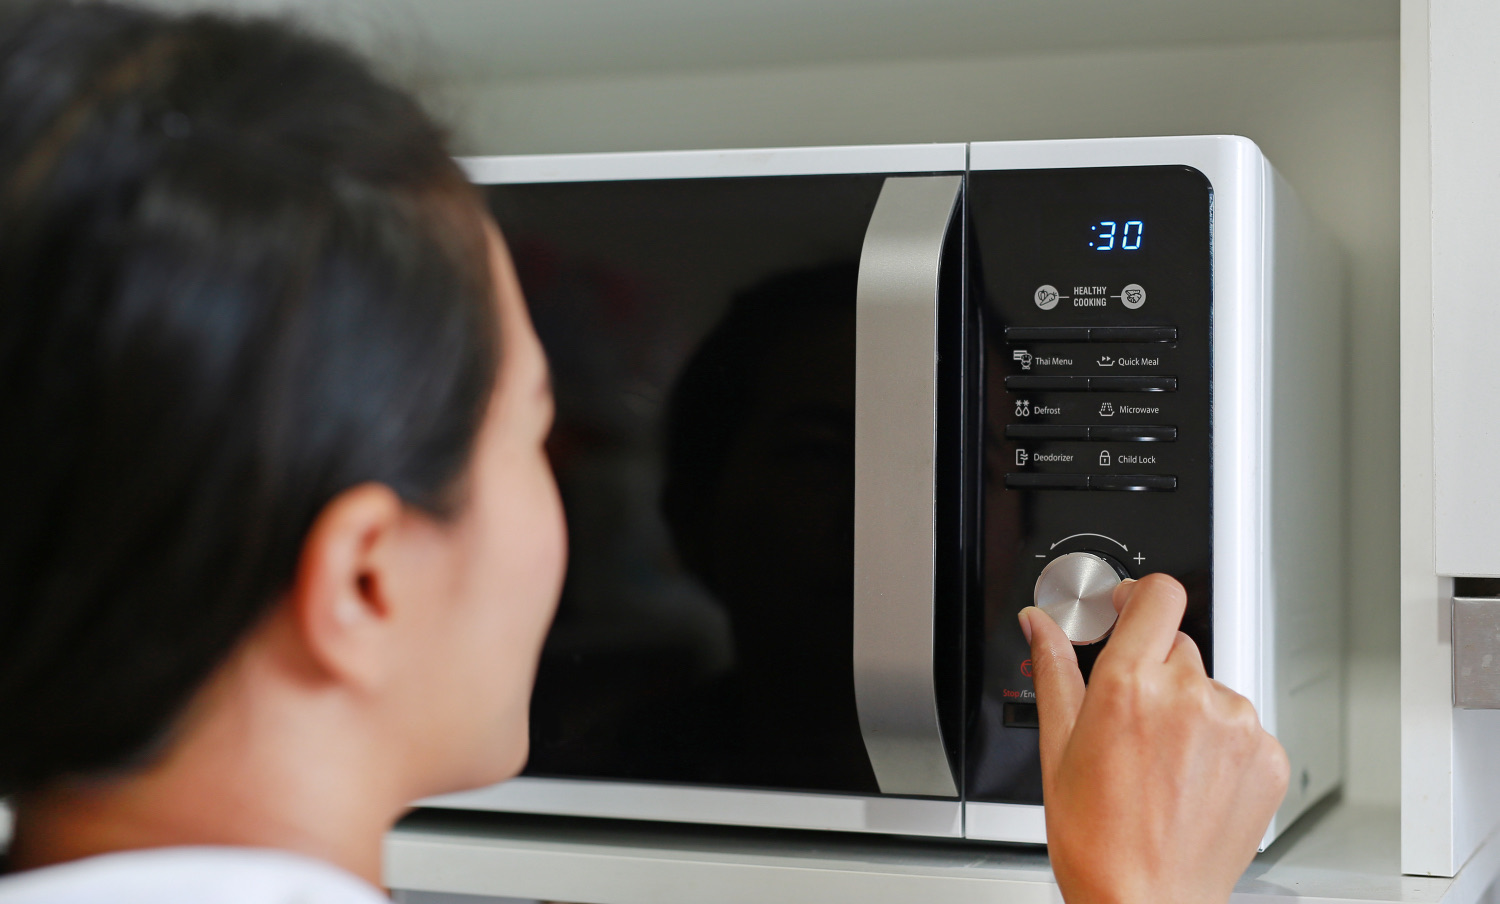
Step 7: Test the Microwave
After successfully installing and securing the over the range microwave oven, it’s time to test the appliance to ensure its proper functioning. This step is crucial to verify that all features and settings are working correctly before regular use.
Start by plugging in the power cord or turning on the circuit breaker to supply electricity to the microwave oven. Ensure that the outlet is properly grounded and can handle the power requirements of the appliance.
Set the clock or adjust the time settings on the microwave, following the instructions provided by the manufacturer. This will ensure accurate timing during cooking or heating tasks.
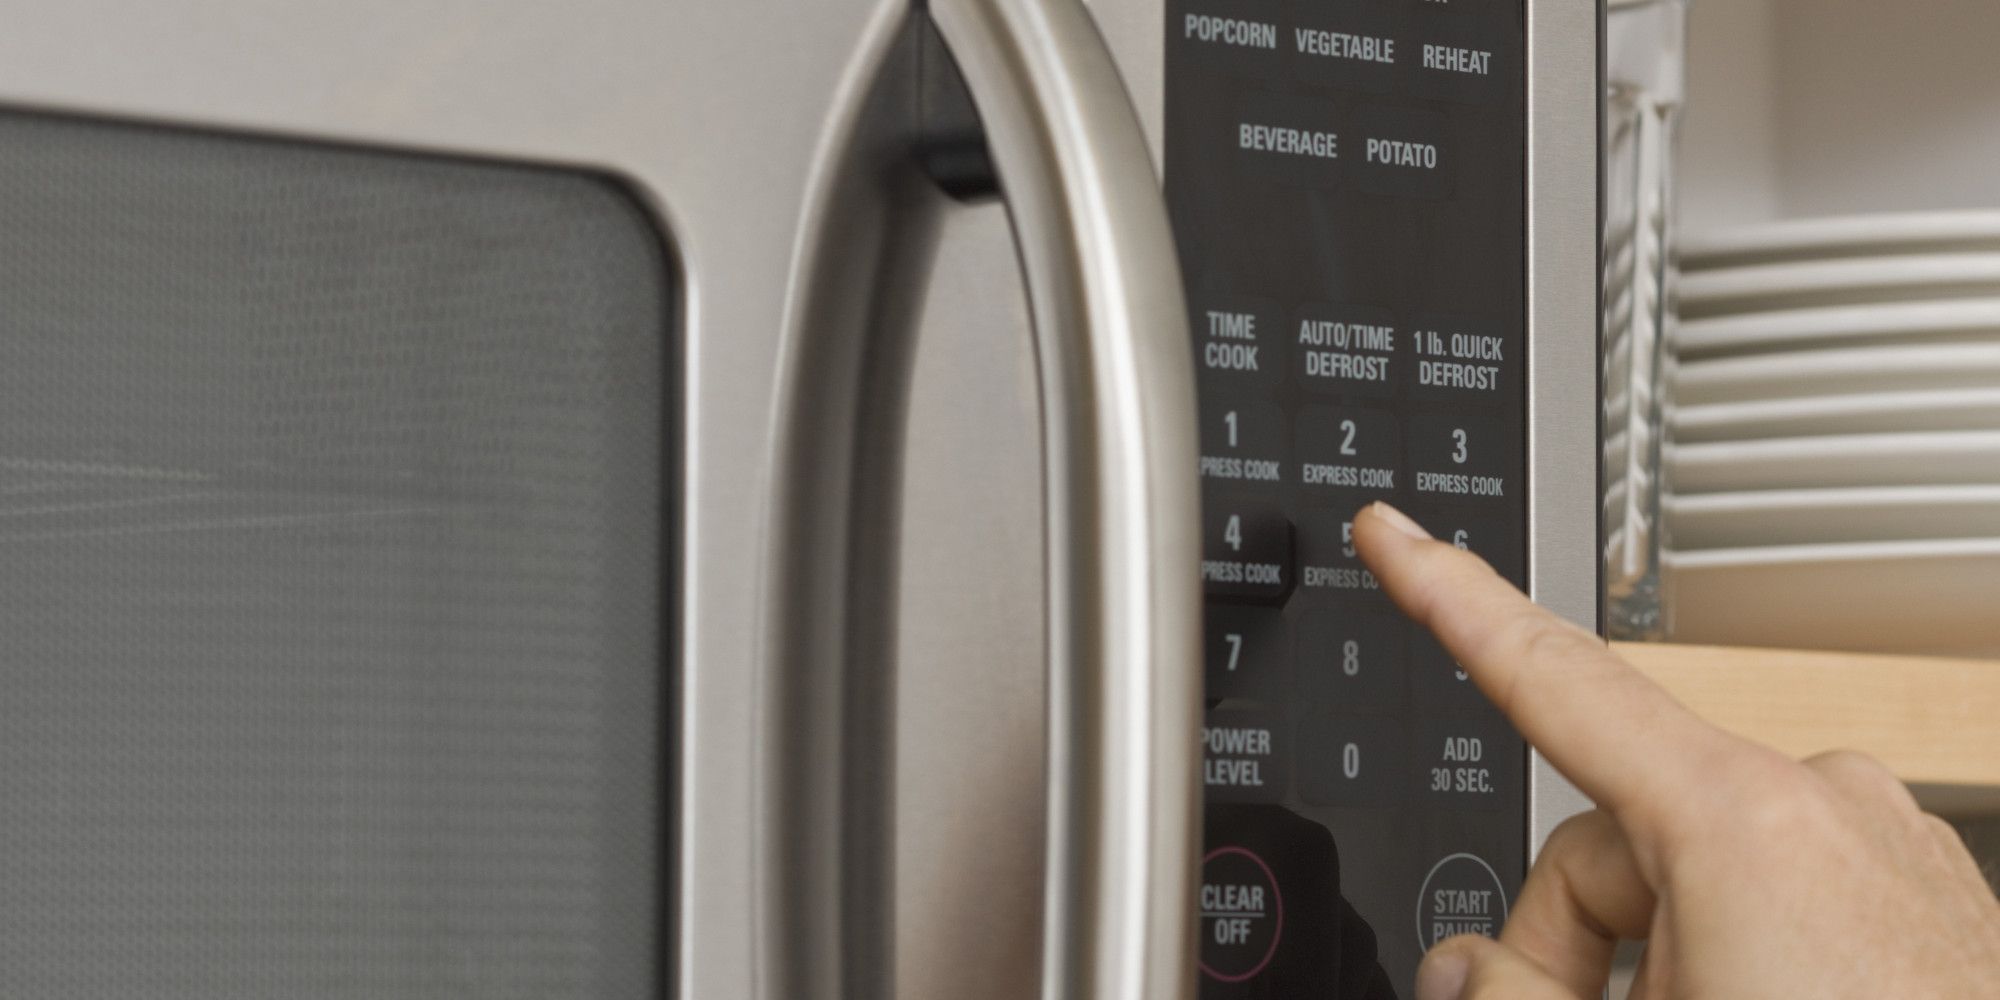
Review the user manual that accompanies the microwave oven to familiarize yourself with its features and functions. This will help you navigate the control panel and understand how to operate the appliance effectively.
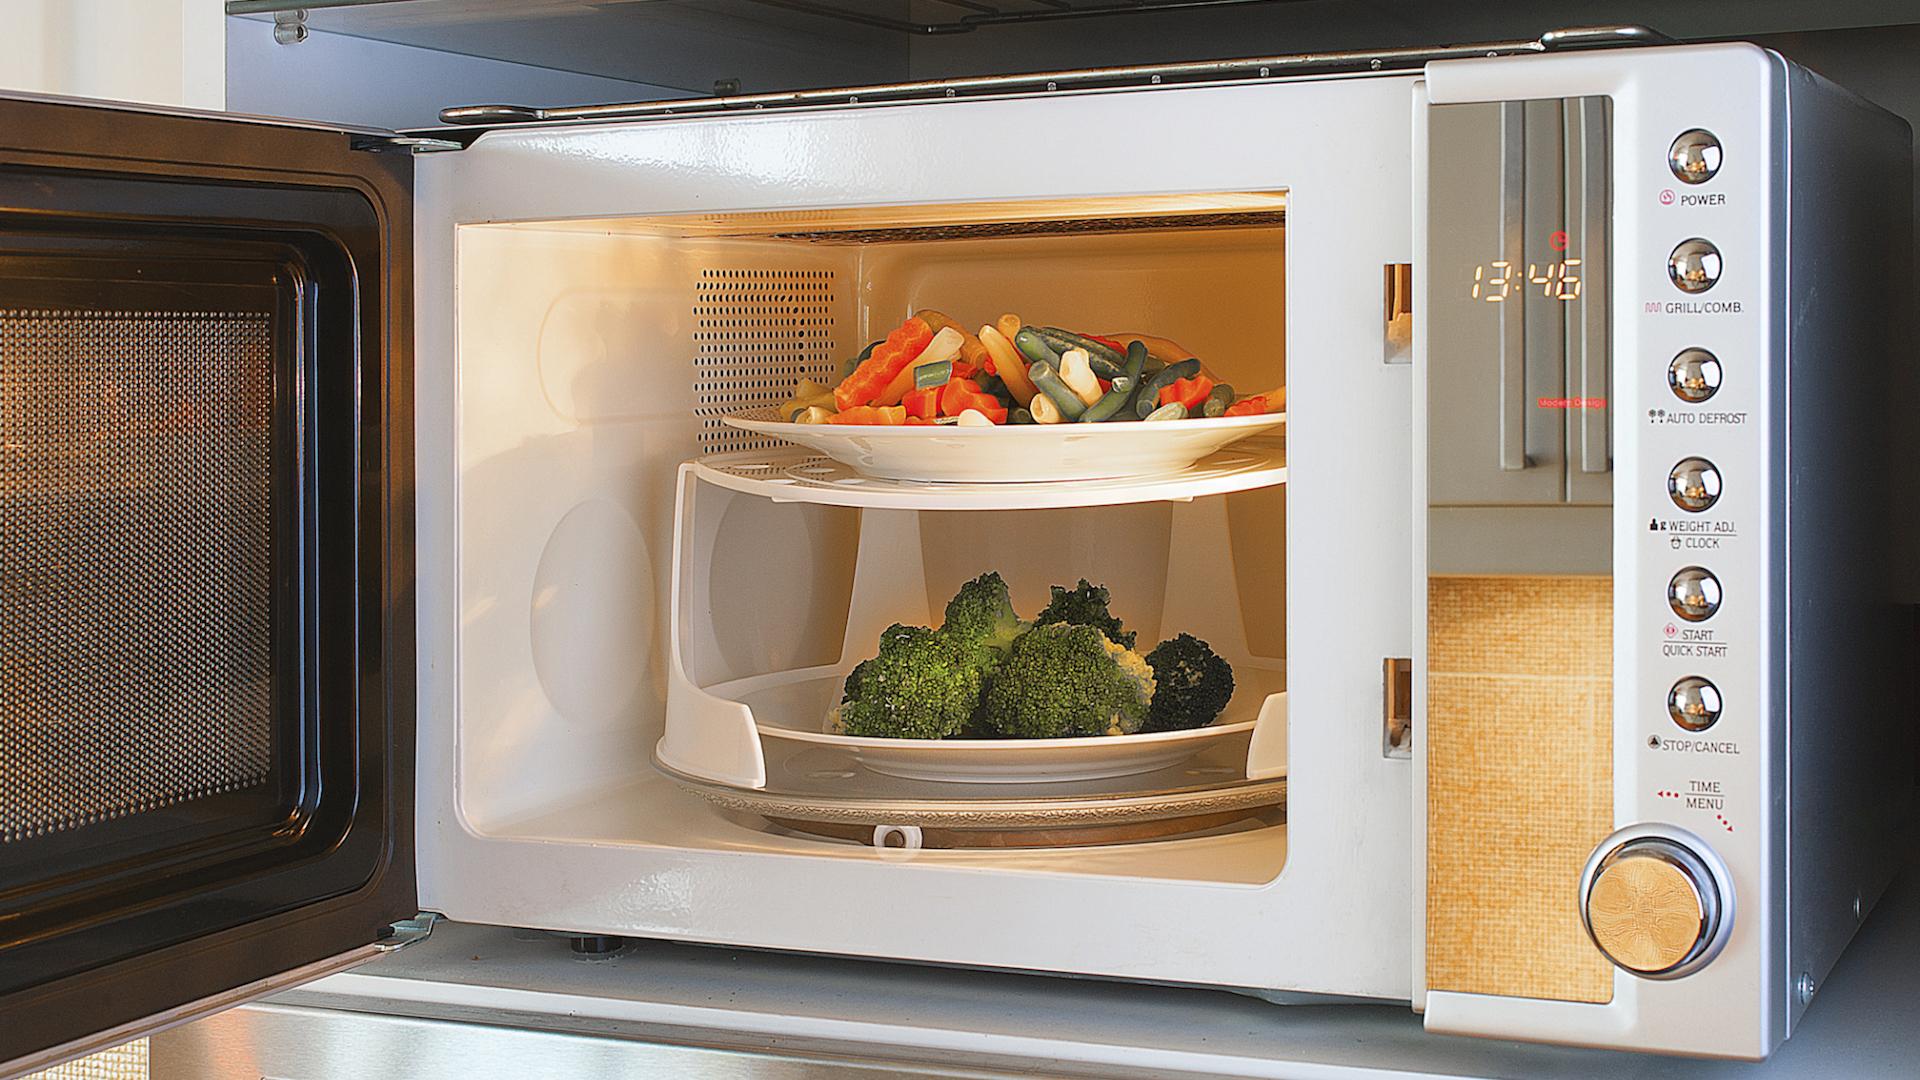
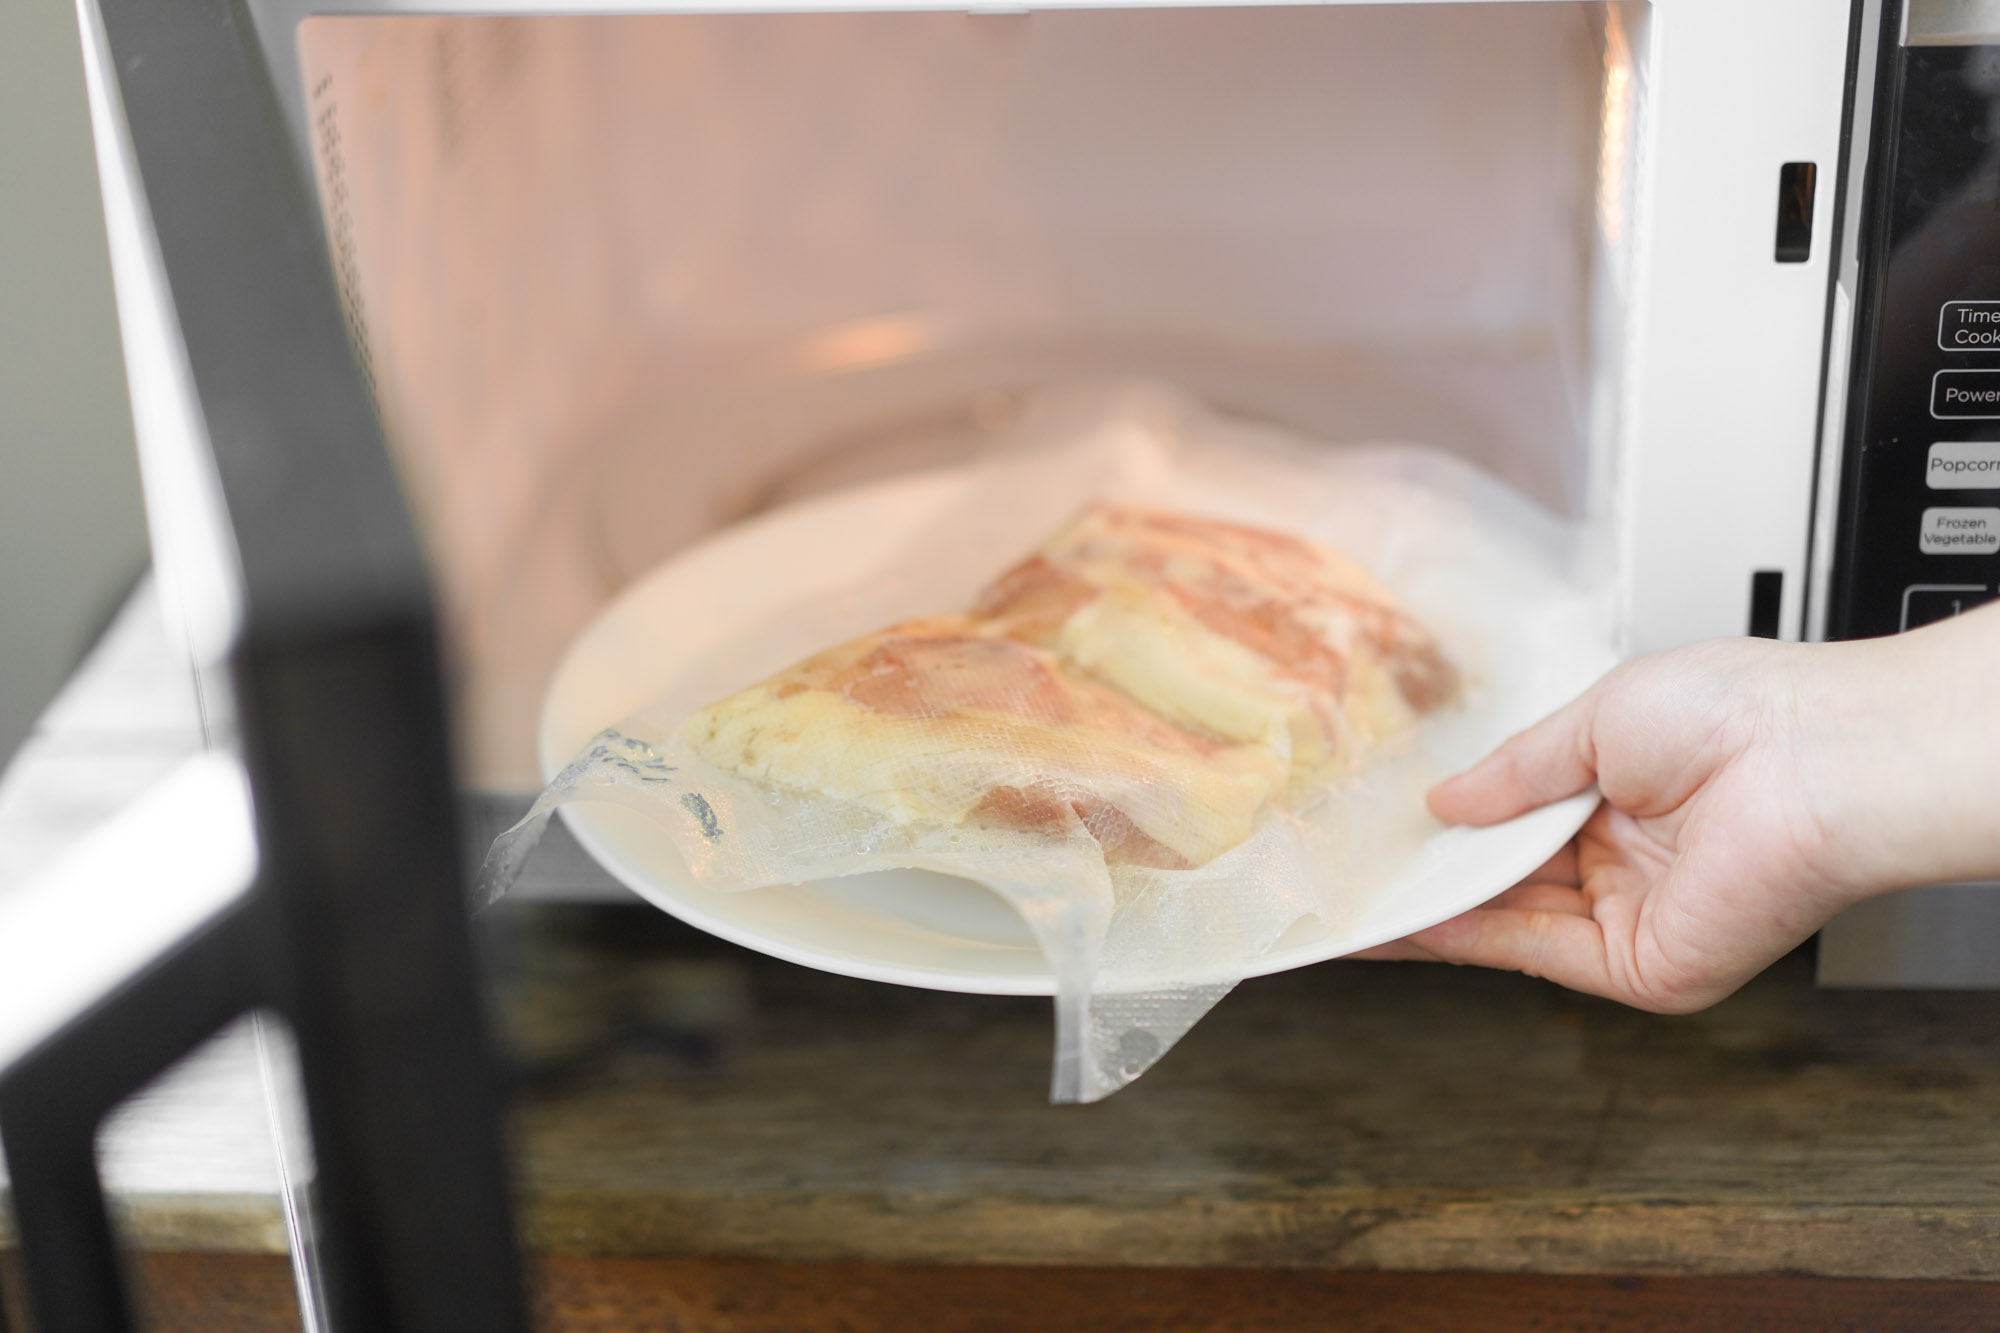
Test basic functions such as heating a cup of water or reheating a small dish of food. Use the recommended settings and time durations as stated in the user manual. Observe if the microwave operates smoothly and heats the food evenly.
Try out different power levels and cooking presets, if available, to get a feel for the versatility of the microwave. Test defrosting functions, popcorn settings, or any other specific cooking options that you may use frequently.
Check the sound and volume settings of the microwave to ensure they are functioning correctly. Adjust the volume if necessary or mute it if preferred.
Open and close the microwave door multiple times to ensure that it operates smoothly and securely. The door should open and close without any resistance or sticking.
Pay attention to any unusual noises, excessive vibrations, or error messages that may appear on the control panel. These could indicate a potential issue that needs to be addressed. Consult the user manual or contact customer support if any problems persist.
During the testing phase, it’s also a good time to familiarize yourself with cleaning and maintenance guidelines for the microwave oven. Follow the recommended cleaning procedures to ensure the appliance remains in optimal condition.
If any issues or concerns arise during testing, contact the manufacturer’s customer support for assistance. They can provide guidance or arrange for any necessary repairs or replacements.
By conducting a thorough testing of the over the range microwave oven, you can confidently use the appliance for your cooking and heating needs. This step ensures that everything is in proper working order, bringing convenience and efficiency to your kitchen.
Conclusion
Installing an over the range microwave oven can be a rewarding project that enhances the functionality and aesthetics of your kitchen. By following the step-by-step process outlined in this article, you can successfully install the appliance and enjoy its benefits.
Throughout the installation process, it’s important to prioritize safety and accuracy. Take the time to measure the space, prepare the area, mount the bracket, install the microwave, connect the wiring, secure the appliance, and test its functionality. Following each step diligently ensures a secure and reliable installation.
Remember to consult the manufacturer’s instructions and guidelines for your specific microwave model. Each appliance may have unique requirements or additional steps that need to be followed for a successful installation.
If you are unsure about any aspect of the installation process, it is always advisable to seek professional assistance. A qualified contractor or electrician can provide expert guidance and ensure that everything is installed correctly.
Once the over the range microwave oven is installed and tested, you can enjoy the convenience it brings to your kitchen. With its versatile cooking options and space-saving design, you can free up valuable countertop space without compromising on functionality.
Lastly, regular maintenance and cleaning of the microwave oven will help keep it in top condition and prolong its lifespan. Follow the manufacturer’s recommendations for cleaning and maintenance to ensure optimal performance.
Now that you have the knowledge and guidance to install an over the range microwave oven, you can confidently embark on this project and transform your kitchen into a more efficient and organized space.
Frequently Asked Questions about How To Install Over Range Microwave Oven
Was this page helpful?
At Storables.com, we guarantee accurate and reliable information. Our content, validated by Expert Board Contributors, is crafted following stringent Editorial Policies. We're committed to providing you with well-researched, expert-backed insights for all your informational needs.


0 thoughts on “How To Install Over Range Microwave Oven”